Week 8
Molding and Casting
This week's assignment: design a mold, mill it, and use it to cast parts.
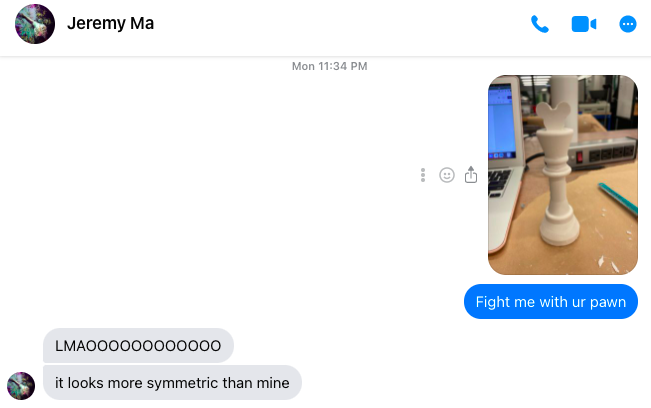
This week was super cool! Anthony (aka the best TA) had Jeremy's pawn that he made for this assignment a couple of years
ago as an example, and I thought it was so cute that I wanted to make a chess piece myself (I also just
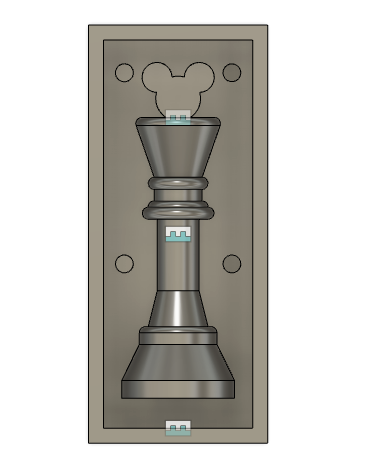
like playing chess). I designed a Mickey Mouse king chess piece in Fusion 360,
put it in a 3" x 7" x 1.5" block, and did the CAM for it using Adaptive Clearing with the 1/4" end mill, following
Anthony's recitation tutorial. I also added connectors/holes to make it easier to connect the two molds for
each side of the chess piece.
When Anthony inspected my CAM, he enlightened me that it sucked - for example, my surfaces were very hilly and
the holes hadn't been drilled, none of which I'd noticed.
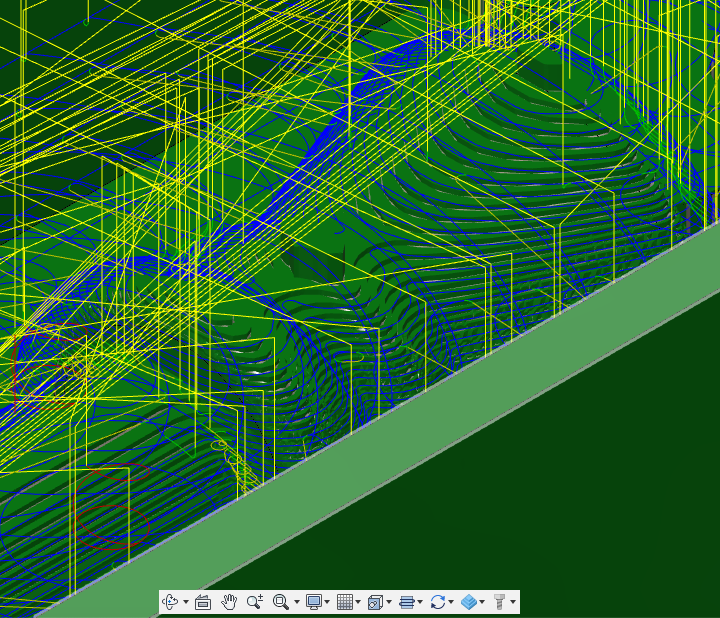
Hills
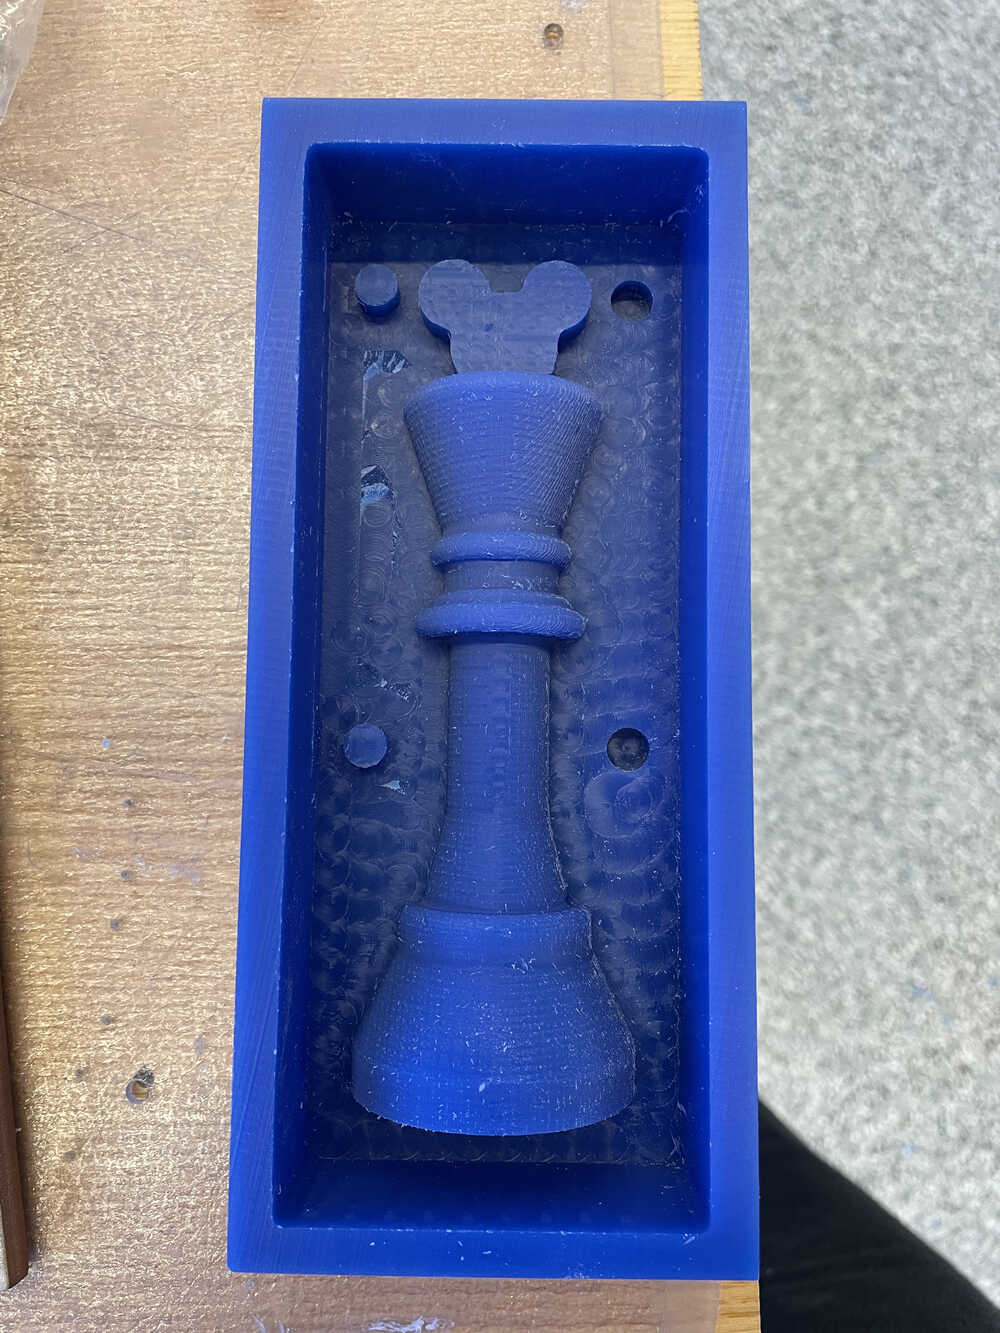
So we added a drill operation for the holes, and a contour, parallel, and pencil operation with the 1/8"
end mill to smooth out the surfaces of the piece. Then we milled my mold in wax using the ShopBot
in the EDS!
Adaptive Clearing Pass
Parallel Pass
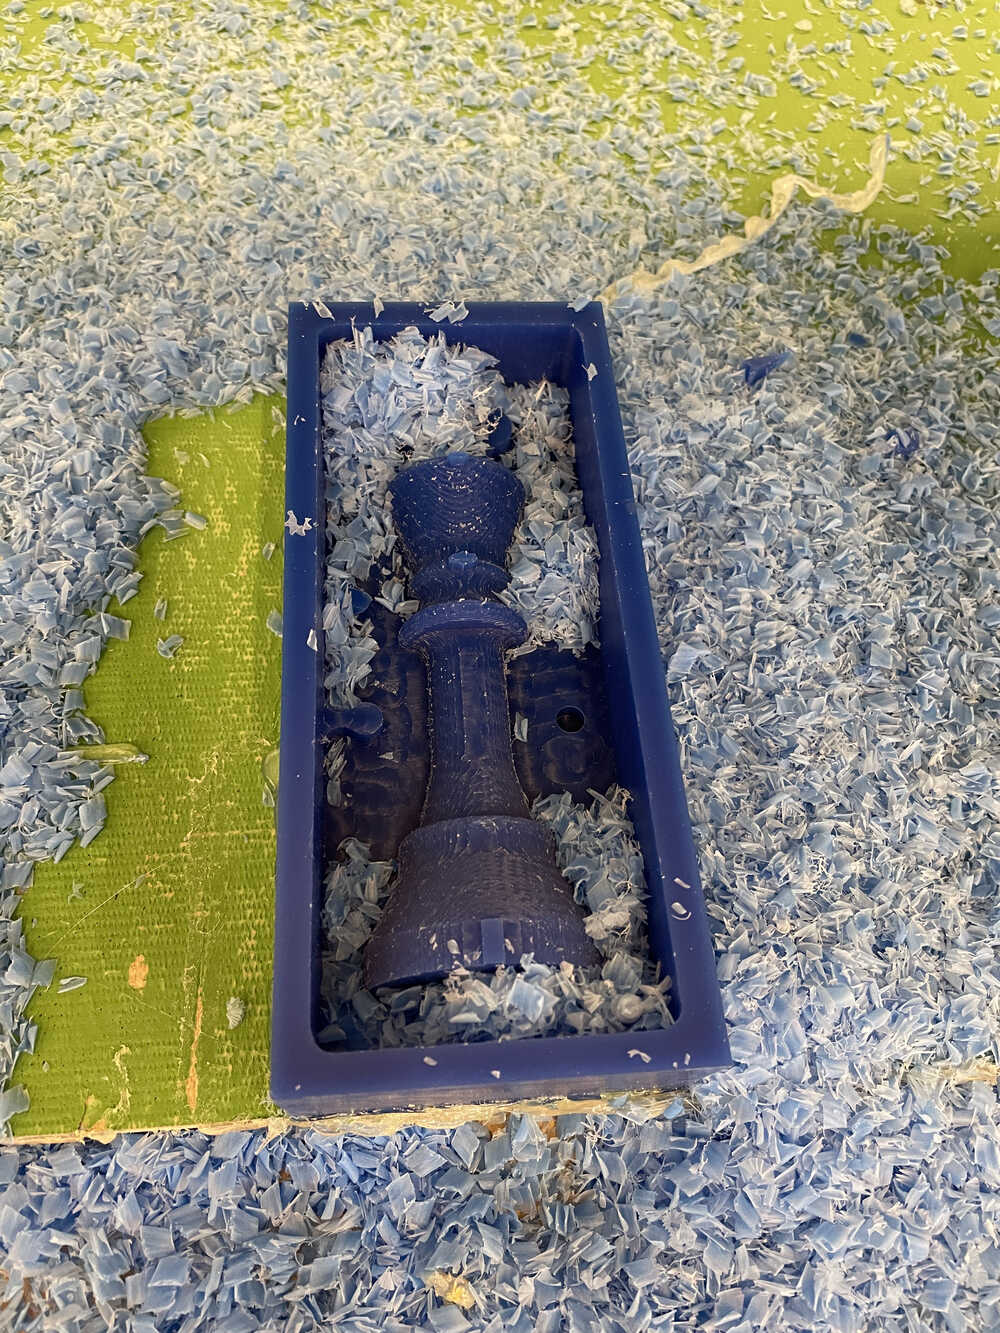
The left pic shows the mold after just the adaptive clearing and drill passes. Good thing we added the extra CAM,
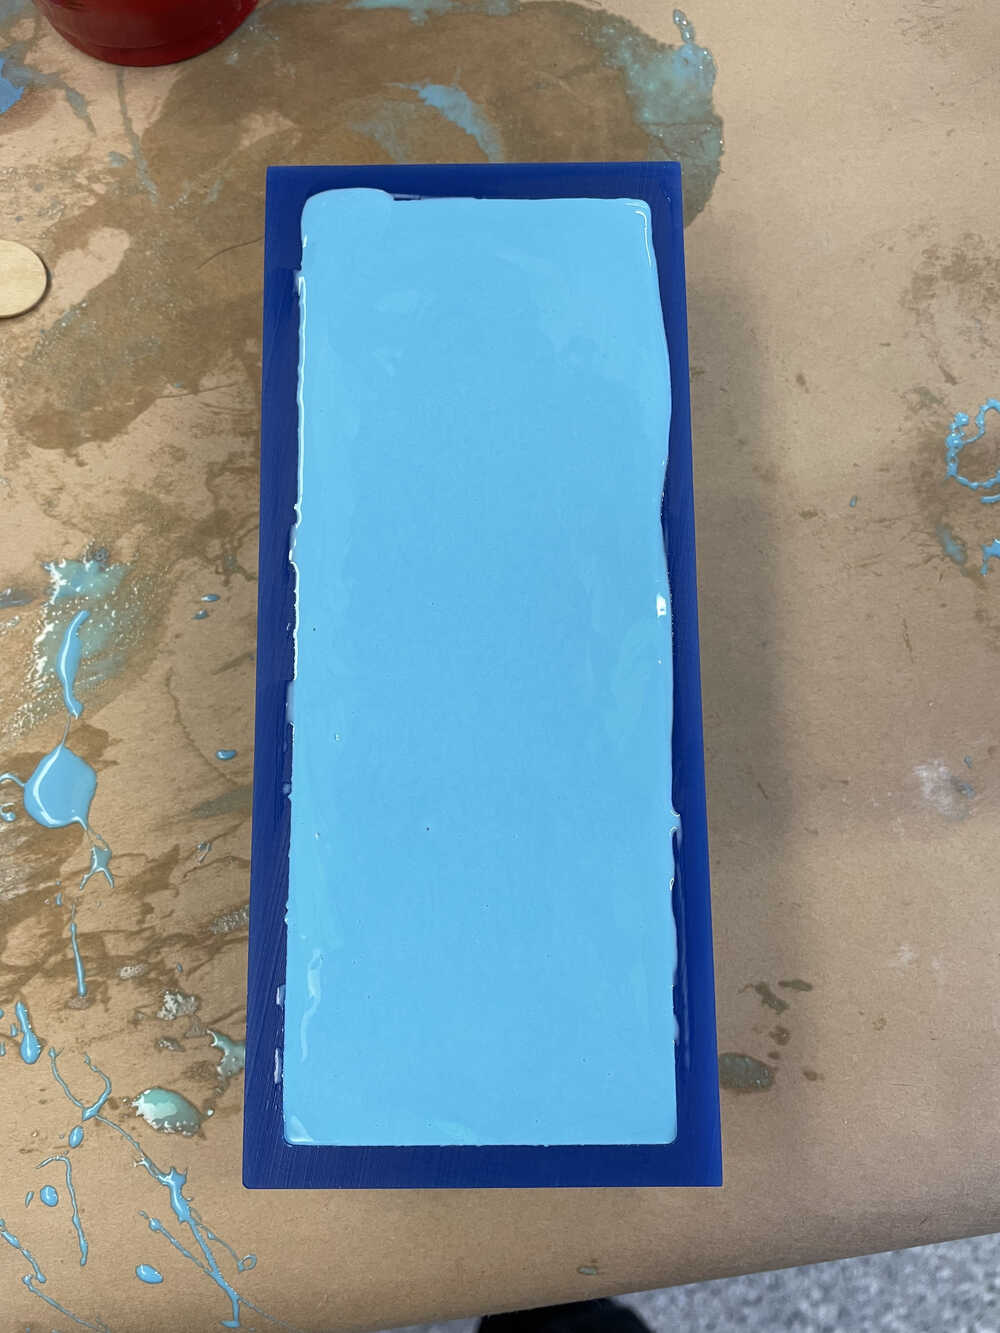
otherwise my piece would've been very ugly! Next, I filled my wax mold with Oomoo twice to get two molds,
one for each half of the chess piece. I waited ~3 hours for the Oomoo to set for each mold.
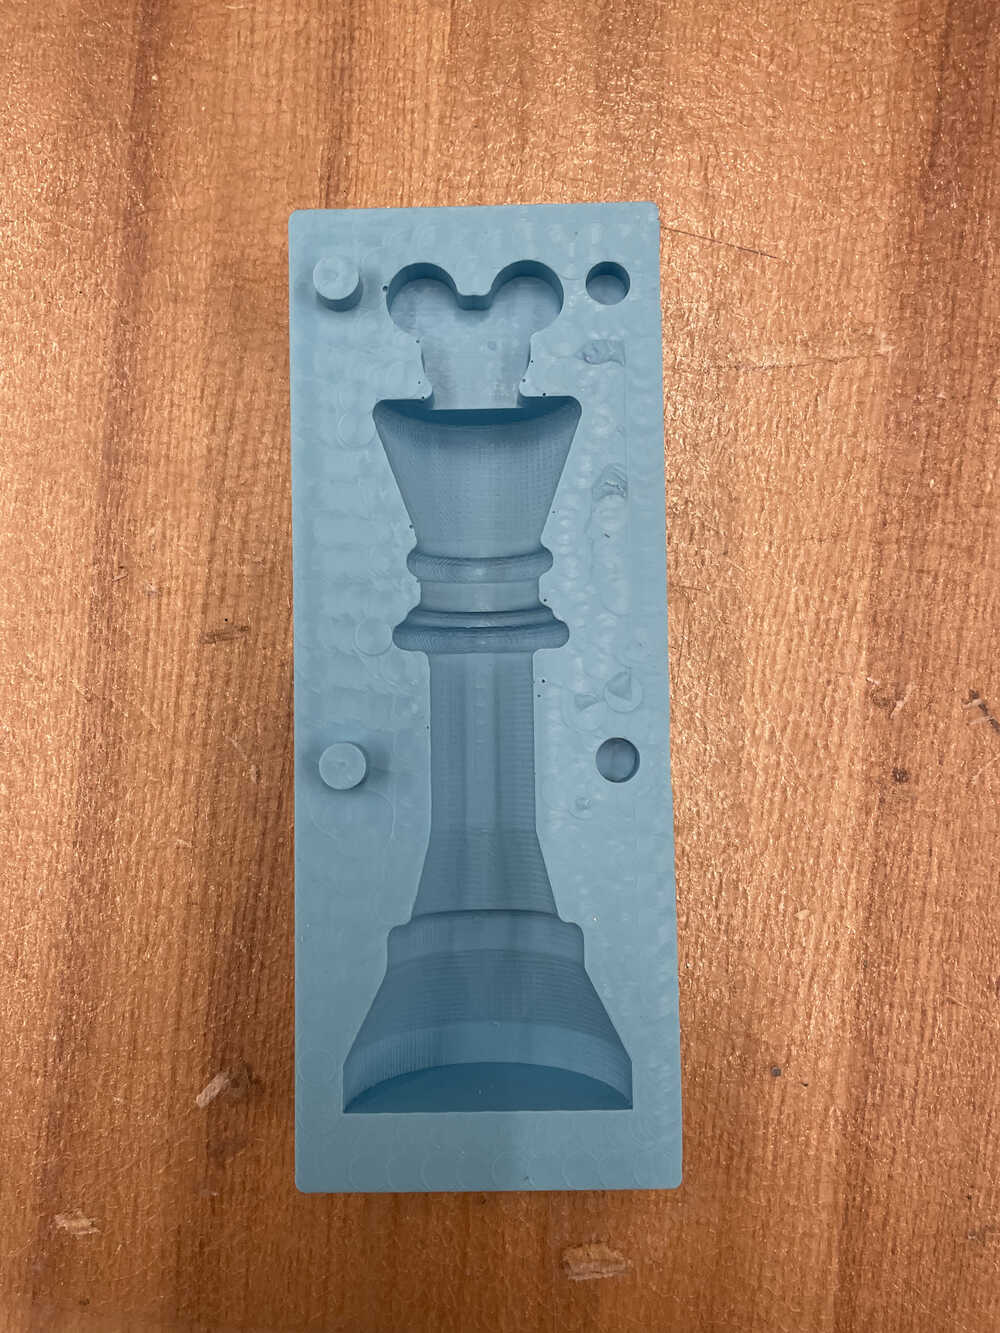
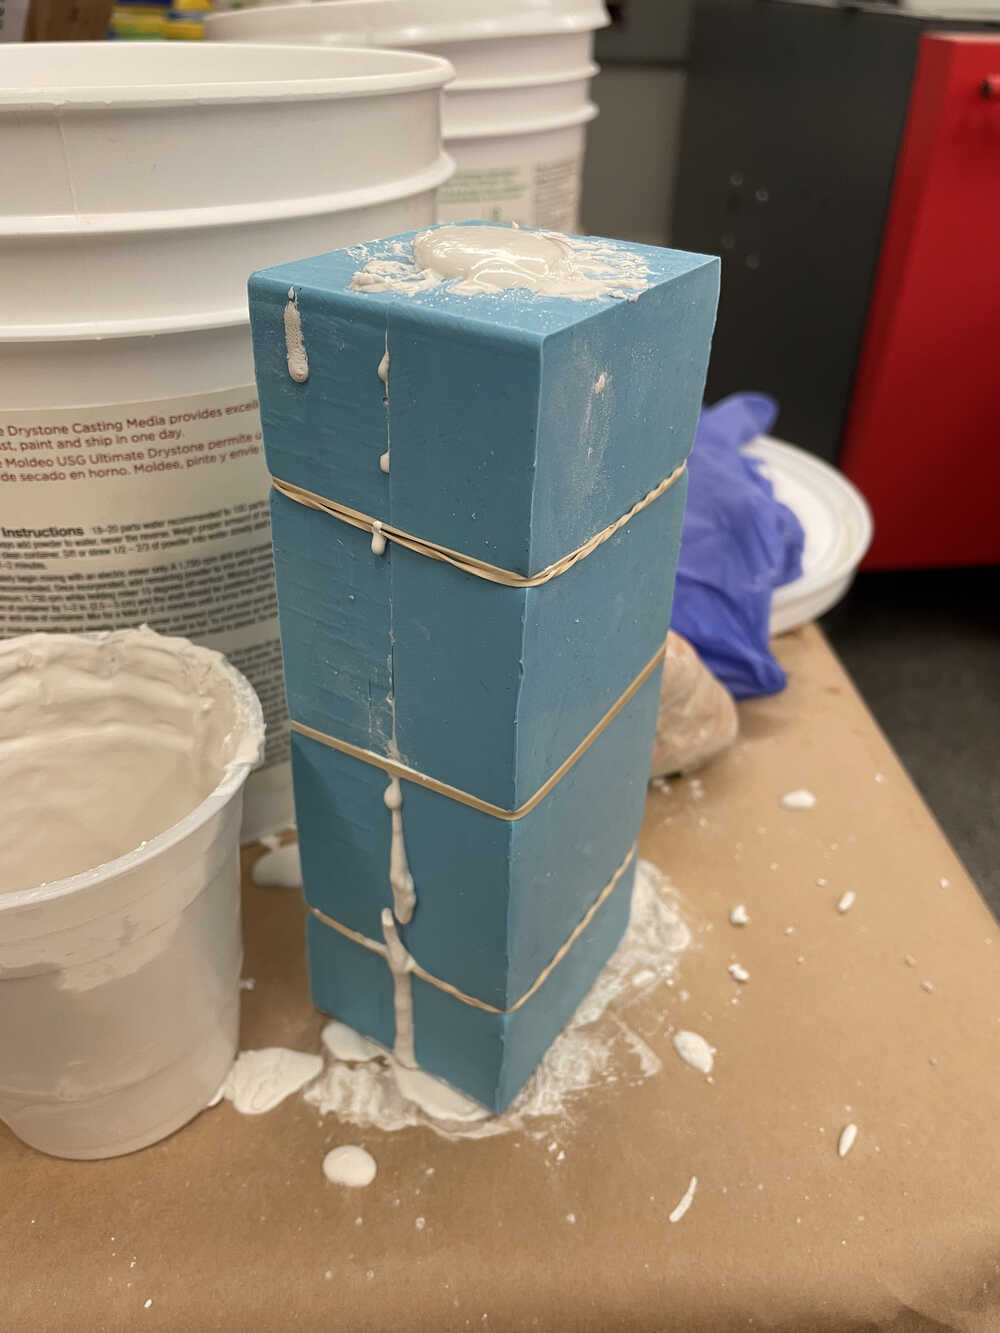
I then attached the Oomoo molds together, cut a hole at the top so I could pour Drystone in it, and added rubber
bands for extra stability. I mixed Drystone with water in a 1:5 ratio of water:drystone (it's important to pour
Drystone into water and not the other way around!) and poured it into the
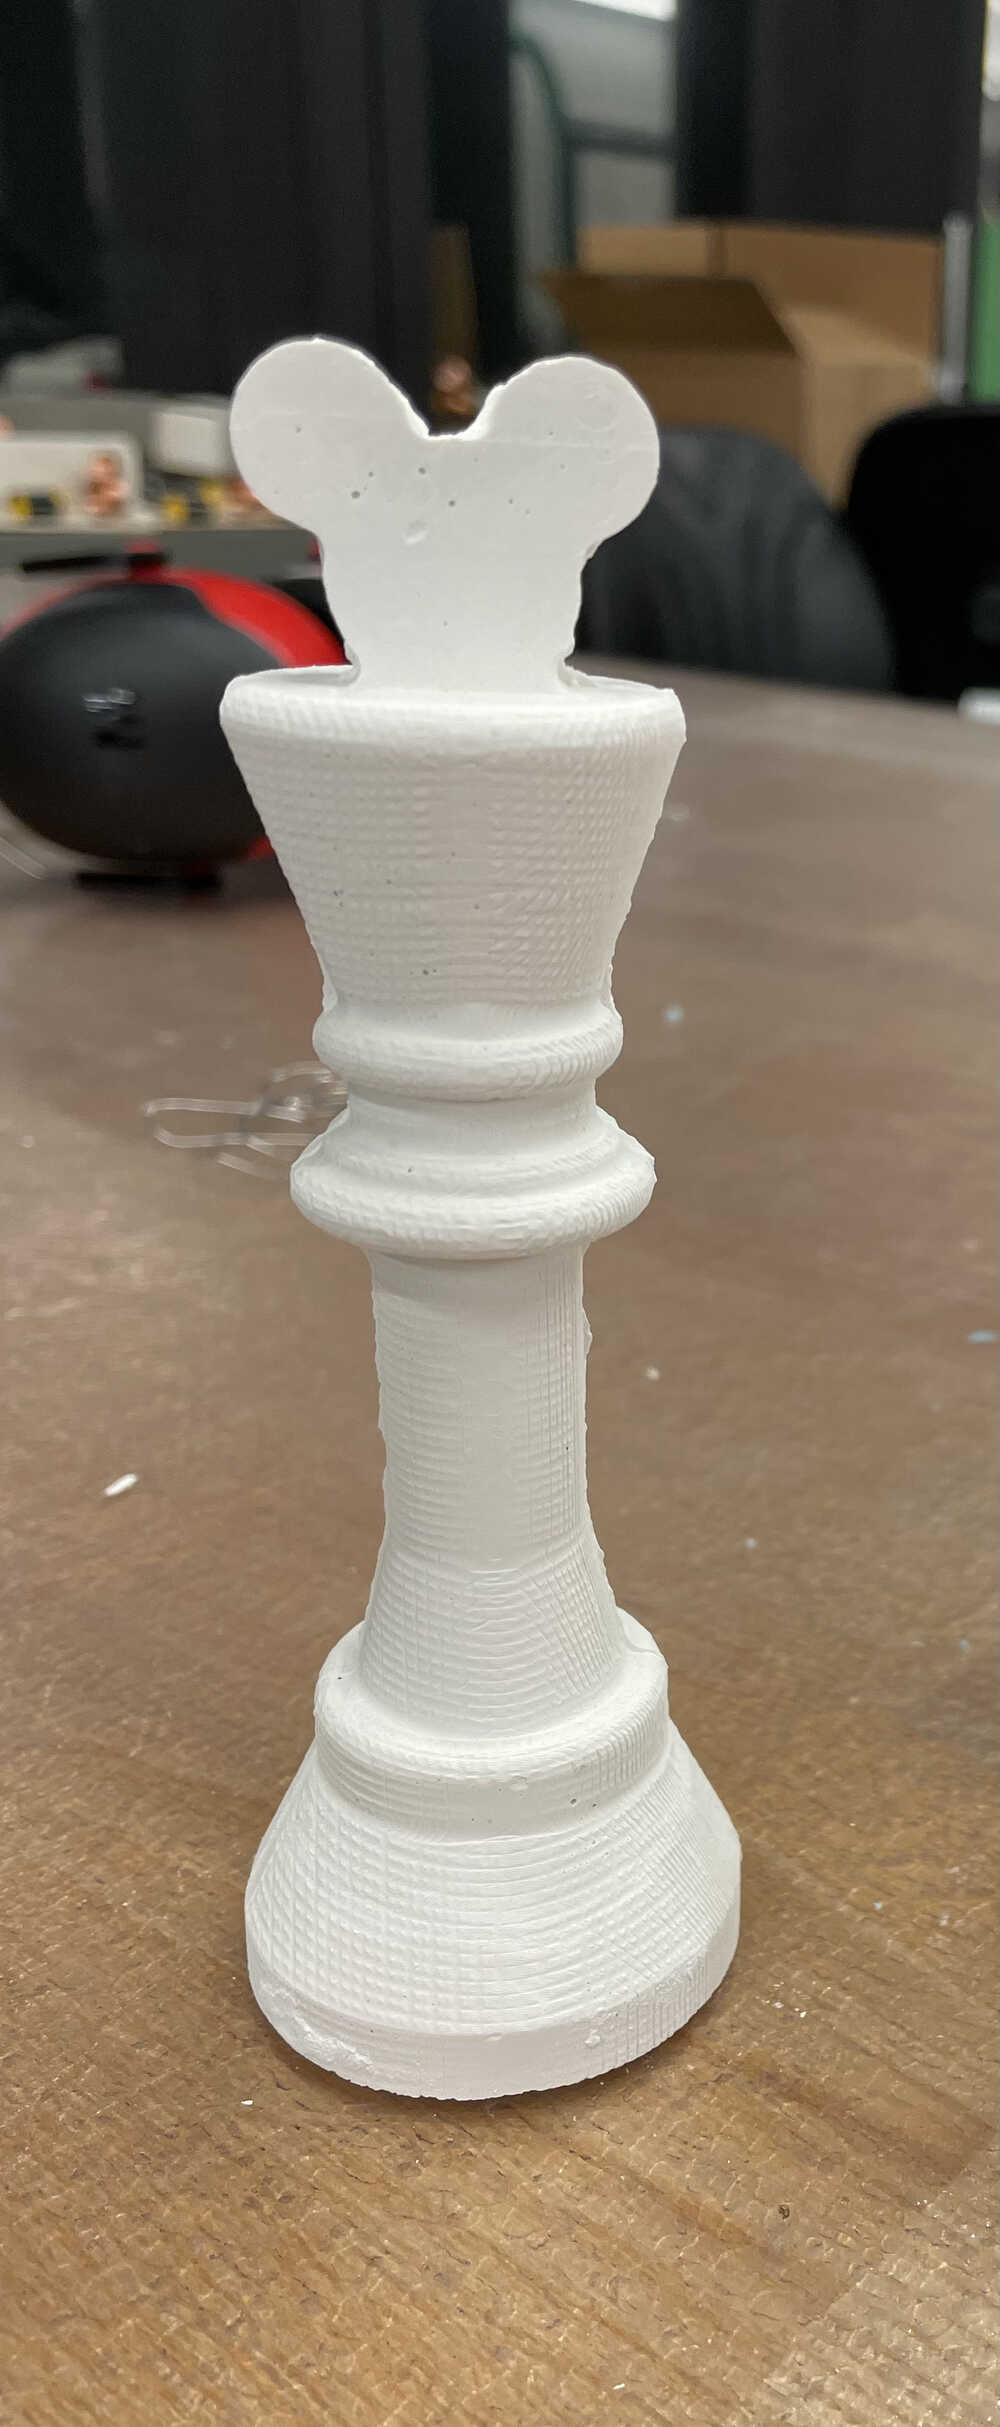
mold to cast my part. I cut the hole too small so it took forever to shove the Drystone in there. After ~30 min, I took
my chess piece out of the mold. There were a lot of random stubs since my molds weren't pressed together fully,
so I cut those off while the Drystone was softer and not fully set.
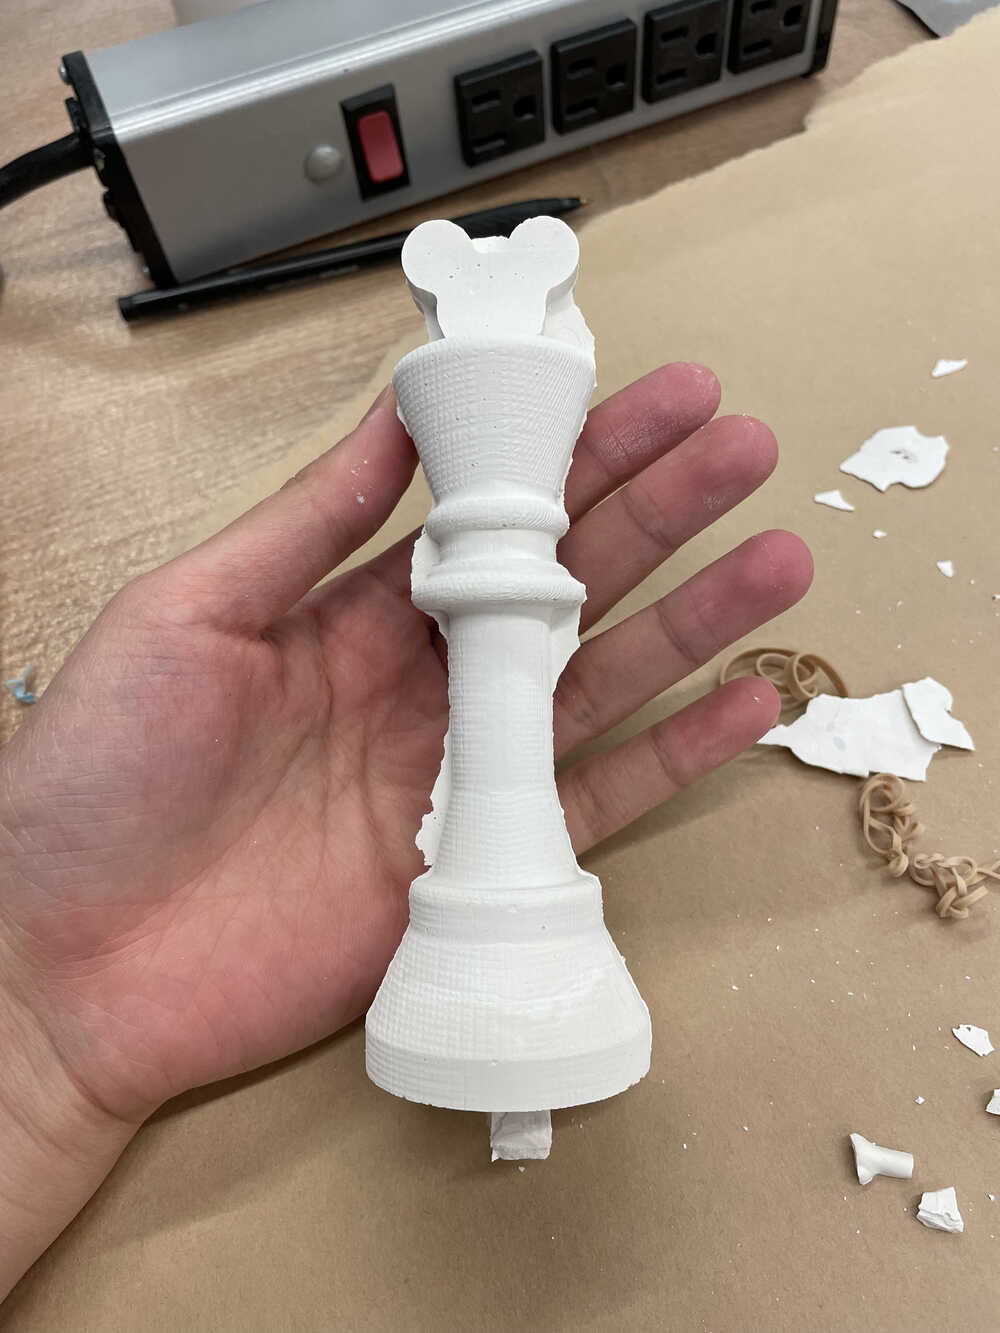
Here is the final product! I think it's pretty cute!