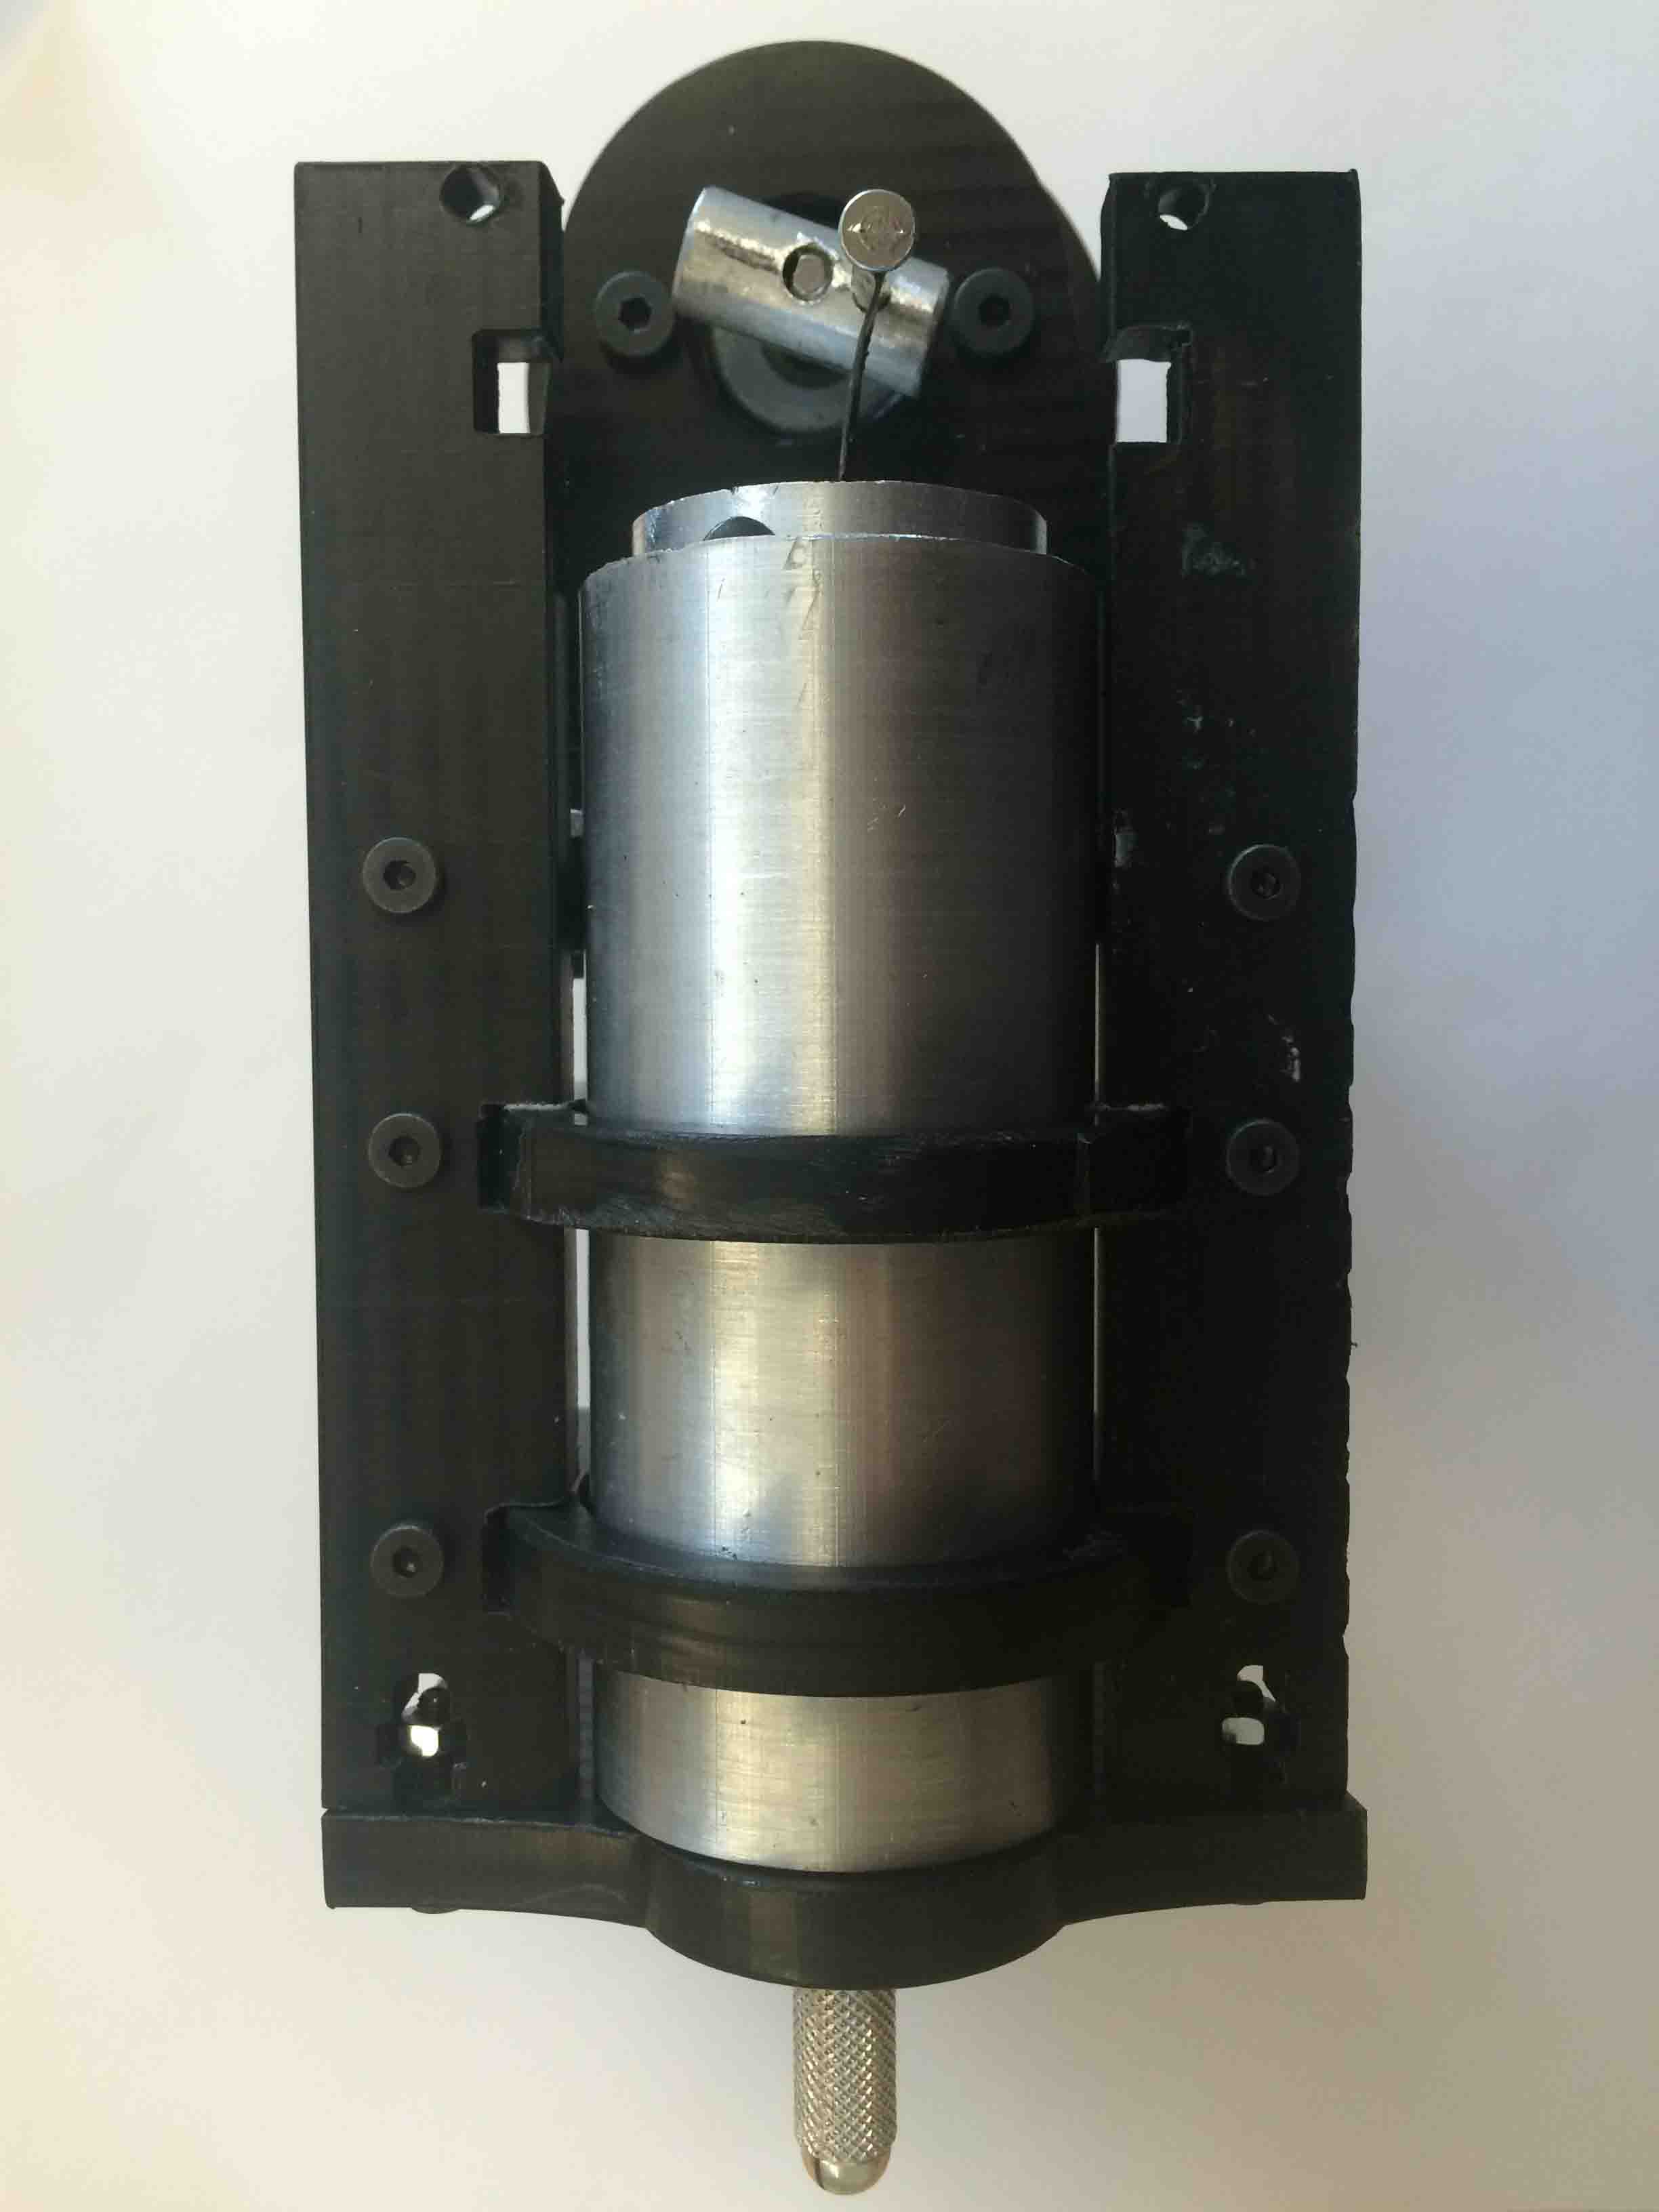
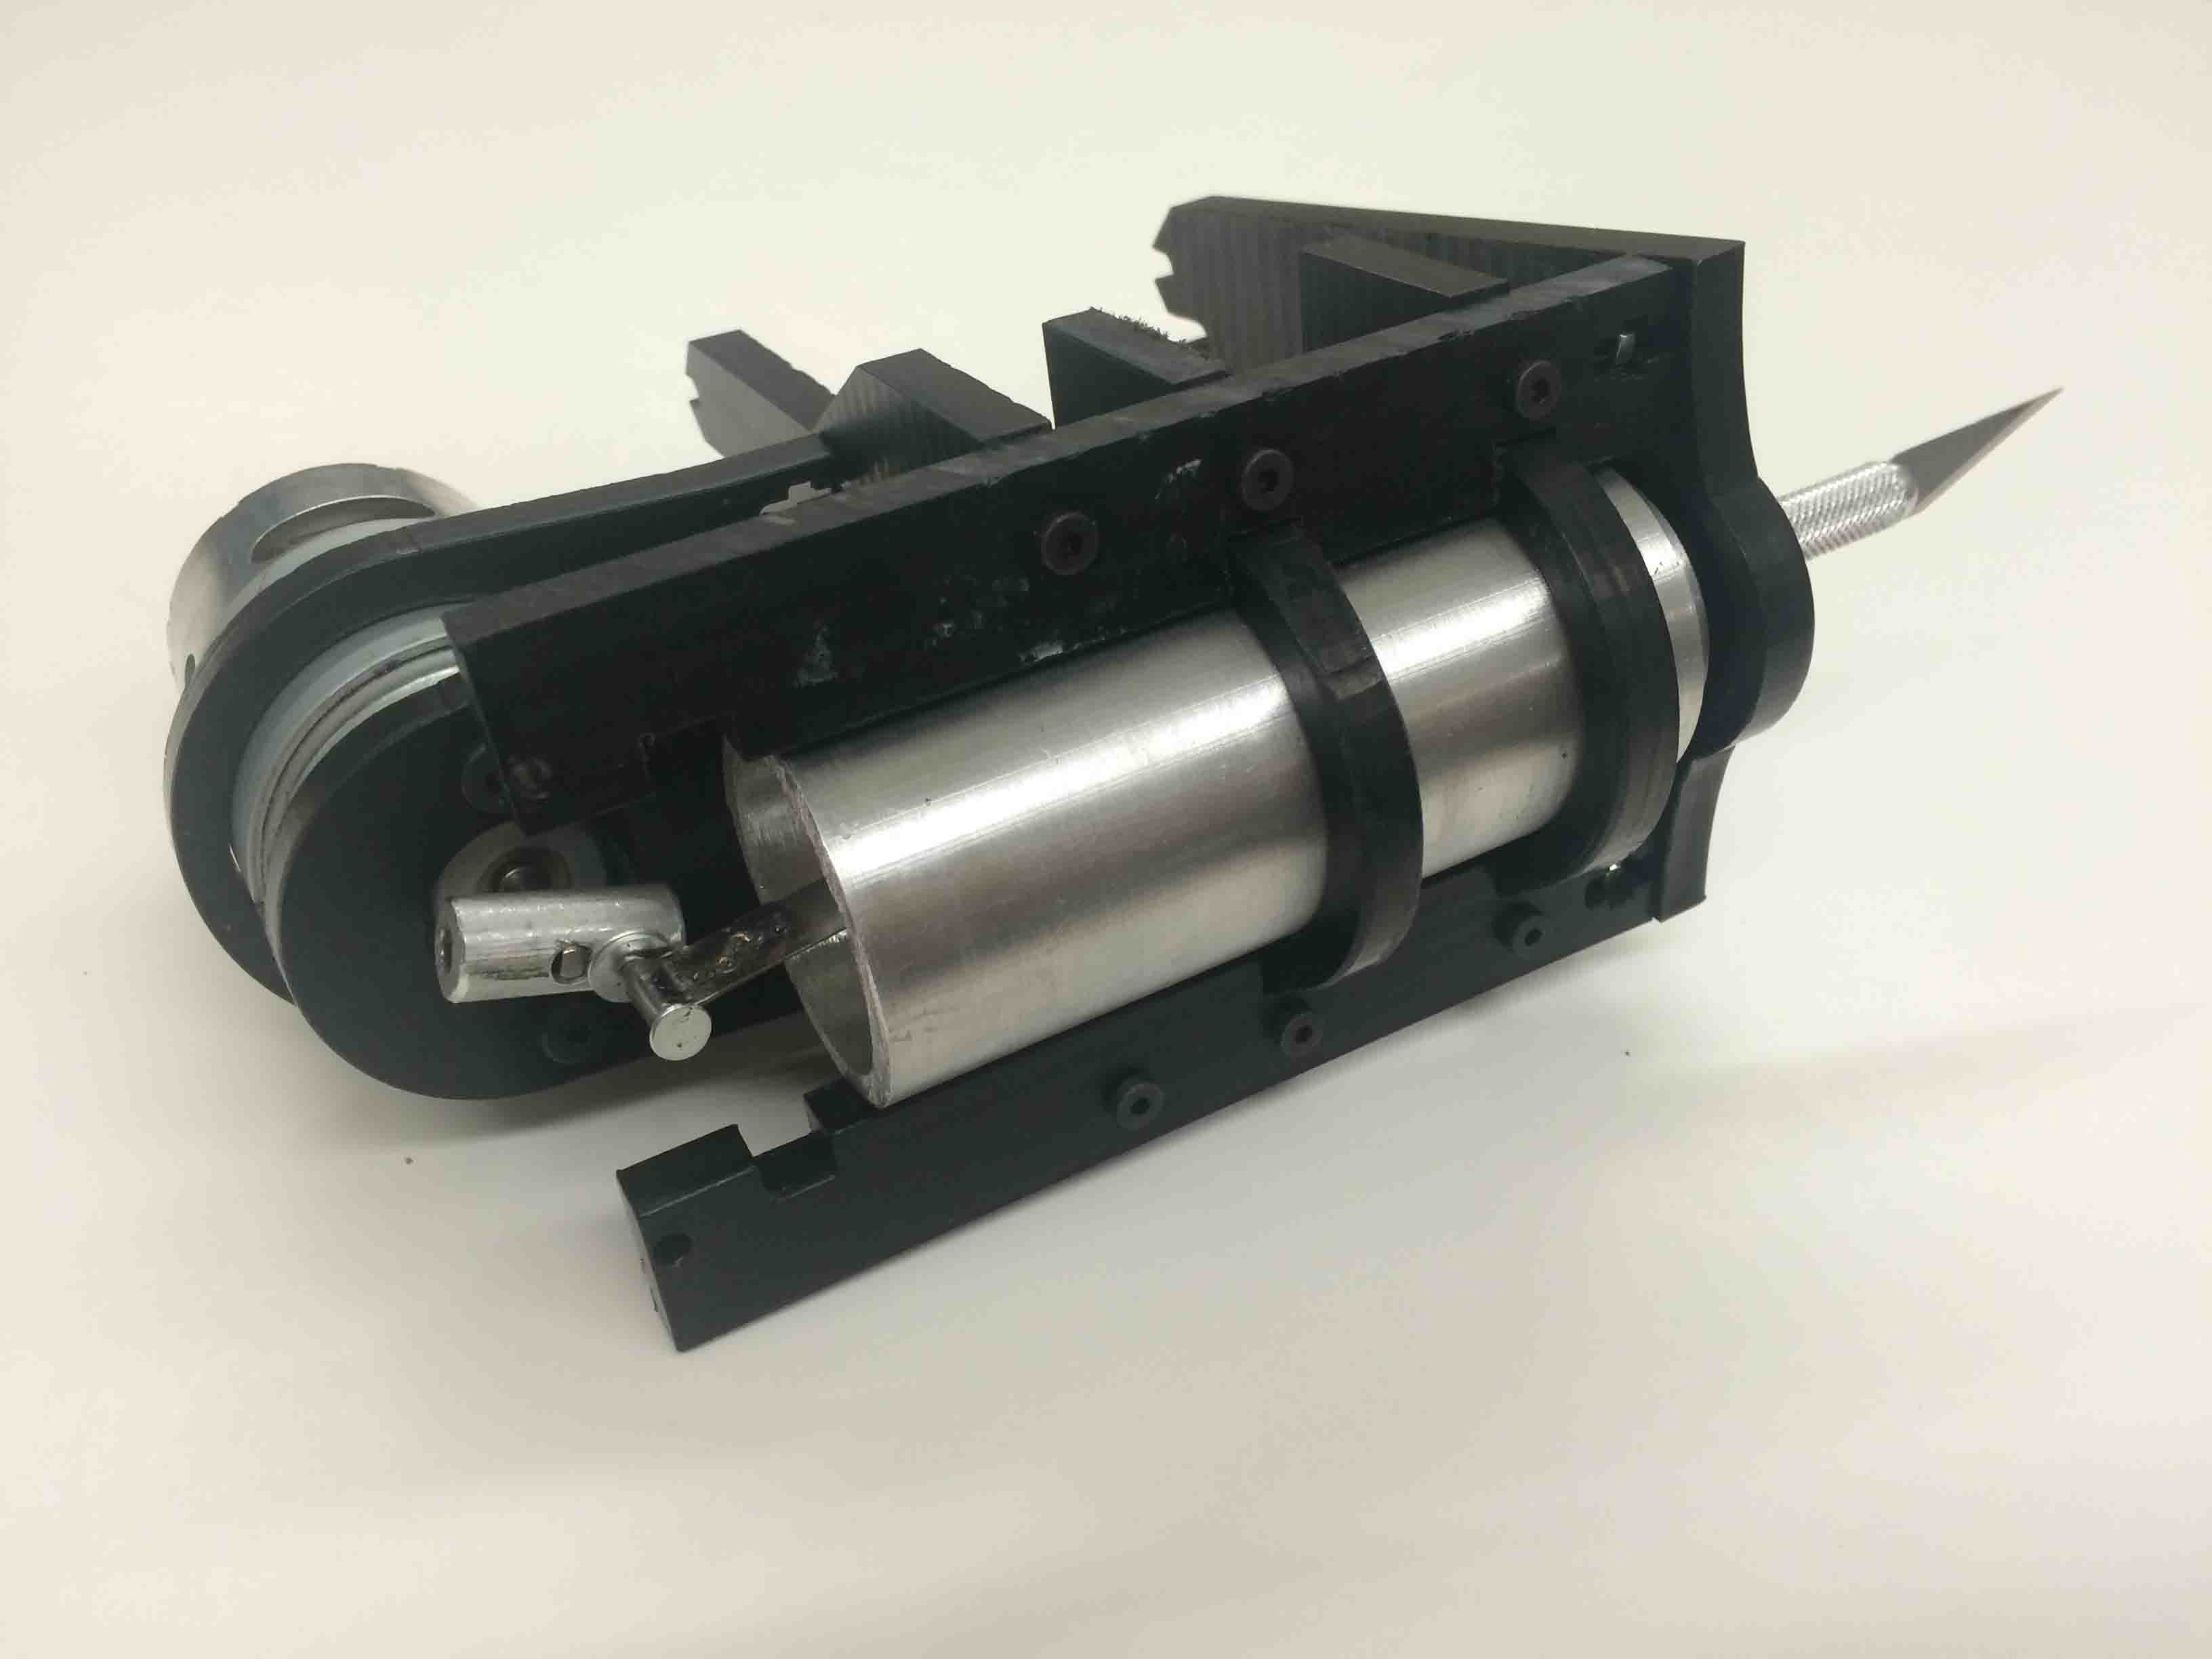
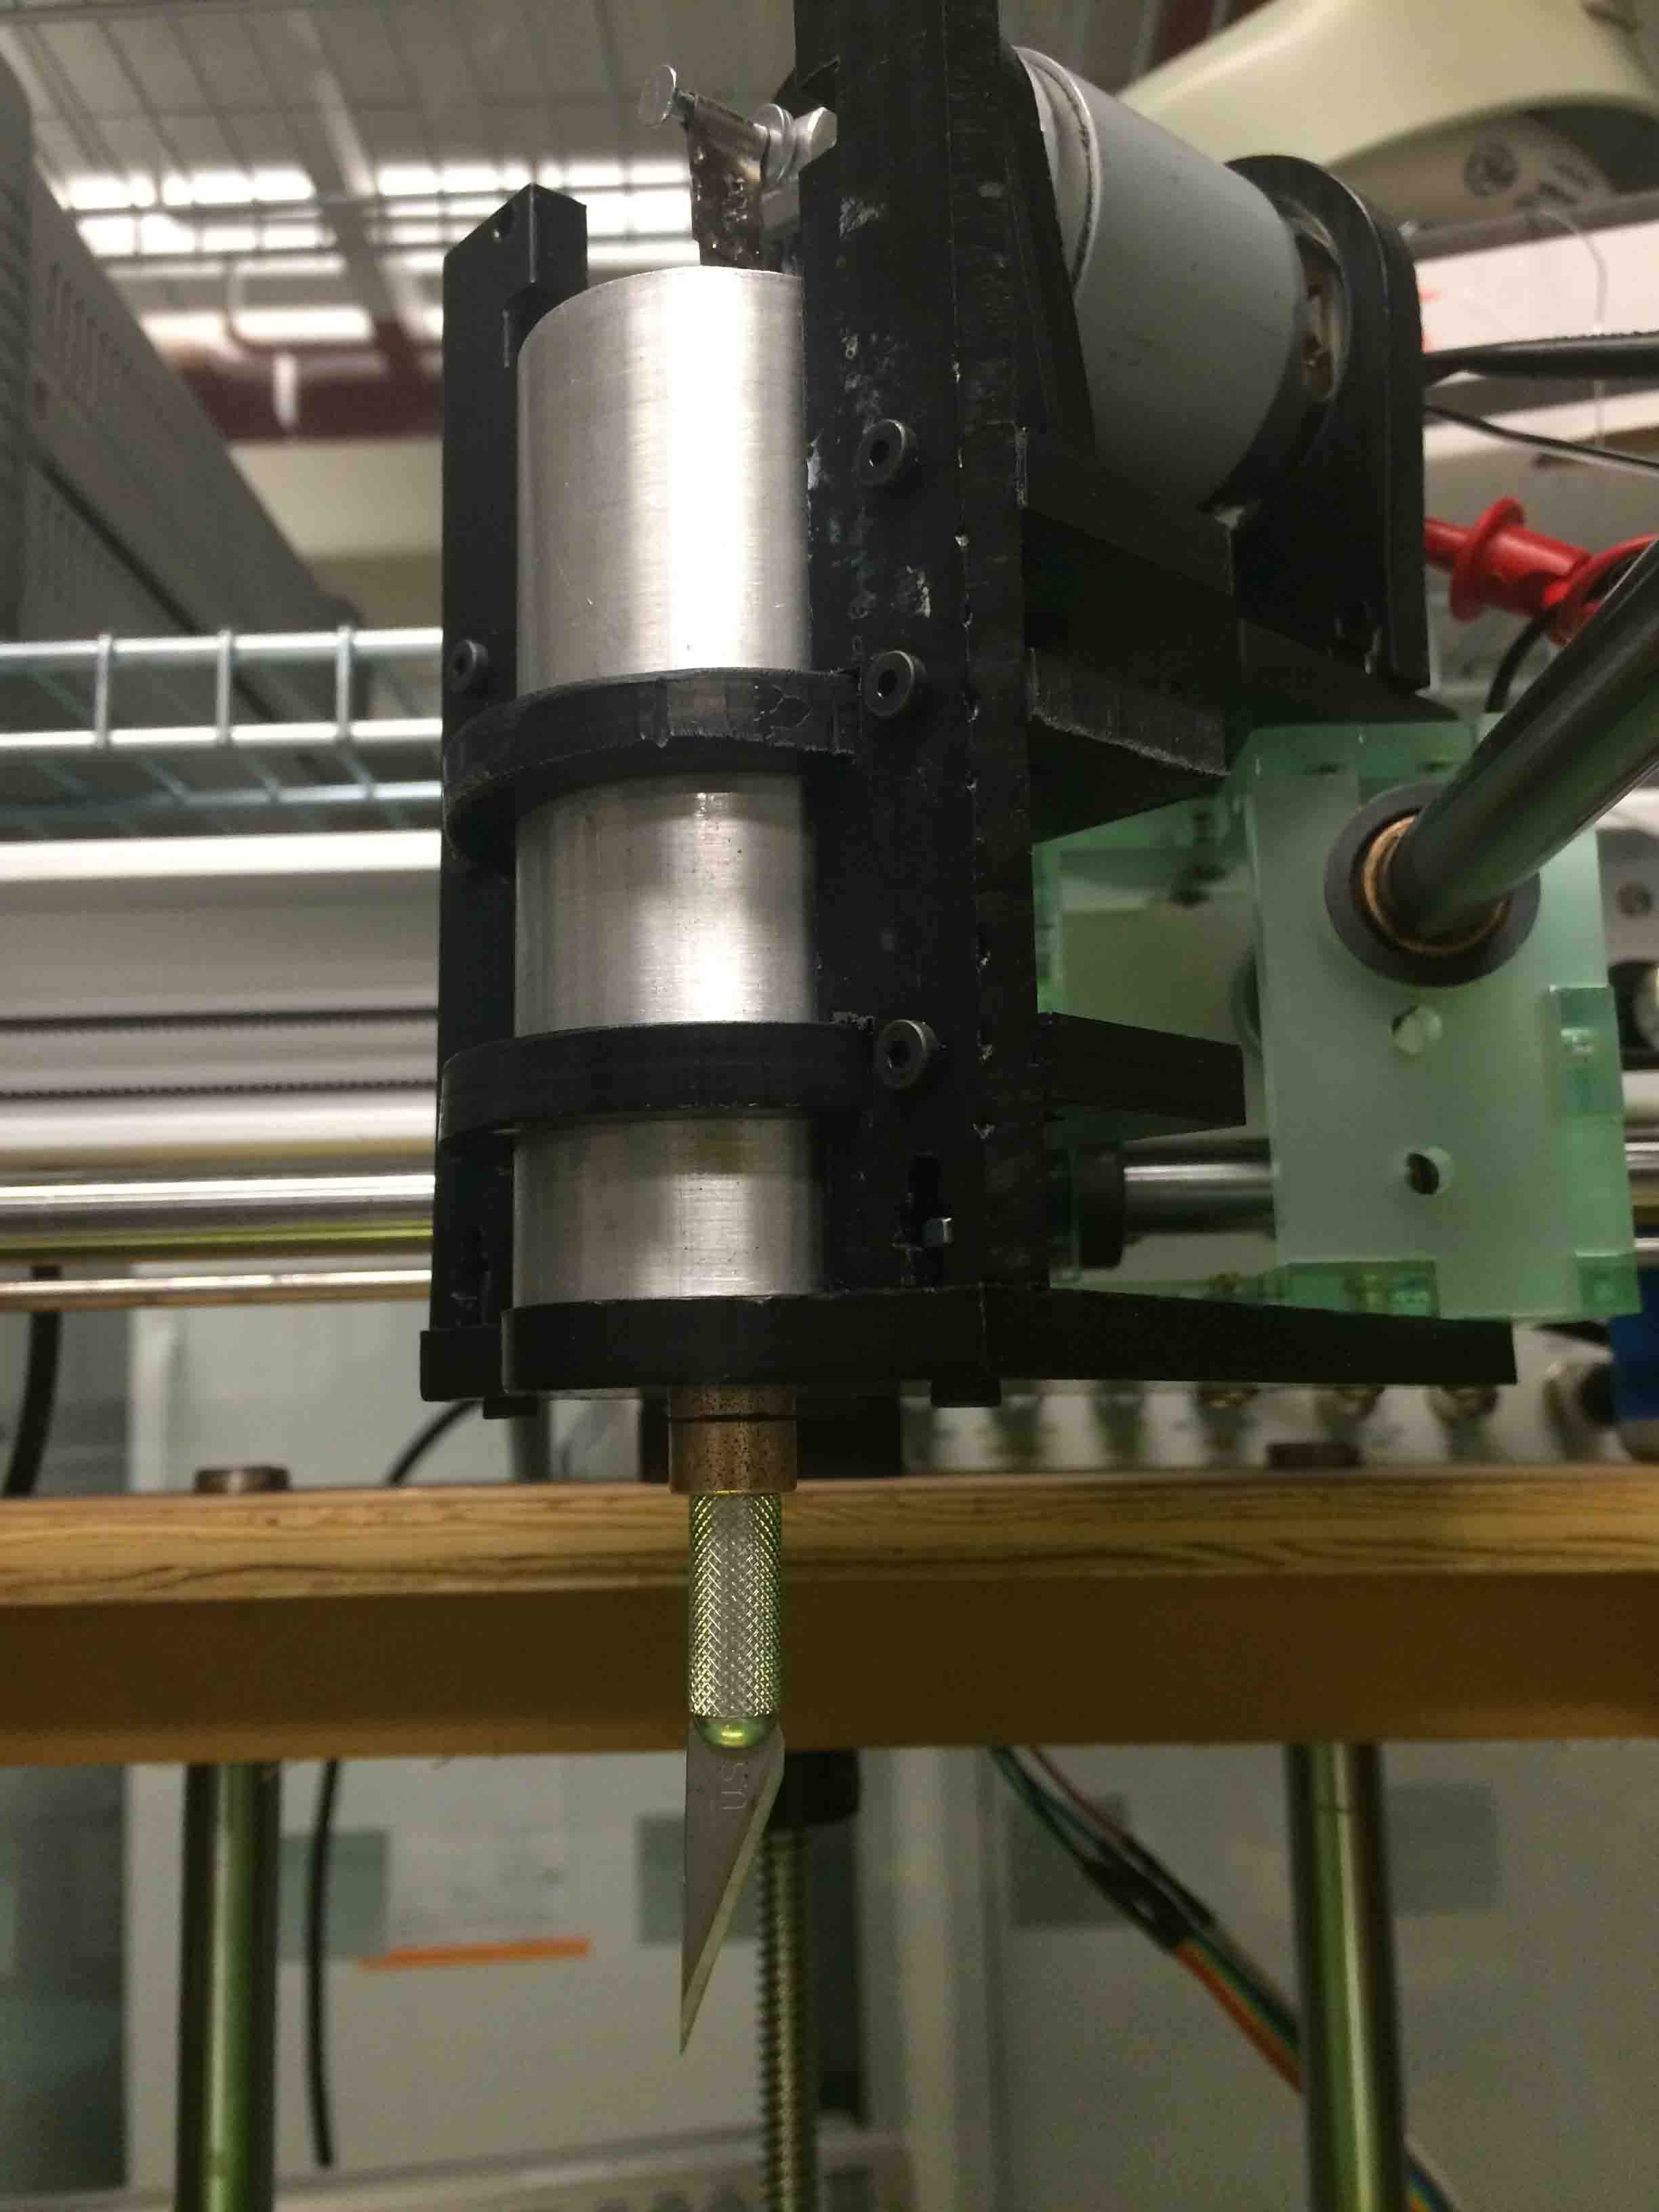
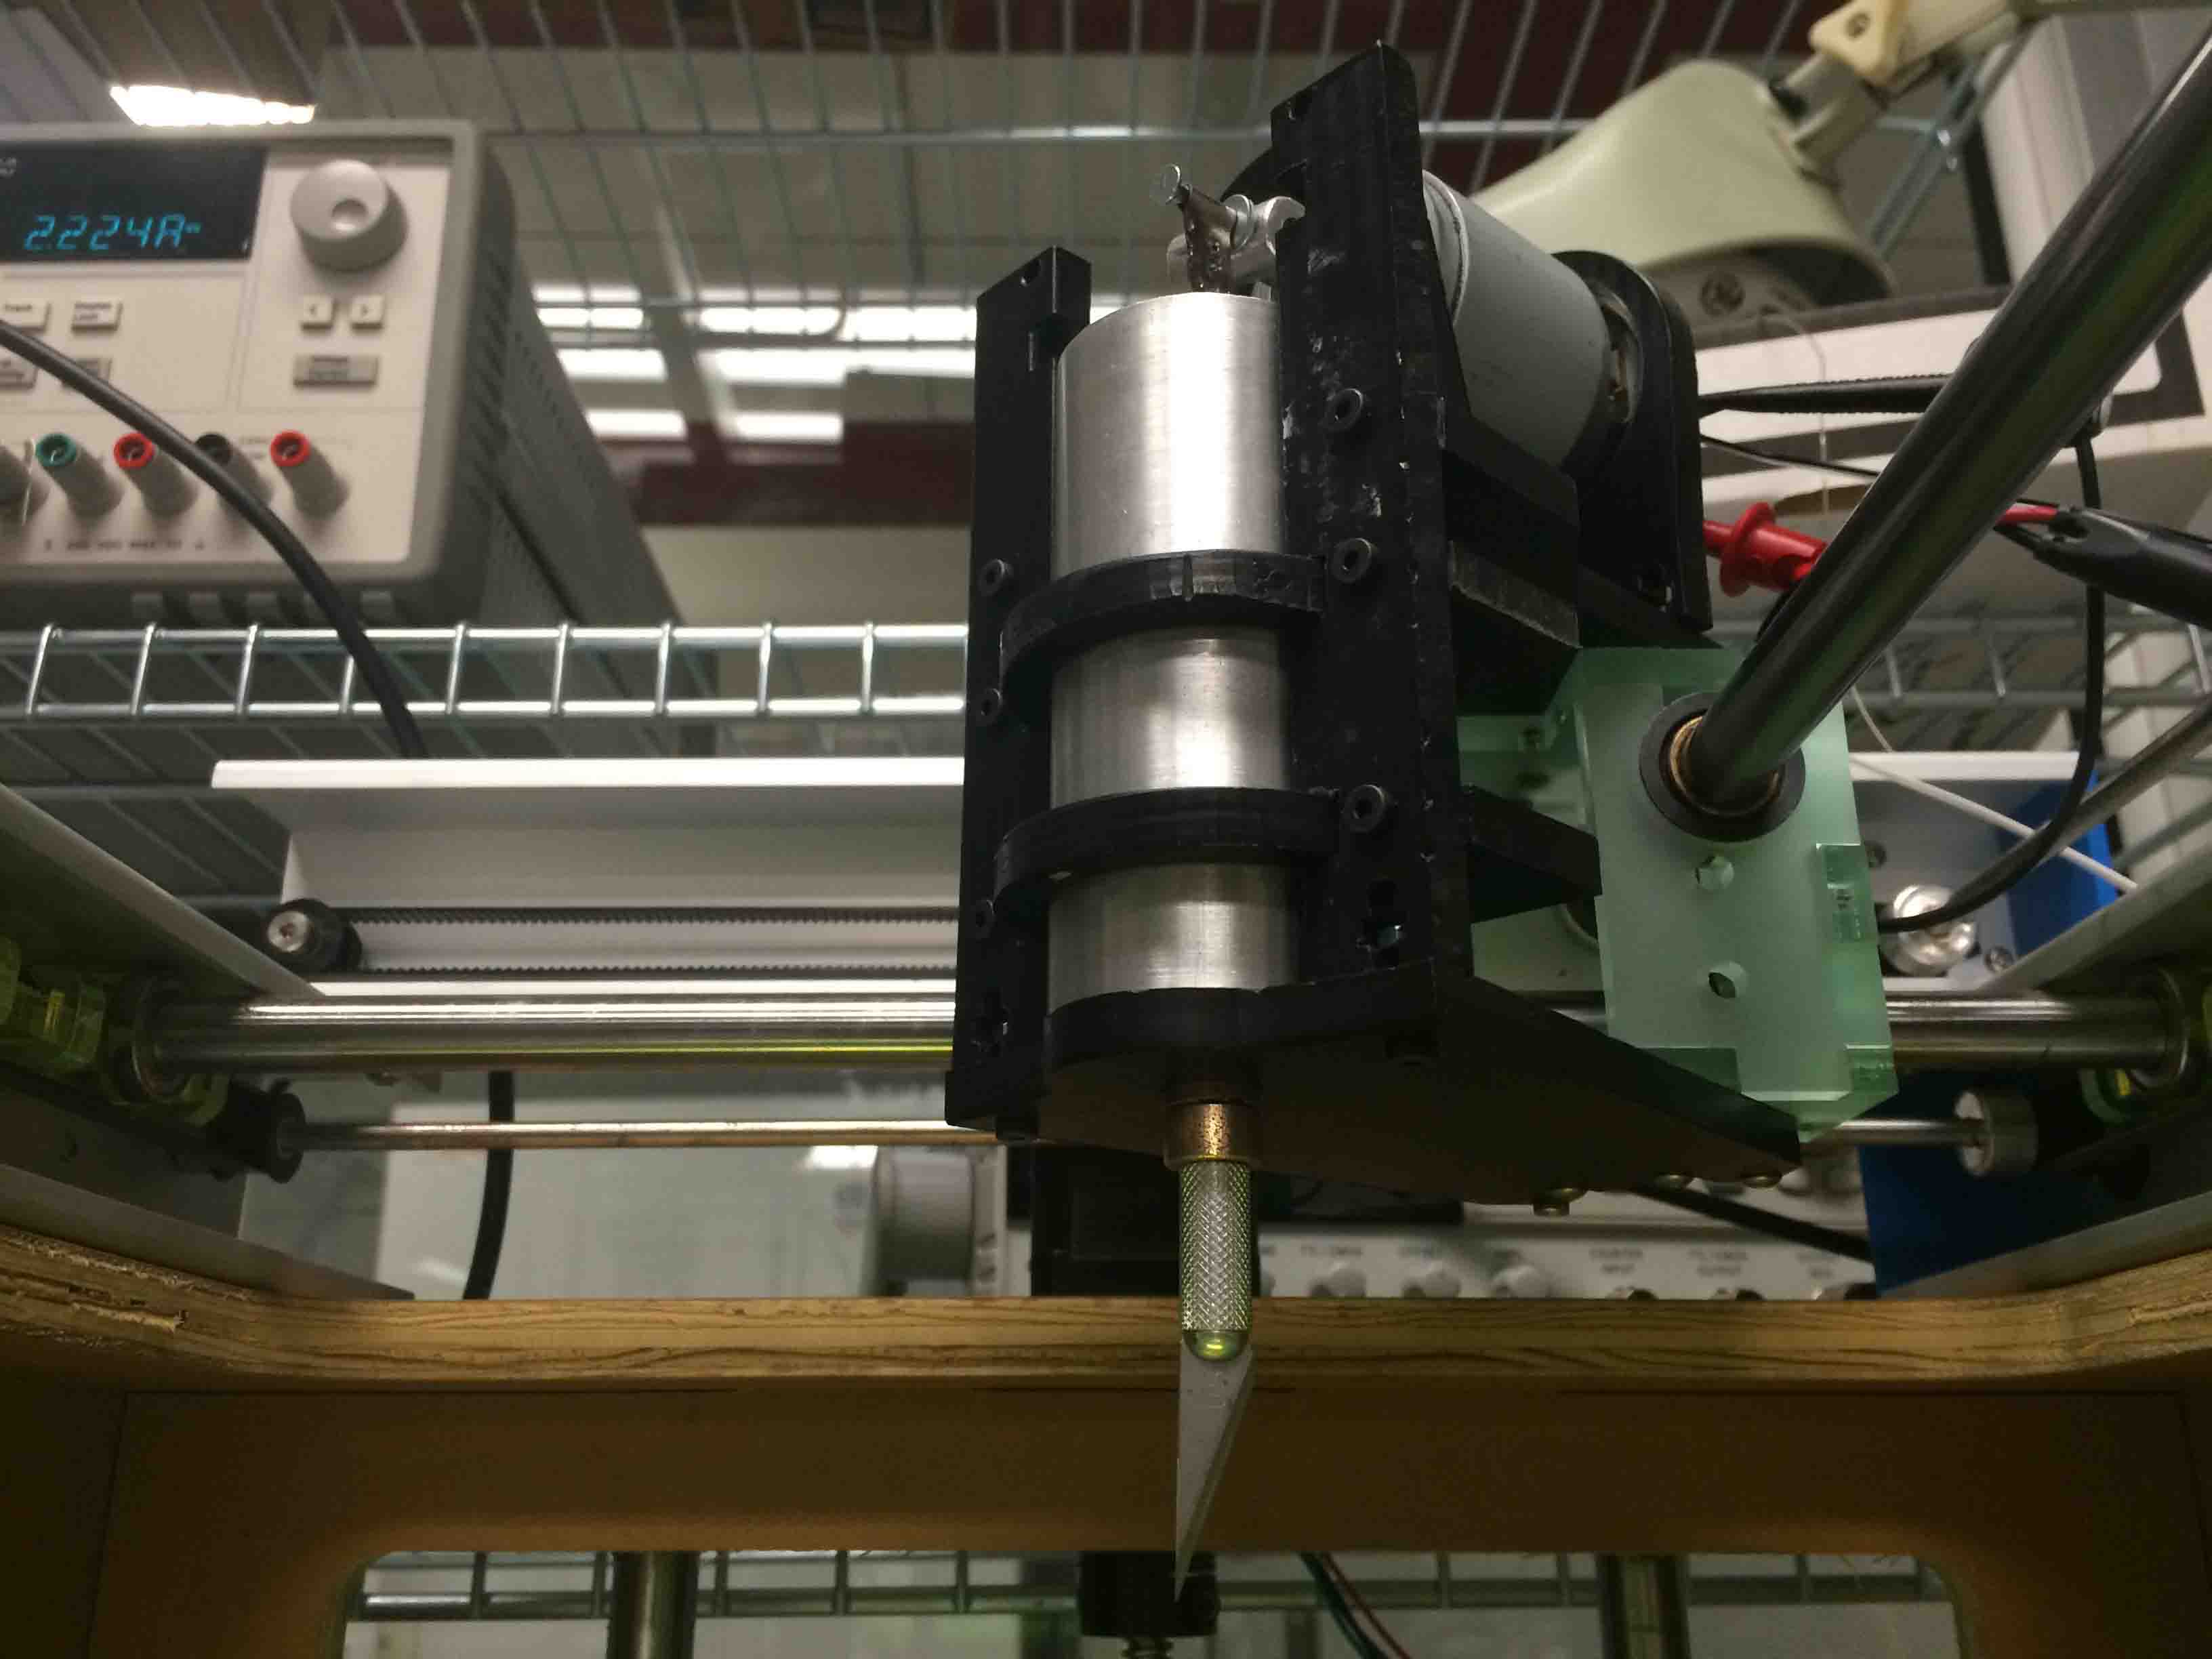
Final Prototype
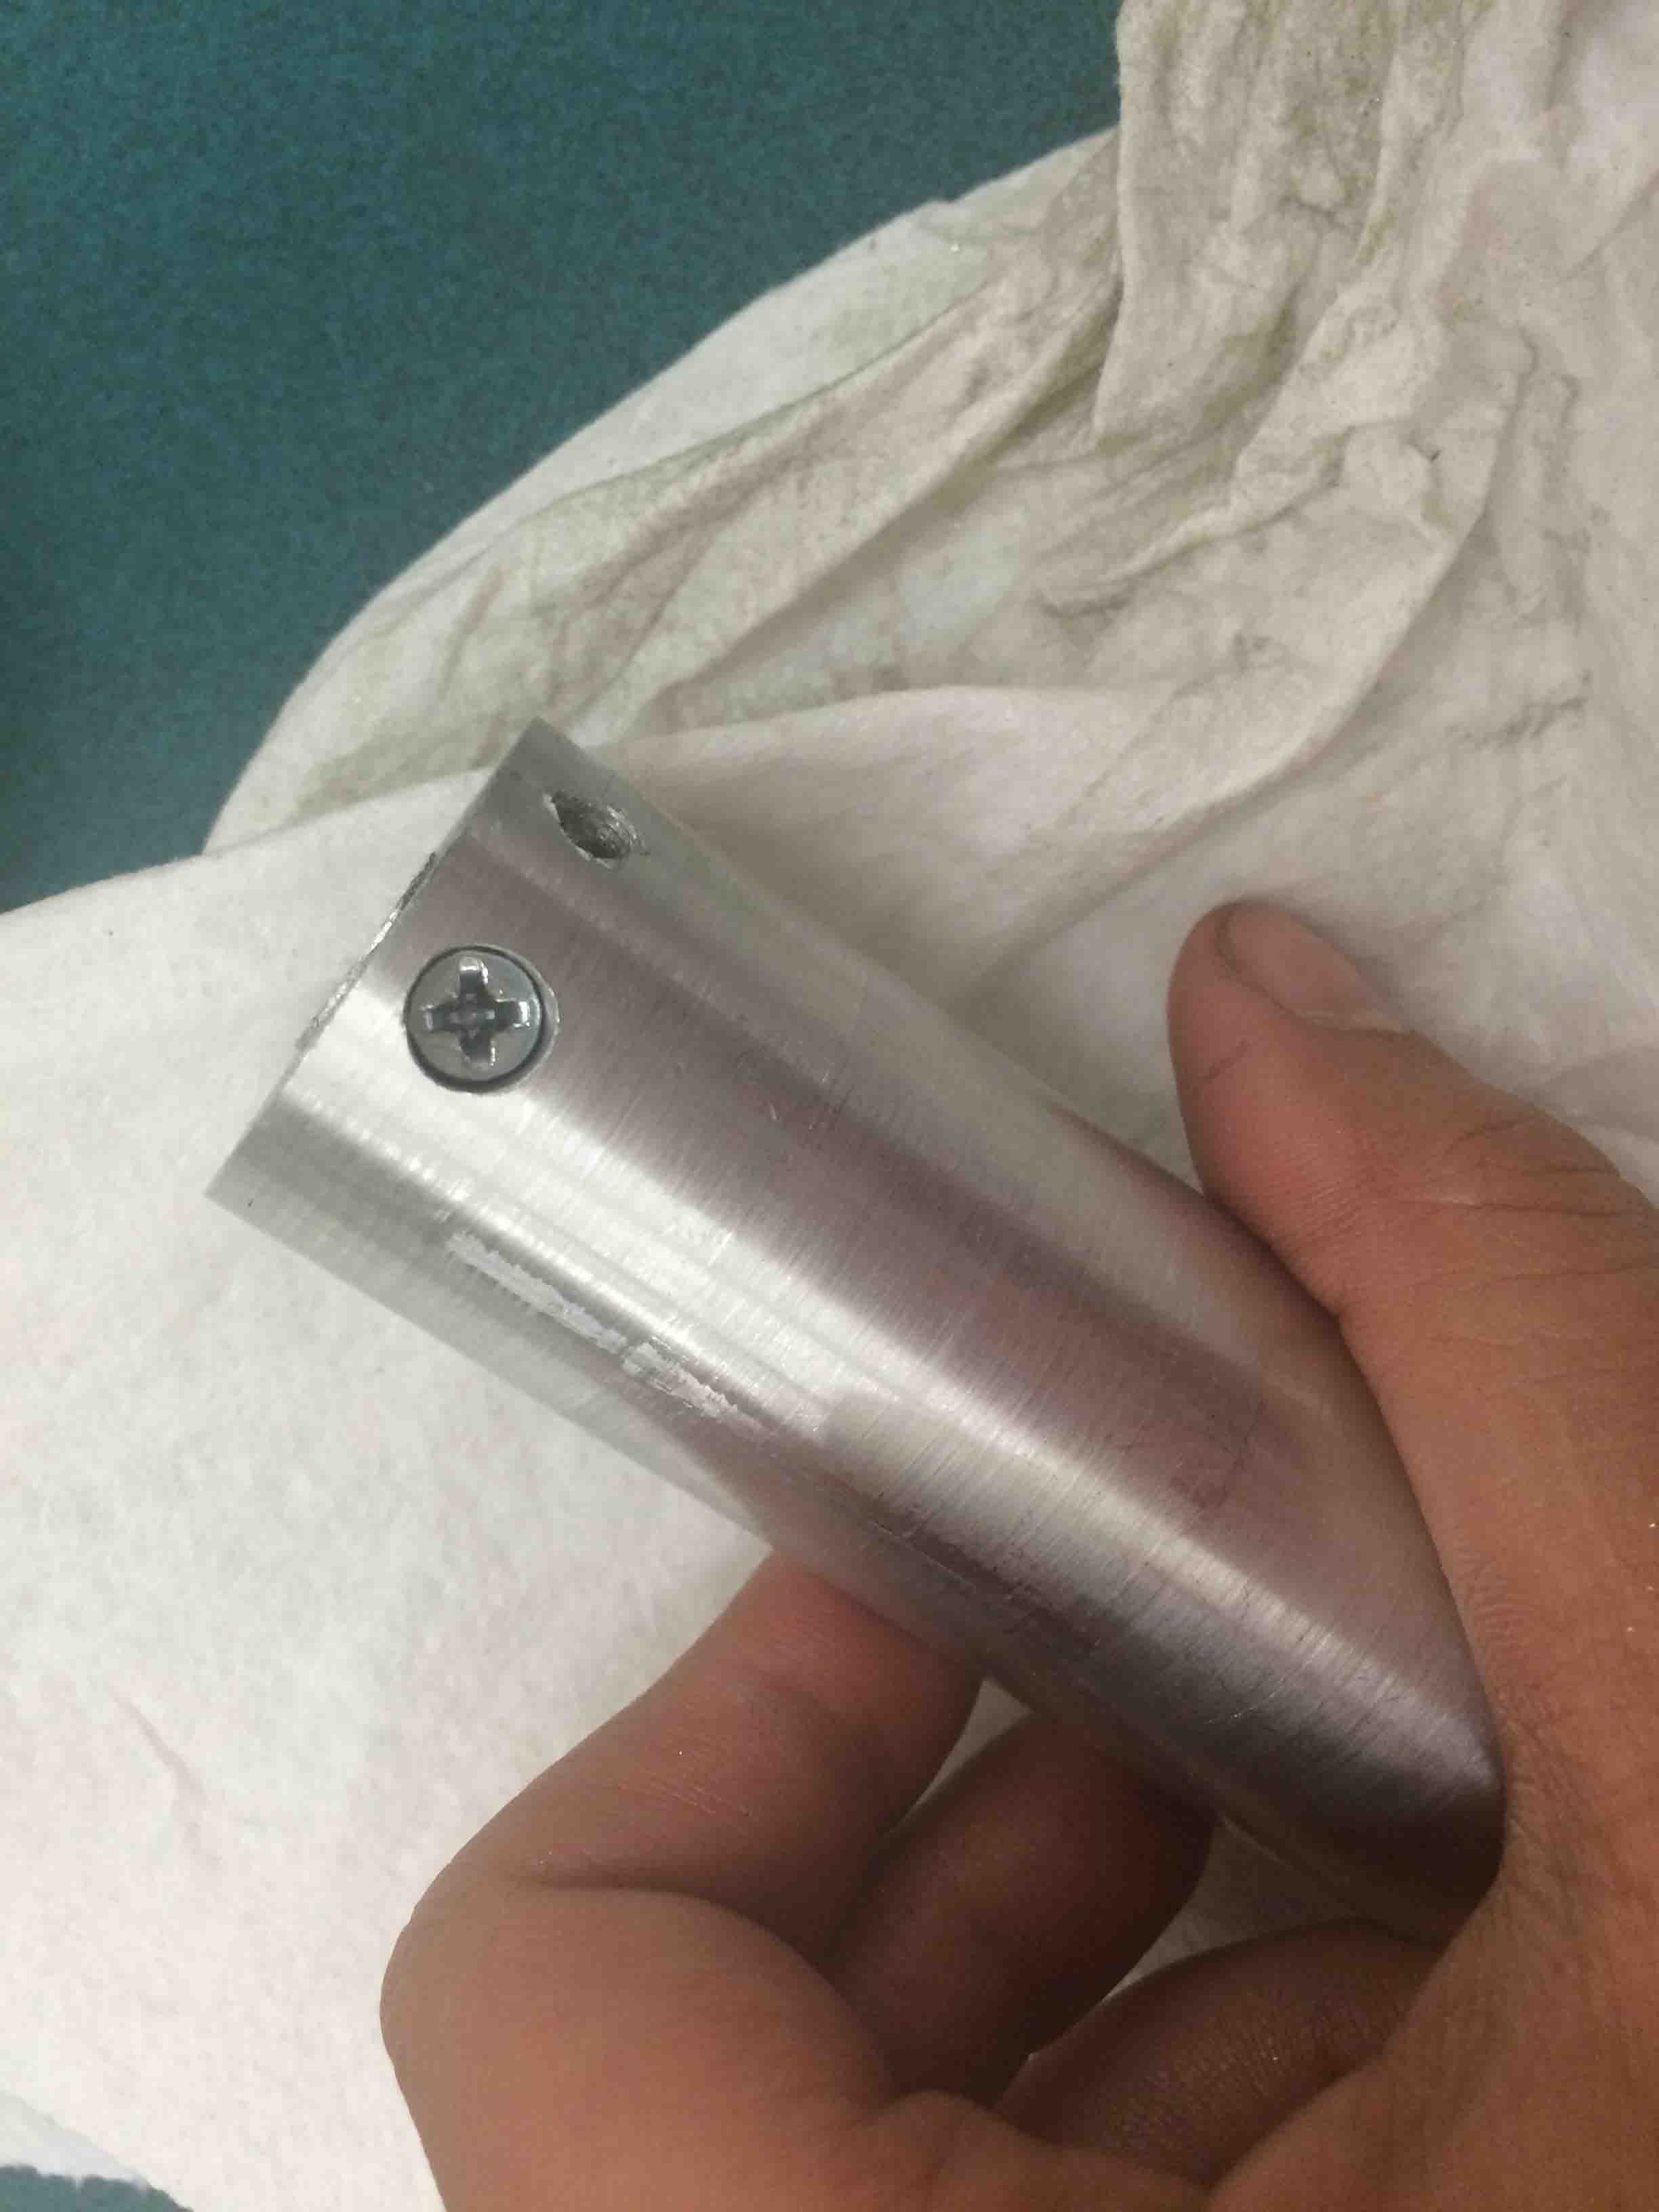
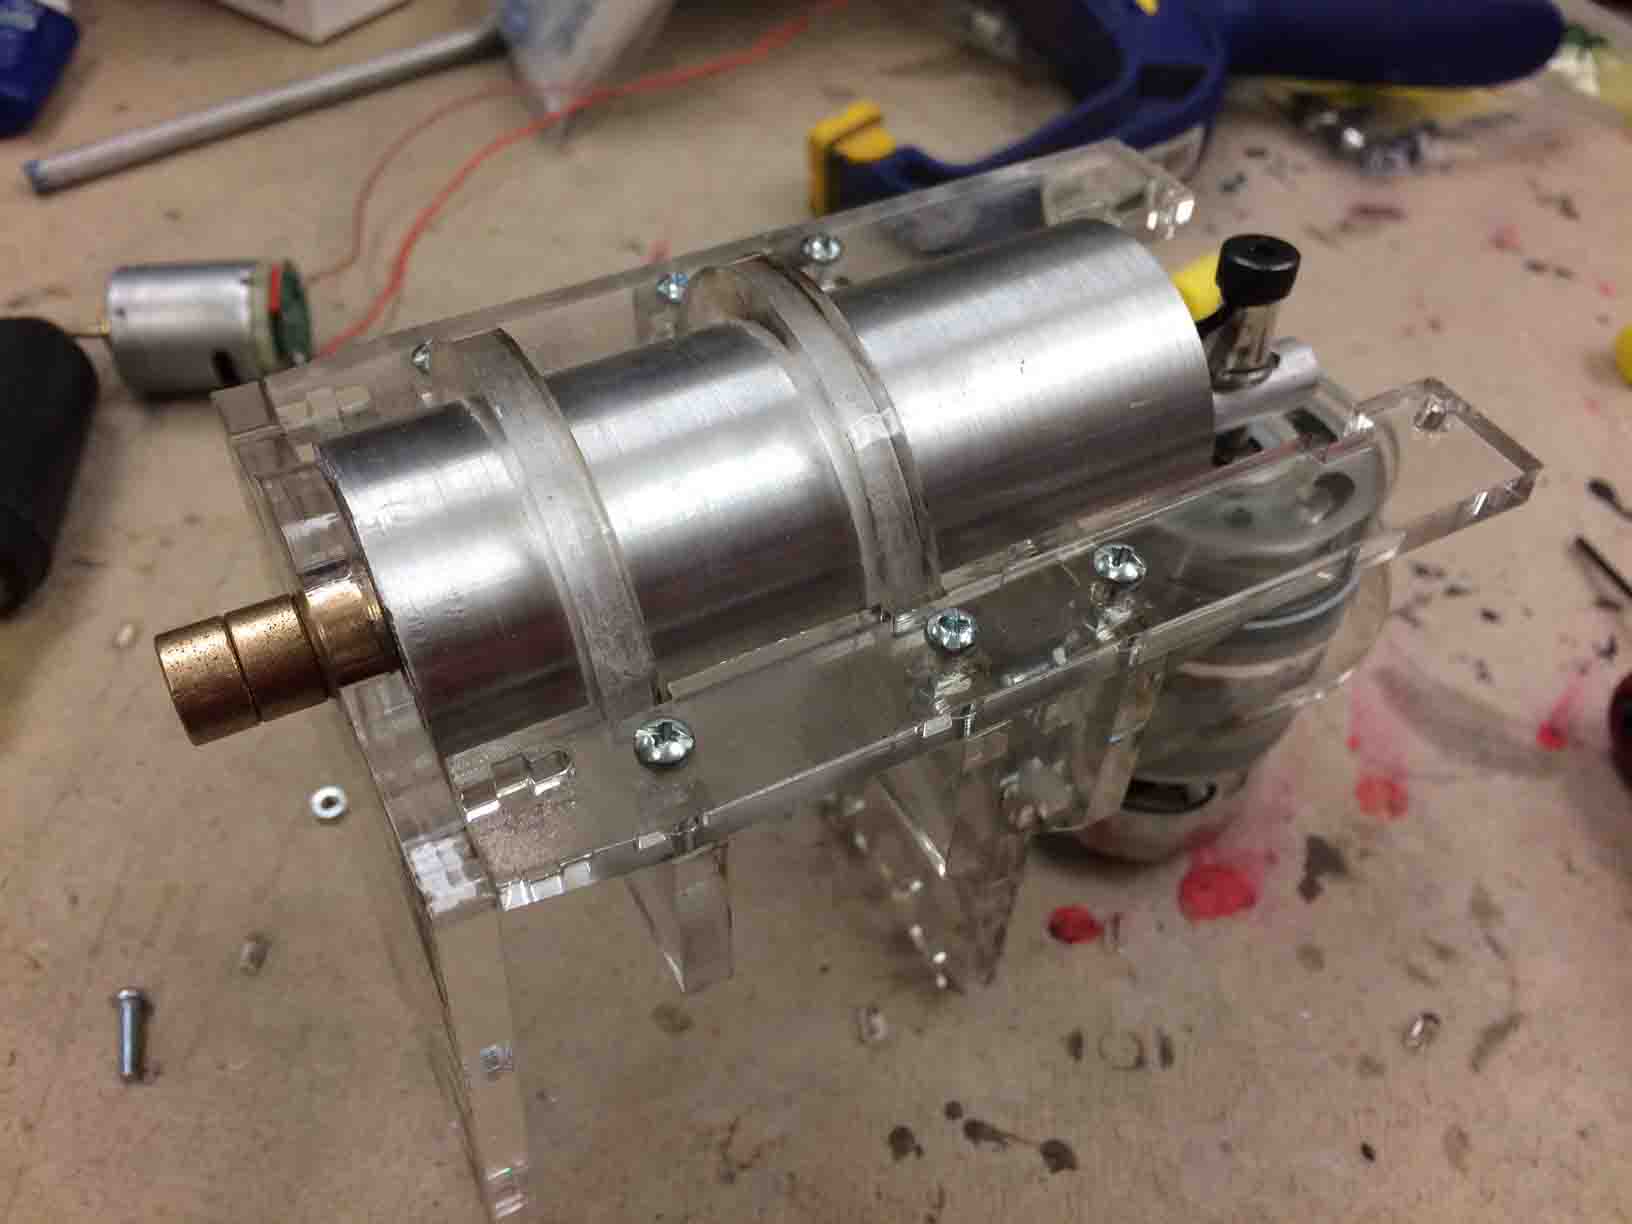
This week, I did the last stretch of prototyping on my end effector. I machined my own couplers and bushings, modified the design for a delrin mount instead of acrylic, and spot weld the hinge coupler. Finally, I tested with a range of materials and documented my progress for future work on this prototype.
Designing and Sourcing
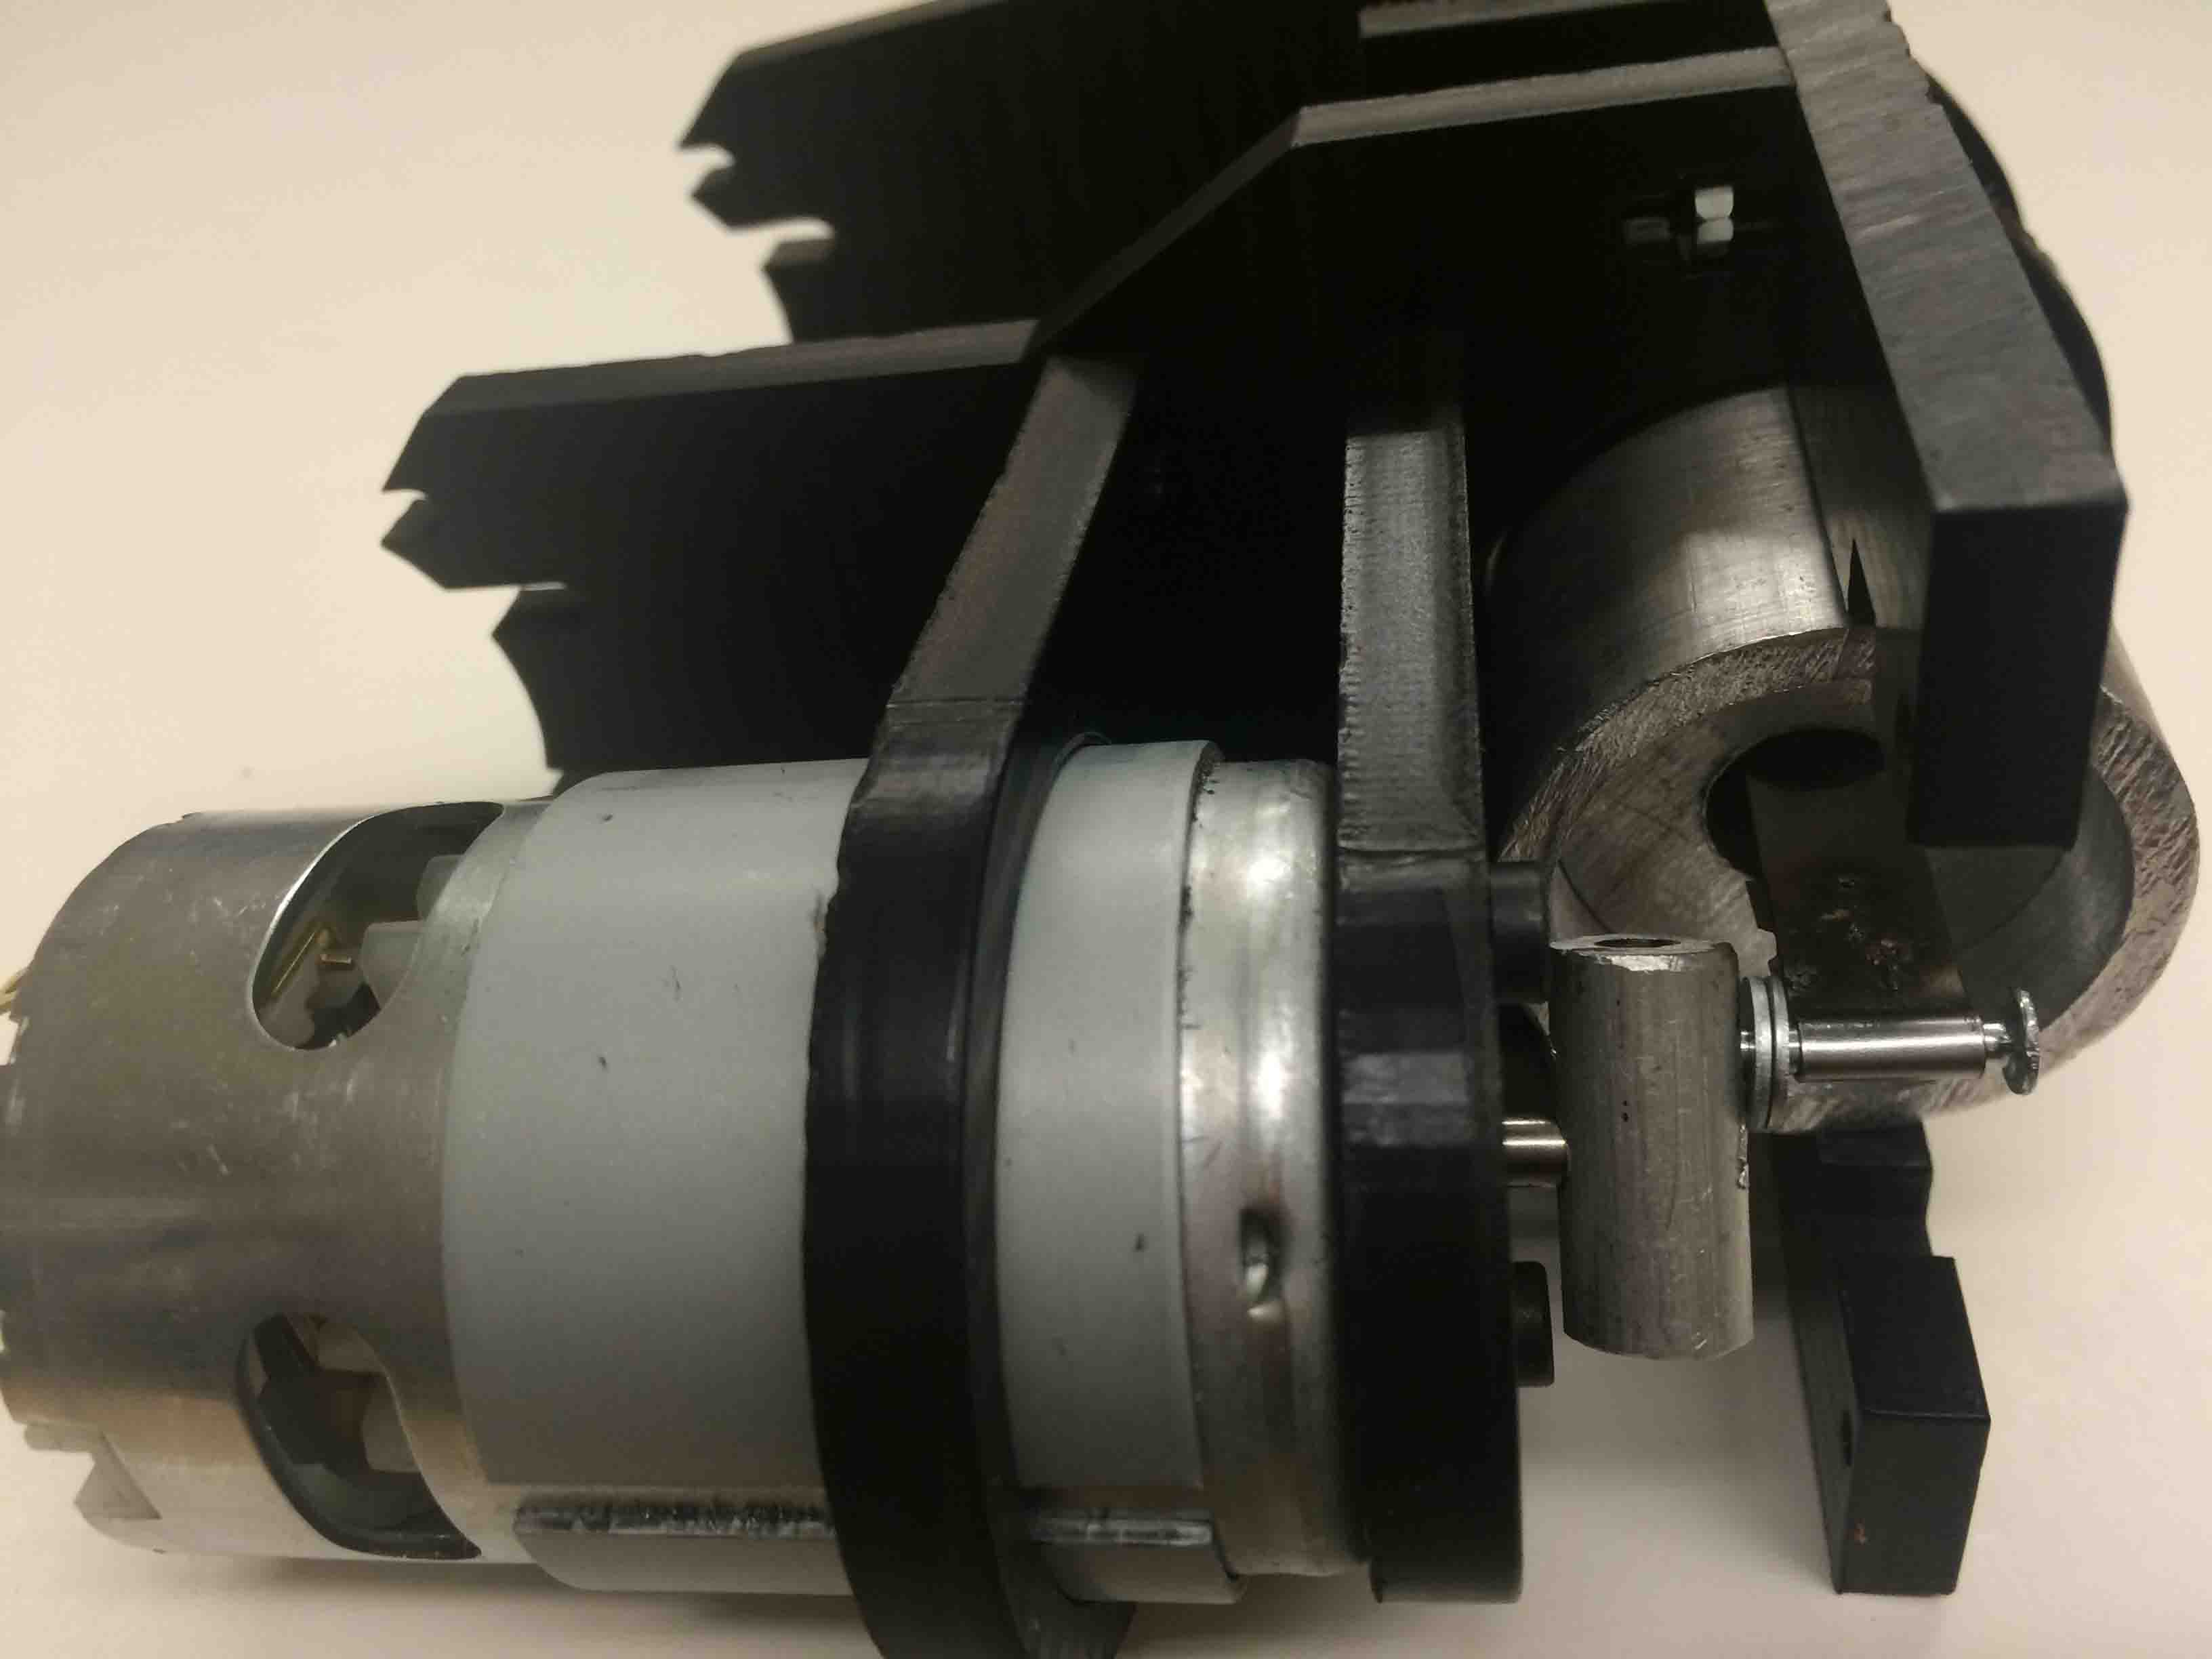
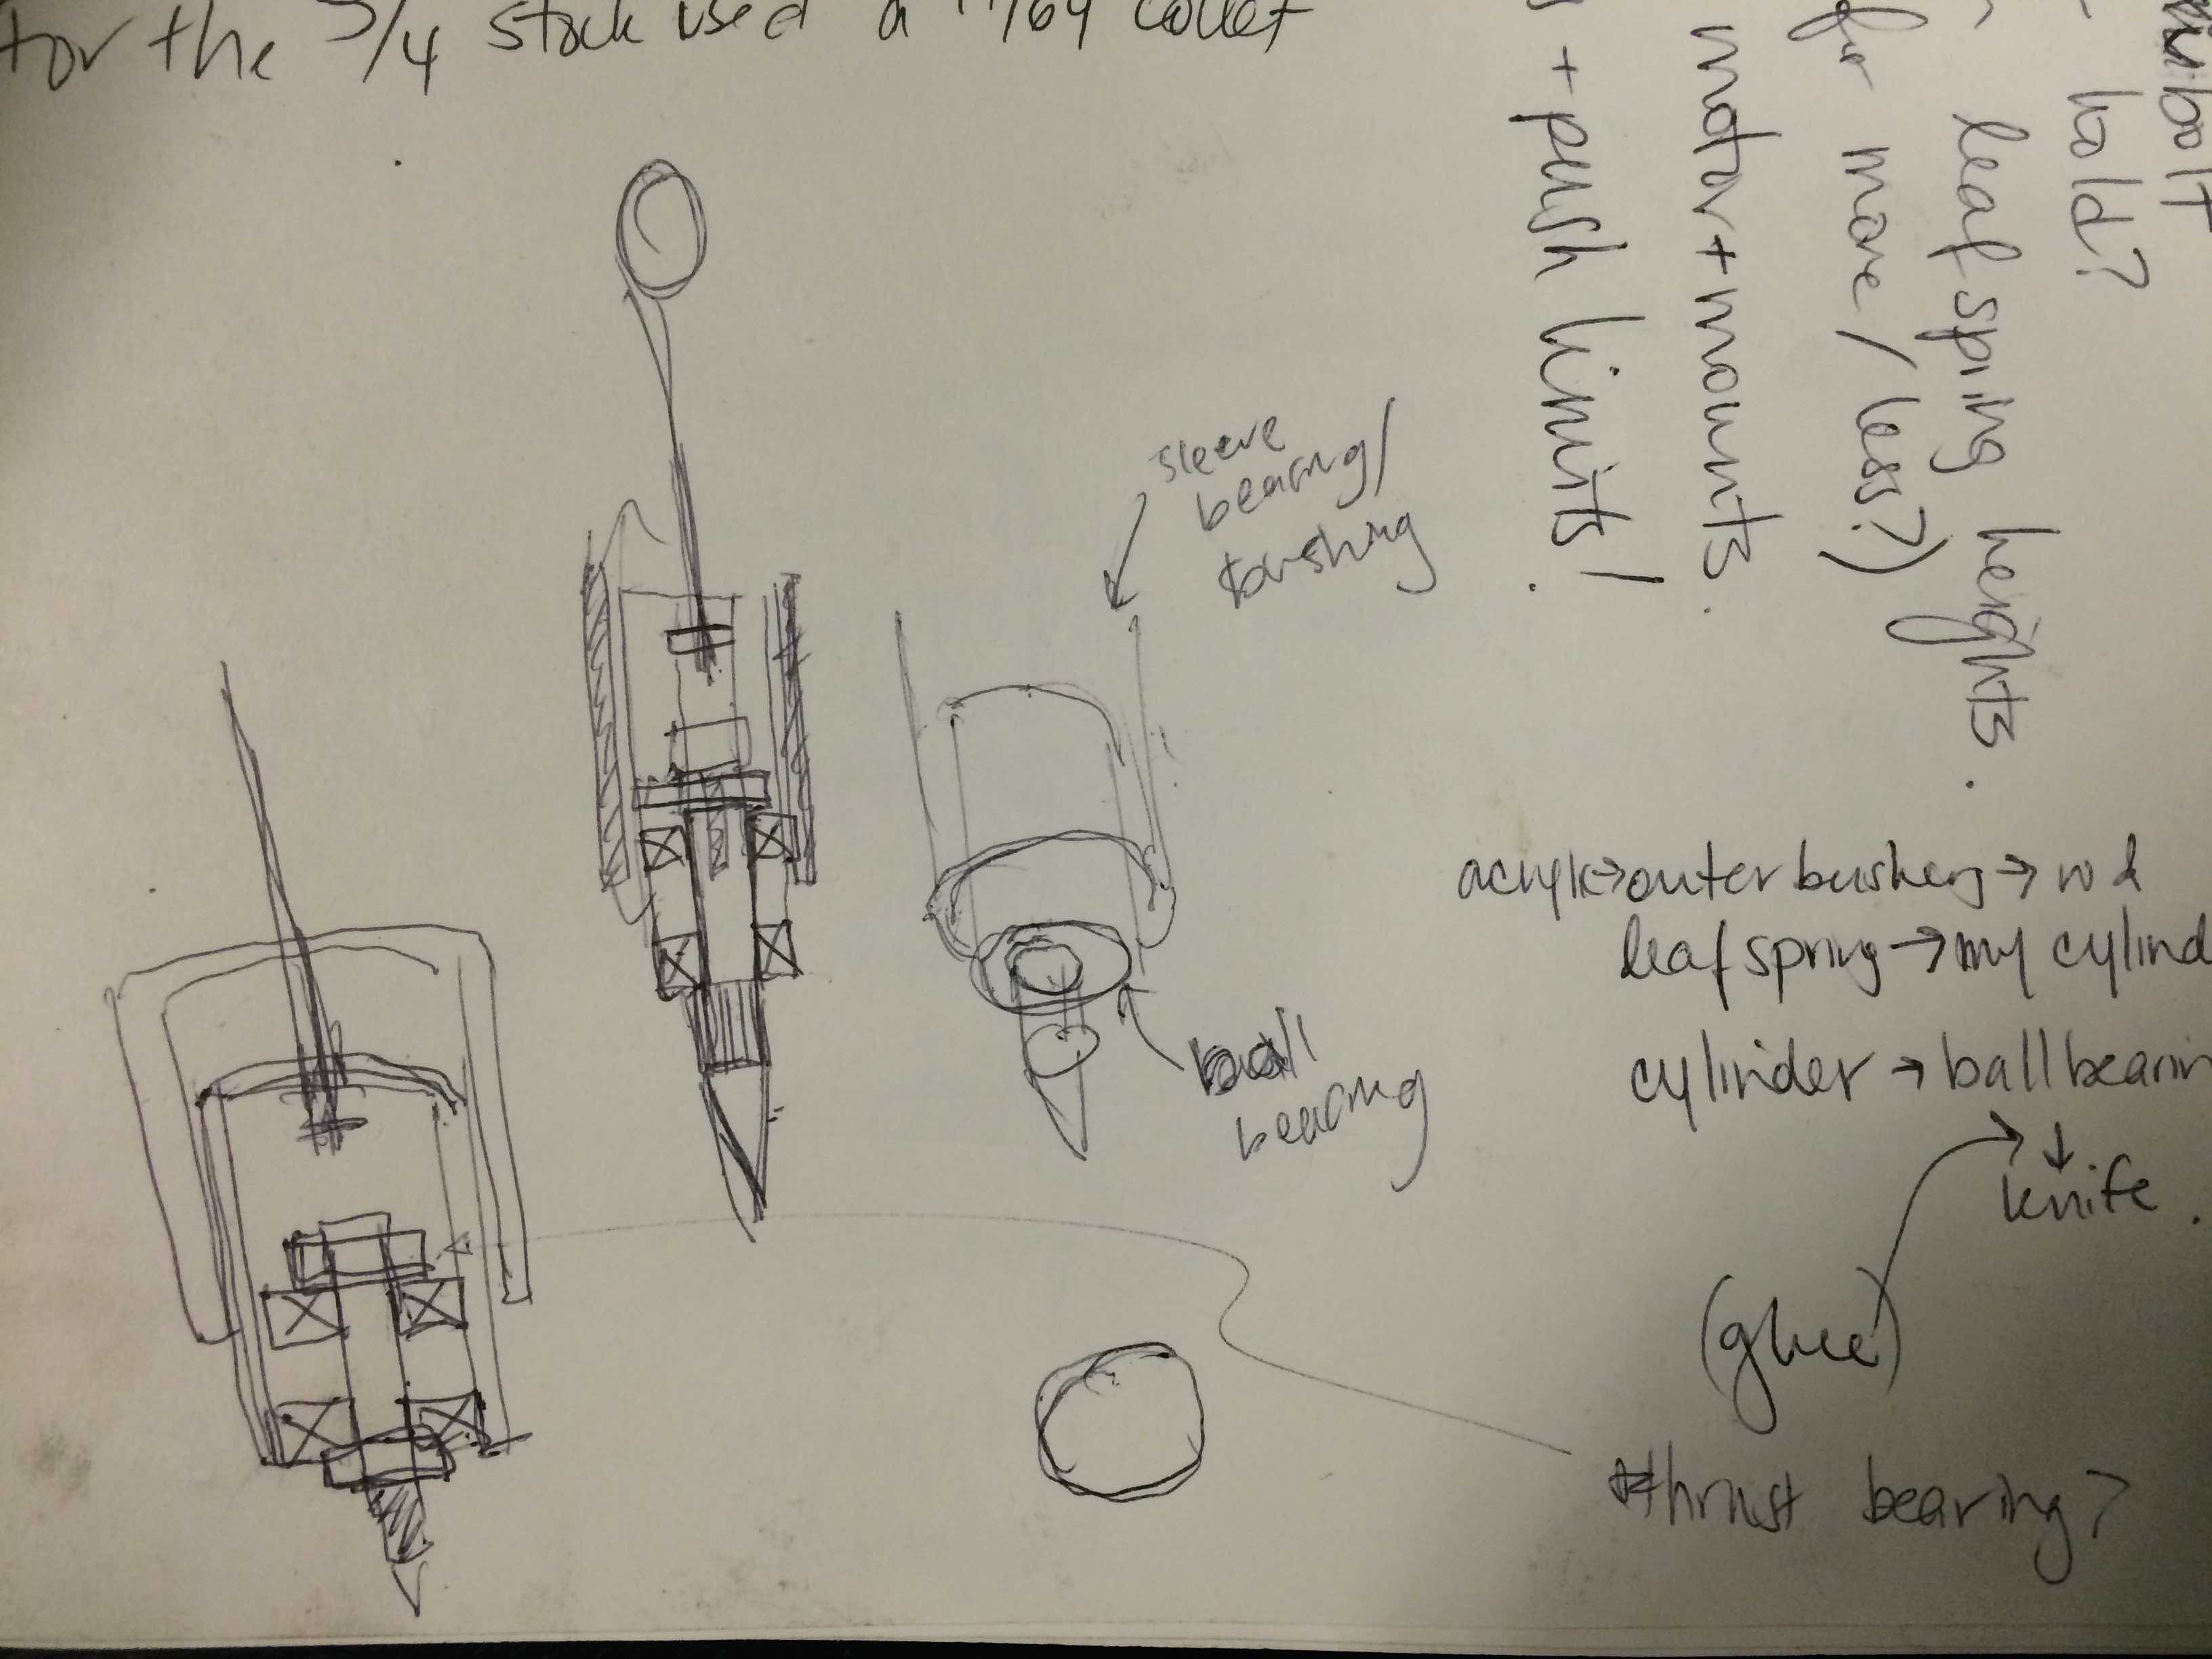
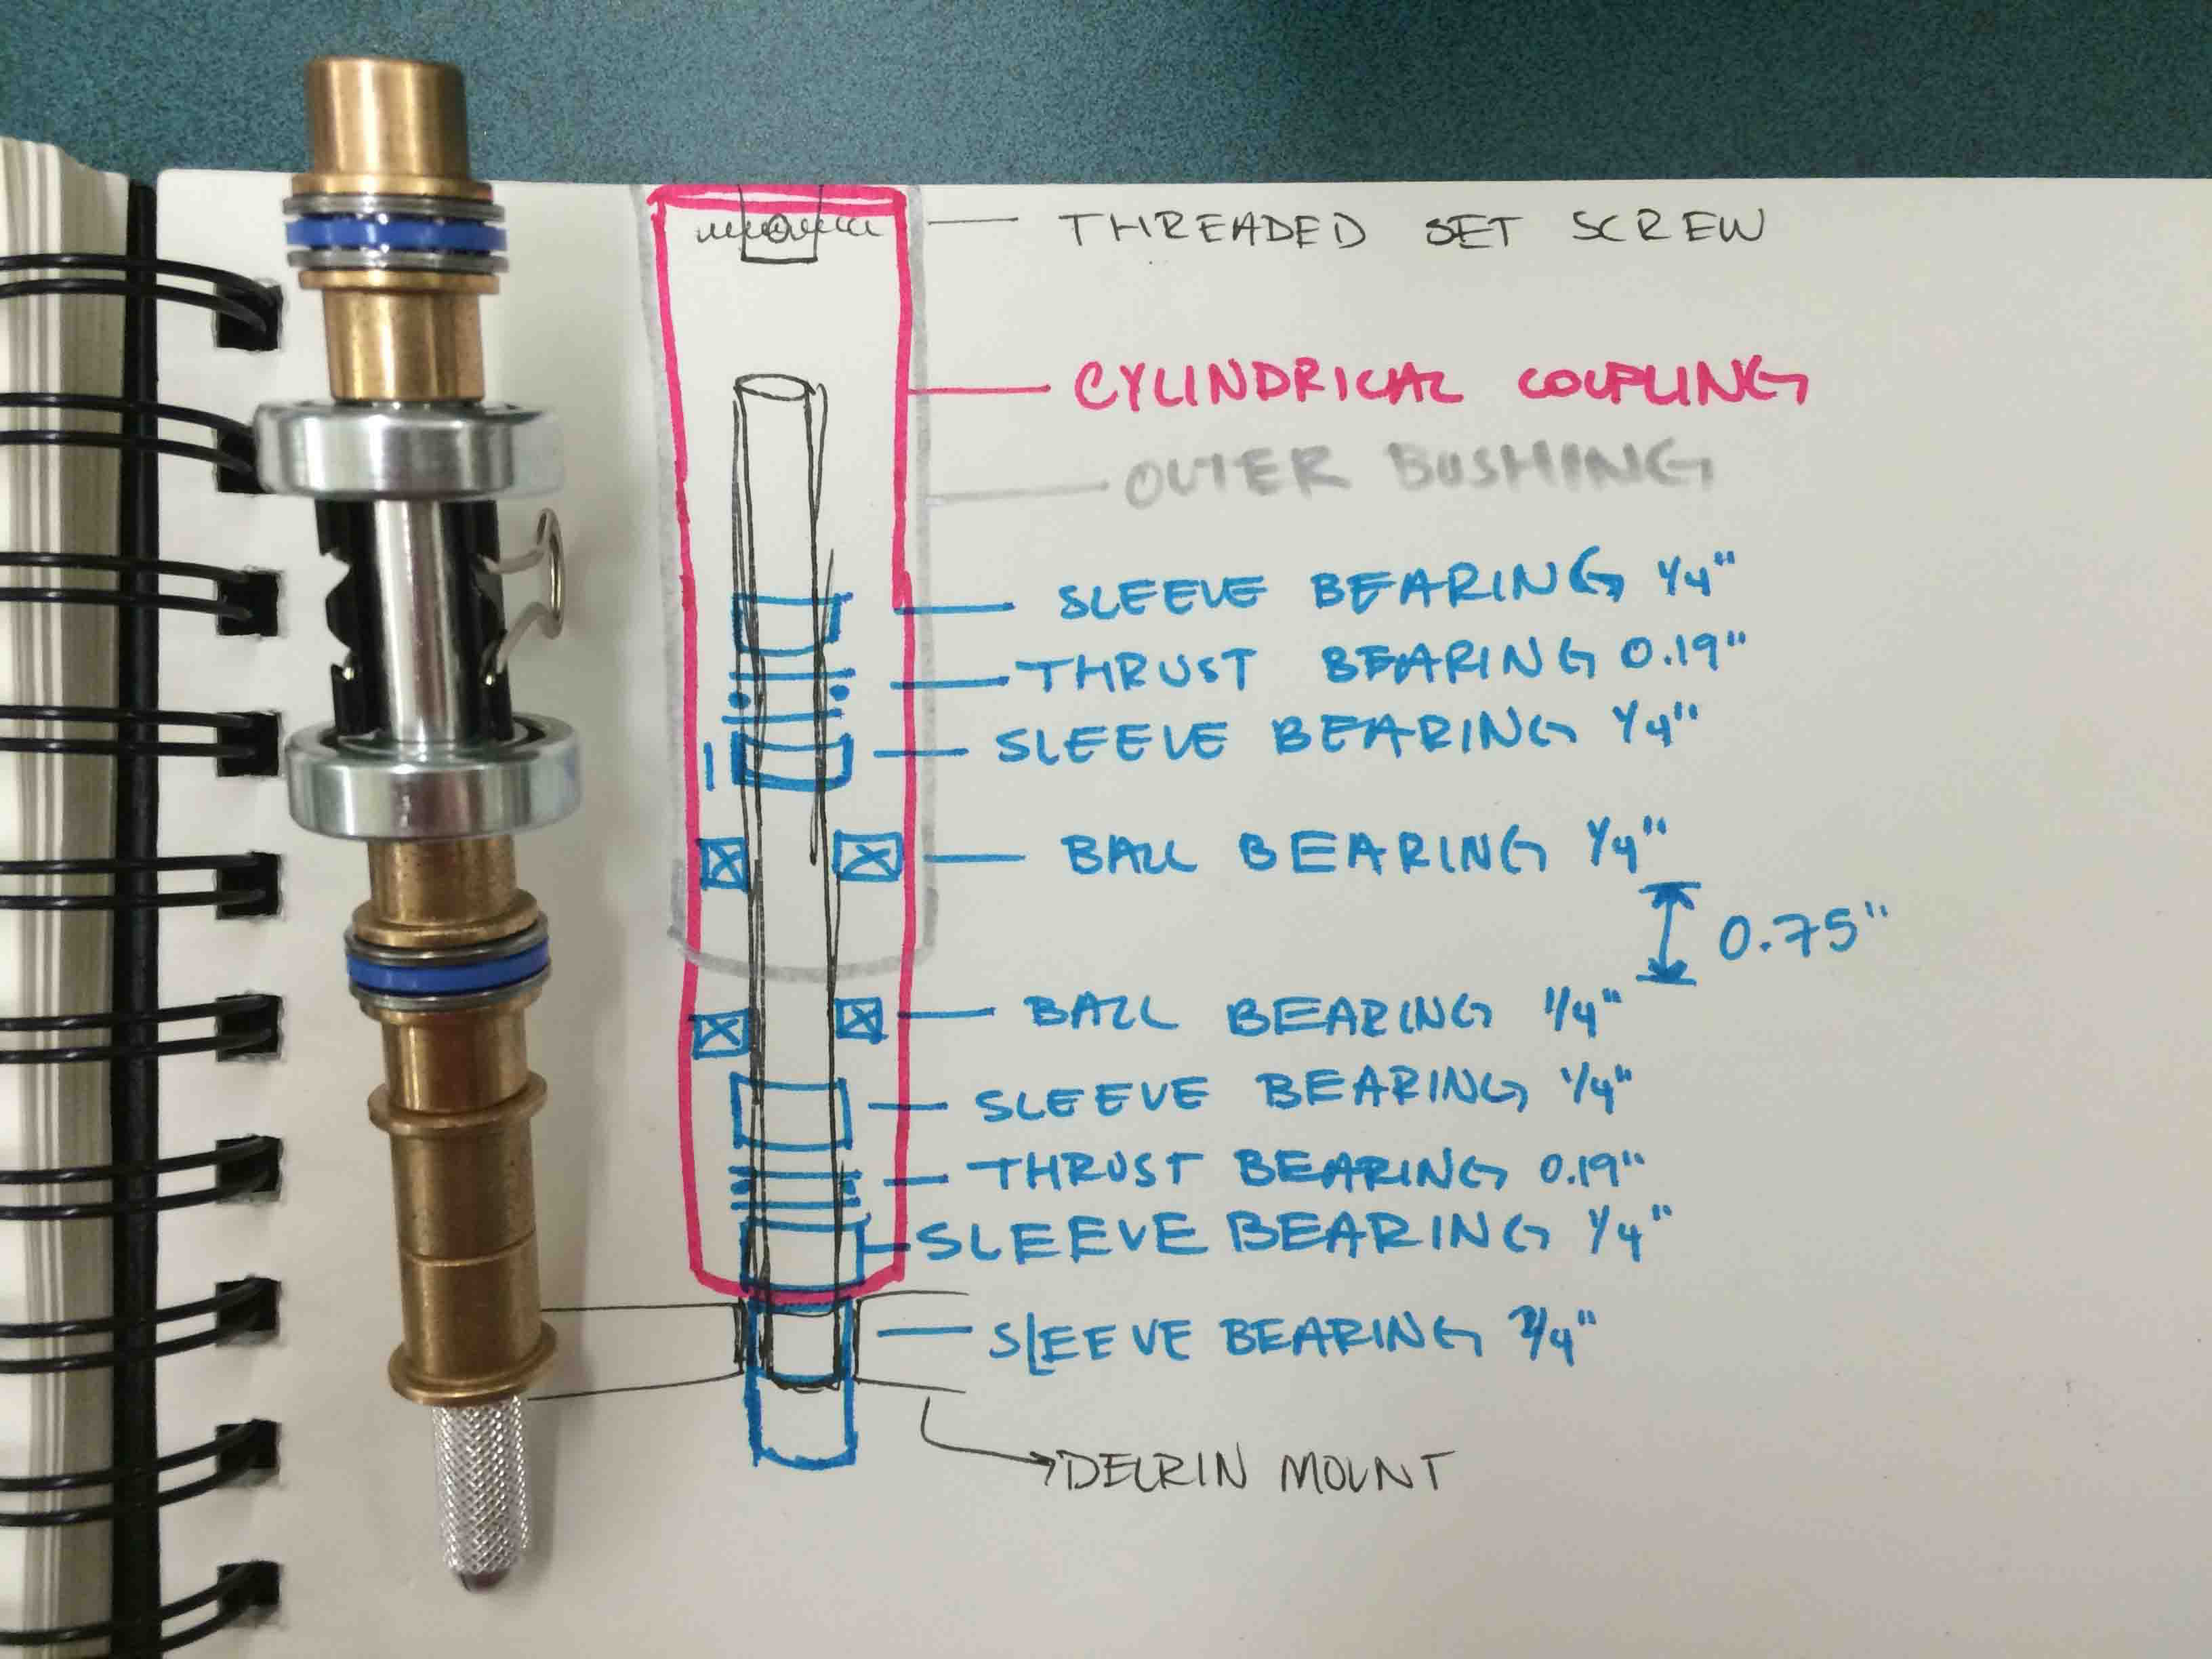
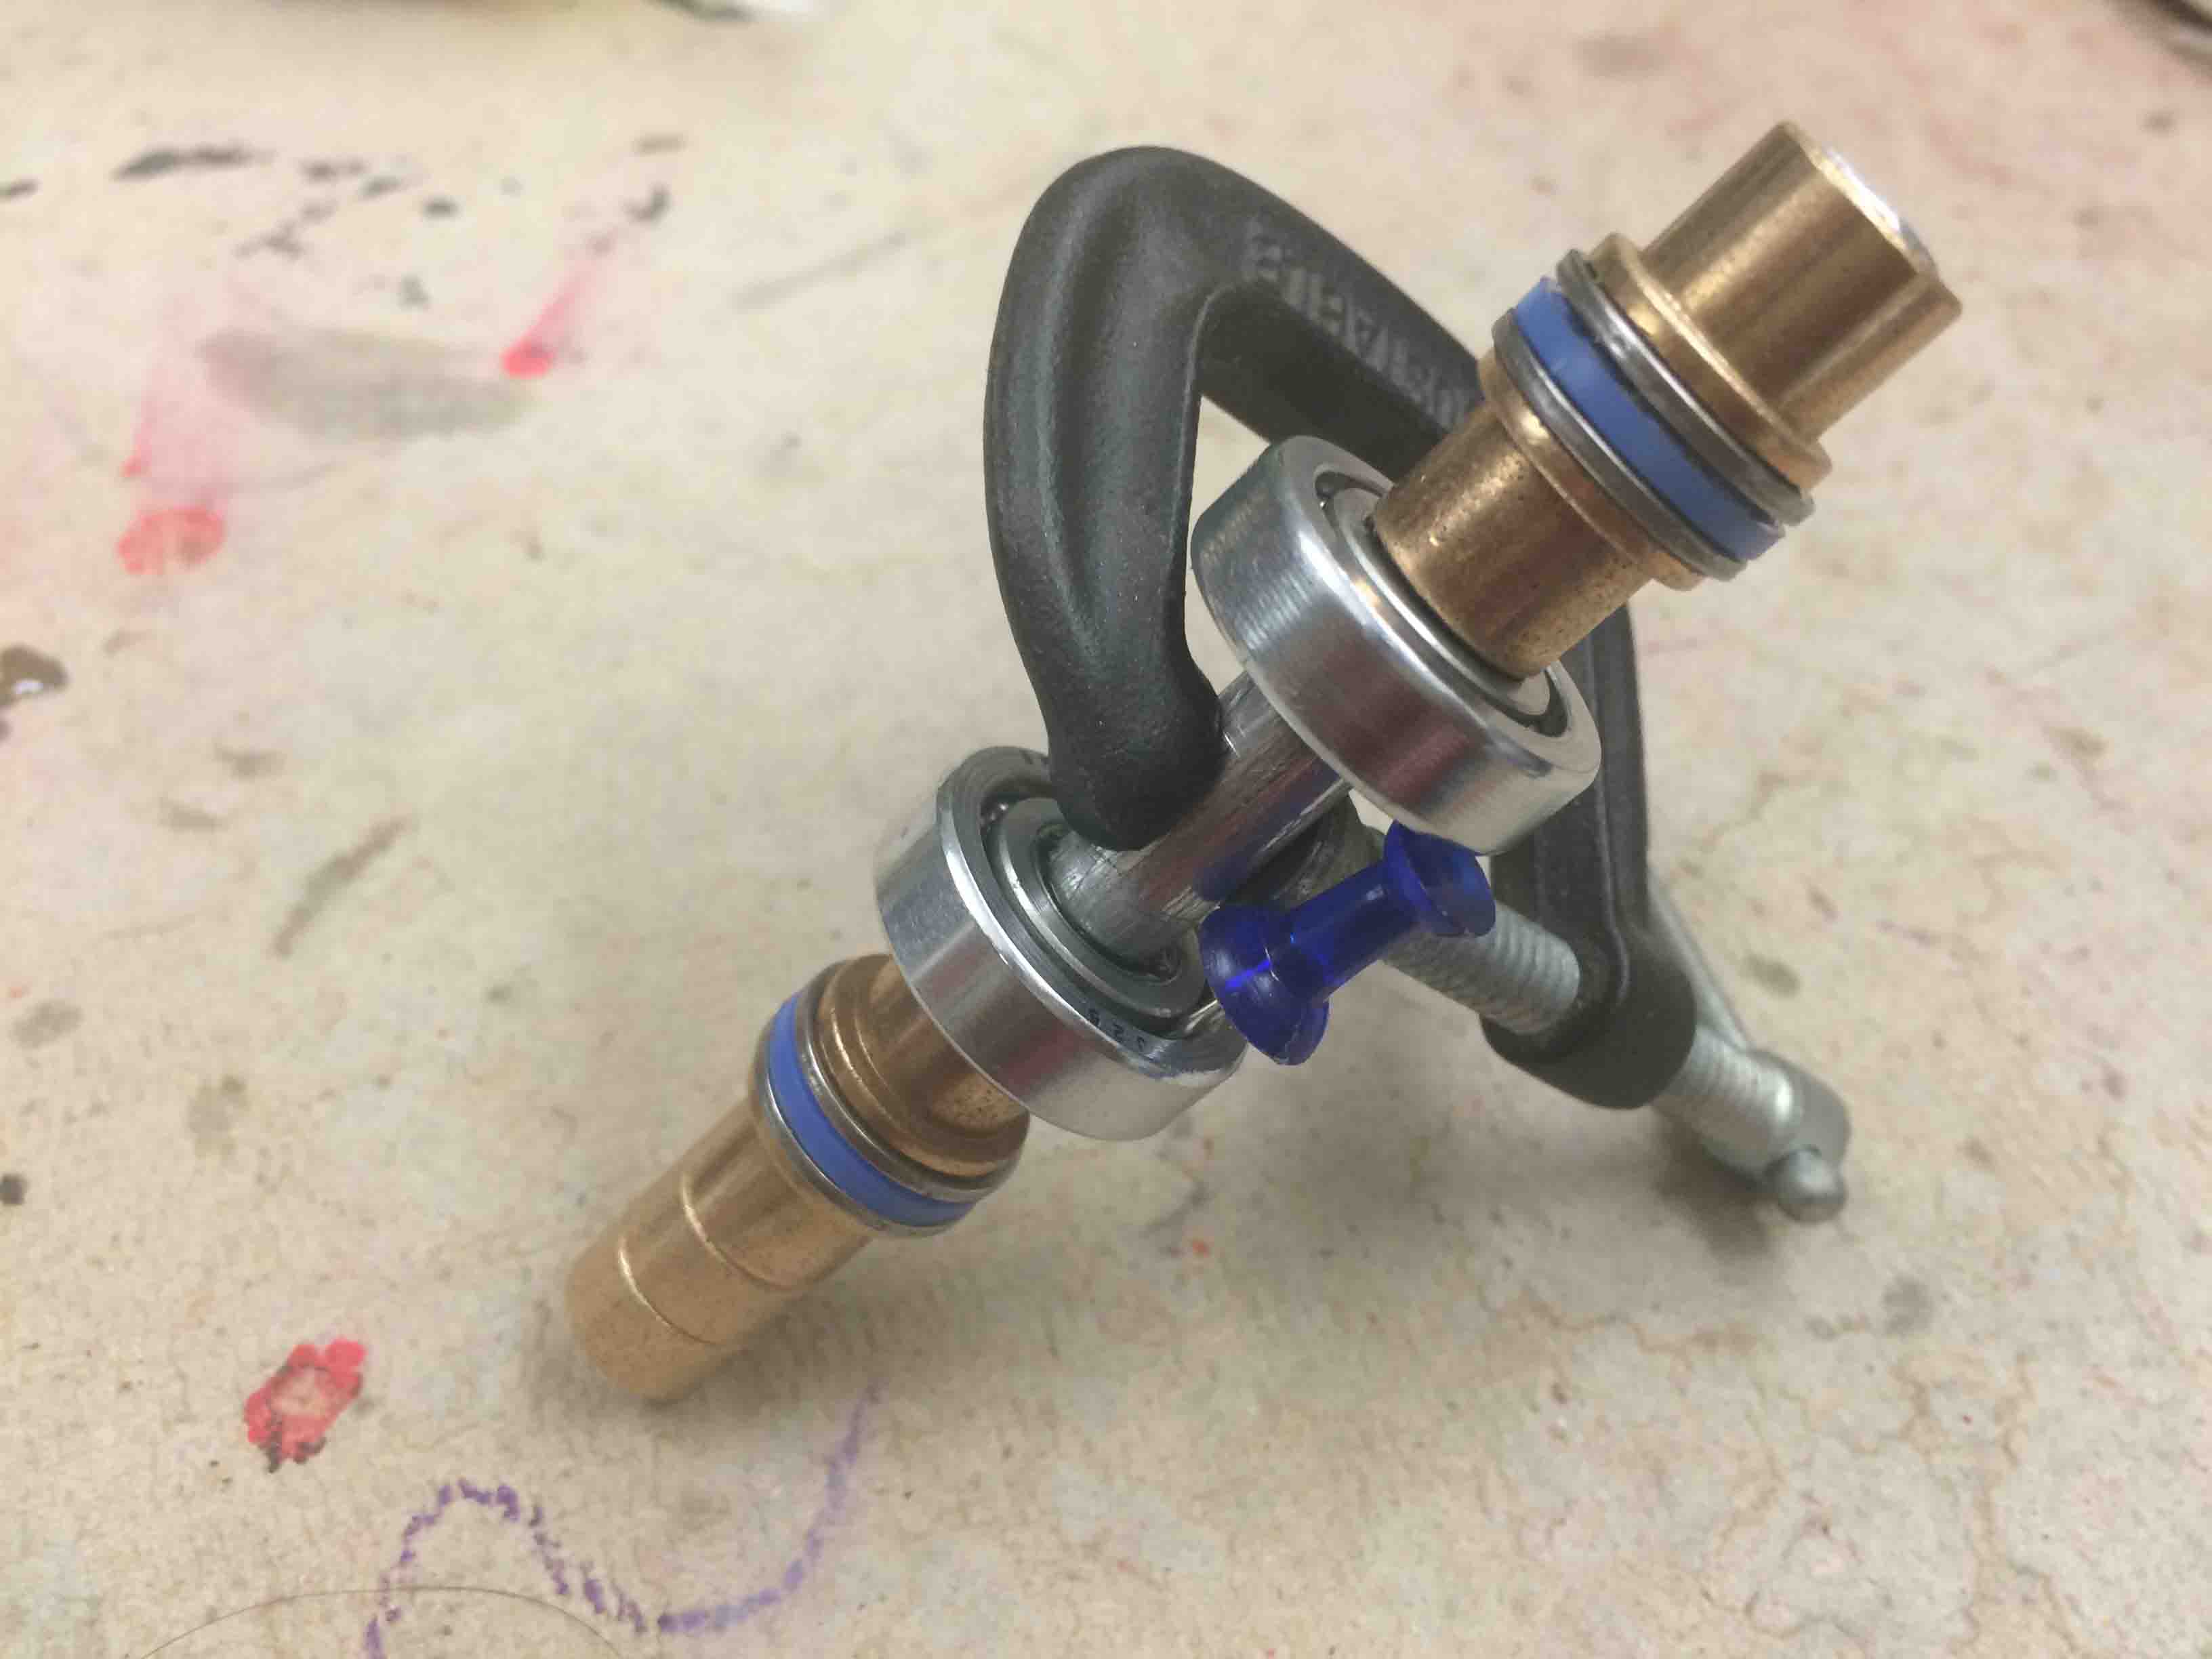
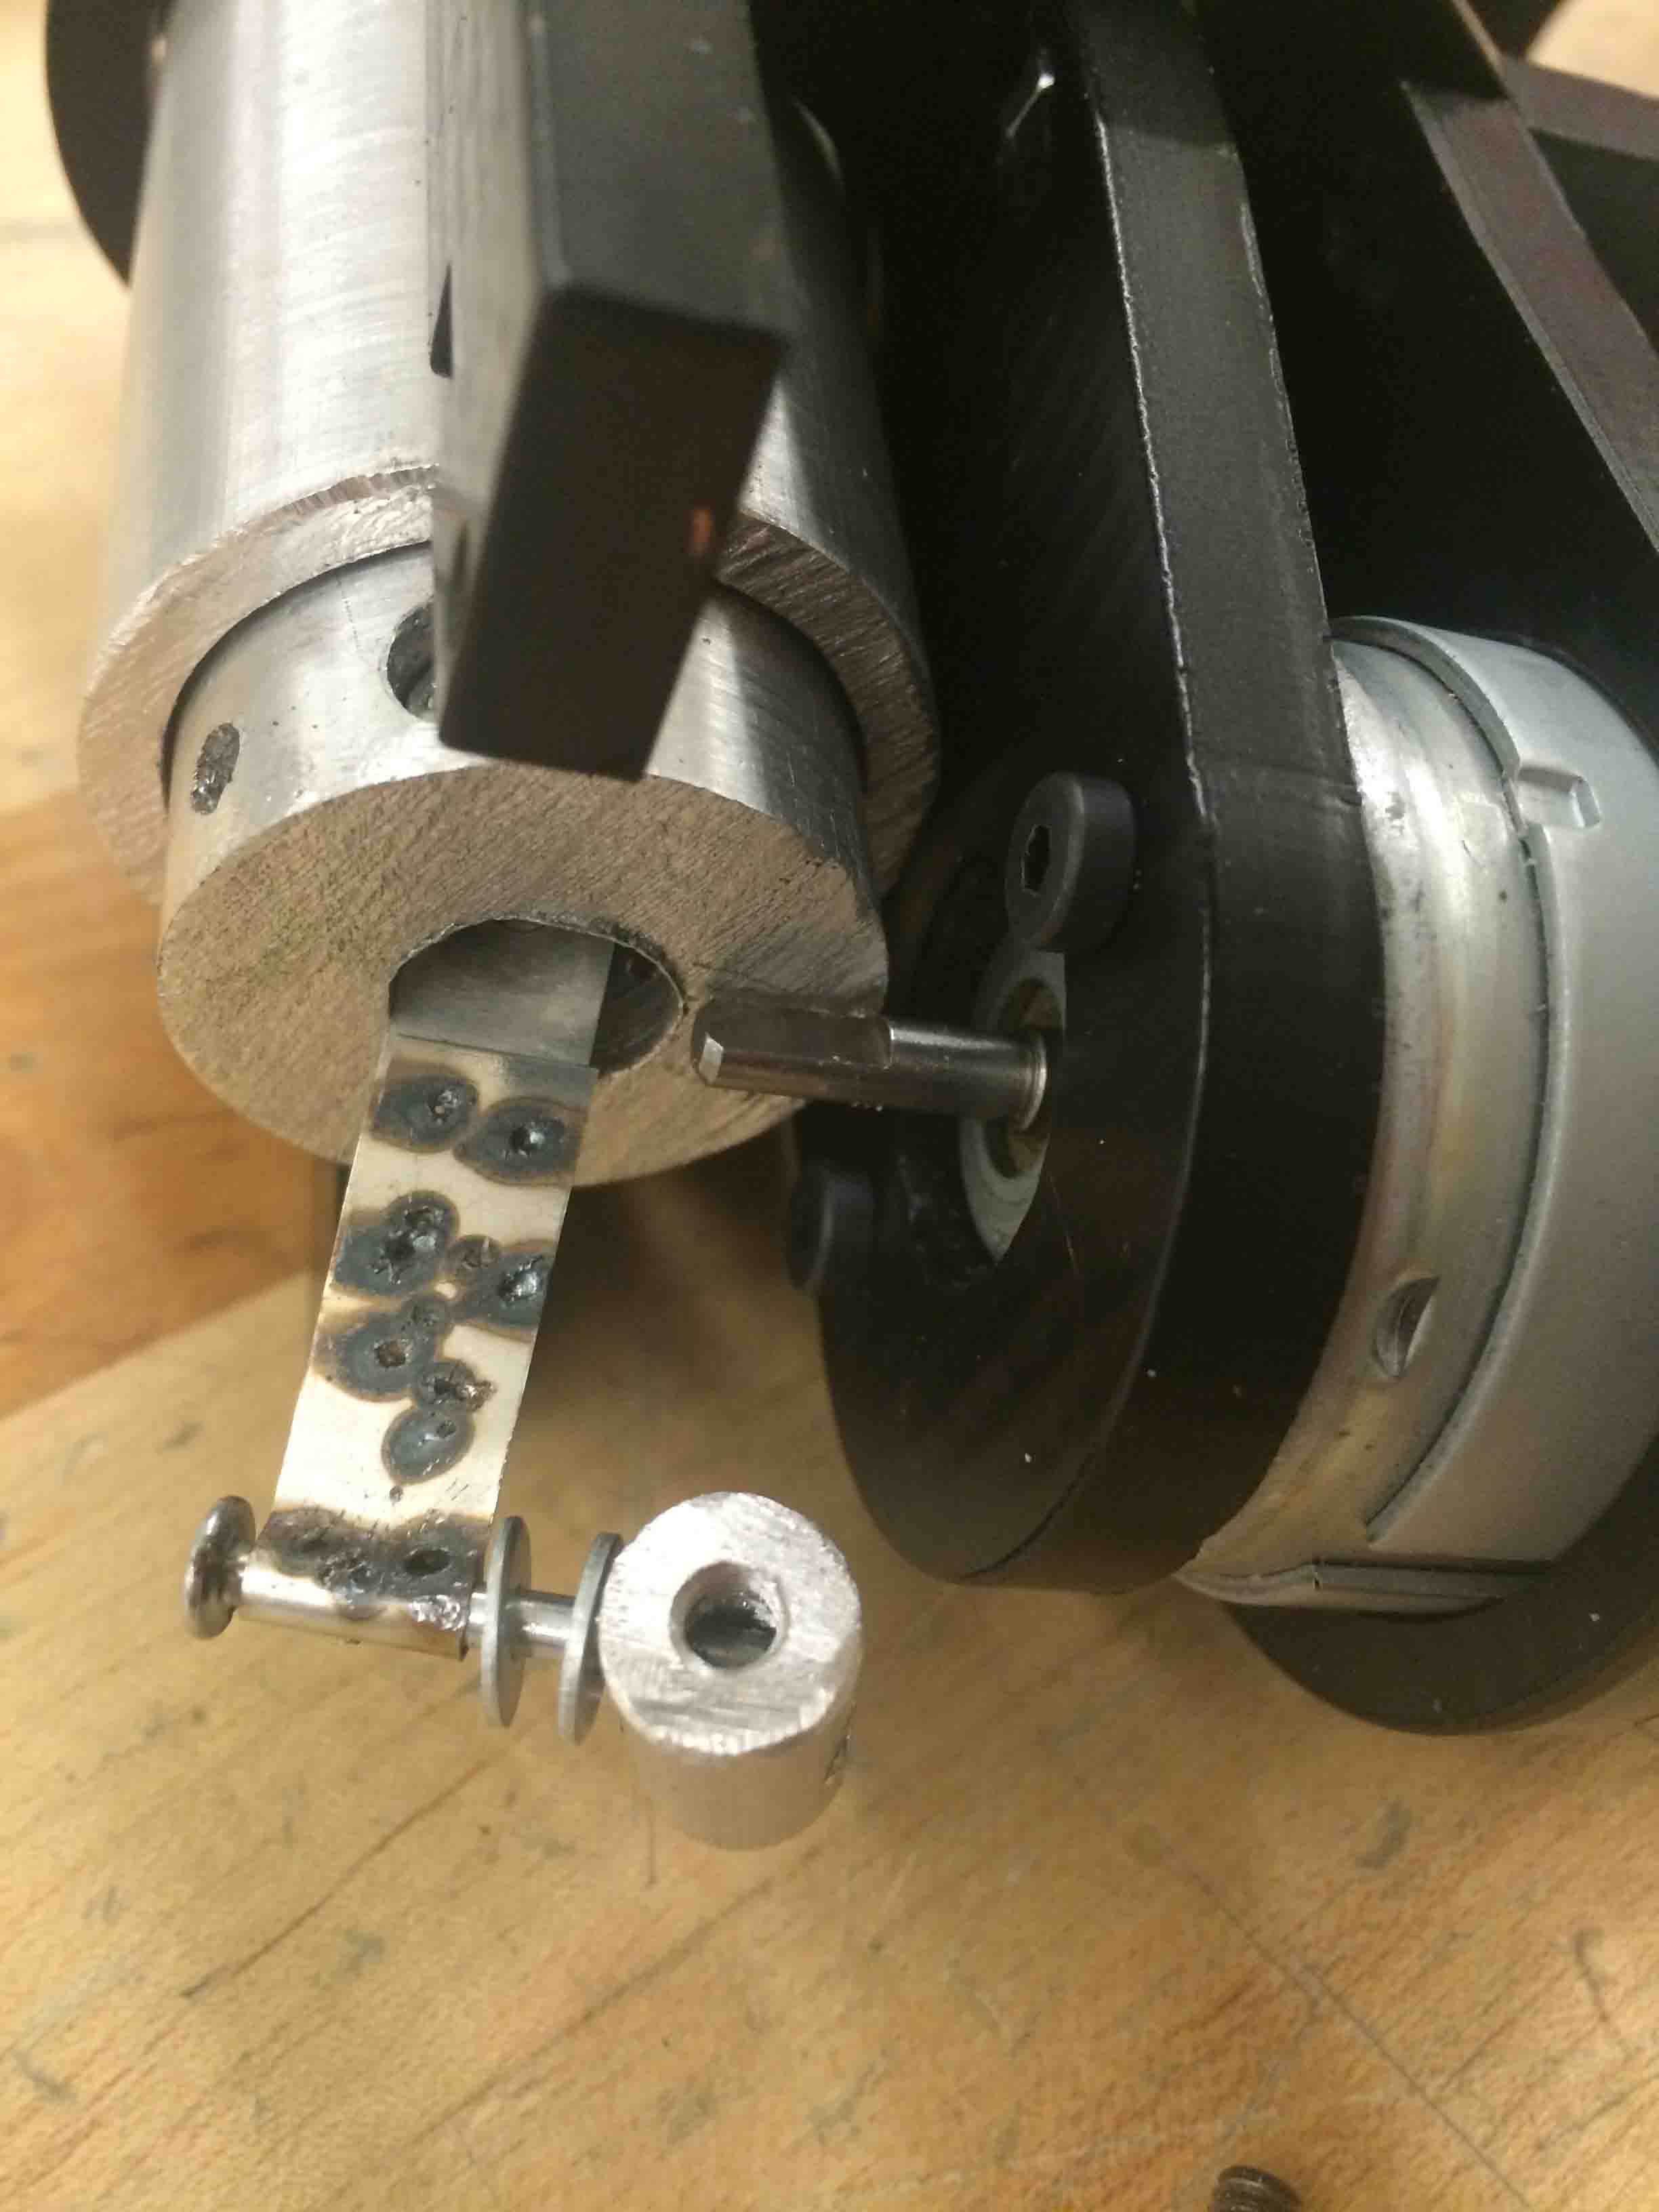
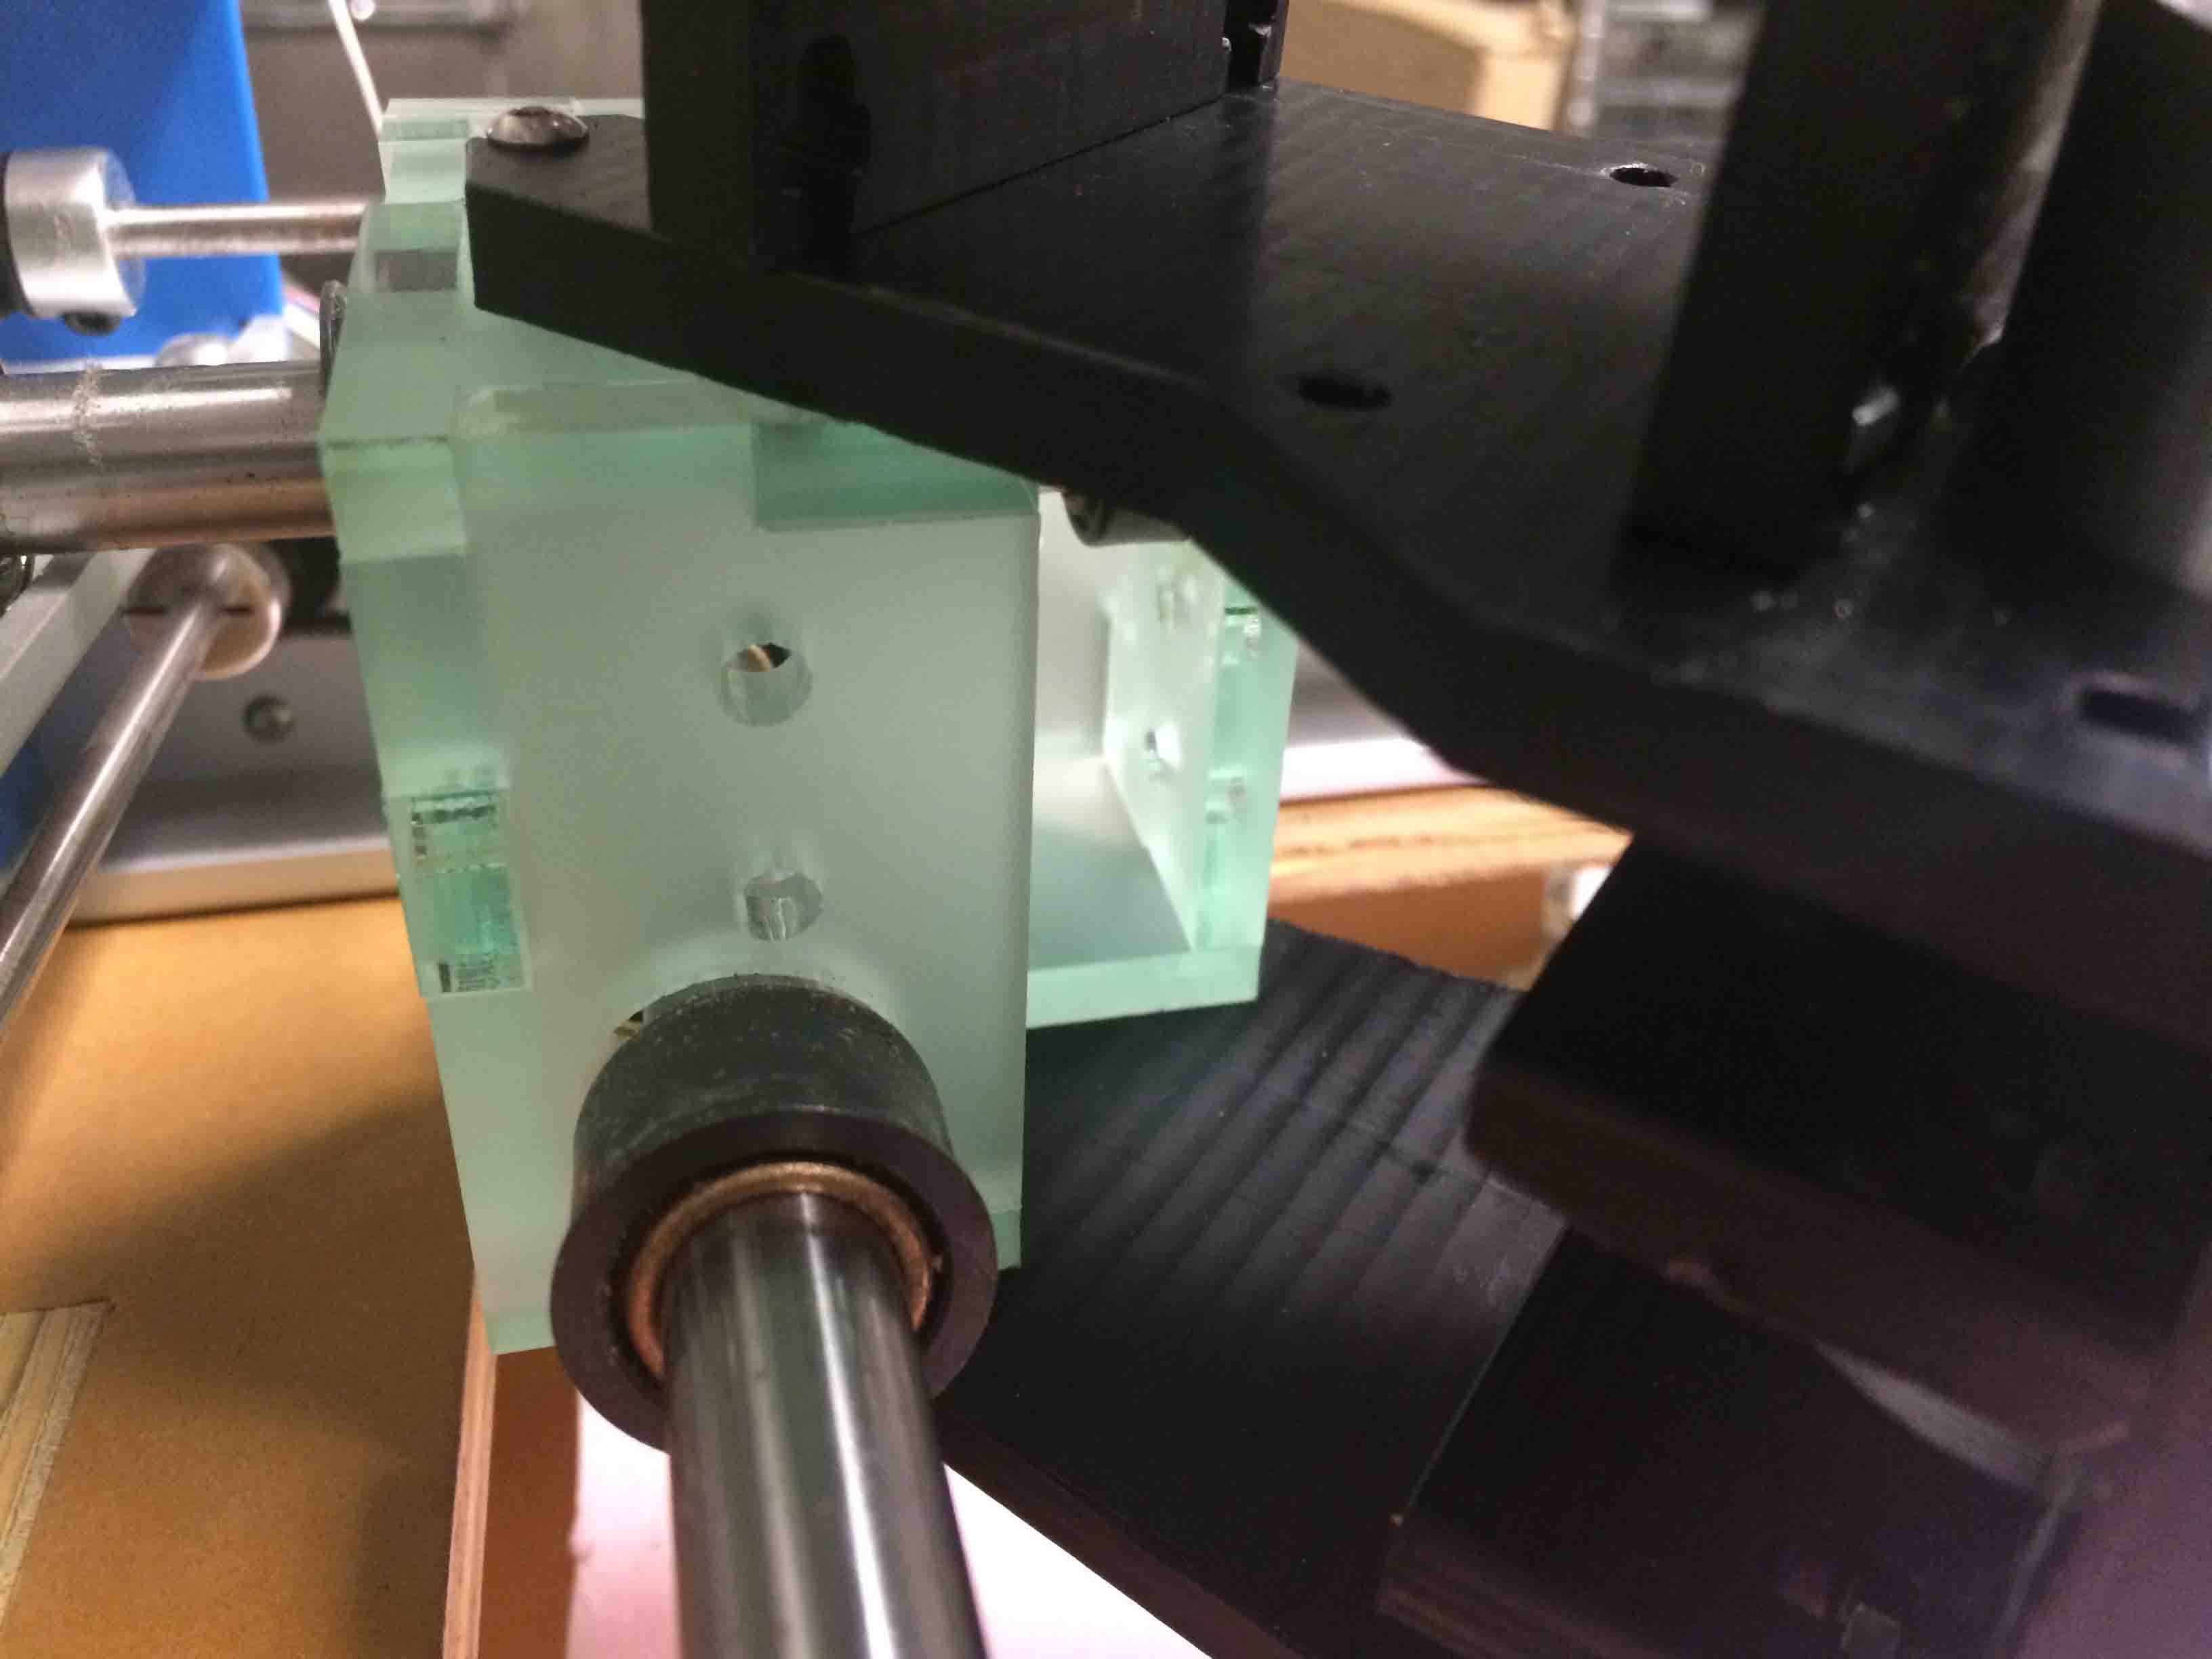
After the previous class, Will gave me an idea for combining thrust bearings and ball bearings inside an outer bushing assembly (top sketch). I redrew the assembly and worked with Nadya to really understand how to use the thrust bearings best in my design. I also speced out a Jameco motor for more power.
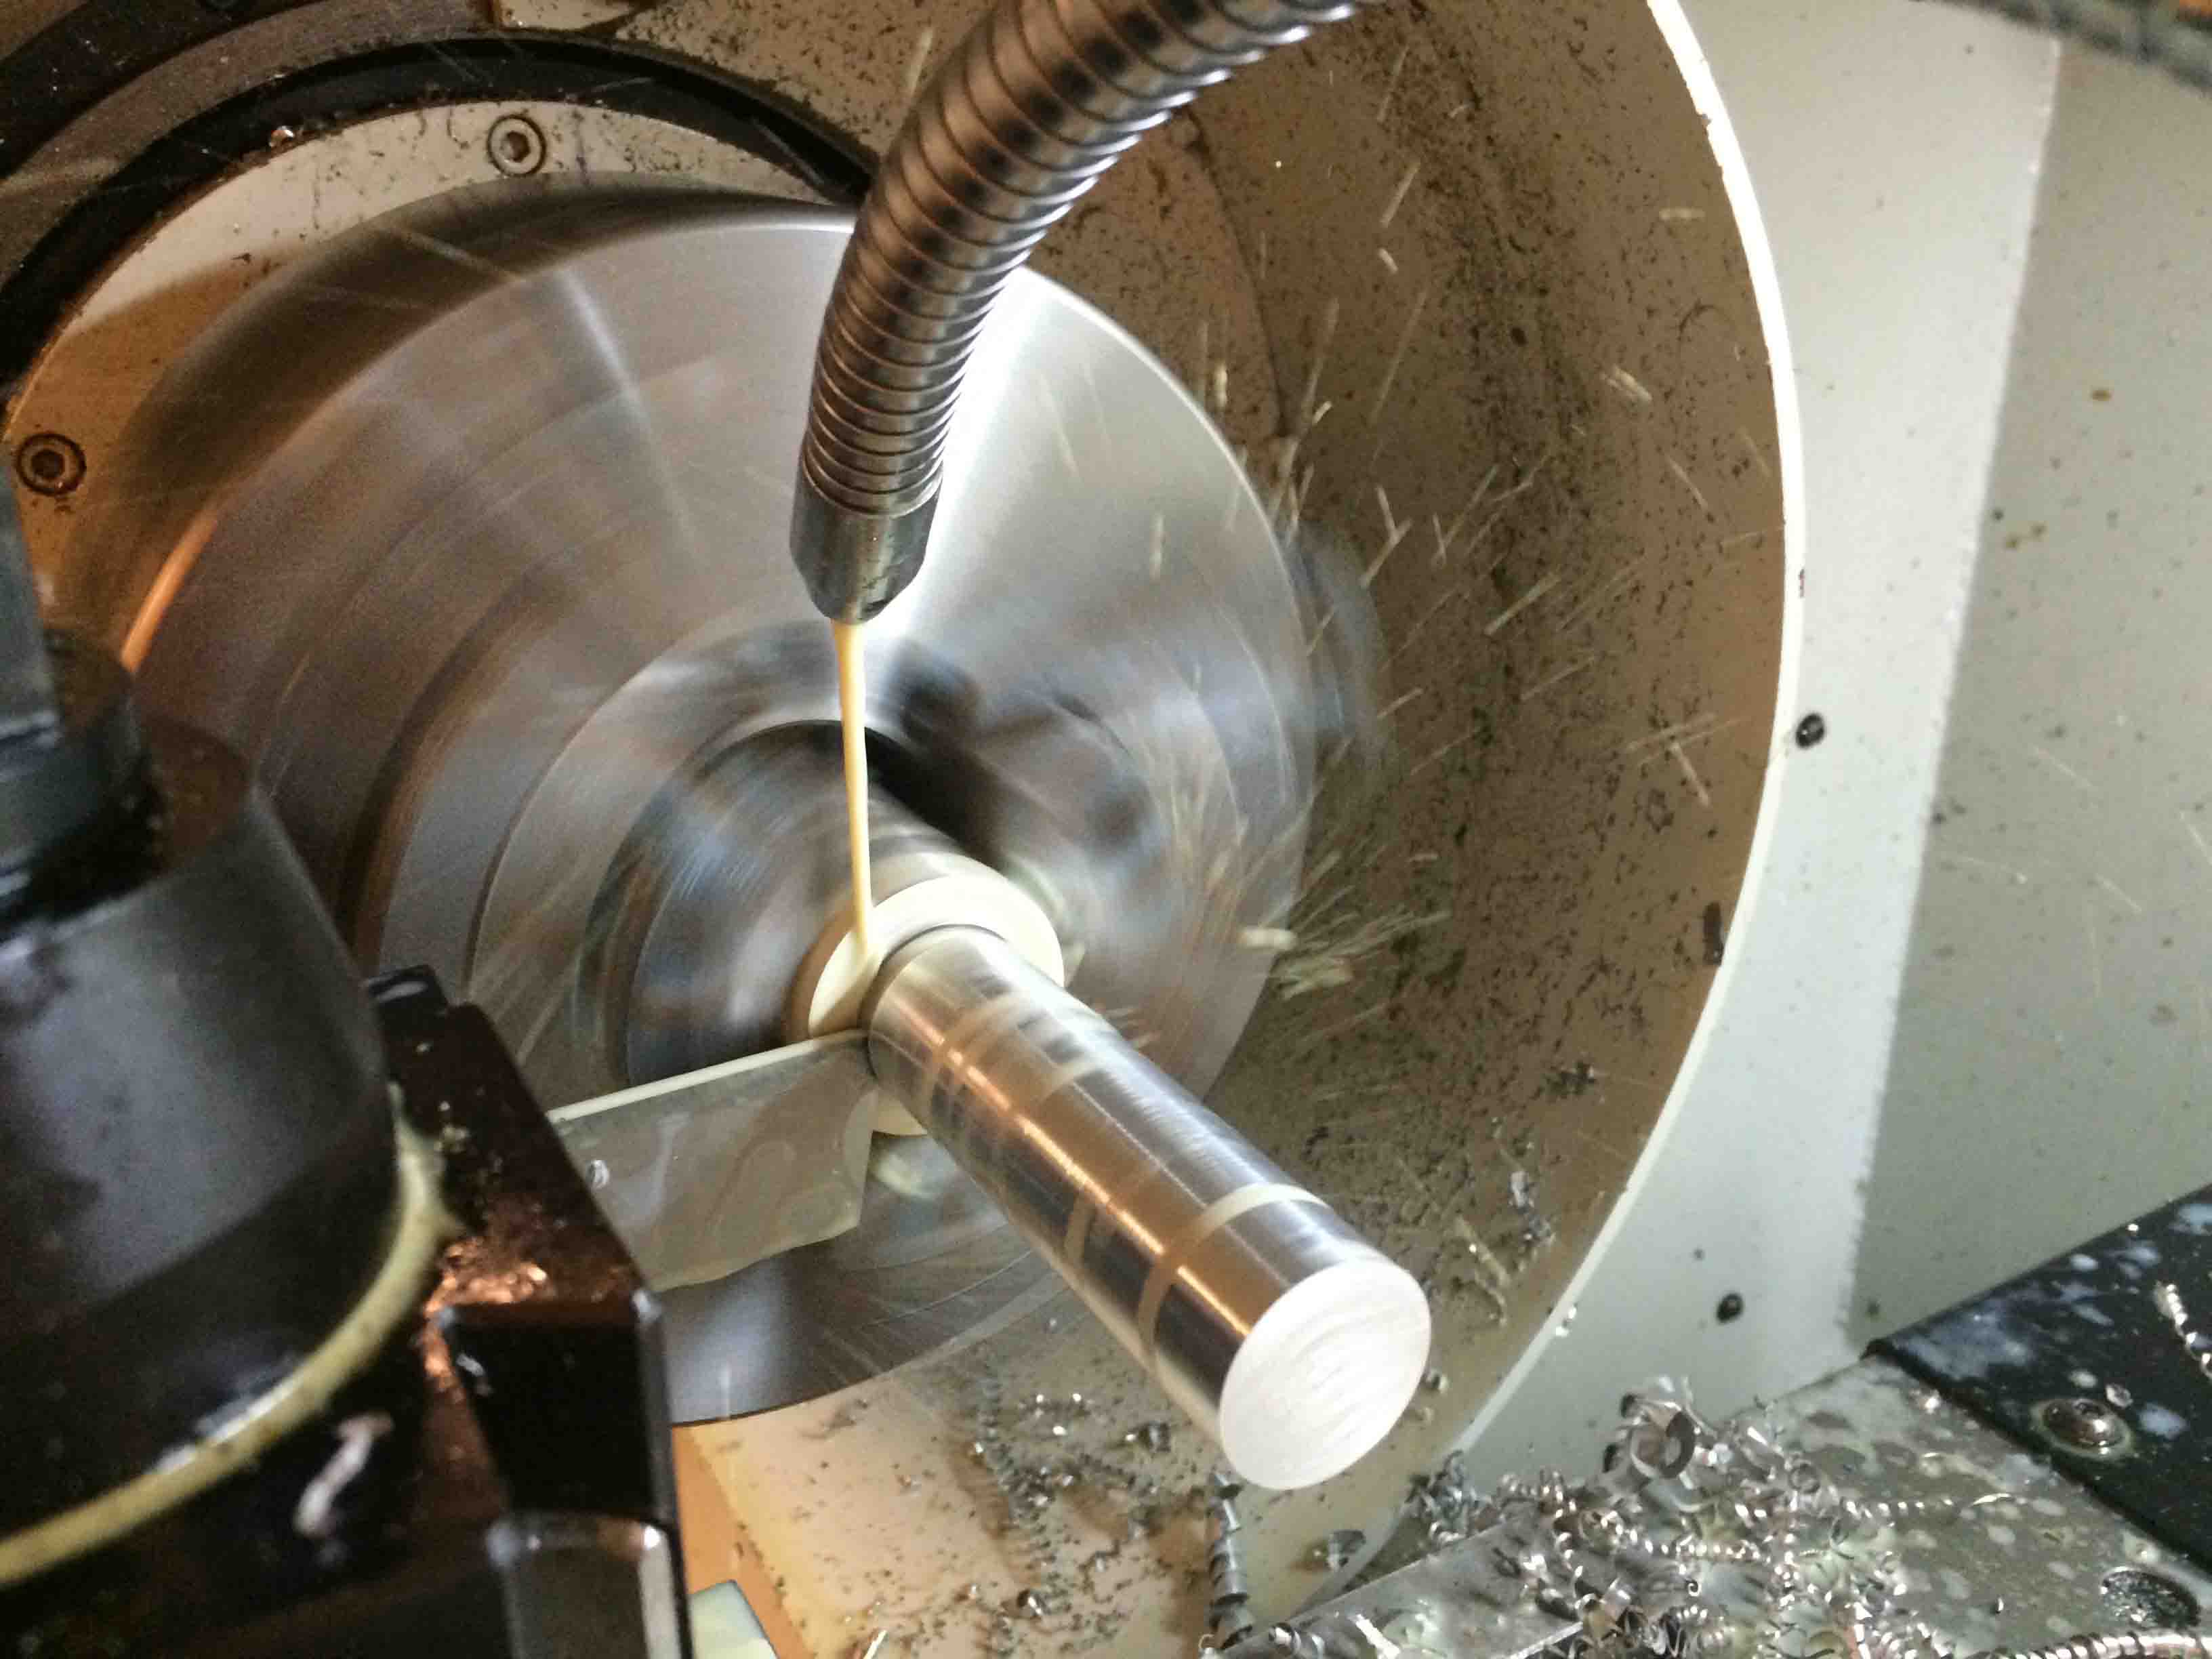
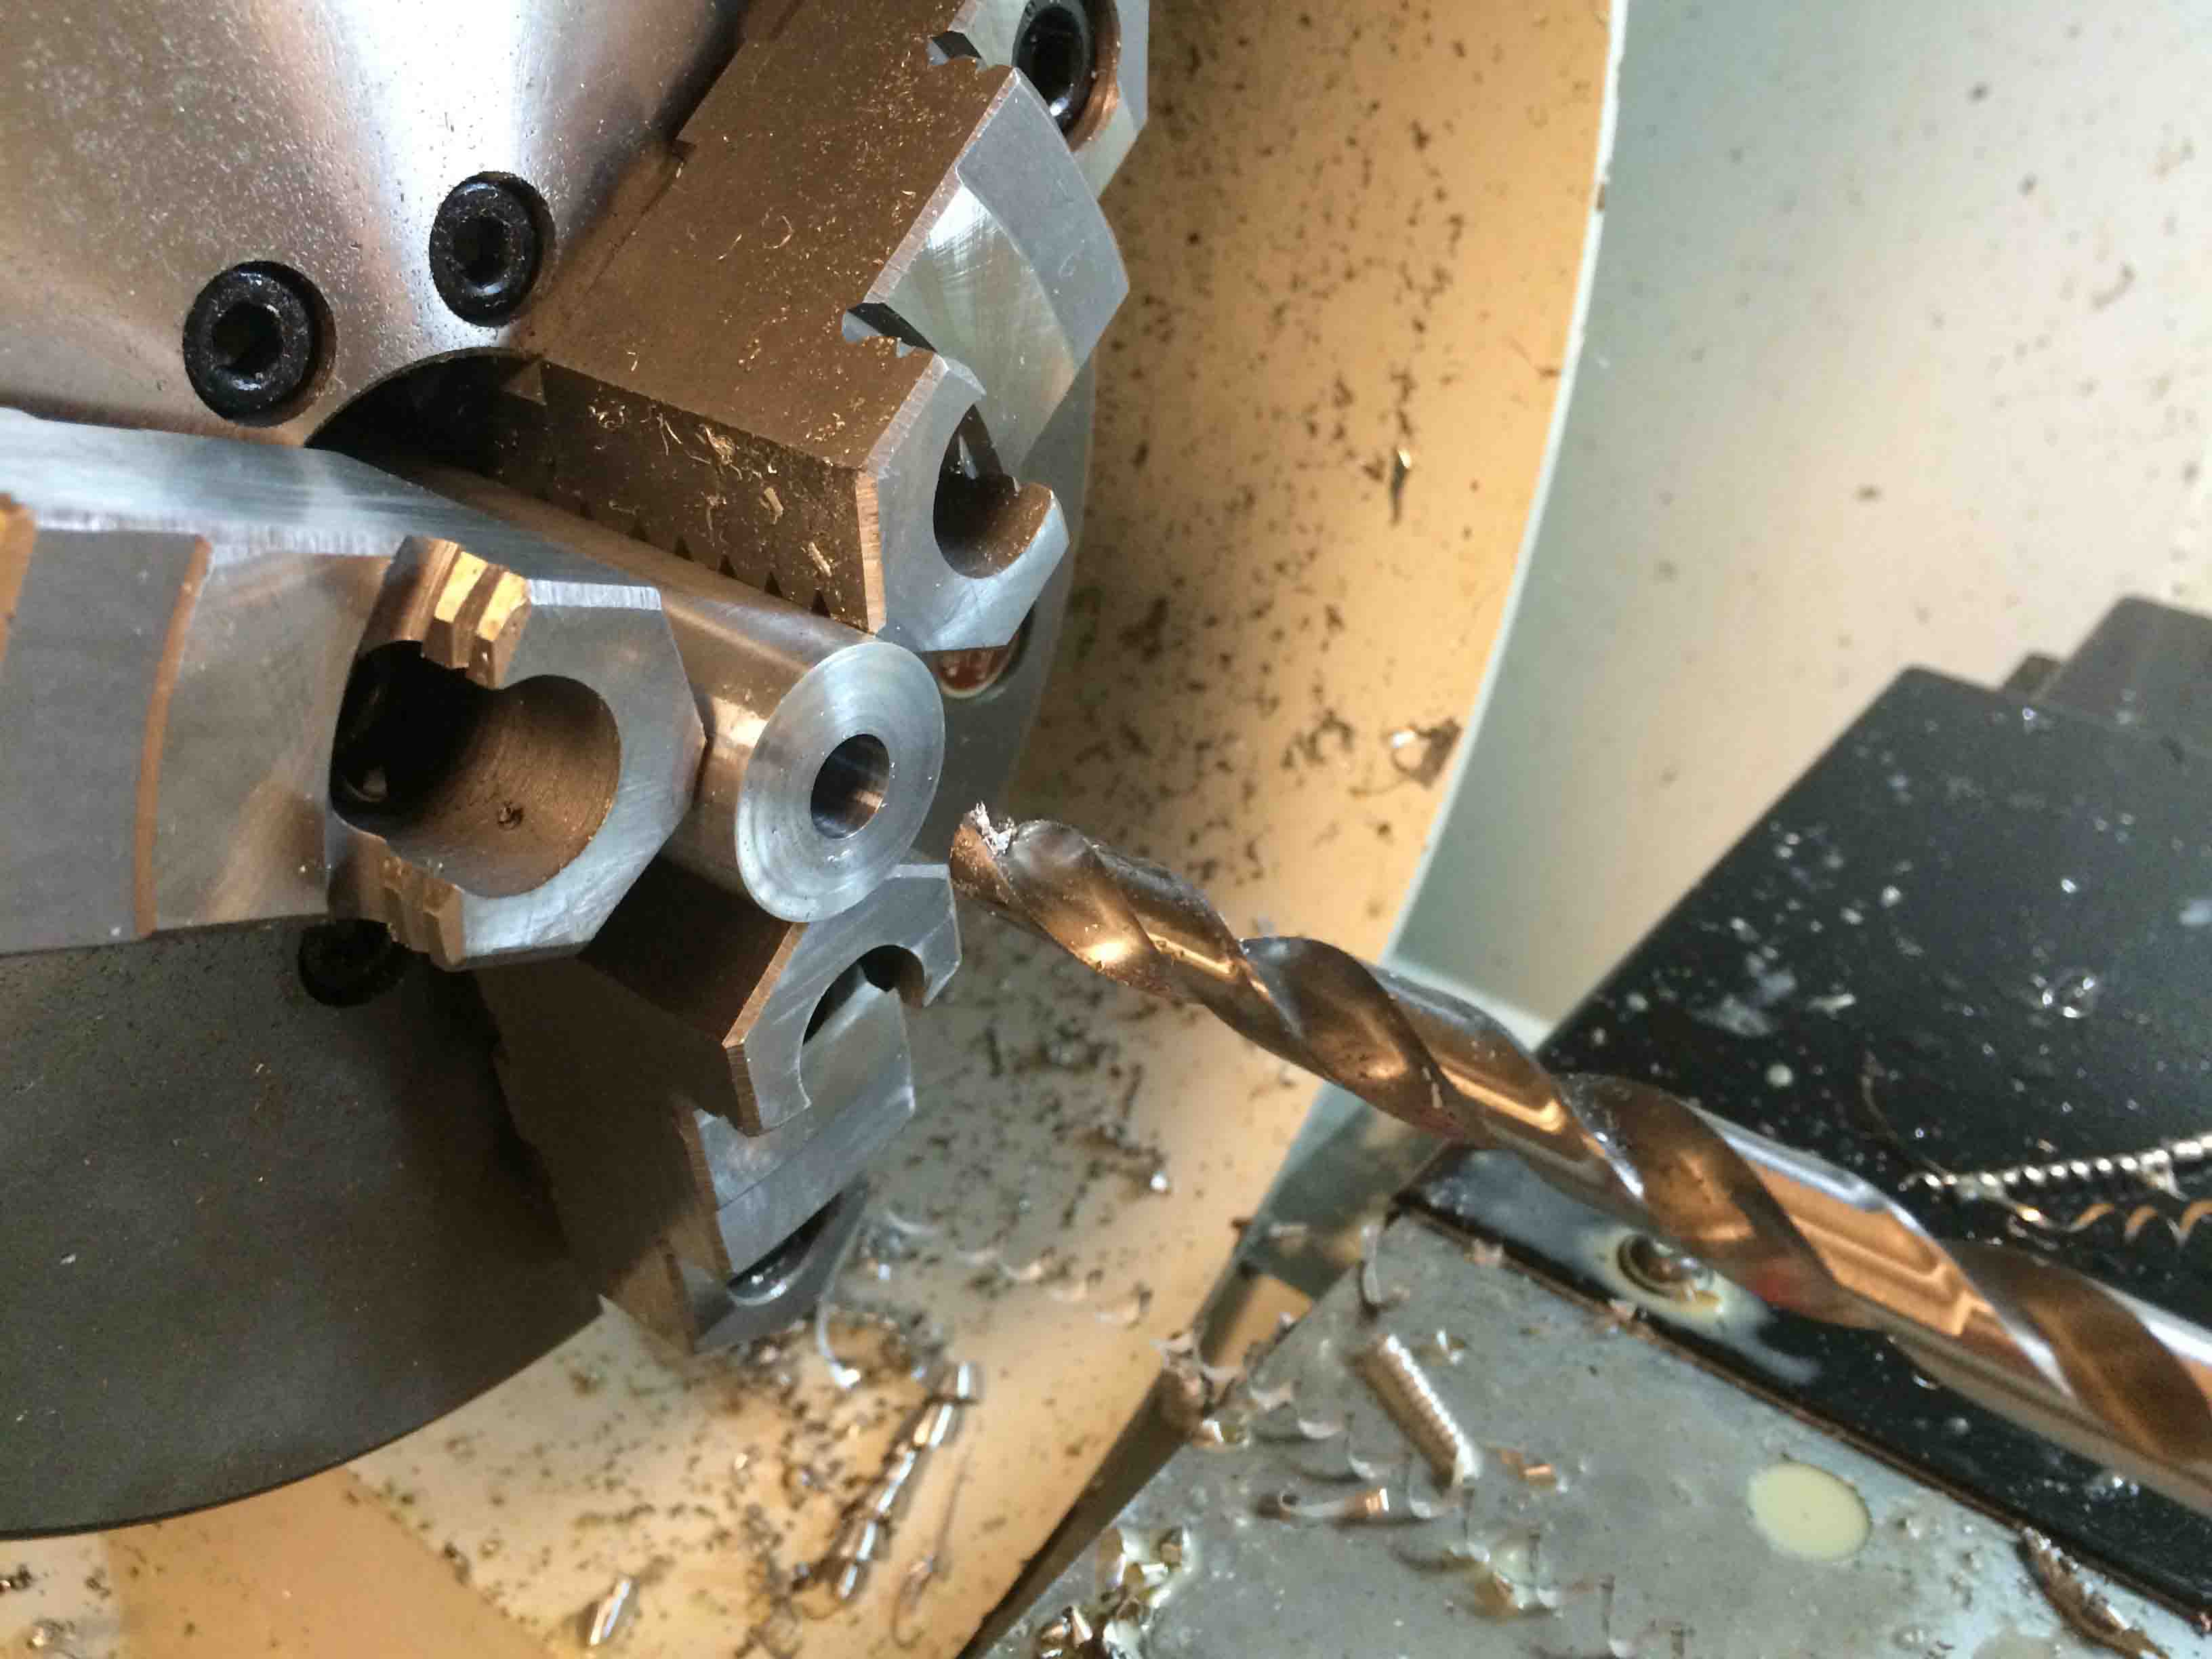
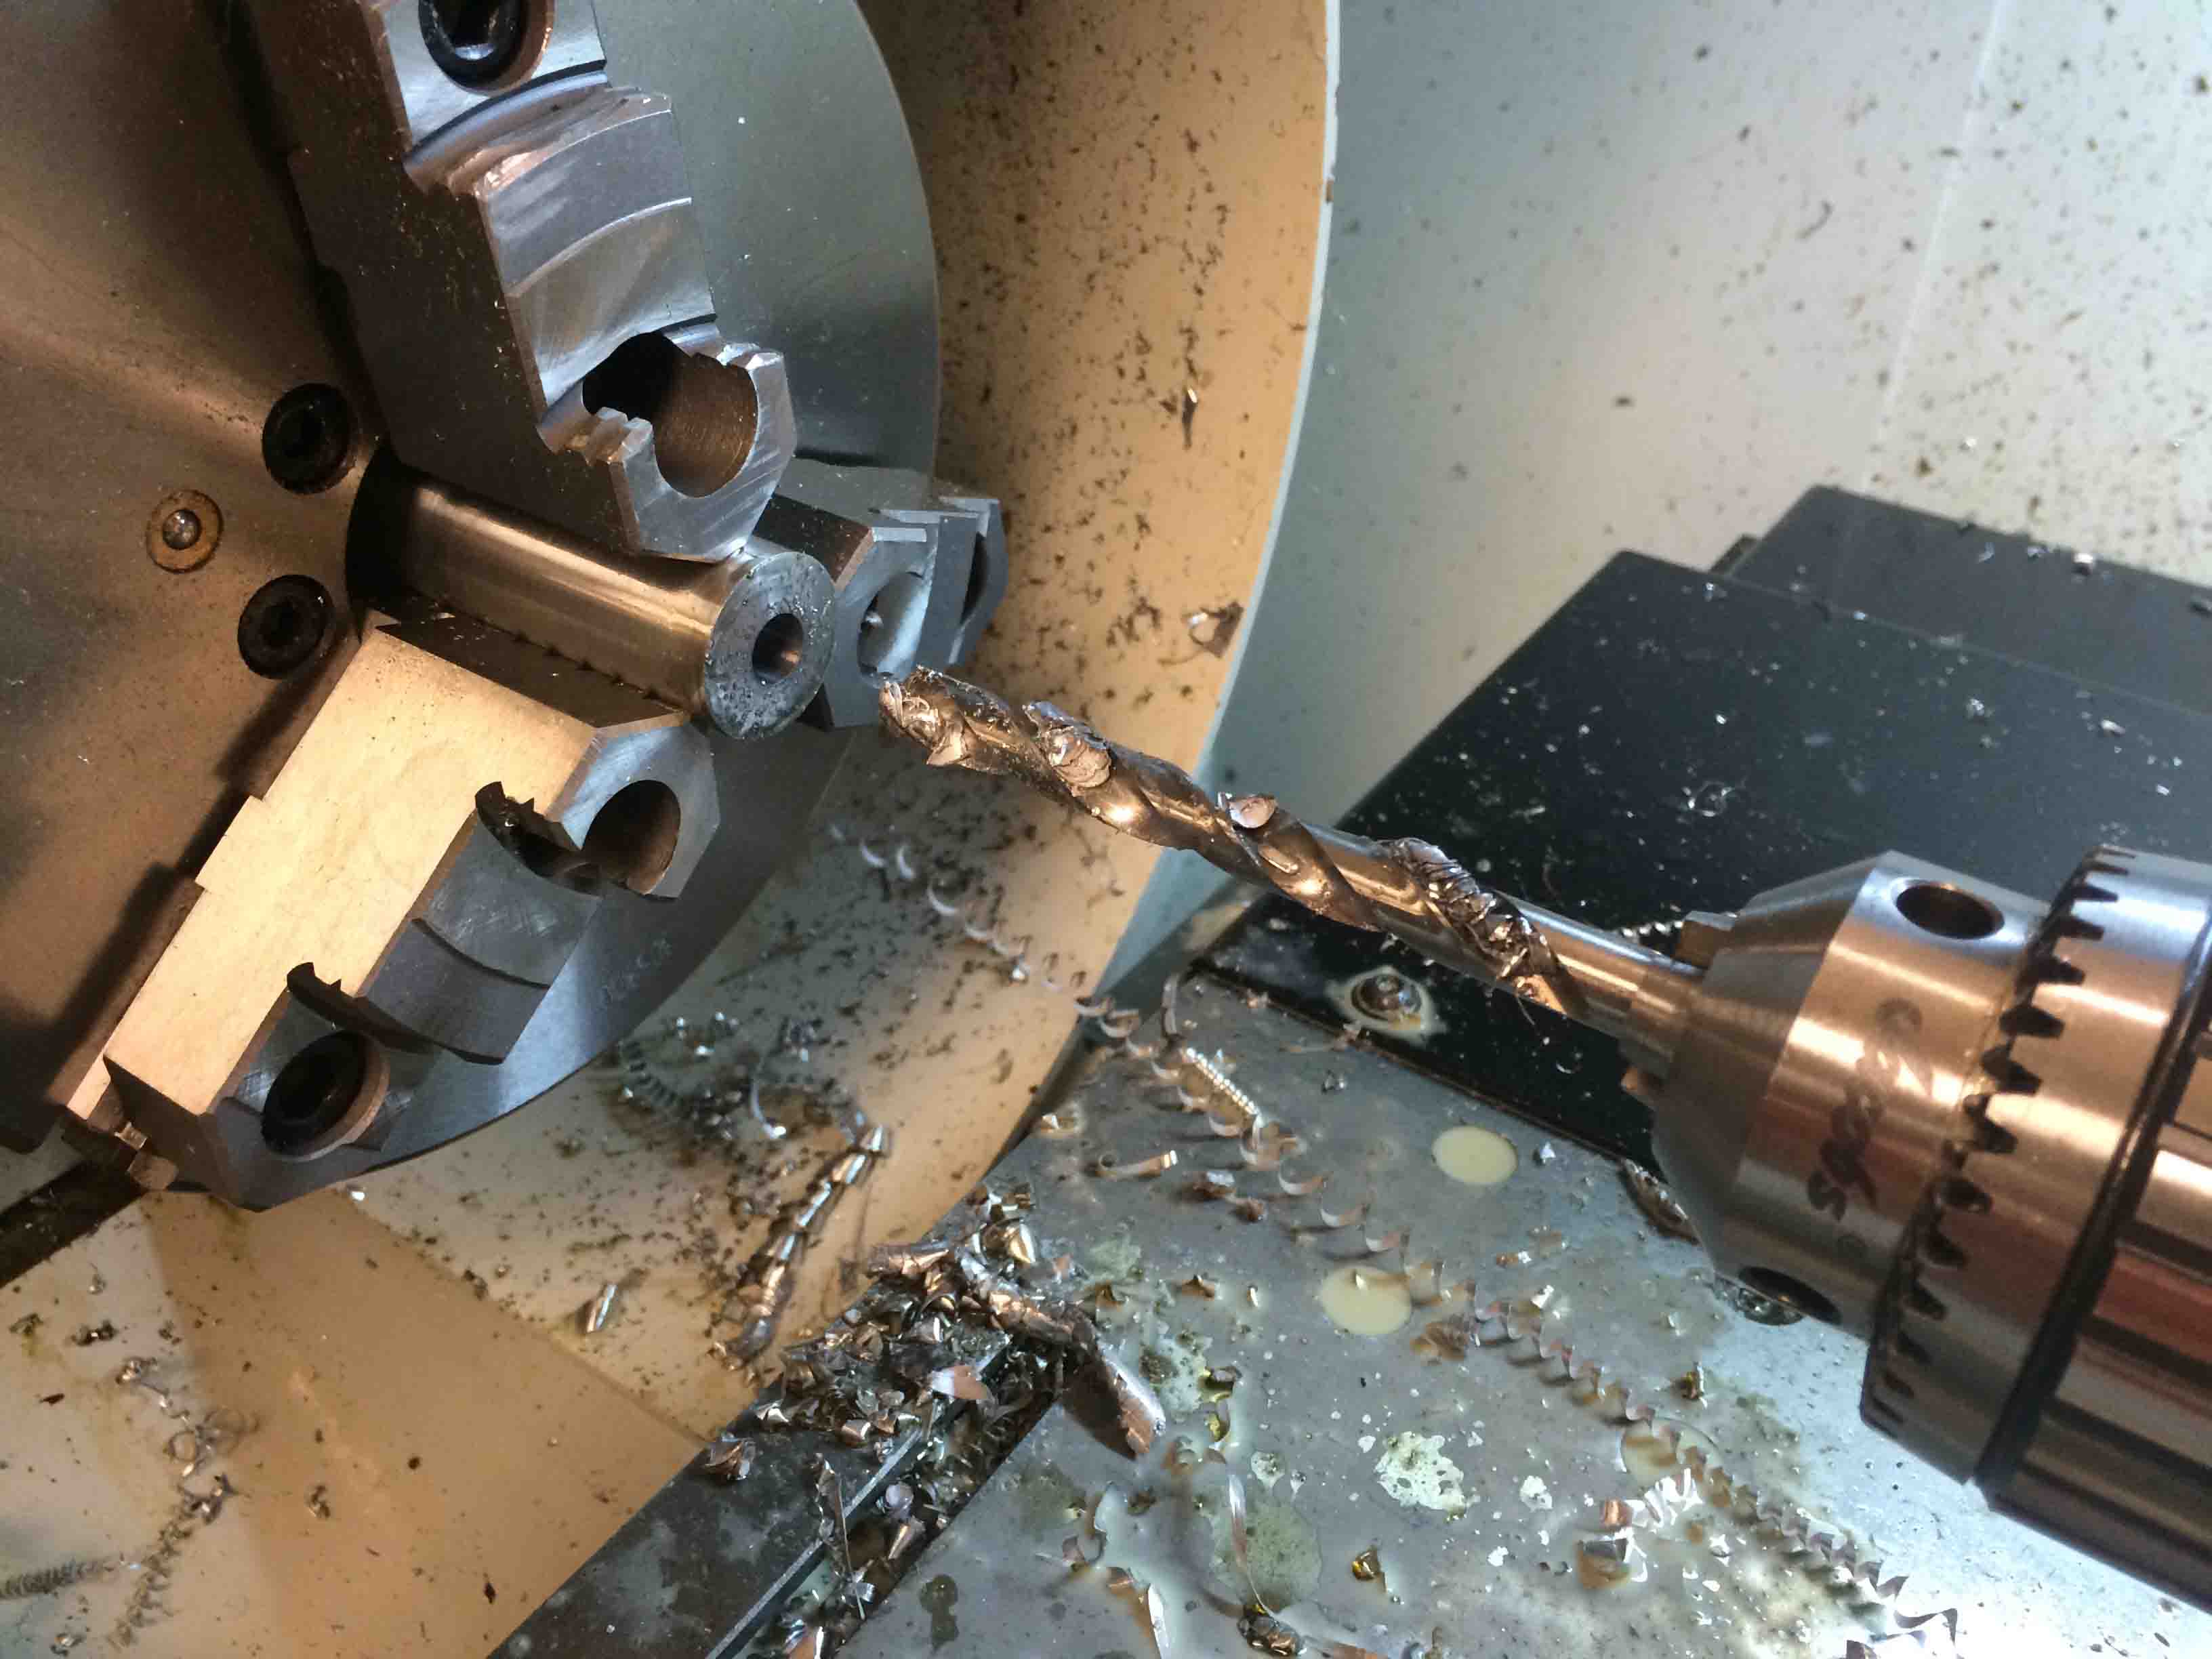
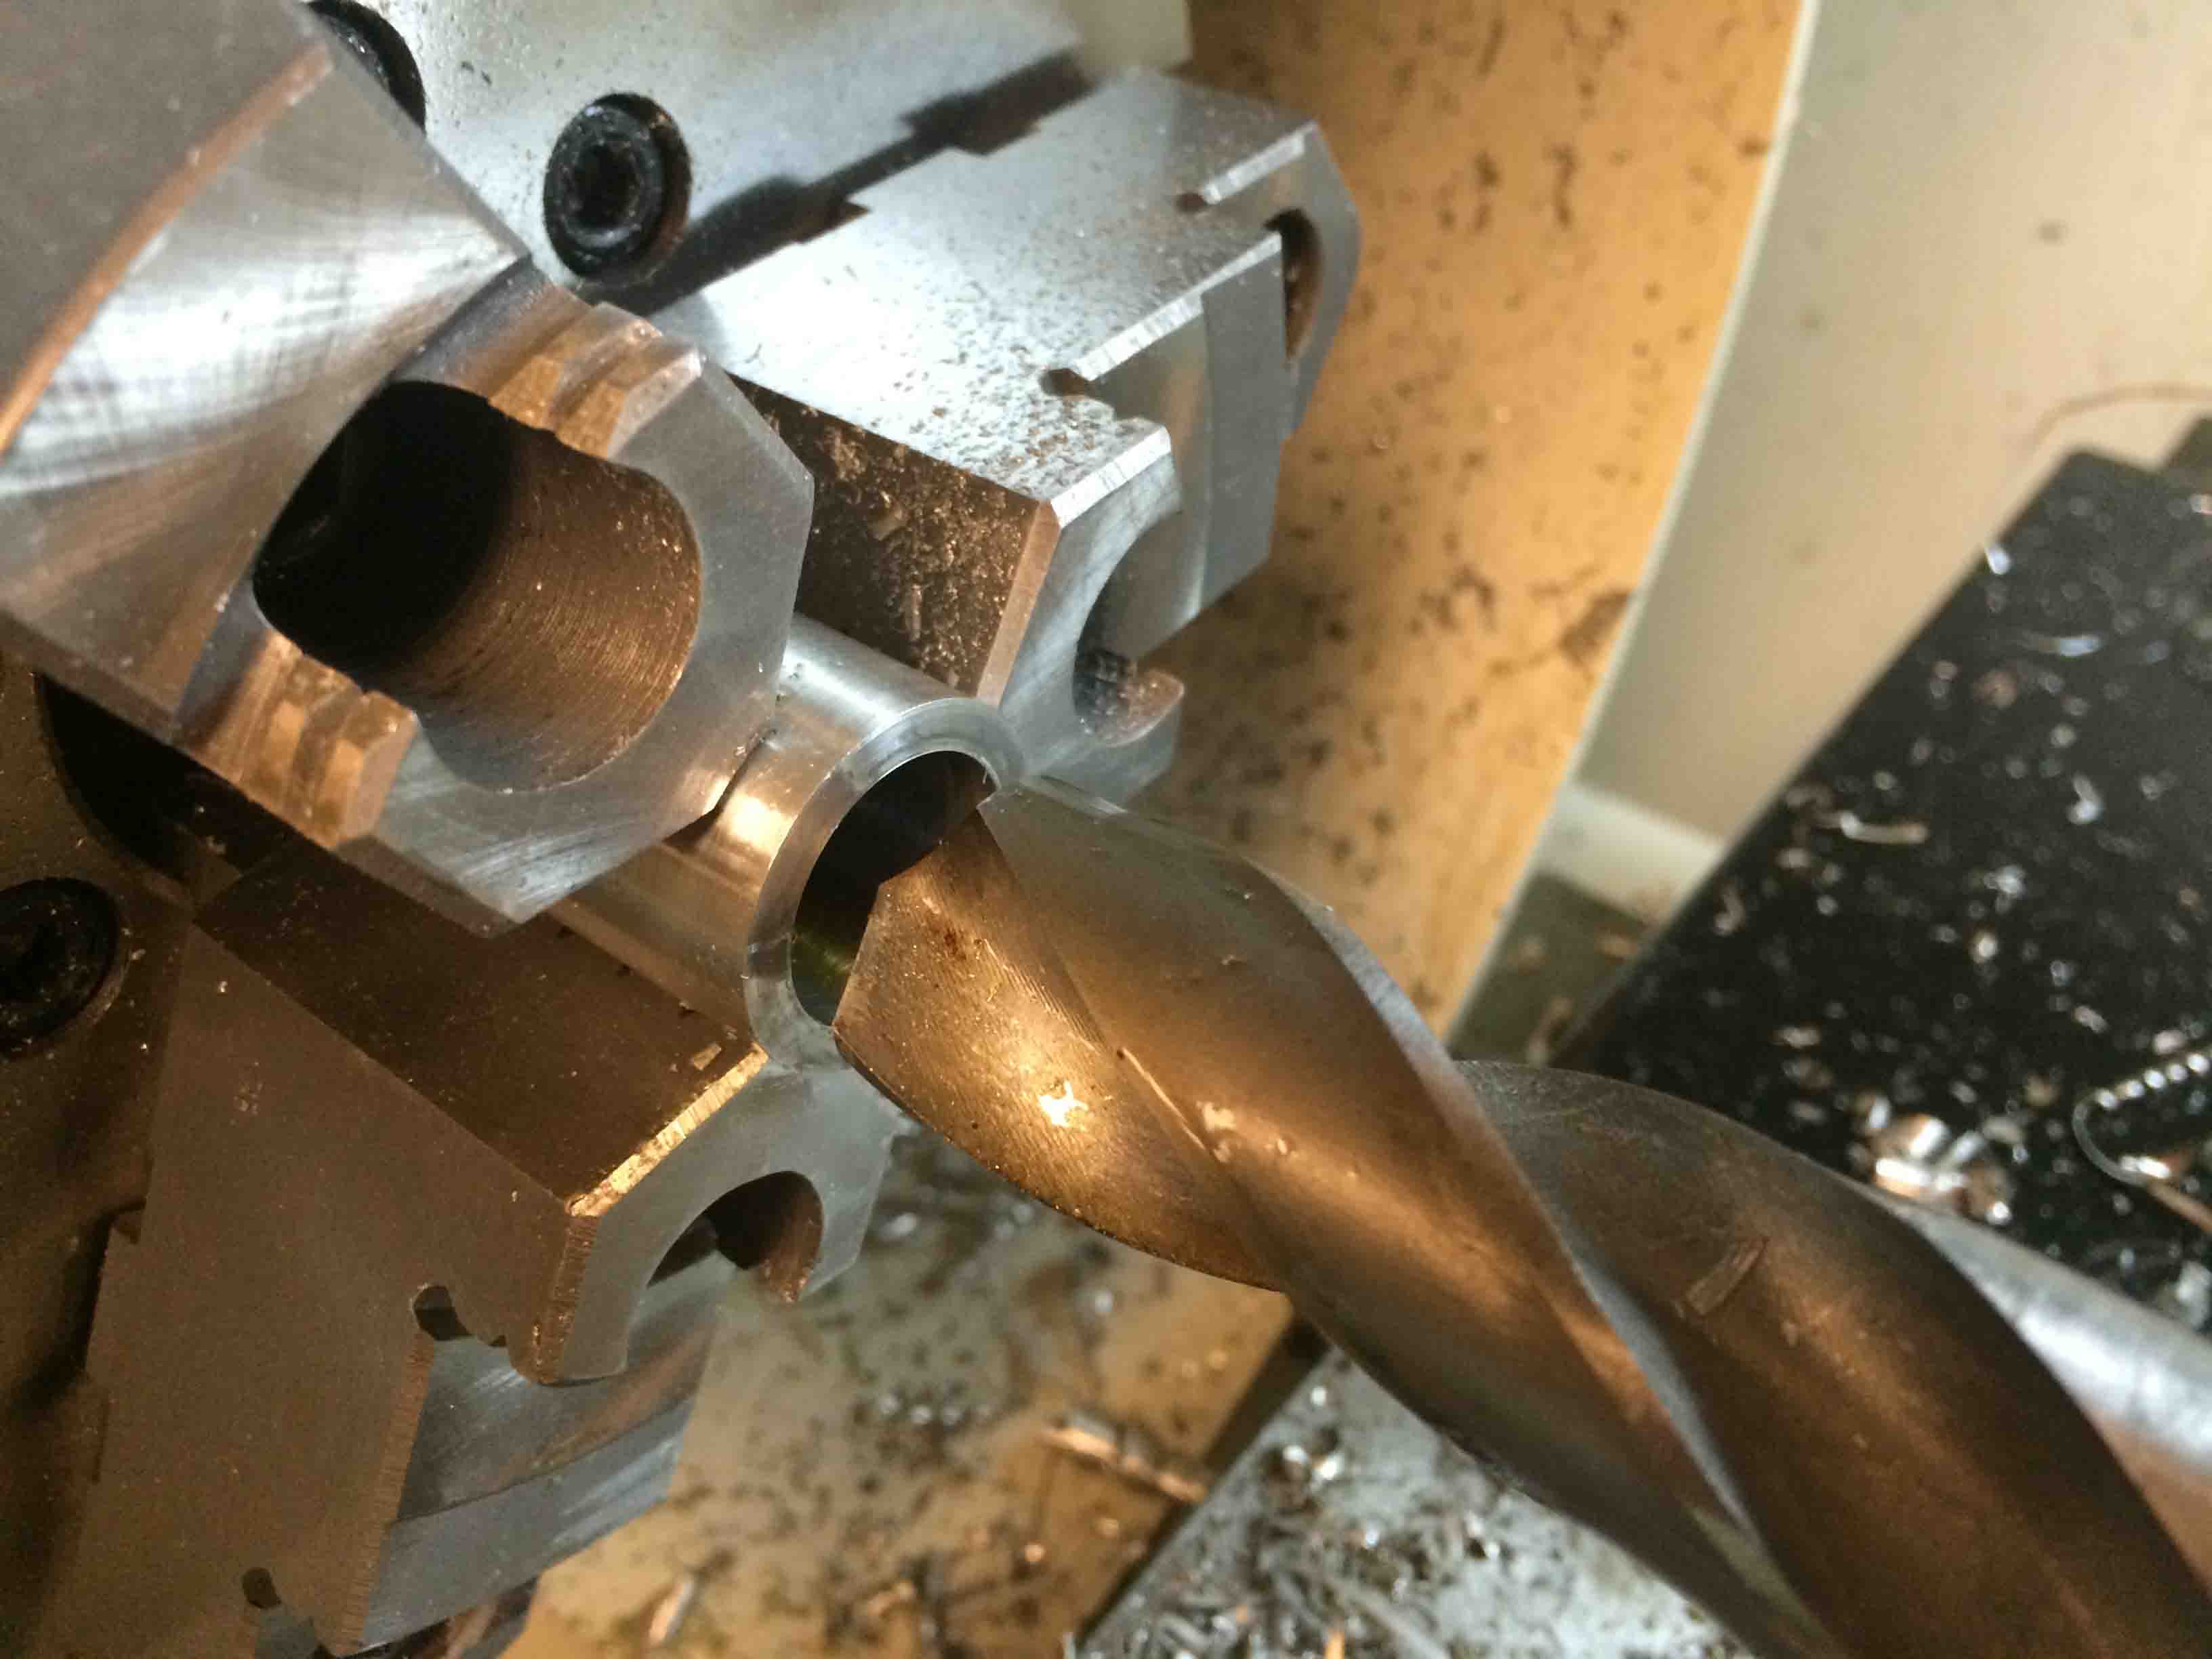
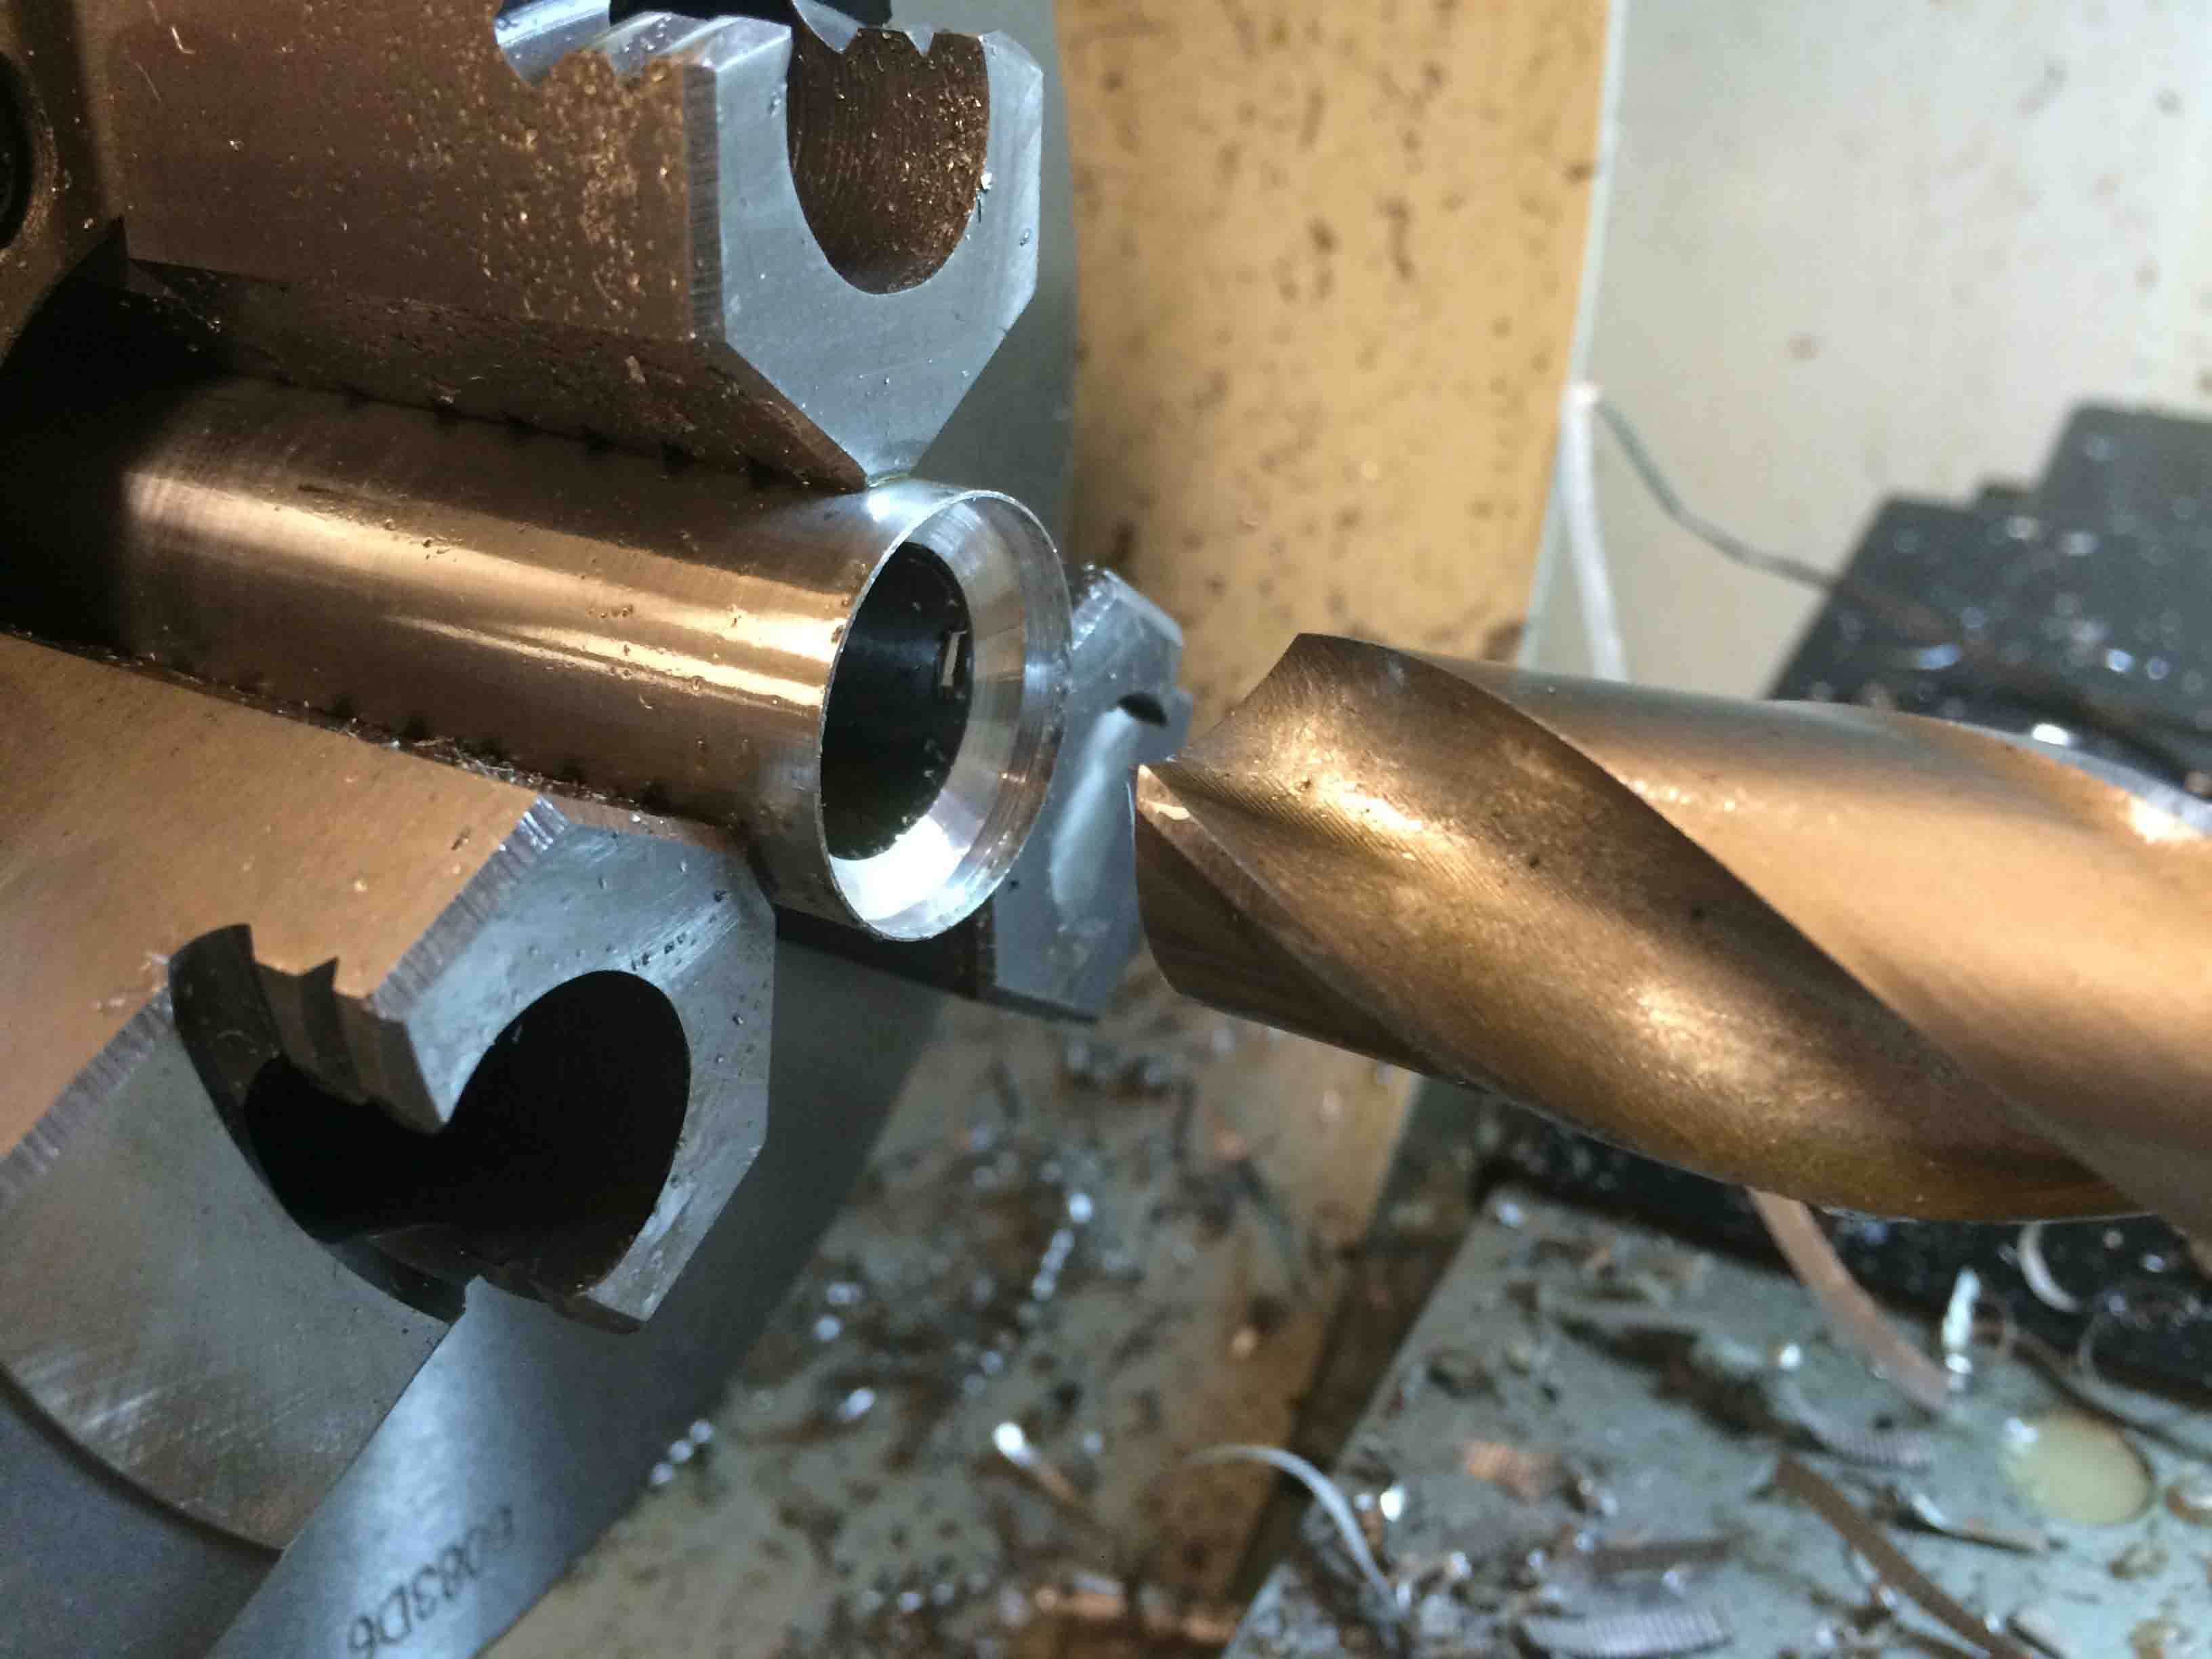
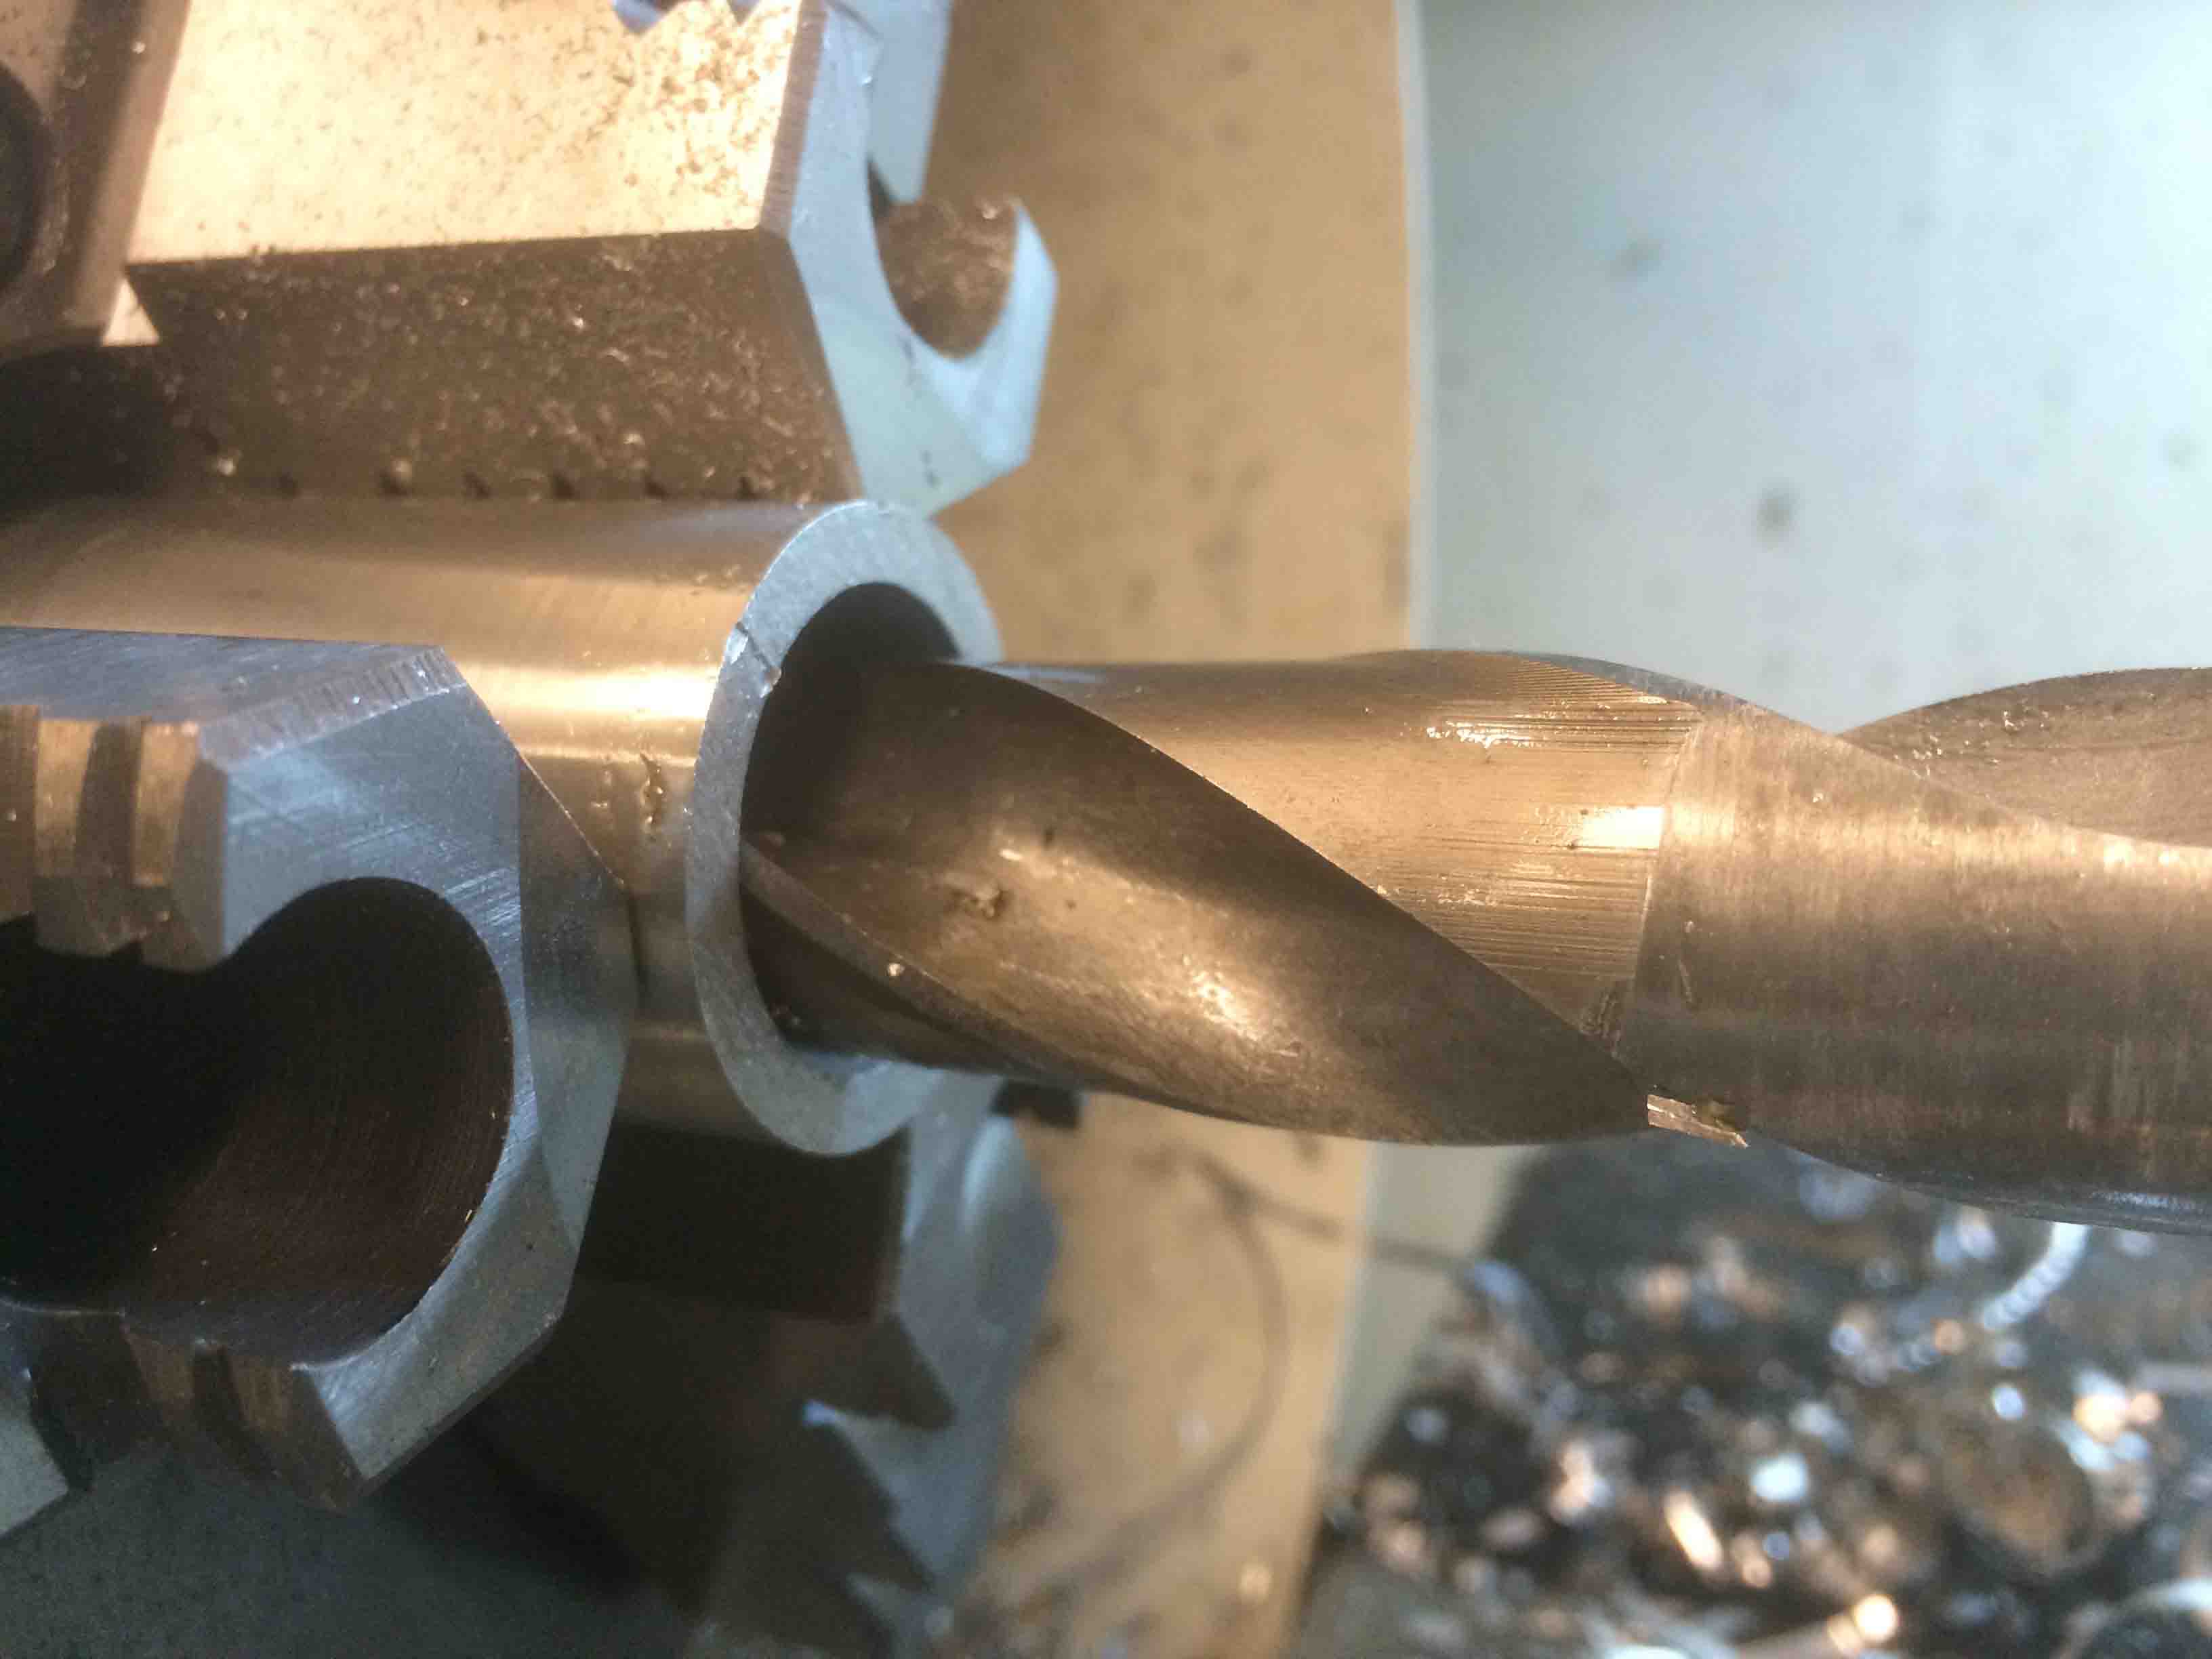
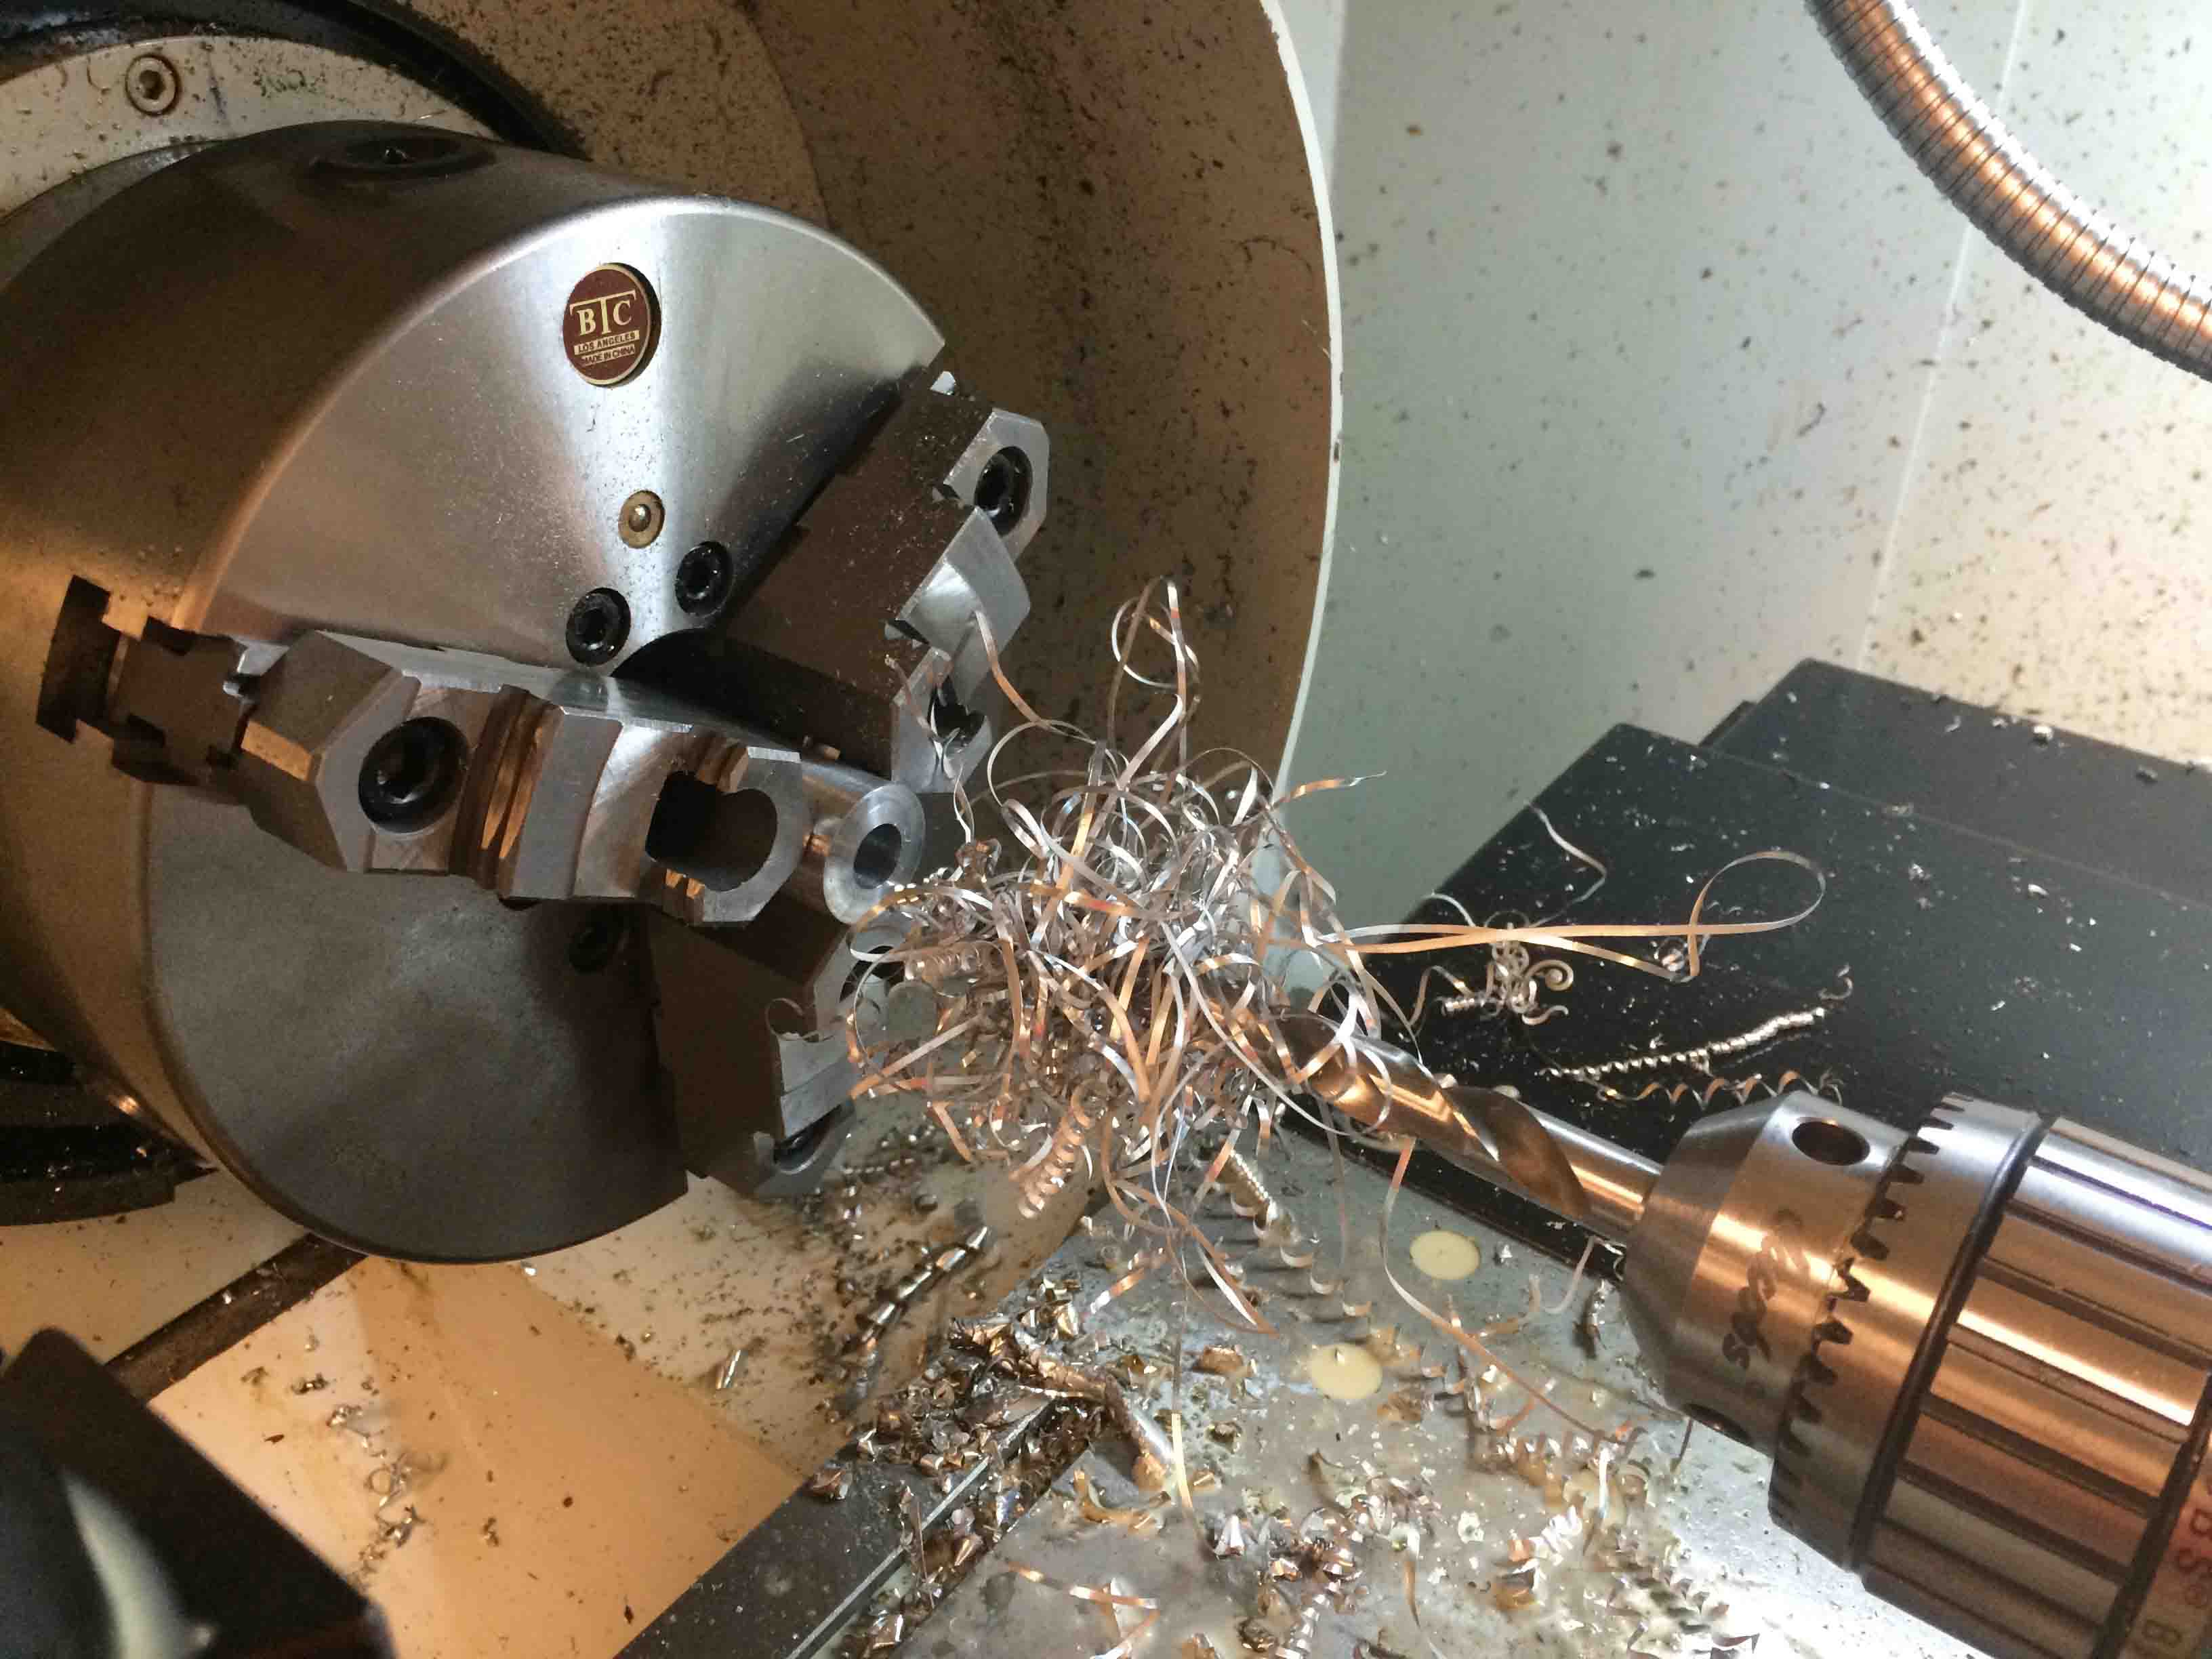
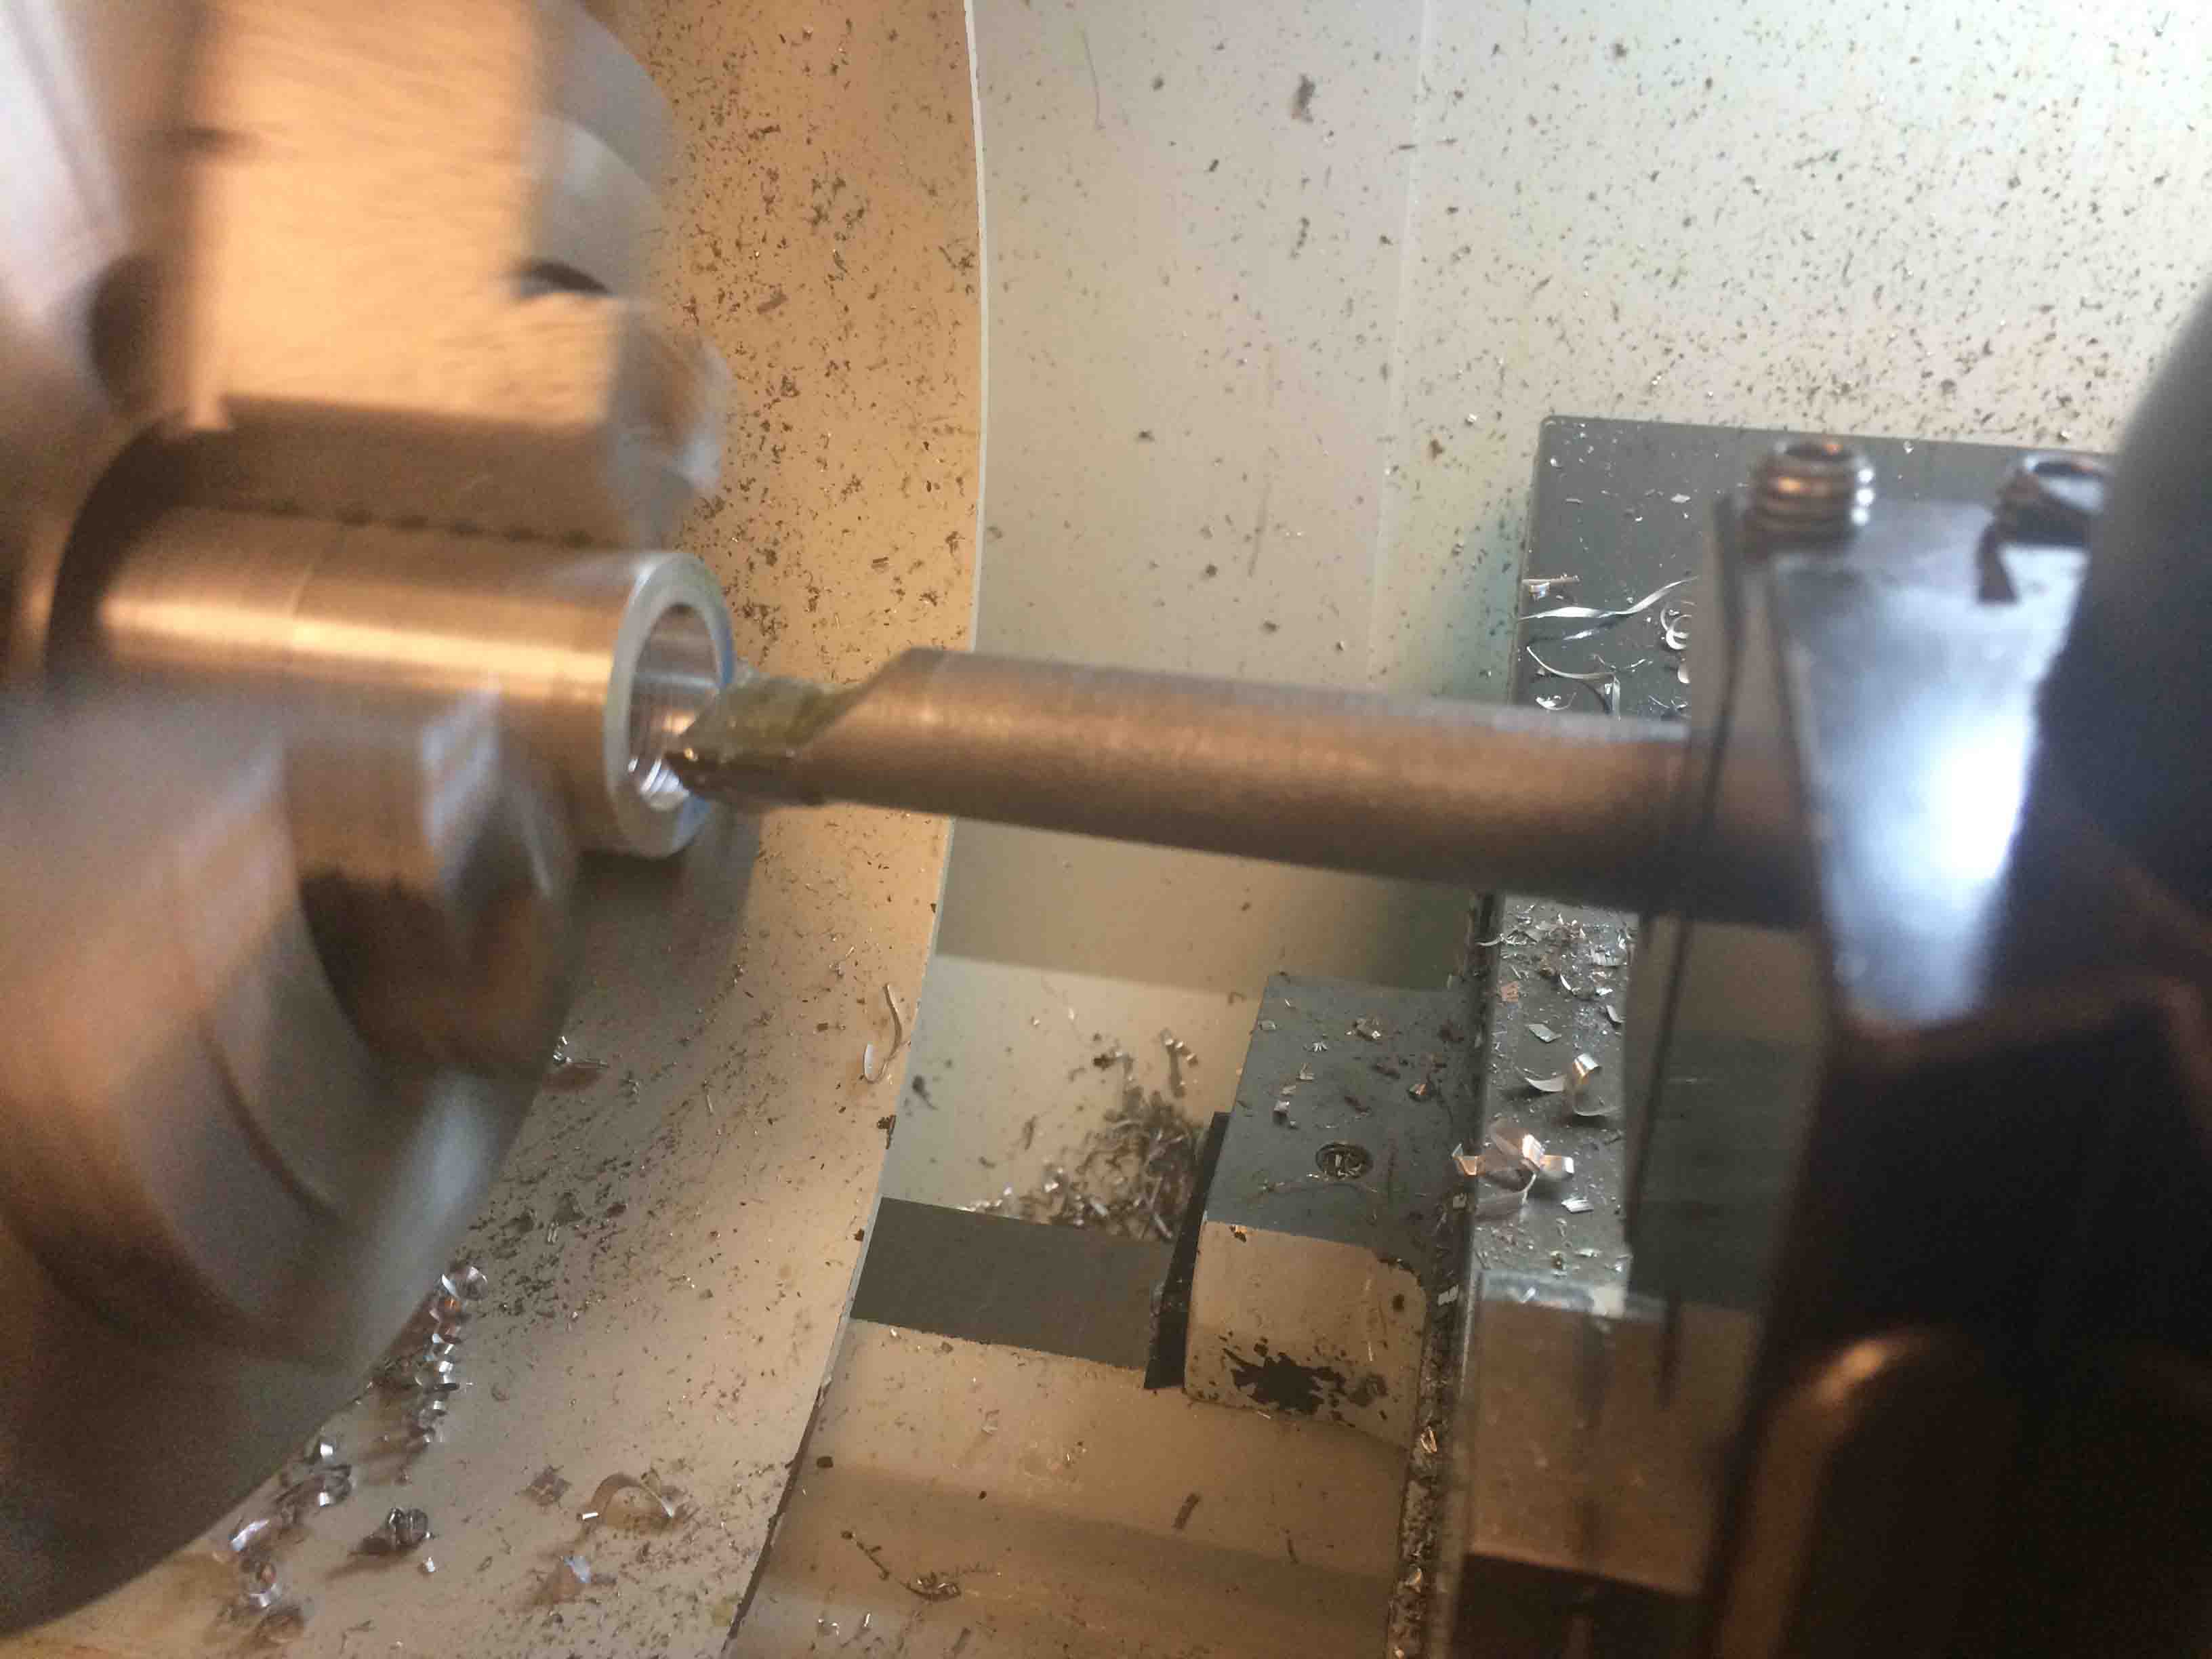
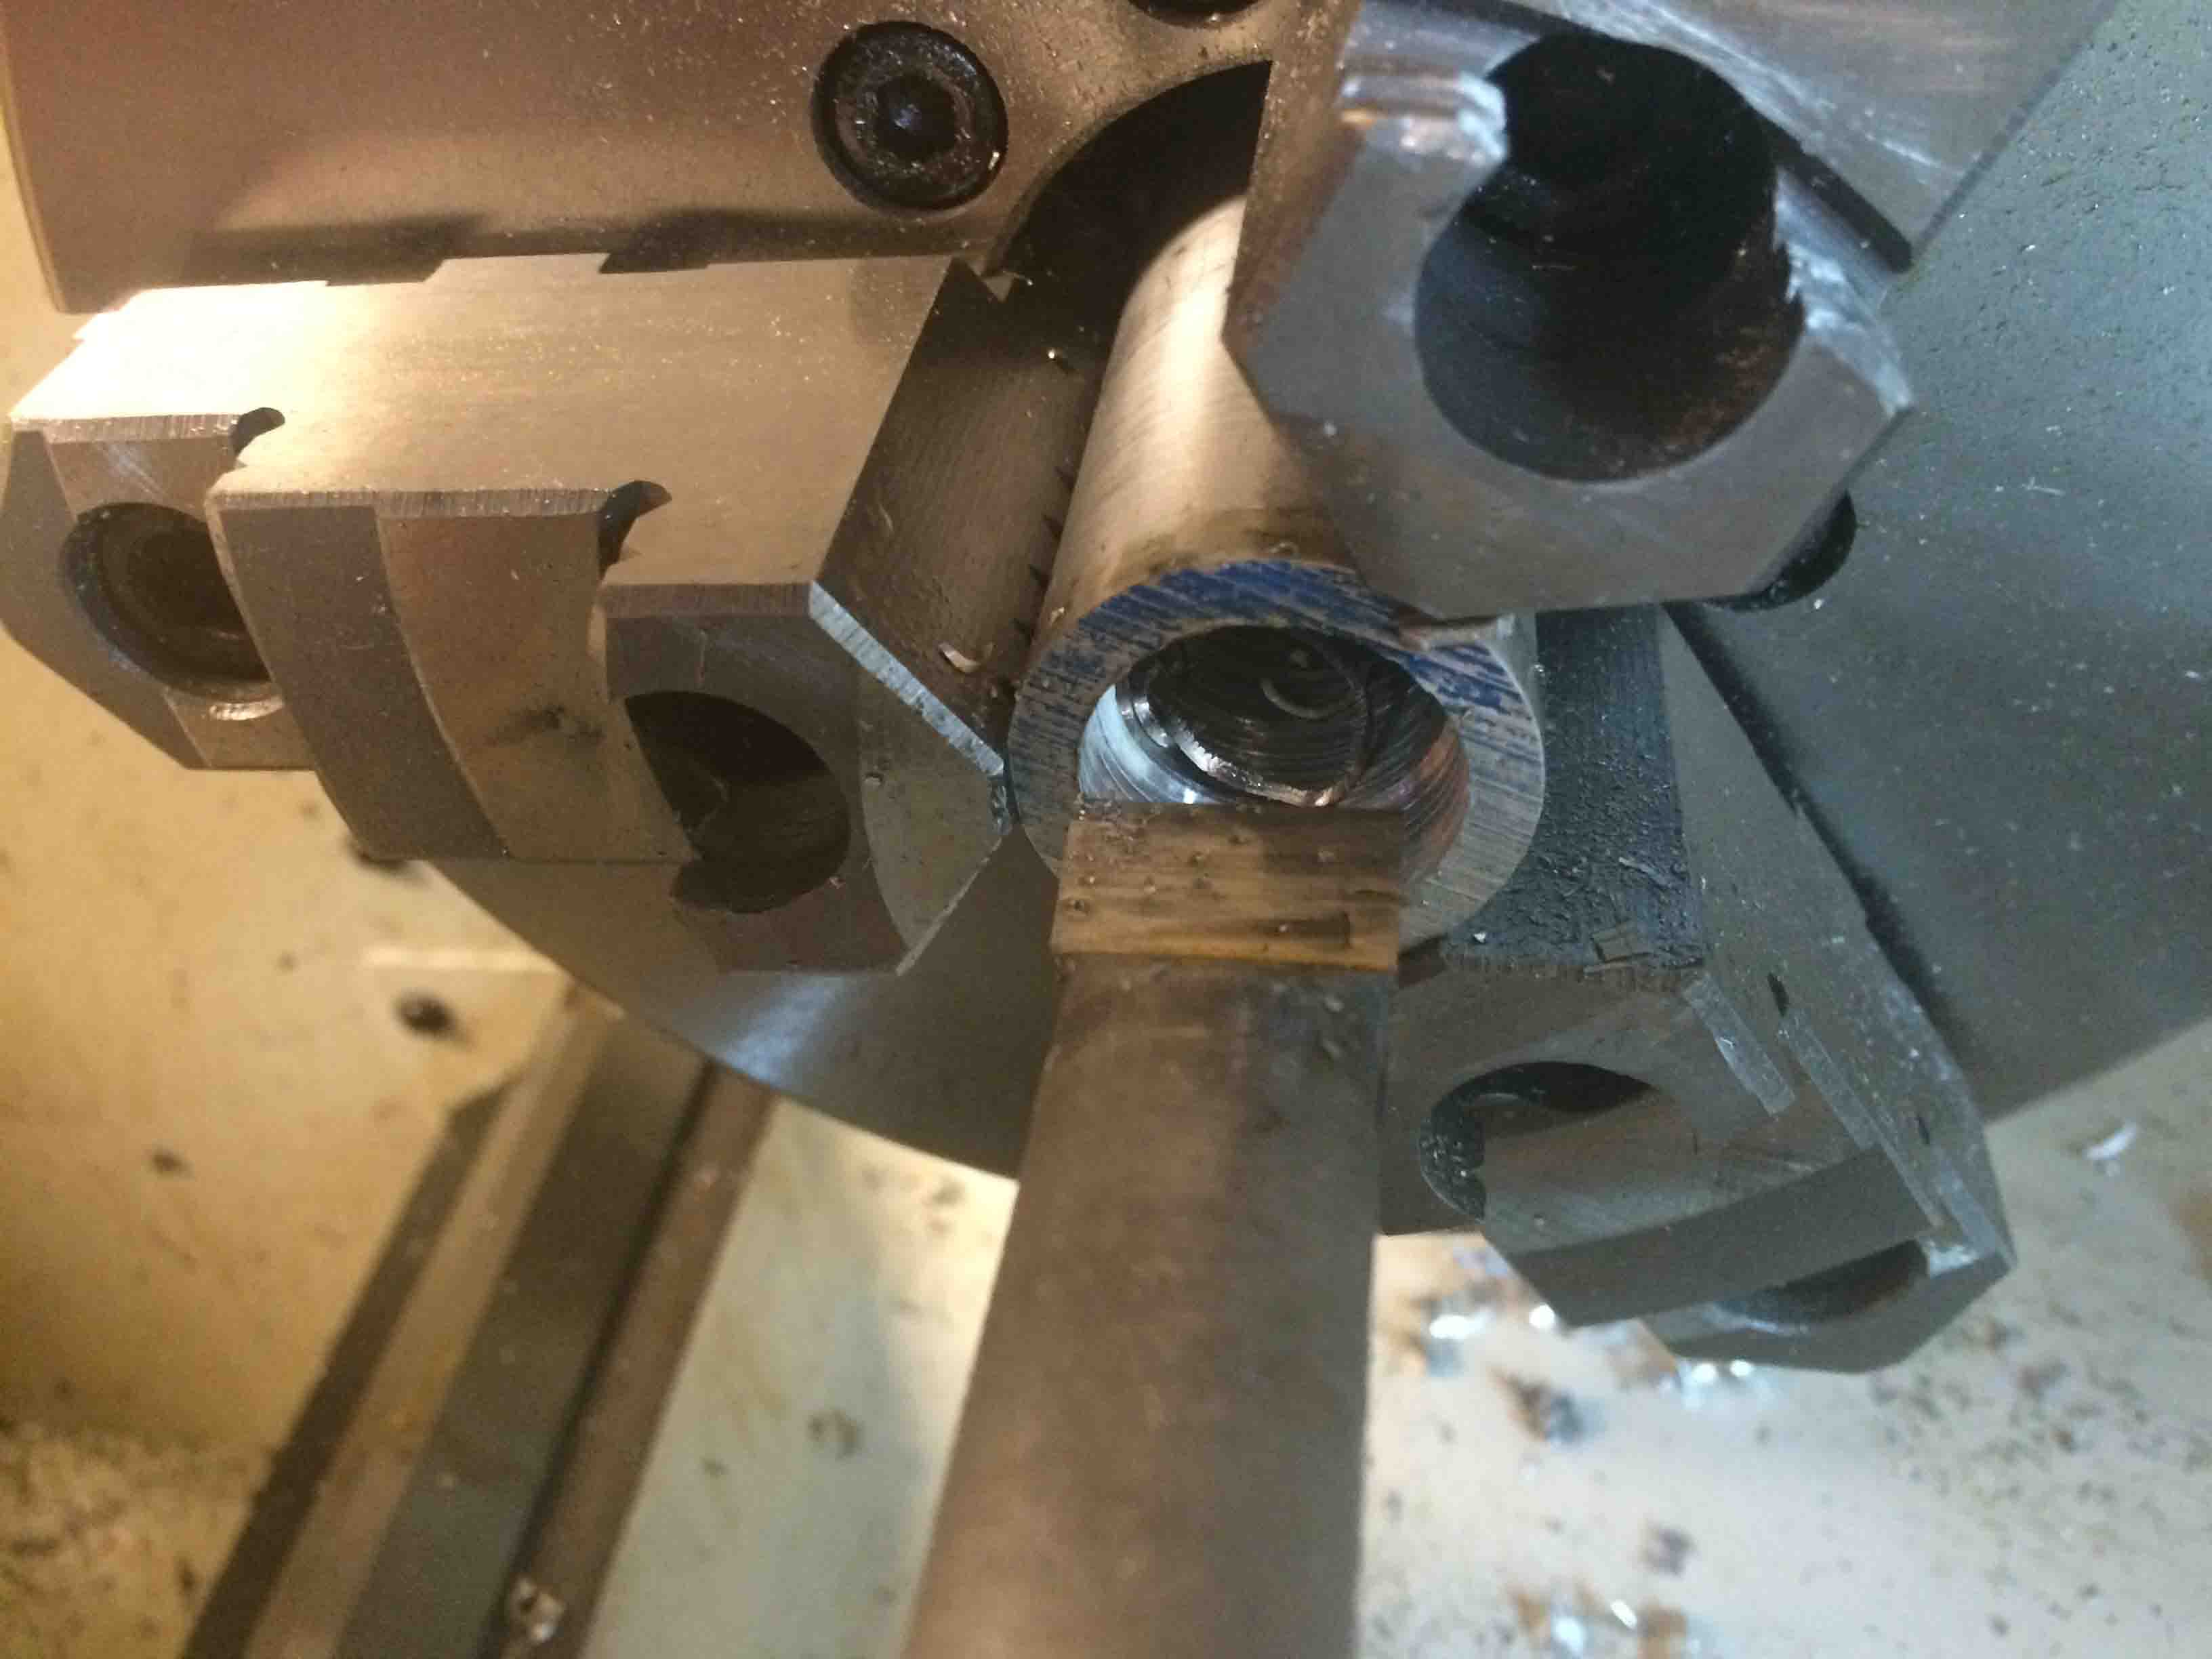
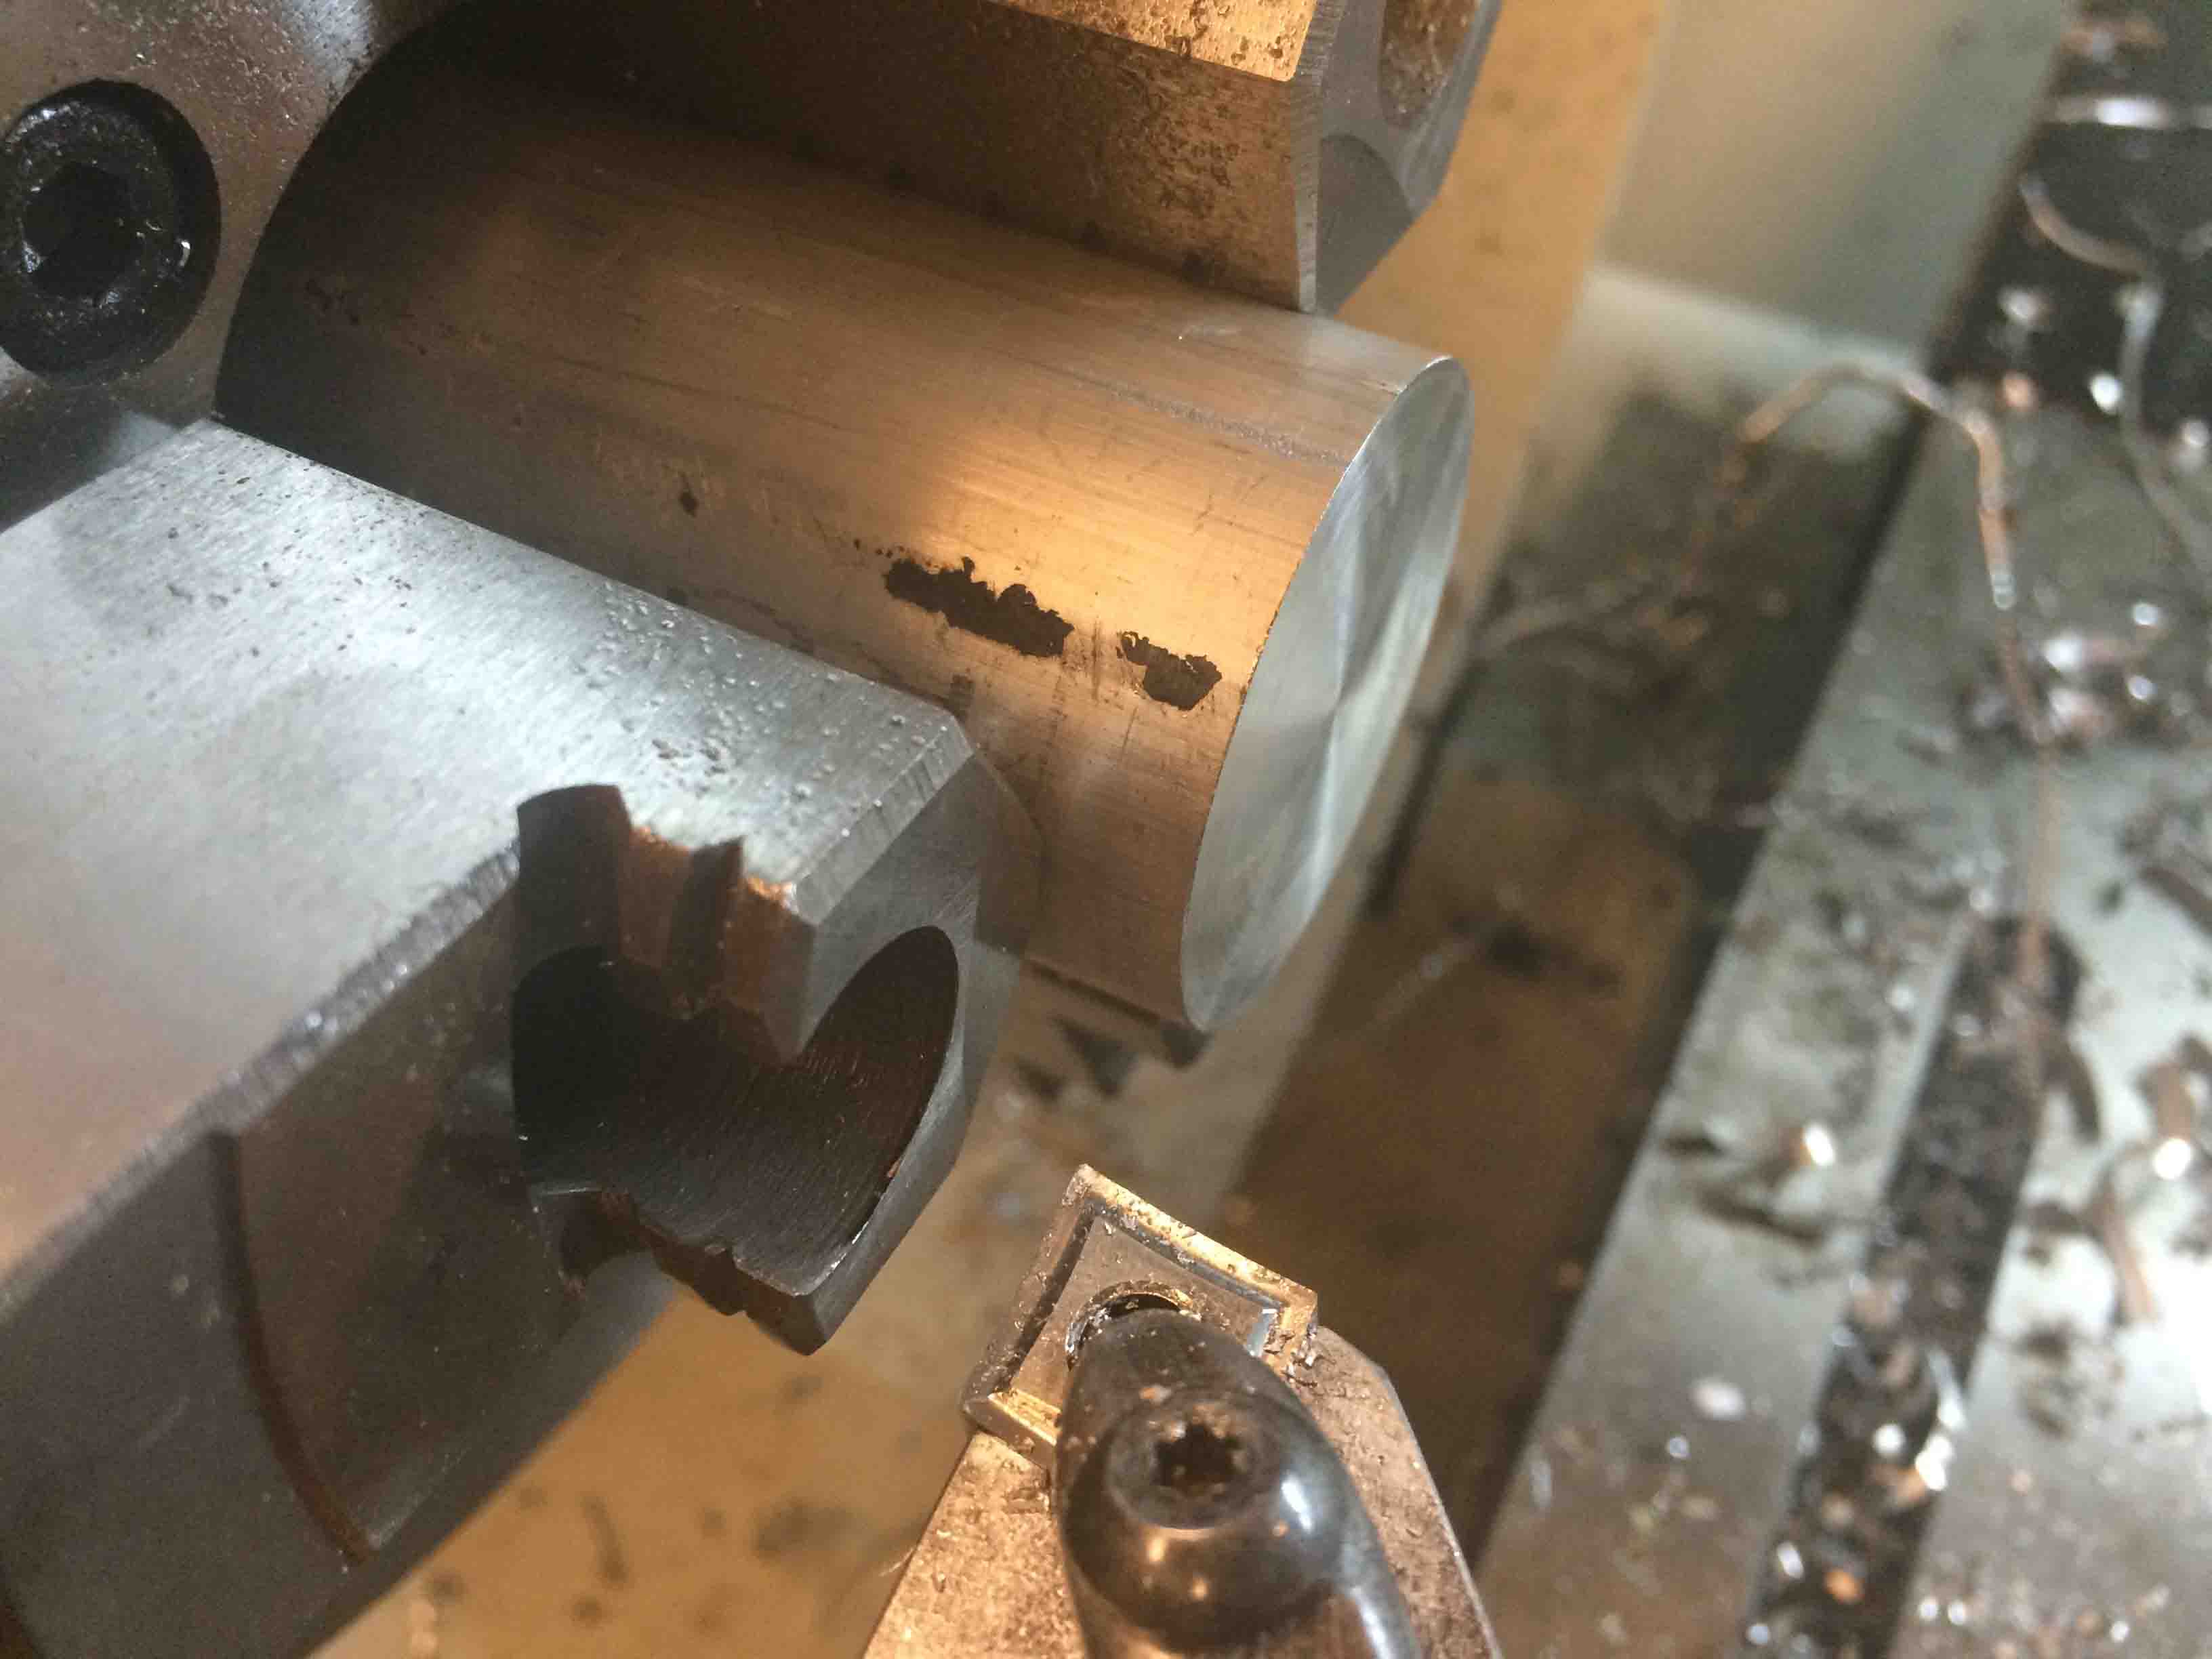
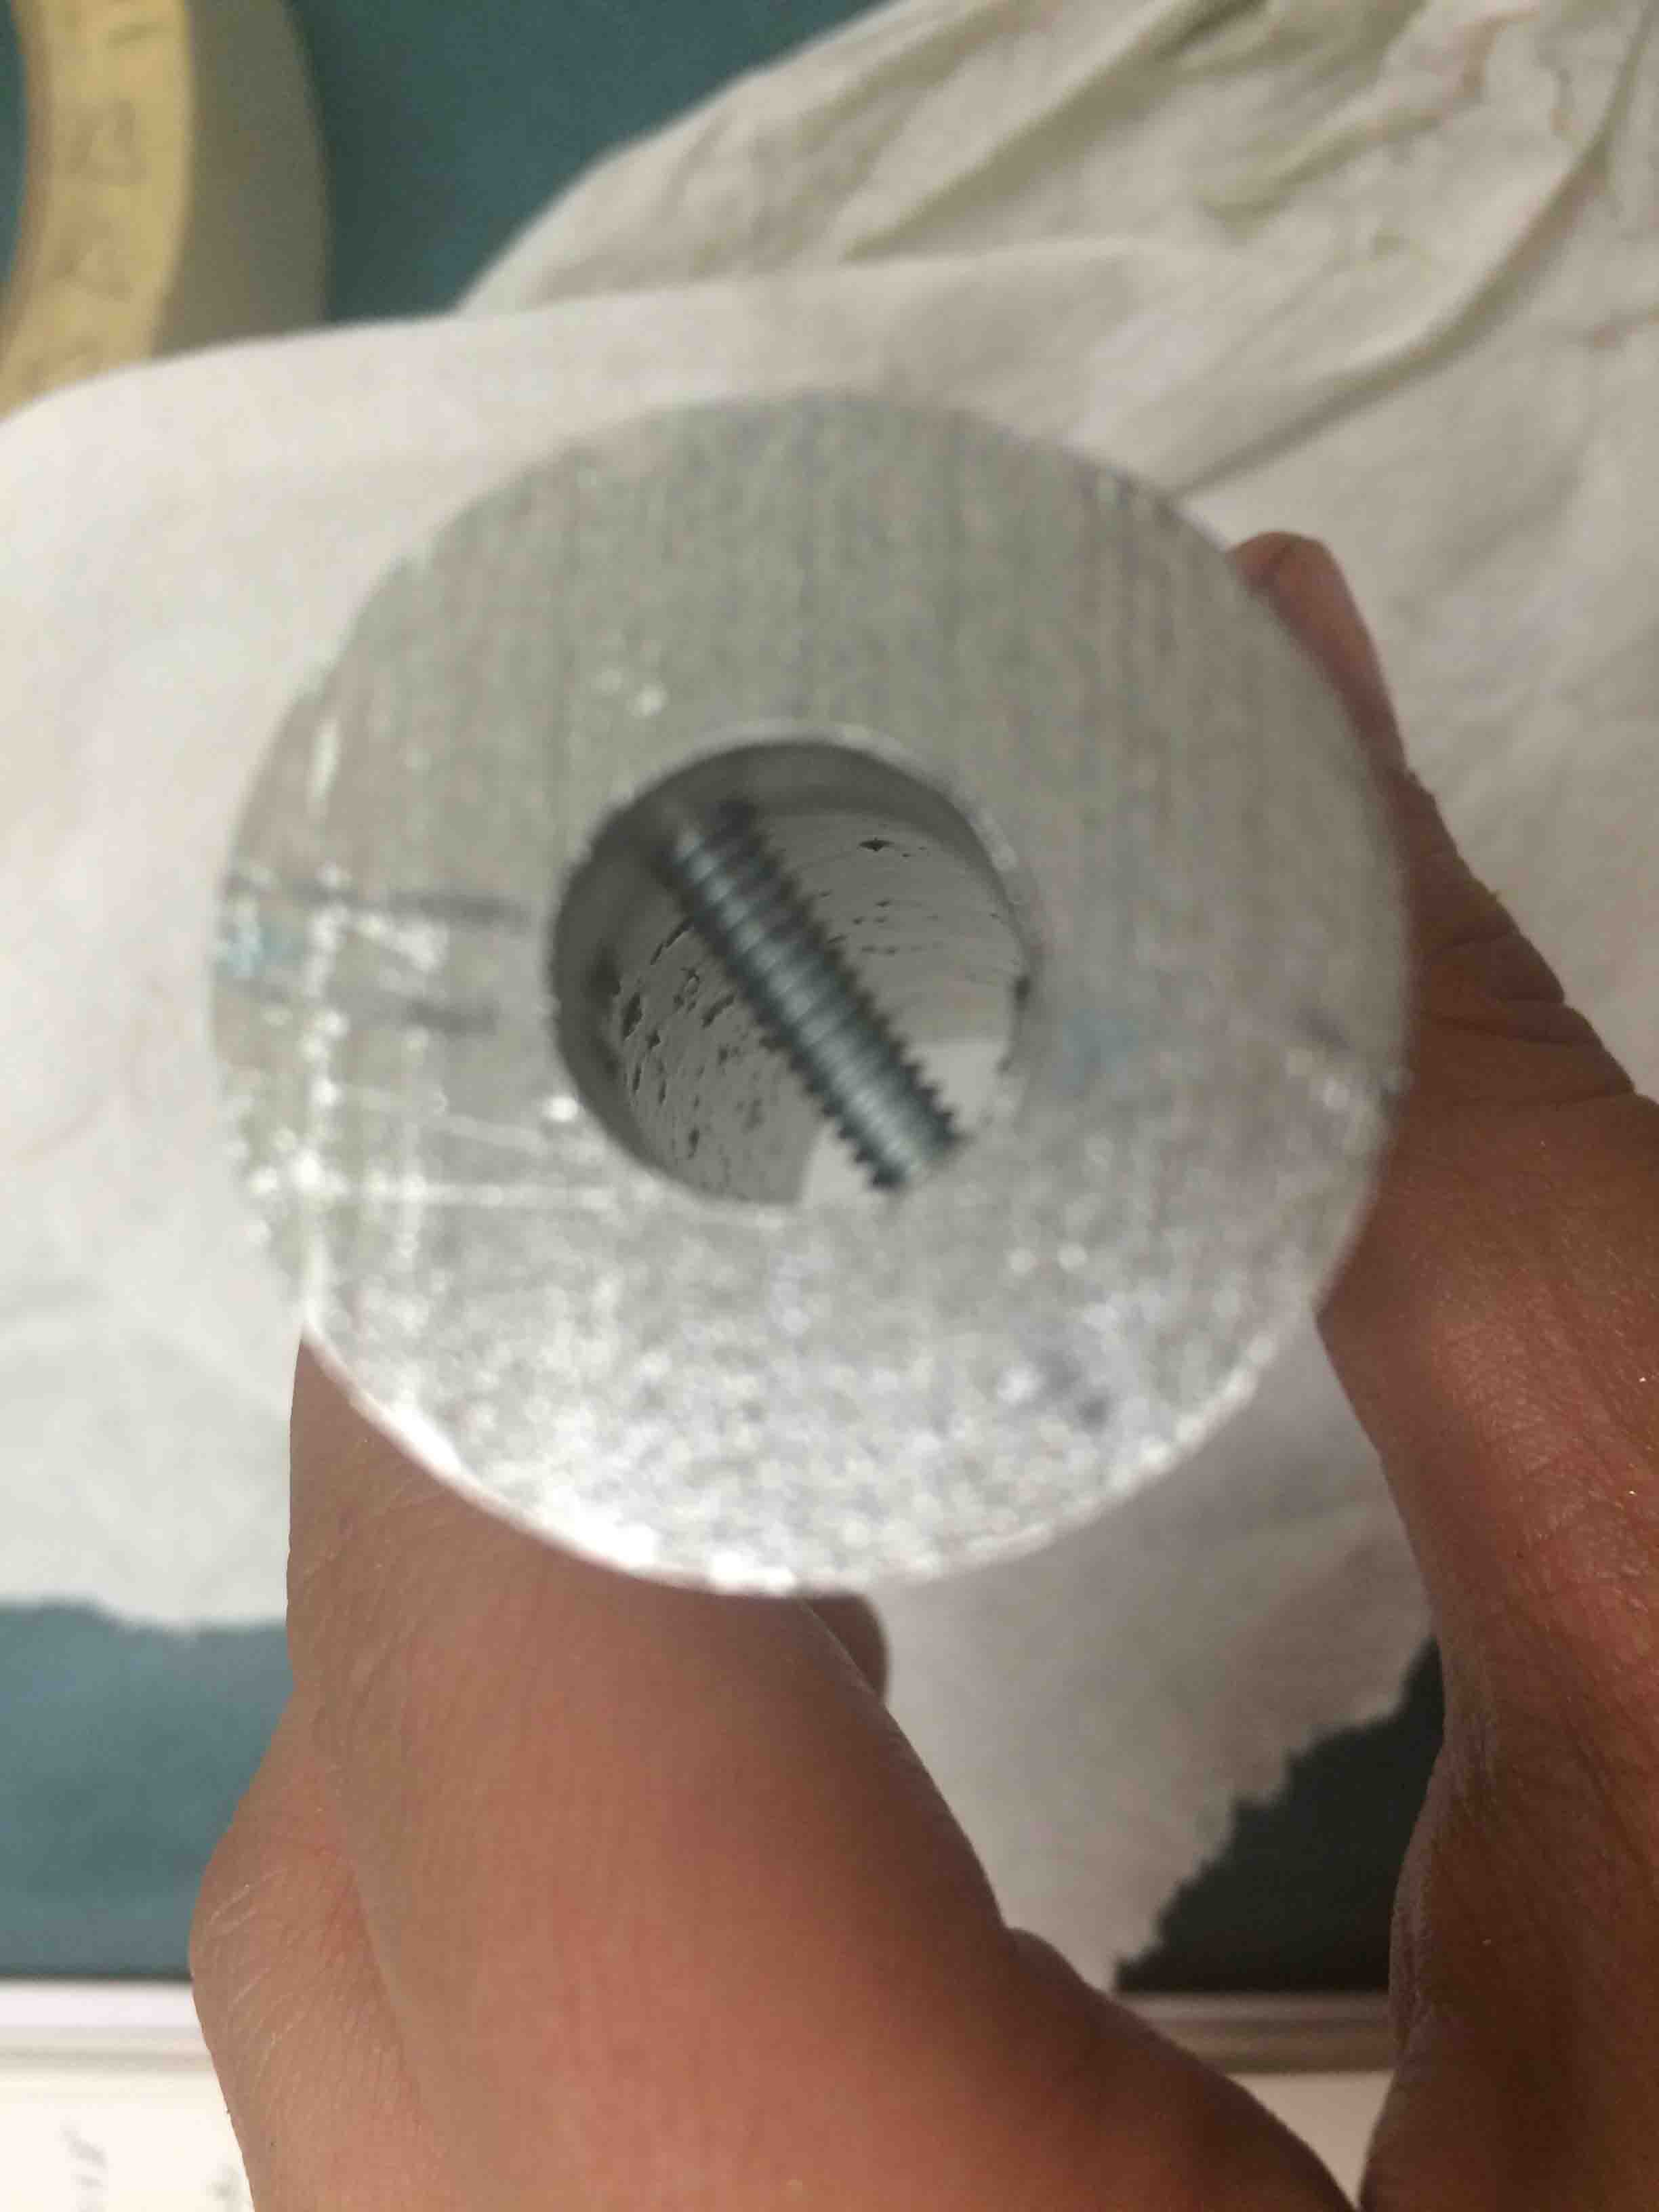
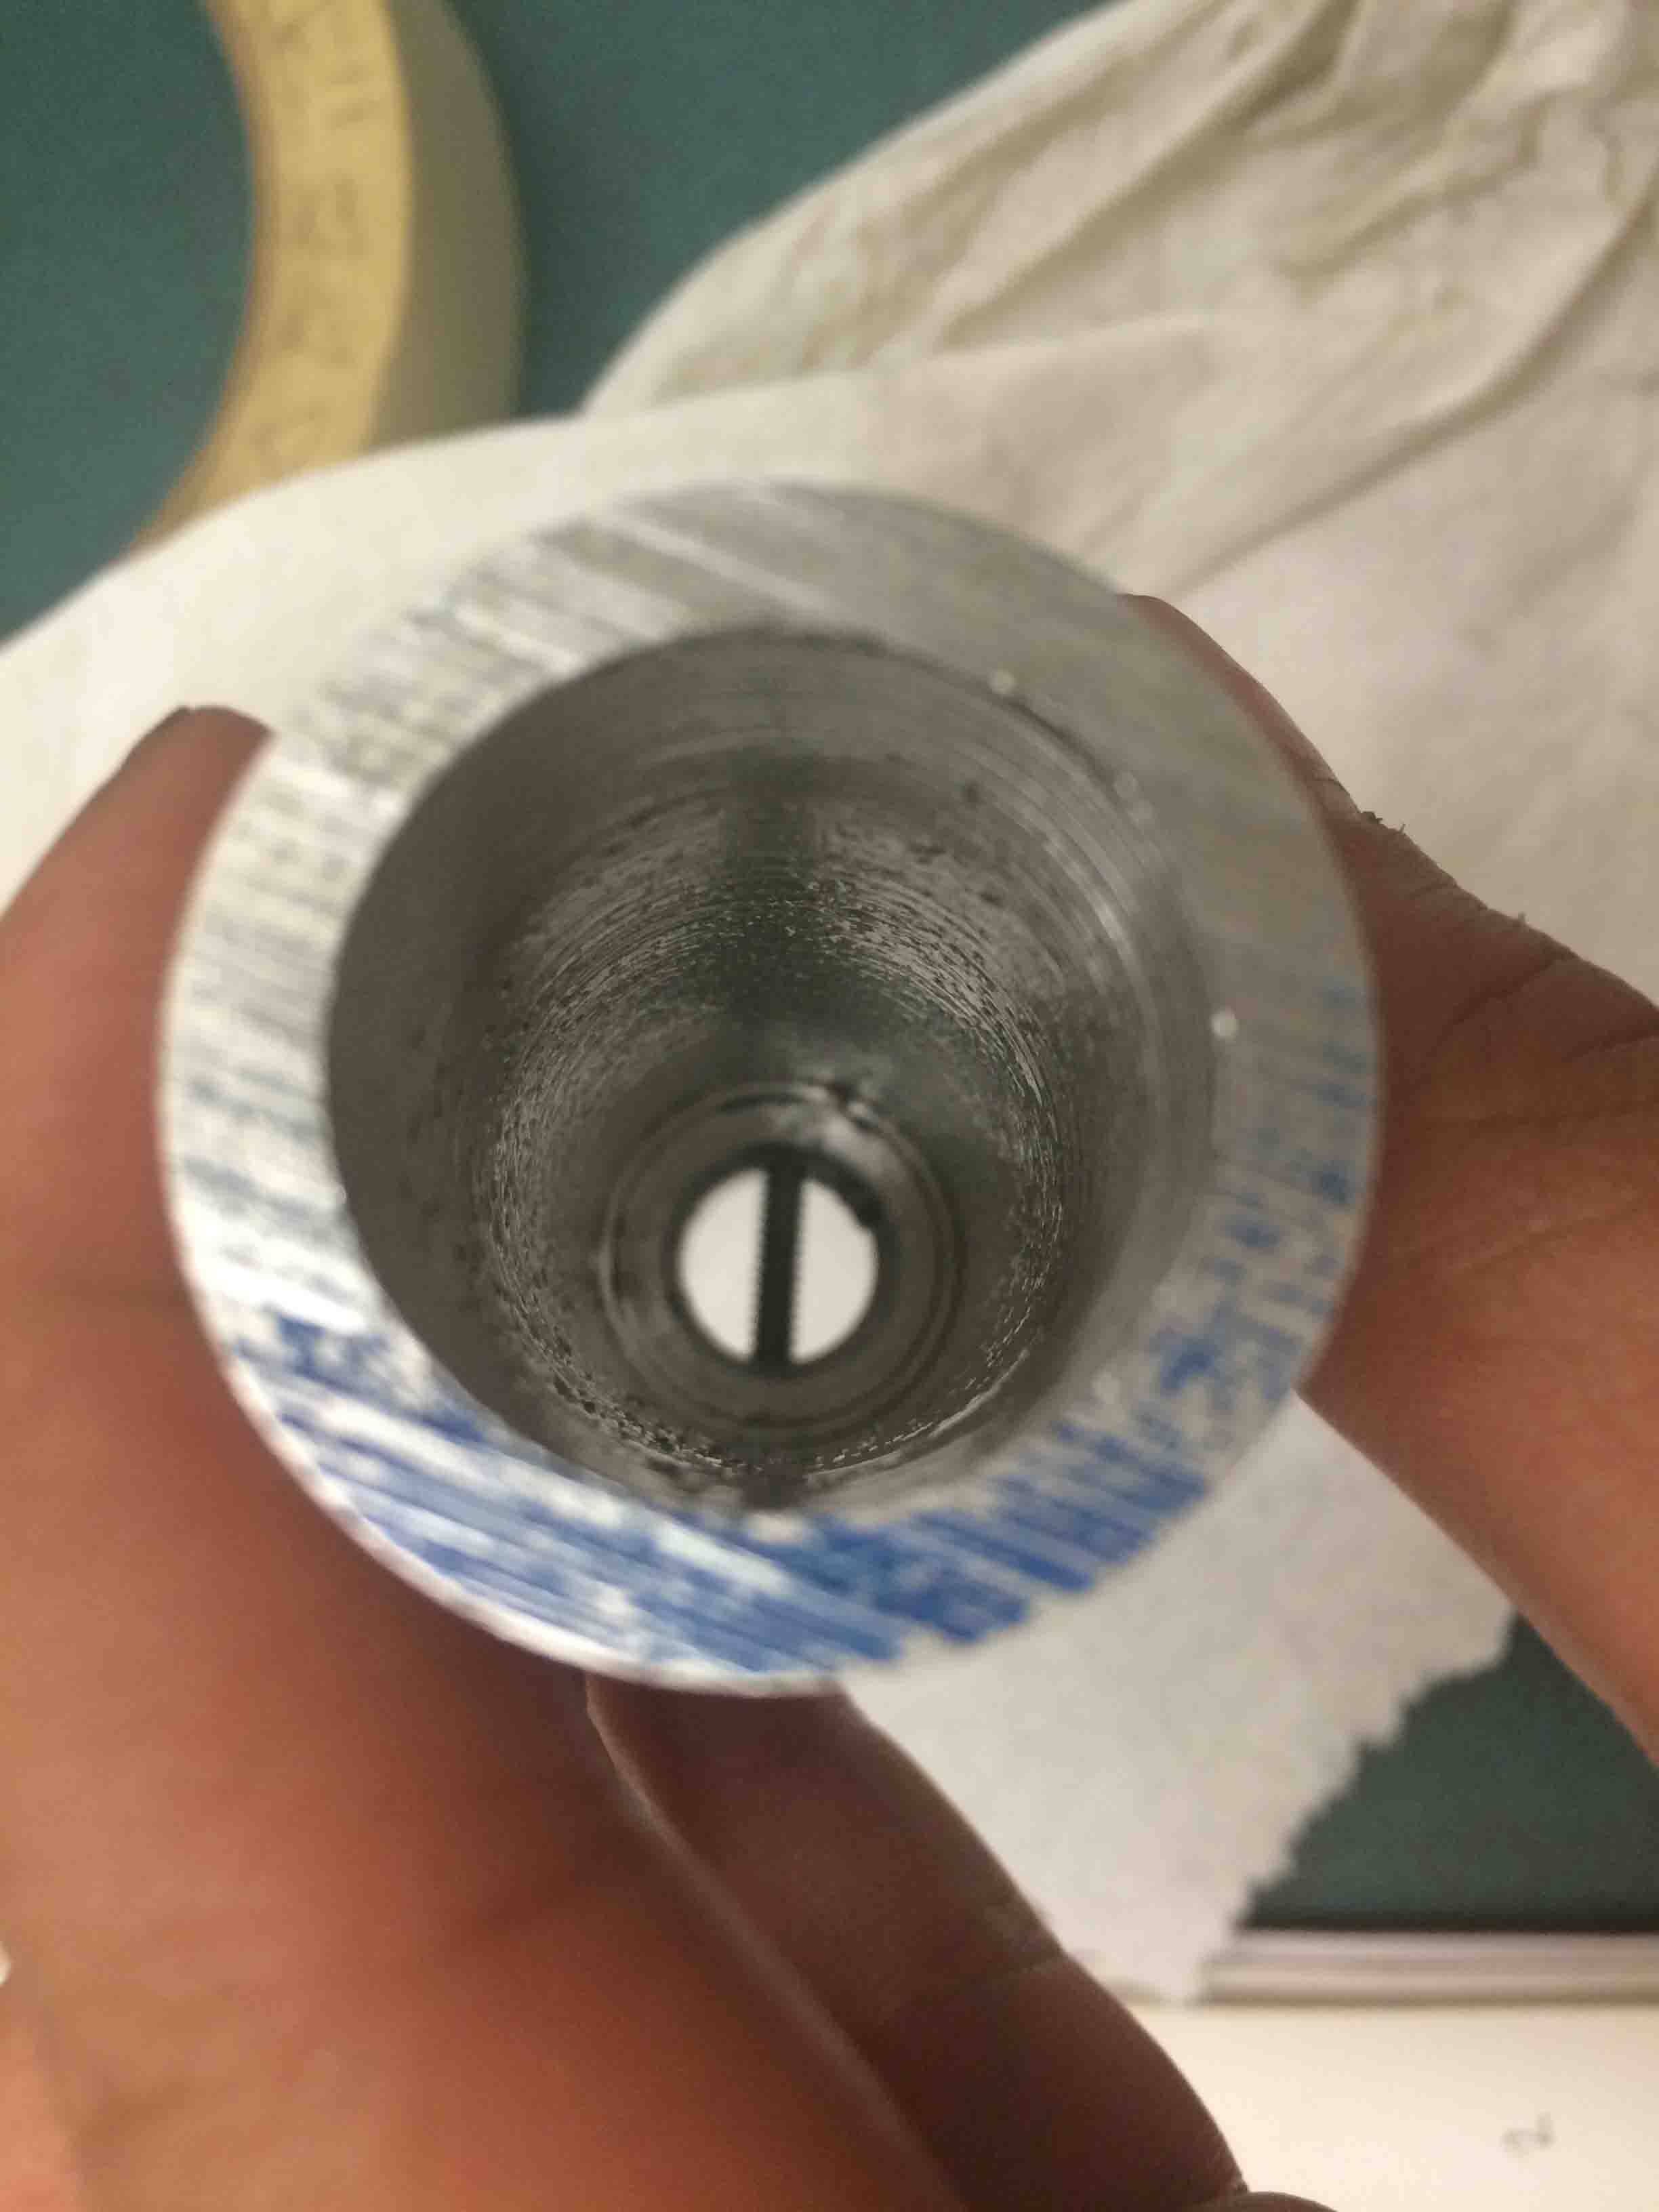
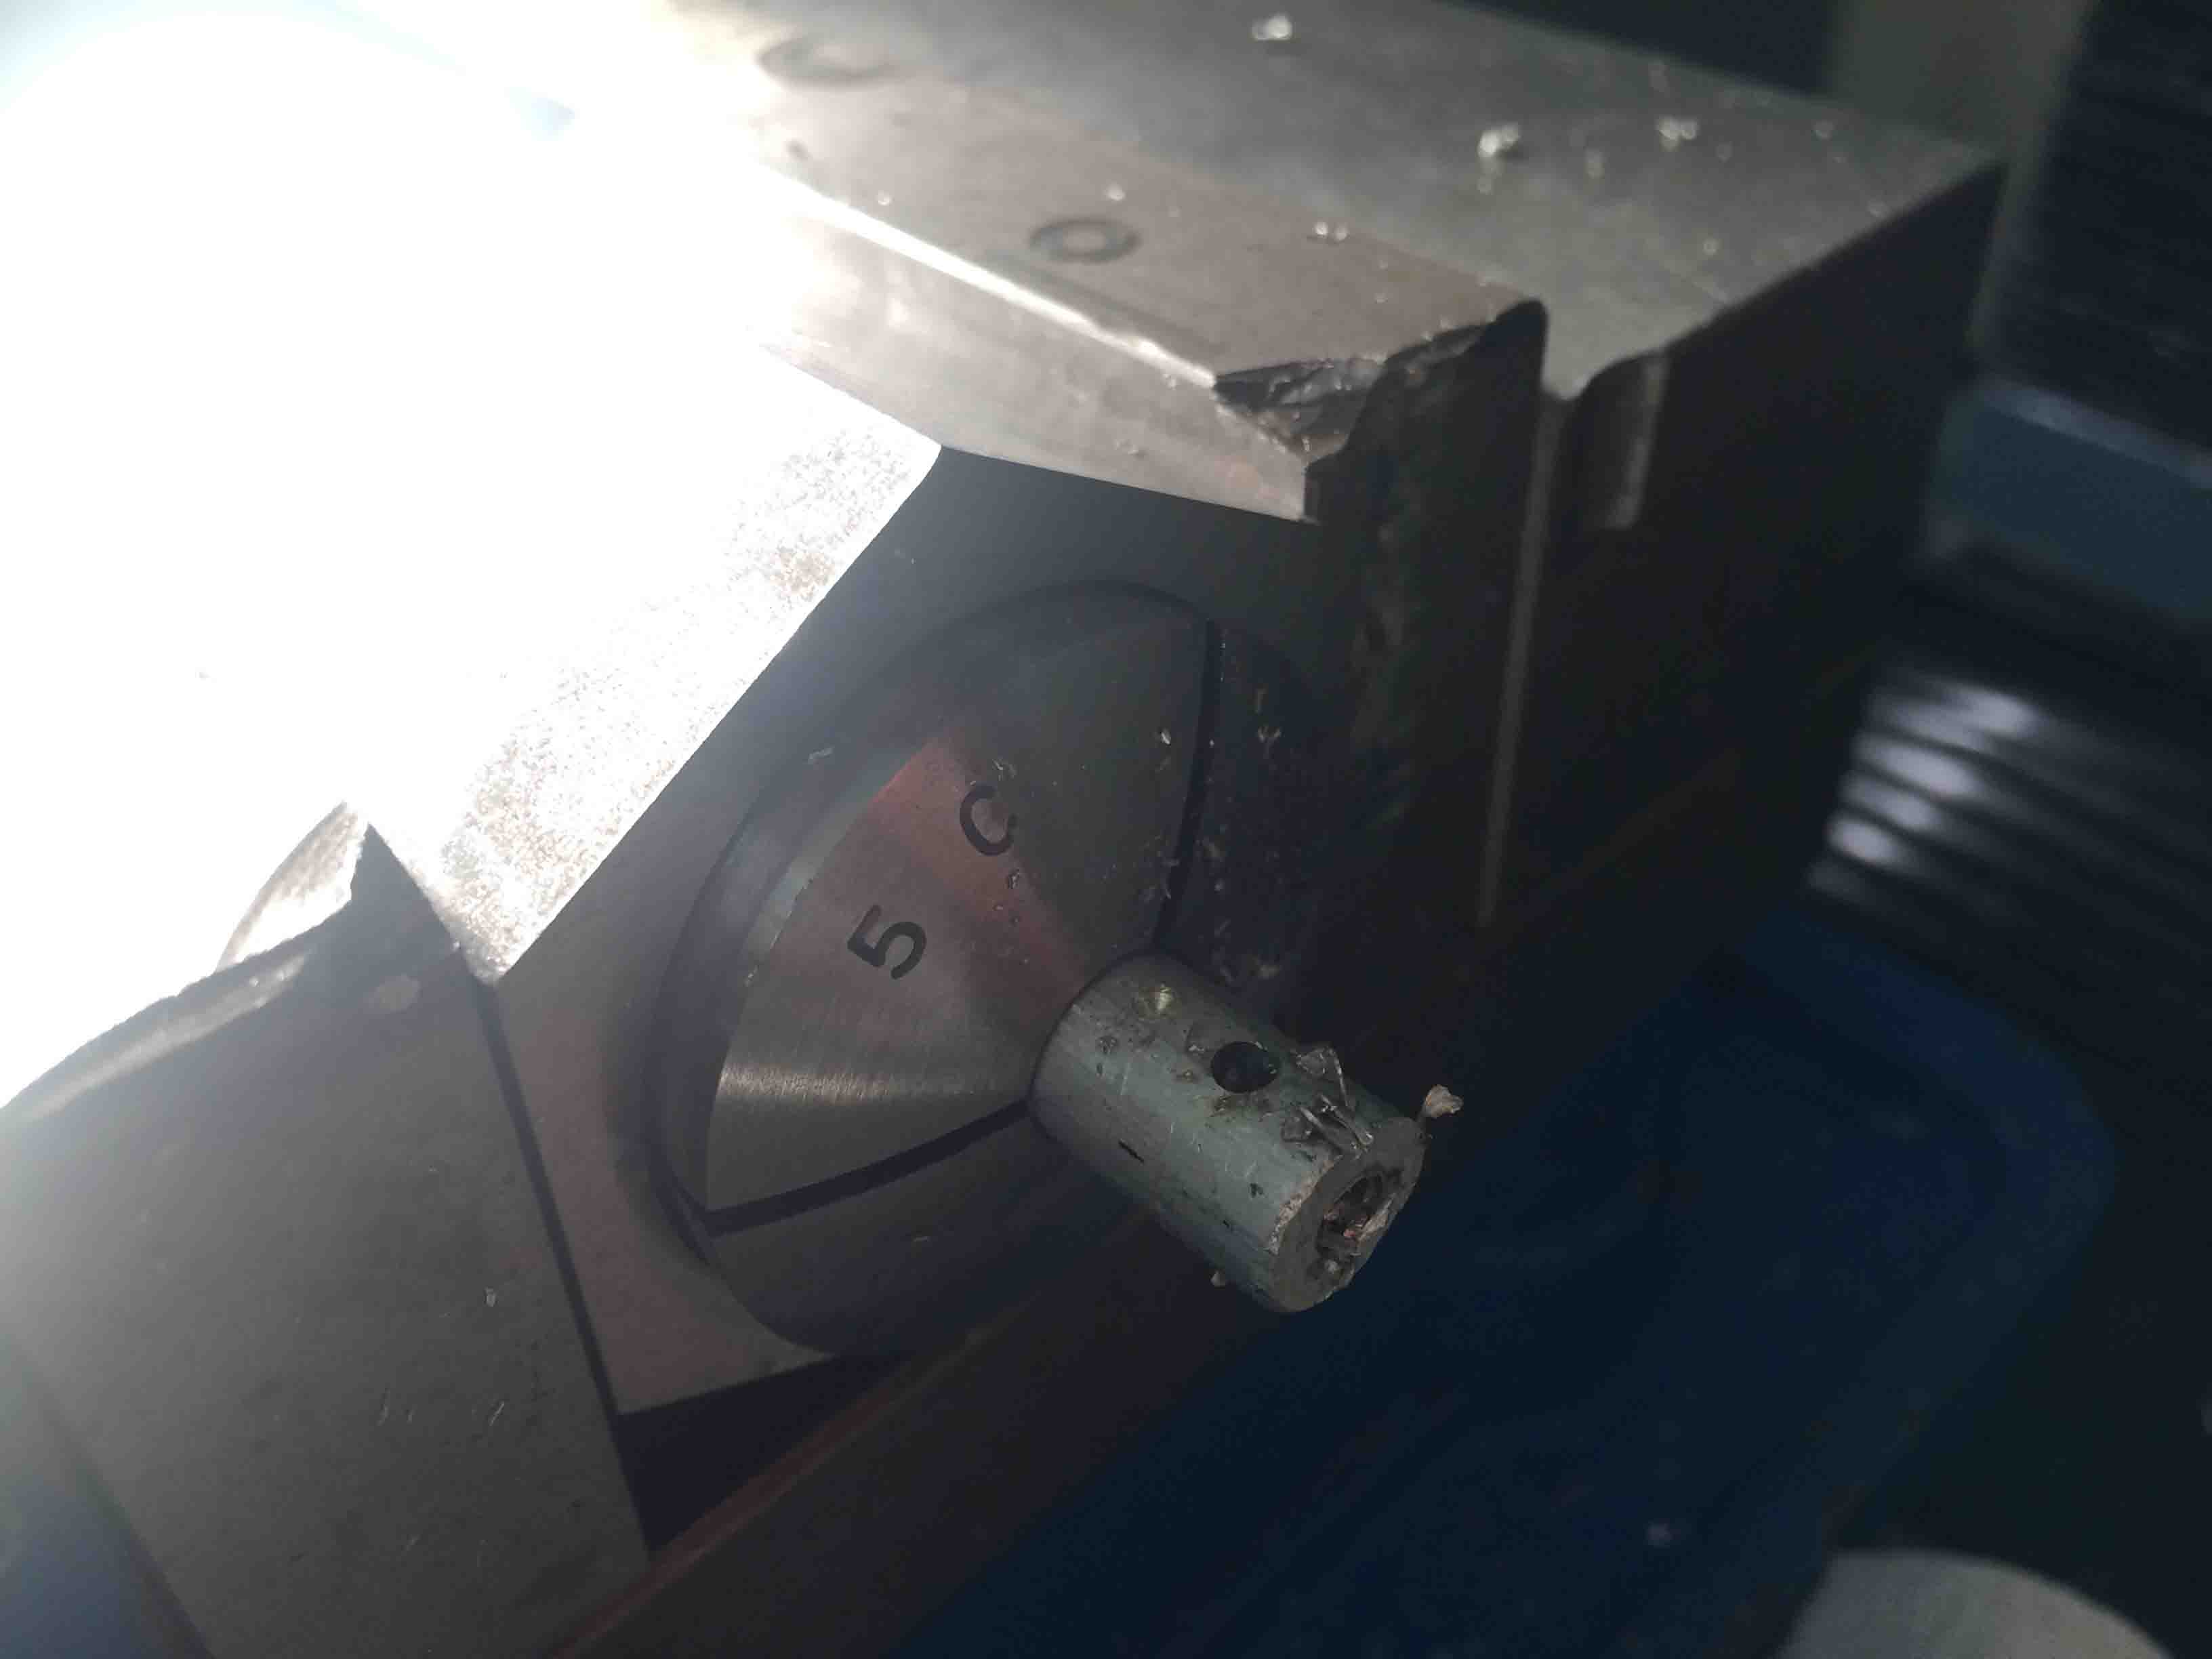
Machining: Turning on the Lathe
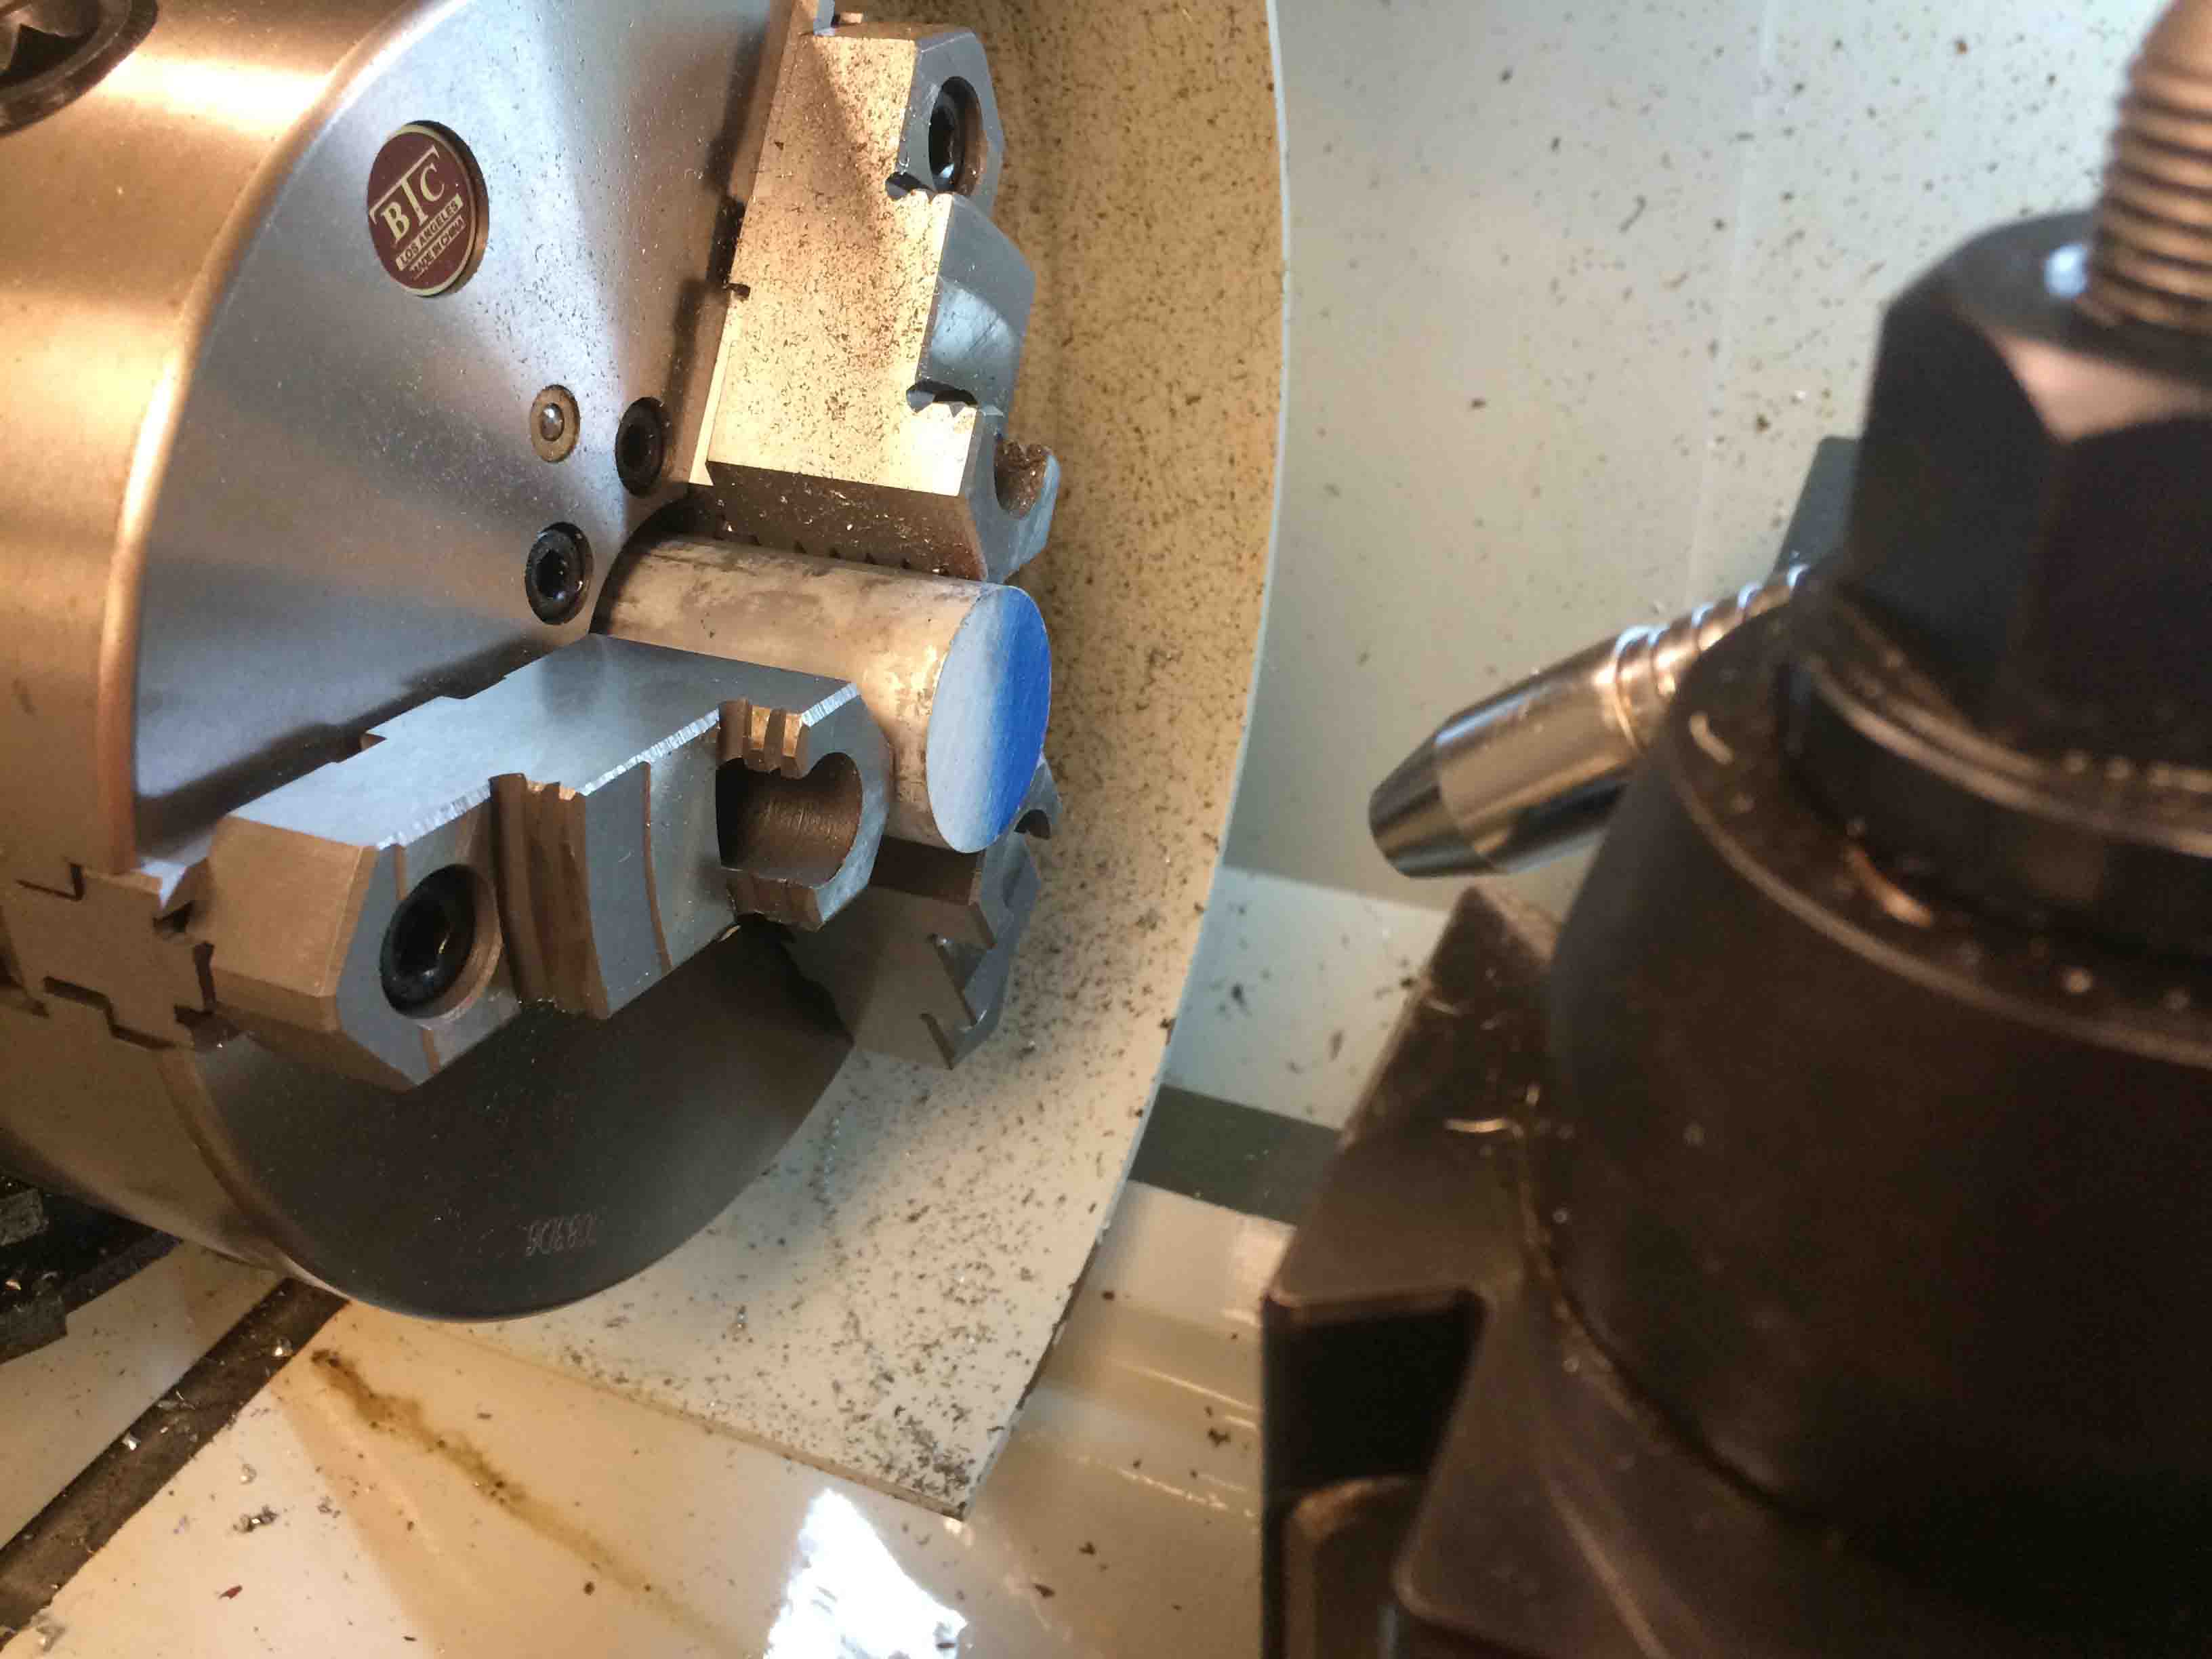
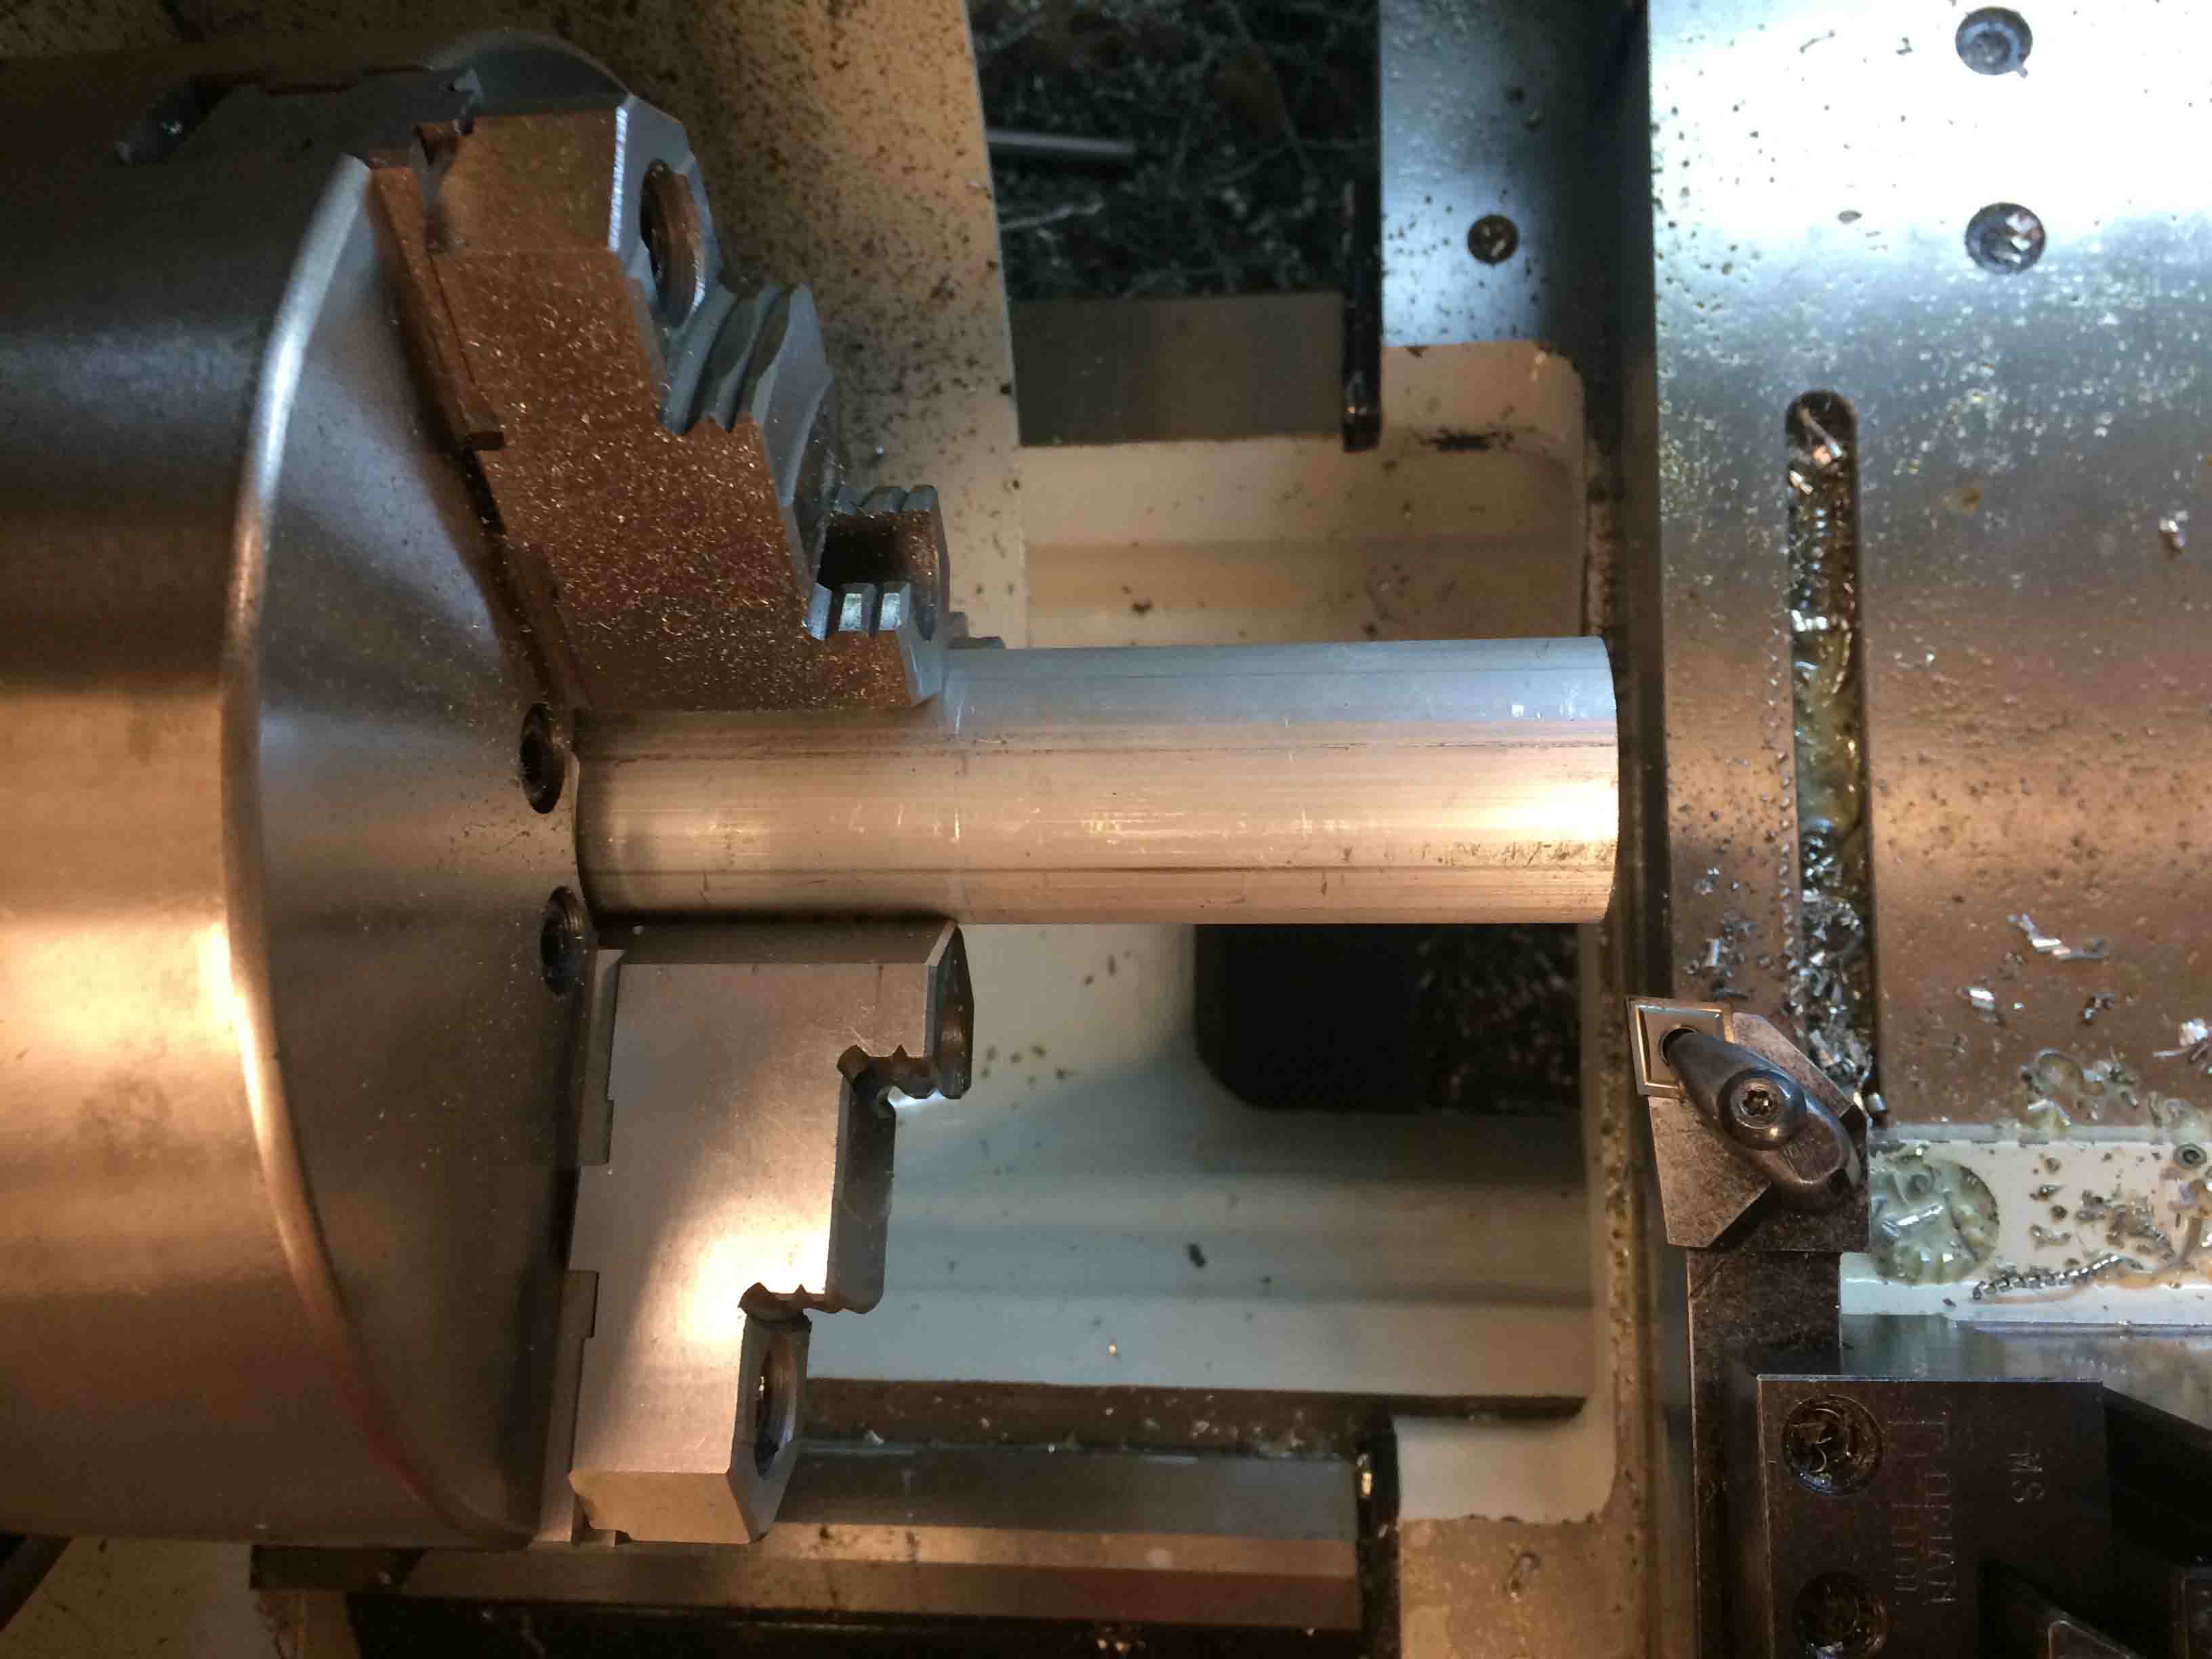
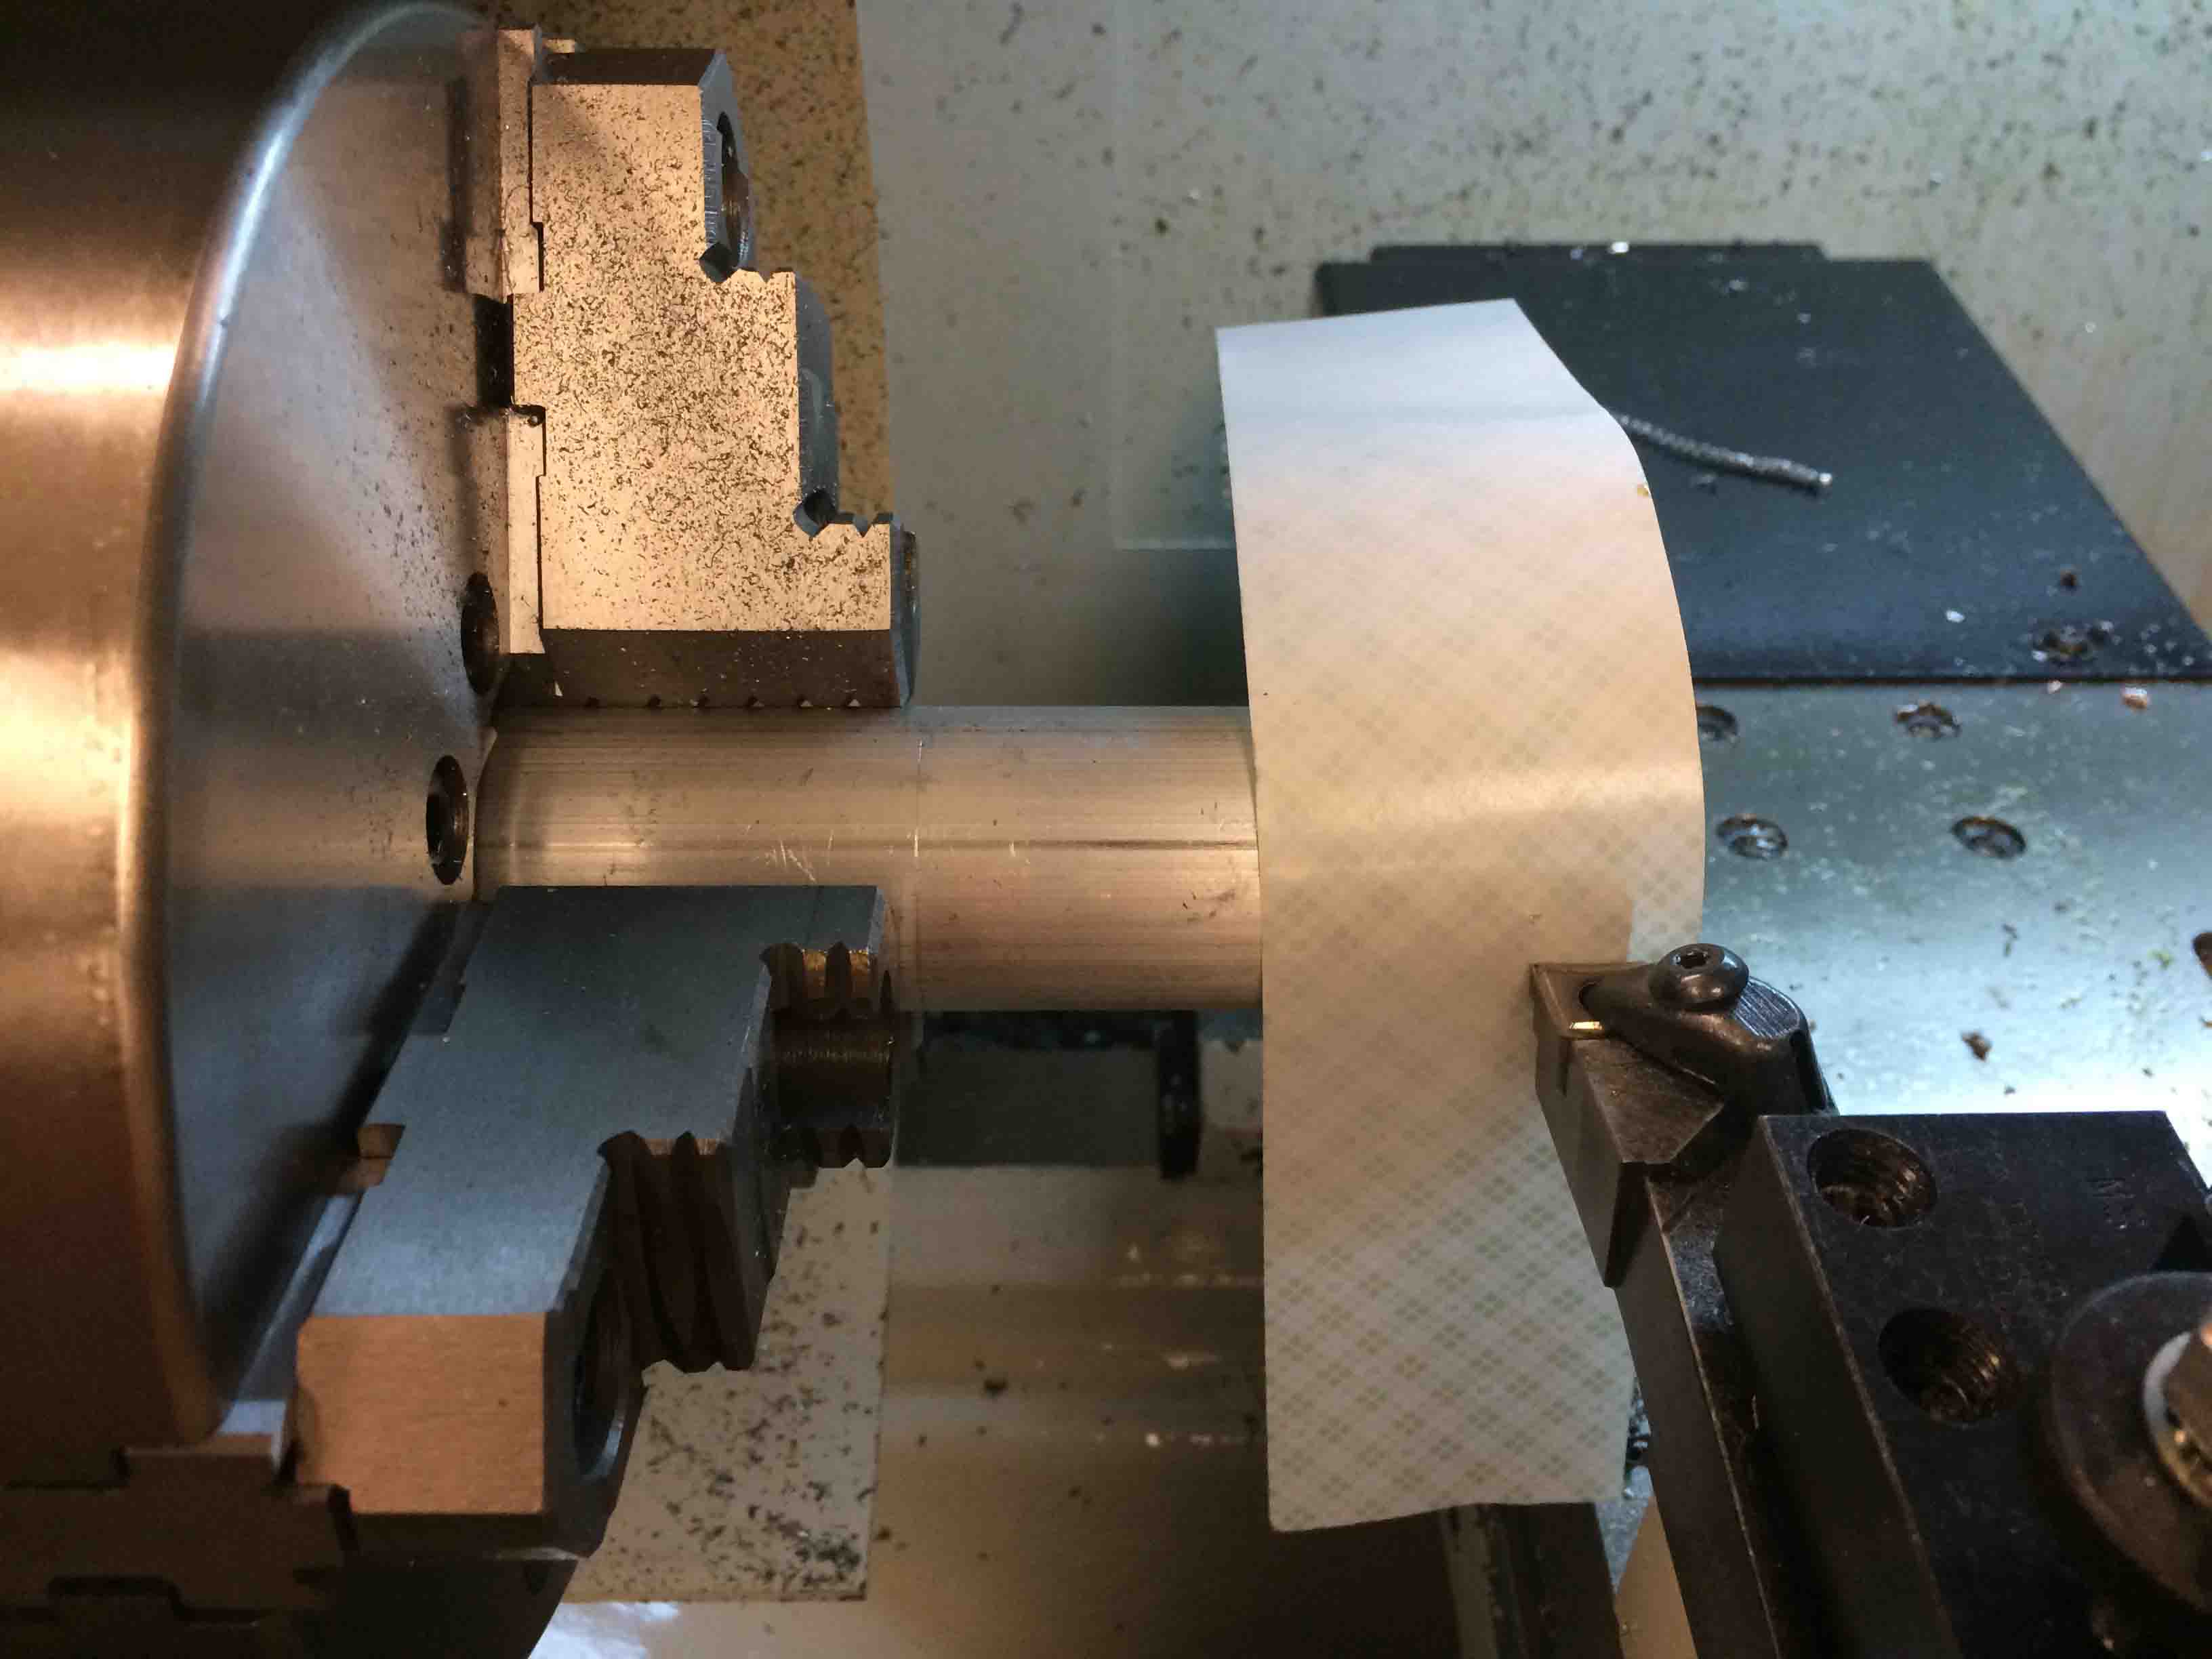
Stepping through the many drill sizes to go from a 1.5 stock down to an OD of 1.2" and an ID of 15/16". Don't be fooled by the few pictures. This took me three tries (plus the outer bushing), over two full days.... And I somehow still enjoy it!
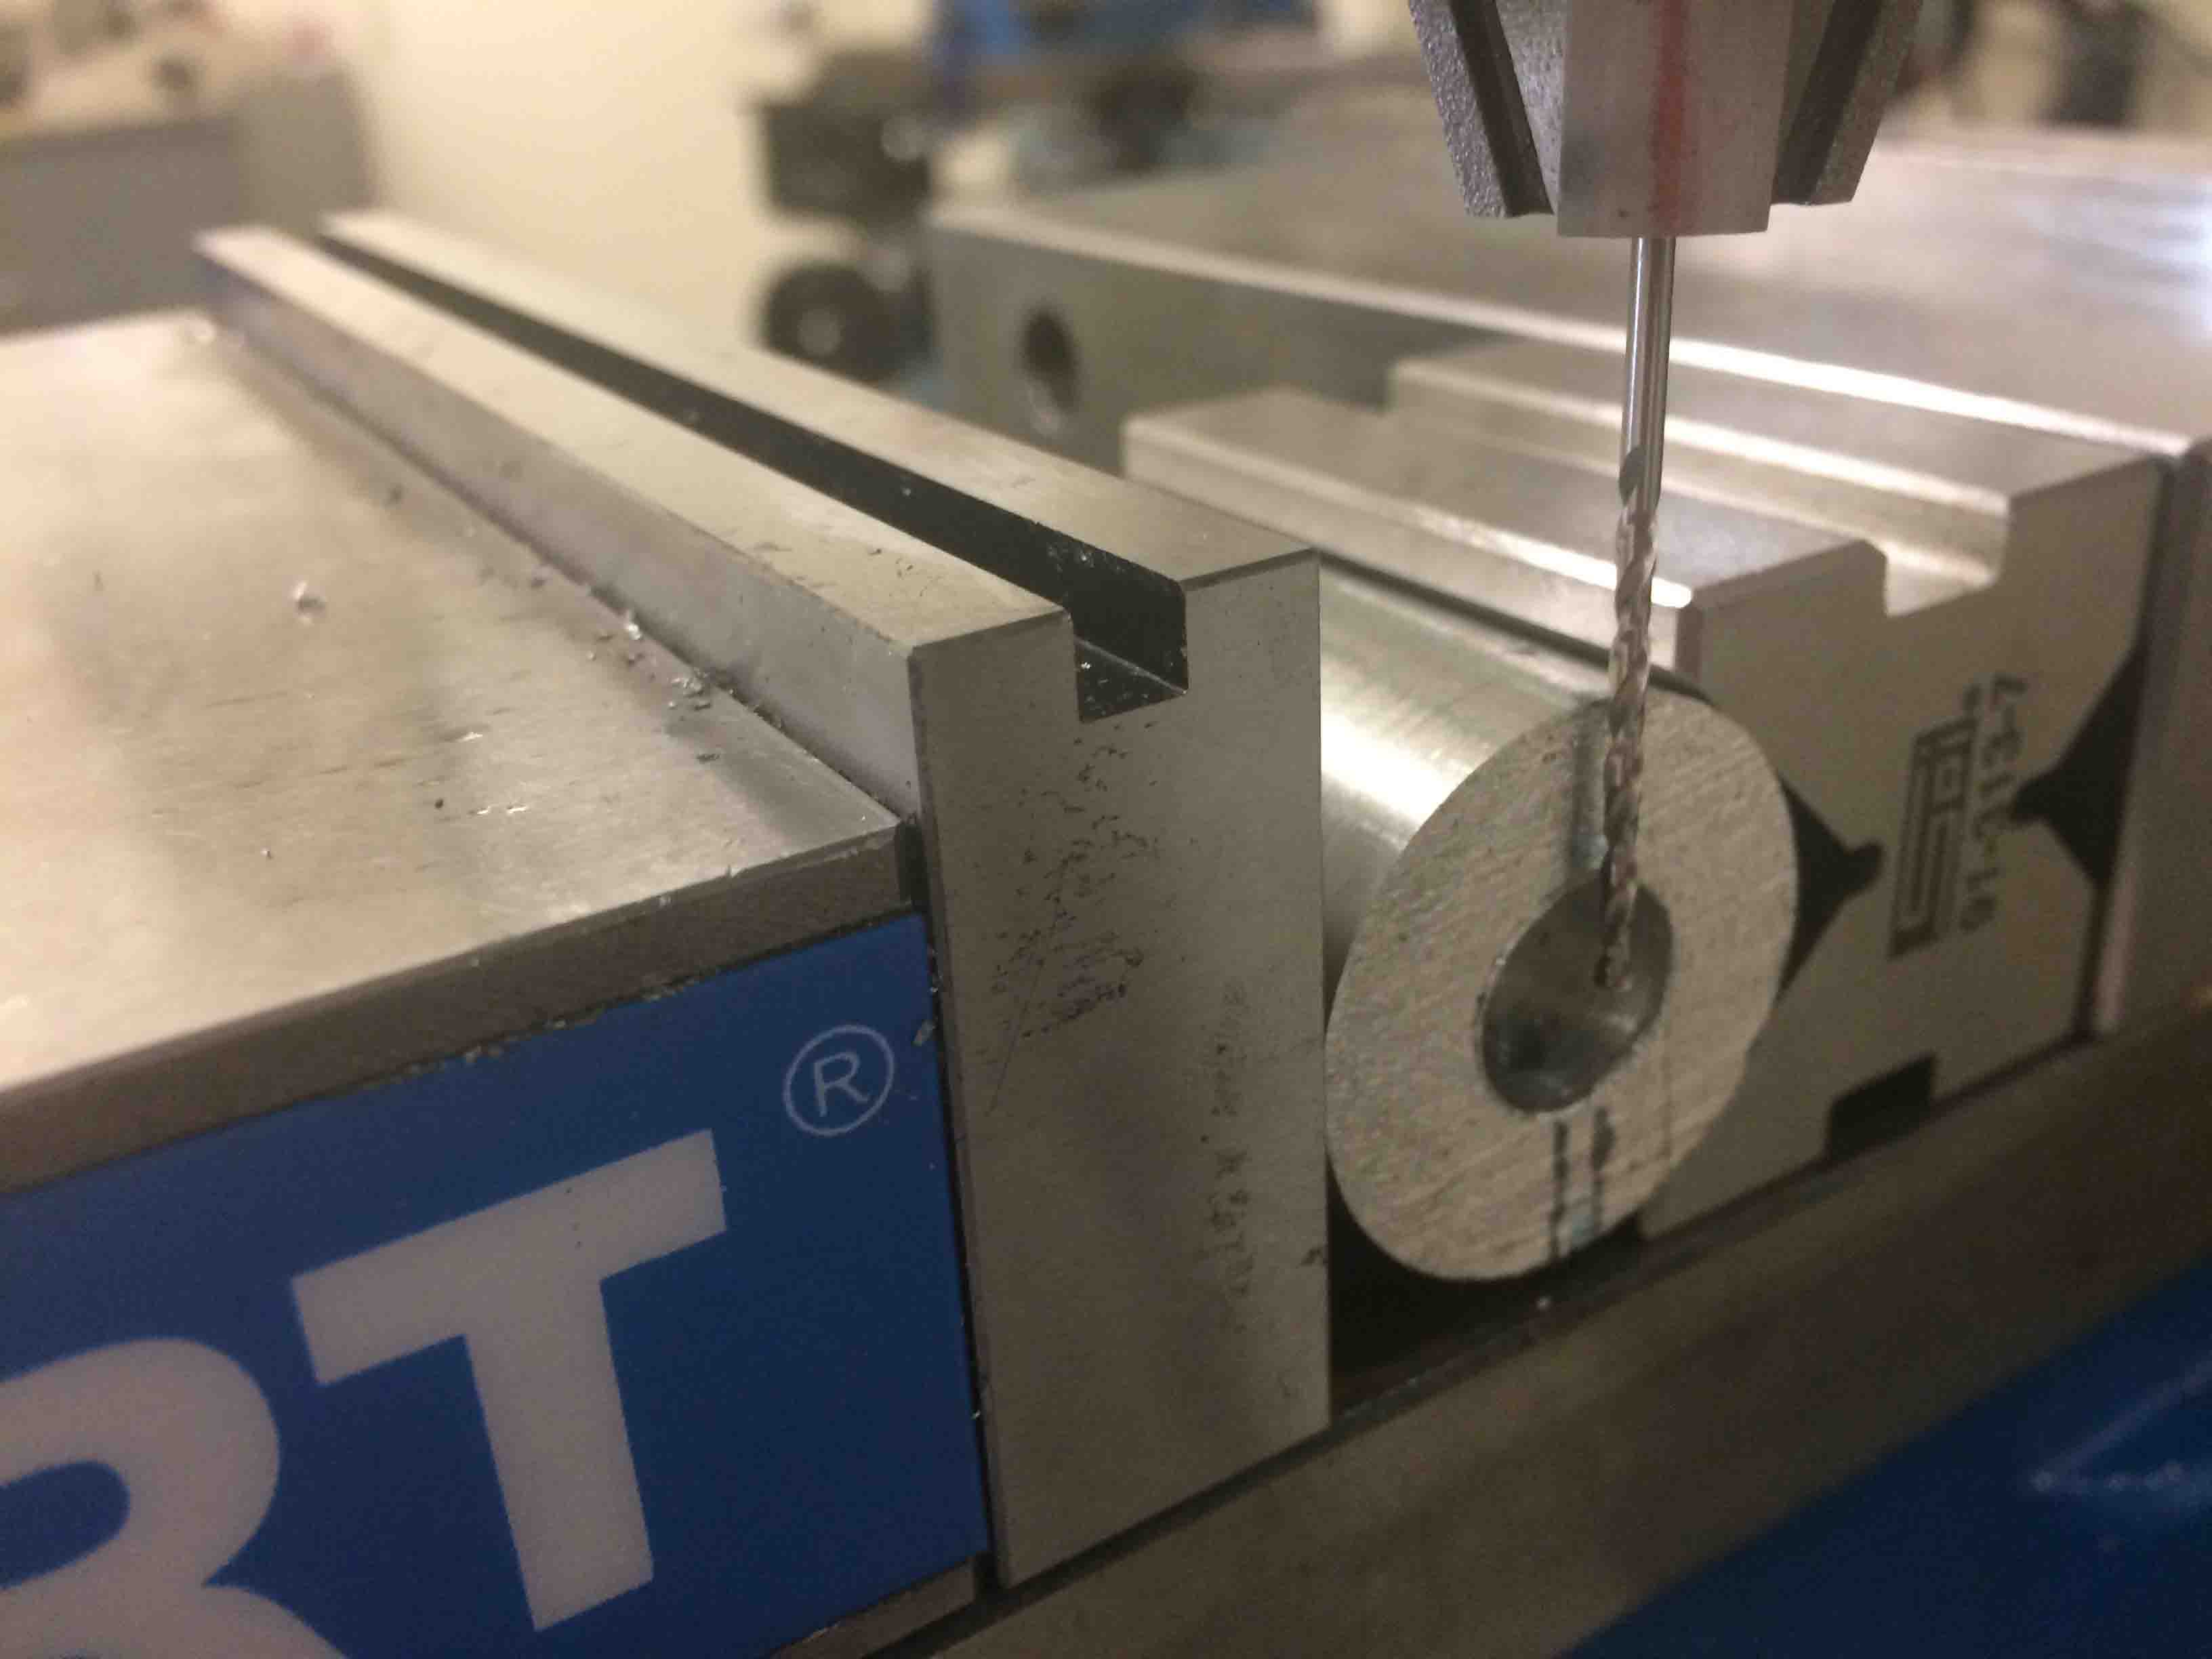
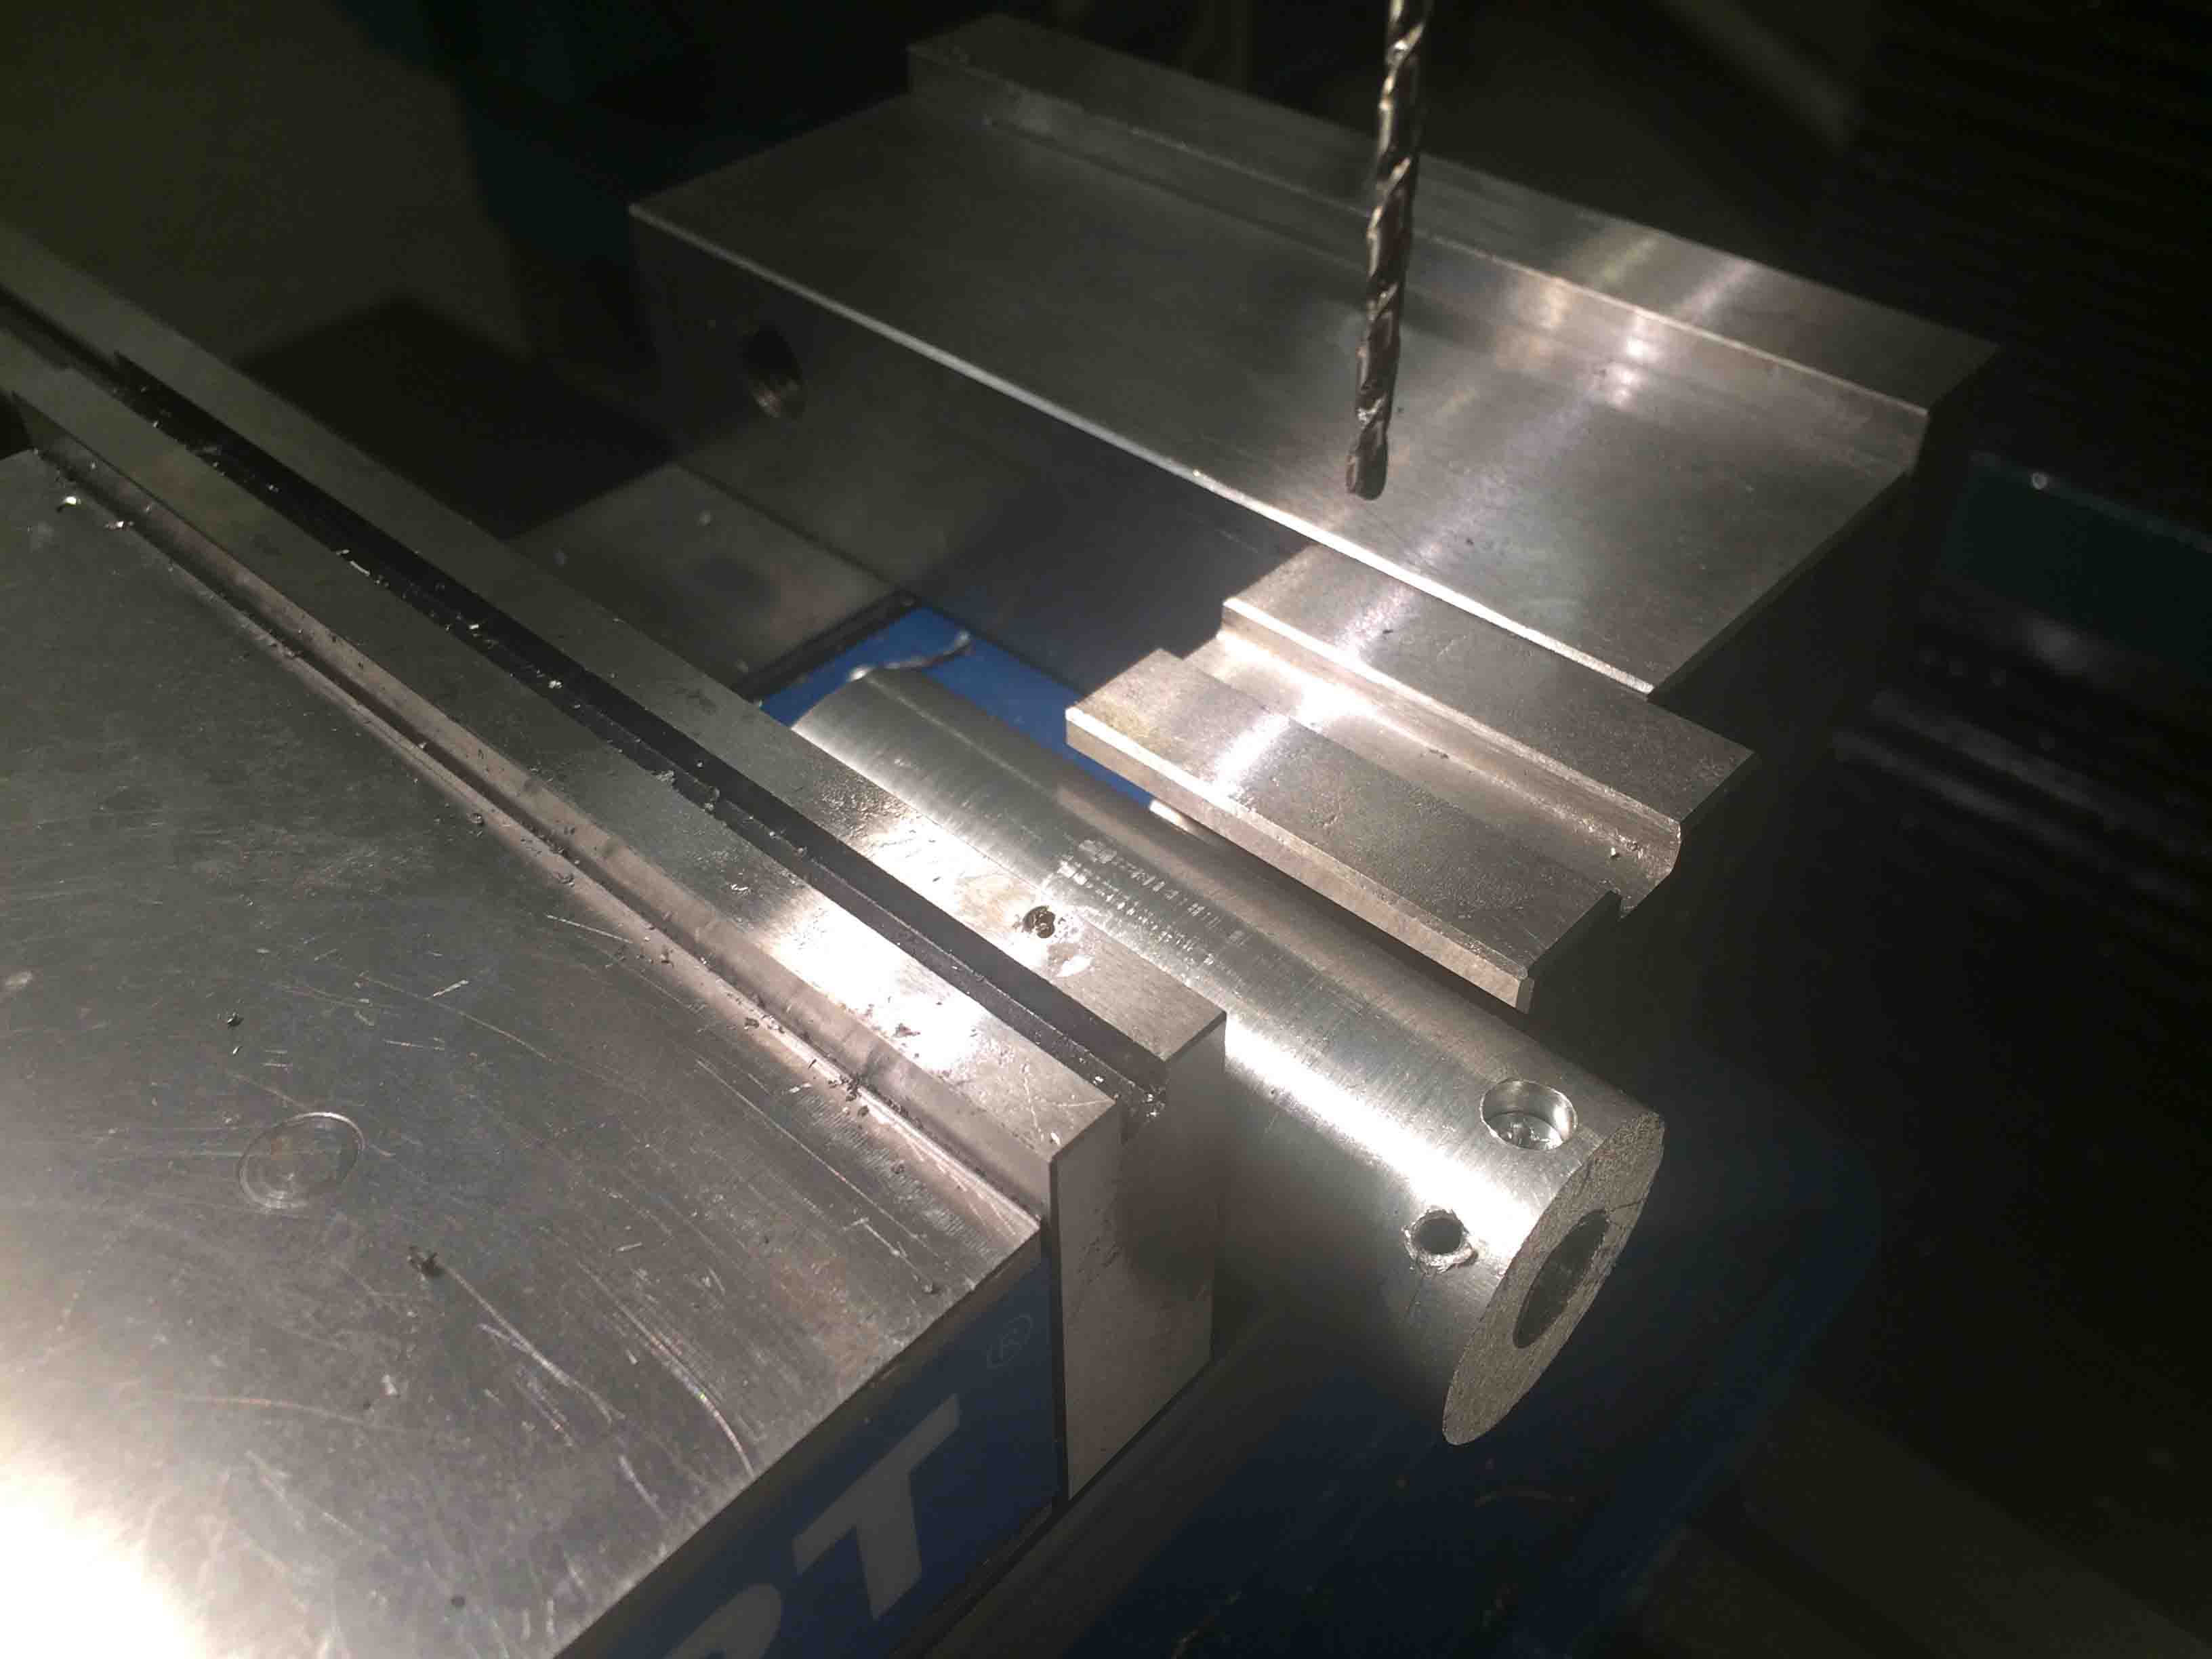
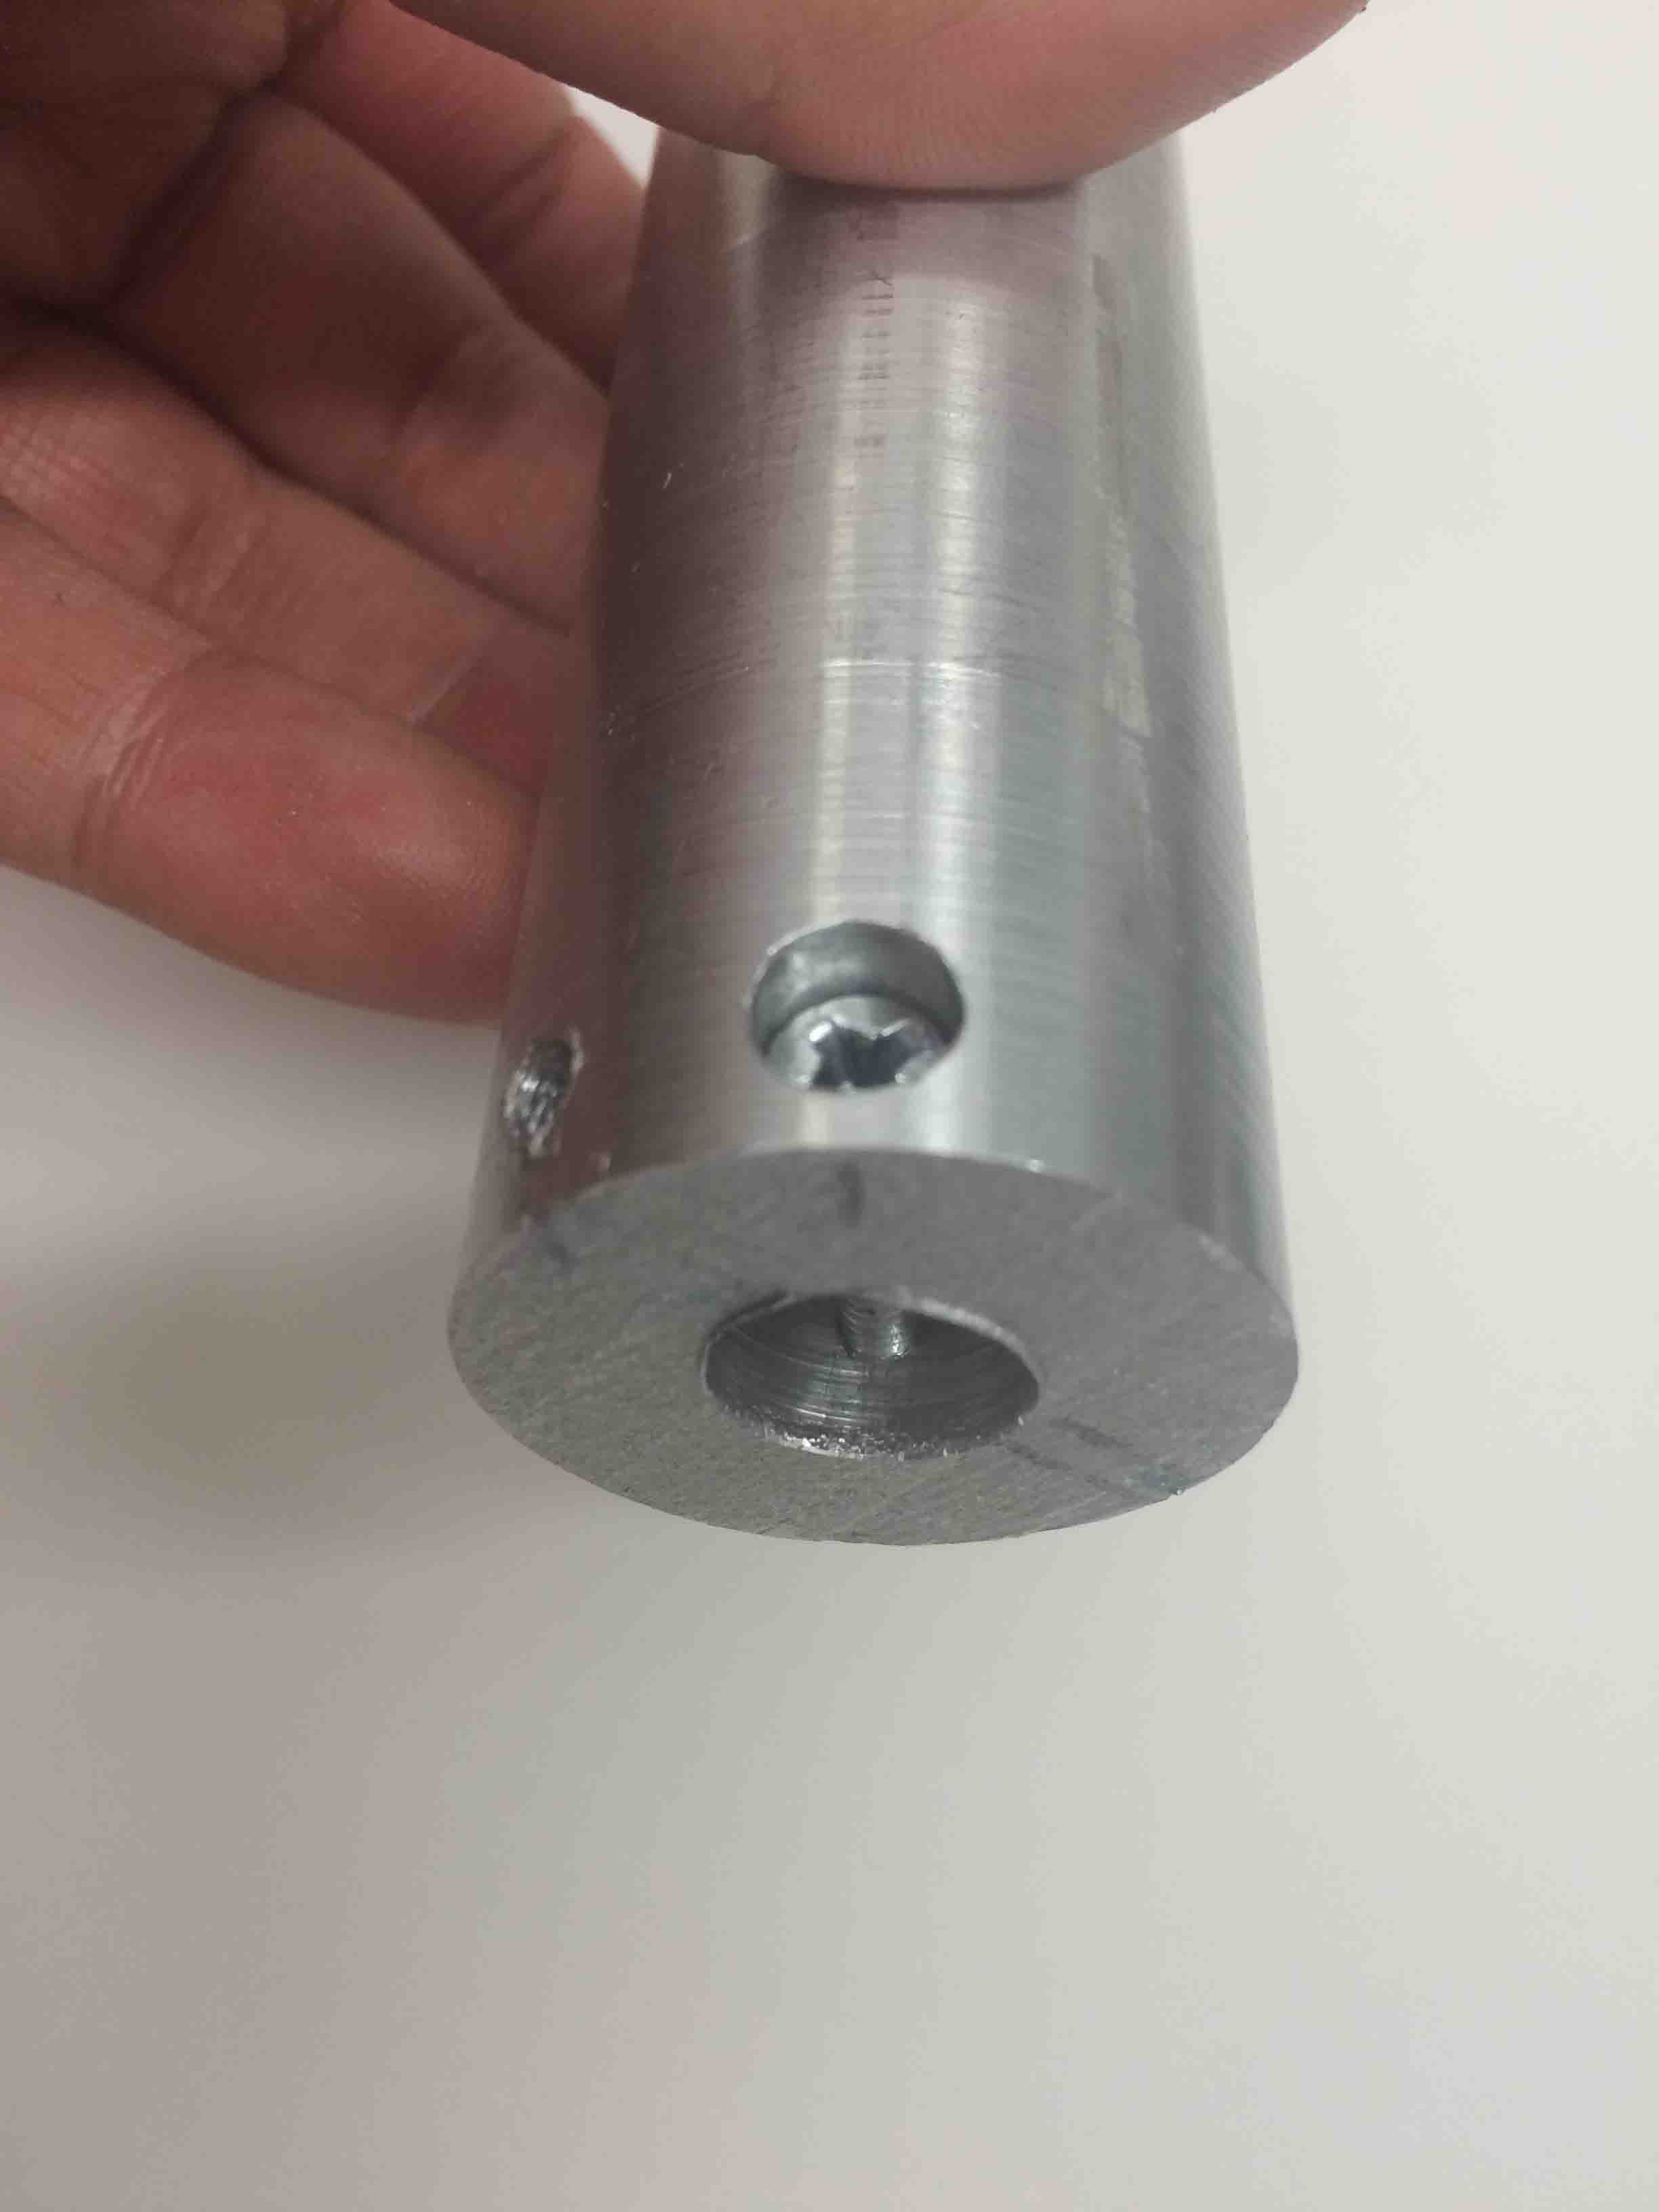
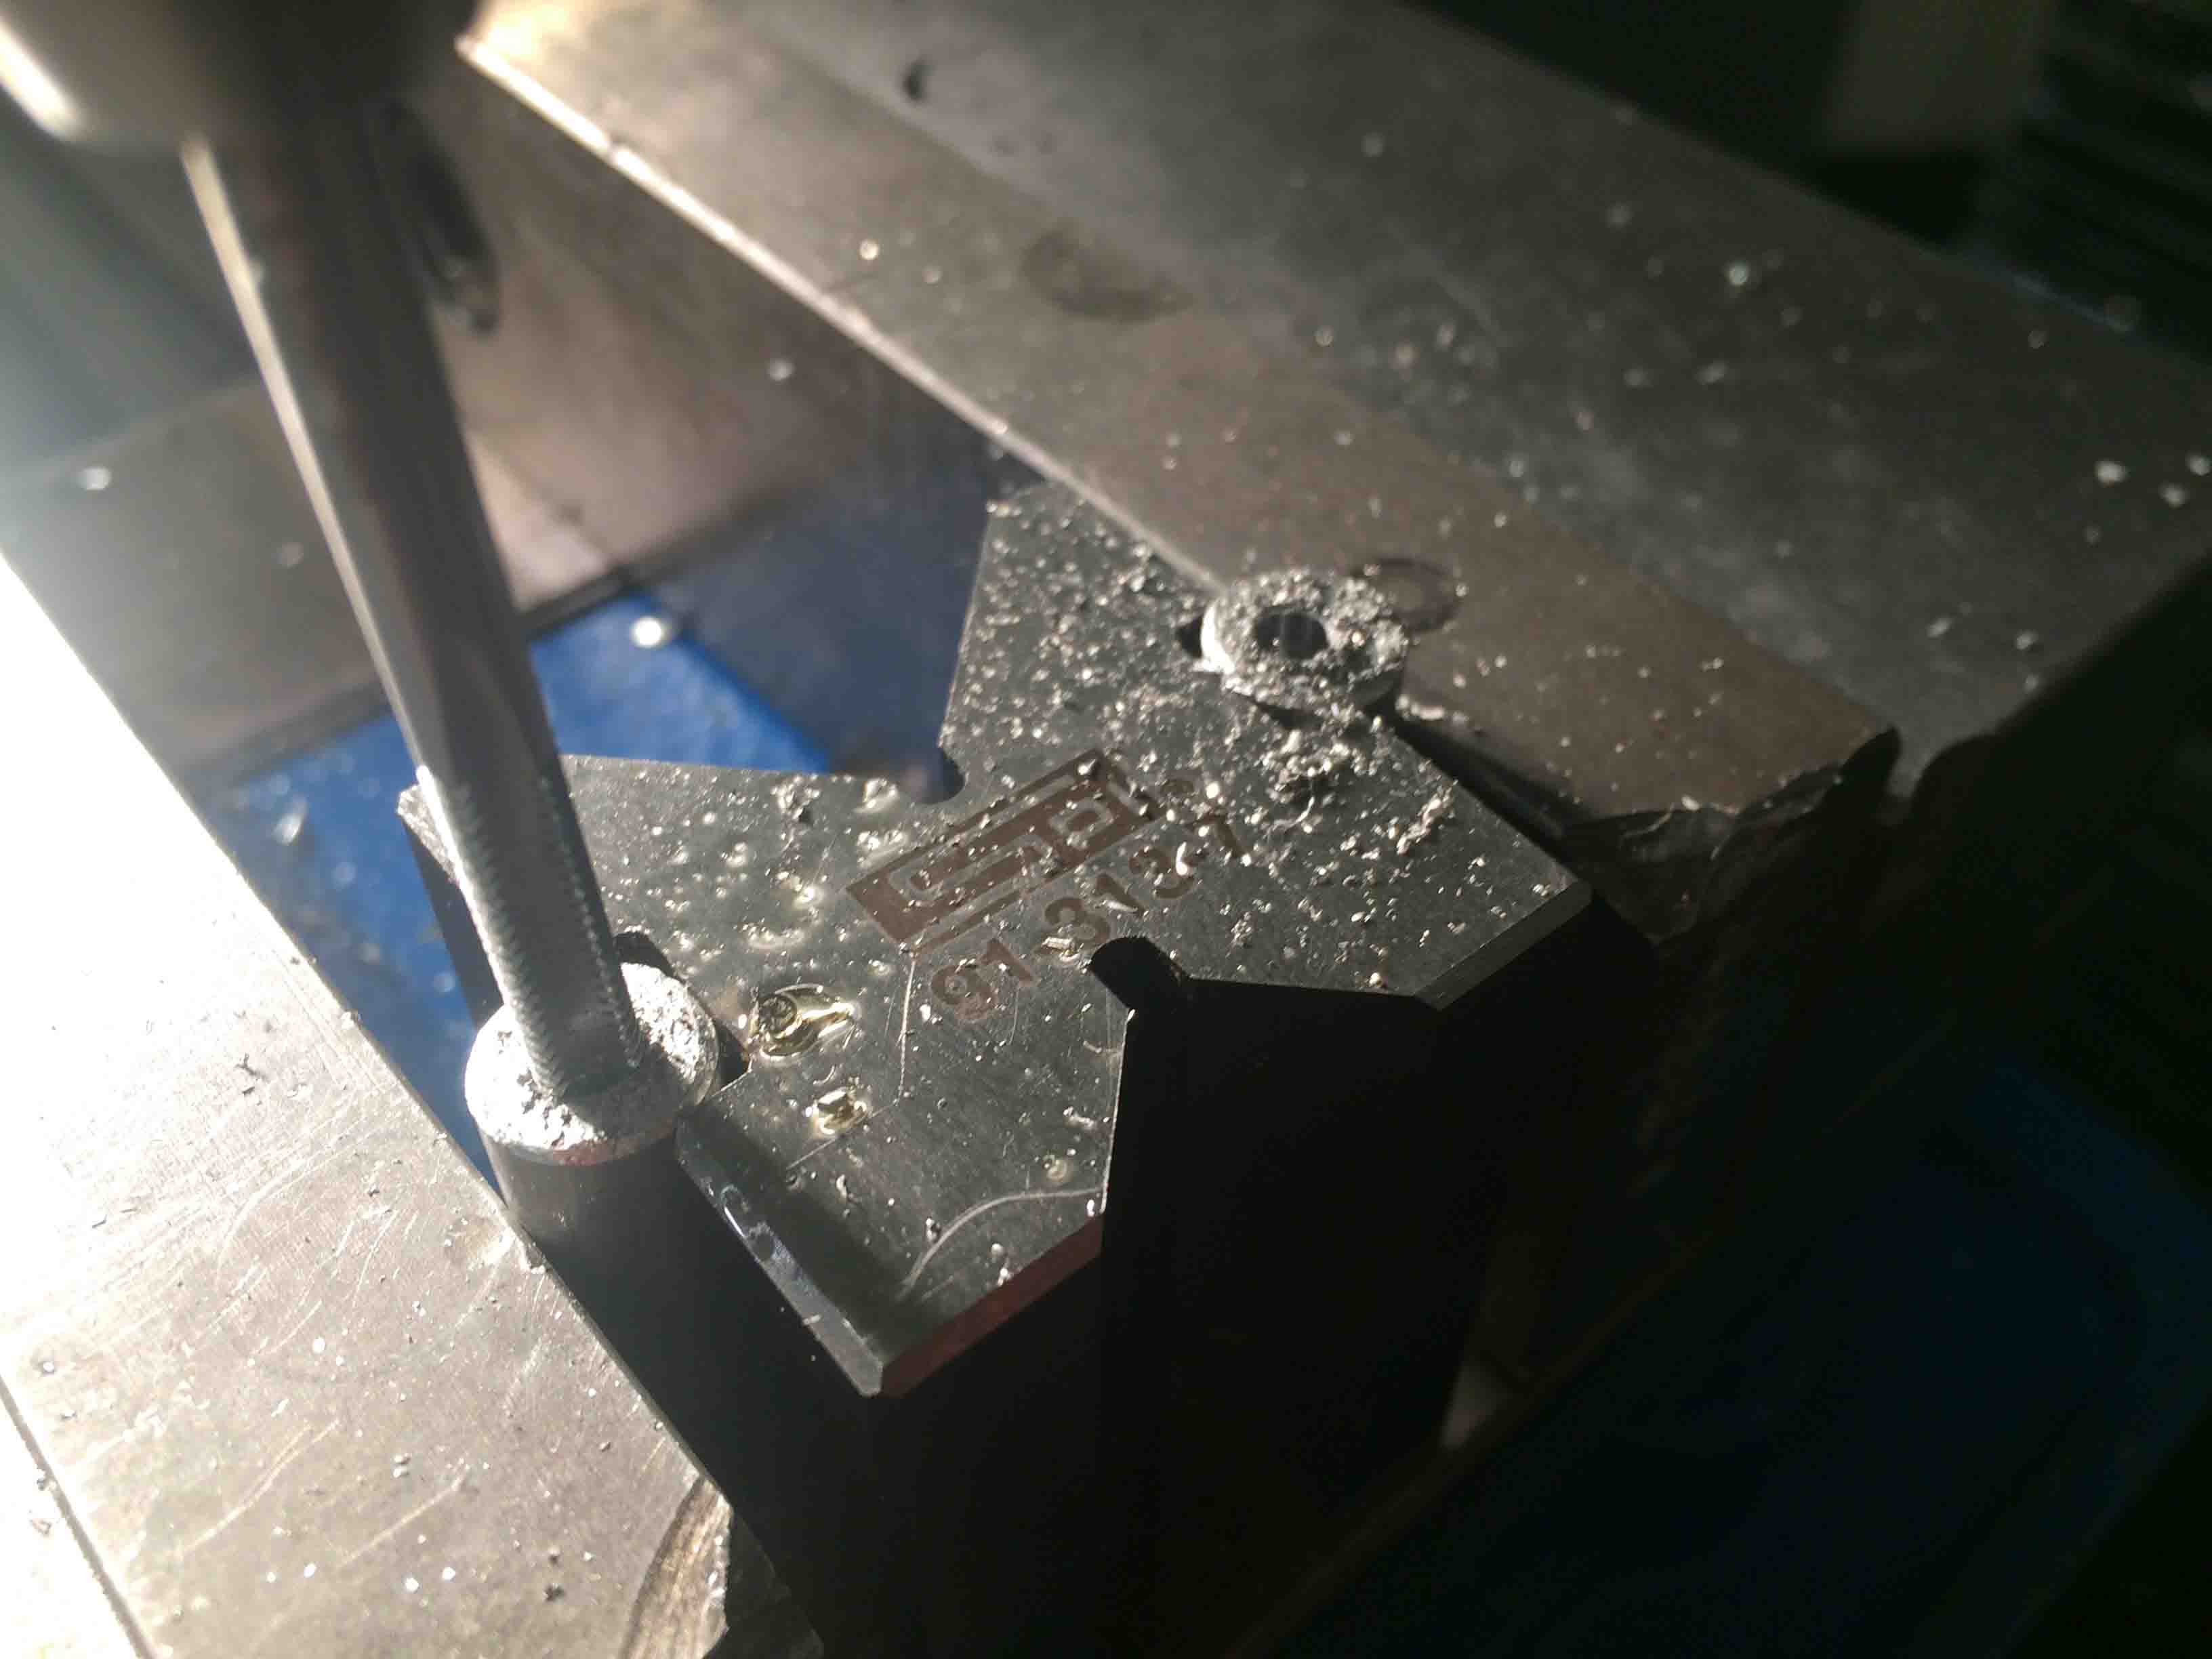
Machining: Milling on the CNC Machine
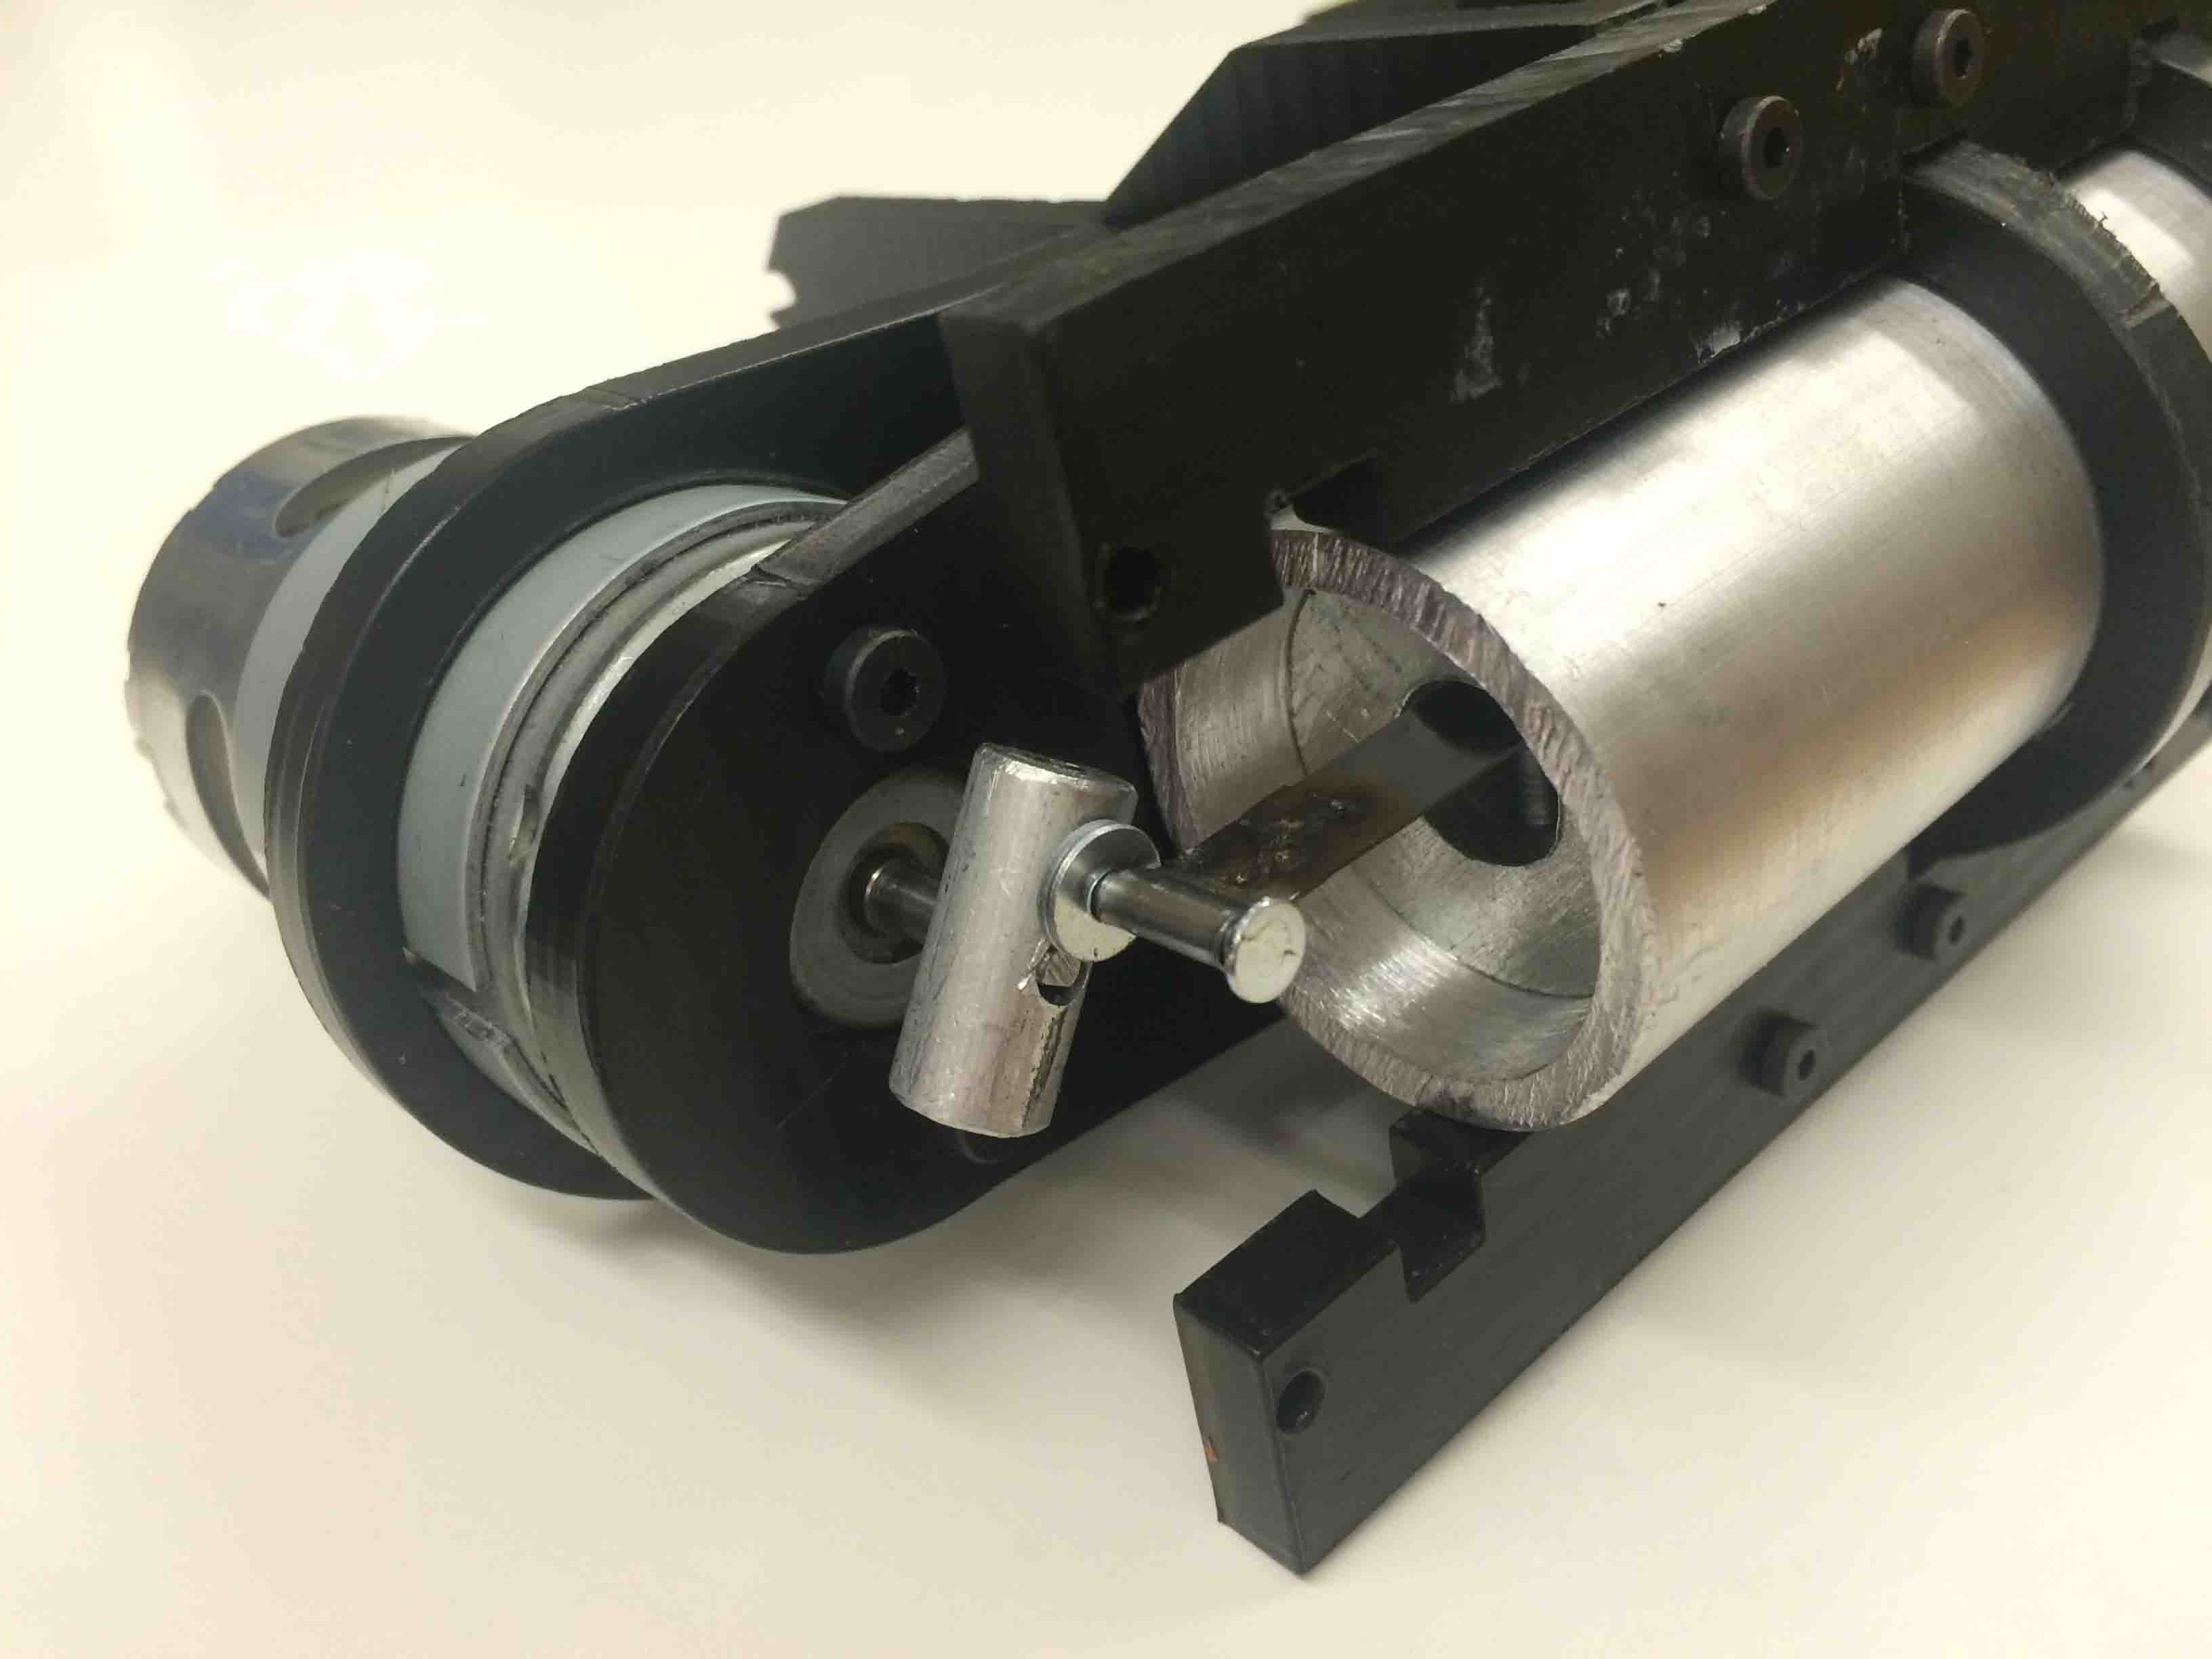
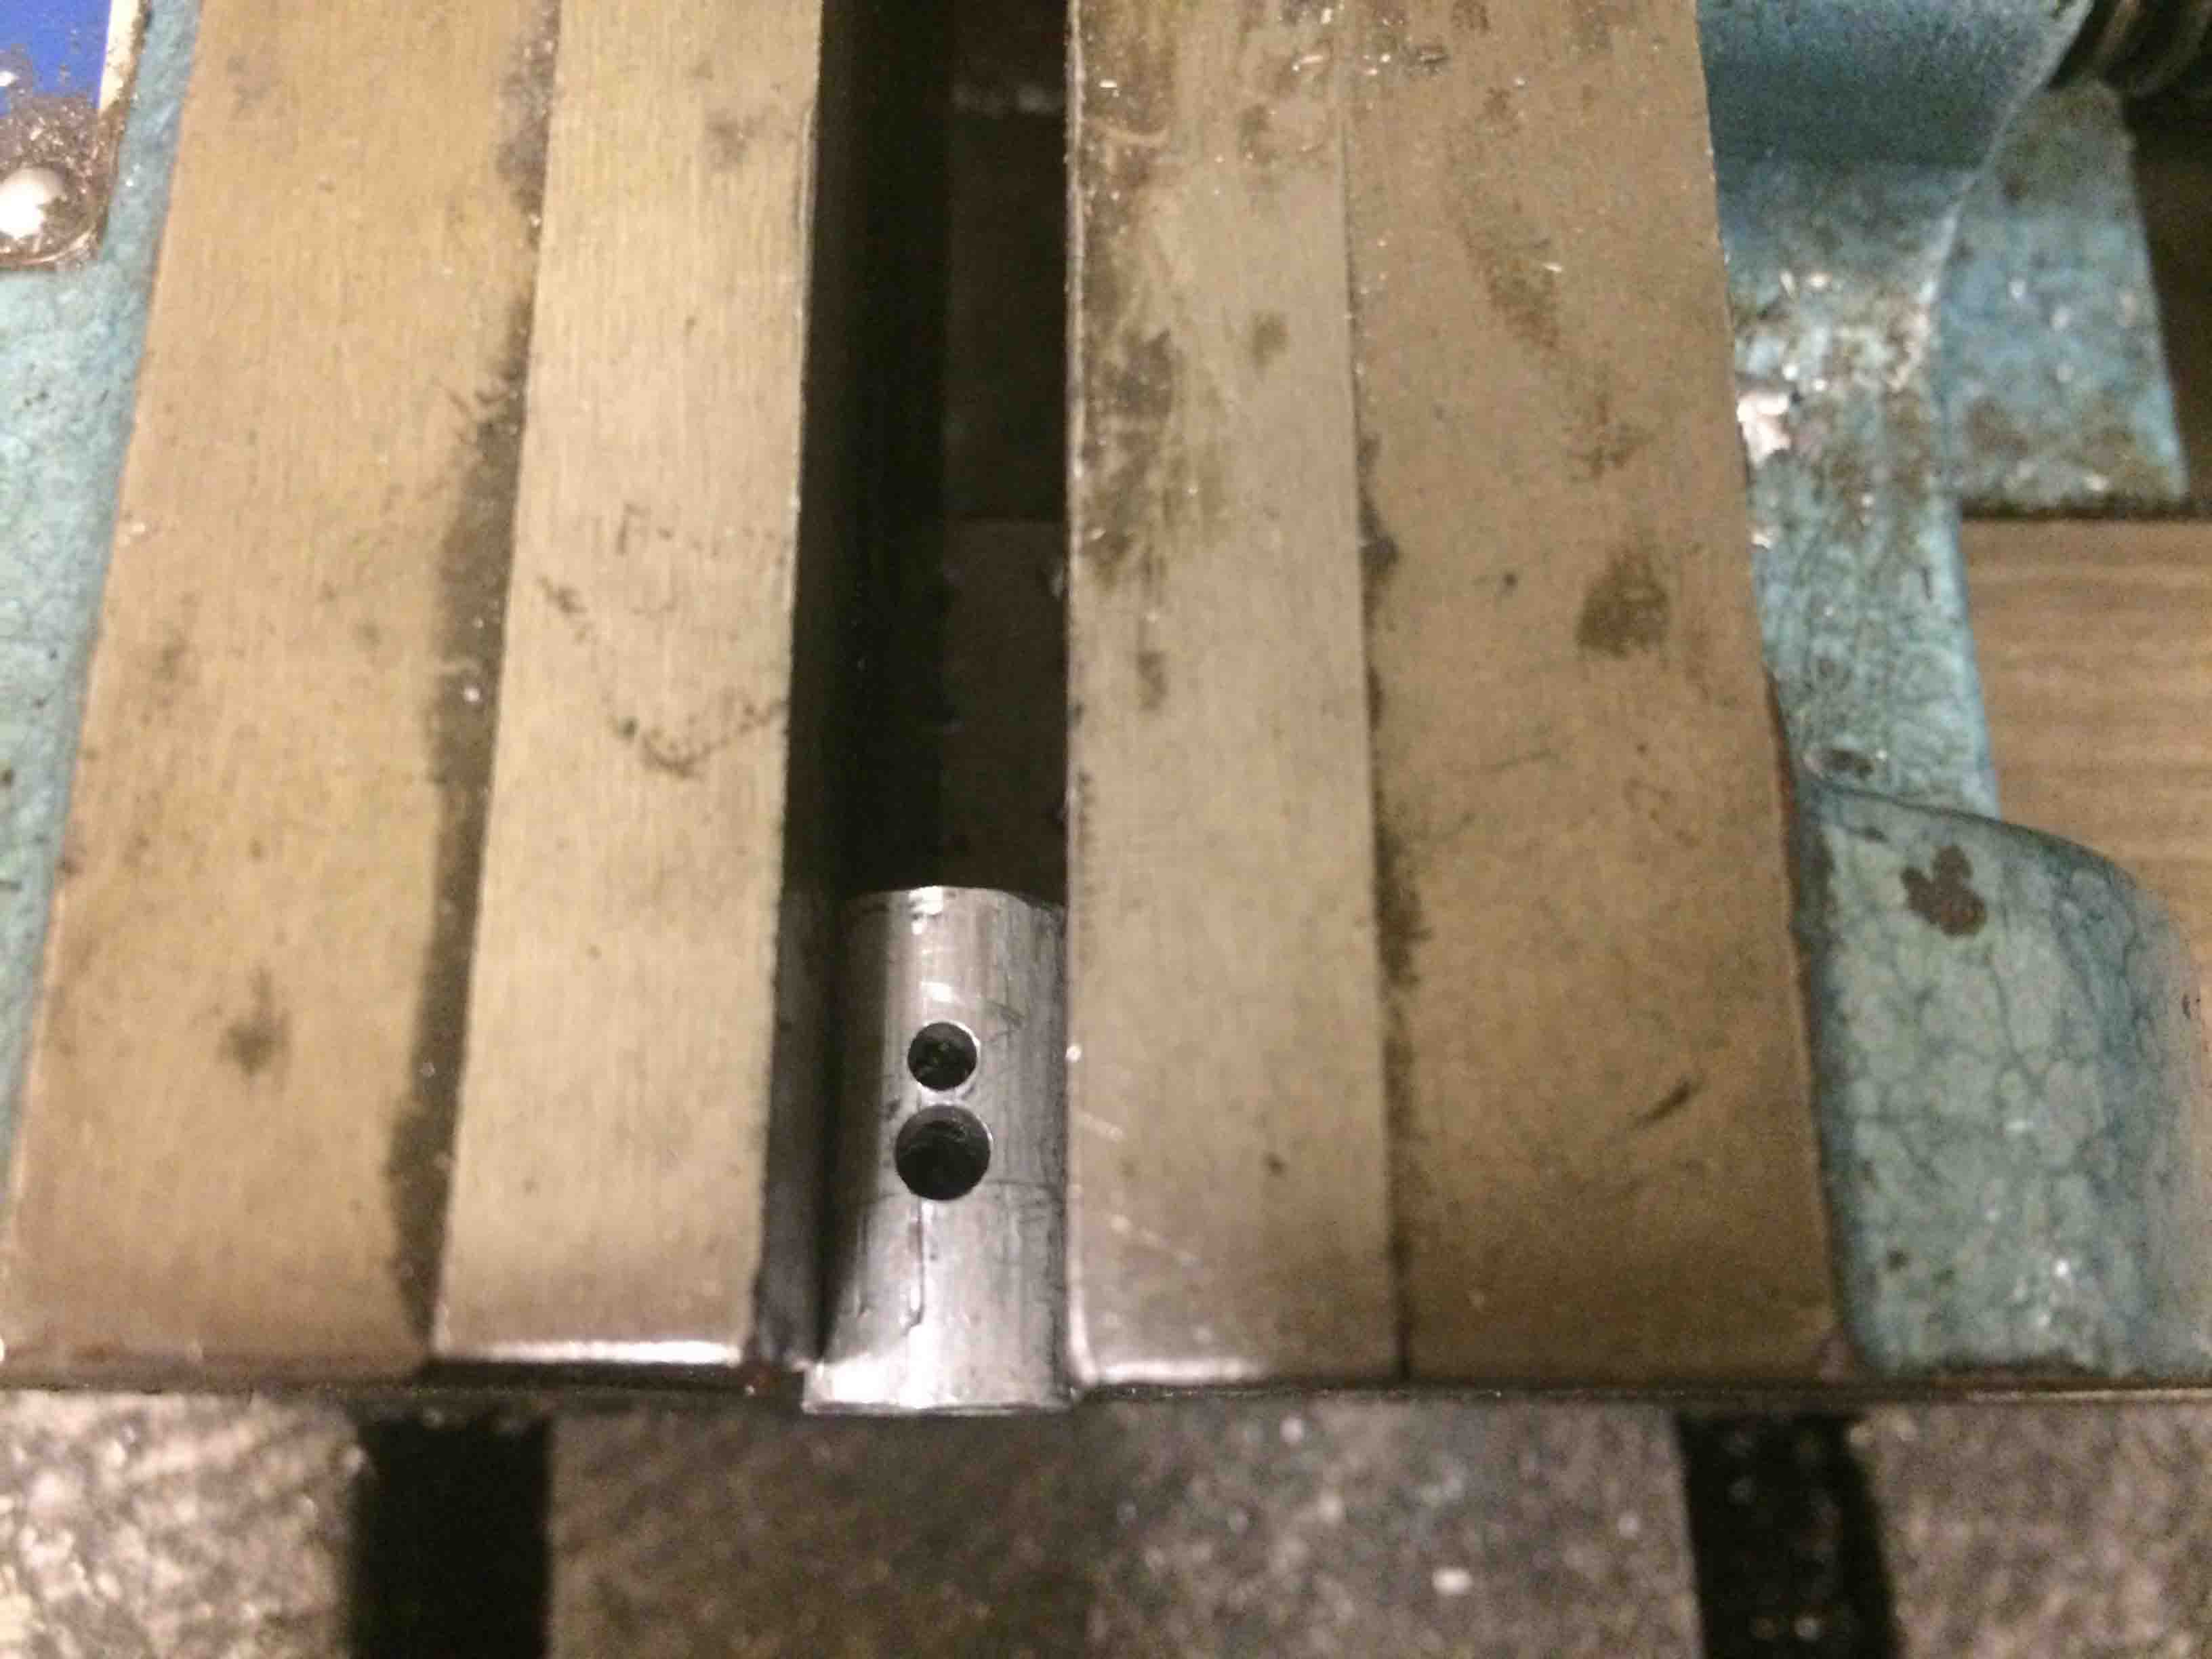
Making an attachment for an internal screw to hold onto the hinge.
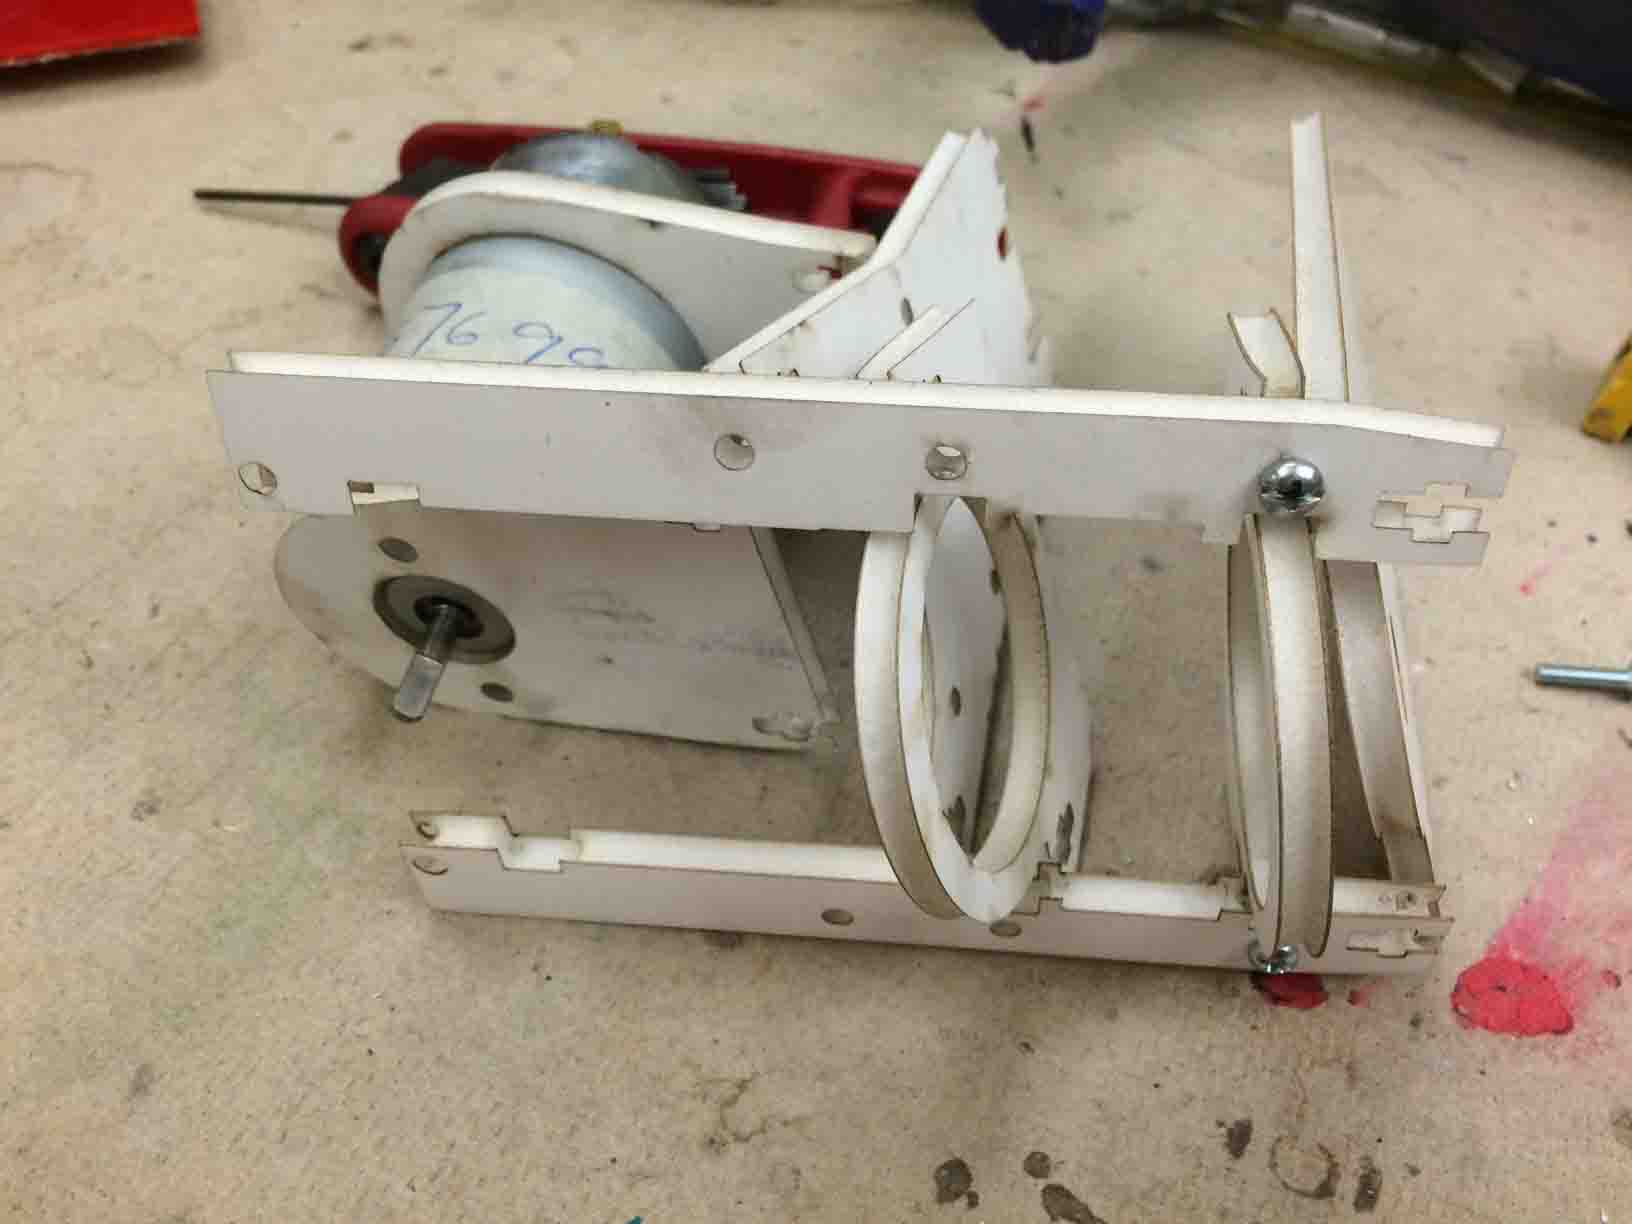
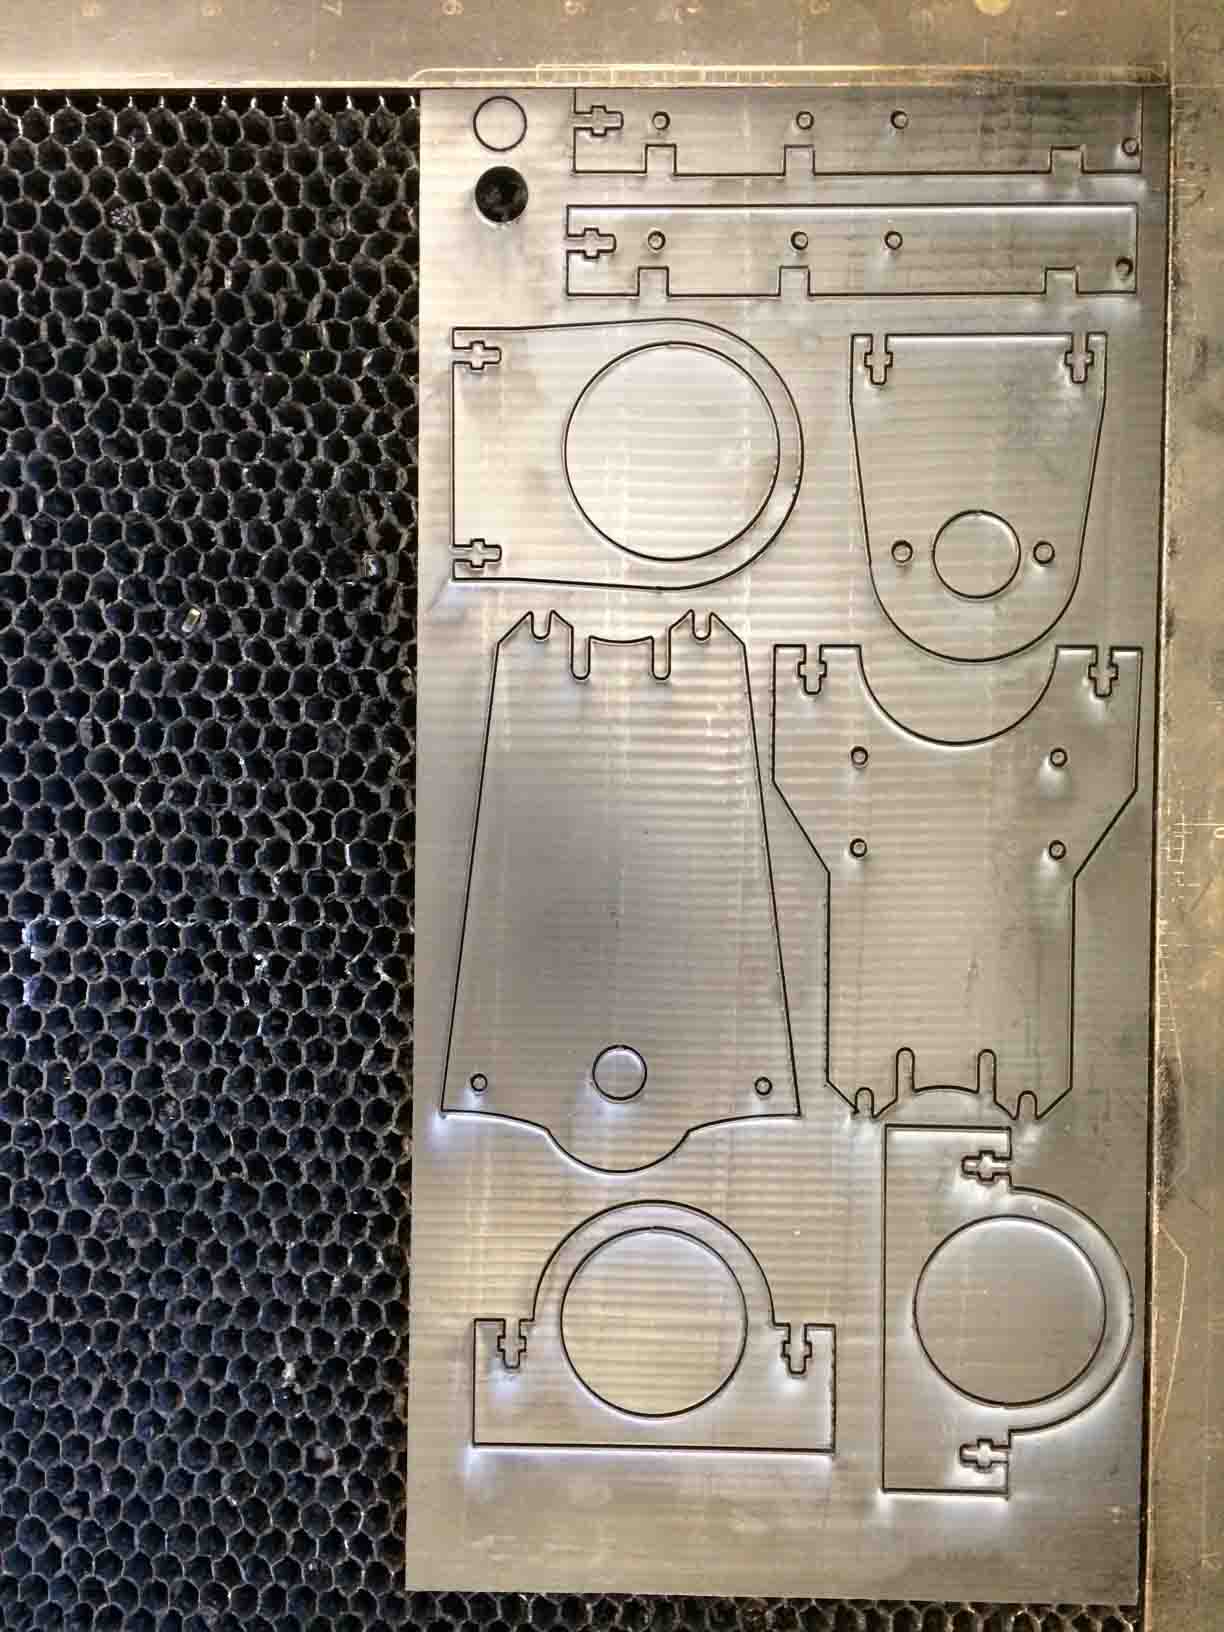
Laser Cutting the Housing Mount
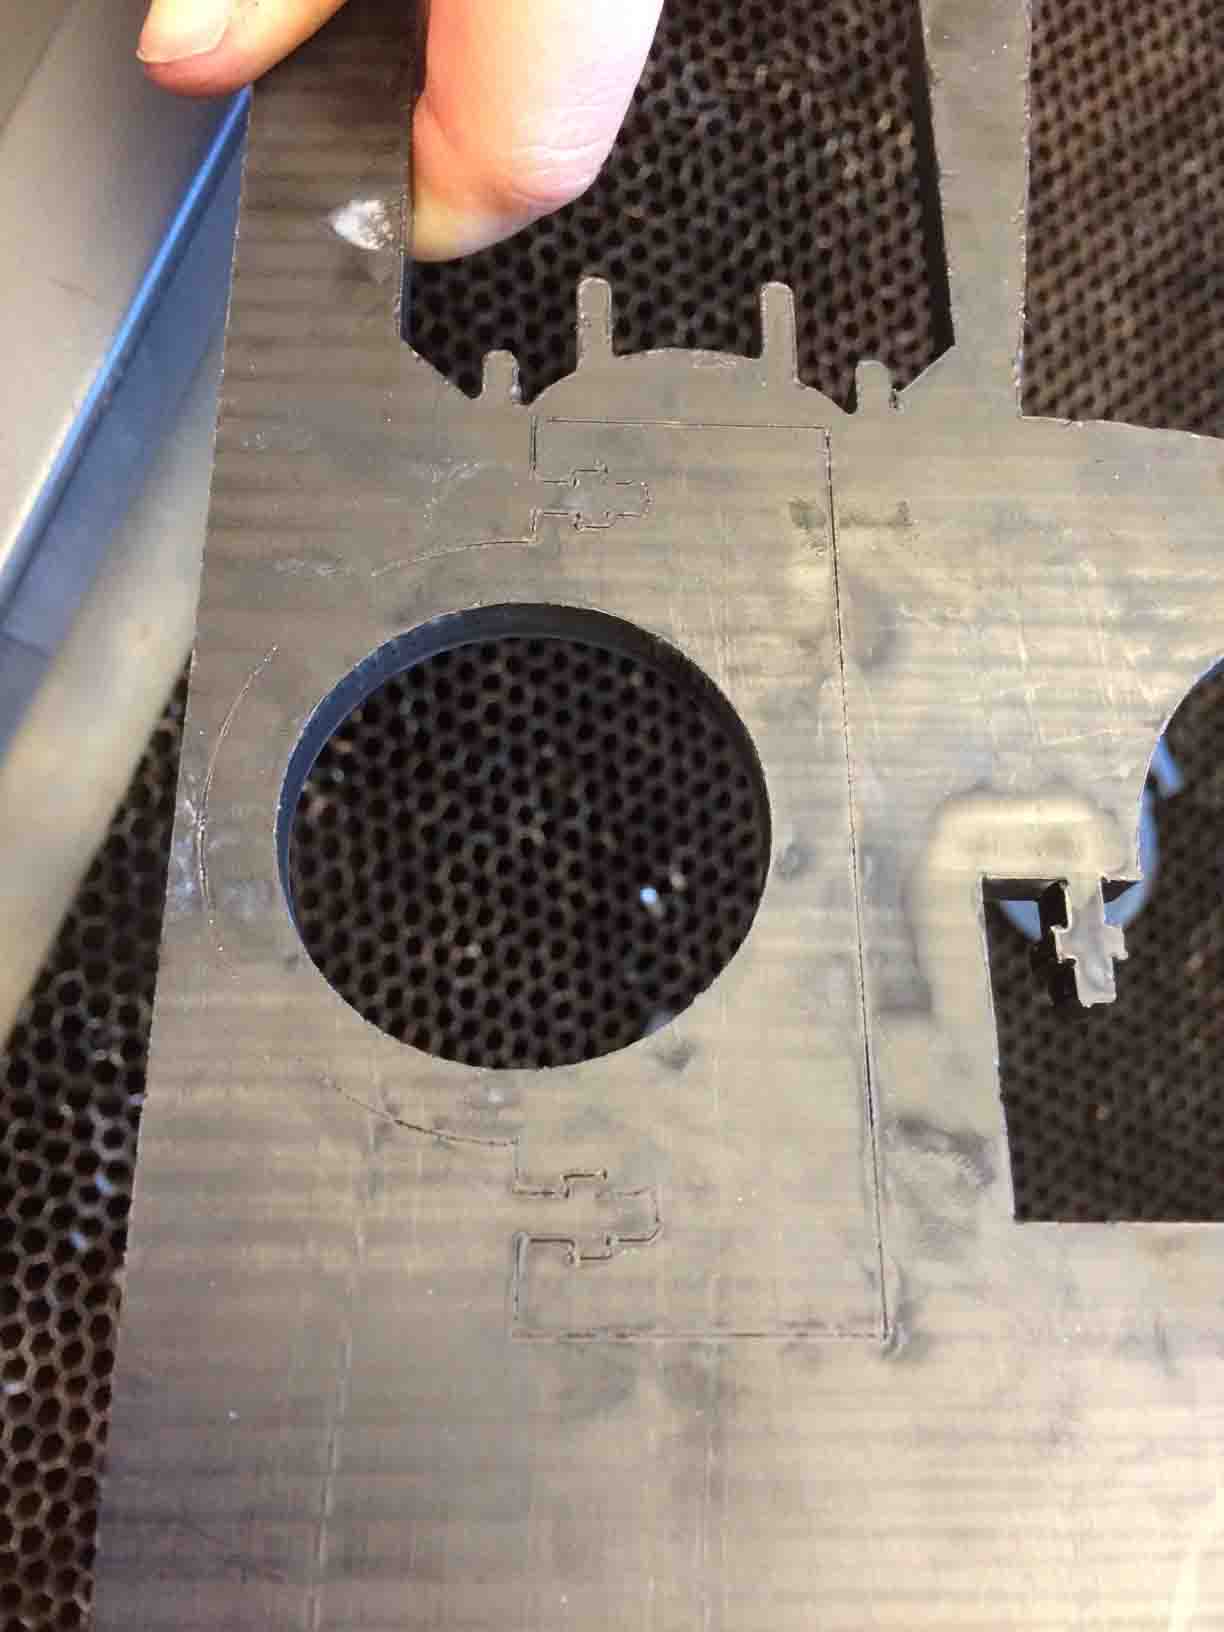

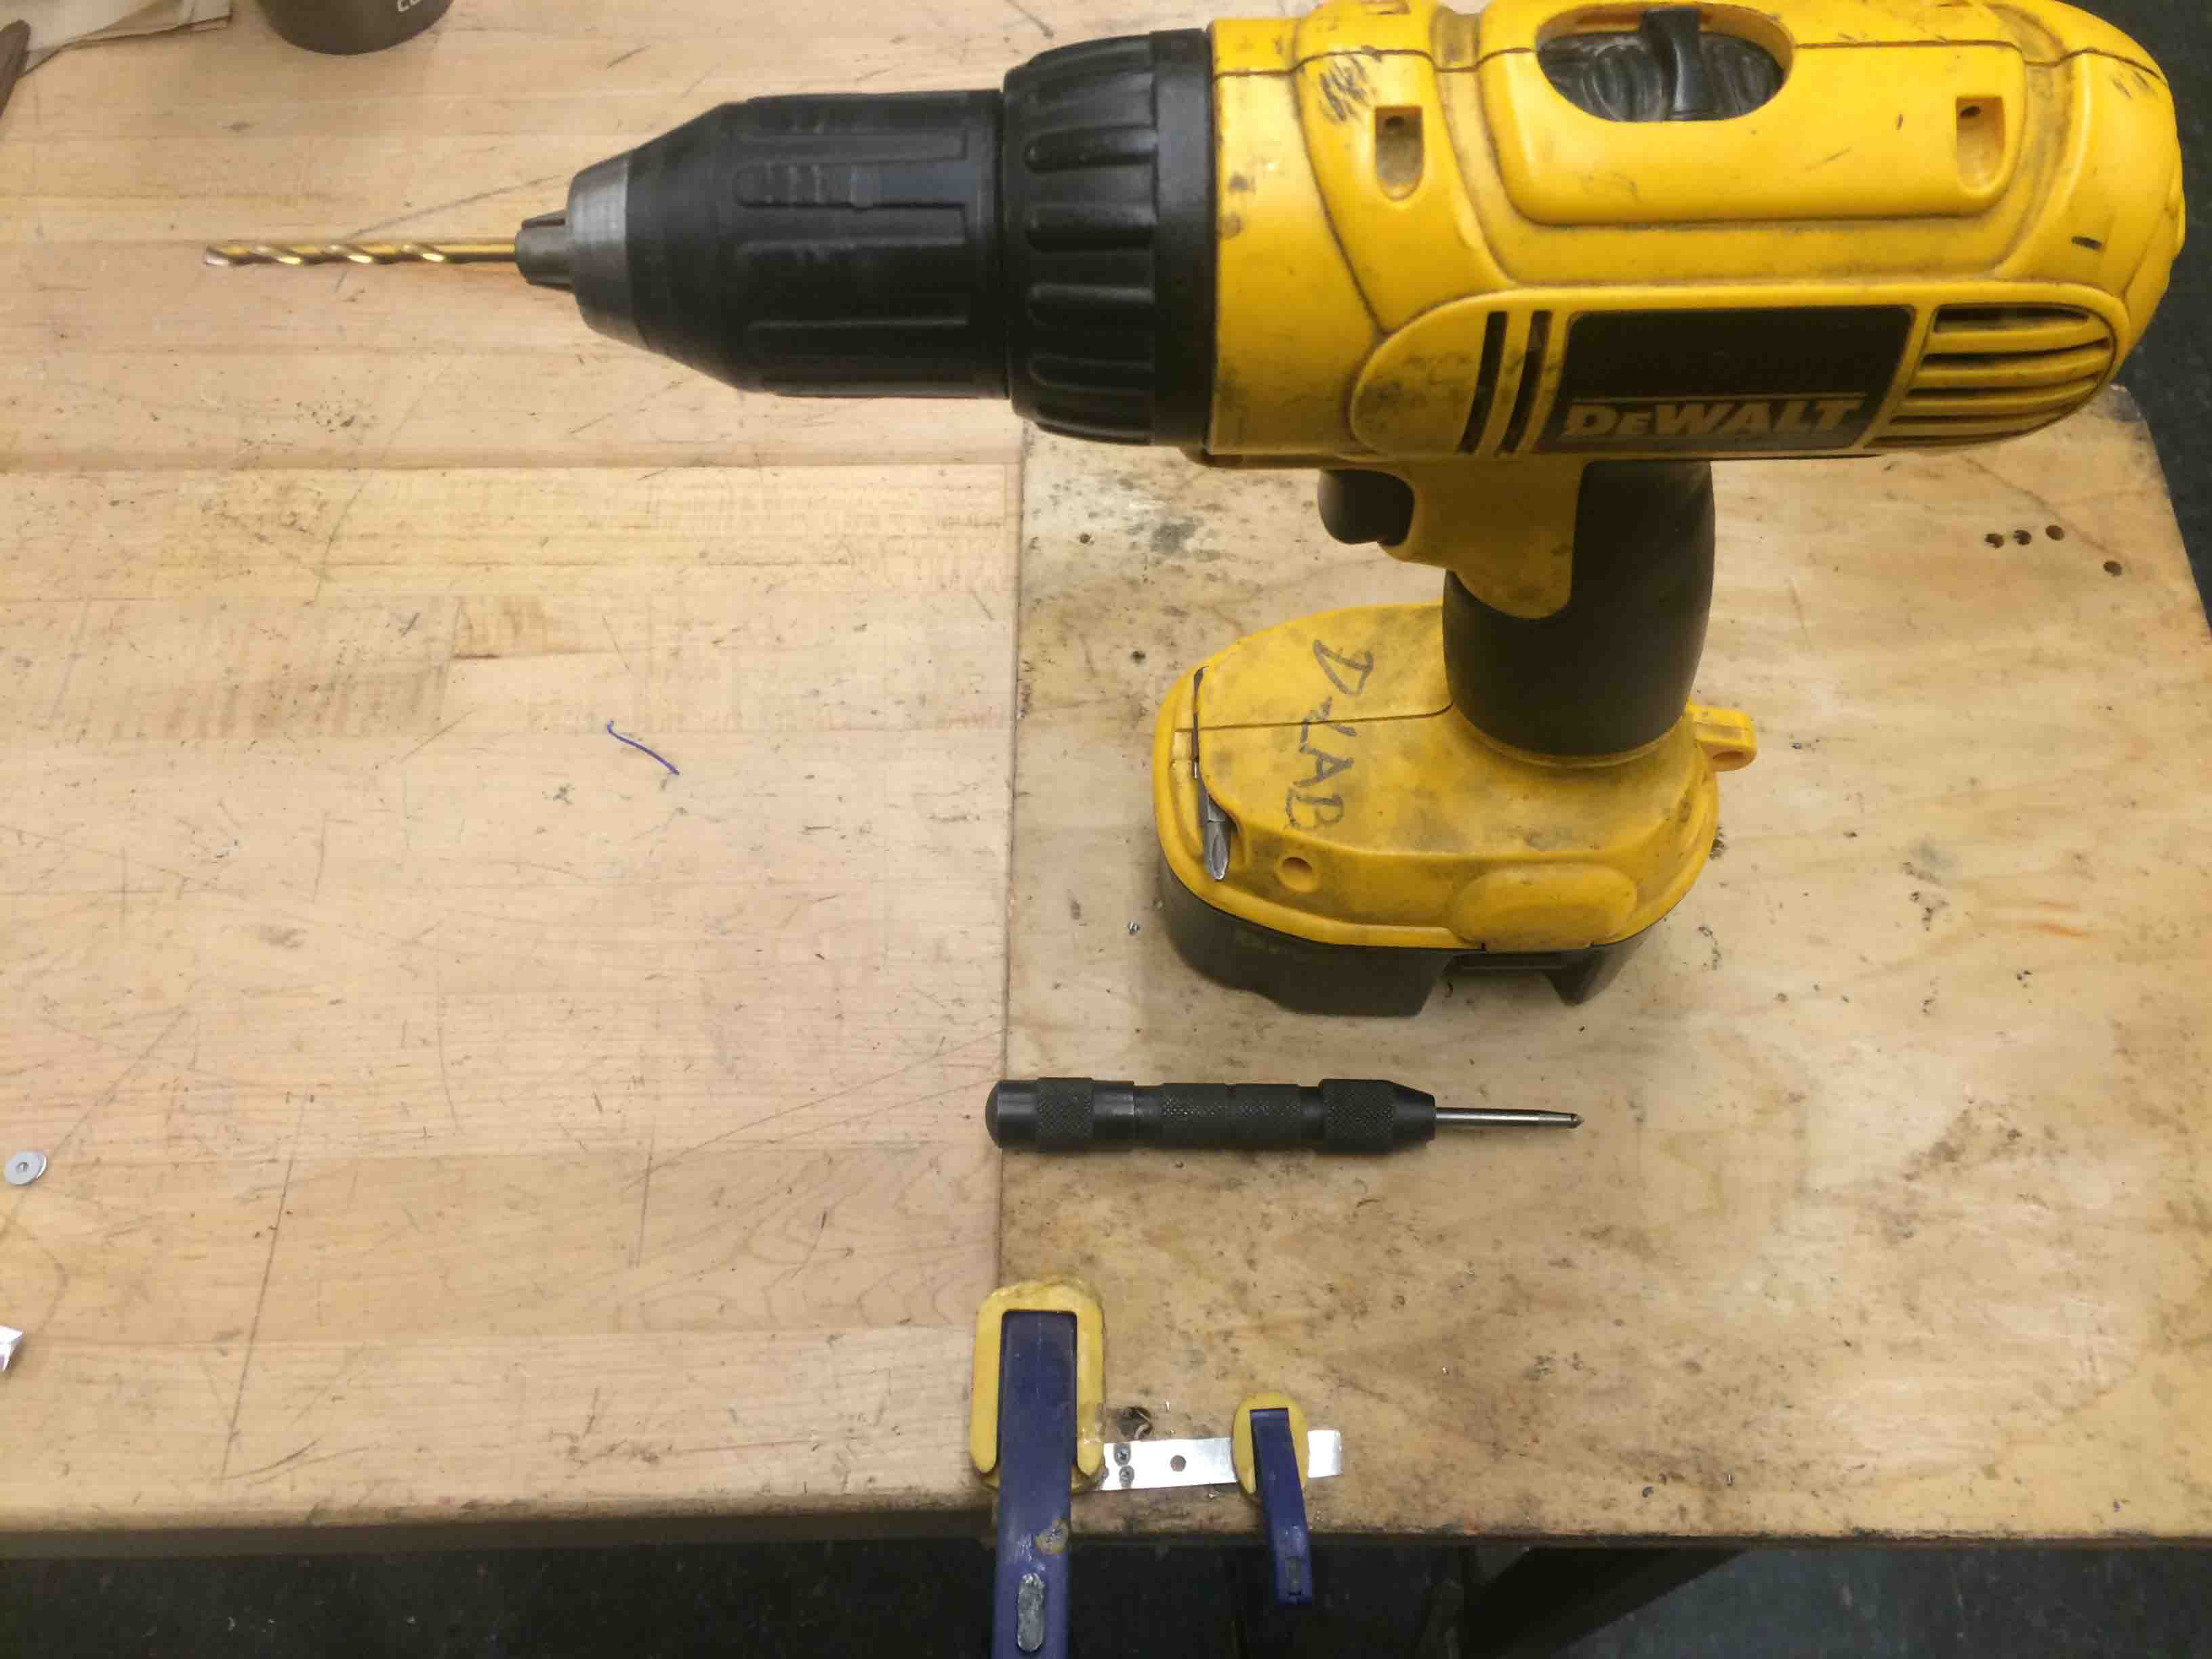
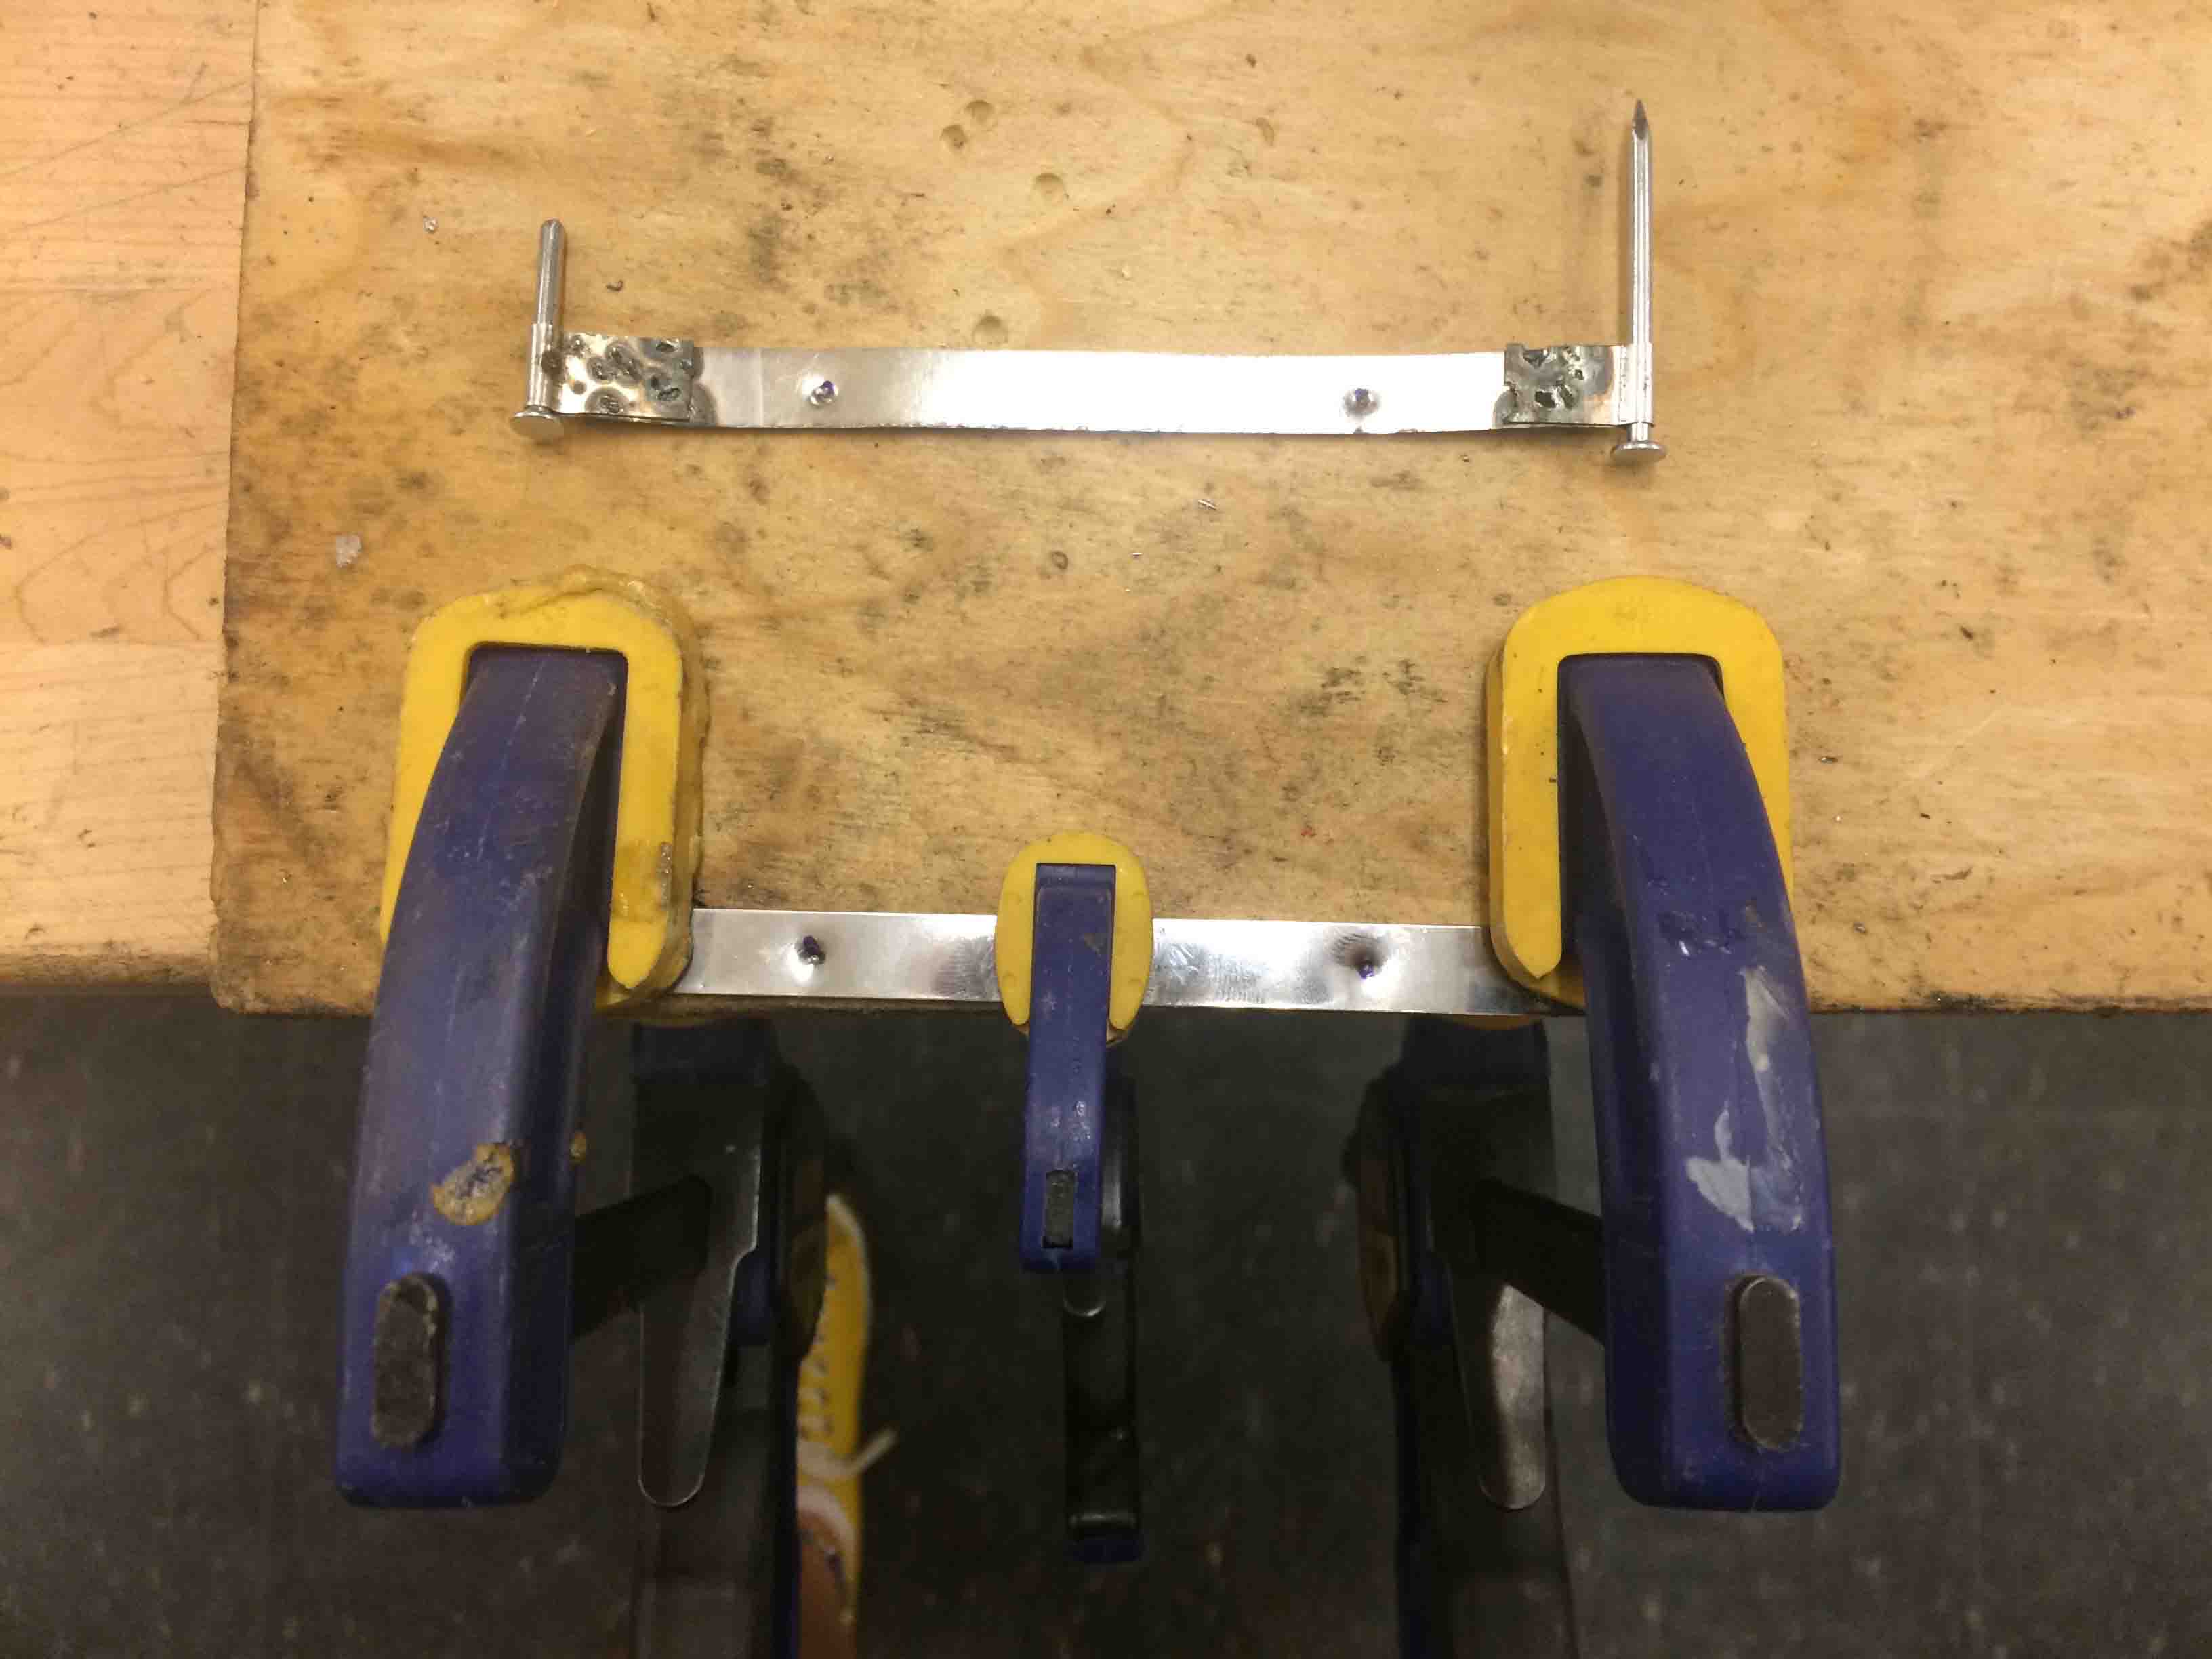
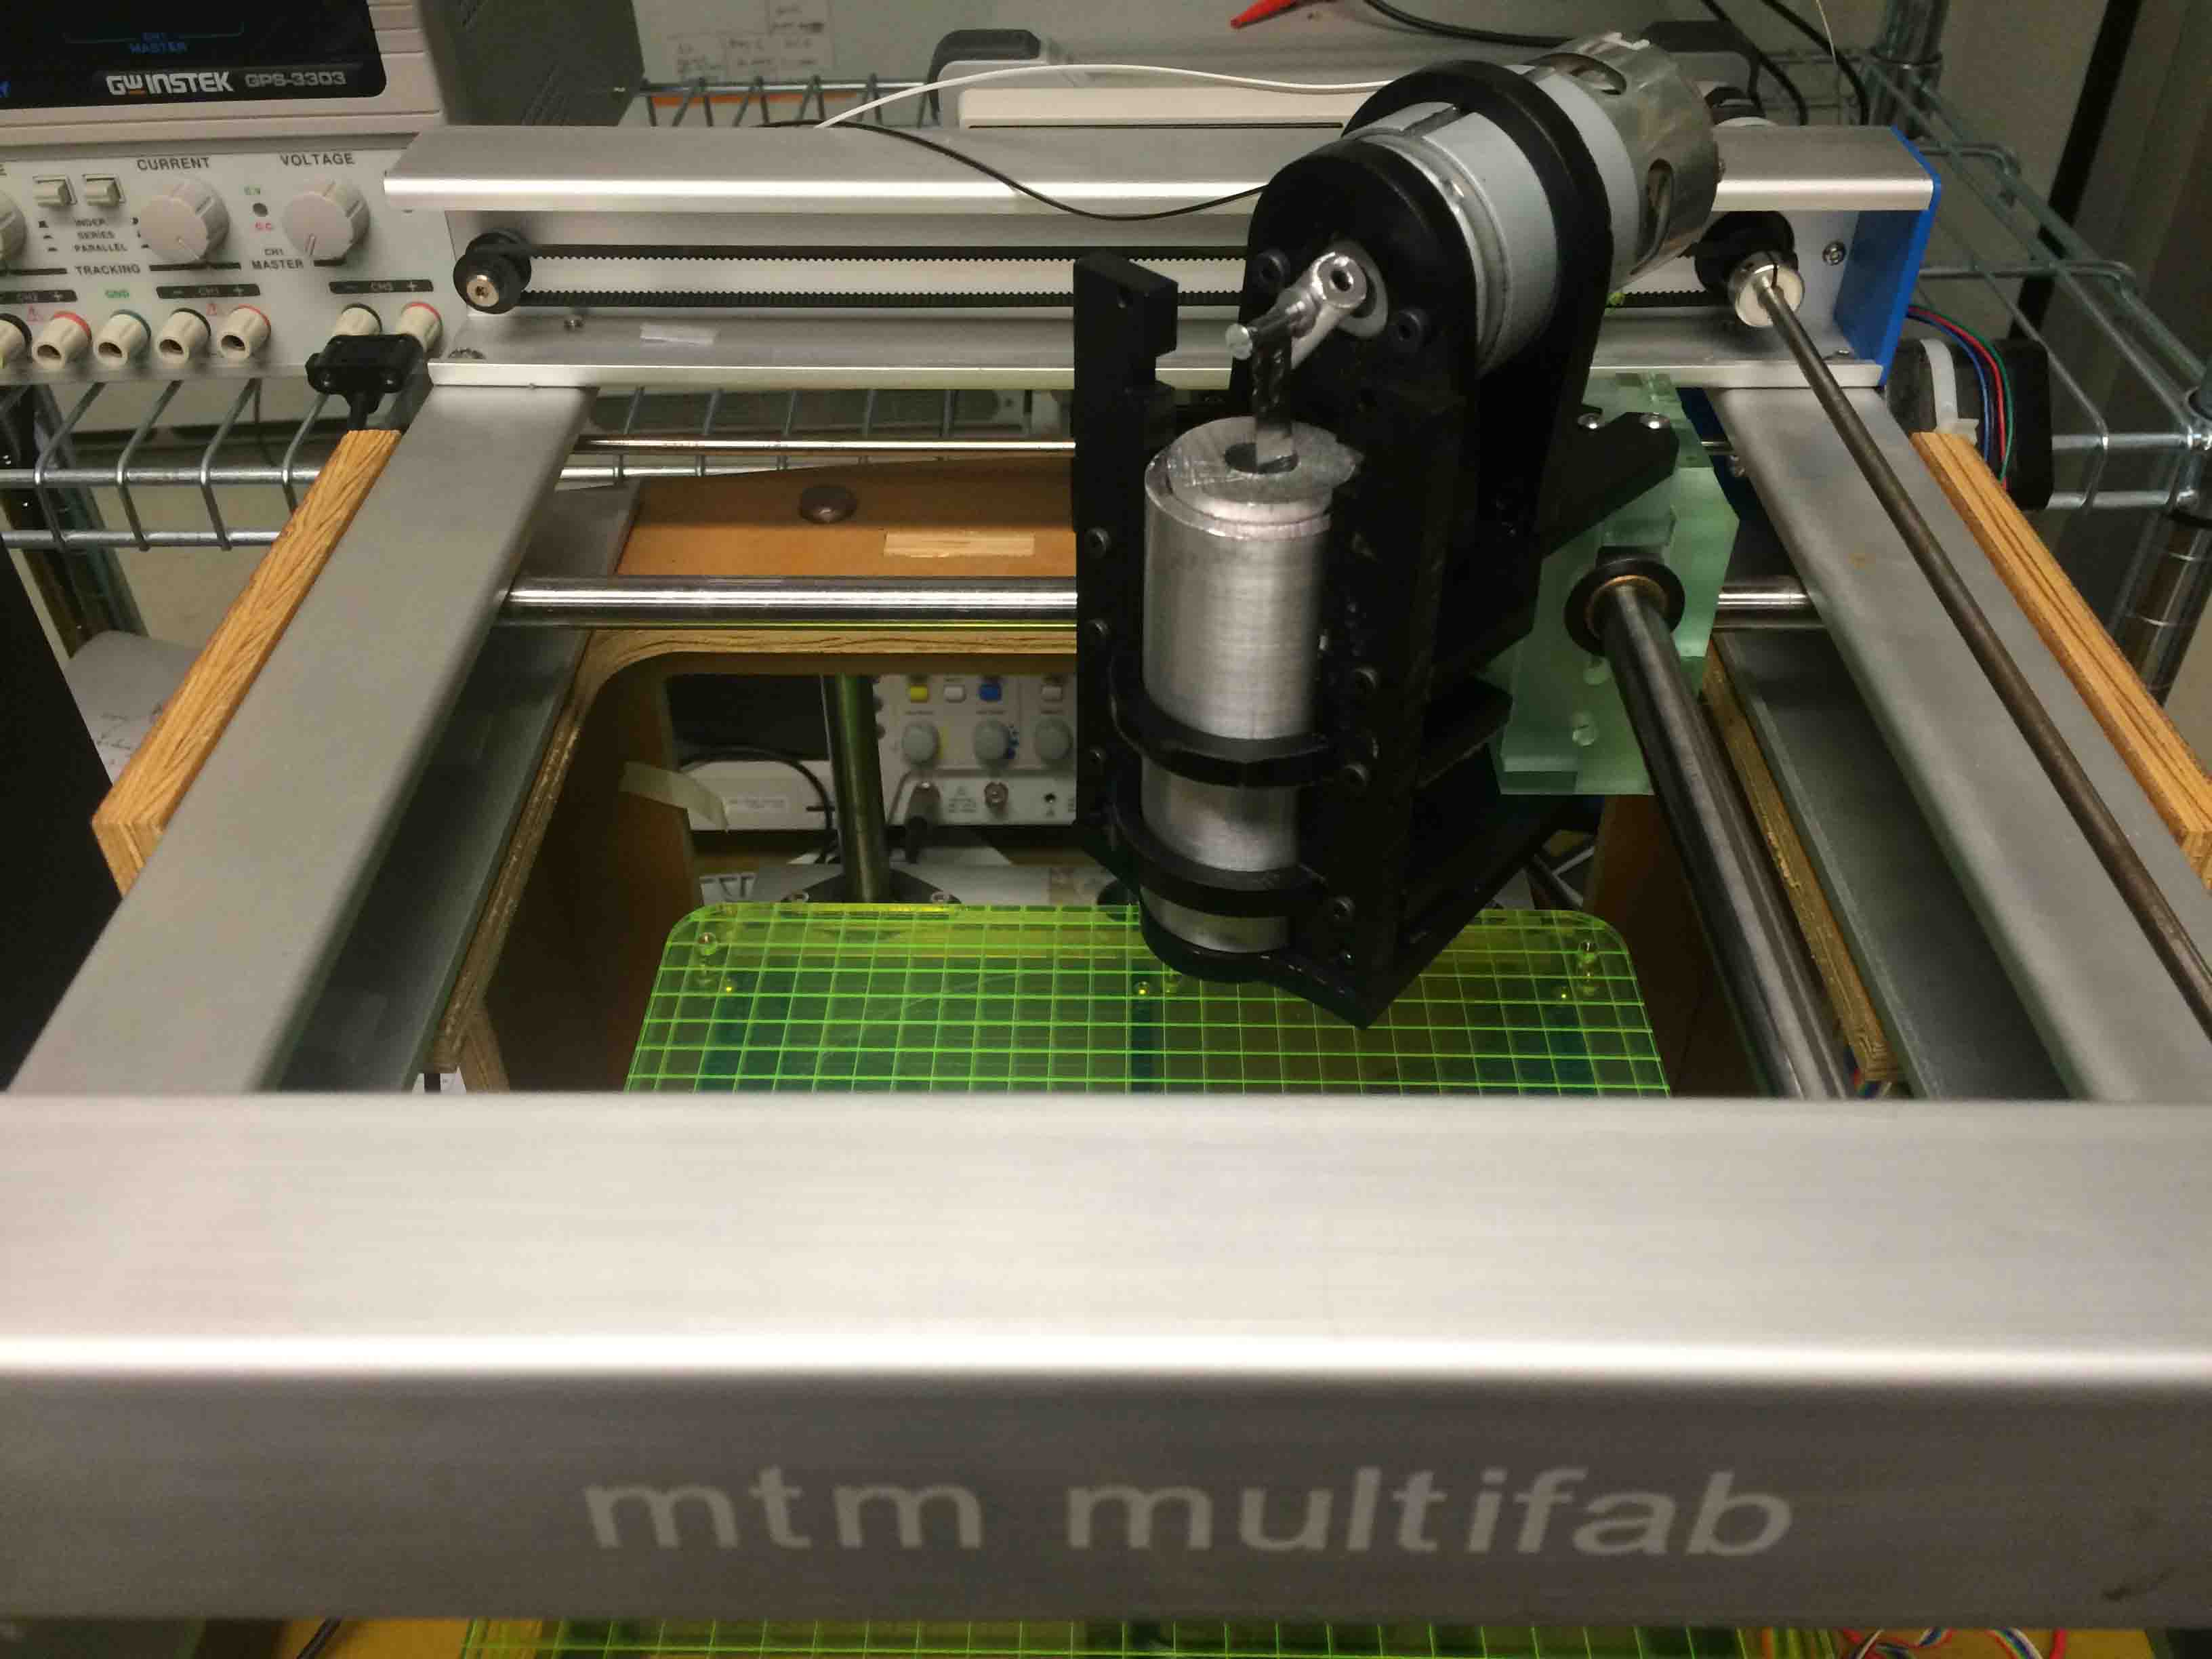
Processing for Assembly Integration

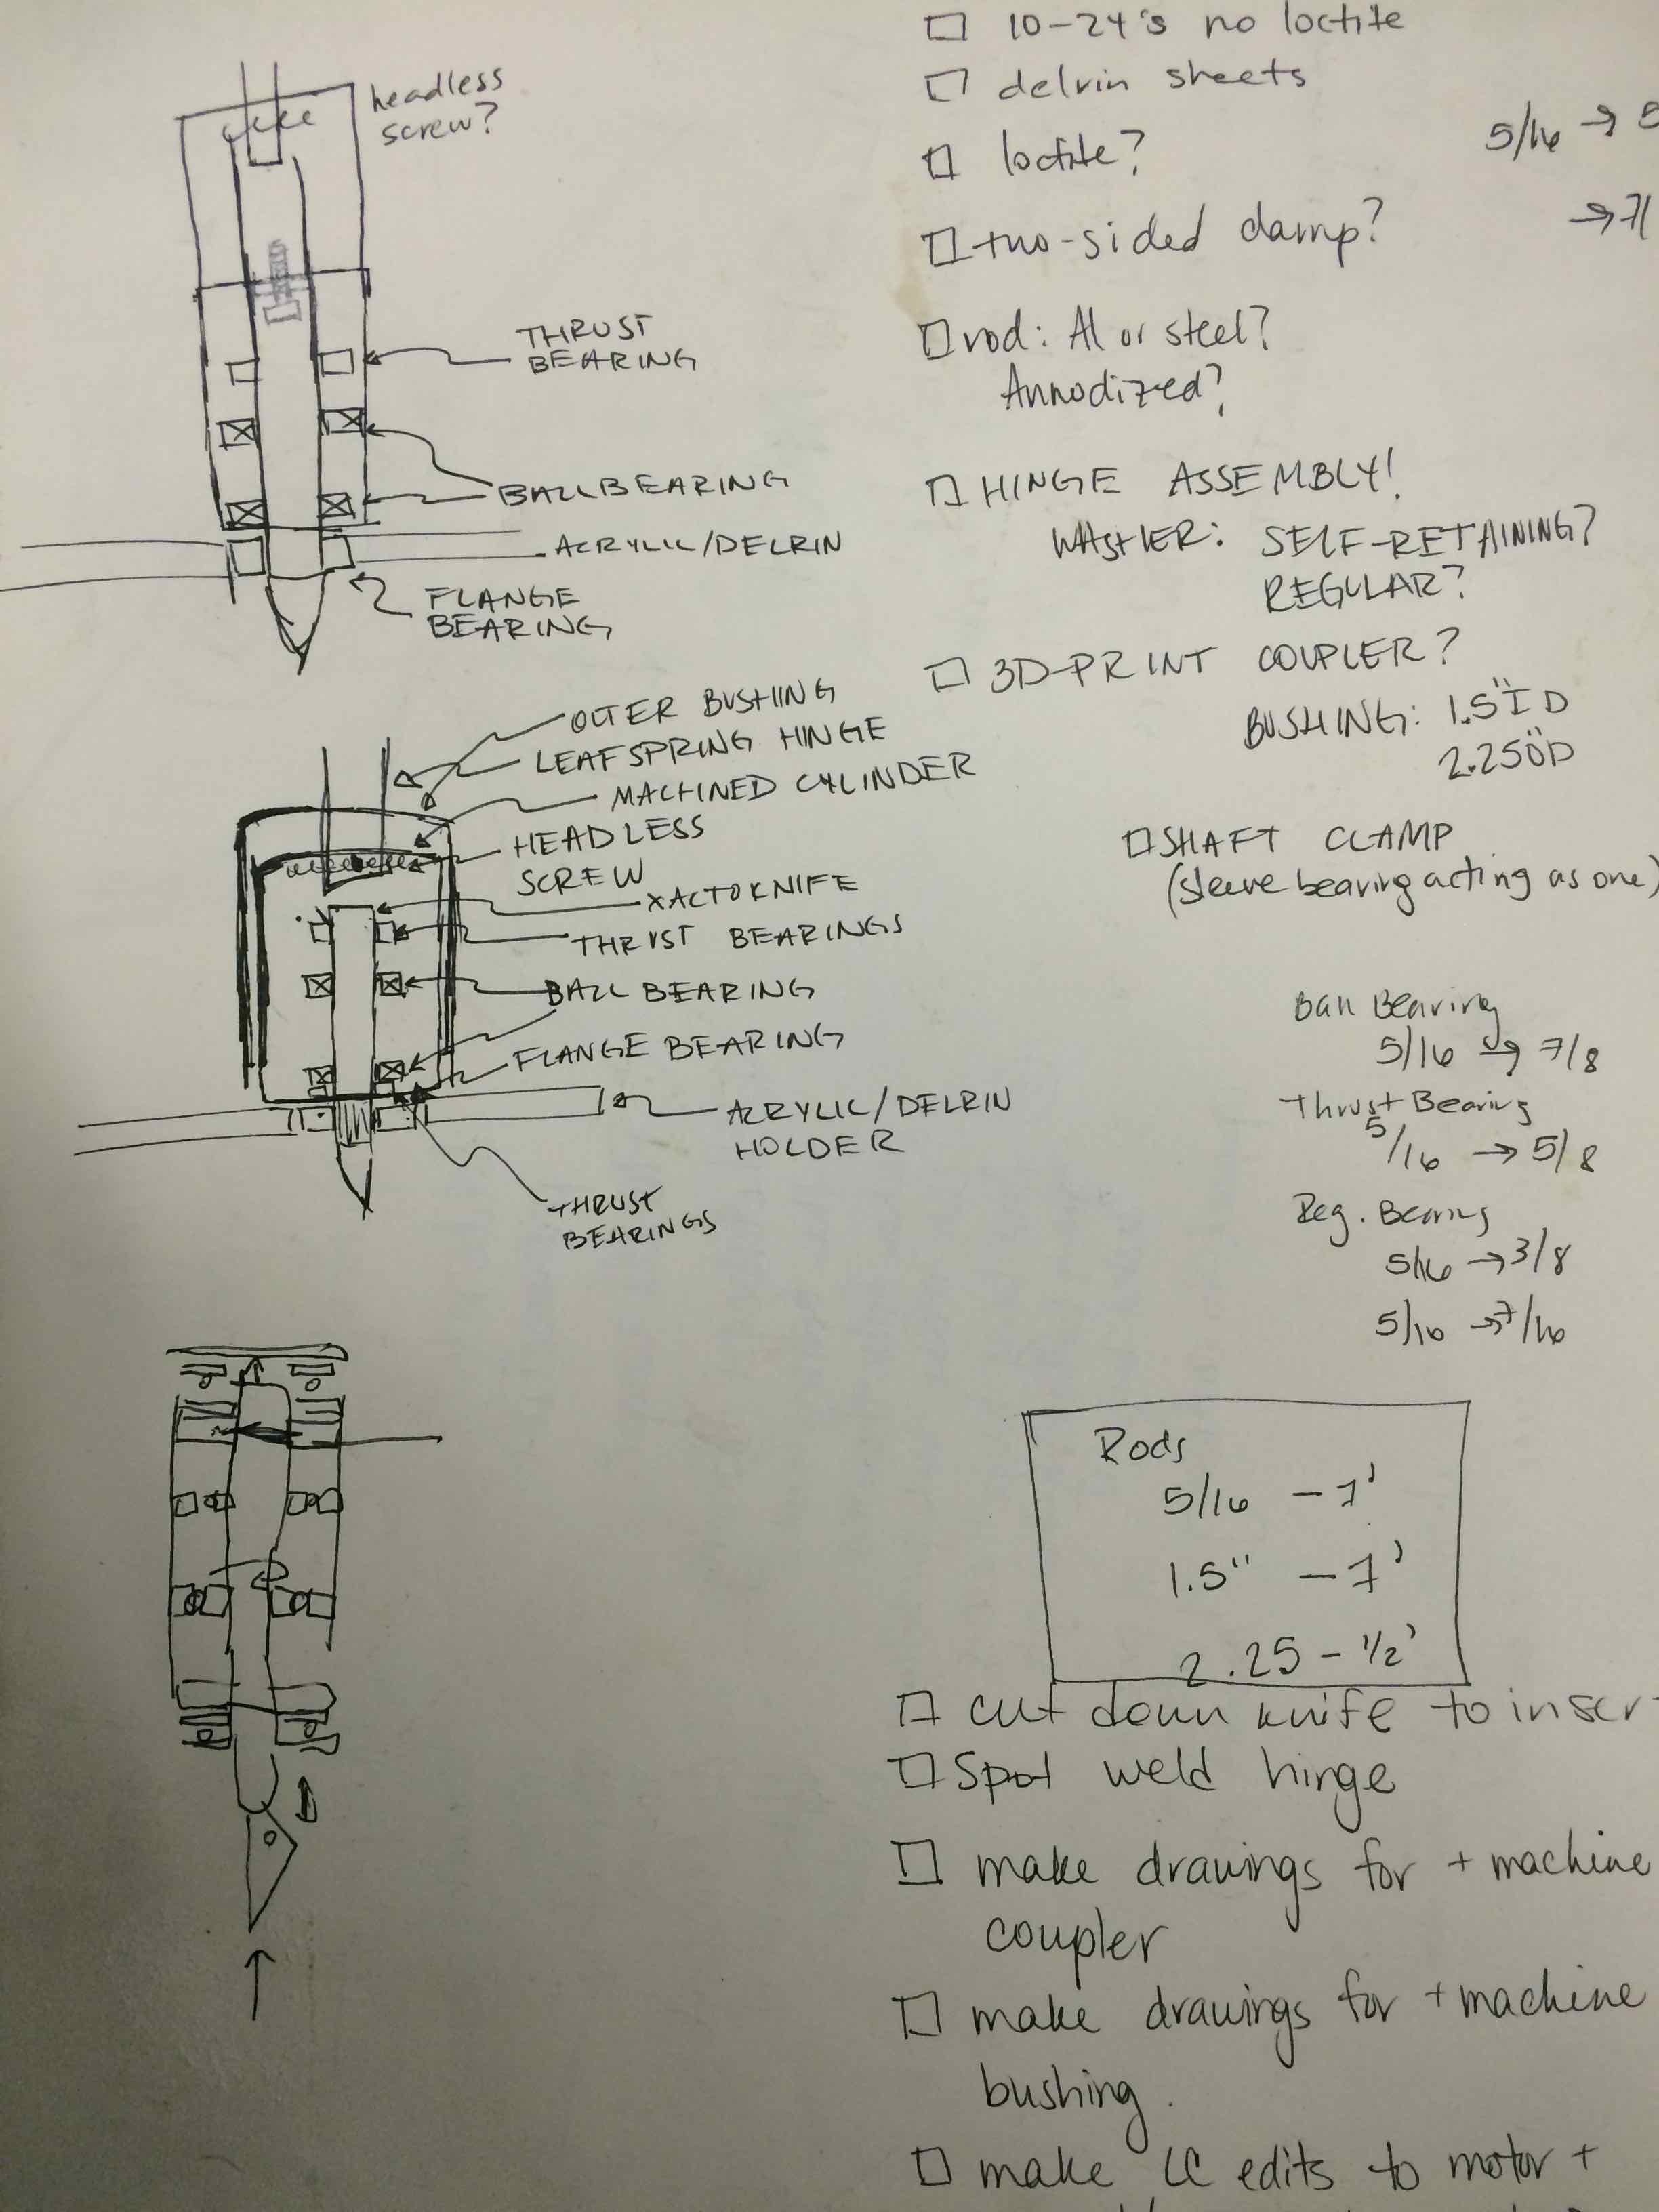
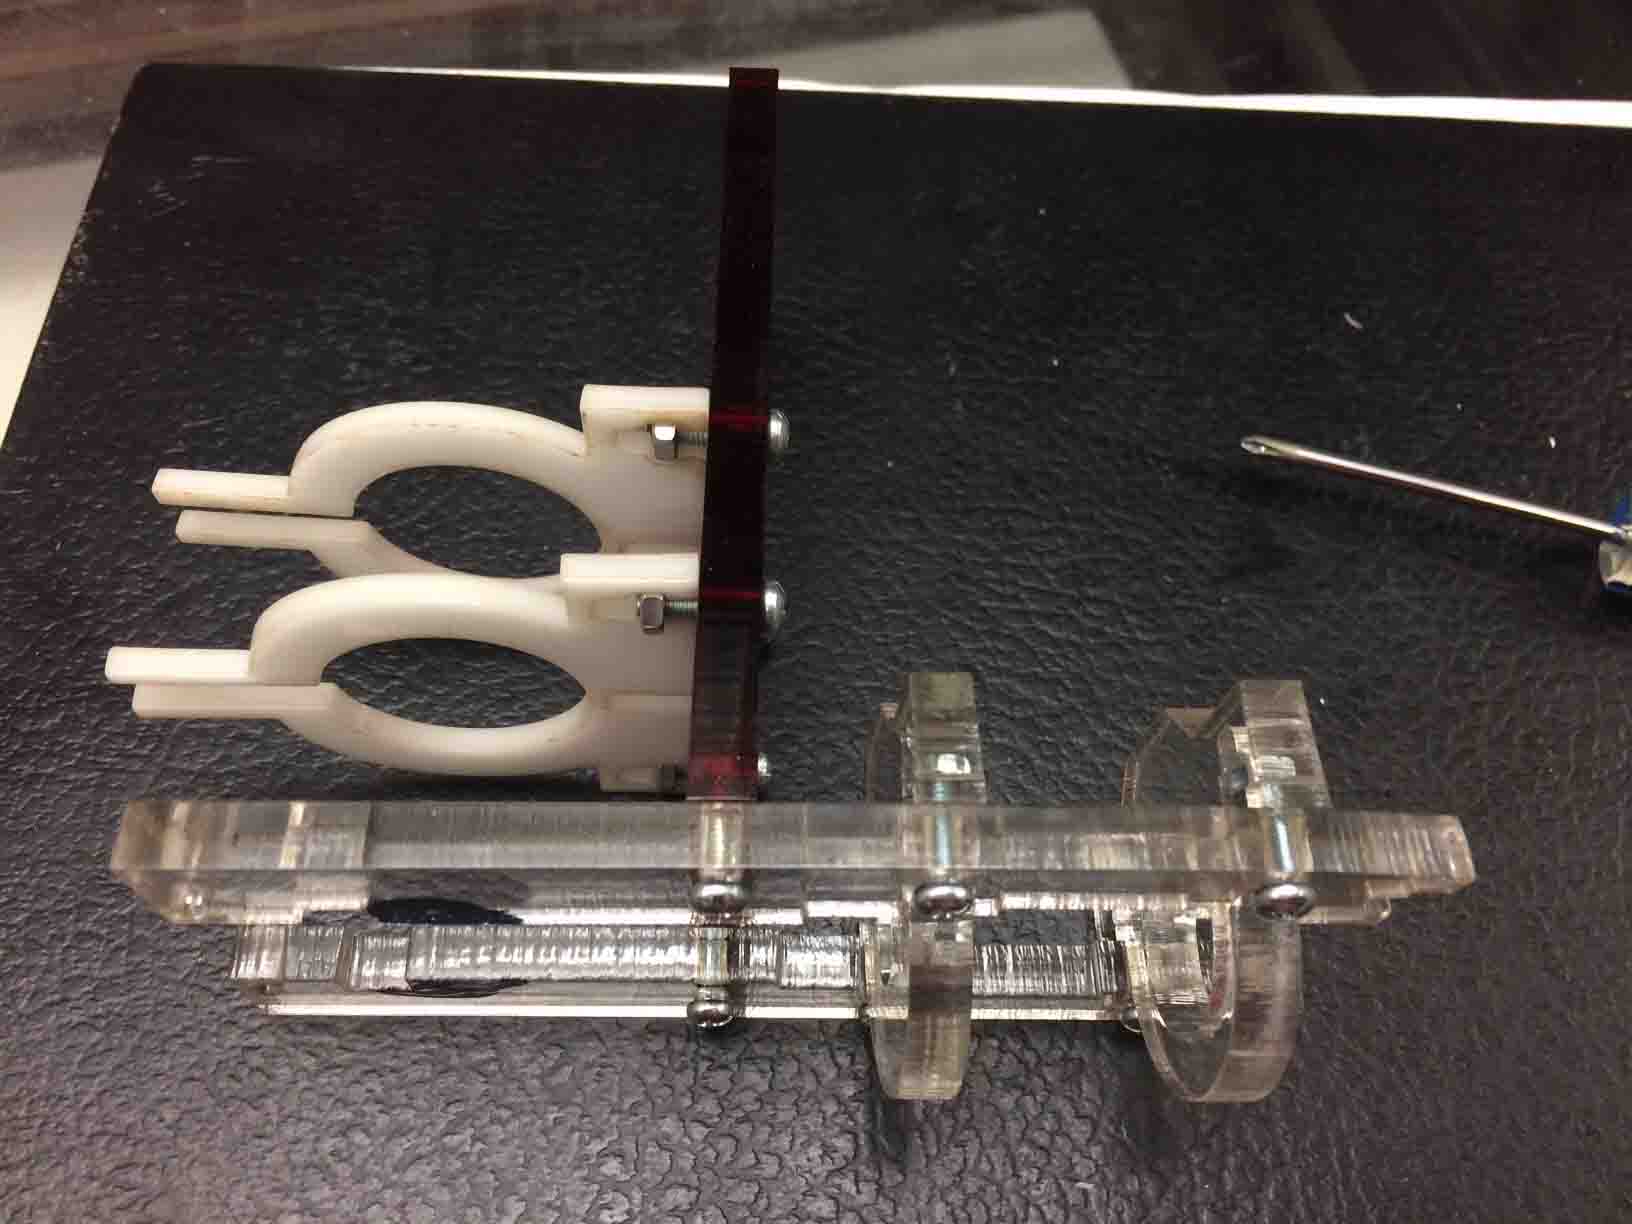
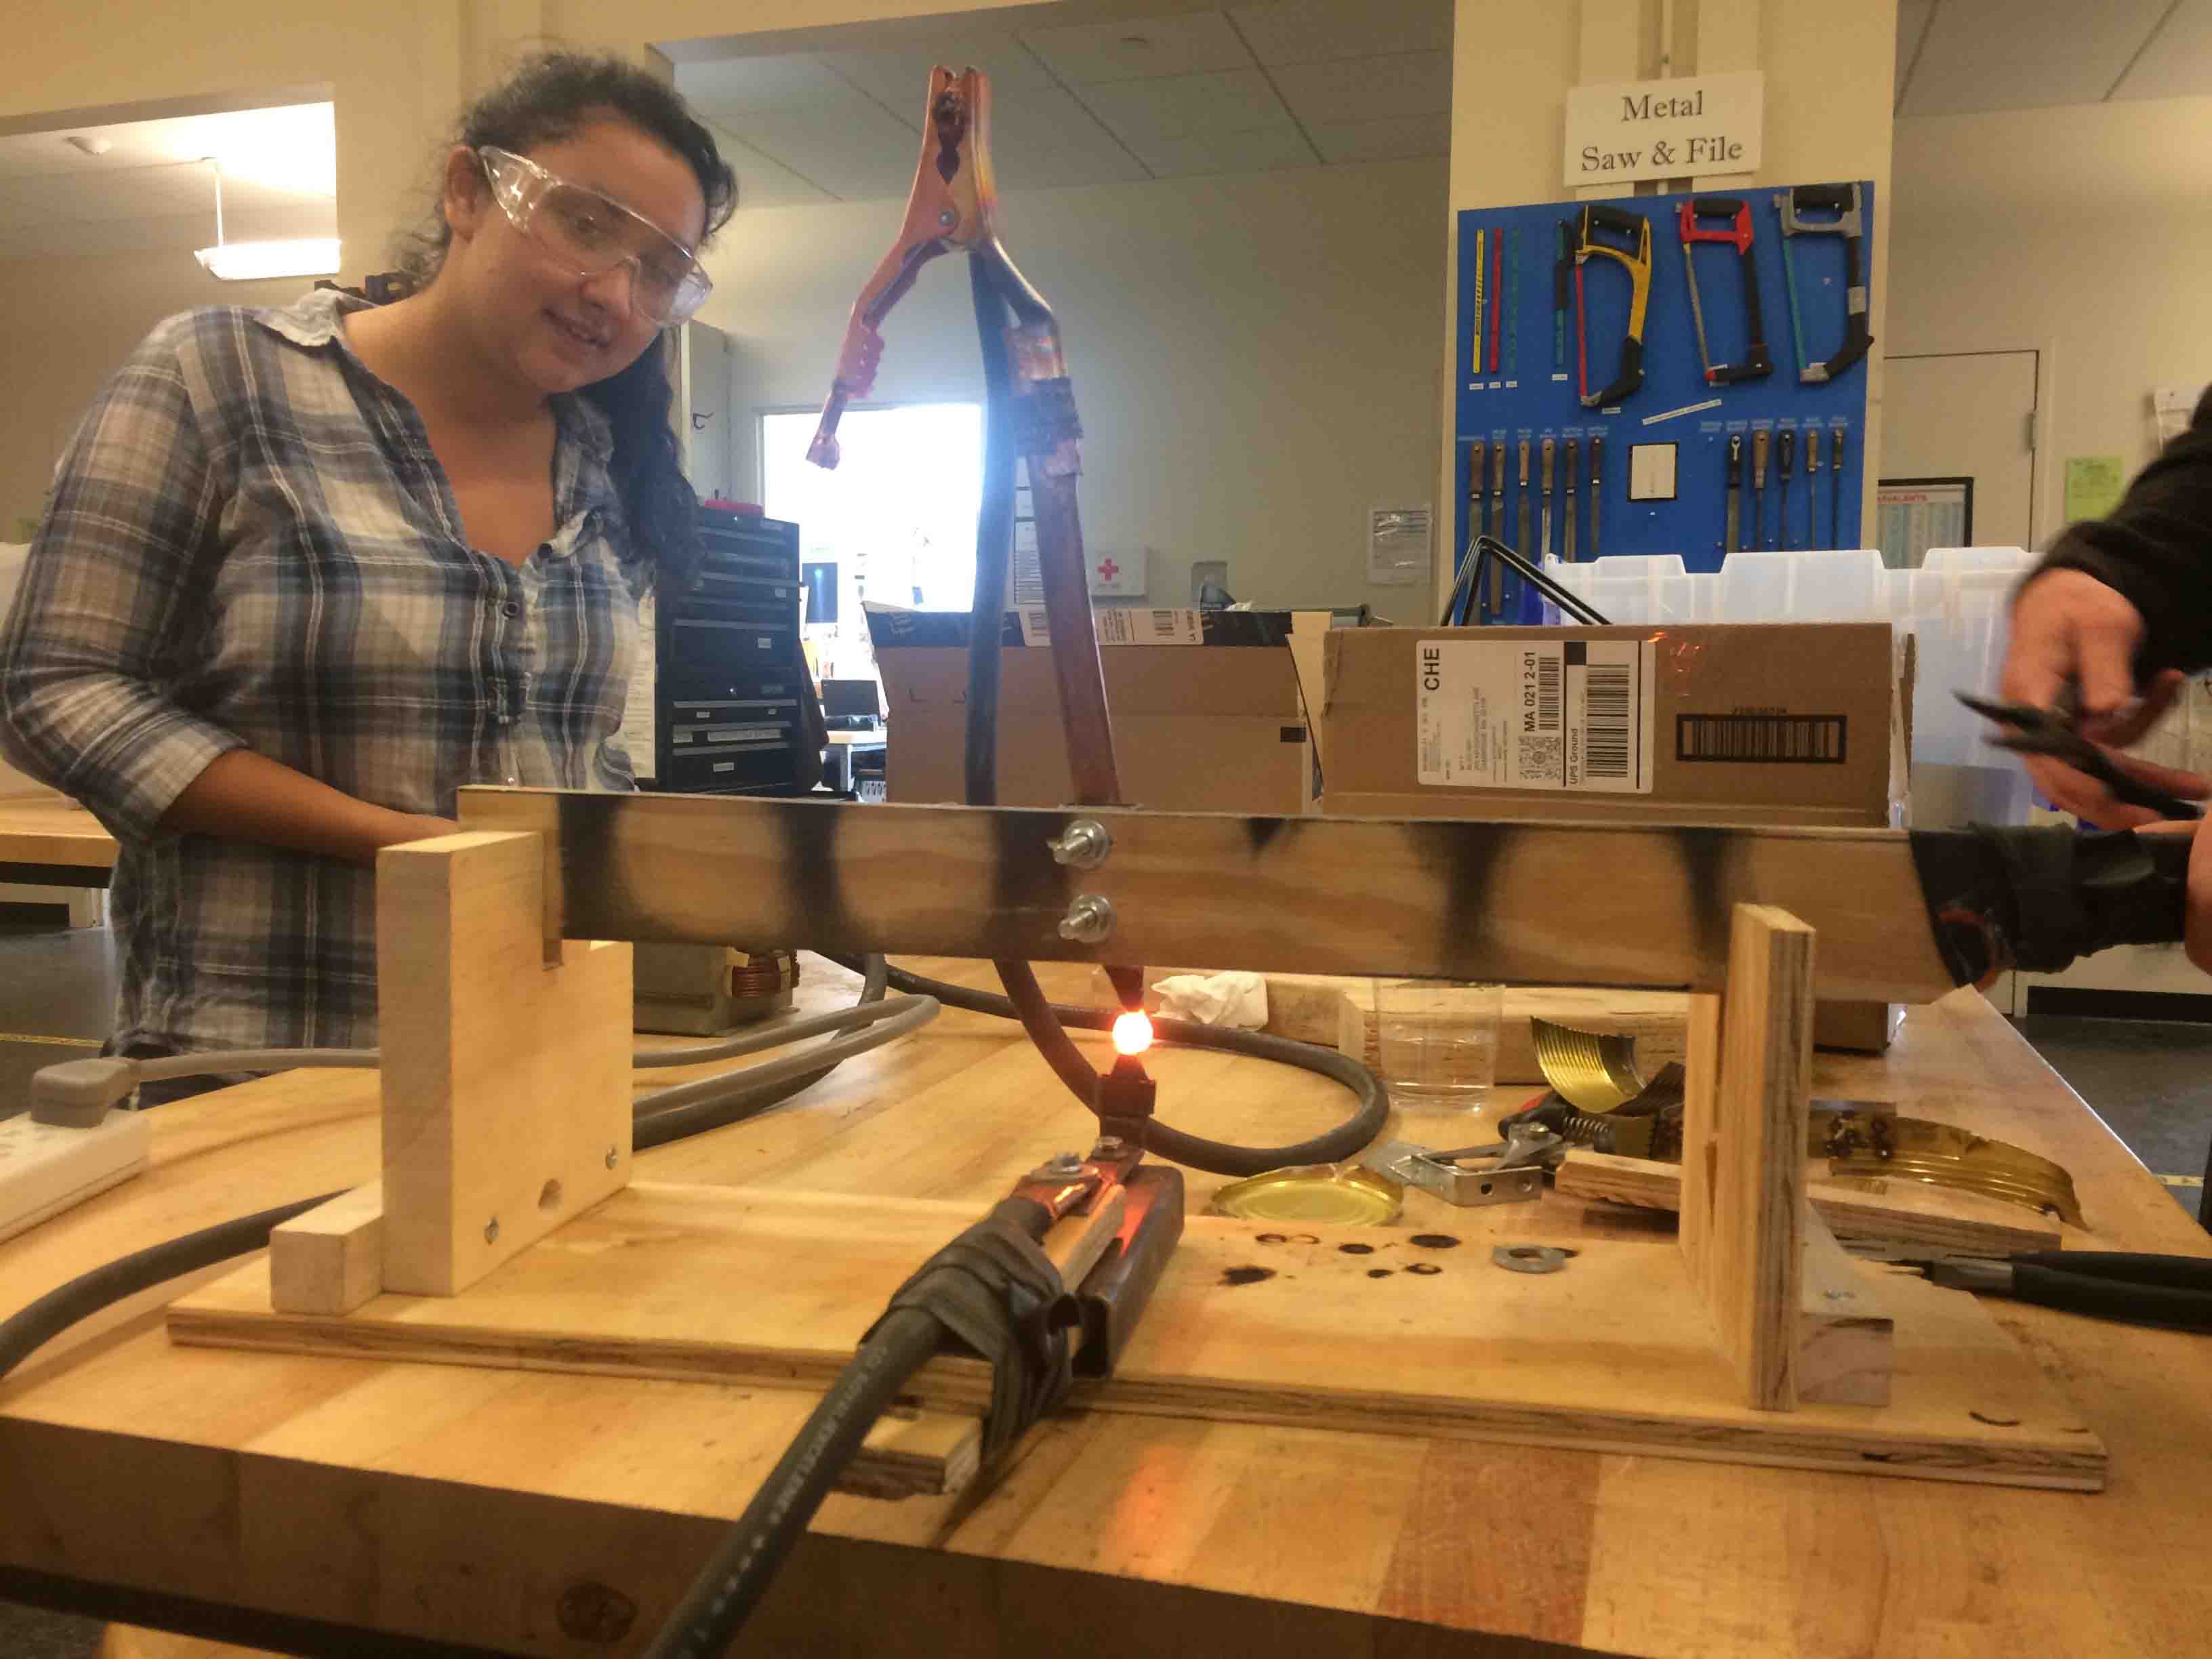
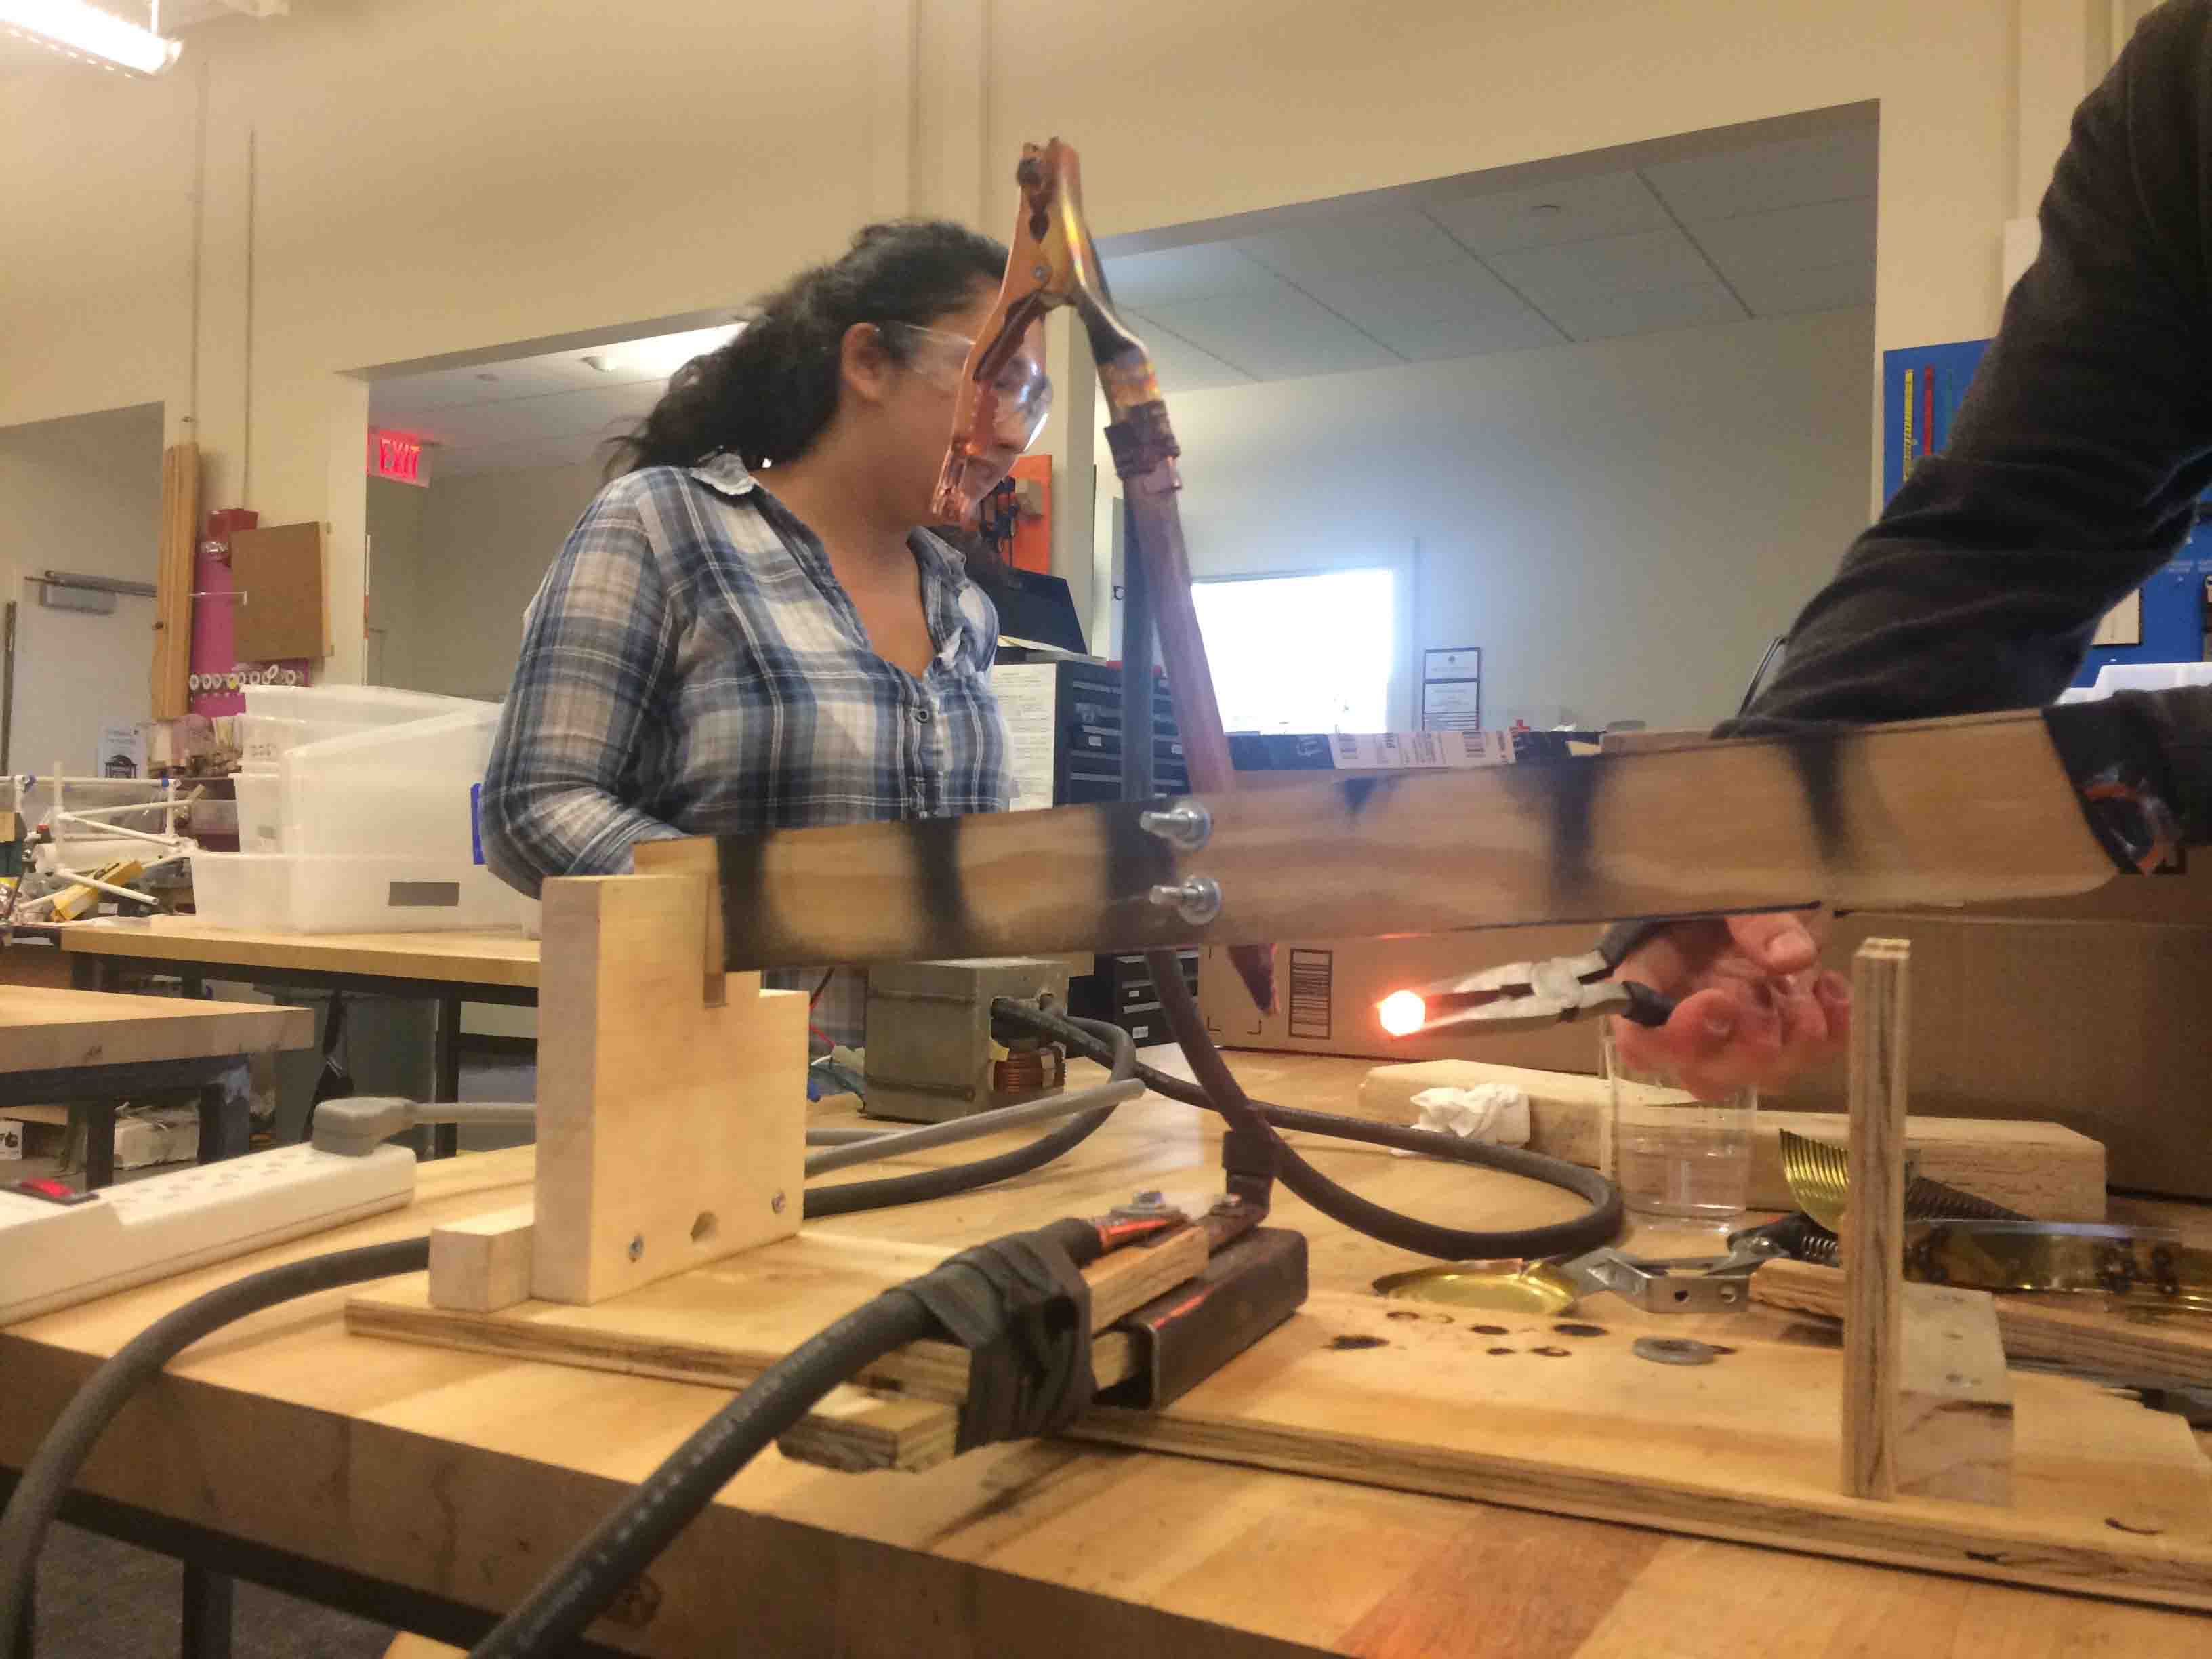
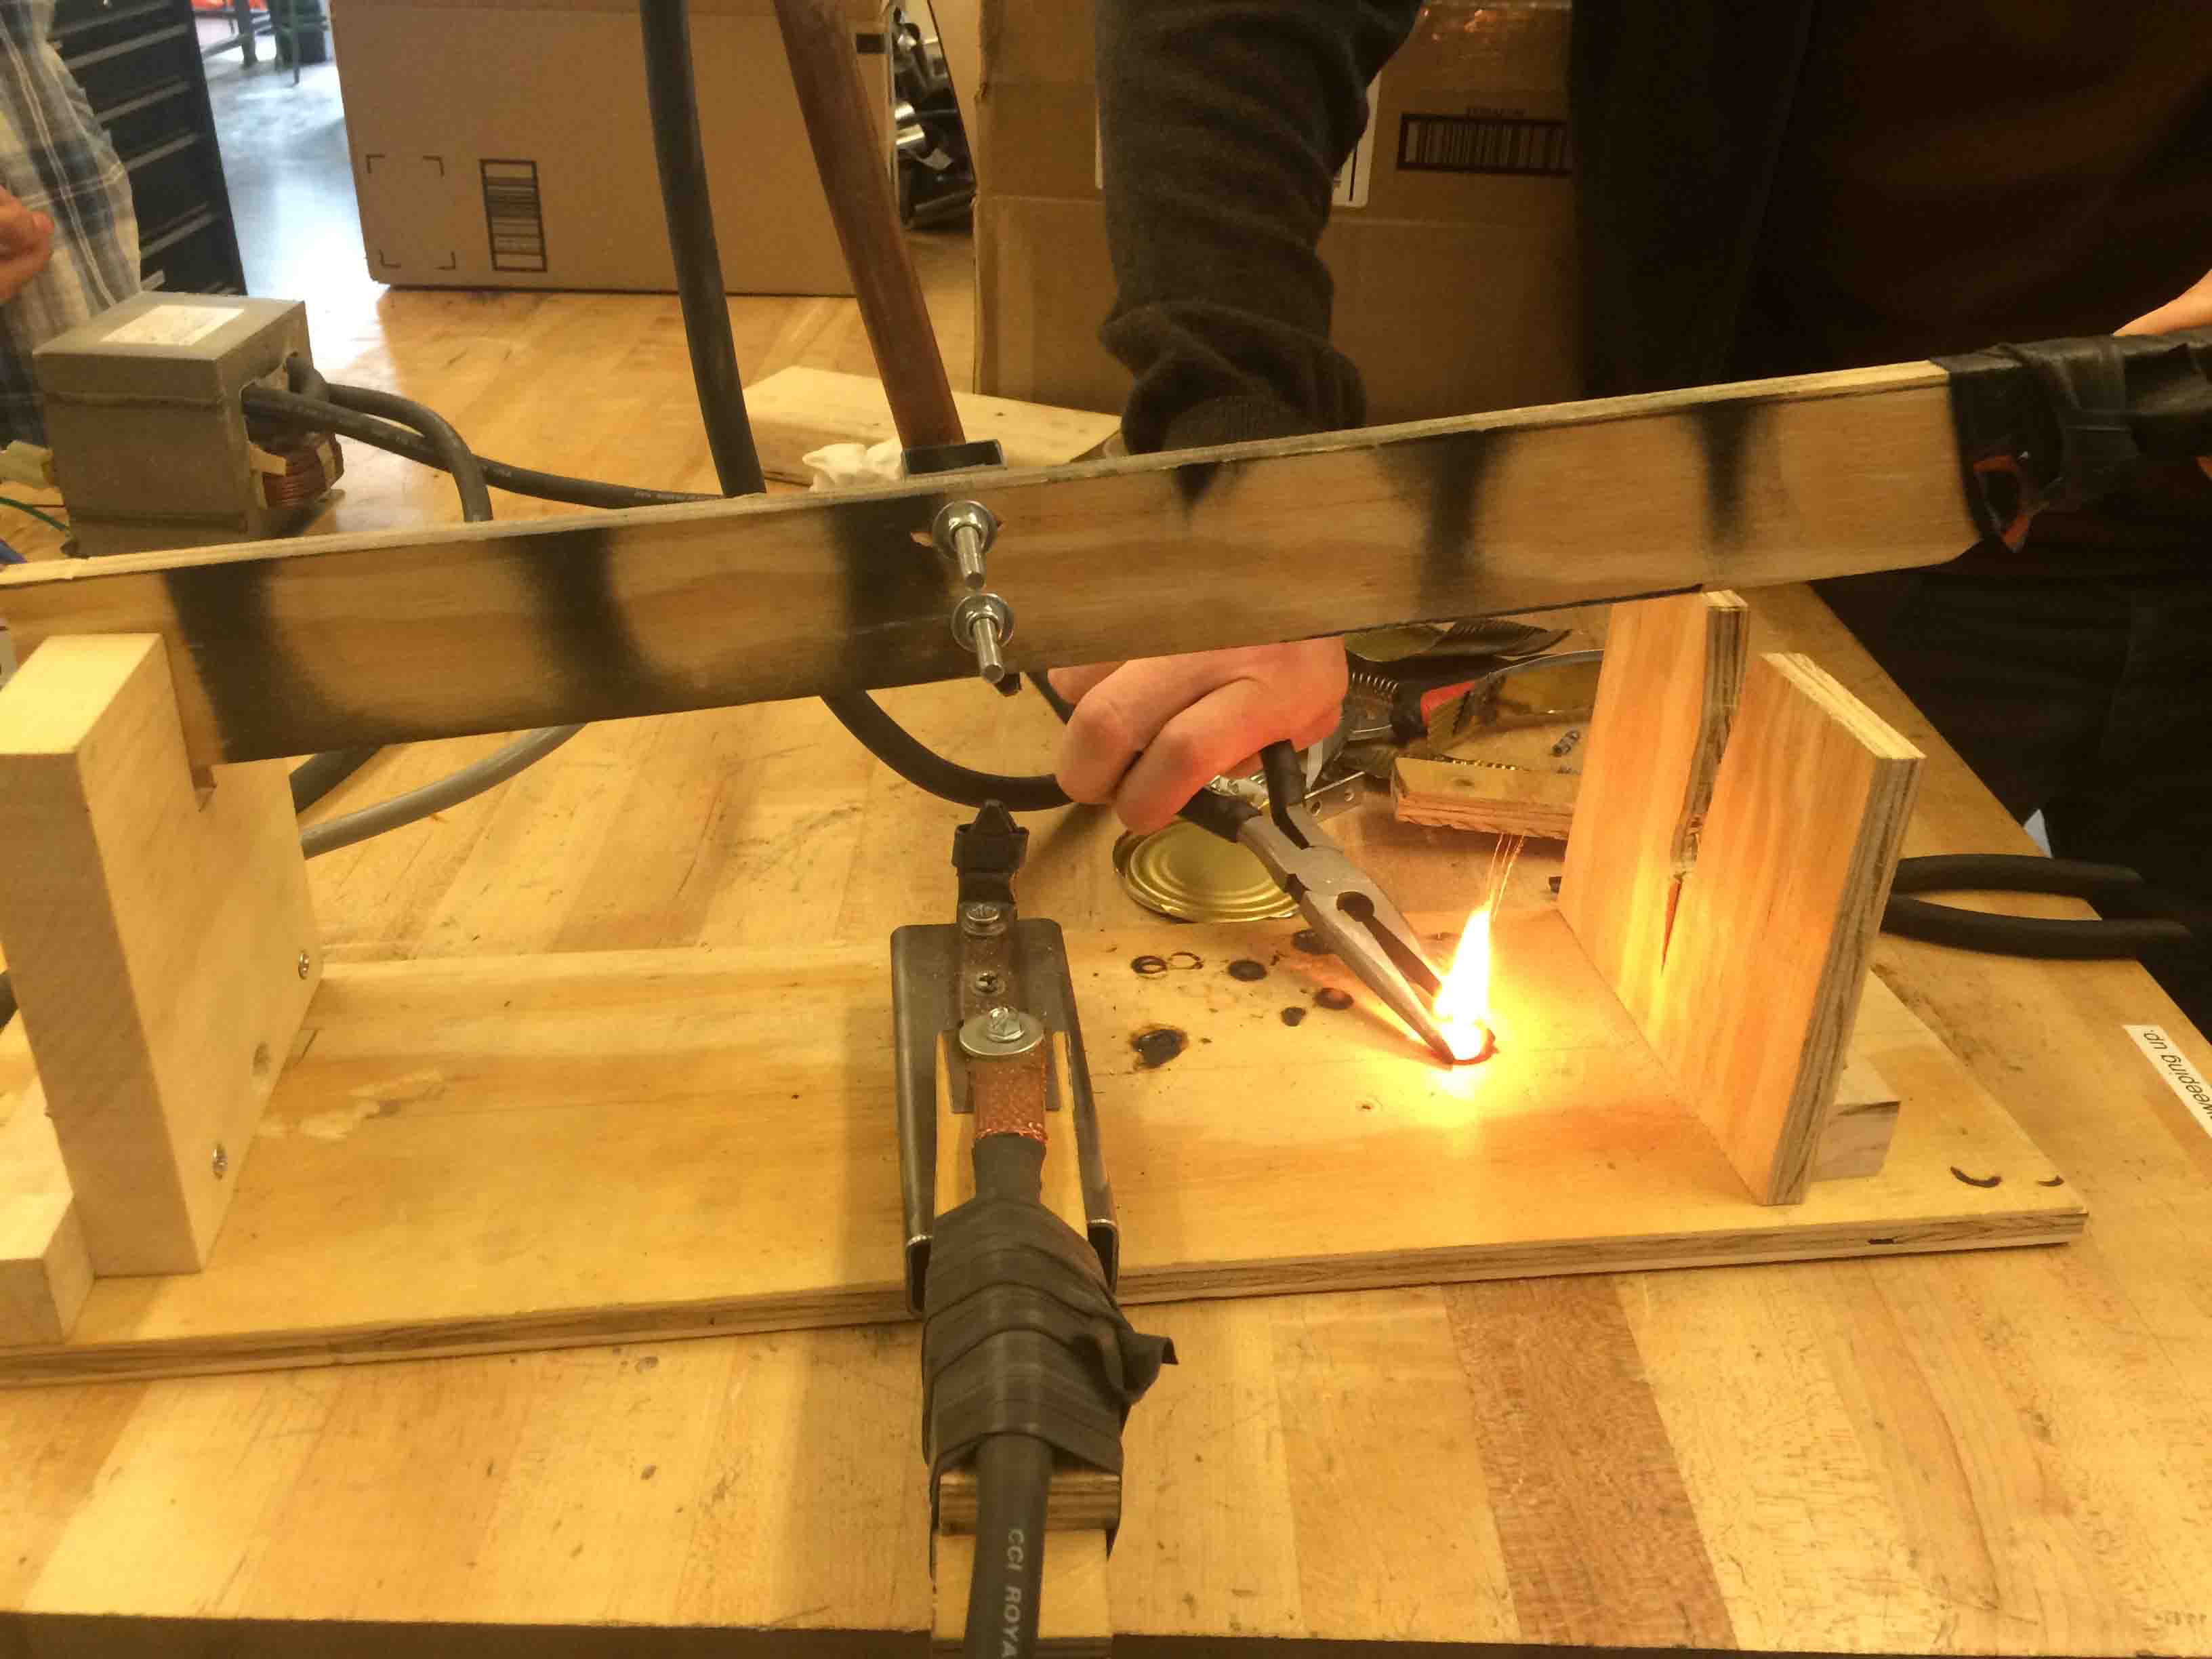
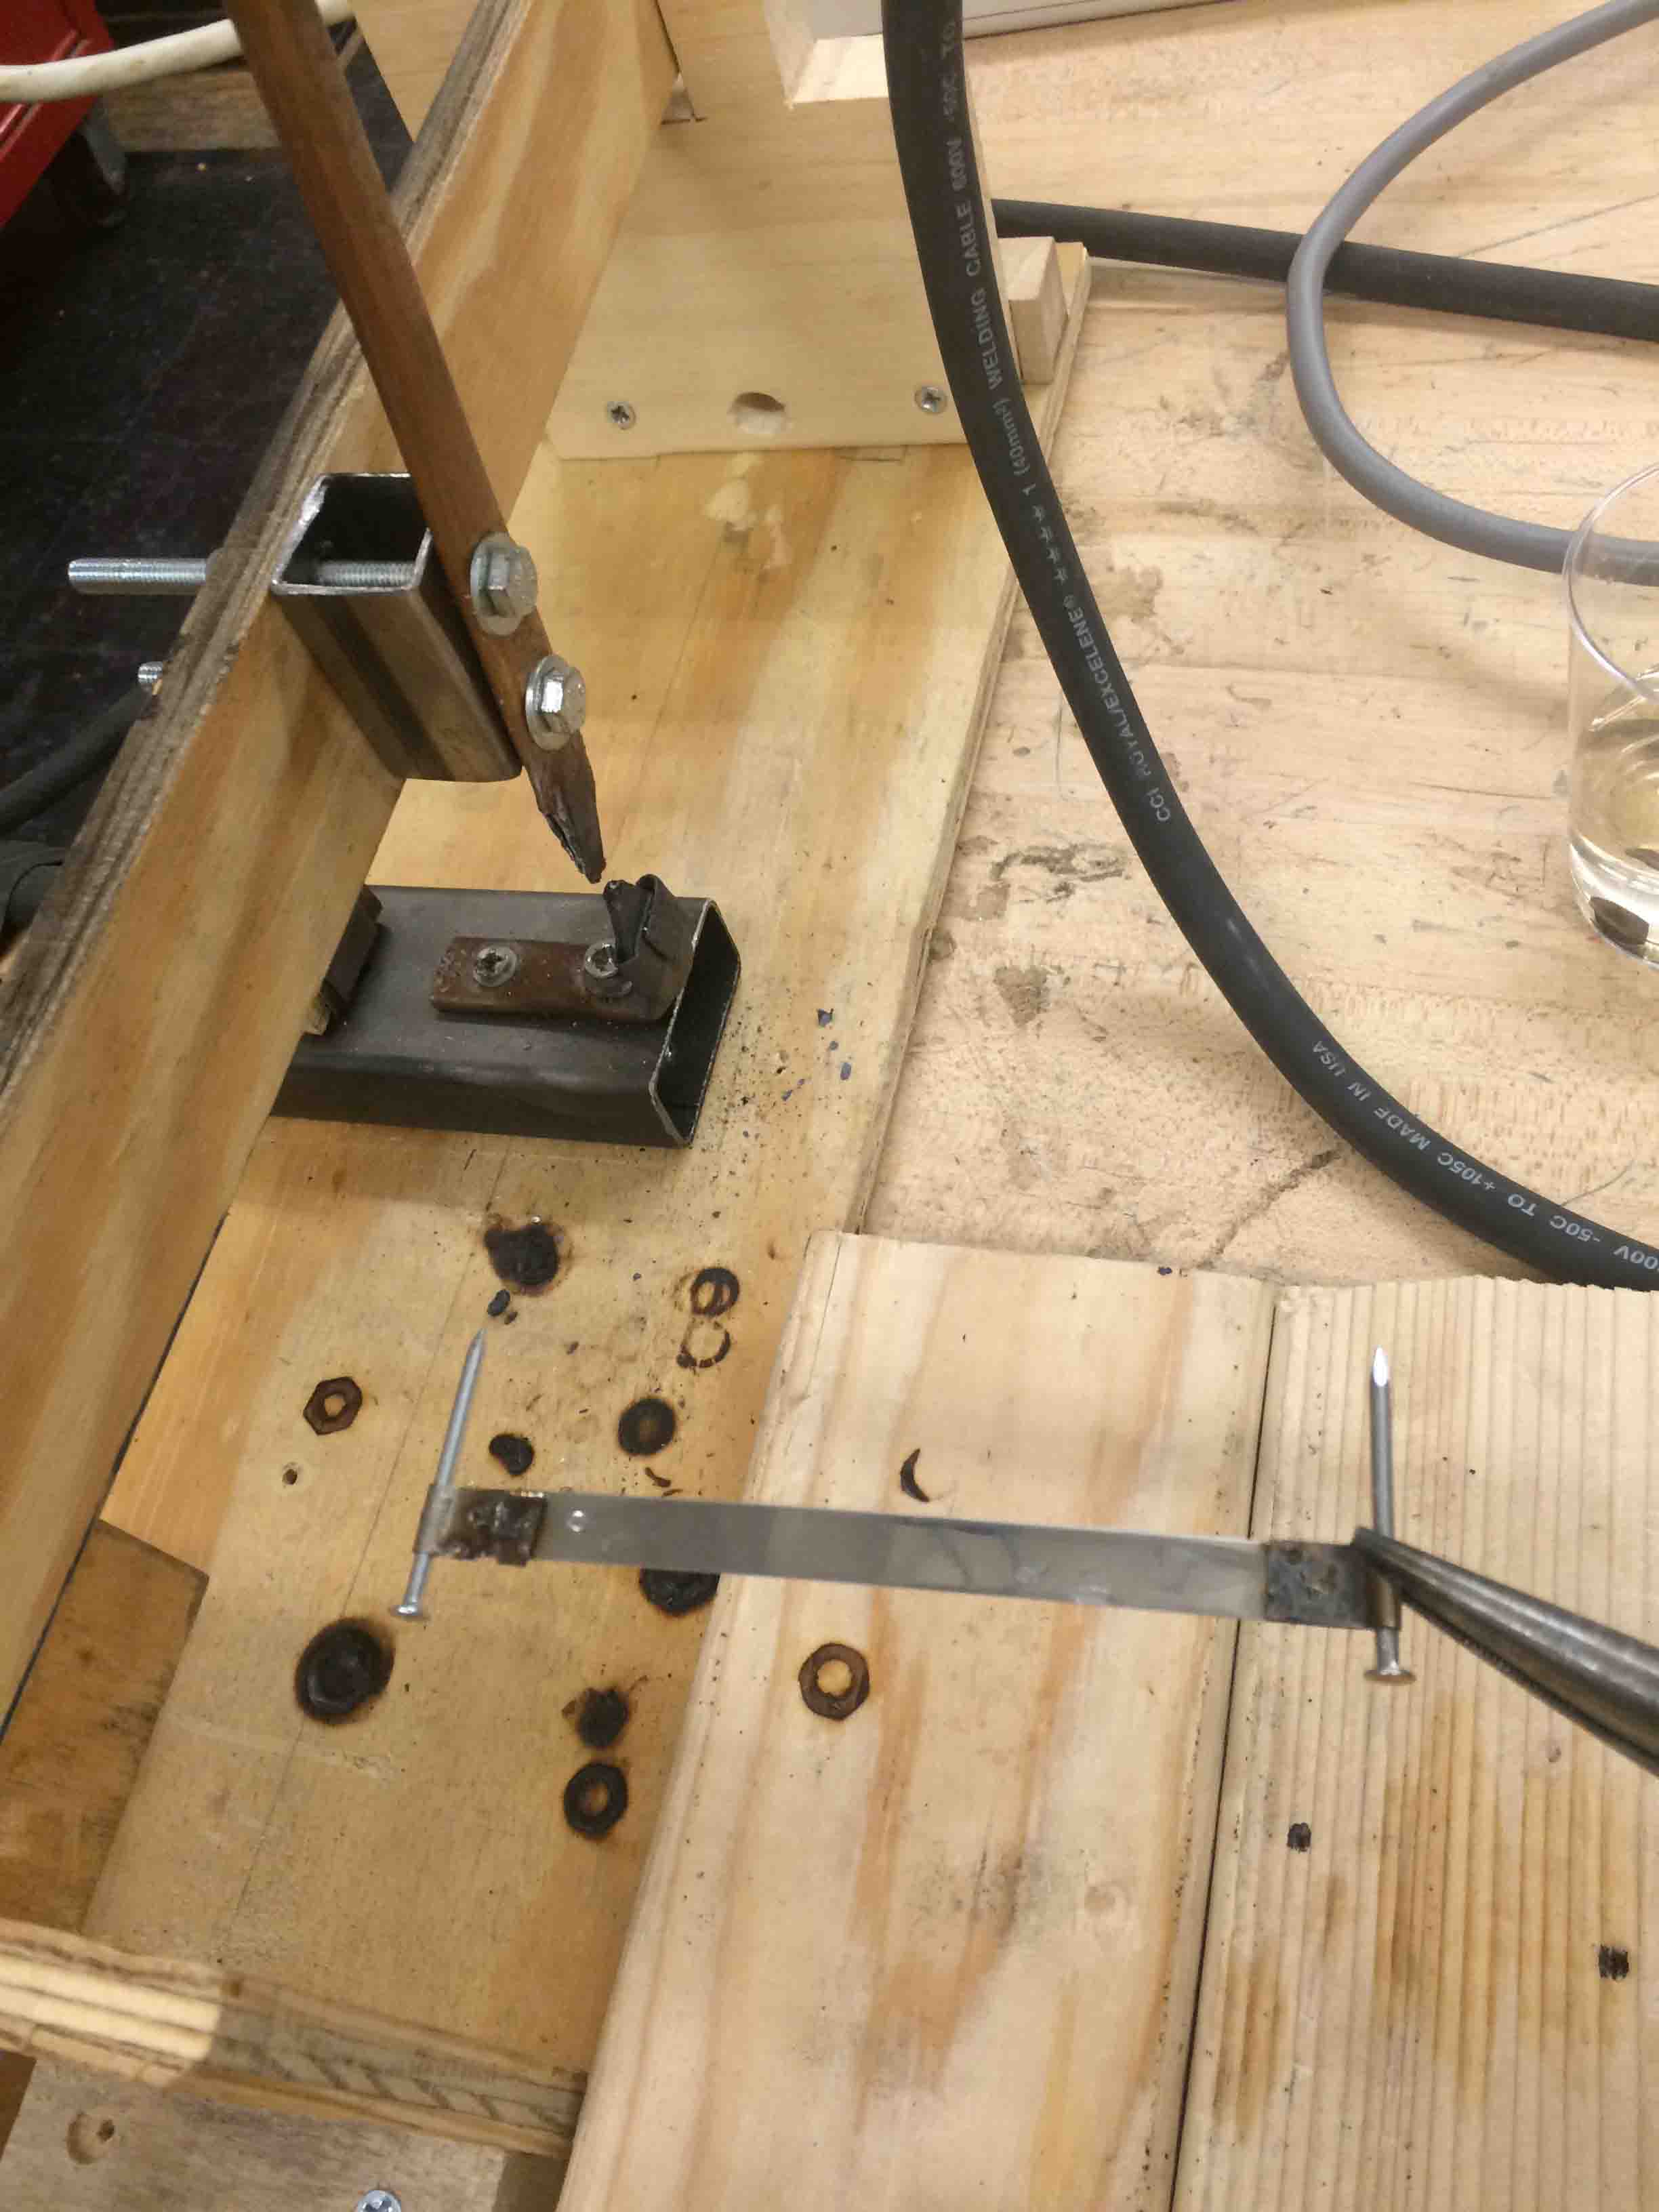
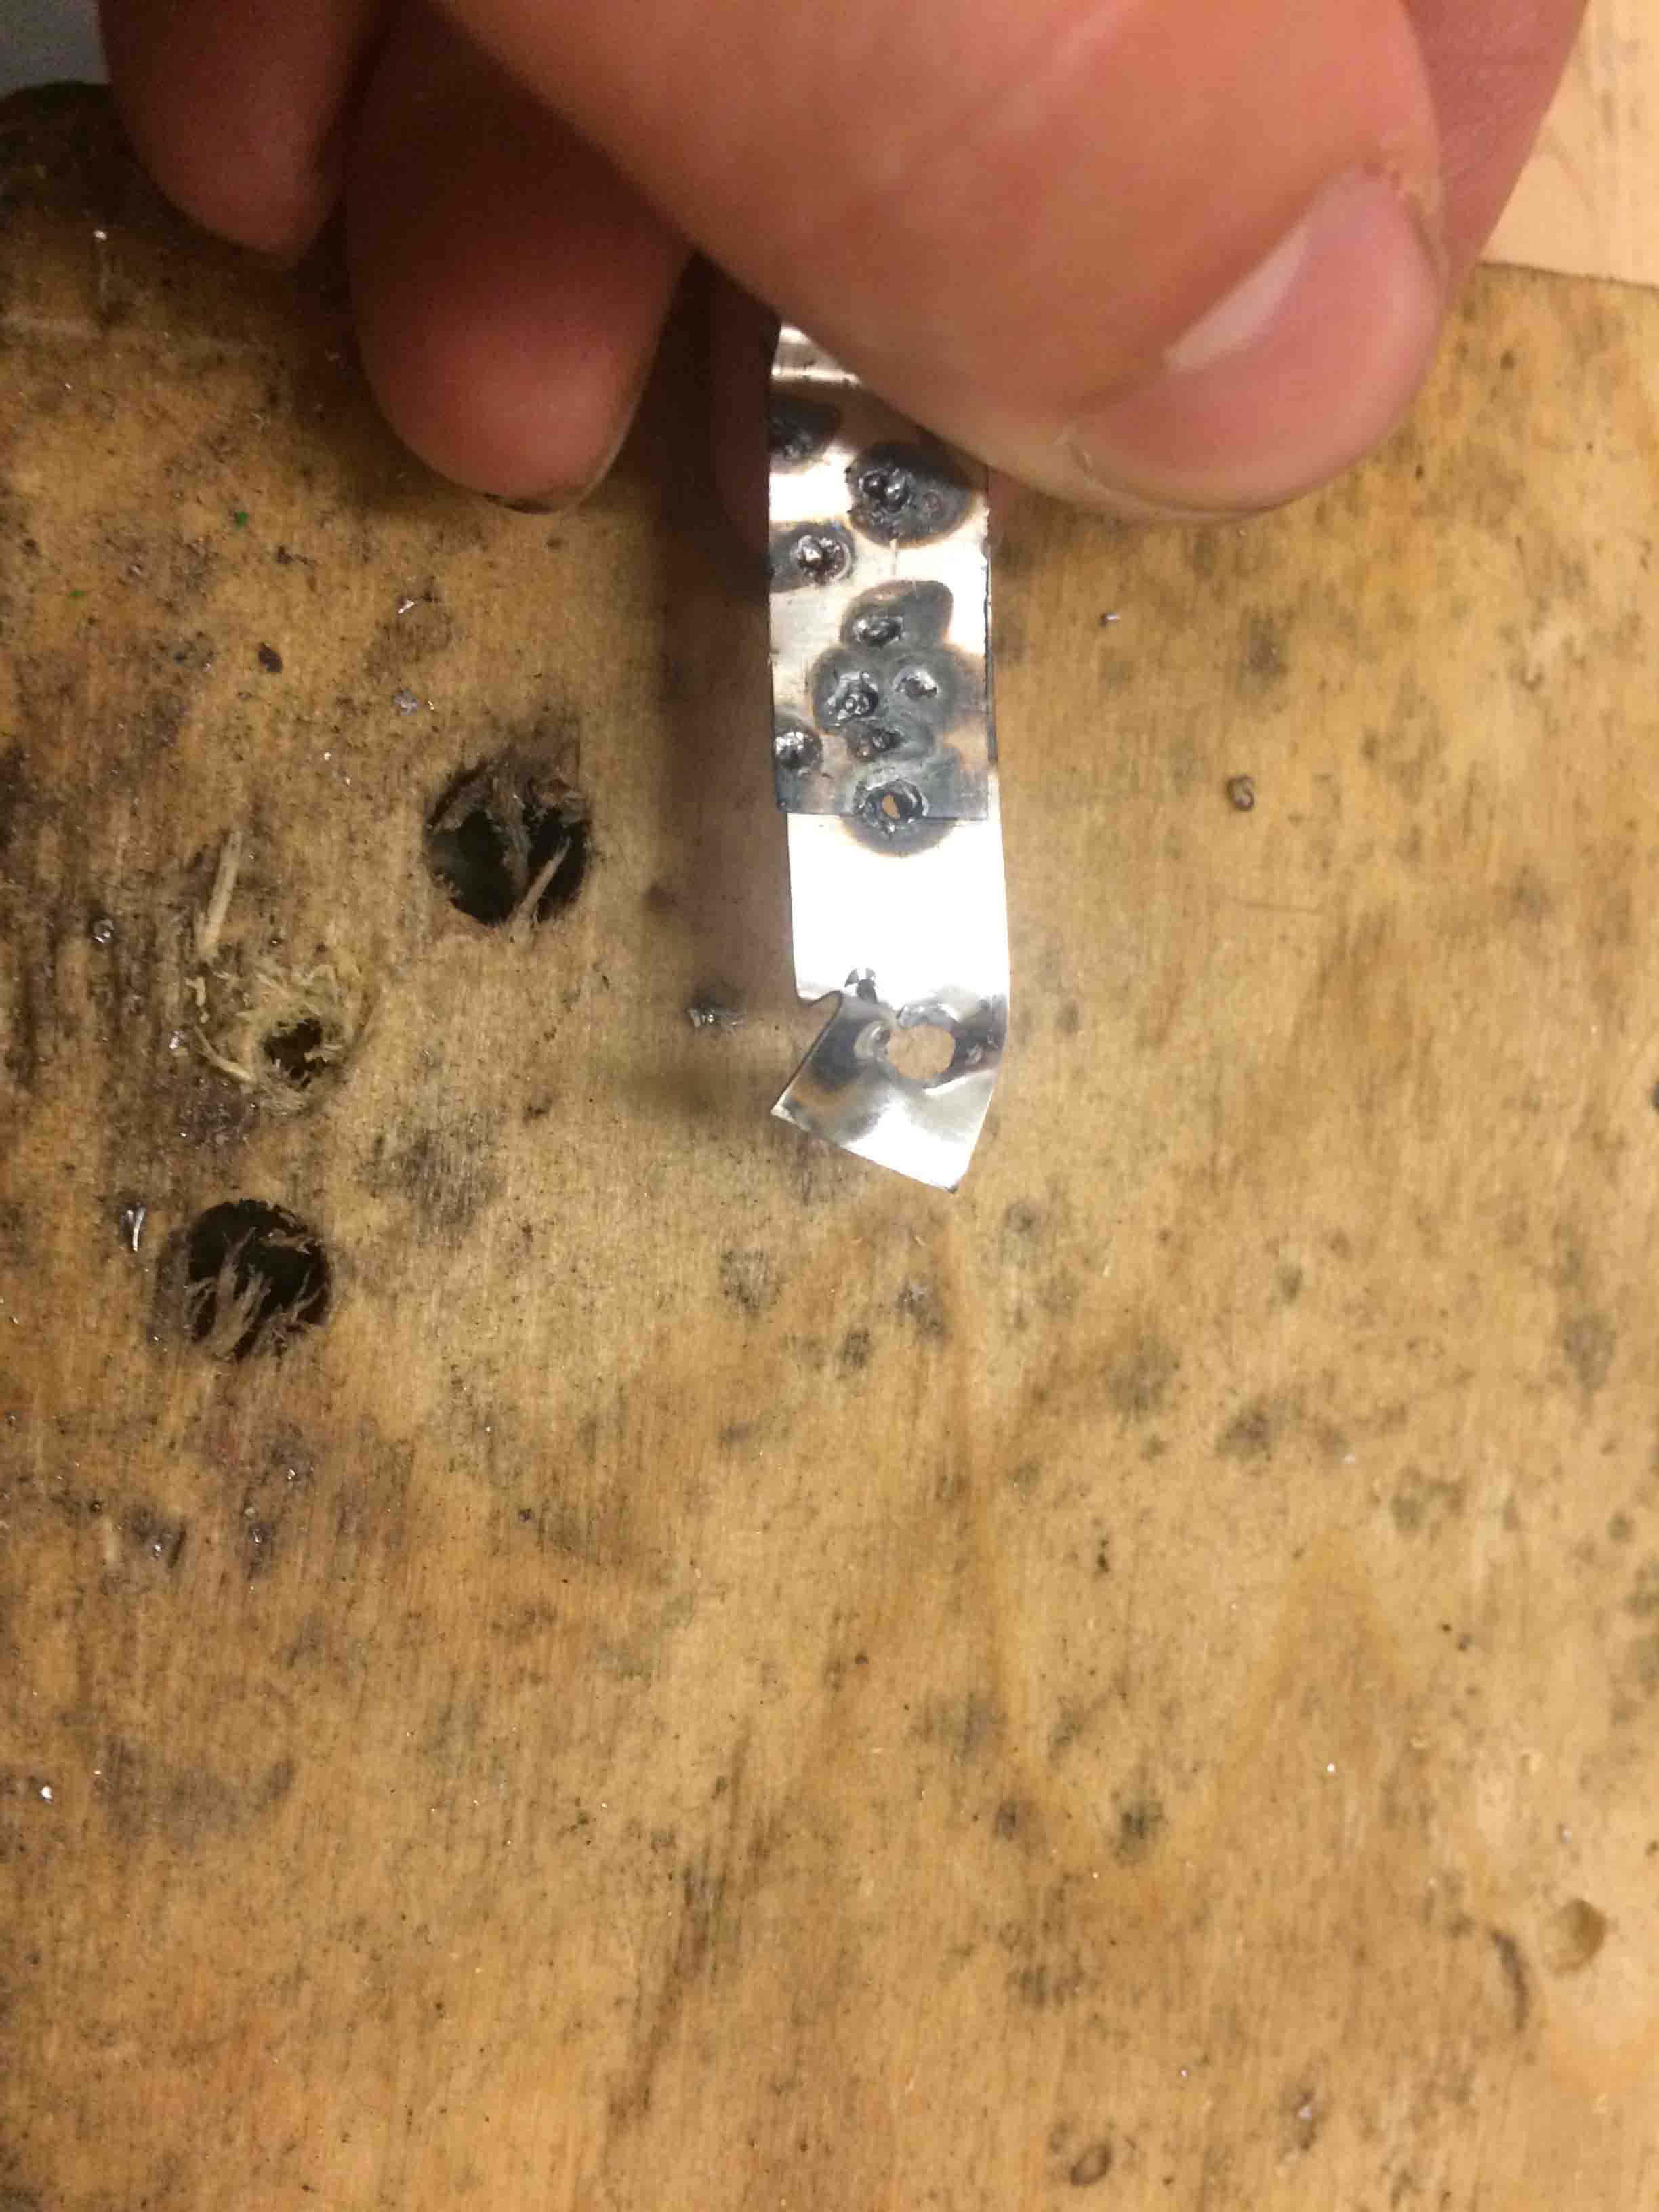
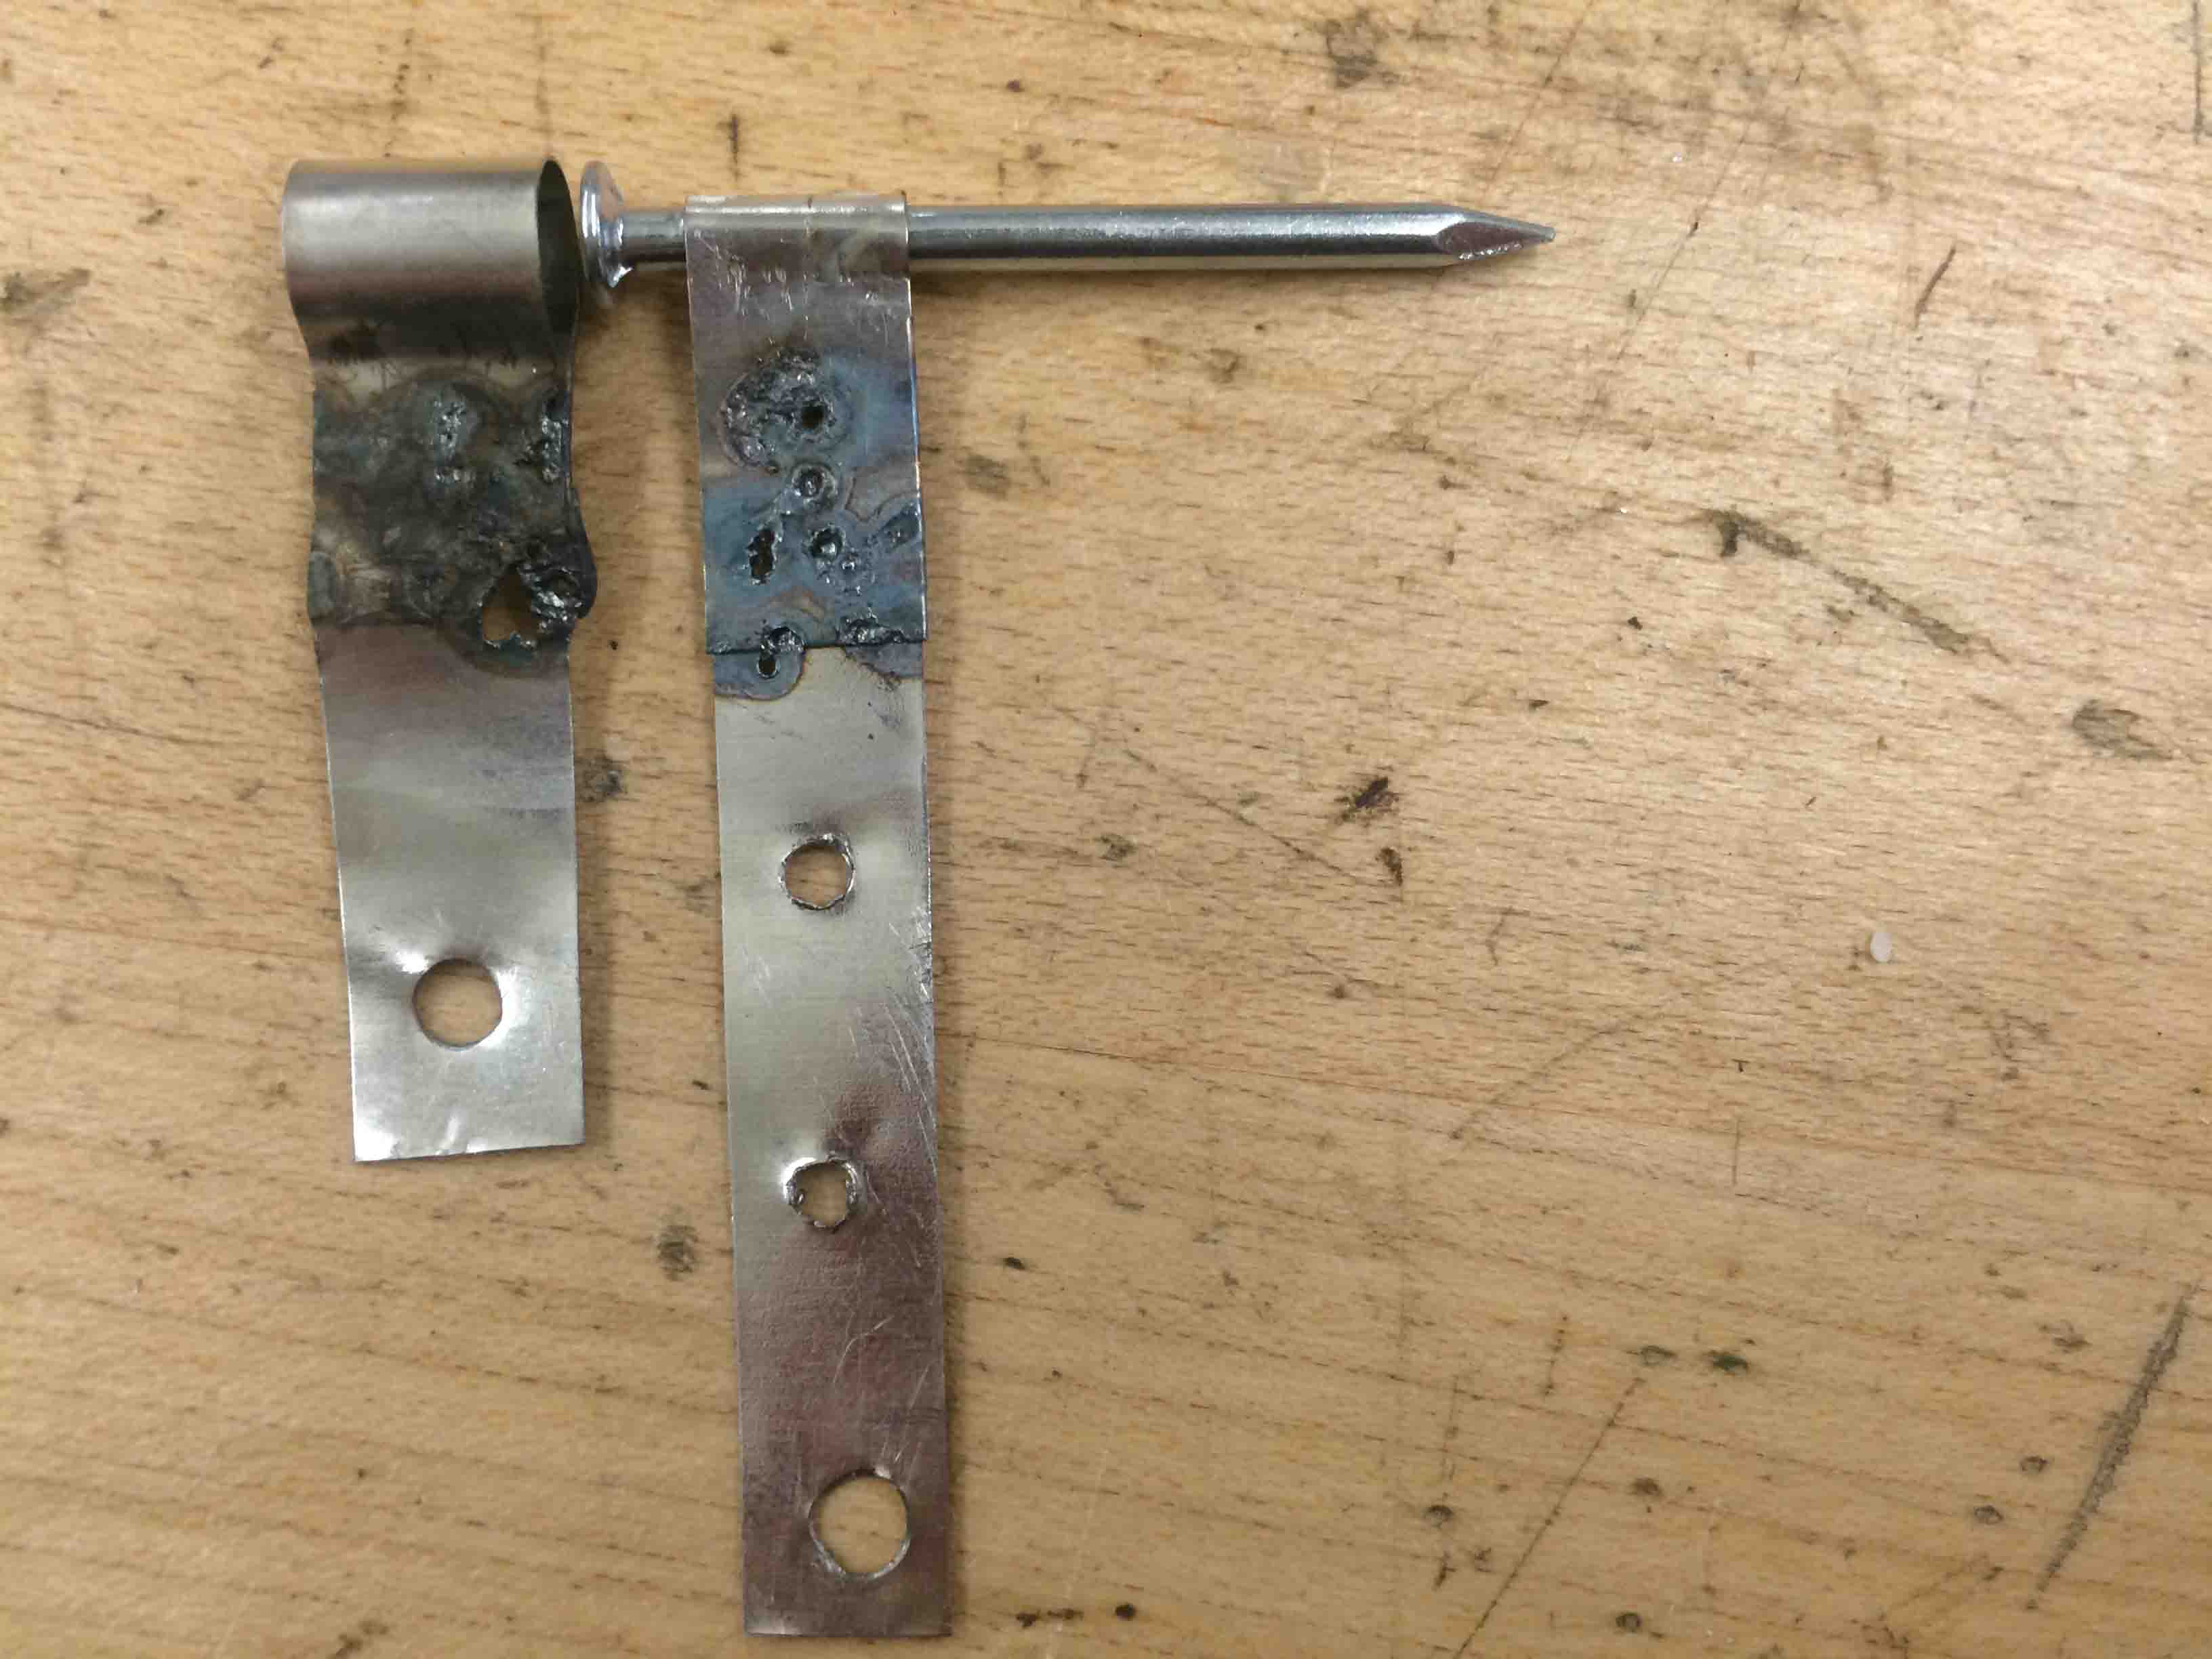
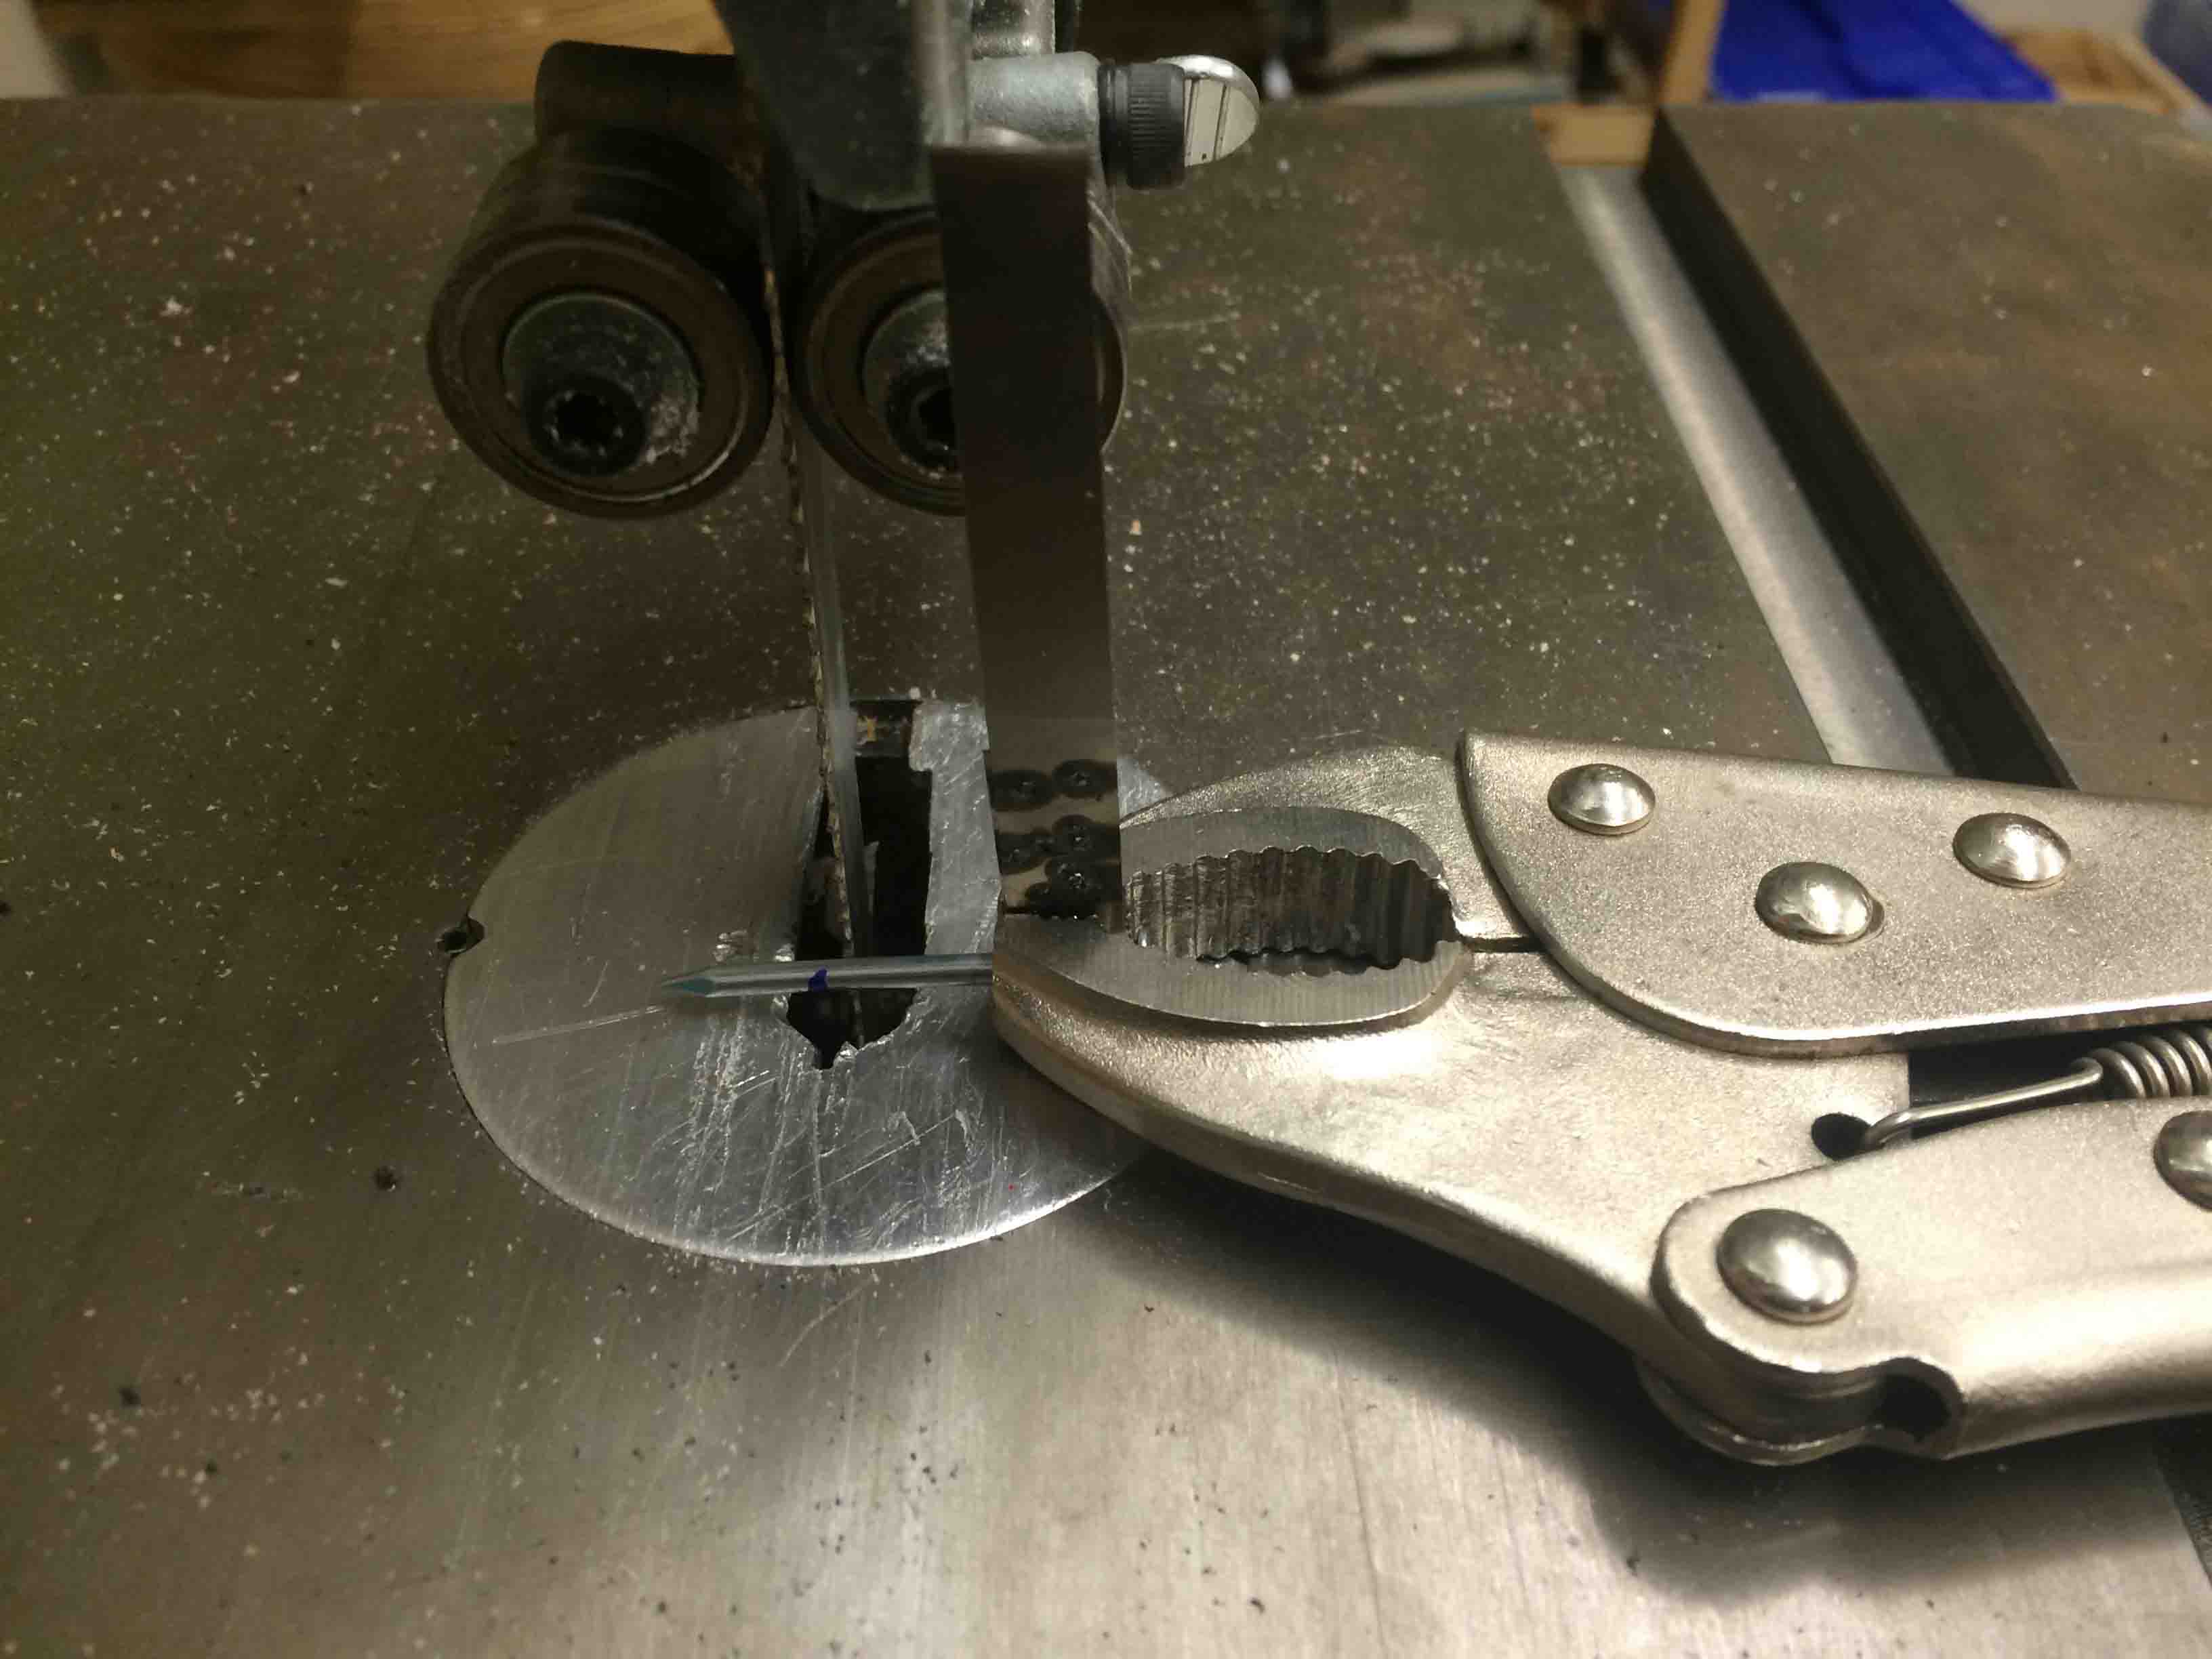
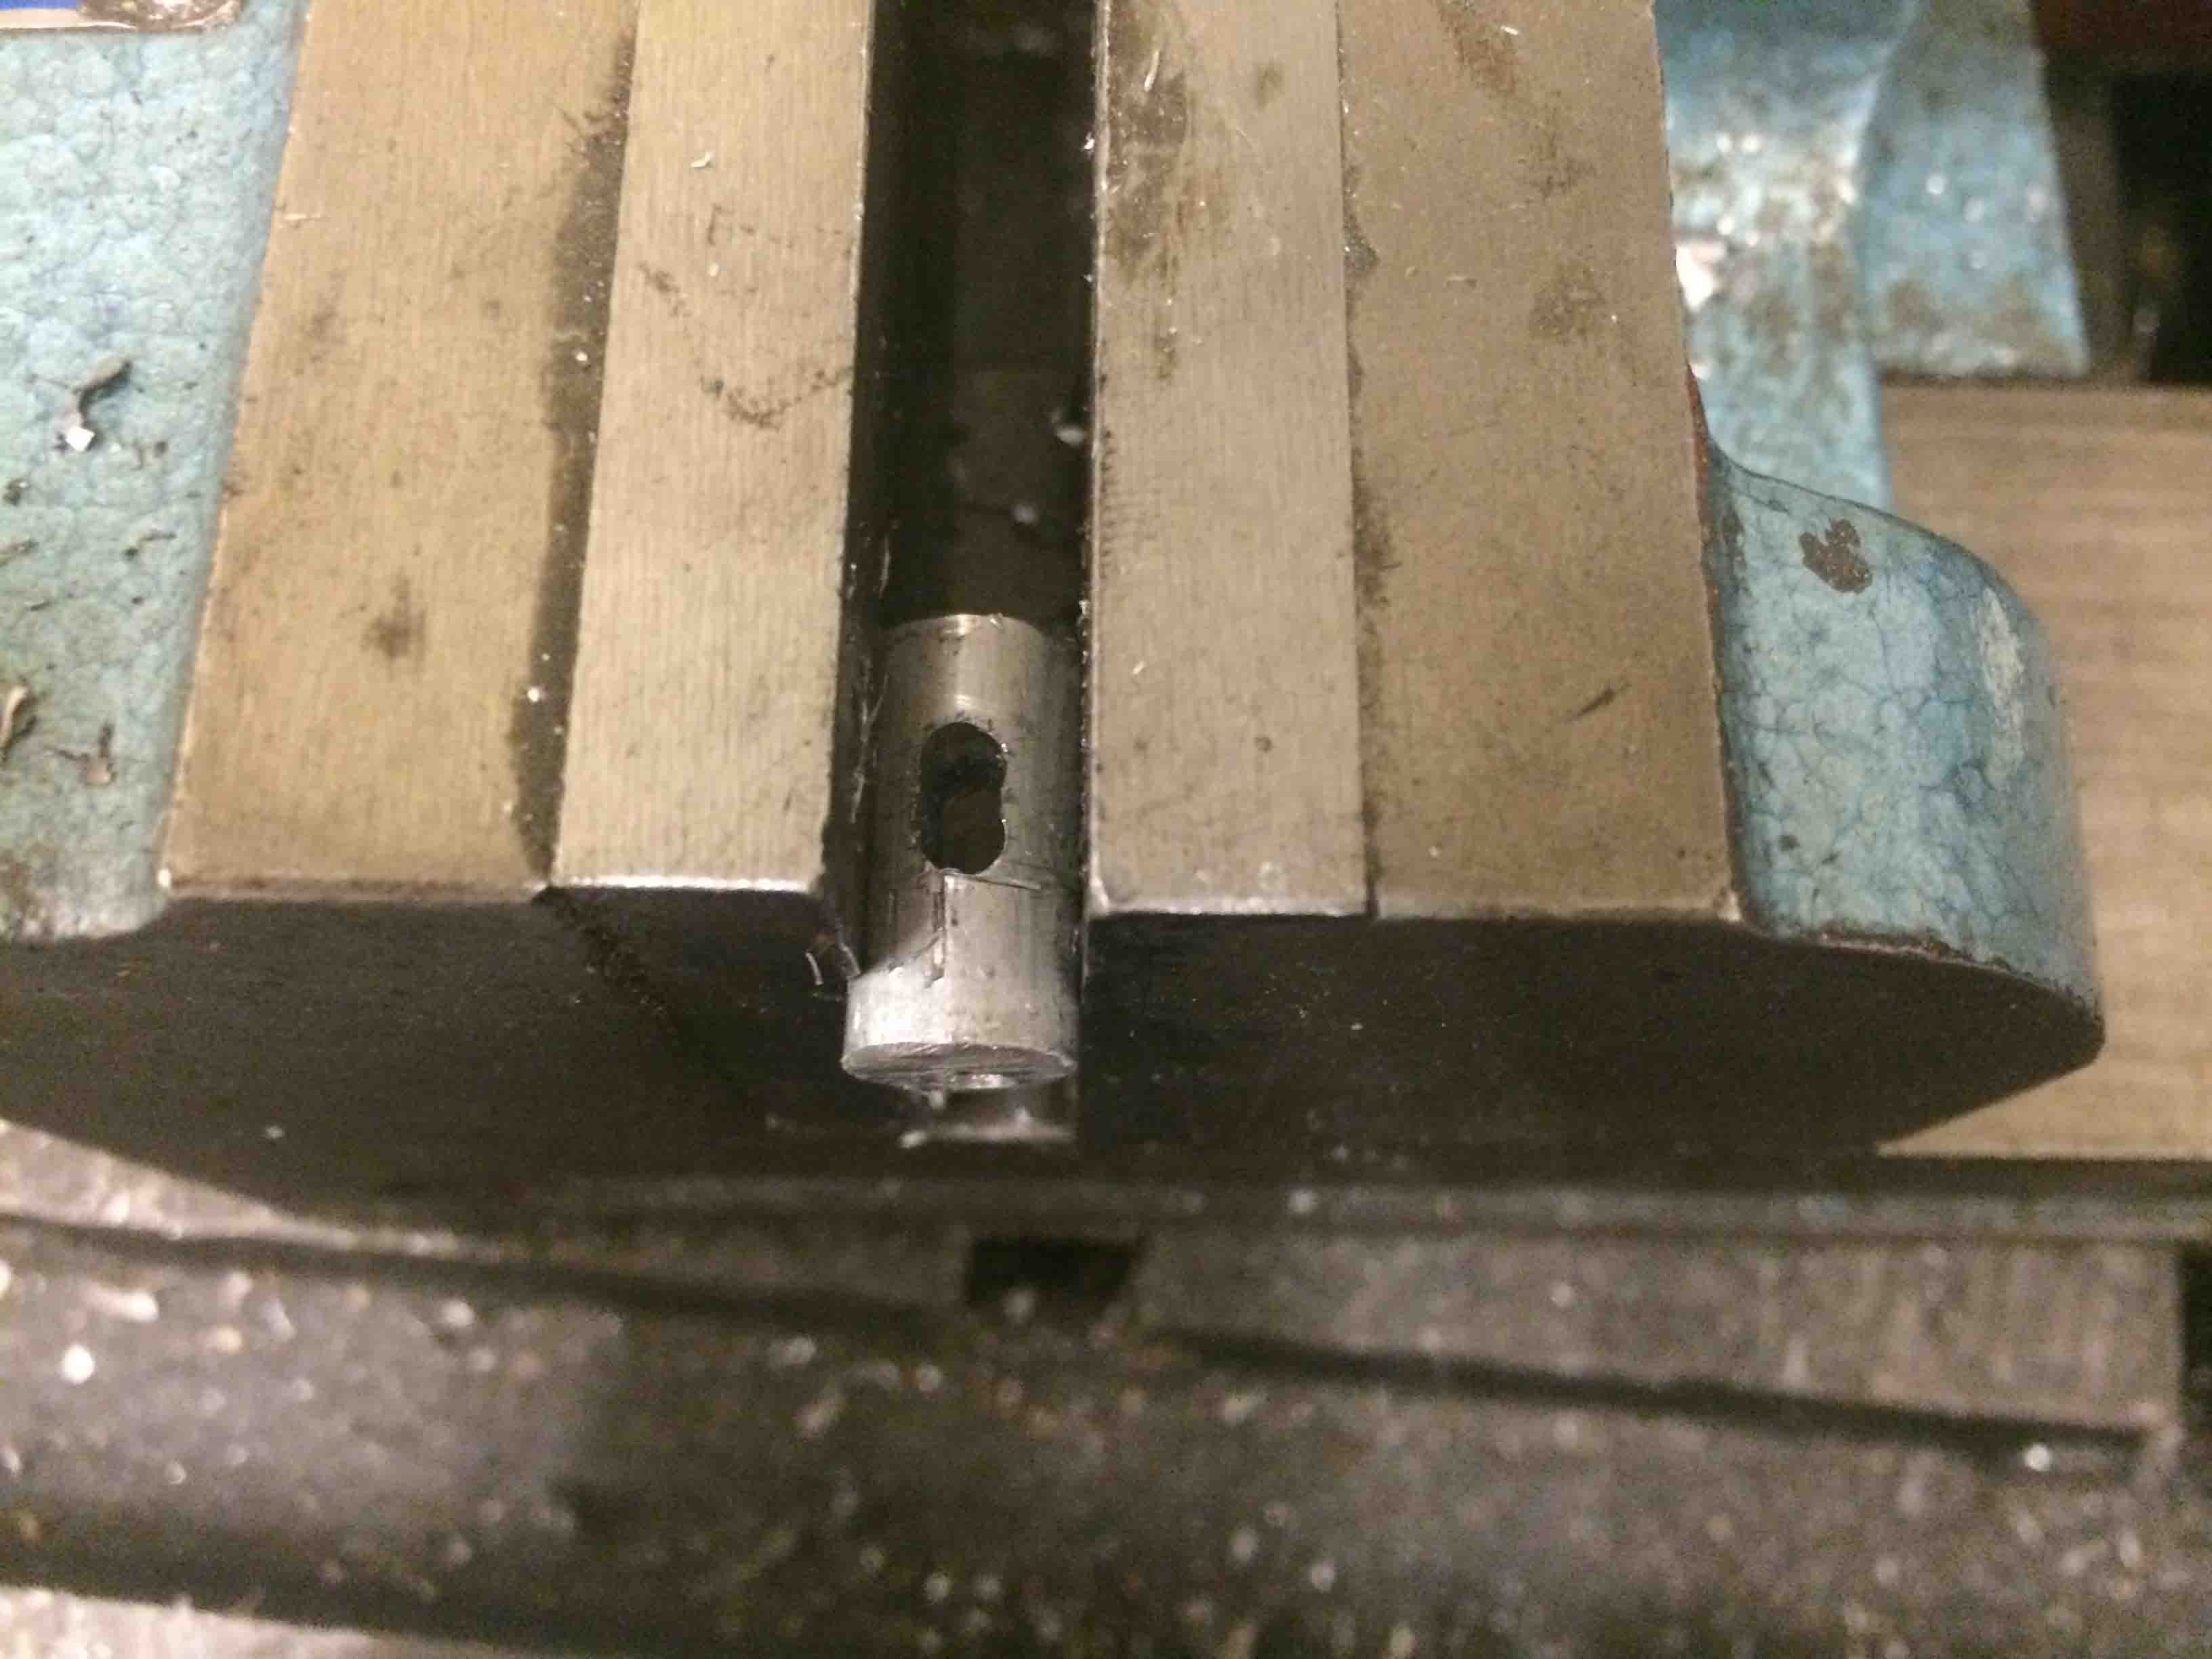
Making New Hinges
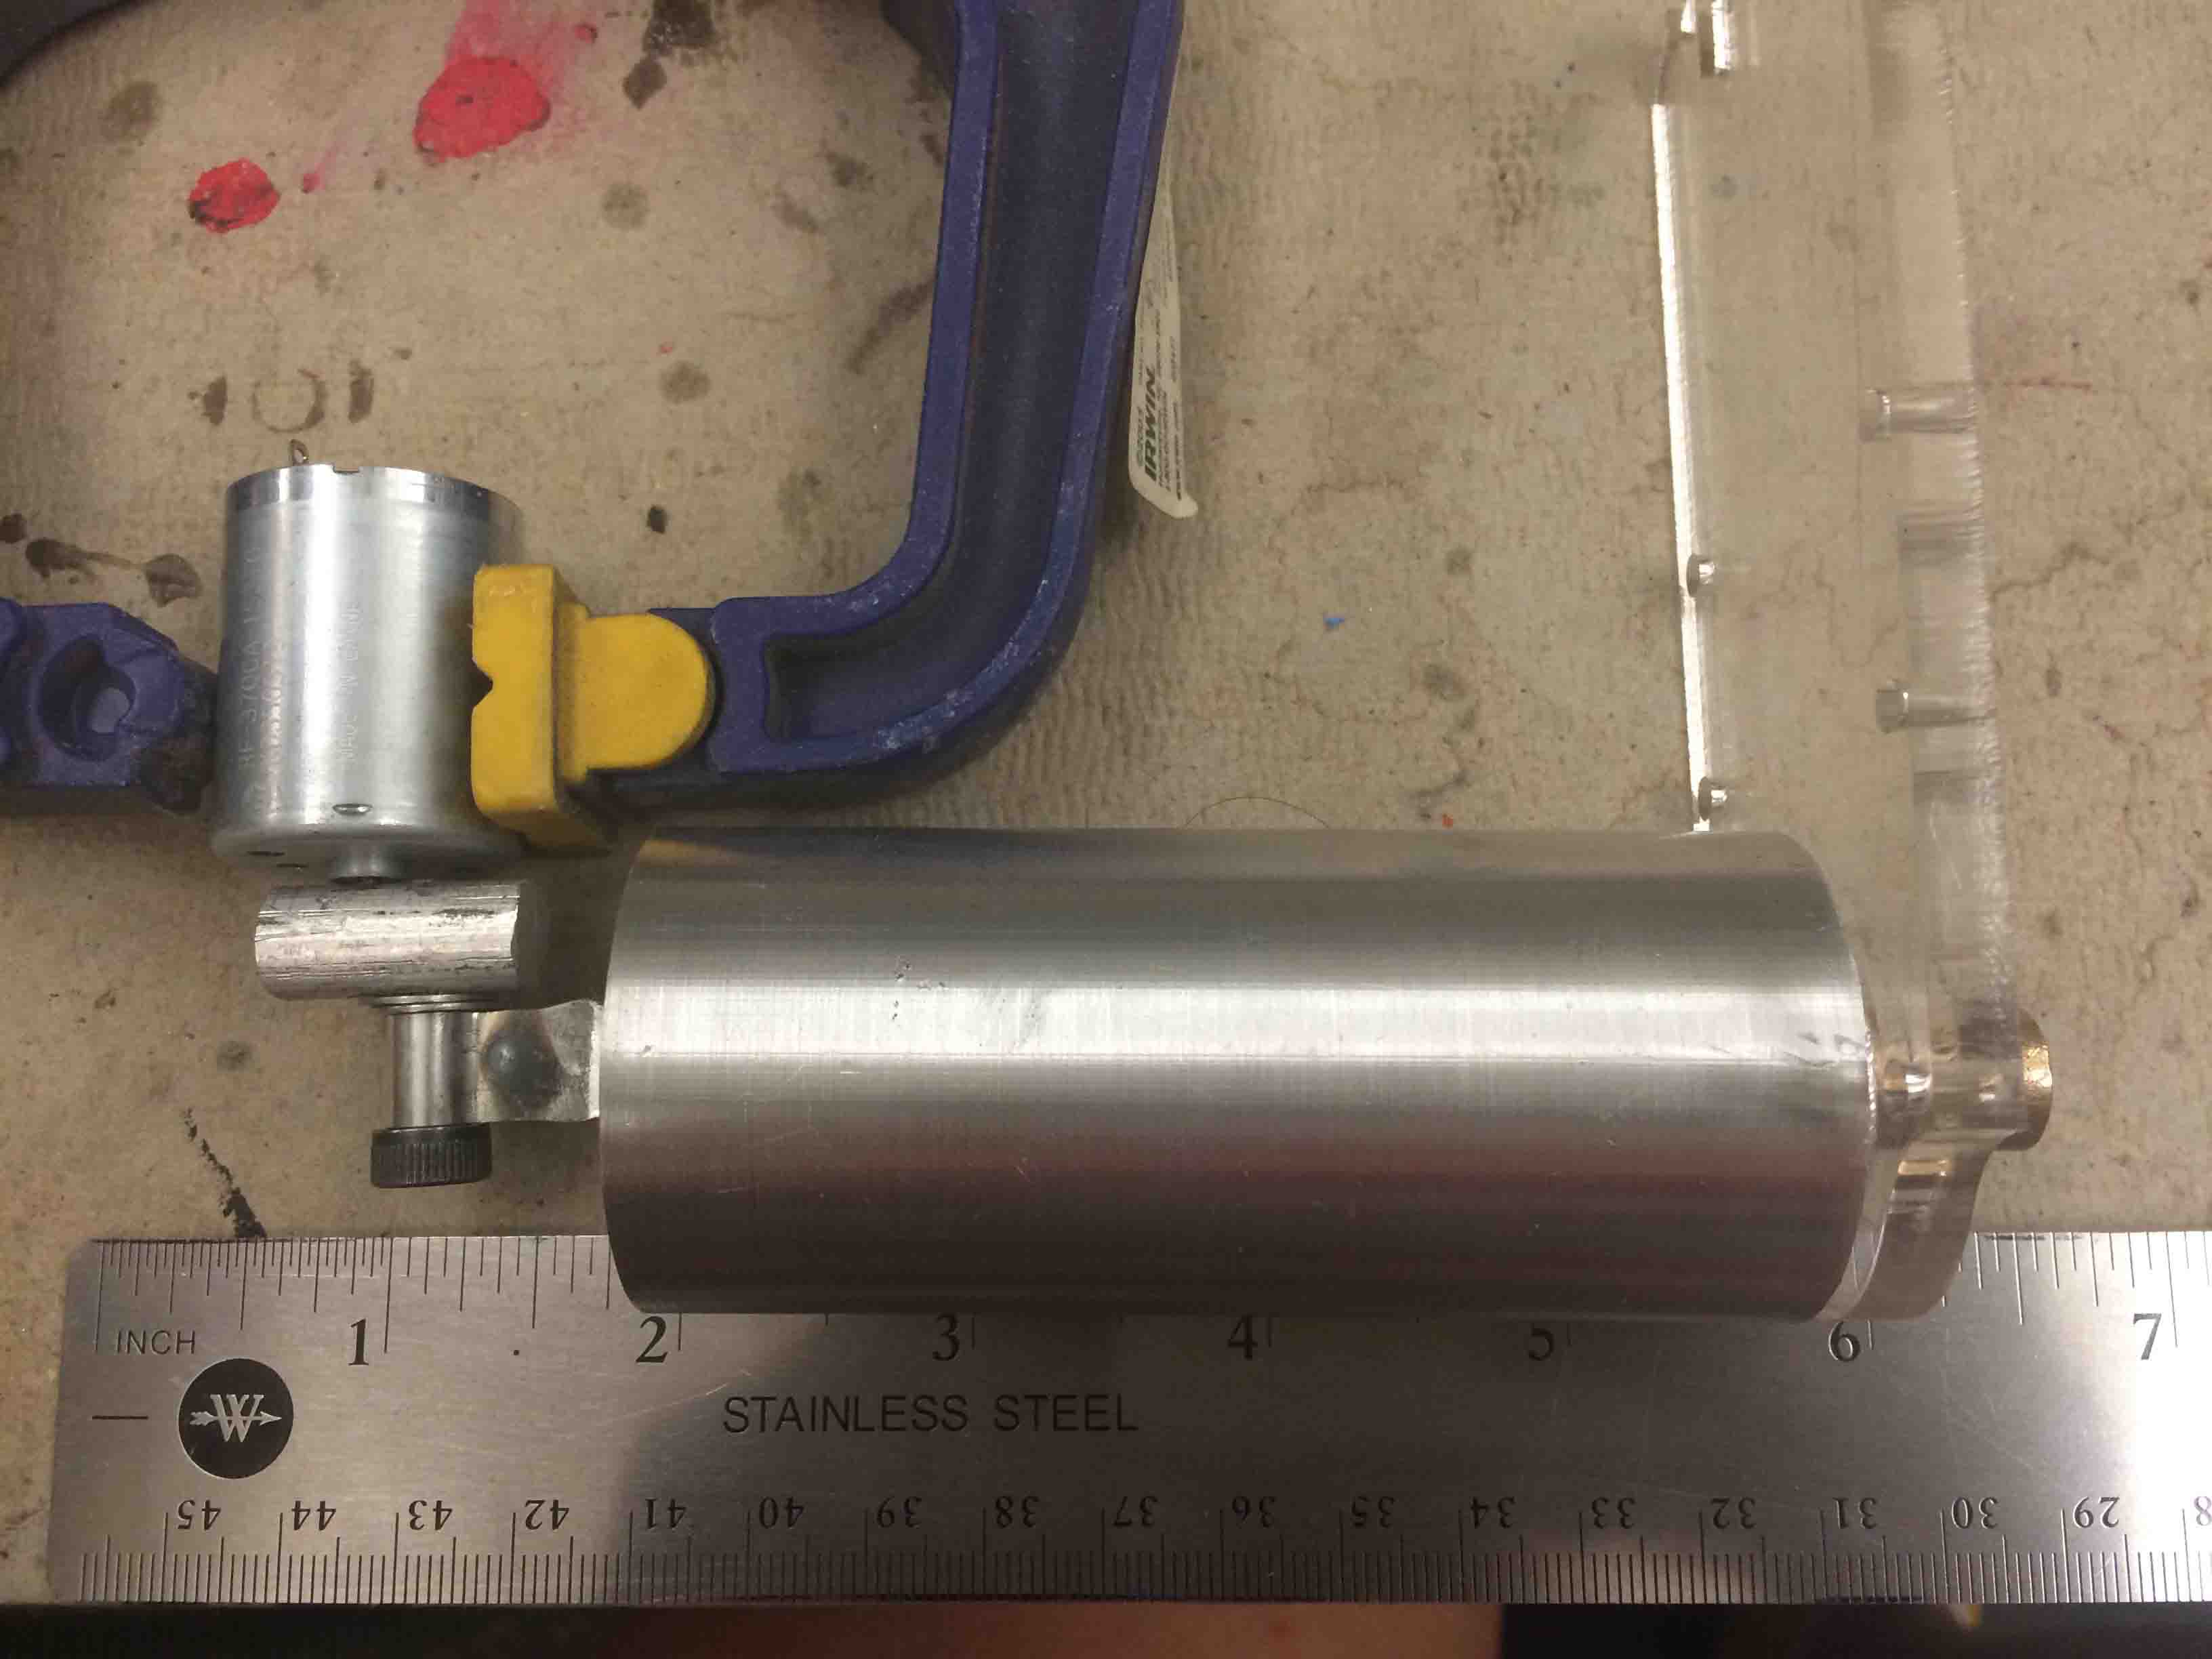
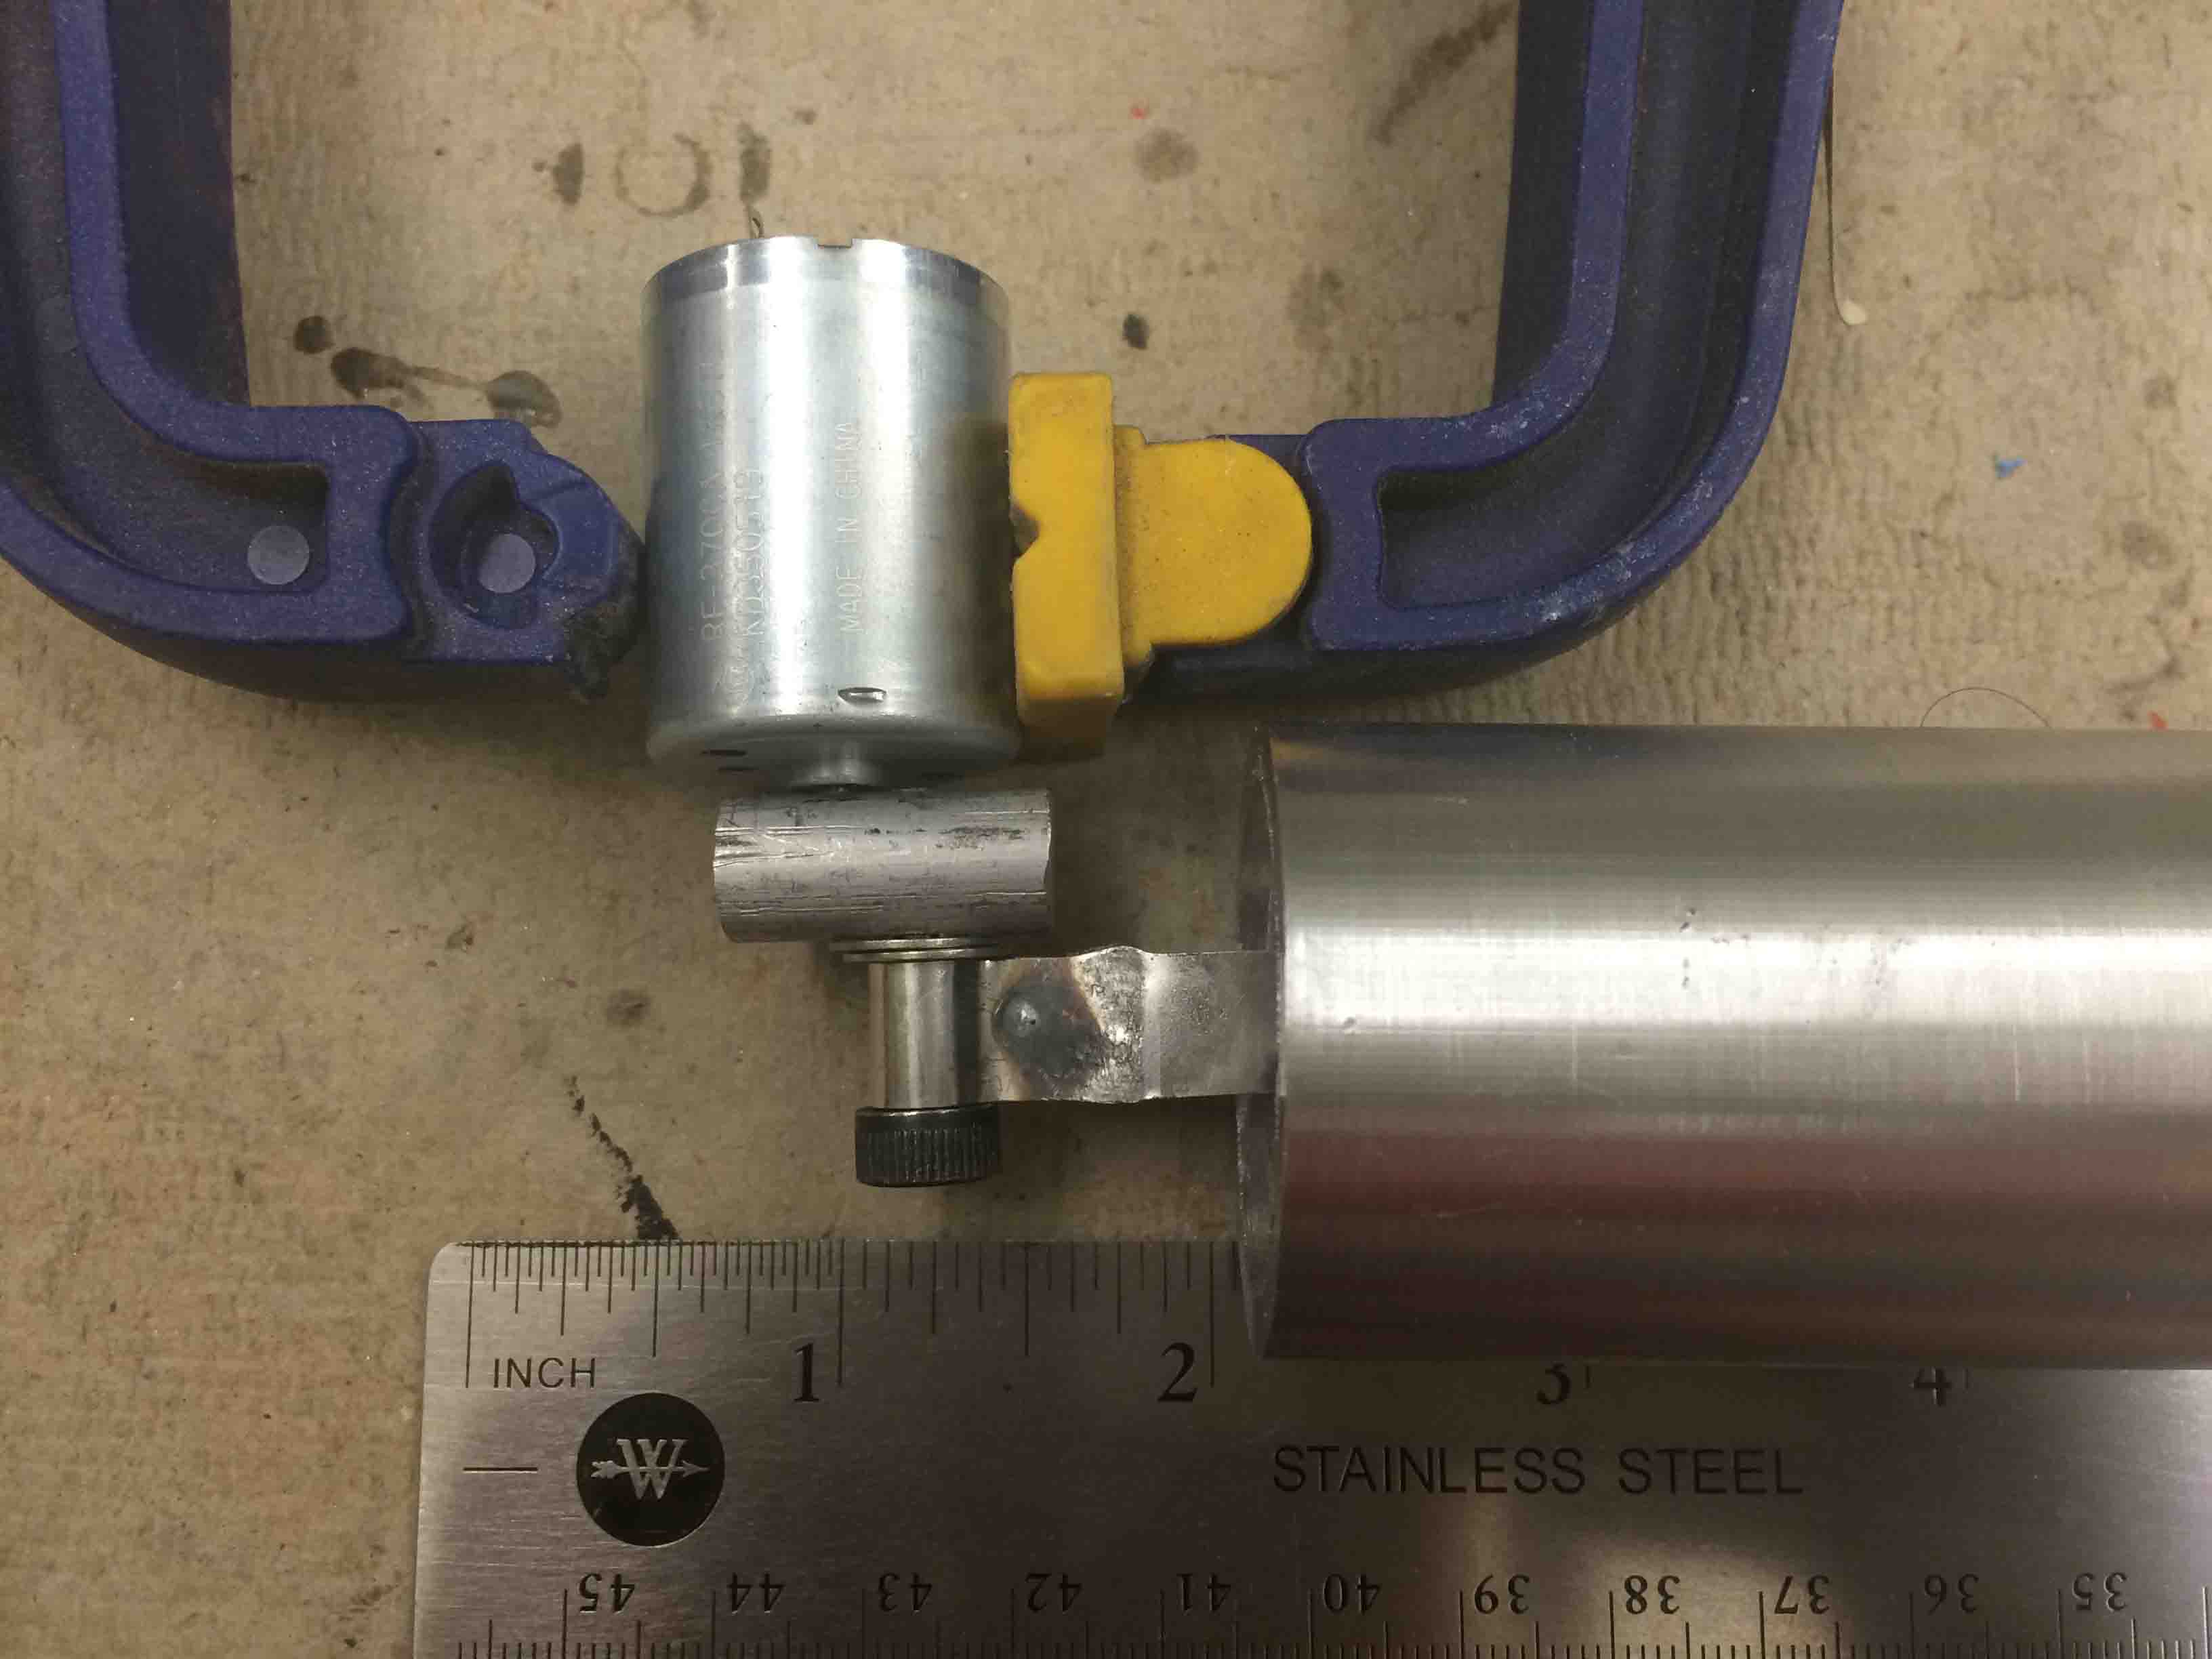
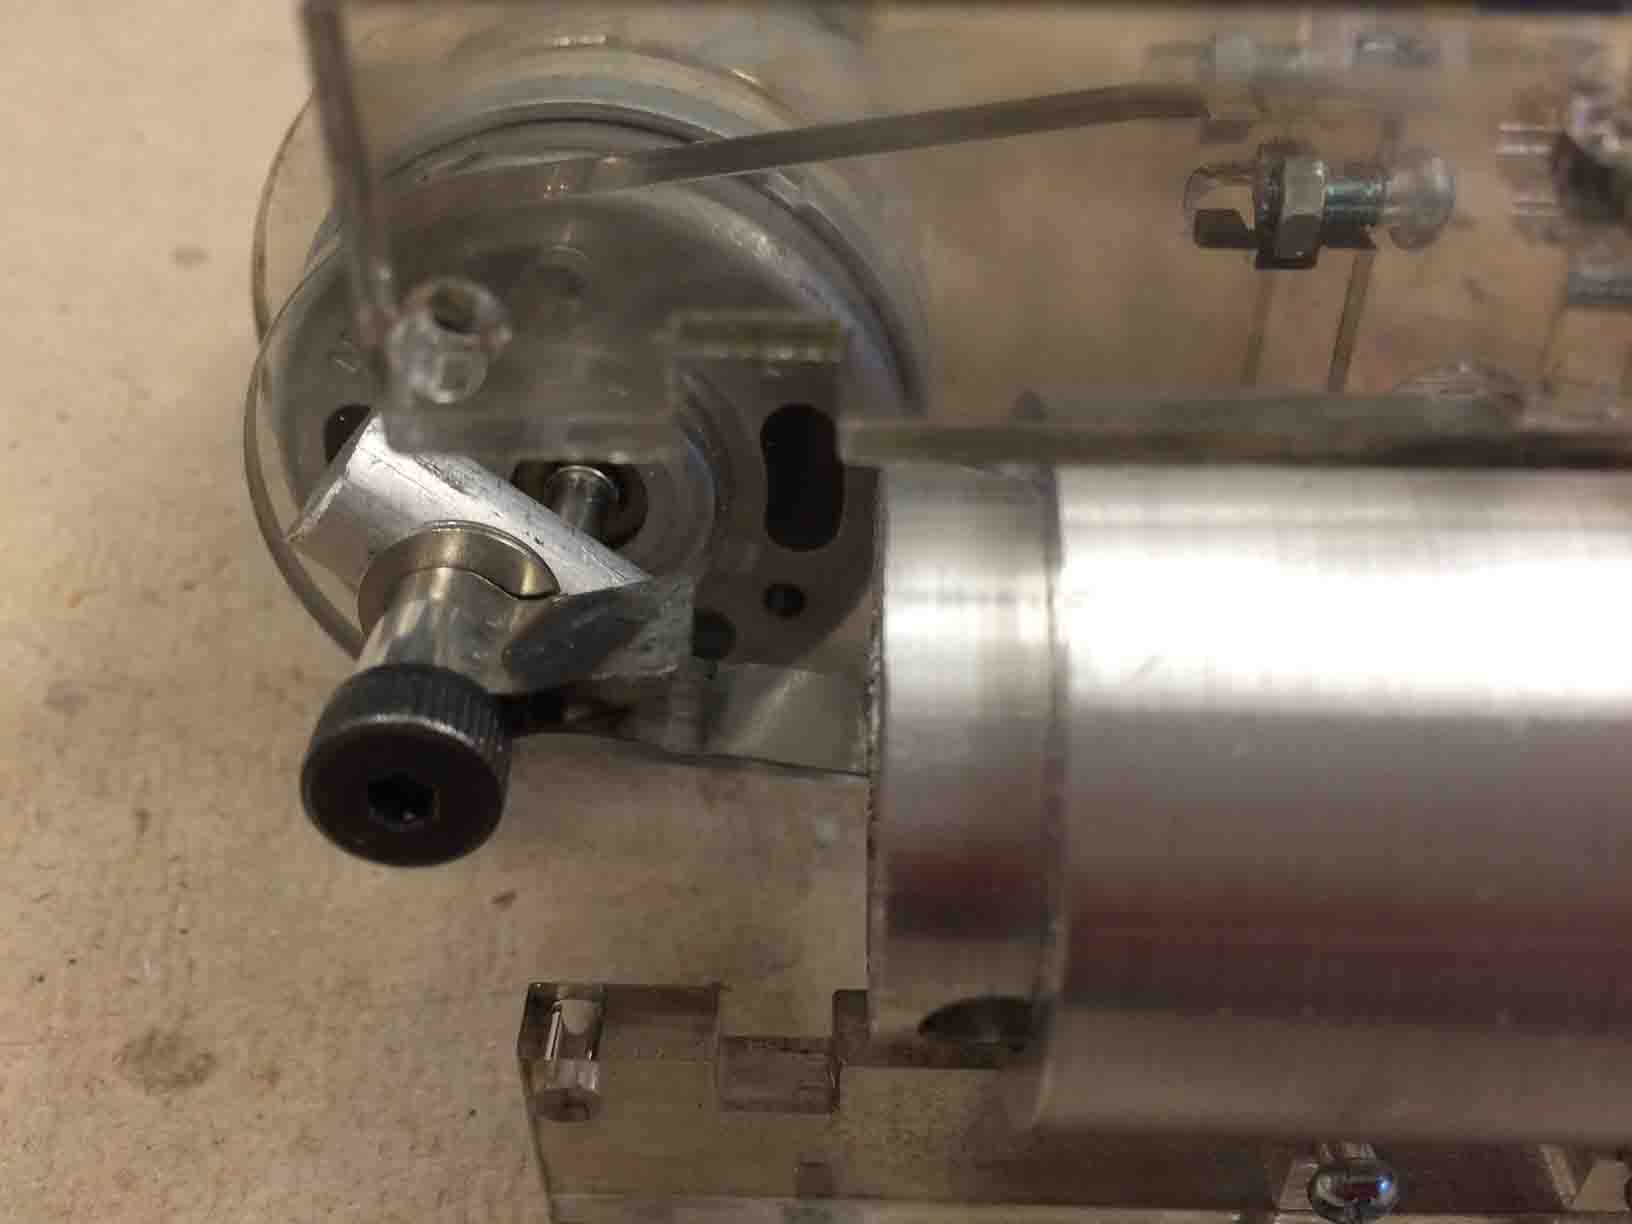
Had to scratch the shoulder screw on shaft collar as a coupler. Instead, went back to nails with a set screw.

Shaft Collars
Had to scratch the shoulder screw on shaft collar as a coupler. Instead, went back to nails with a set screw.
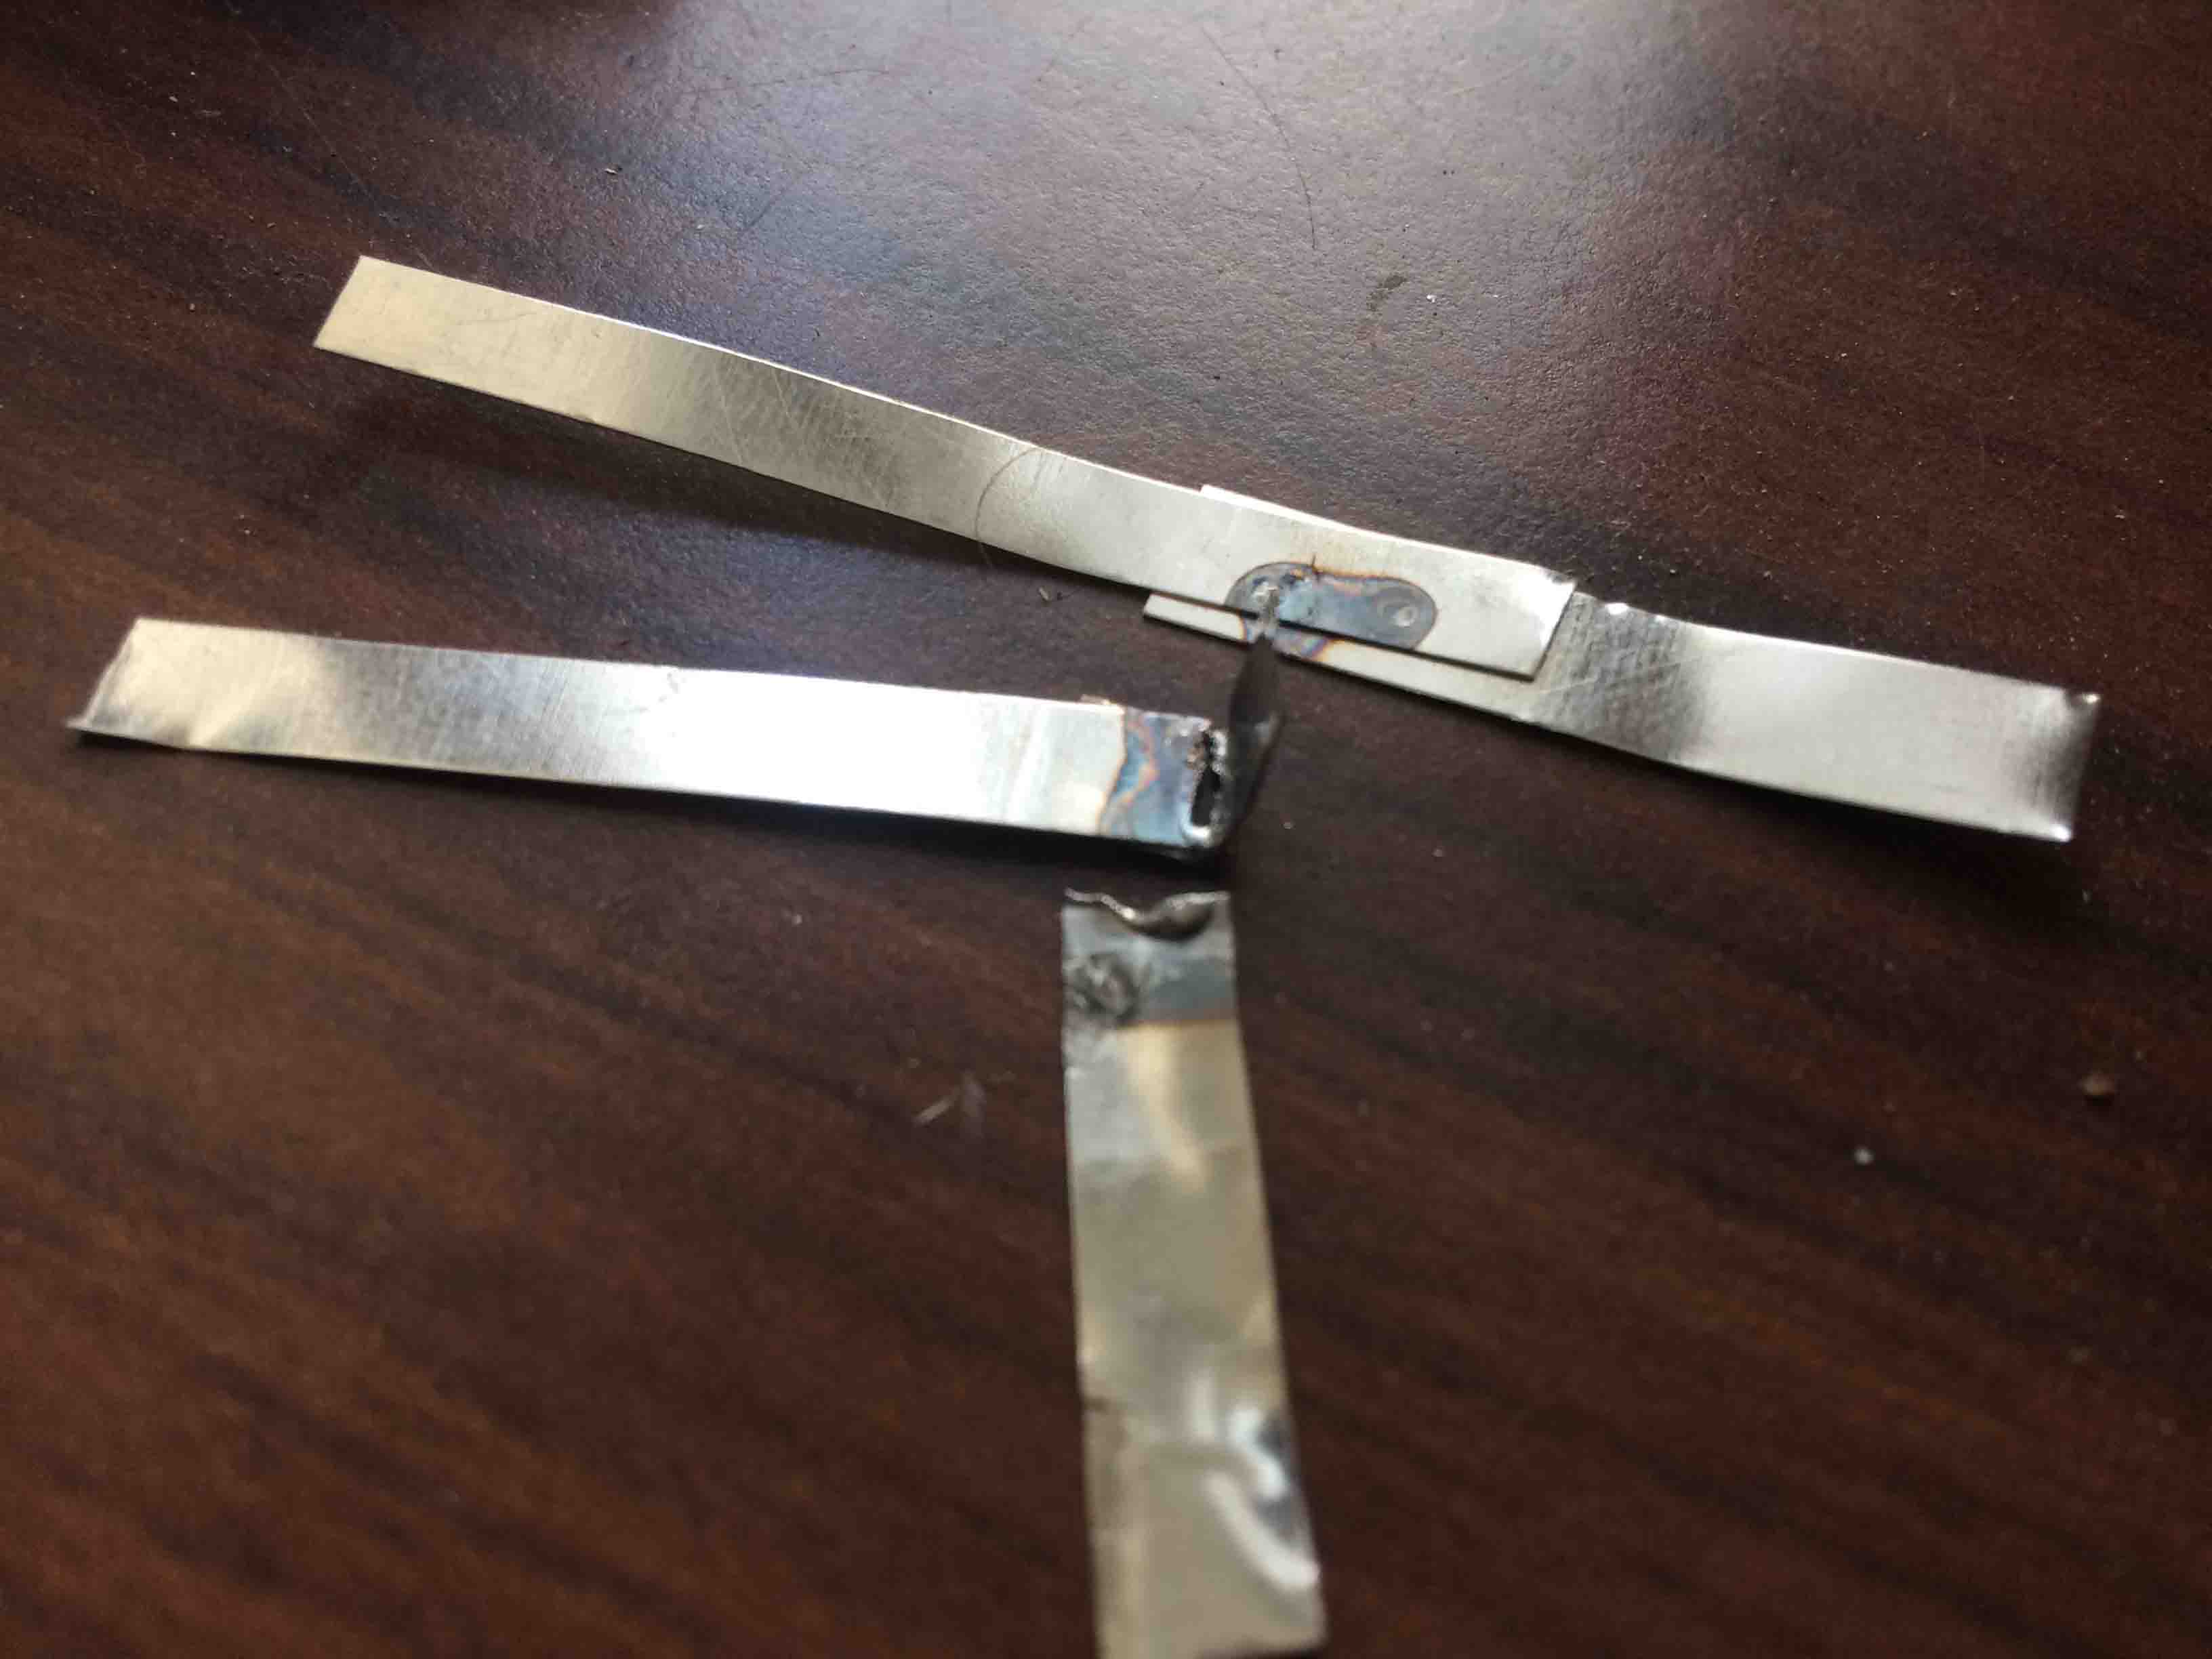
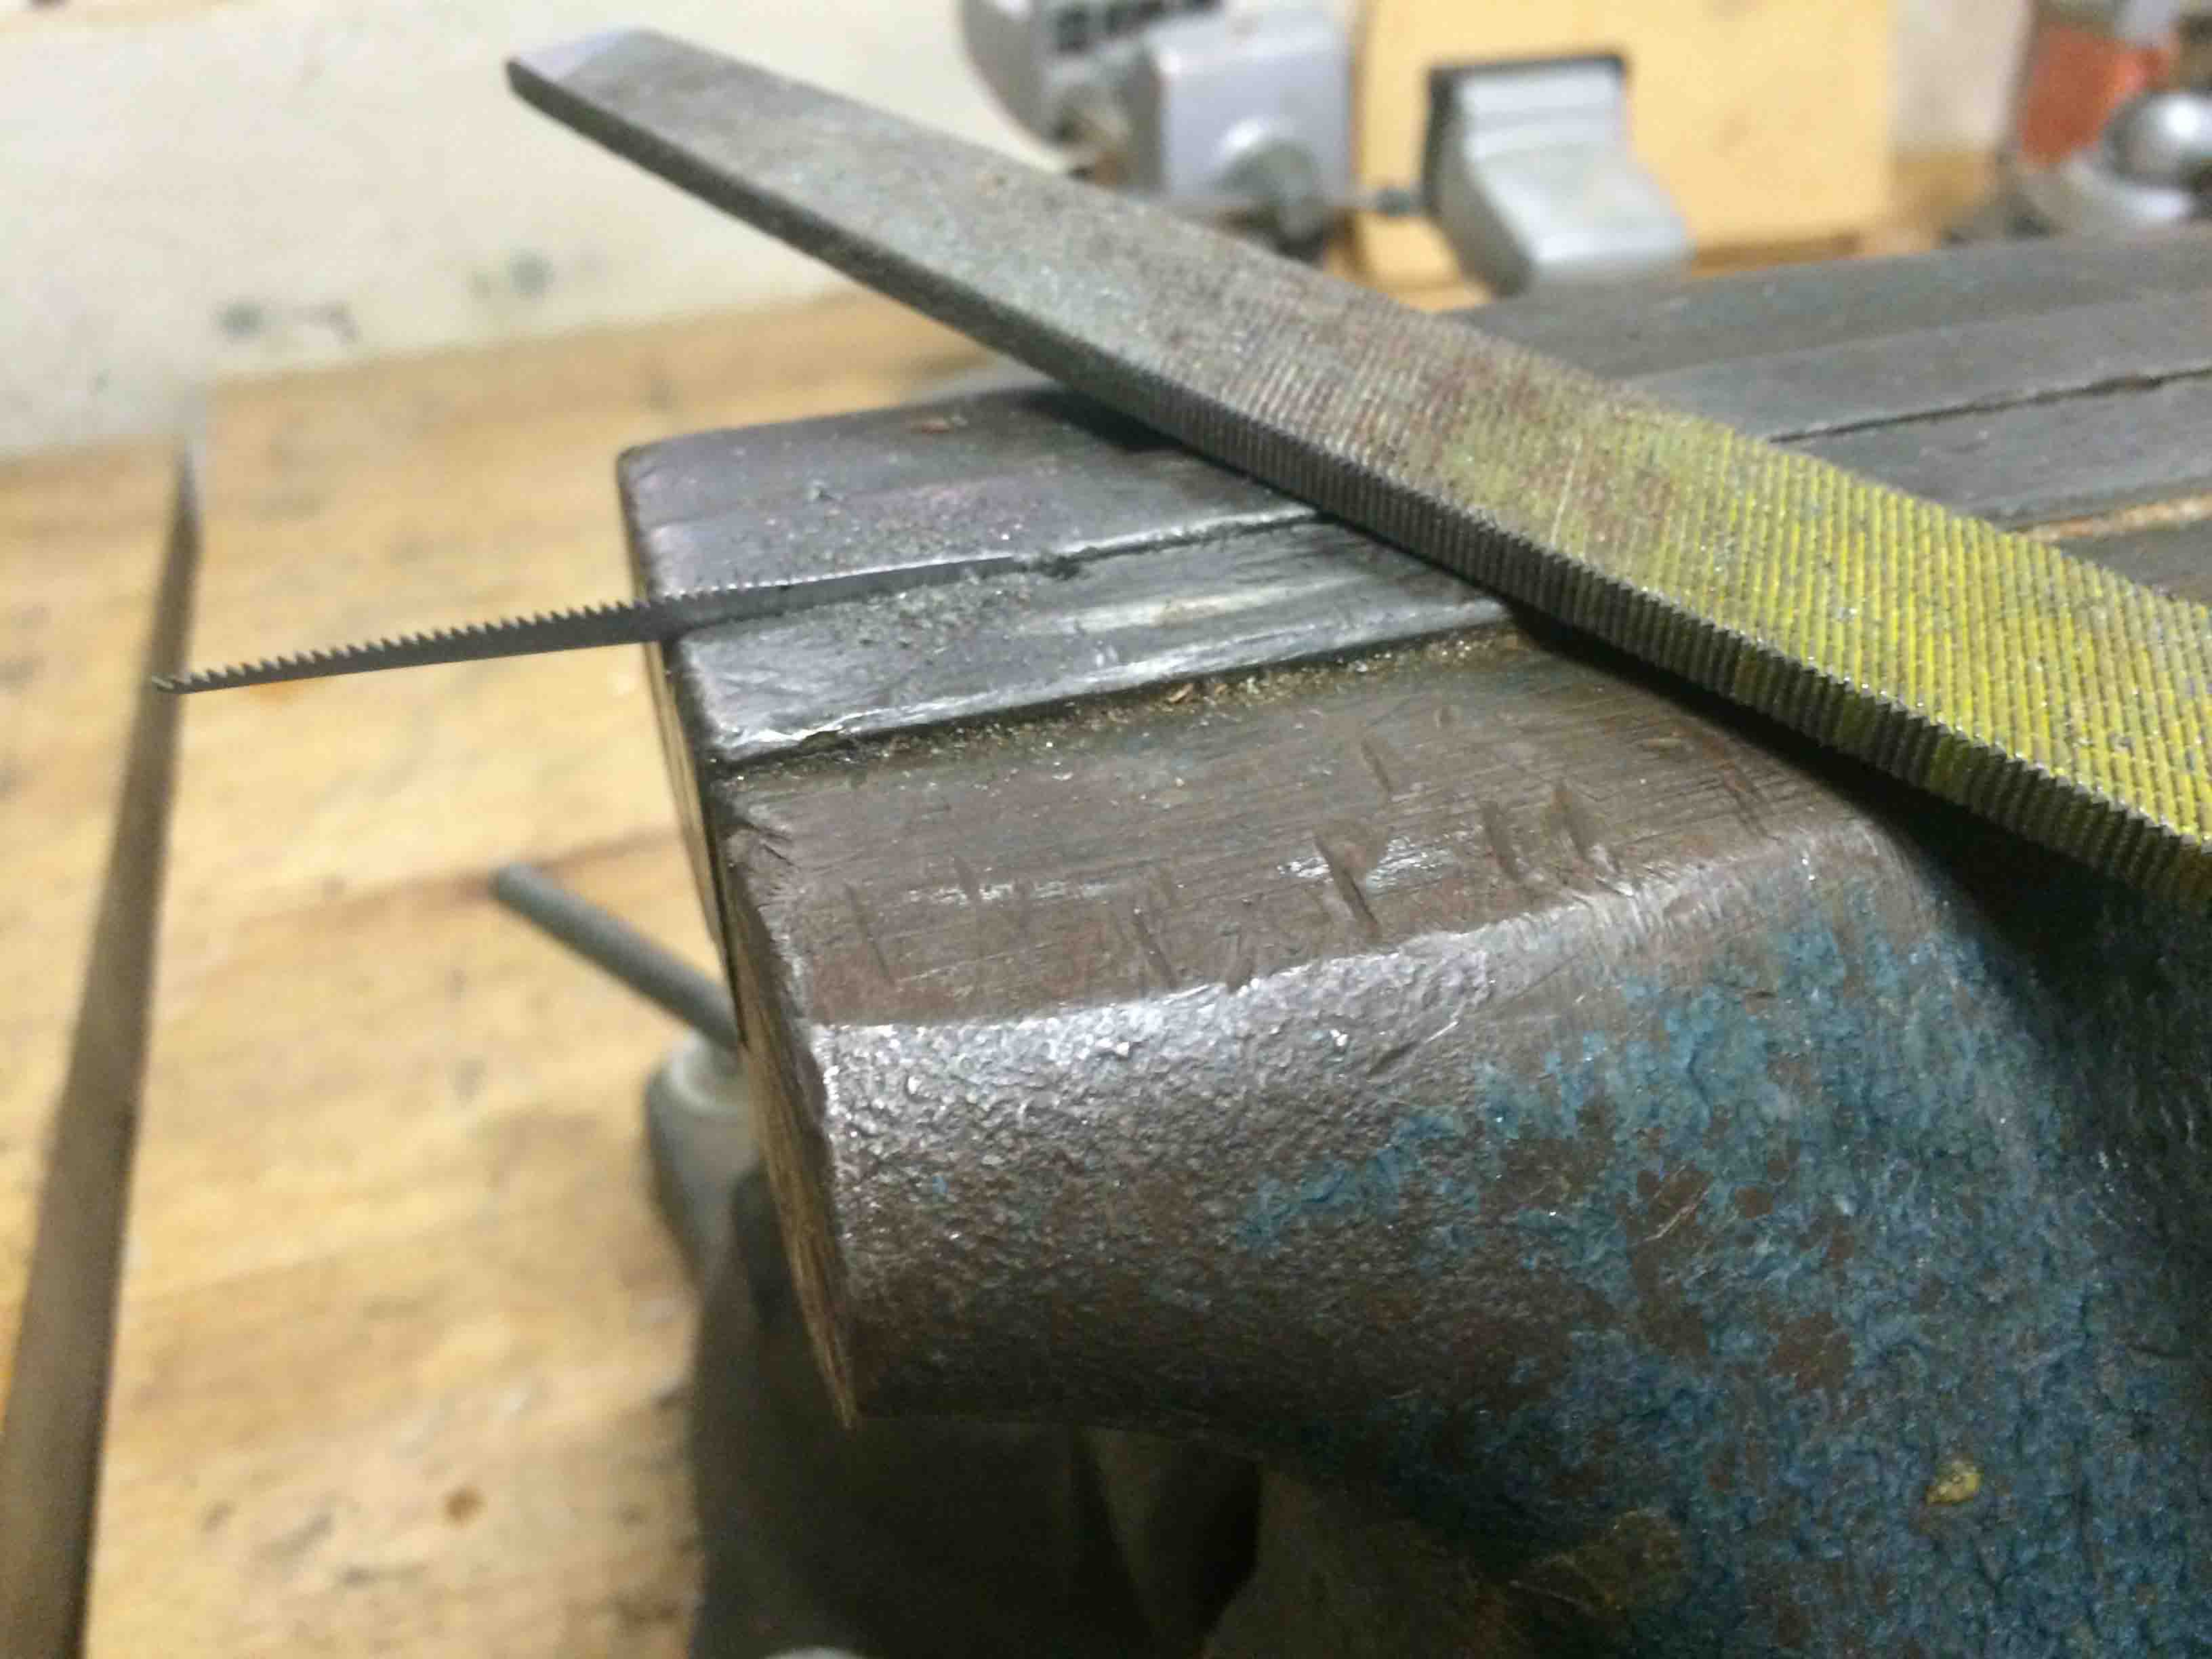
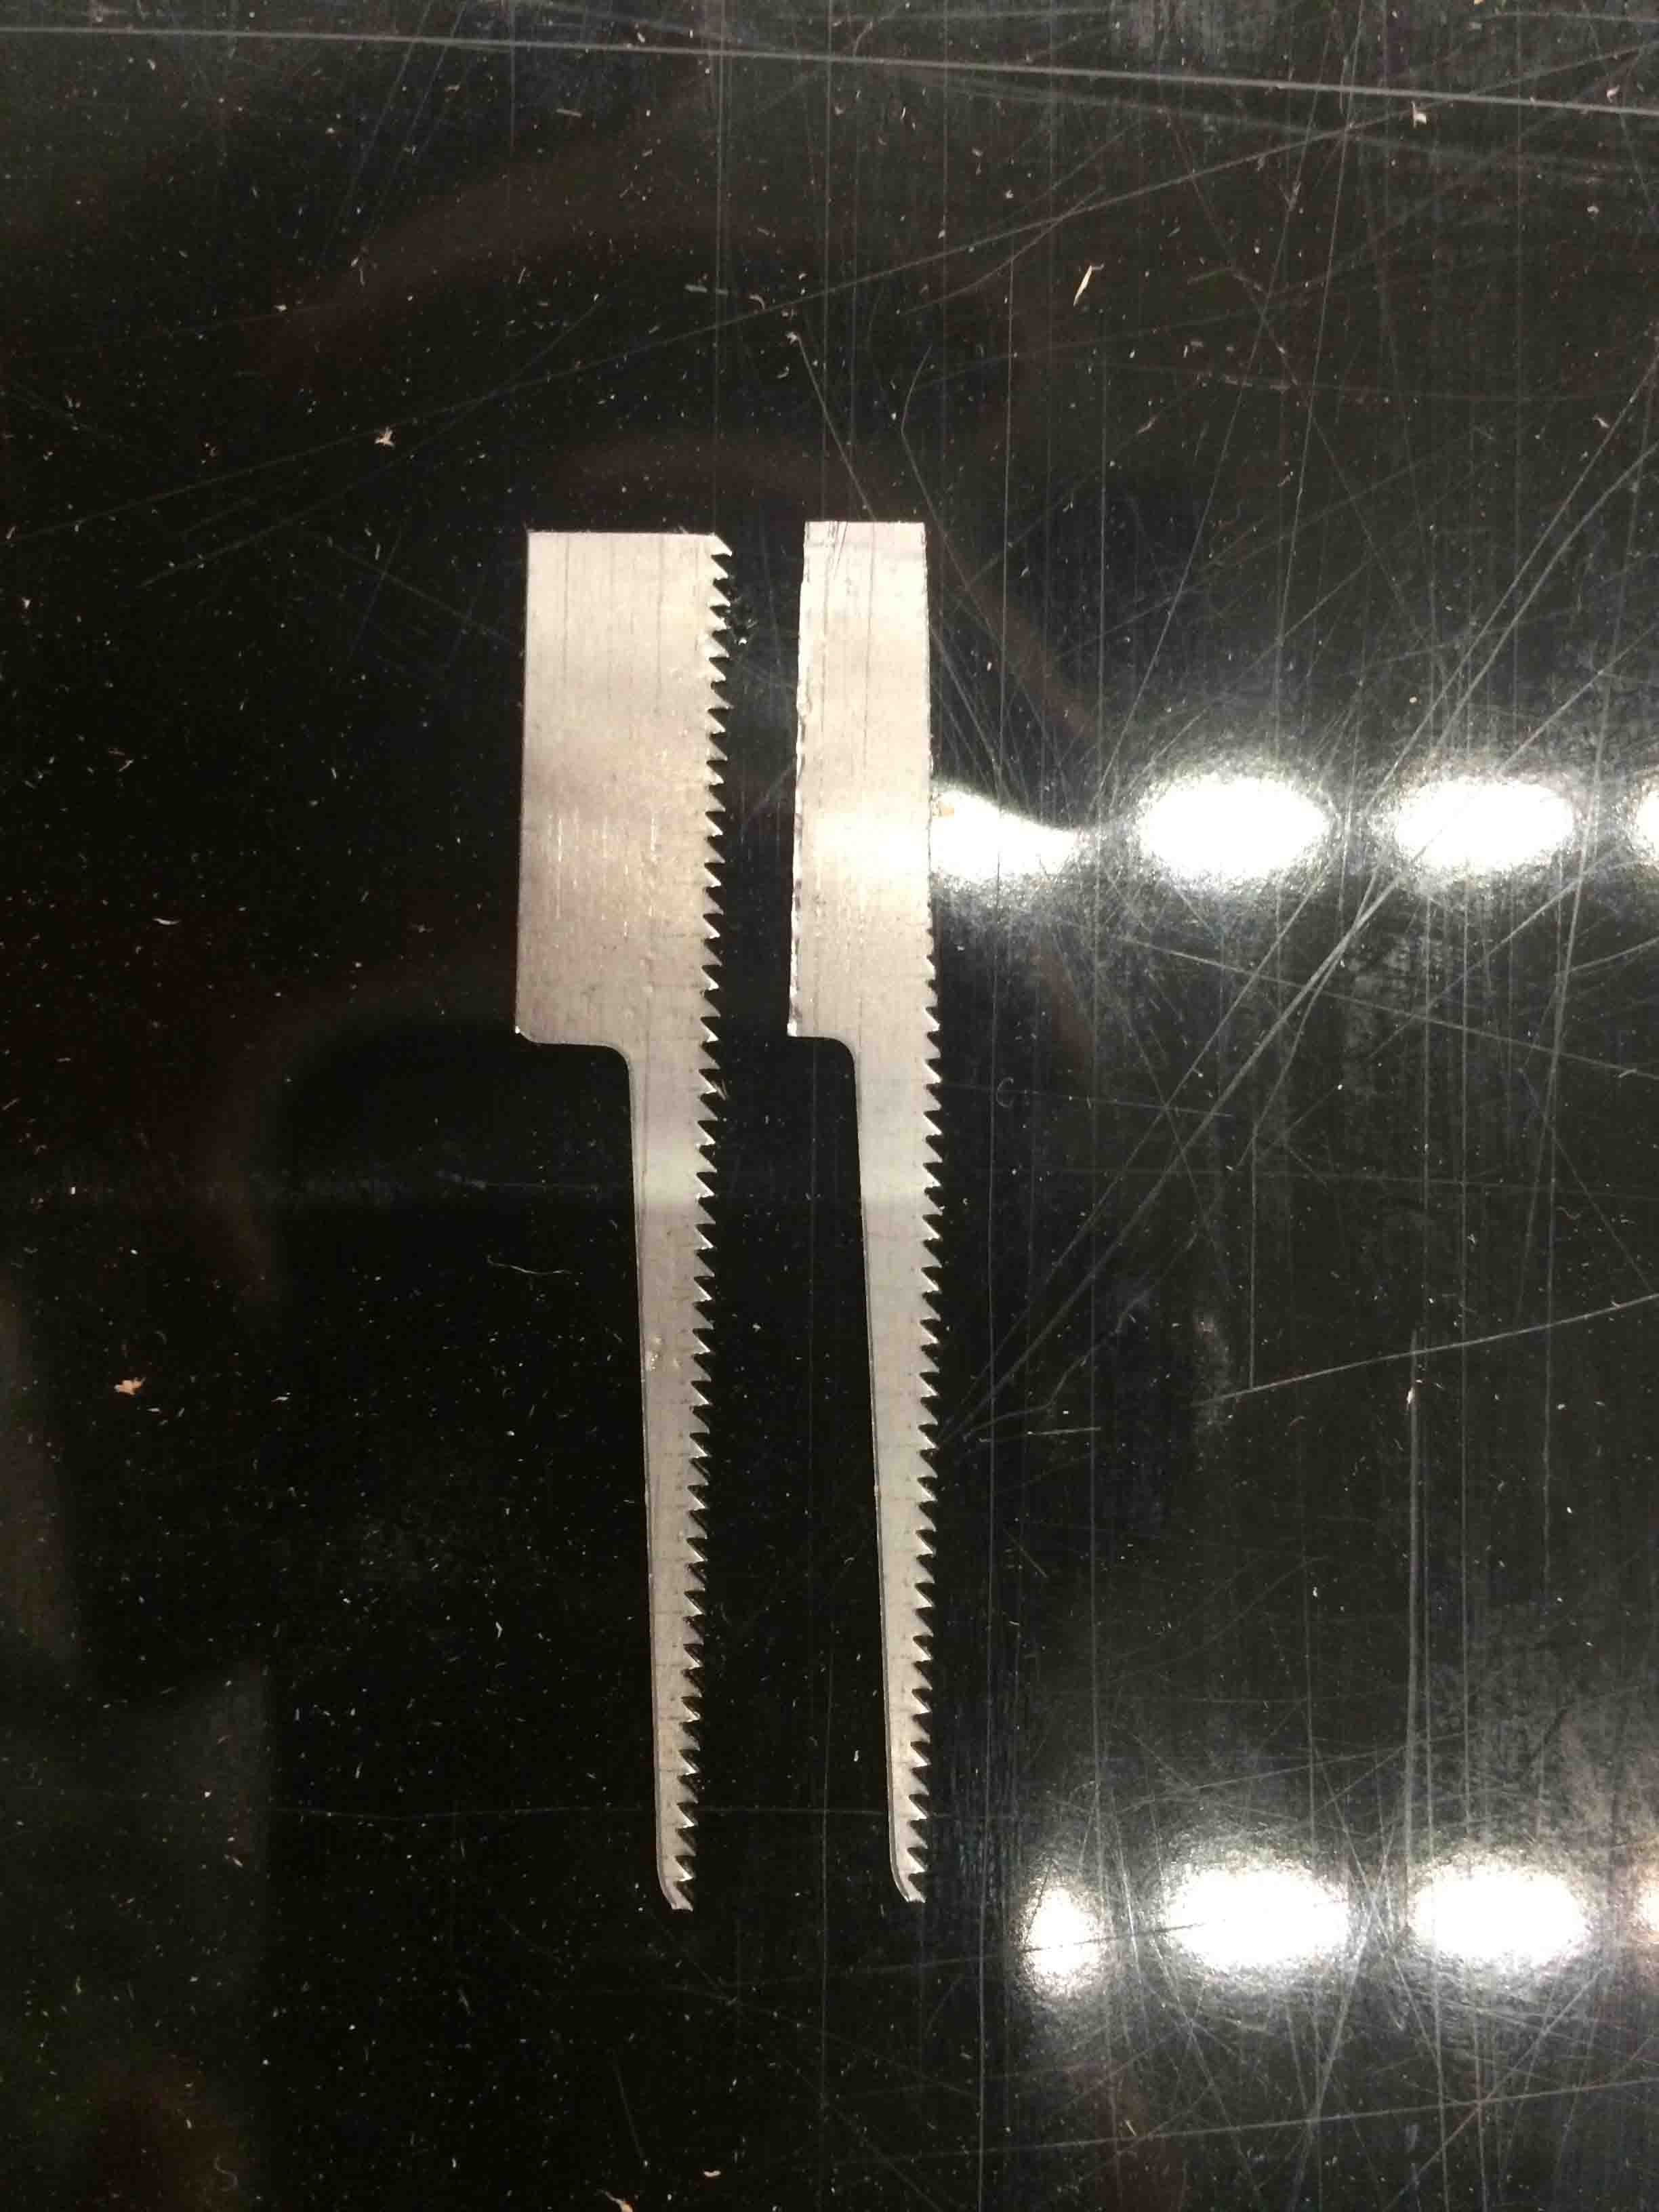
Adapting Blades for cutting
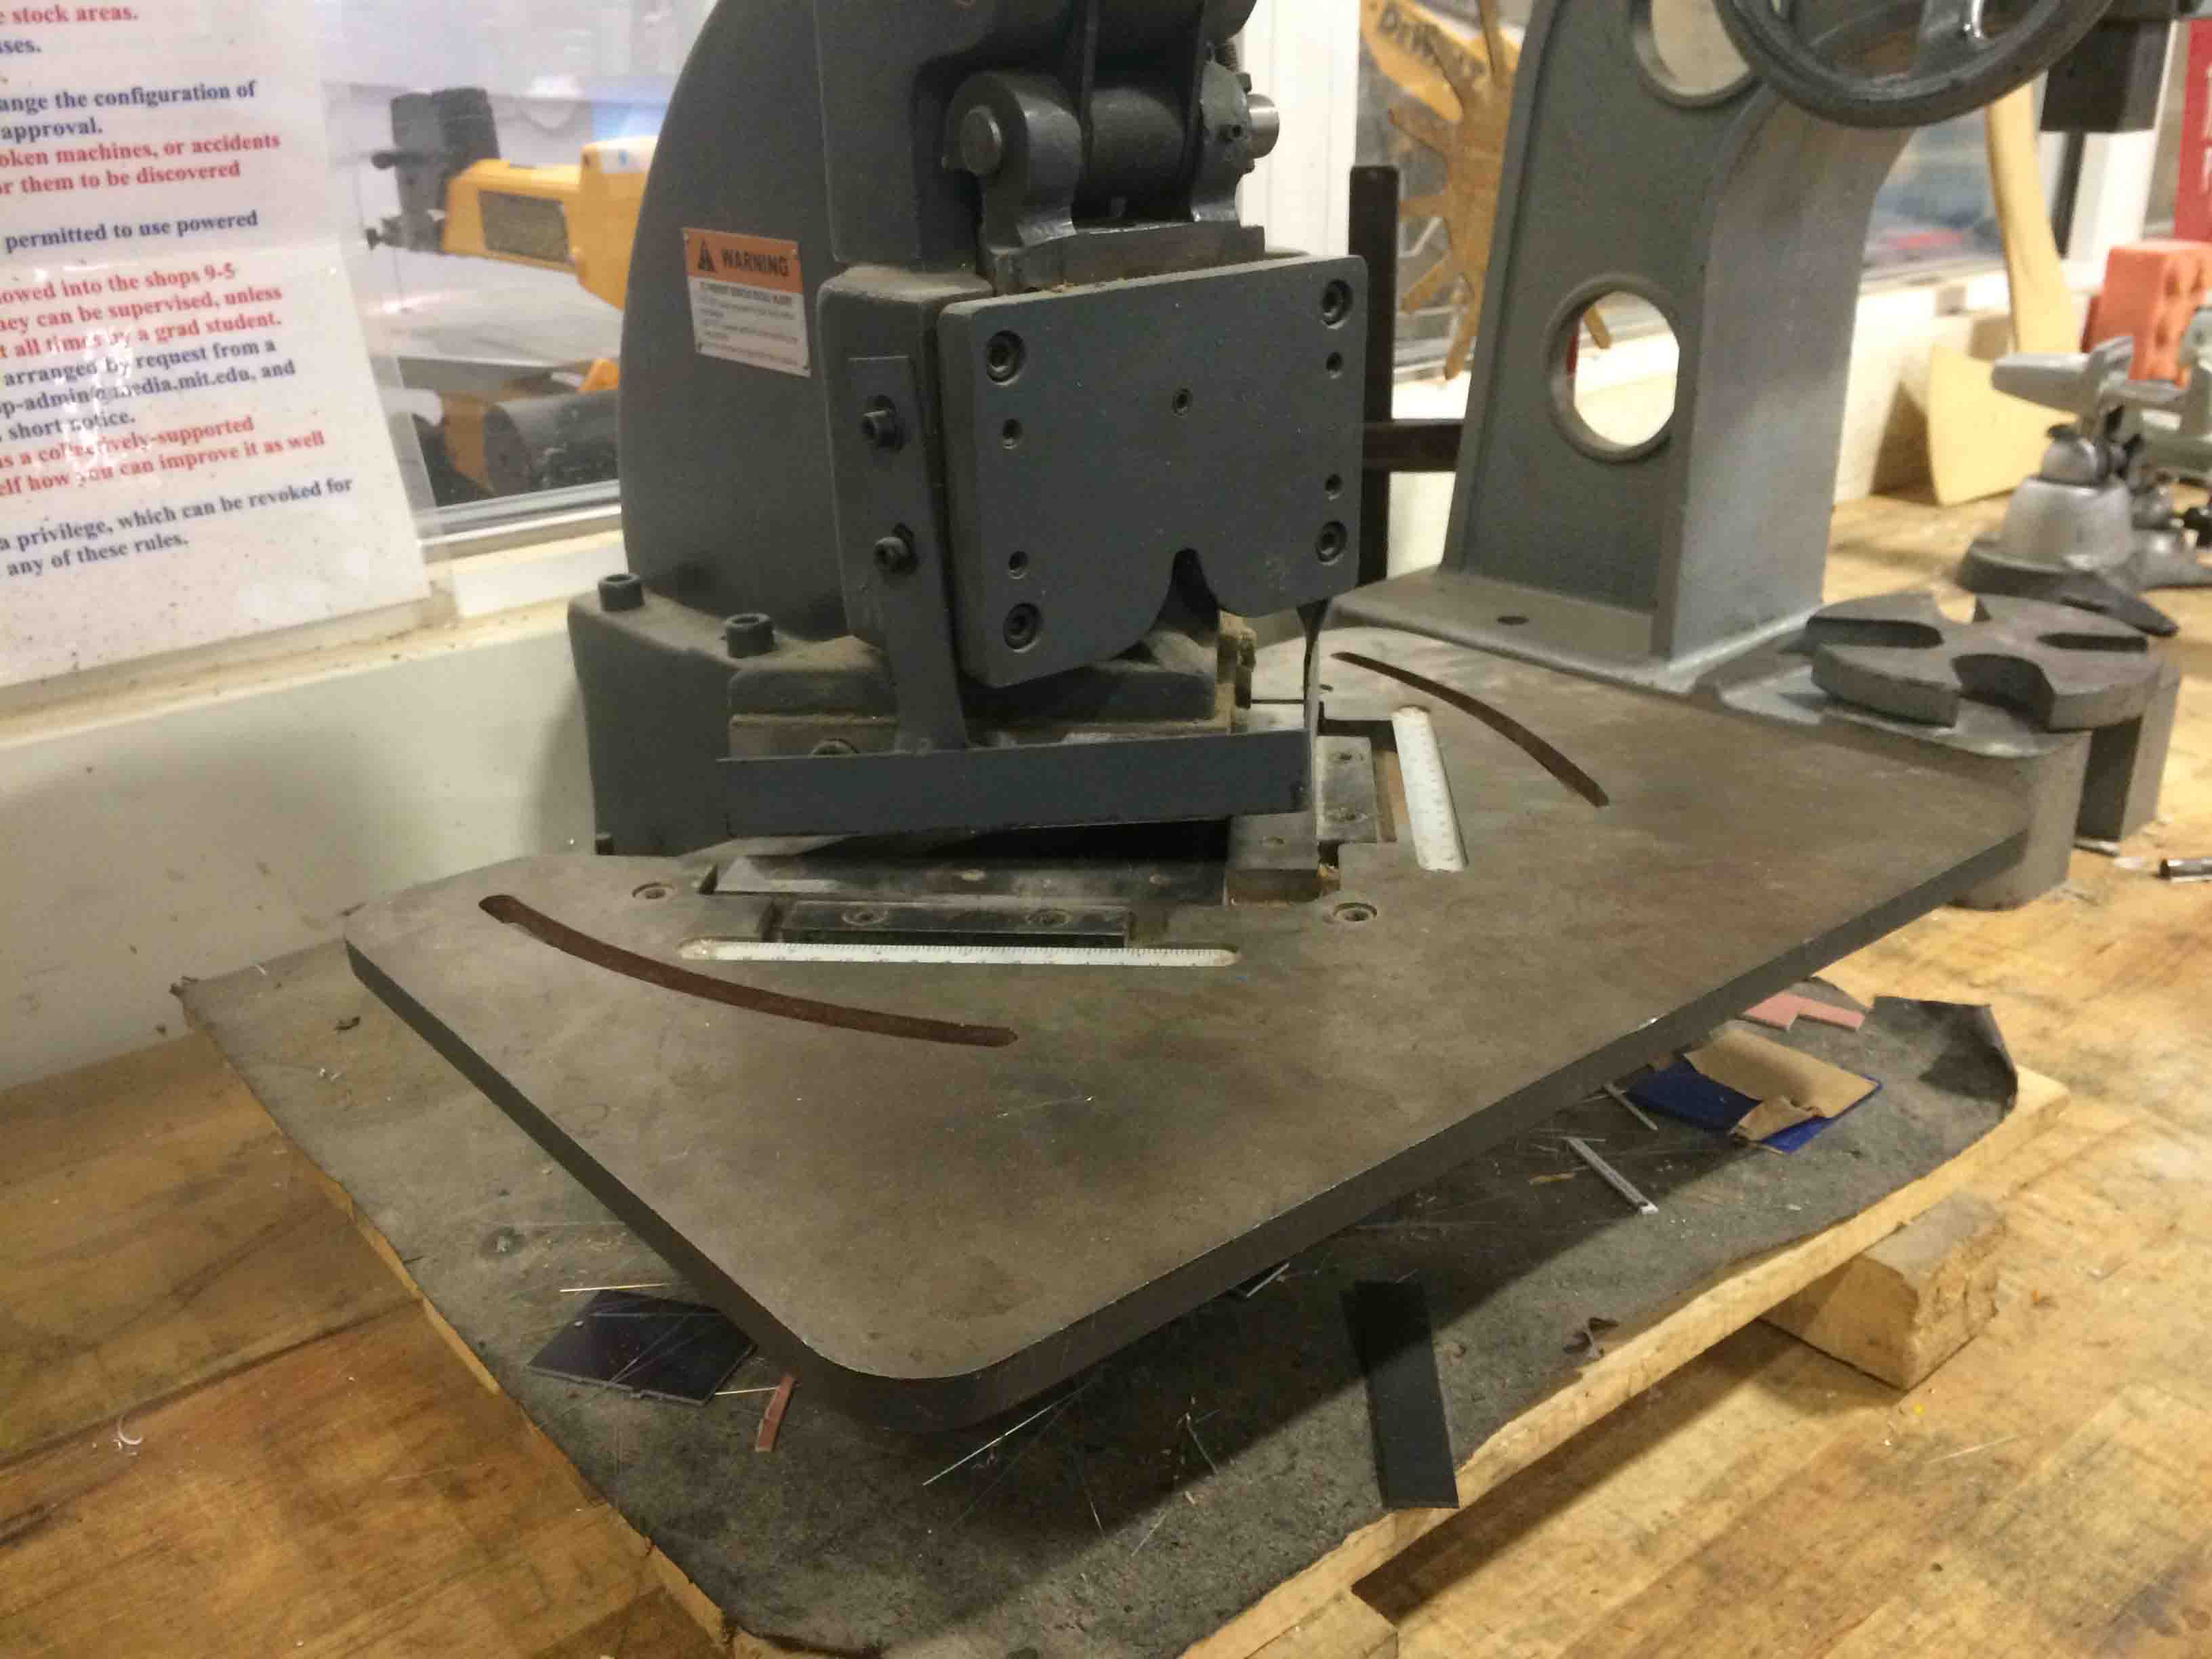

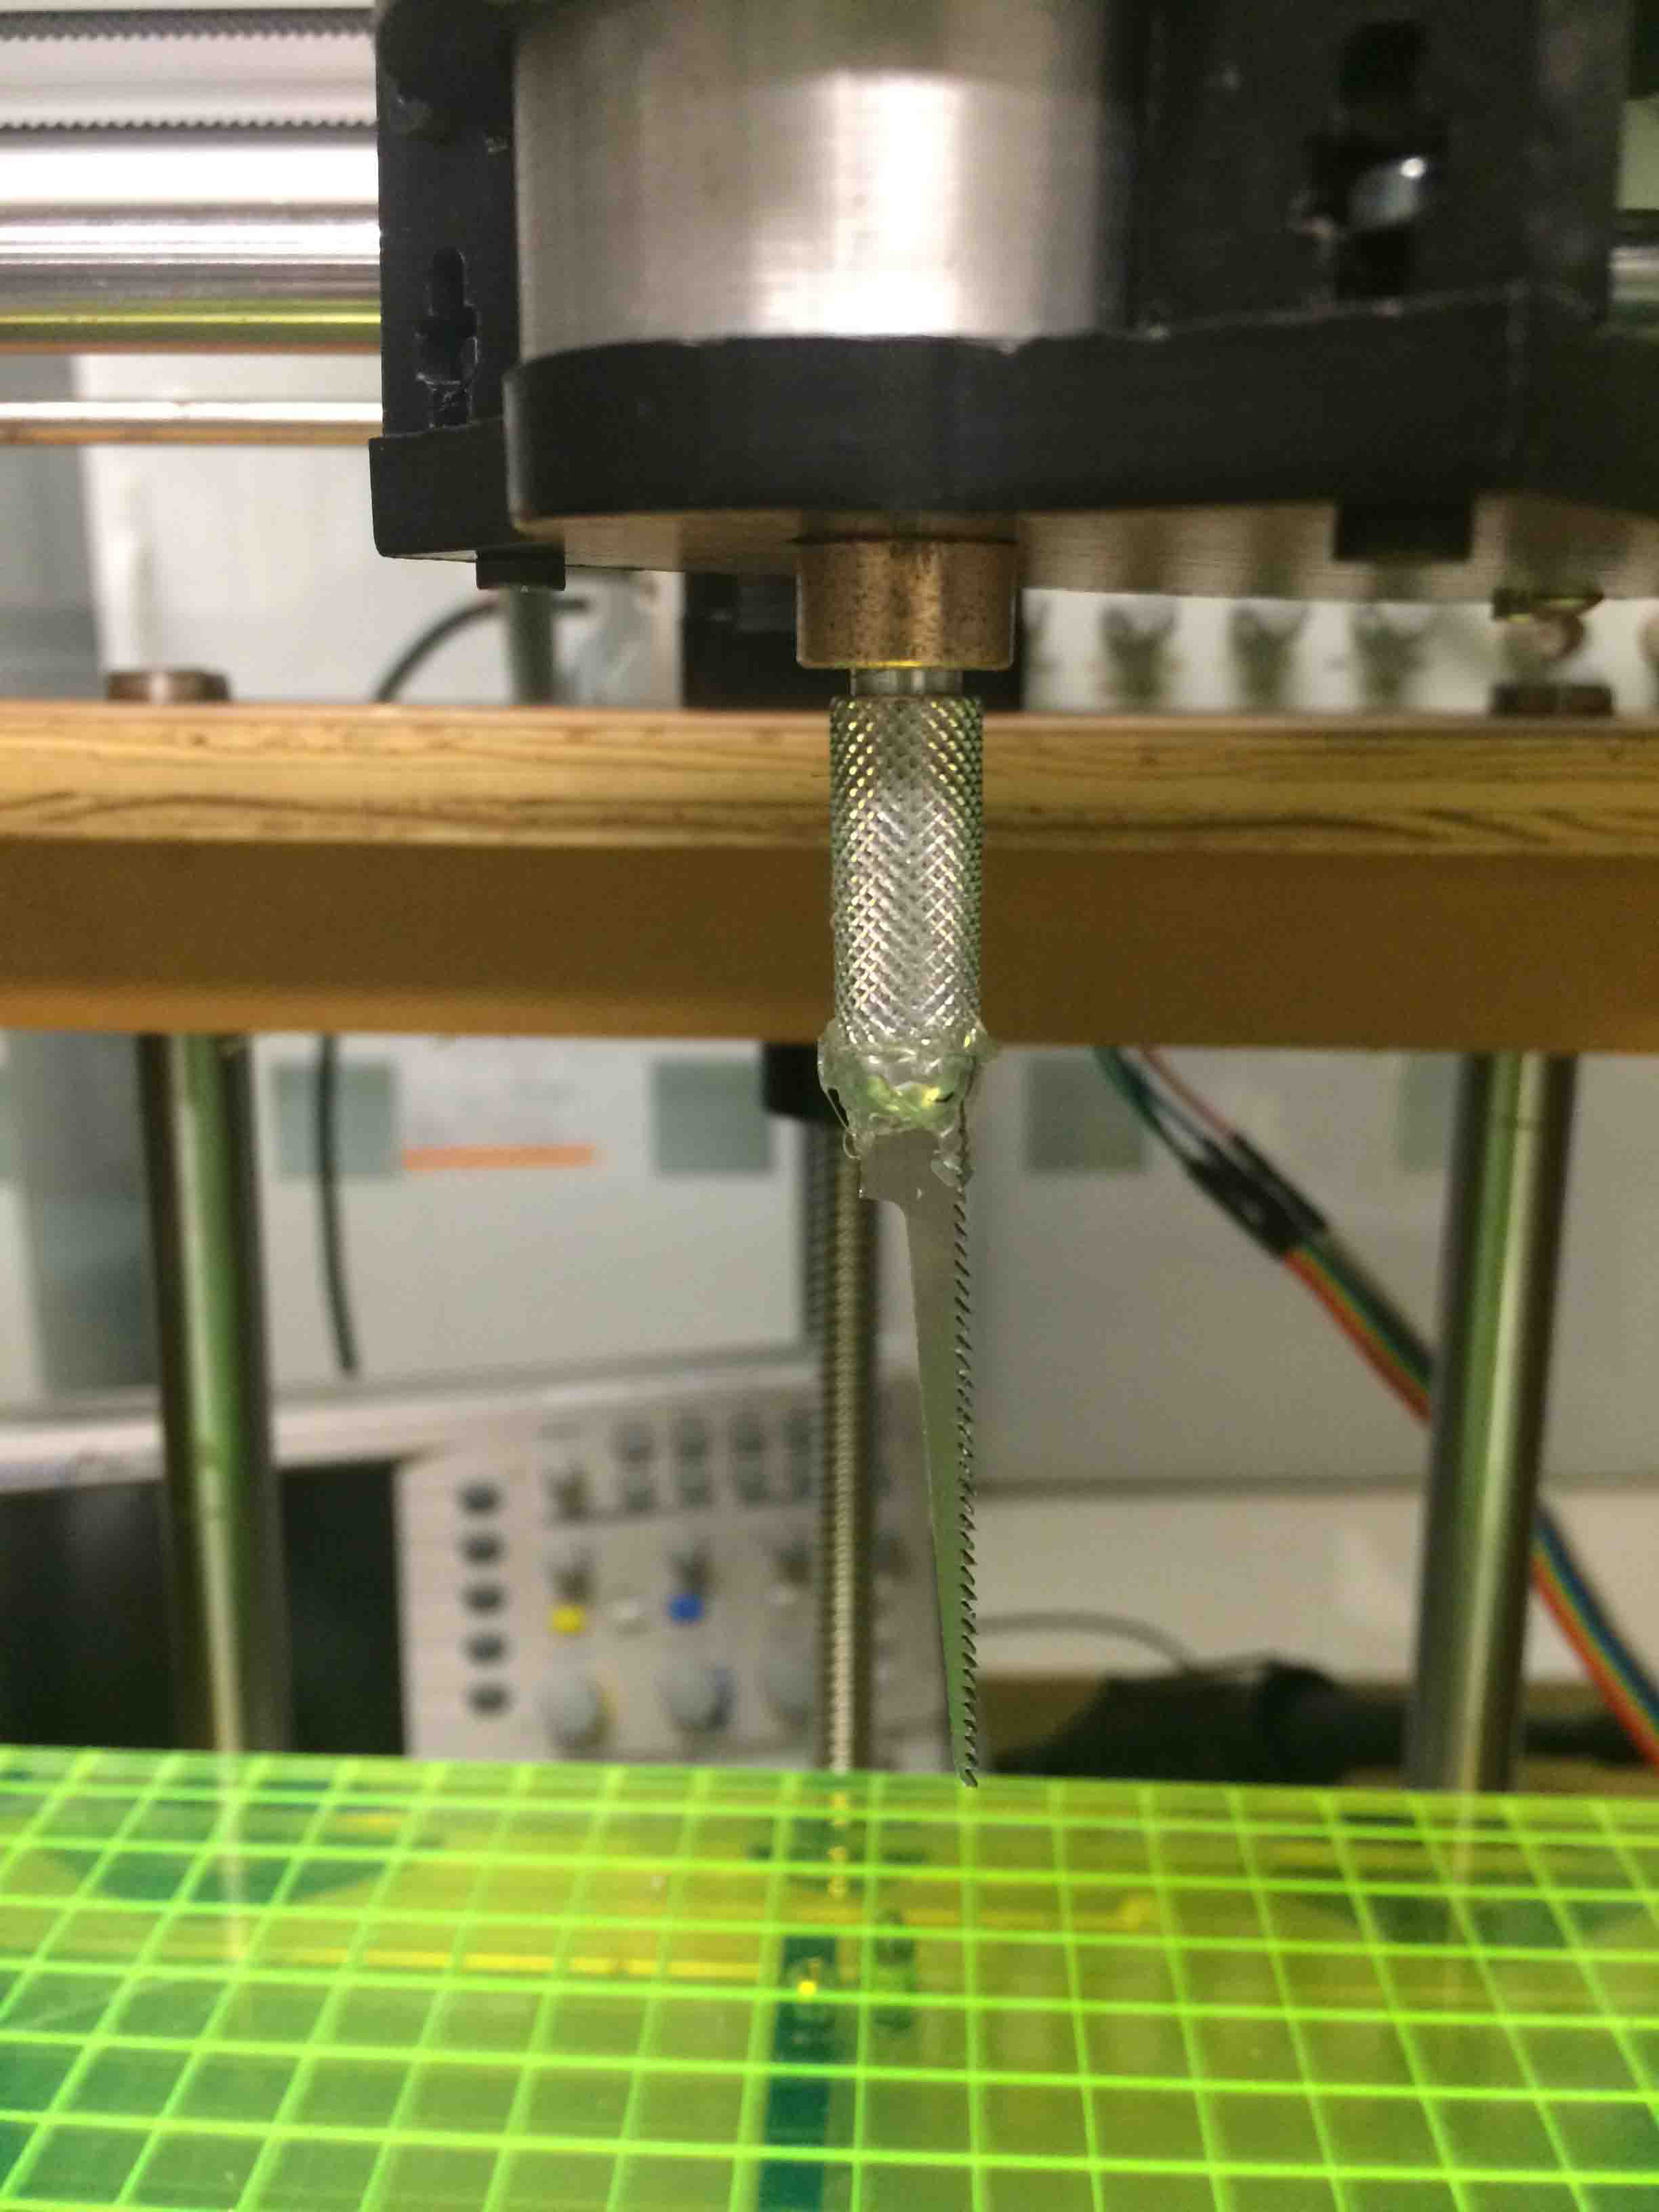
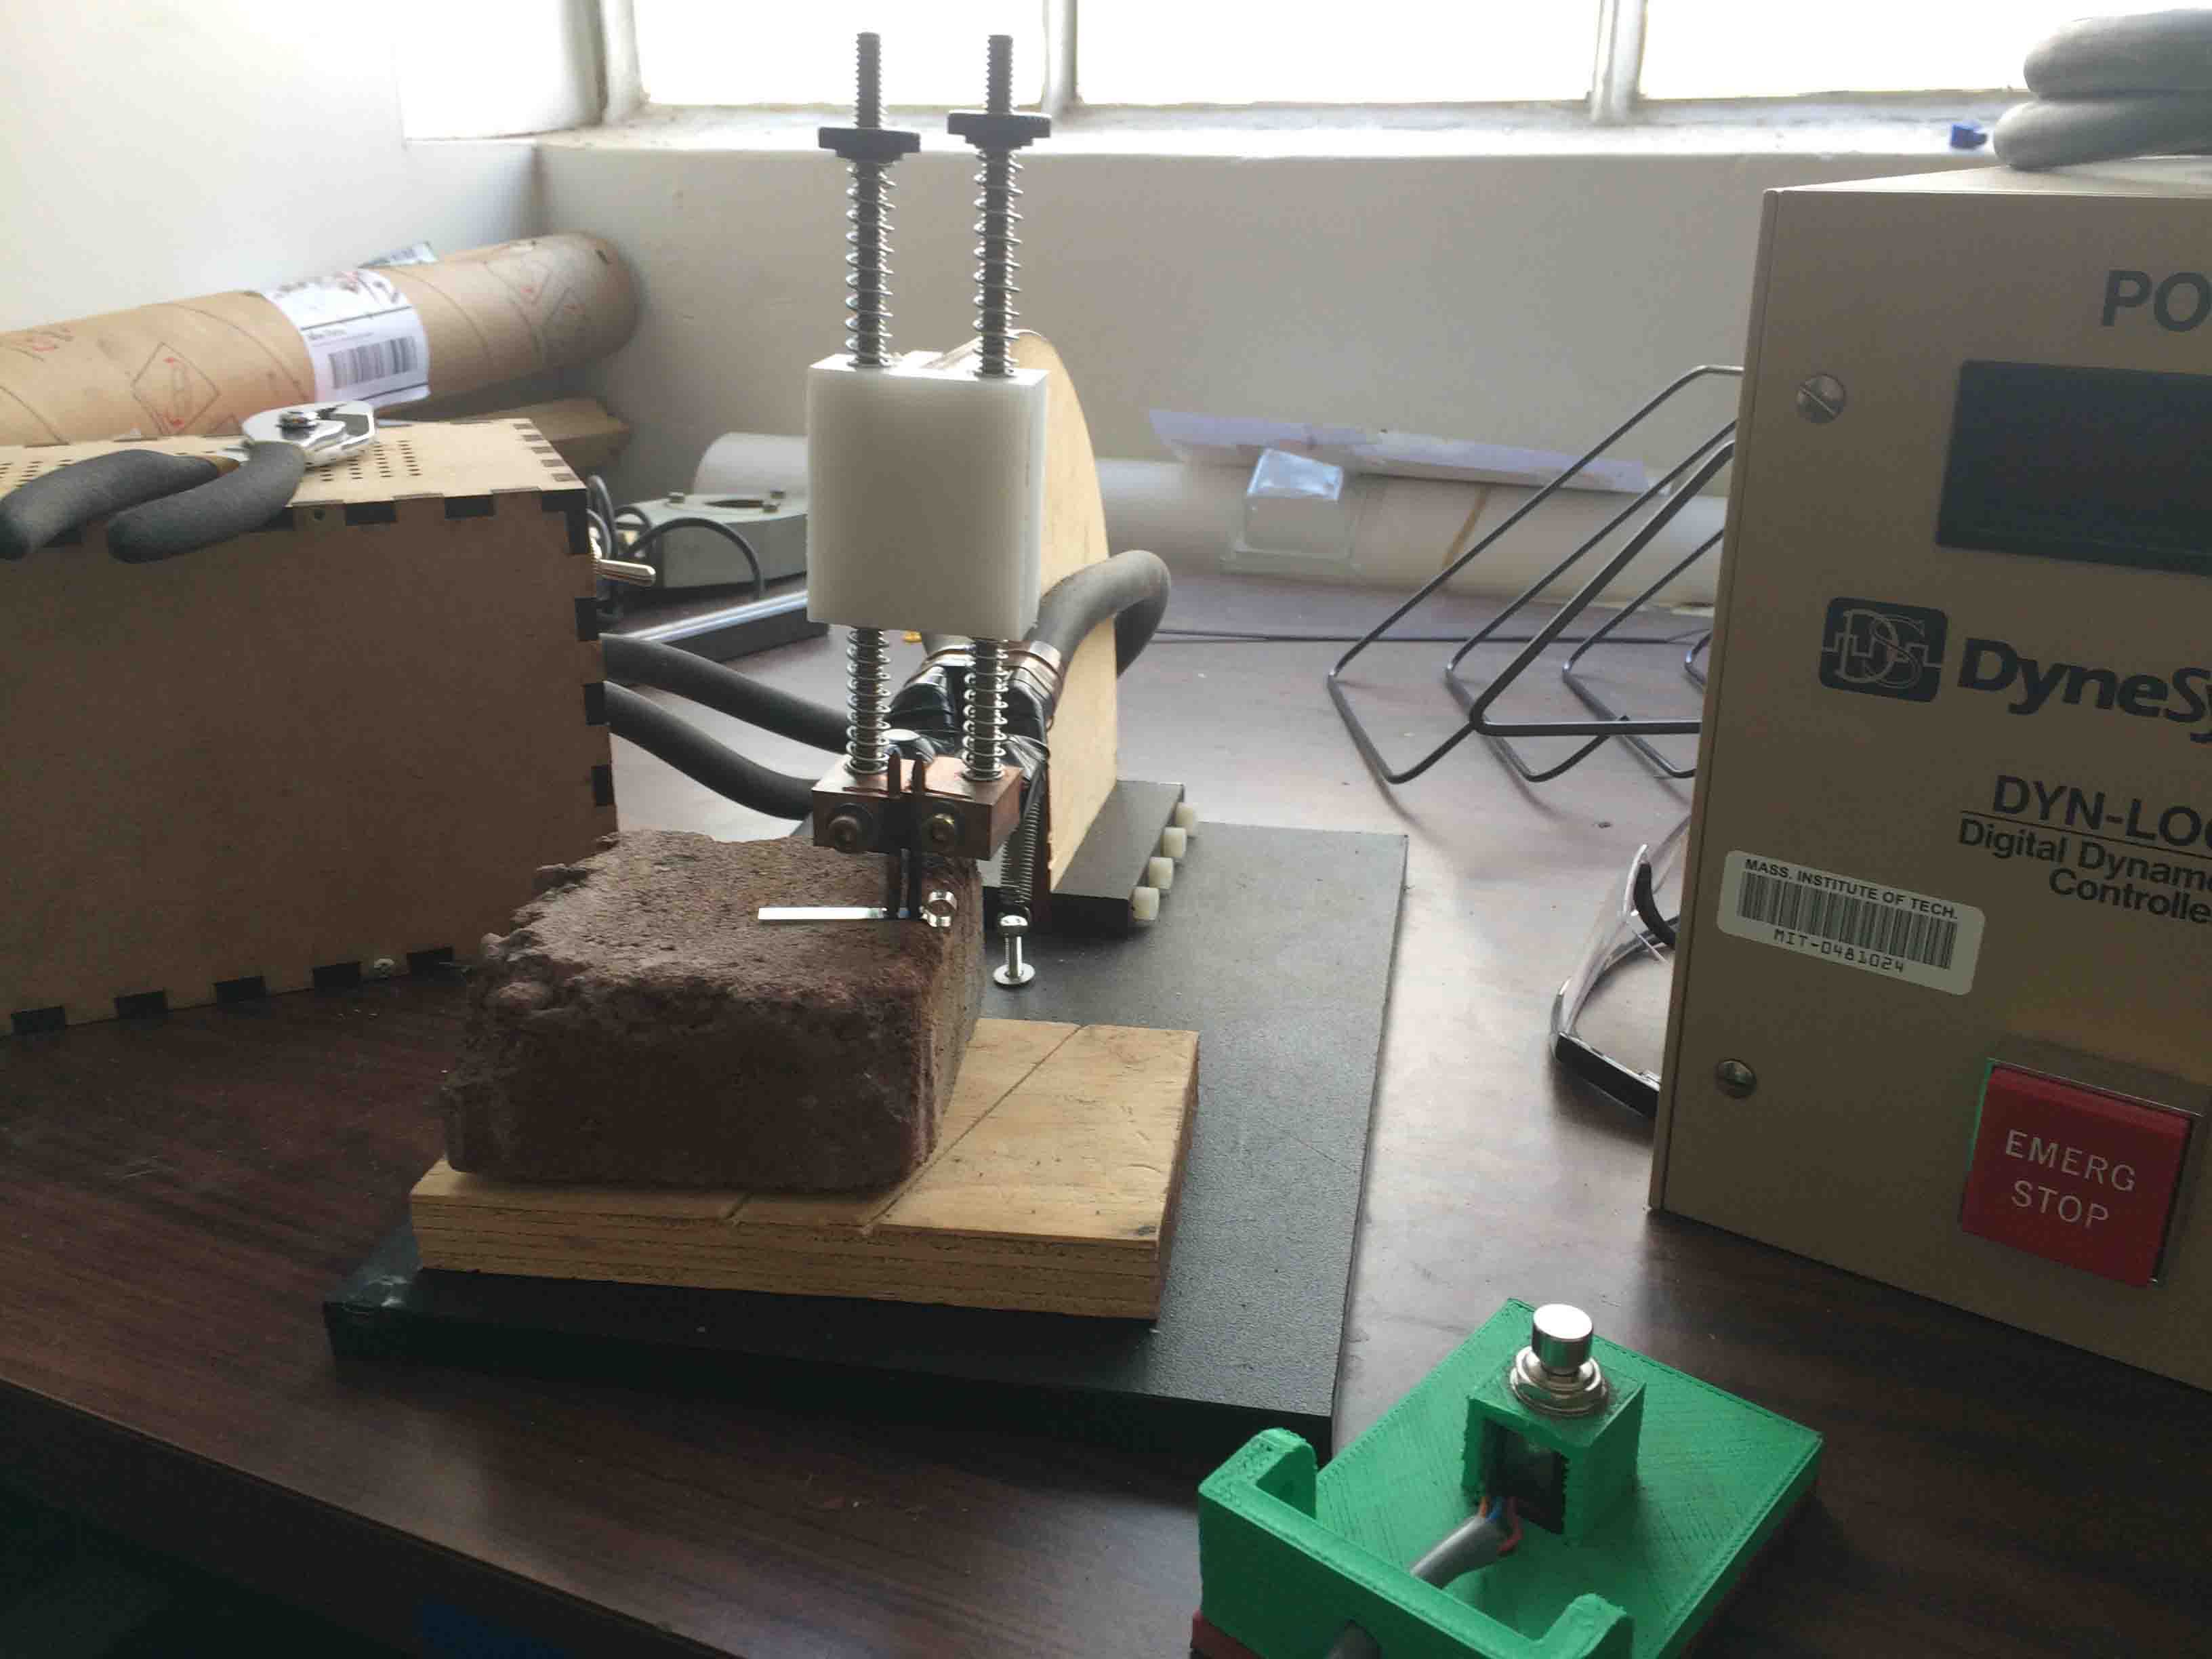
Testing
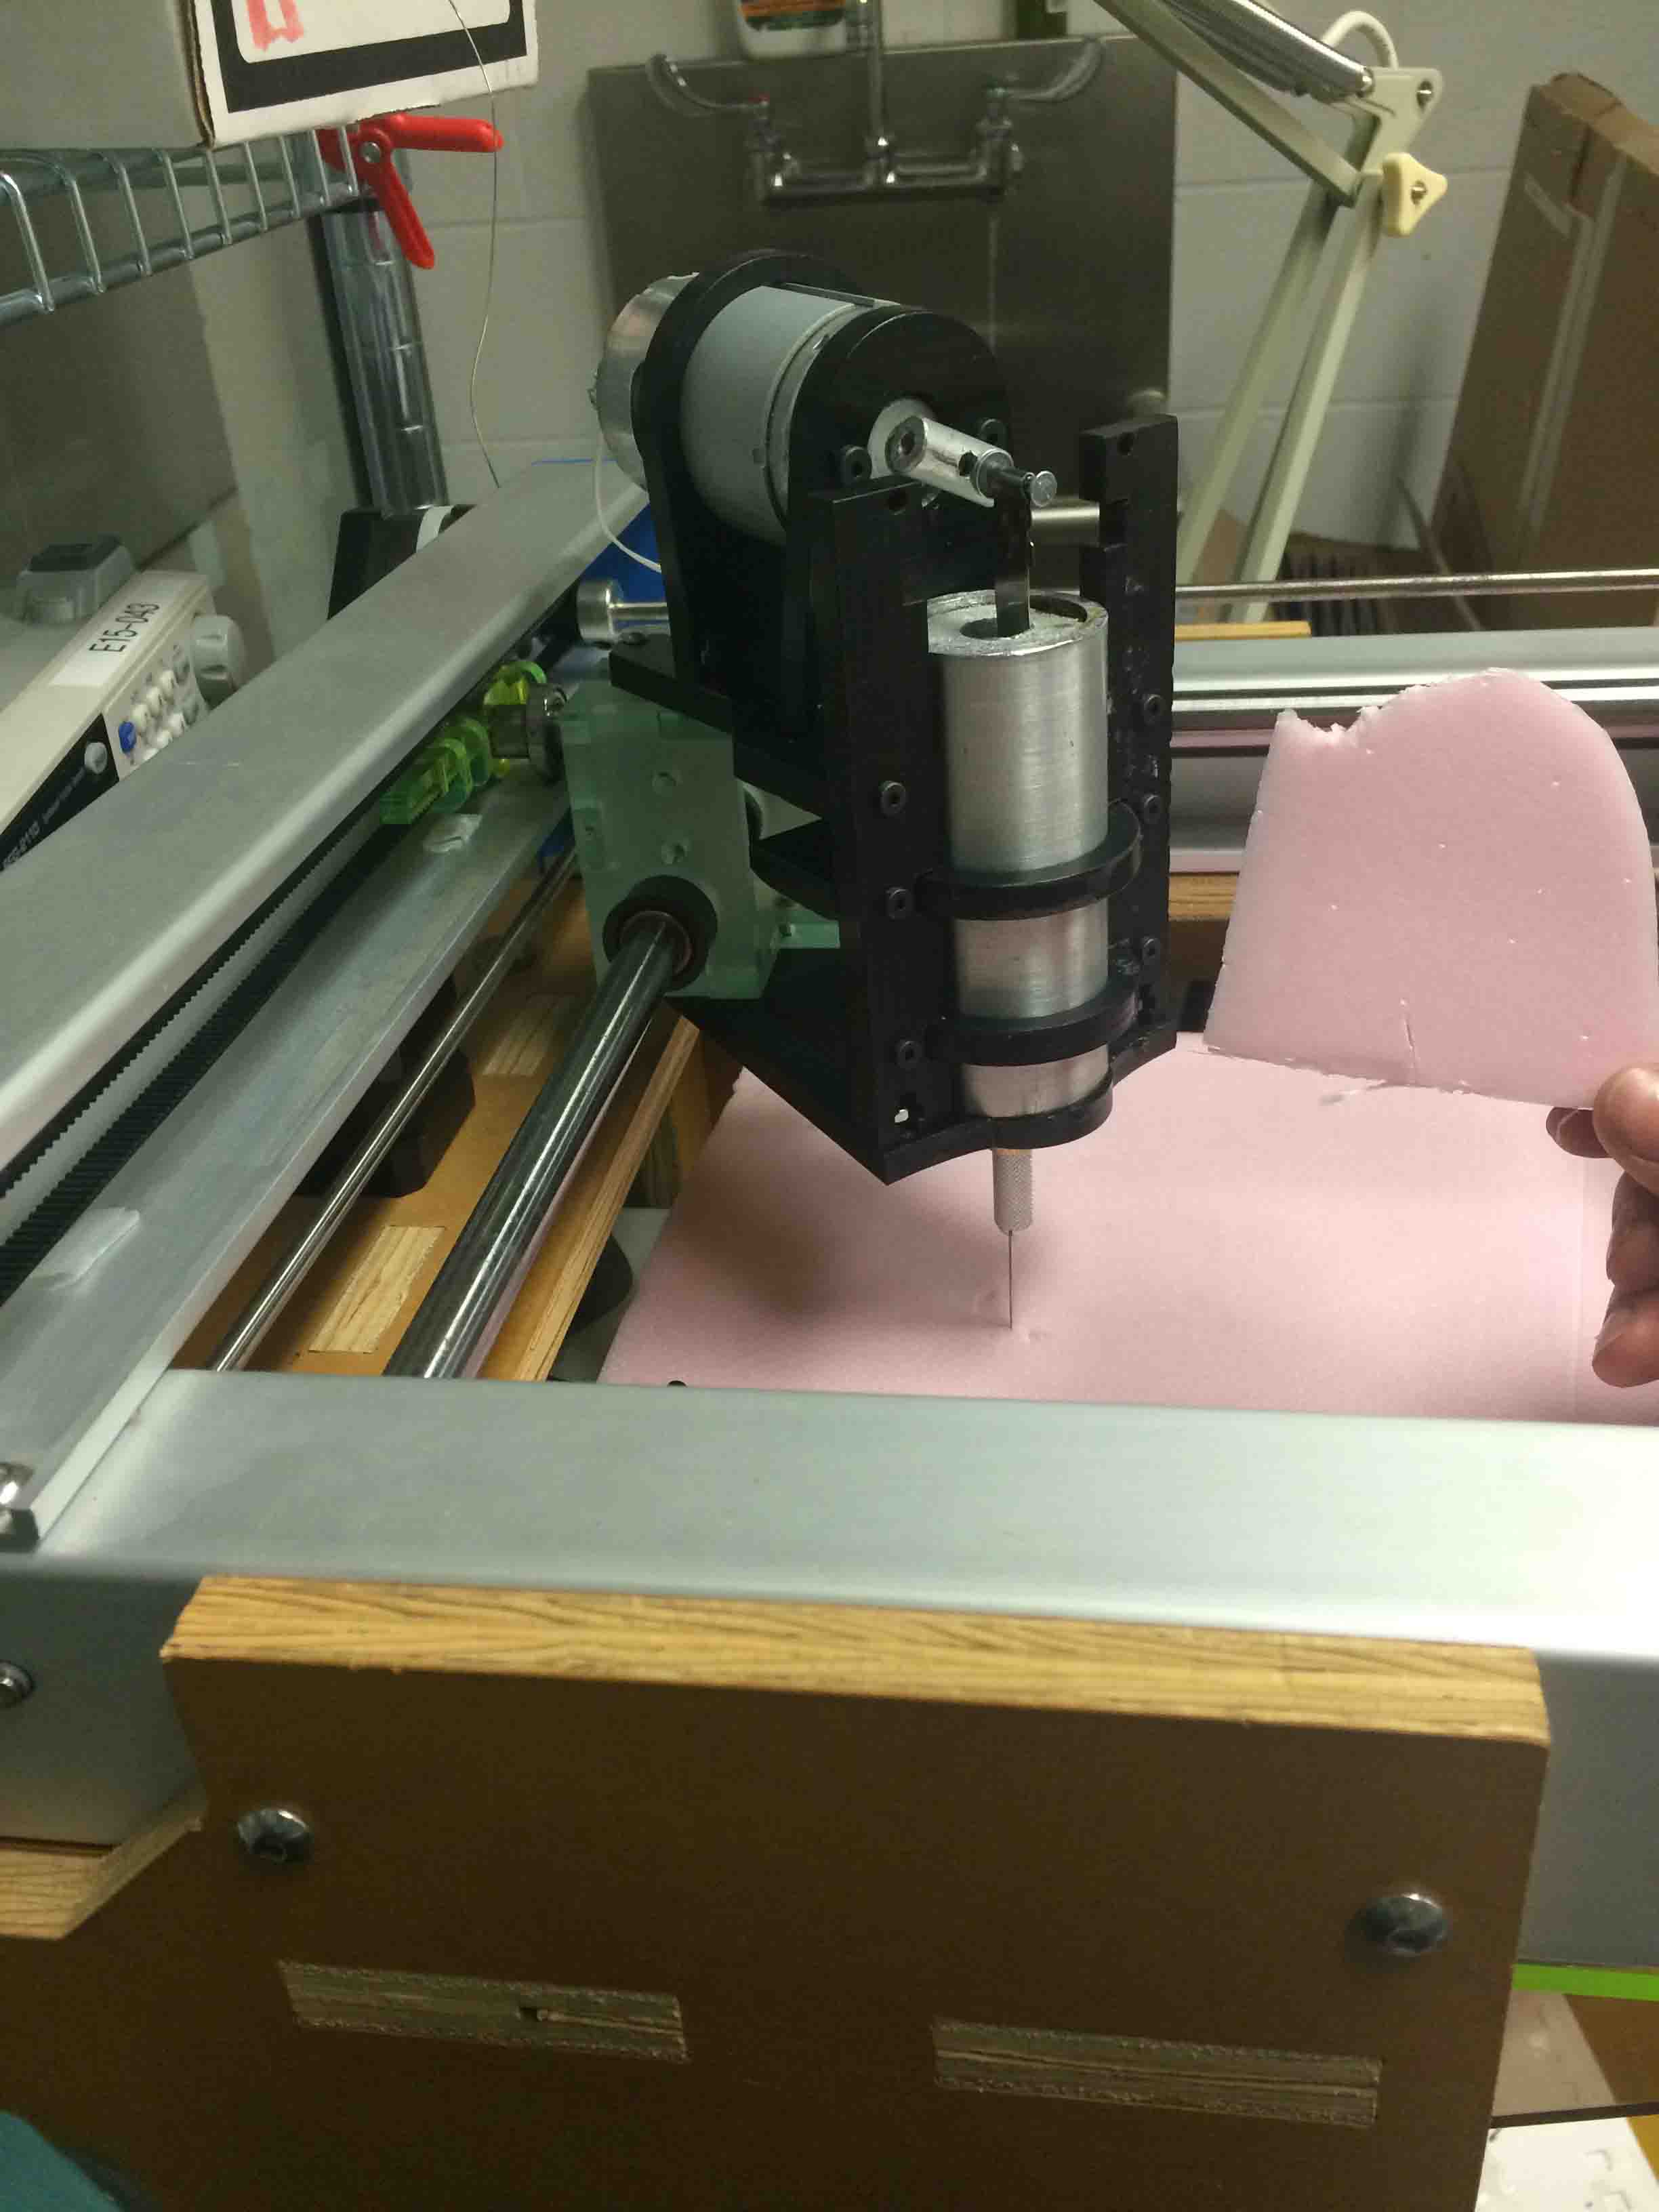
Cutting successfully pink foam!
Running with Card Stock - no go.
With sacrificial bed plate, getting stuck.
Improvements
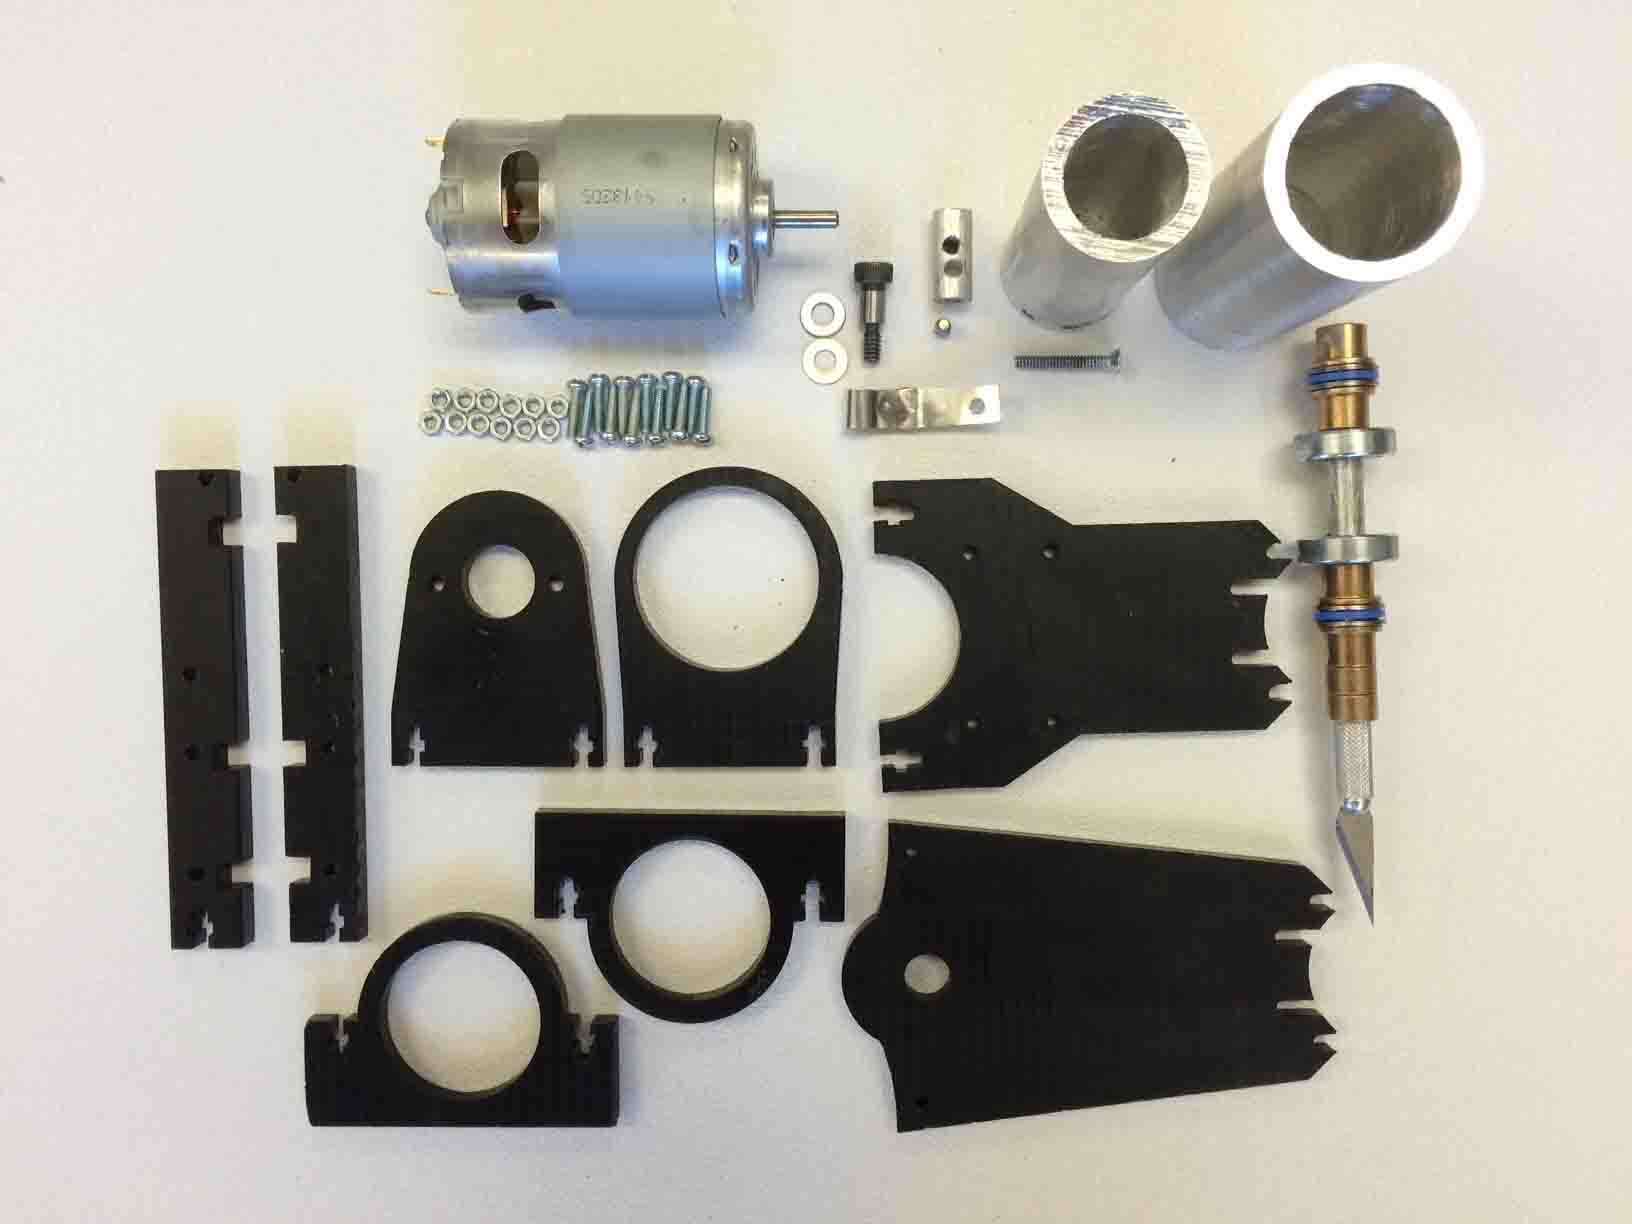
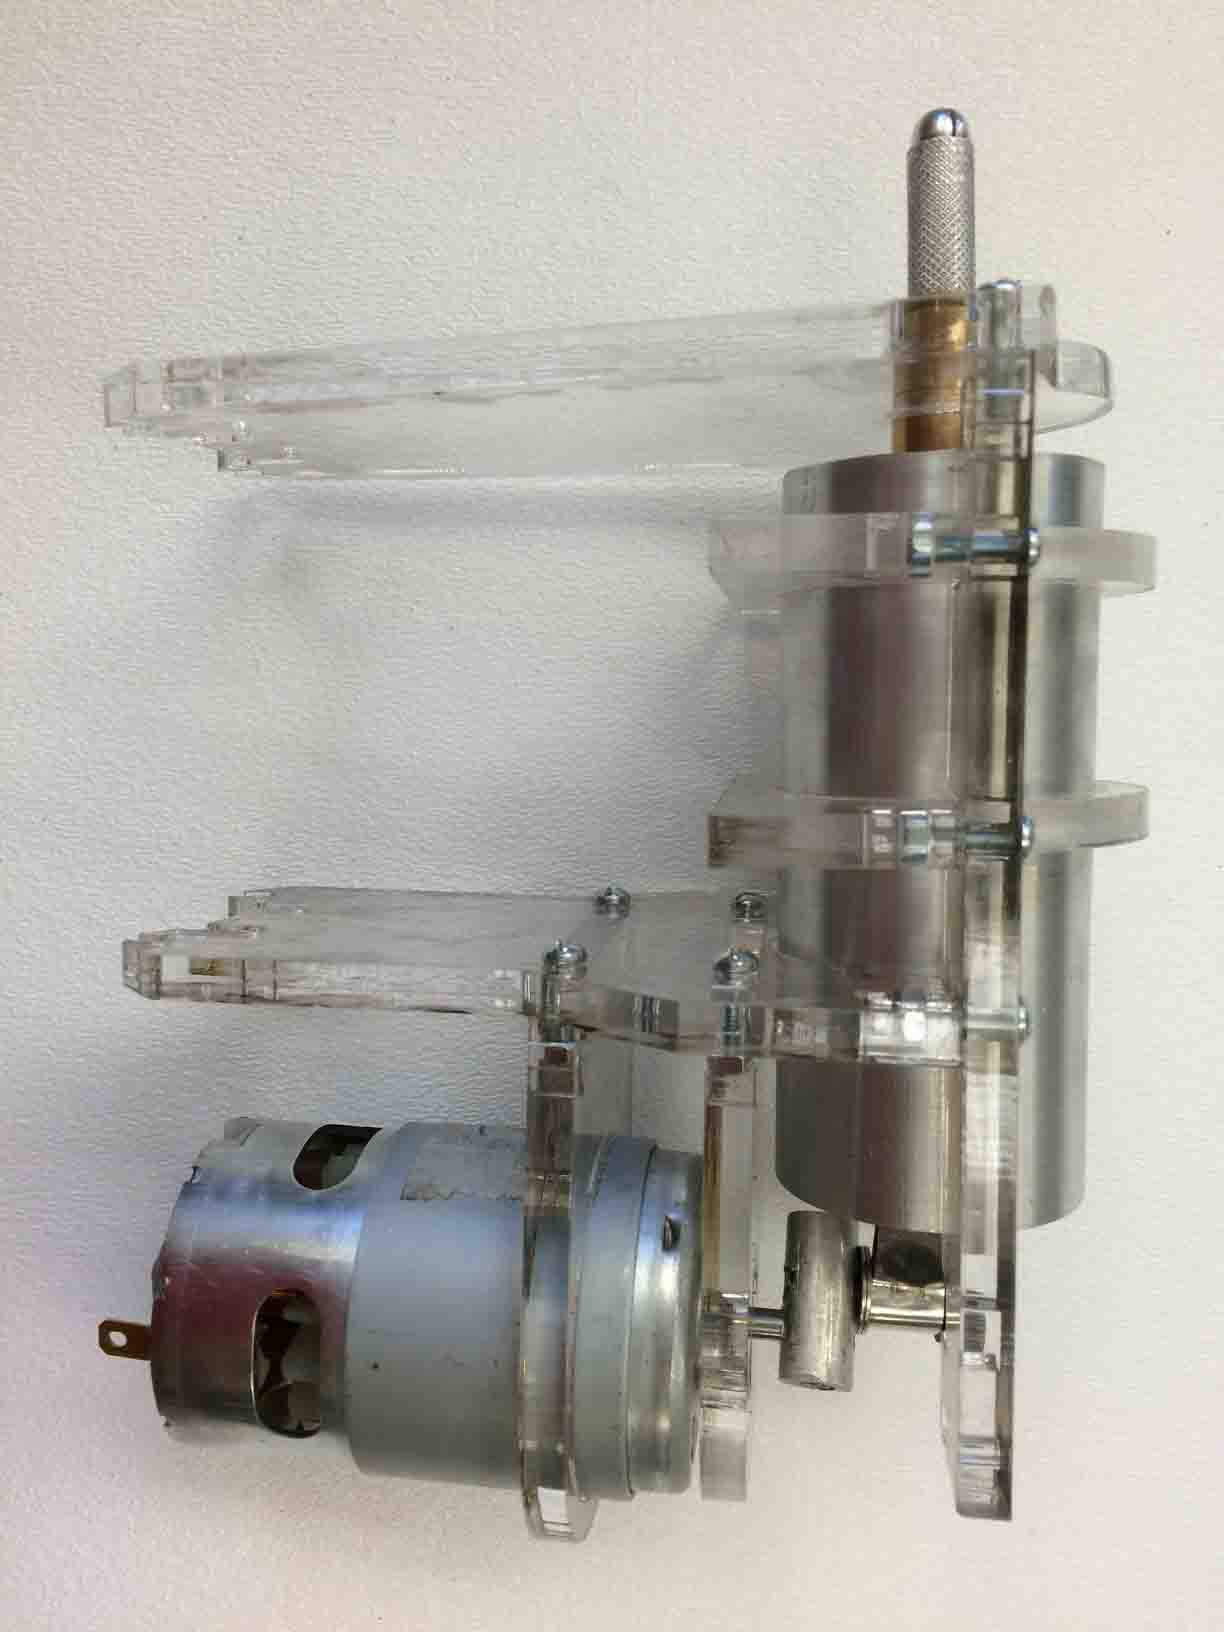
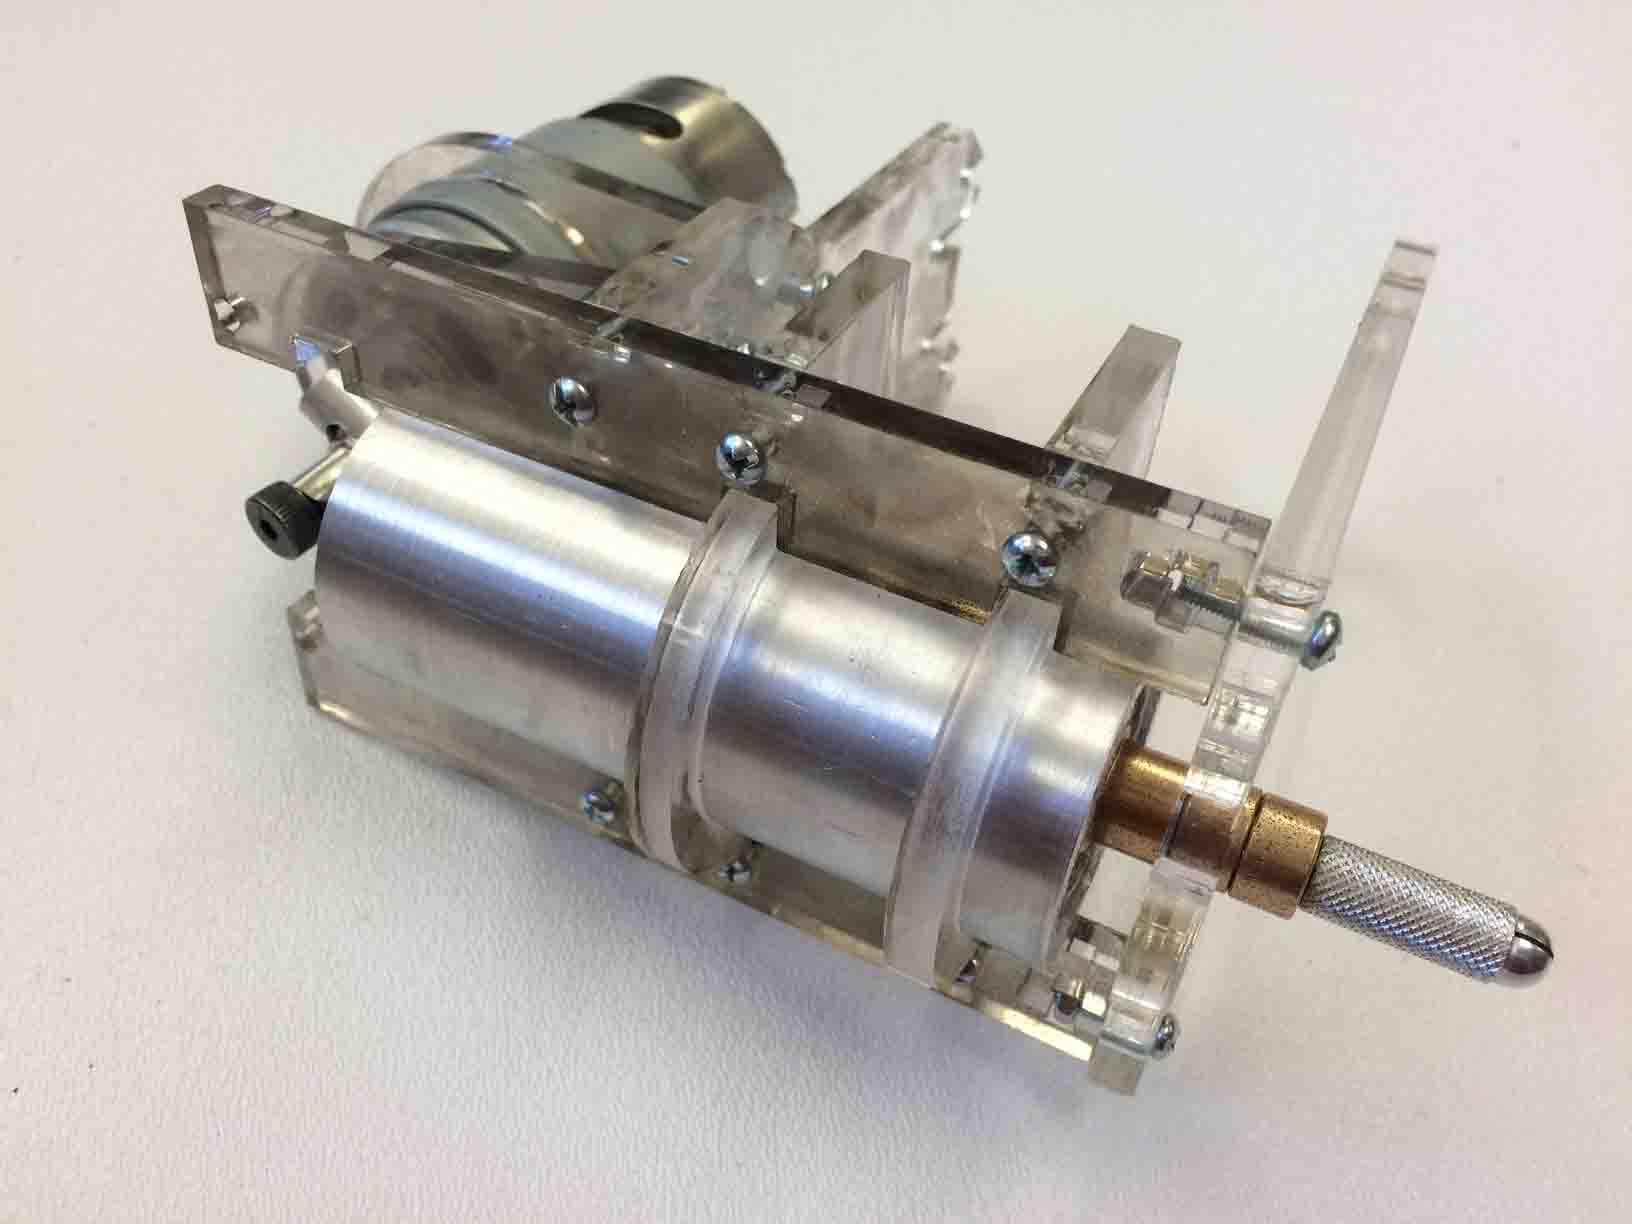
Assembly Pictures