How to make a FabISP microcontroller
My project for this week: FabISP: a custom-made In-System Programmer (ISP) for AVR microcontrollers, designed for production within a Fablab. In other words, it is a microcontroller board that is used to program other microcontrollers using only a USB cable and a 6-pin to 6-pin IDC cable. The FabISP uses the ATtiny44 AVR chip. For more information you can refer here (http://fab.cba.mit.edu/content/projects/fabisp/). I had no previous experience in fabricating a PCB board. In what follows I will describe how I did it.
First of all, I learned about the 3 main fabrication methods for Printed Circuit Boards (PCB): milling, etching, and cutting. I made two boards using the first two methods.
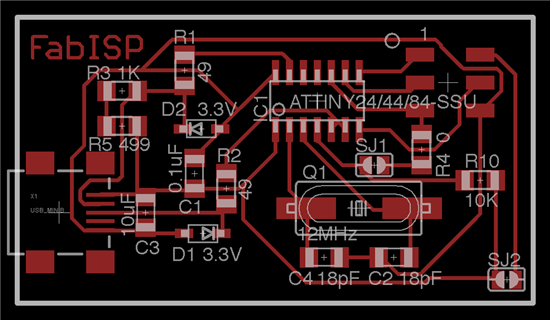
Here is the png file I used:
Attempt 1:
Milling the PCB

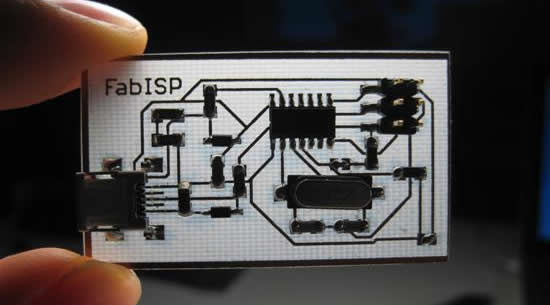
I used the Modella cnc milling machine, and the Fab Modules to fabricate the board from a png file. The Fab Modules are like drivers to let your computer talk directly to a cnc machine avoiding any other software. You must access the Fab modules through a command window which is not so user friendly, however the benefit of using them is that you no longer depend on specific software for driving a cnc machine. Milling was pretty straightforward if you follow the instructions carefully. Unfortunatelly I broke my new 1/64" drill bit with my first attempt; this was probably because the suggested milling speed was too high (4mm/sec) for new endmills. I then used a speed of 2mm/sec and it was fine although a bit slow.
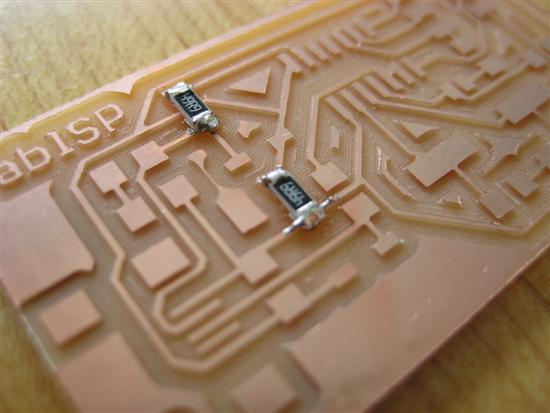
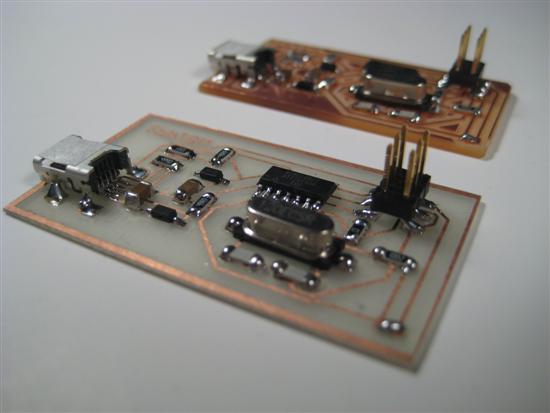
Here is the result:
Stuffing the PCB
For the stuffing of the board I used a soldering iron. Another method is to use a soldering paste and an oven, which may have better results if the parts are very delicate.
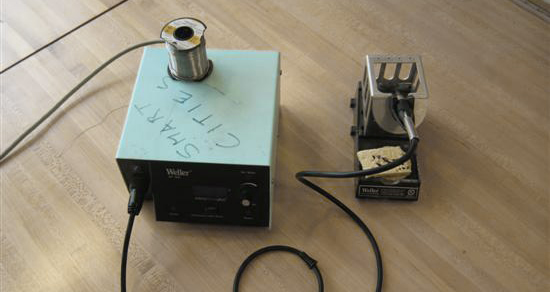
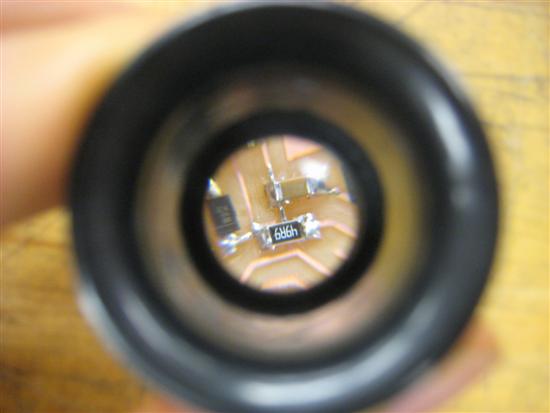
Using a magnifying lense and tweezers is necessary as the parts are so tiny that you may accidentally short-circuit them.
Stuffing took about 1 1/2. The most difficult part was the 5-pin USB conector: the pins of the connector and the pads of the PCB were so tiny and close to eachother that was very difficult to solder them without shortcircuit them.
I finished stuffing, and loaded the program on my FabISP, but unfortunatelly my board could not be seen by the computer. I had to spend around 3 hours trying to debbug my PCB without any success.
Next day I fabricated a new PCB using the etching method
Attempt 2:
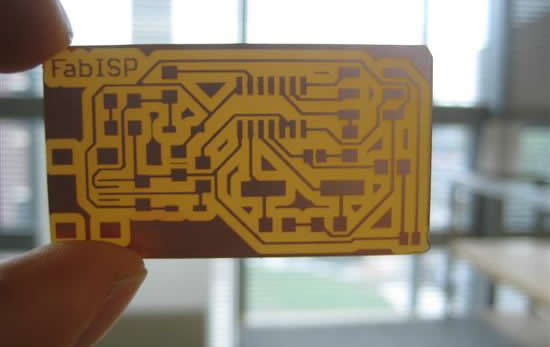
Etching a PCB
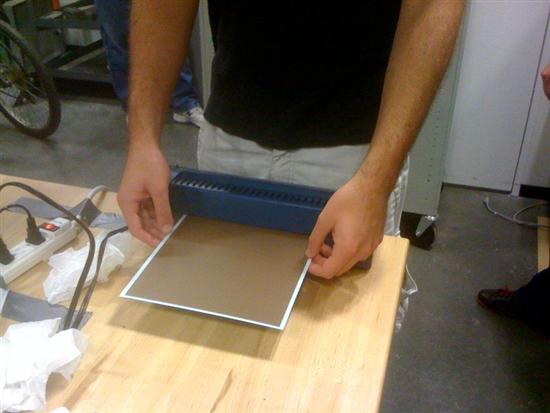
Etching is a good method for making many PCBs, but not so good for making only one. This is because it takes a lot of preparation and overhead time, but once this done, then it makes no time difference if you make one or a dozen of boards. Etching uses a normal inkjet printer and ink, but a special type of paper-film. The process is the following:
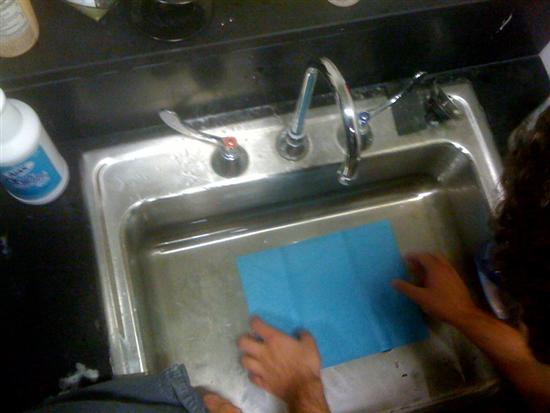
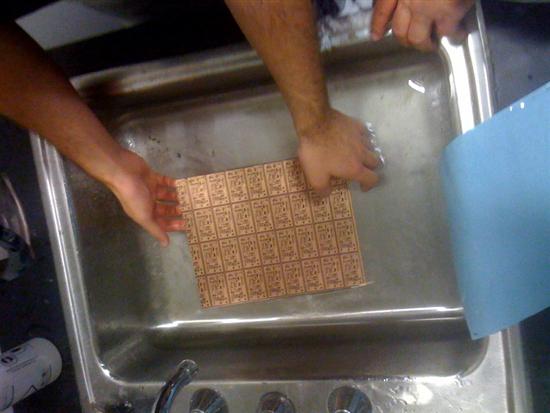
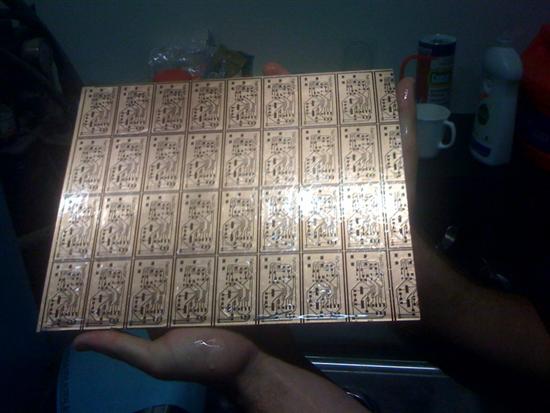
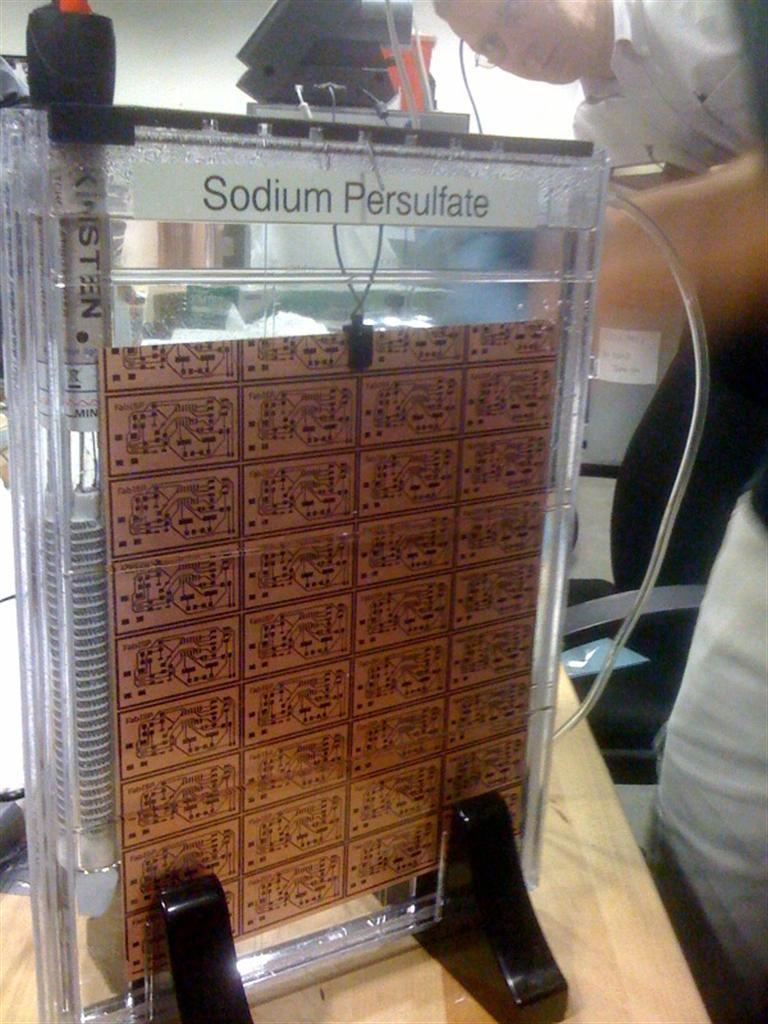
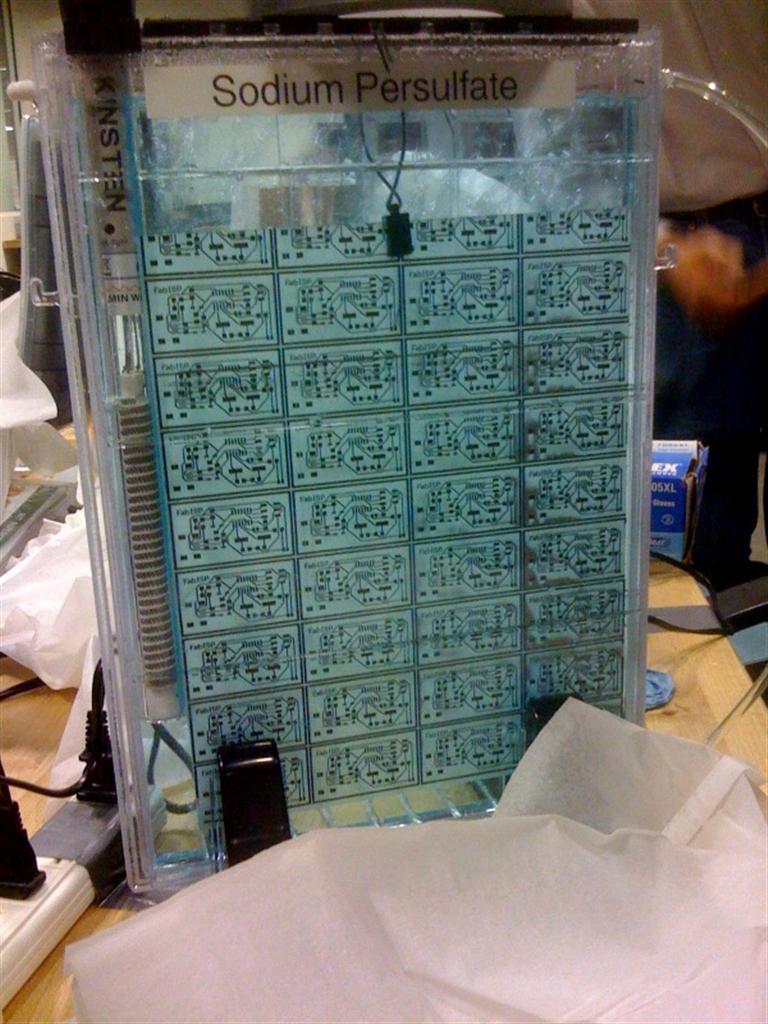
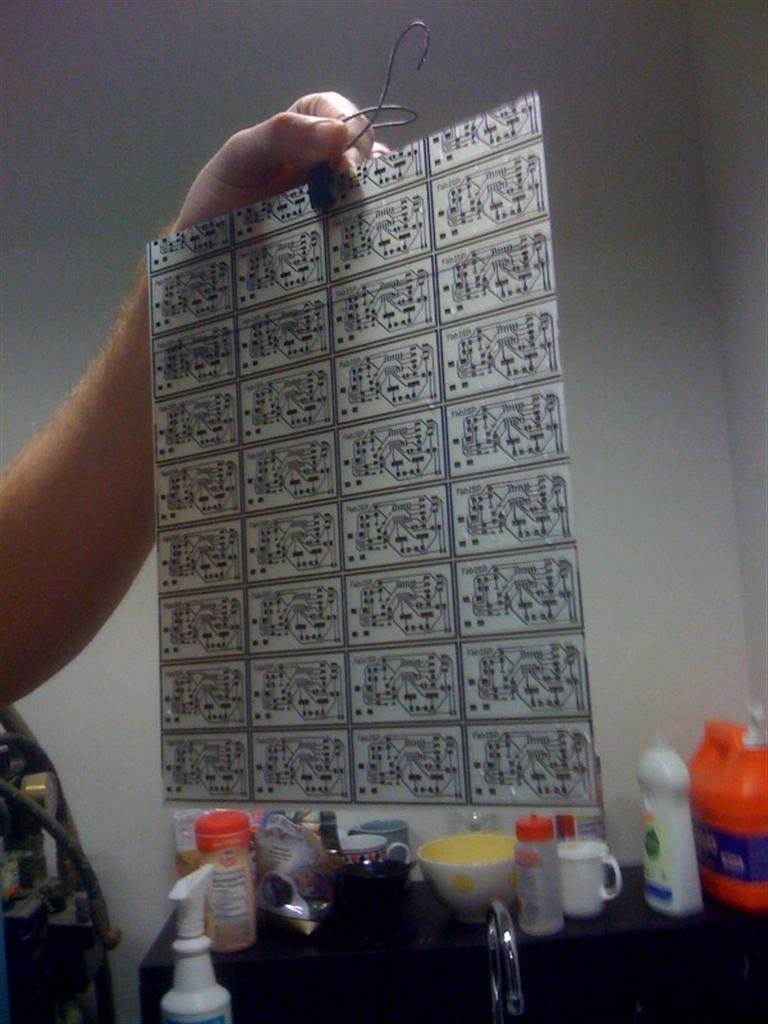
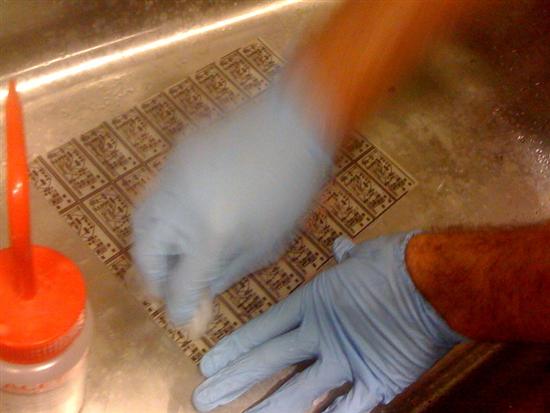
First, you print the files inverted on the film (make sure to mirror the files). Next, you laminate the film on a copper board (FR4). You can also iron the film on the board. Next, you bath the laminated board in cold water to remove the paper and live only the printed ink and film on the board. Next, you bath the board in Sodium Persulfate foe few minutes, until it turns into green-blue (see images bellow). Next, you wash the board with aceton to remove the remaining ink. Finally, you cut the pieces.
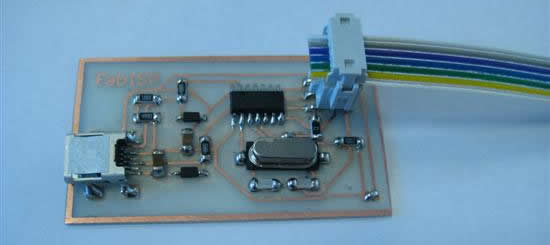
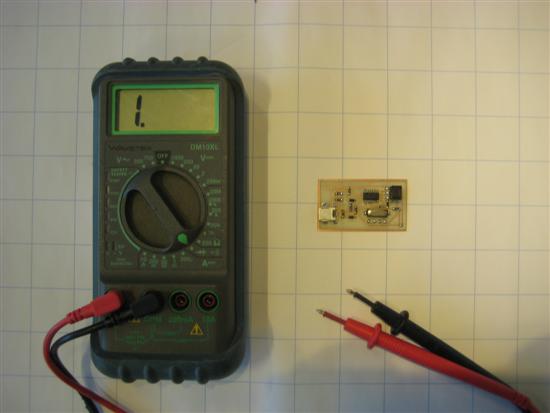
Stuffing the board
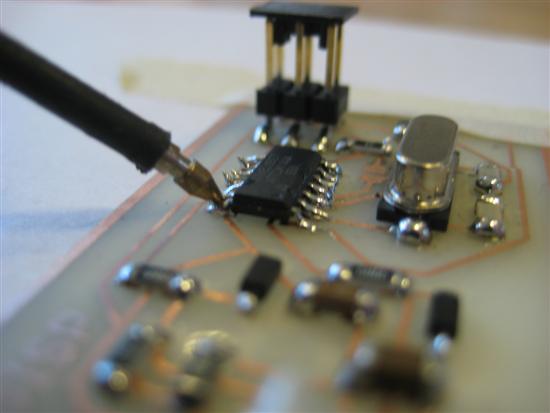
This time I was extra careful. I decided to start stuffing from the most difficult parts so that I first have enough space to move, and second if something goes wrong again I won't have to re-stuff the entire board. I started with the USB connector and continued with the ATtinny44. After each soldering I used a Multi-meter to verify conductivity of my connection and make sure I did not have accidentally shortcircuit wrong pins. It was still difficult, however I finish stuffing in less than one hour.
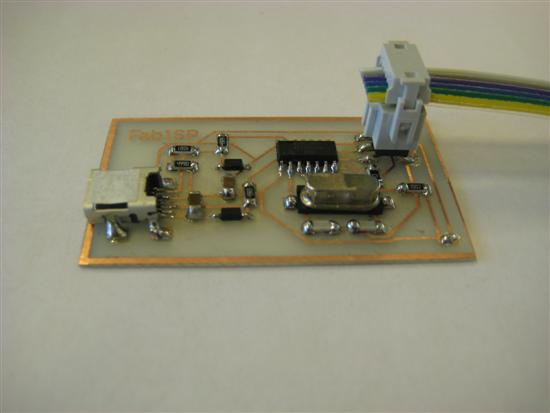
This time things worked well. The program was successfully uploaded in the FabISP and the computer recognized it!