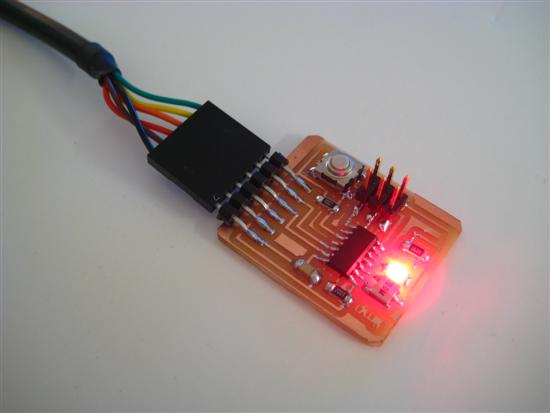
My project for this week: HelloFTDI; a fabable.
The assignment of this week was to build a microcontroller based on the ATtiny44 chip from Atmel that uses the FTDI cable to talk to the computer, then add an LED and a button, and finally program it to do something. It sounds simple, but it s not.
Designing and milling the board
I started from the provided schematic. I added an LED to pin PB2 and I used 2 499Ω resistors in parallel (equivalent to a 250Ω) to decrease the voltage across the LED. I connected my button to PA3 and used a 1K pull-up resistor. Once my button is pressed it gives a ligic 0 (low); when it is not pressed it gives a logic 1 (high). Therefore, normally PA3 is high, and when button is pressed it is low.
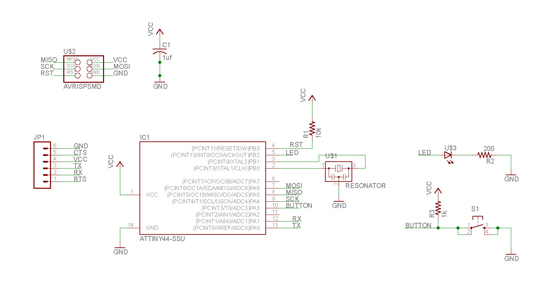
My schematic diagram
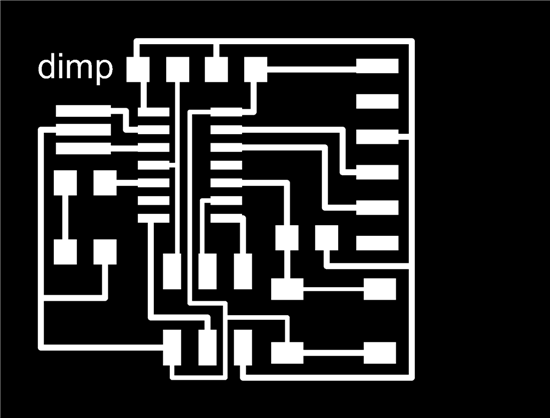
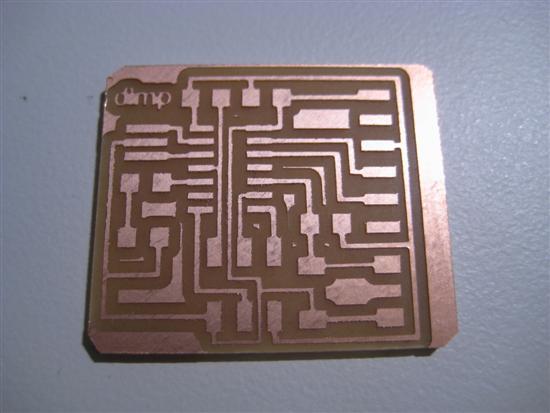
This is my png file for milling my board.
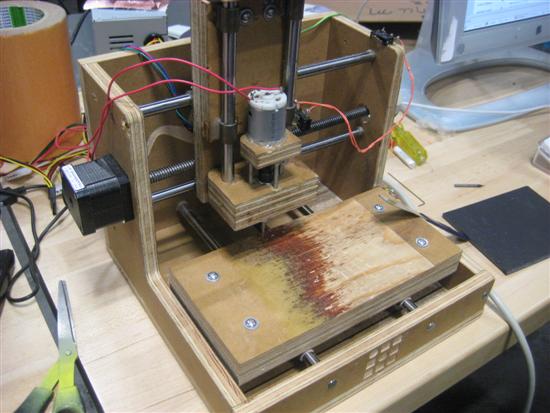
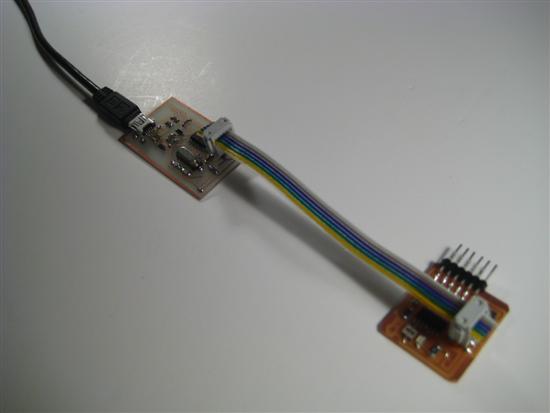
I used the Mantis 9 machine to mill the pcb. It was faster than the Modella.
Programming the ATtiny44
Programming the ATtiny44 proved to be a challenge consisting of many linked steps, both hardwarewise and softerwise. I was totally new to microcontroller programming. The microcontroller understands machine code which is in hexadecimal format. Since hexadecimal format is hard to understand, you write the code to a more human friendly language (Assembly or C) and a compiler takes care for translating this into hexadecimal. Once you have the hexadecimal file you need to upload it into the microcontroller's flash memory. Typically this process (chain) consists of few steps where the output of one is the input for another. You might either do each step individually or parametrically link them and automate their chain execution. This automation process is handled by a special program that is called the Make program. The Make program needs some instructions to tell it how to execute all these chain processes. This is like a recipe. This recipy is included in a file which is called the Makefile. Makefile thus is not an executable file but simply a set of instructions. The Make program then takes care of everything: it asks the assembler to translate the code from one form to another and asks another program (in my case the AVRdude) to upload the hex file to the microcontroller. Therefore this is a tedious process involving many files and programs. You can either find an Integrated Development Environment (IDE) which encapsulates everything into a nice looking Graphic User Interface (GUI) and basically hides all these steps from you, or do them on your own through the command window.
The confusing thing is that there are many different packages, programs and IDEs that do the same thing and if you are not aware of these steps it is very difficult to understand: WinAvr, Gavrasm, AVR Studio, Cygwin, AVRdude, GNU, GCC, Eclipse are only few of the dozens of names I found. I ended up doing the compiling using two methods: WinAVR through the command window of Windows, and Eclipse IDE. I did not use Cygwin at all, so I don't know how useful it is. Many people used it though.
WinAVR is not a single program but instead a package (toolchain) of programs: it contains a compiler (GCC), C libraries that tell the compiler how to compile (AVRlibC), and AVRdude, a program that takes the compiled hex file and uploads it in ATtiny44 through the FabISP programmer we build during the 3rd week. AVRdude talks to the FabISP and asks the FabISP to talk to the ATtiny44. Once ATtiny44 replies to FabISP, FabISP then reports to AVRdude. I also used a Makefile to automate the process, although I tried doing it manually as well. It s important to understand that avrdude does not have a GUI presence in your computer you don't see it as an application, but instead you ask it to do things for you from the command window; this might be confusing to beginners.
Eclipse on the other hand was pretty straightforward: once you re done with the settings, you simply write your C code and literally press one button and everything is executed automatically.
Screenshot from the command window in Windows.
Snapshot from the Eclipse IDE
Bellow is my ridiculously simple code that blinks the LED while the button is pressed. Although I am using a 1K external pullup resistor, I am also using the internal pullup resistor of ATtiny44 for extra safety. I wanted to make a code that fades in and out the LED but this is more advaced since it requires the Pulse Width Modulation (PWM) method. I will do this later.
#include <avr/io.h>
#include <util/delay.h>
int main()
{
//SETUP
//Button is on PA3
//LED is PB2
PORTA = _BV(PA3); //Turn button pullup resistor on by setting PA3(input) high
DDRB = _BV(PB2); //Enable output on the LED pin (PB2)
//LOOP
while (1)
{
if (PINA & _BV(PA3)) //button is not pushed
{
PORTB = _BV(PB2); //LED is off
}
else // button is pushed
{
PORTB = _BV(PB2);
_delay_ms(80);
PORTB = 0;
_delay_ms(80);
}
}
}
Useful links
http://winavr.sourceforge.net/links.html
http://www.nongnu.org/avrdude/user-manual/avrdude.html
http://www.gnu.org/software/gcc/
http://www.sax.de/~joerg/mfile/
http://www.gnu.org/software/make/manual/make.html
http://www.ladyada.net/learn/avr/avrdude.html
http://www.linuxtopia.org/online_books/programming_tool_guides/gnu_make_user_guide/
http://sources.redhat.com/insight/
Videos