Project 03
This week I wanted to start thinking about my final project and use the 3D printer to start thinking in actual scale and begin testing analog versions of the digitally loaded dice. Since we have access to multiple 3D printers, I decided to survey a few with relatively simple tasks. Adhering to the assignment, I wanted to make something that only 3D printing could produce. After seeing the Invision printer using wax as a support structure, I thought, what if I trapped some of that wax inside of my model, therefore changing the density inside of my model. With that in mind, I sent a few simple dice designs to the printer to see just how much that might affect the die roll.
- Modeling
- InVision (photopolymer)
- Formlabs Form 1+ (SLA)
- Makerbot Replicator 2 (FDM)
Modeling
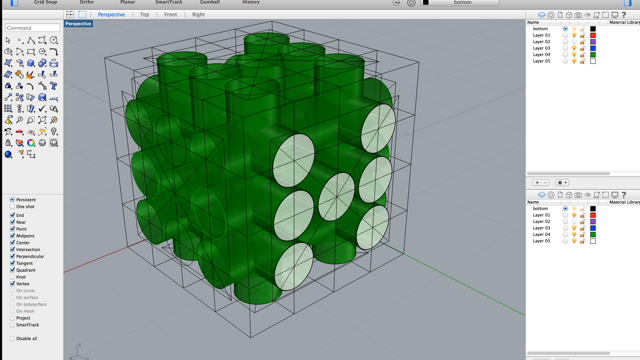
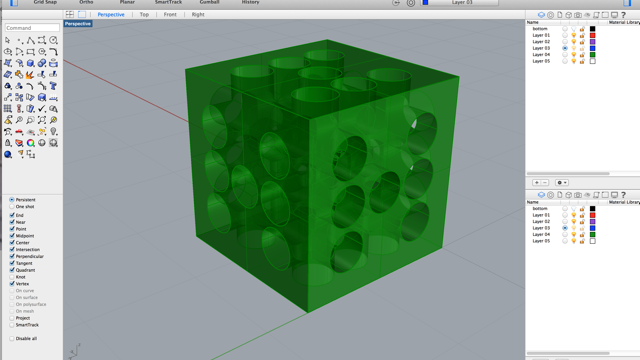
Since the dice needed to be precise in detail, I decided to open up my good friend Rhino. I started with the actual size of a regulation die 1.6cm x 1.6cm and gave it a wall thickness of .2cm. The center of the die would be room to play and very the density of the print.
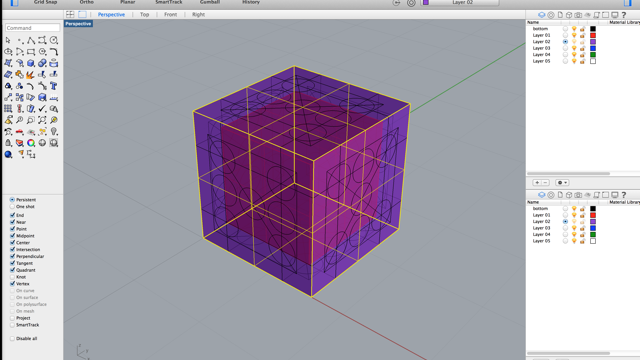
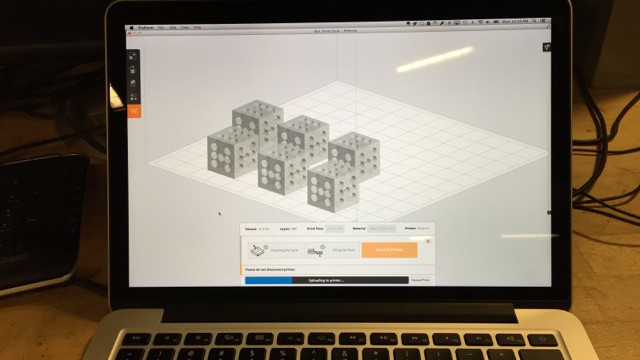
Started with sketching sides and their hole arrangements. Then built a simple hollow cube from the sides.
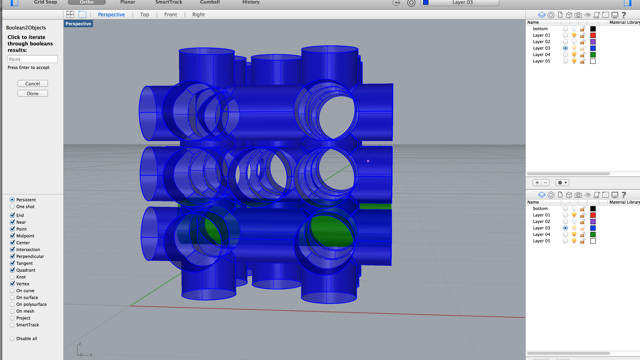
Boolean2Objects… 1 at a time, I have a feeling there is a quicker way. That said, it didn’t take that long. I was thinking Union of everything should have worked.
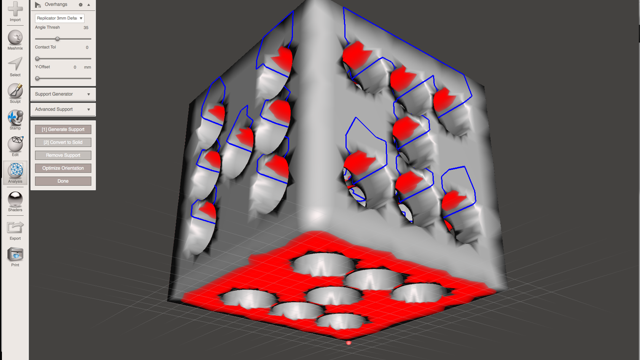
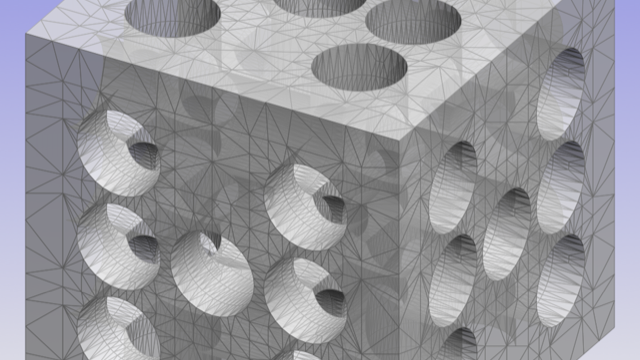
In Mesh Mixer, there are some cool analysis tools that show overhangs and stress points. Very impressive and straightforward for freeware.
InVision
This printer intrigued me the most, as it appeared to have the highest fidelity and a built in support system of wax that would need to later be cleared away.
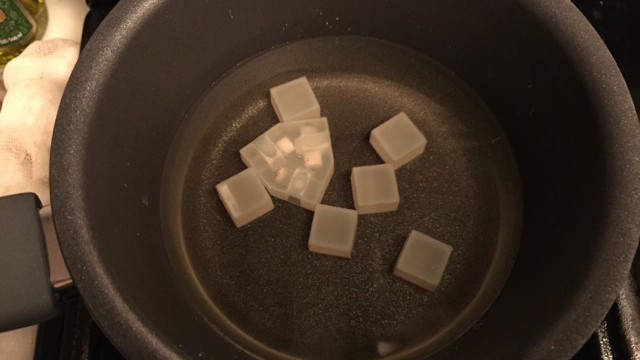
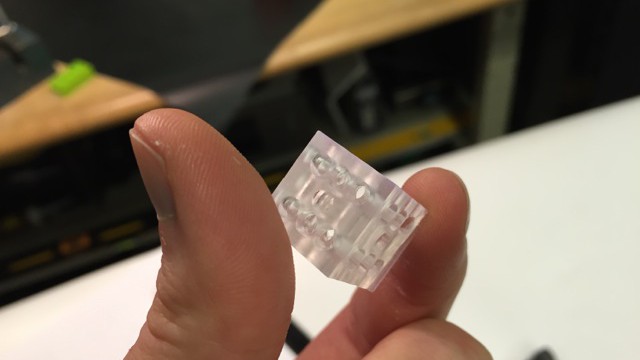
After the initial wax cleaning, I brought the pieces home to sit in a Canola oil 150ºF bath. One interesting aspect was that the clear part turns opaque when heated and the wax goes clear. I’ll bet someone can take nice advantage of that property.
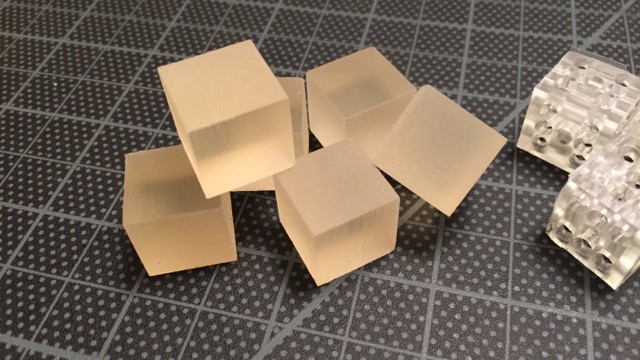
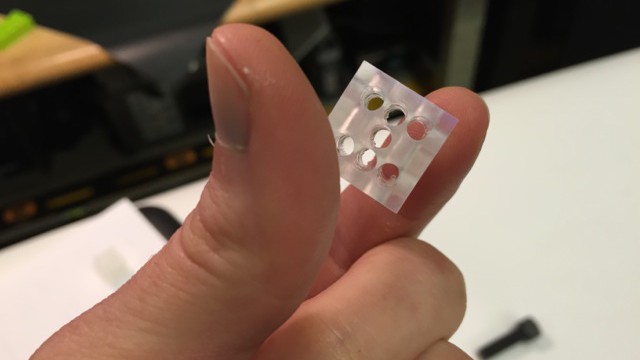
Sadly, these prints were supposed to come out with wax geometry locked on the interior, but instead all I got was plain cubes.
Formlabs
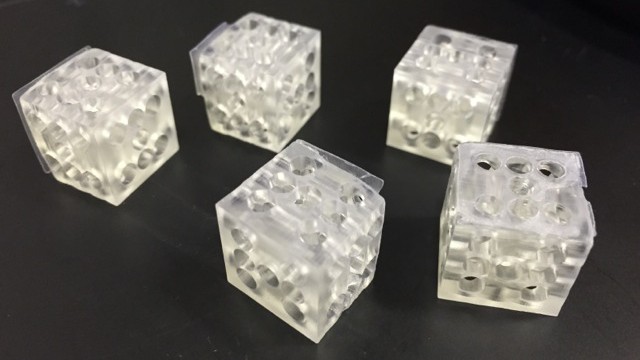
Form 1+ is the most affordable Stereolithography(SLA) printer available. Although, many people were having trouble with the Formlabs printer, I figured I would give it a shot. My design was small and simple, so what could go wrong? Note: the process is sticky, messy, and kind of cool. If you like the idea of working in a wetlab, and have a couple G to spare, you should get a Form 1+, it will make you feel scientific, or sci-fi.
Steps + Tips!
- Shake the resin while in the bottle! (if you pour the bottle in unshaken, you ruin the balance of the entire bottle)… $150 down the drain… (DON’T Actually put it down the drain)
- Scrape all junk (i.e. small flakes) from the tray
- Pour resin to max line, but don’t go over!
- Send print to printer via PreForm (free app download)
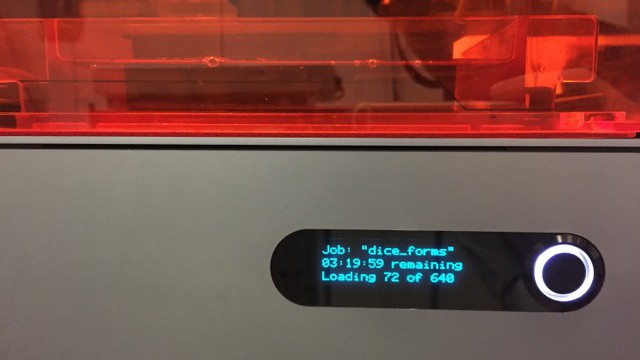
- Don’t disconnect computer from printer until file has completely transfered
- Go home and sleep
- Carefully remove print and keep the printer door shut as much as possible. The resin cures in light, so protect it from curing by accident
- Wash in Isopropyl Alcohol thoroughly (it only washes away the uncured resin)
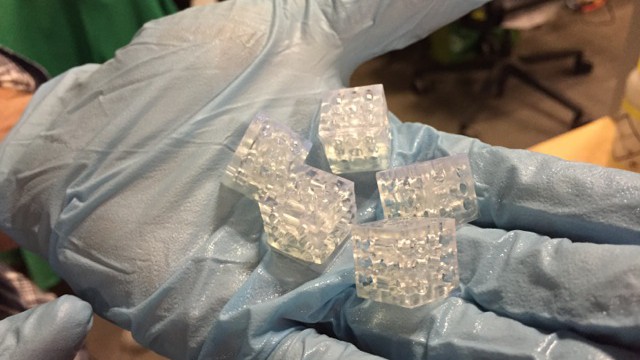
- Place in light area to continue curing for another day, since it tends to start out a bit soft
Note: The printer time varies mainly based on the thickness, not how full the build plate is. Since light moves quickly, the time is really spent in the raising and lowering of the build platform.
Thickness: .025mm (Highest Resolution)
Makerbot
The Apple II of 3D printers (for better or worse). This printer uses Fused Deposition Modelling (FDM) which means it extrudes plastic (PLA) and deposits it on a print bed.
Thickness: .2mm (Avg Resolution)
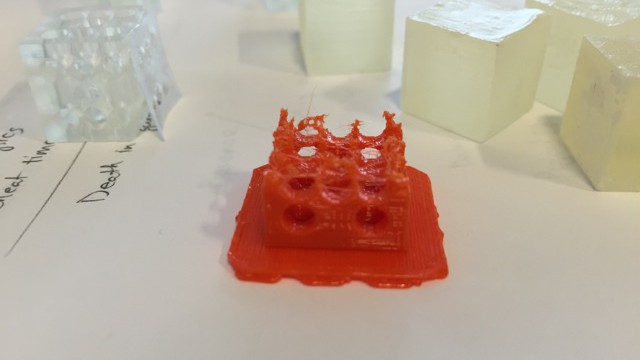
Ouch. Makerbot decided to stop extruding mid print. Did I print the piece again? Nah, no time. This train is on a roll and no time to waste.
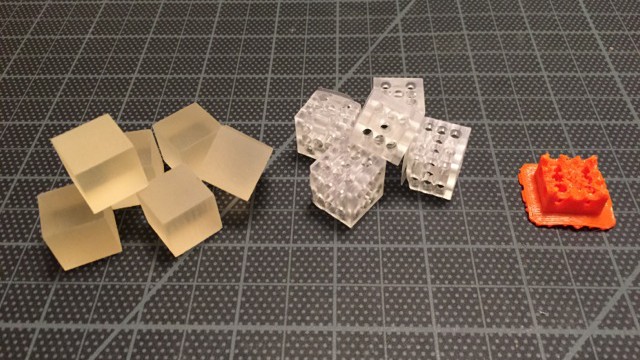
The Collection
Scanning
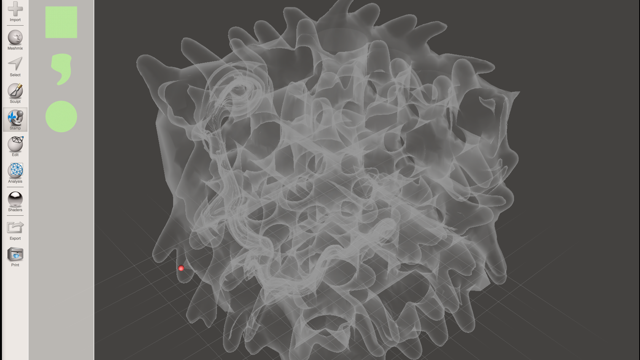
I played around with the handheld Sense scanner for a bit and here is what I made :)
