Kim Smith
Electronics Production
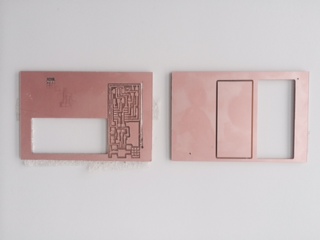
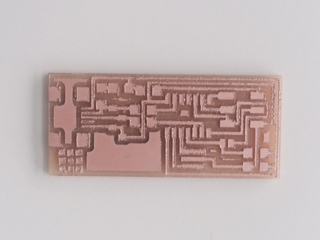
Milling
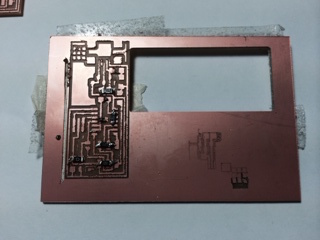
PCB Boards, using the Modela milling machine to mill a copper trace, then soldering ...I had never done this before, but the hands-on aspect of stuffing the board really appealed to me. First was to mill the board using the Modela. This all seemed straight-forward enough, simply using an image to create cut lines on the surface. I spent about an hour trying to get the computer to connect to the machine; had some issues with the server that I had trouble sorting out. John helped me and through several attempts, we finally got it. I used a speed of 4; cut through at .1 mm. First set the 1/64 endmill to the proper z height by loosening the screw to let it land on the surface of the copper and then retightened the screw. Used double-sided tape to secure; learned during Will's demo that it is very important to secure the board--it fell off during his demo and it would be frustrating to start from the beginning. After the traces were completed, I vacuumed up the excess dust and scraped it to prepare for the outline trace. And then when I went to switch the endmill I realized I had used the wrong one...Felt pretty stupid. So, I switched out the endmill for the correct one and sent it again. Then the tape came up...getting pretty frustrated. On to the third try, still having trouble with the server, but then success. In a previous attempt, I think that I had the z value too low to the surface or the cut depth too low, because during a jog, it cut through the board. So I made some changes, reduced the cut depth to .1 and reset the endmill for the z height. I almost had it, and then the tape didn't hold when I was cutting out the outline and it fell off track. I took a break and then went back with Caroline and she helped me get it right. I had trouble removing the burrs though...hope that doesn't interfere and in the future will fine tune the settings.
Process


Failures
Success!
- Modela 2
- 1/64 endmill for interior traces
- 1/32 endmill for cutting border
- speed: I reduced to 3.5 since I was using a new endmill; suggested was 4
- cut depth: .1
- jog height: 1mm
For my board, I used these settings:
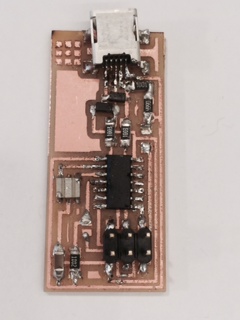
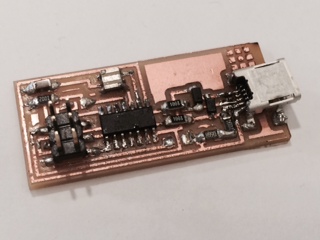
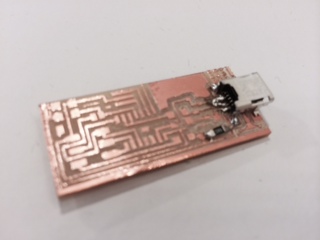
Soldering
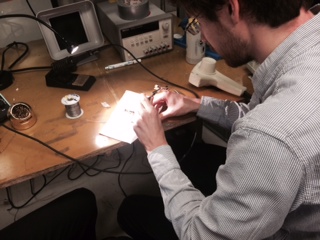
Stuff came up and I didn't give myself as much time as I would have liked, but in the end, it was successful. I had numerous scrap boards from mistakes in milling, so I spent about an hour practicing how to solder. I didn't really get it until I watched someone do it, and learned that what I had been missing was understanding the way the heat transfers the material. I set the soldering iron to about 70 and tried to keep a thin coat of solder on the tip. I found that being alone and being organized and focused was key to the process. The most difficult part was soldering the mini USB joints. They were so small and I misaligned the piece the first time and had to remove it. This was a real bummer and cost me a lot of time. Finally, Will helped me and showed me a good way to get it. He put a large bit of solder across the entire USB connection and then, using the copper braid, used it to take away the excess in between the connections.
- Coat the tip of the soldering iron with a thin layer of solder
- Use solder that has a good flow
- Drop a small bit of solder to adhere a piece in place
- Then attach a different connection, heating both surfaces, the copper and the connection, so that both attract the solder
- Be generous with the heat to allow it to flow and adhere naturally
- Be patient
What I learned about soldering:
Programming
The last step was to program the board and I was just nervous that it wasn't going to work. I tested it for power, connecting it to the USB power cord, and it was working. I attached it to the USB to use the software installed in order to program it.
- USB power
- make clean
- make hex
- sudo make fuse
- sudo make program
The code:
And finally, the last step was to remove the two jumpers...and done!