Kim Smith
Molding + Casting
This week, make a mold from a machine-milled piece of wax positive, and cast it. First step was designing a model. I used Rhino and created a simple design that could utilize the 3-axis milling of the desktop ShopBot.
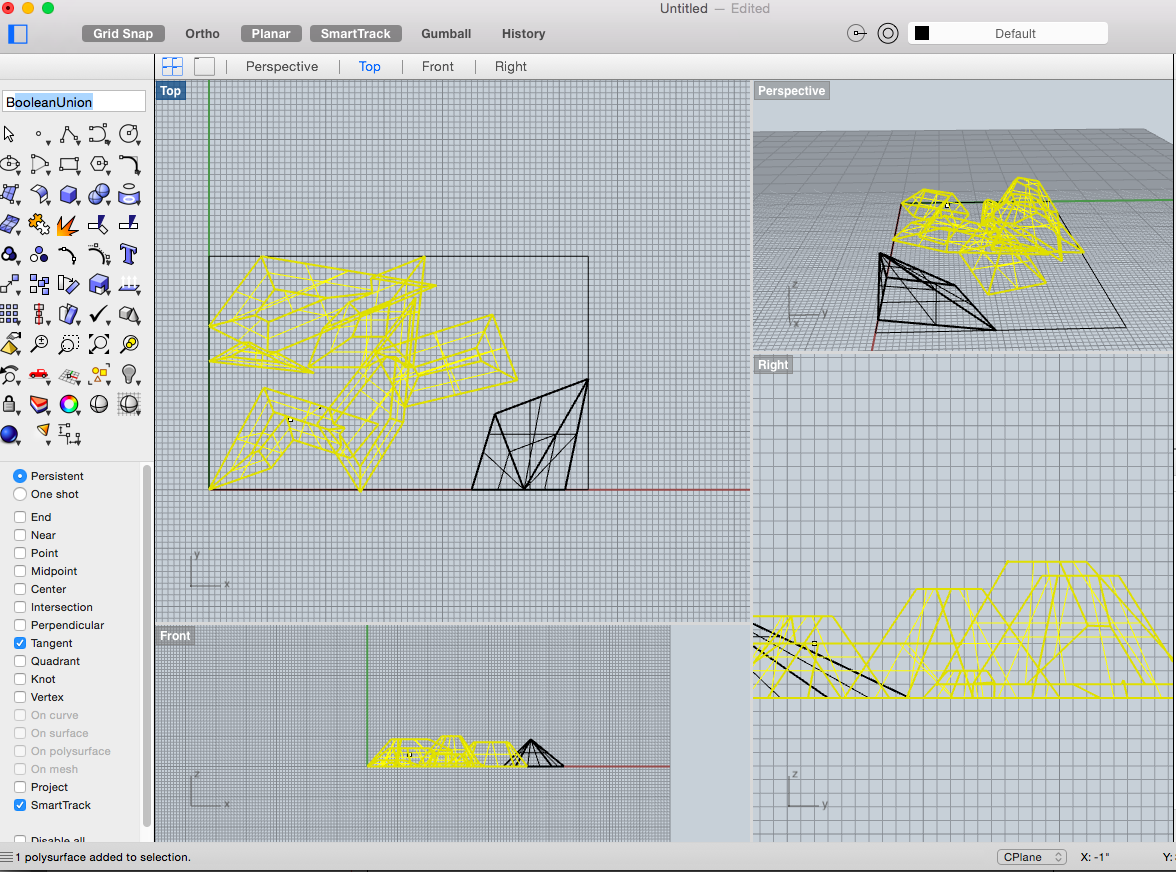
Export the file to an STL, import into PartWorks3D. PartWorks3D set up was similar to the previous milling, only now we were adding a z axis to the milling process. In PartWorks, first place the model in the approproate material, adding the dimensions and specs for the finished piece. This was a little tricky in that several of us had some difficulty getting the appropriate wall thiskness around the perimiter. In mine, I was able to set the margins for the material to zero, since I did not design a wall into my model. Set up two toolpaths, a roughing path and a finishing path. The roughing took out the bulk of the material; the finishing took care of the fine detail.
Settings
- Roughing Path
- Tool: Ball Nose Endmill; .125in
- Spindle Speed: 100
- Plunge Rate: 60
- Cut Depth: .125in
- Step Over: 50%
- Feed Rate: 120in/min
- Finishing Path
- Tool: Ball Nose Endmill; .125in
- Spindle Speed: 100
- Plunge Rate: 120
- Cut Depth: .125in
- Step Over: 15%
- Feed Rate: 120in/min
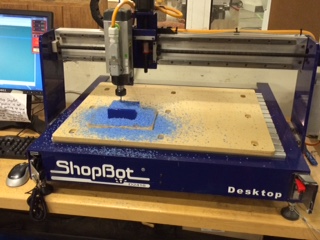
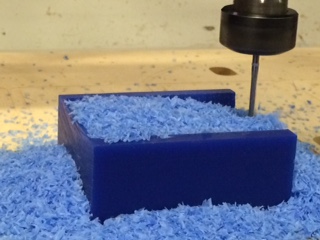
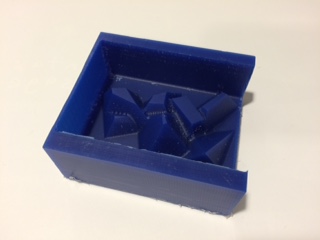
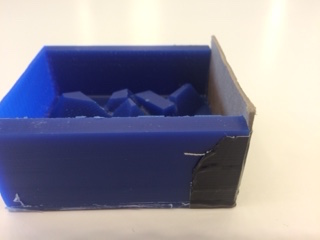
After completing toolpaths, export both as ShopBot files. I exported them combined so it would be one file. ShopBot functioned exactly same as the big one, only less frightening. Didn't have to change the tools in between toolpaths. Zero 3 axis, same as before, visually lining up X and Y to the wax piece, and then using the metal plate to measure for the z axis. After that, ready to mill. Send the cuts and then the wax was easily removed. My part was missing a wall, I think that in the beginning set up my measurements were off with the actual size of the material. It was an easy fix, I constructed a cardboard wall with duct tape.
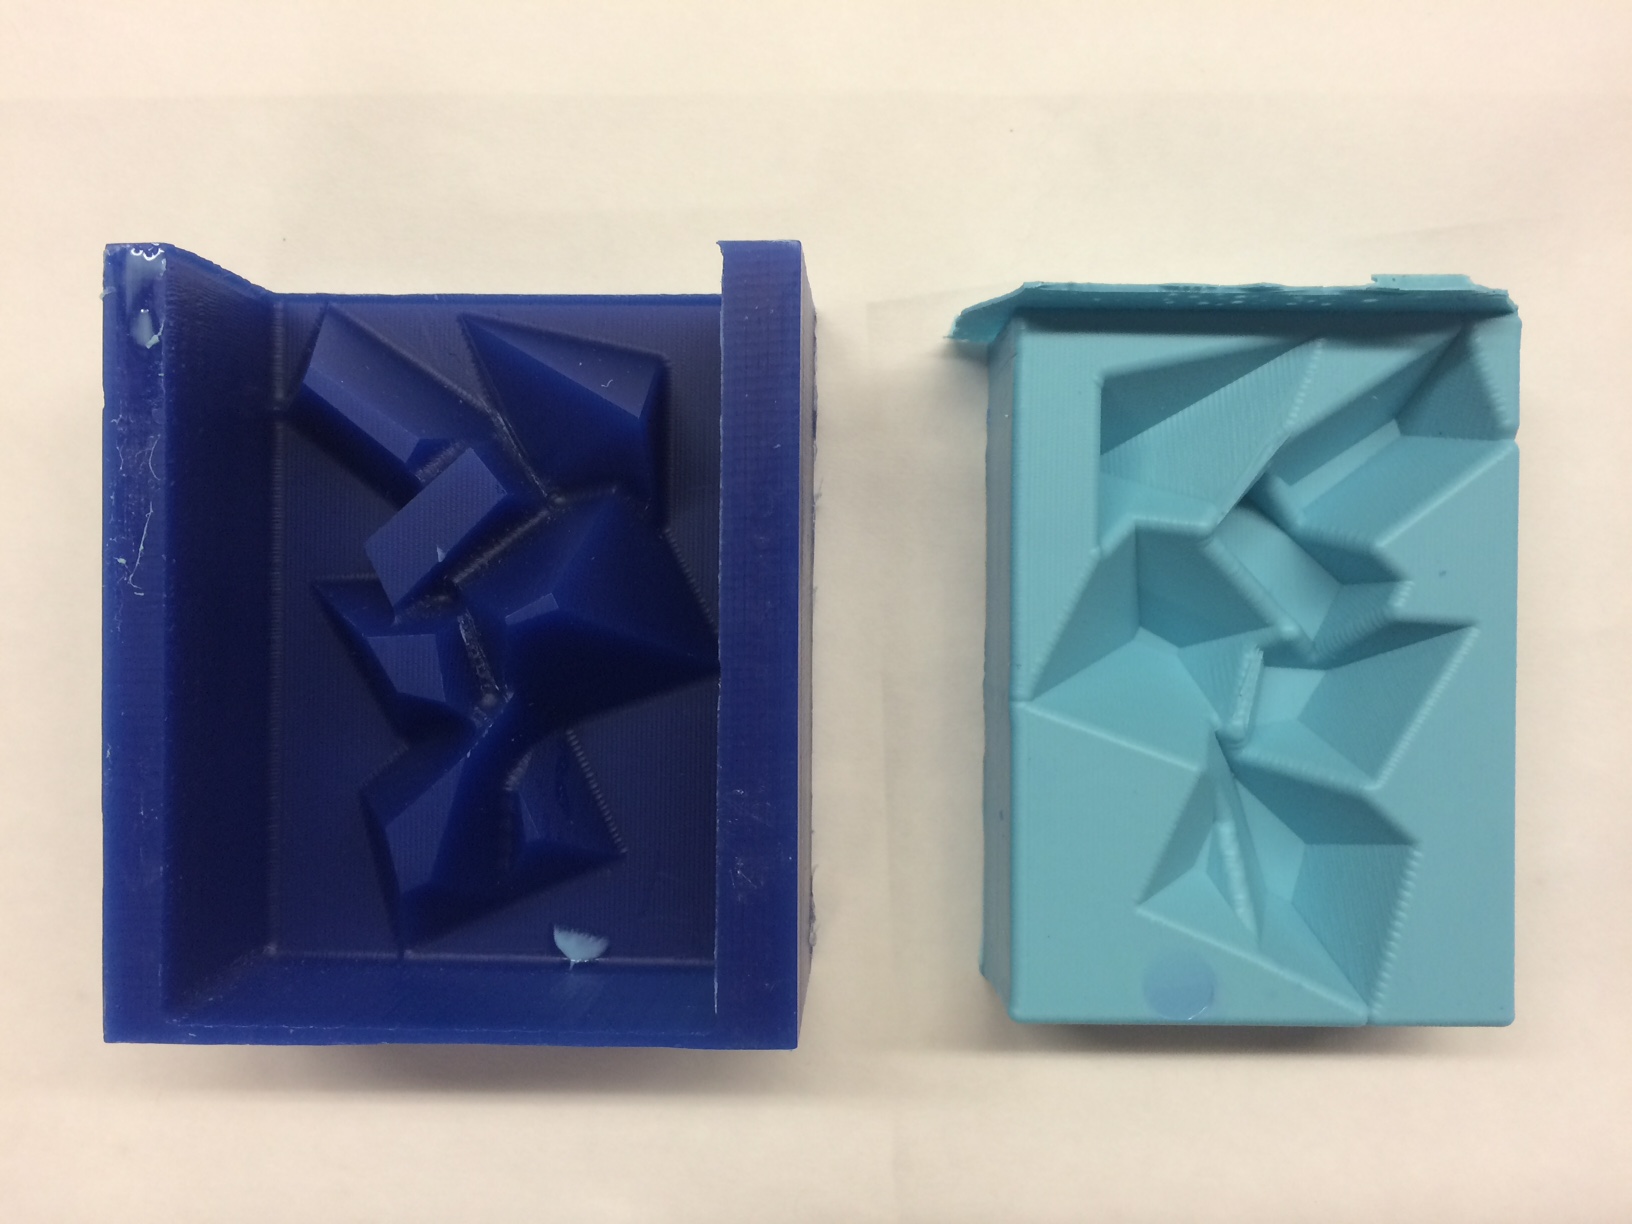
Creating a Mold
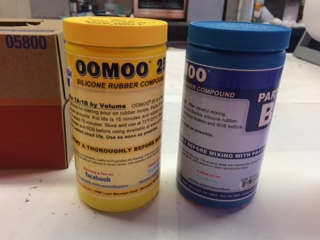
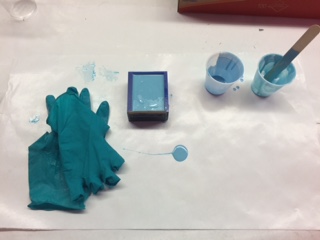
The process was to pour a silicon material onto the positive to create our mold. We used Oomoo, which was really great, and very easy. Just mix 1 part A to 1 part B and pour. Couple important notes: shear to stir, do not pump air into it. Also, I tapped the mixture for about 3 minutes after I poured because there were still lots of bubbles. This really helped, and there were no bubbles in my mold. Pour the Oomoo and then set; mine took longer than the stated 75 min, for me it was about 90. But it popped right out.
Casting
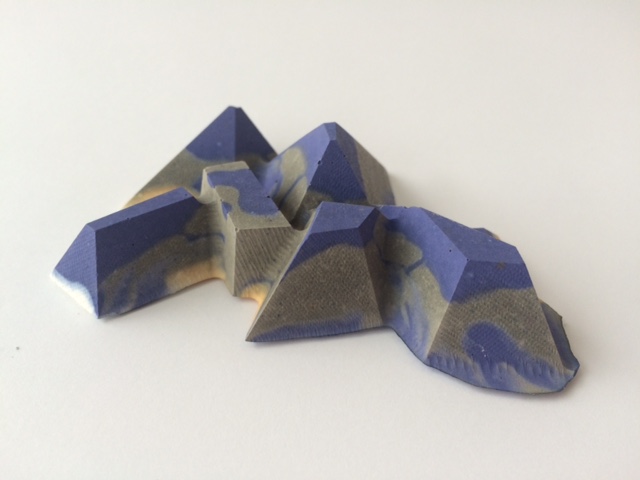
For casting, I used DryStone in my silicon mold. The drystone was awesome because it is just like plaster, but stronger. Mixing was a bit more difficult. I started by measuring, but ended up eyeing it and going by feel for the consistency, which was sort of a silky sludge. I added dye, iDye fabric dye, to the drystone. The color came out very ugly, but the material took the pigment very well and the final piece turned out well.
Metal Casting
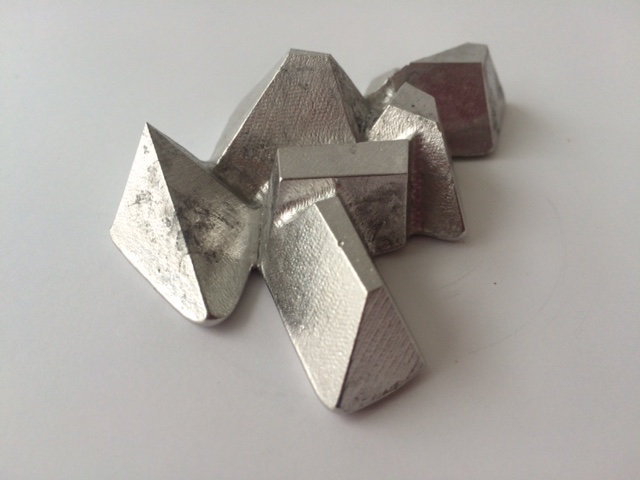
I was lucky to jump in and make a casting with the soft metal. The process was very simple and quick. Heated the metal up to about 250 and then used heat safe gloves to pull it out of the oven and pour over the mold that was fixed into a pail of sand. It set and was able to be handled after about 10 min.
Design Files
Rocks RhinoRocks STL