Custom Analysis
A FIRST step to finding things out involves observation. One step from that is systematic observation: writing things down, or remembering them, about what you've observed. Computers are much better at storing lots of information and making numerical sense of it. In conservation work, and in nature, data surrounds us. Numbers of animals, plants, their heights, weights, how much they eat, drink, sleep... by making our own circuits, we can make powerful tools to better understand and empathize with different species and our own environment.
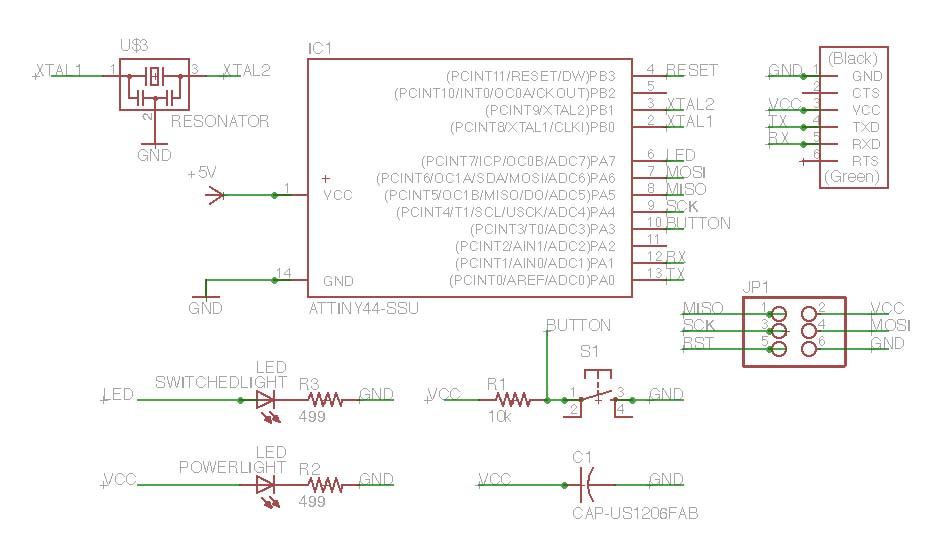
^ As a first step, we learned to lay out parts in software that do what we need-- here, we're laying out parts in a program called Eagle that lets us define custom circuits. The parts here connect to a tiny chip (less than $1) that will turn a light on and off in response to stimuli.
^ Although it looks a little like a plate of spaghetti, this is actually a diagram that shows connections between components on this board.
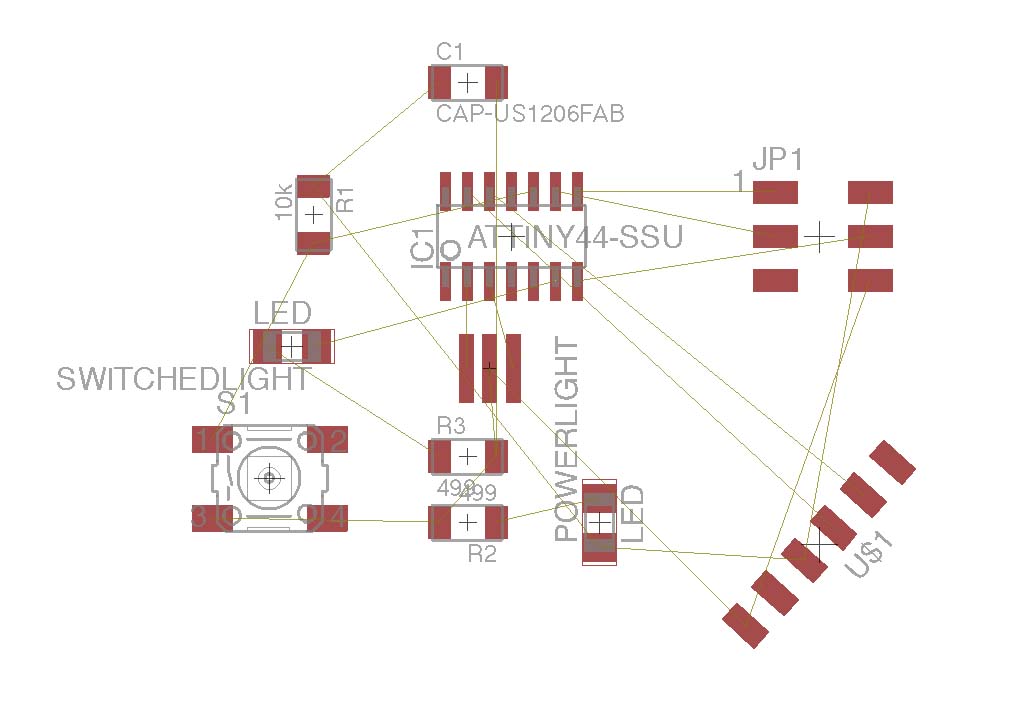
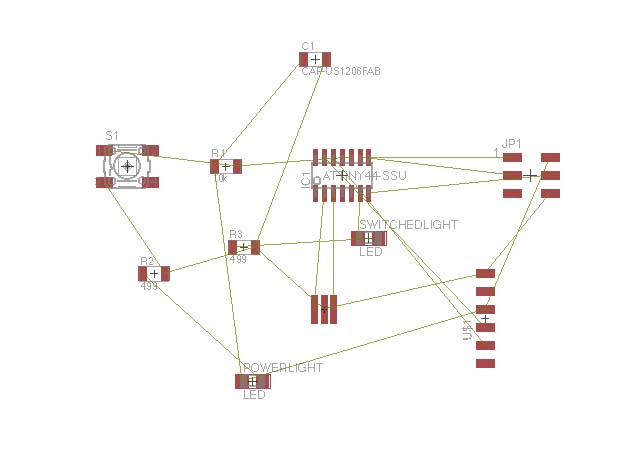
^ Next, you can see how you drag things around to untangle the network... Components have labels according to their function and size-- we have resistors, capacitors, a switch, some lights, some connection plugs (to program this board later), and our microcontroller.
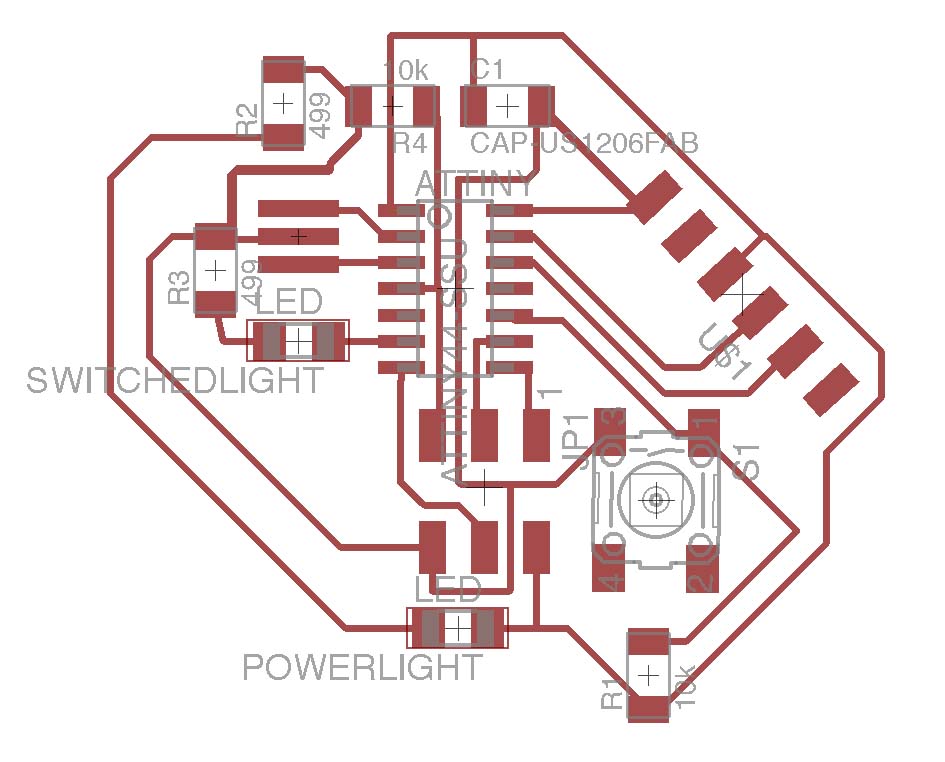
^ Many many hours later, I had this routing for all the components. It's a very hard puzzle to make everything connect without crossing any paths. There's a tool inside Eagle (the software) to route wires around. Next we need to export this to be 'printed' - or in our case, milled out from copper-plated millable plastic.
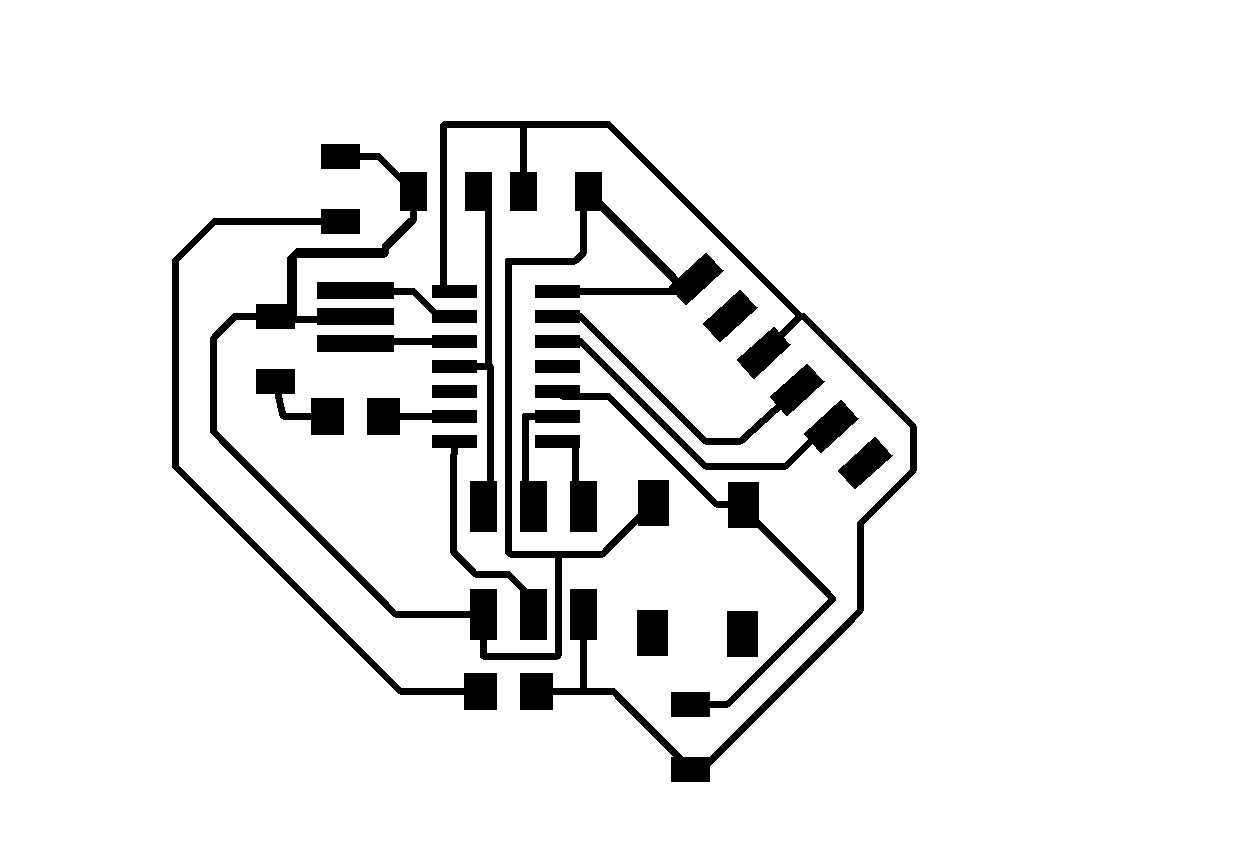
^ The exported black and white file defines areas to be milled from the stock board.
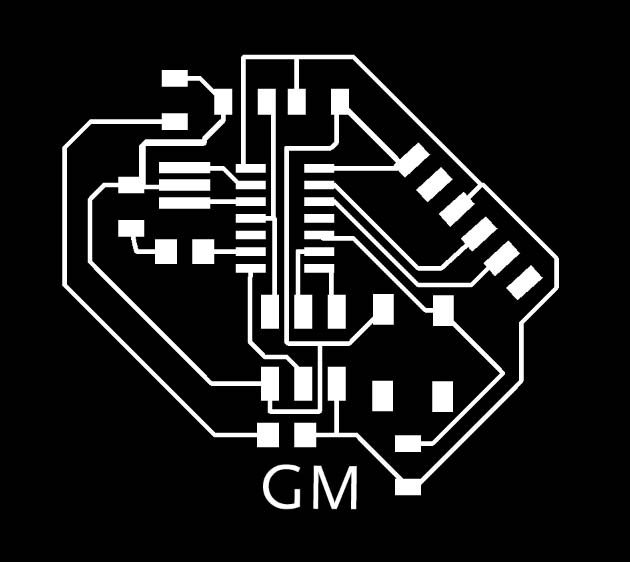
^The final design is inverted (black shows us areas to be cut out- the white traces will remain as conductive copper). This is sent to the mill... stay tuned for exciting results! We will program this board in coming weeks. The ATtiny44 microcontroller can execute commands, as someone said in class, up to around what could be described in 3-4 simple english sentences with a few inputs and outputs. Imagine all the possibilies to learn more about our surroundings!
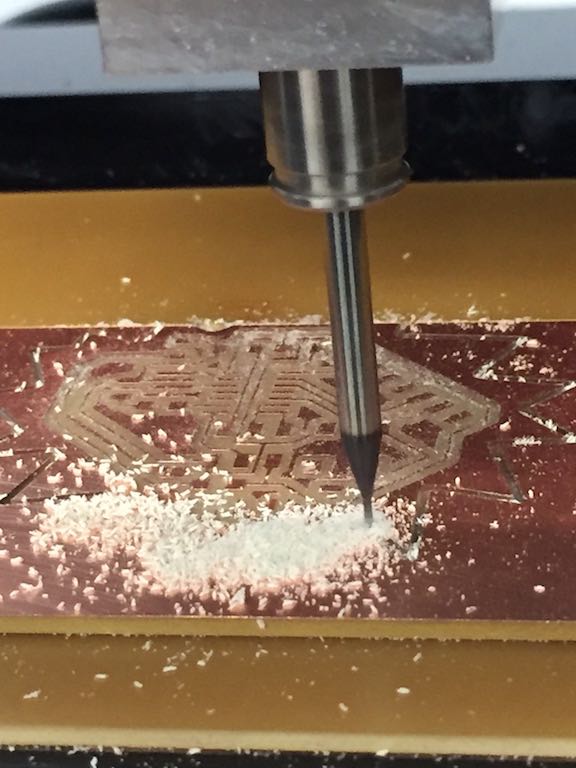
^ As with the FabISP (from earlier week), we used the Roland Modela machine to mill out these traces onto a 'printed circuit board' (PCB).
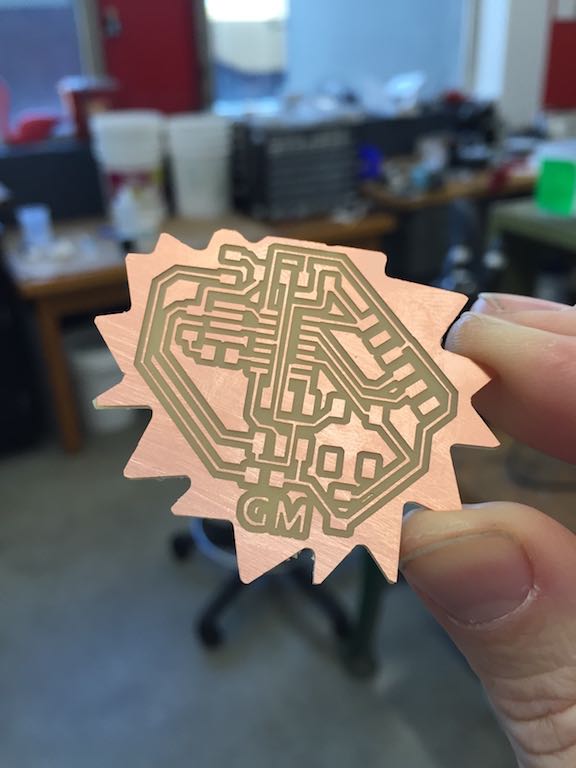
^ Here is my result before the board was 'stuffed'.
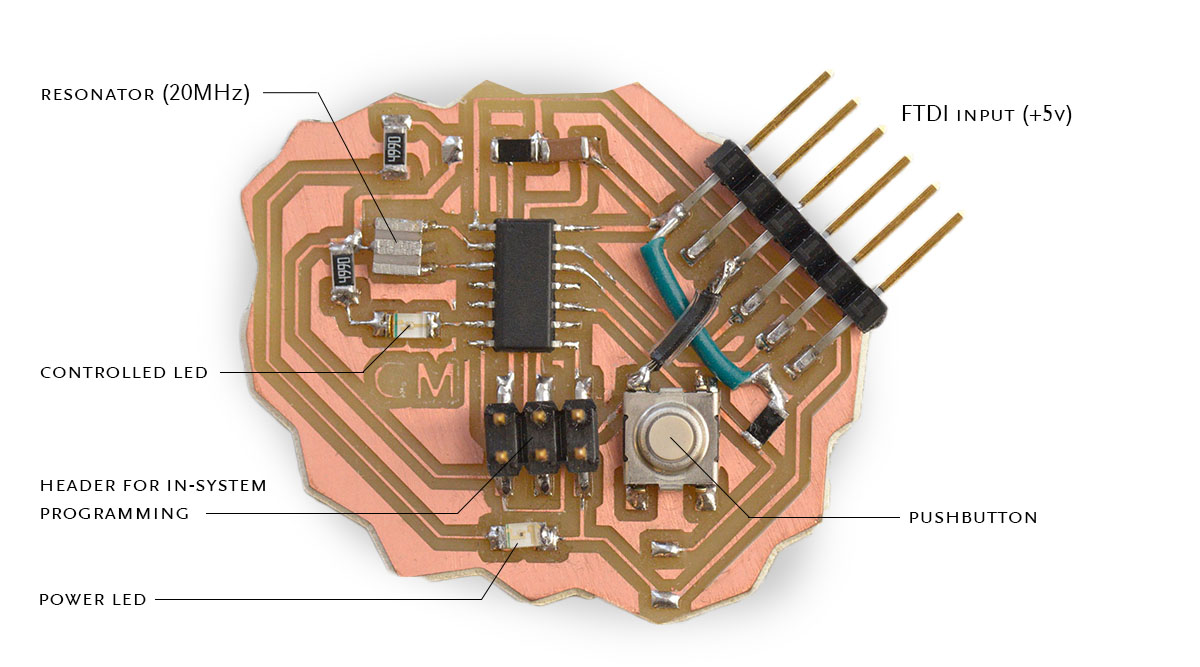
^ My board after stuffing, complete with a few bonus 'jumper' cables I later added to change the button-reading pin on the ATTINY chip to read HIGH instead of LOW when the button is pressed. In week 7 we learned to program these chips to complete basic tasks when given inputs are received. This is the foundation for computation!