Maroula Bacharidou
MAS.863 | How to Make (Almost) Anything
Qubricks
that could not be made subtractively
*1. 3d Printing
___a. idea
___b. modeling
___c. printing
2. 3d Scanning
*
1. 3d Printing
This week's assignment was 1) to design something that could not be made subtractively and 3d print it and 2) to 3d scan something (which could be our 3d print). I experimented again with Qubricks, which are the space-filling bricks that I designed for my final project (the first time was in the computer-controlled cutting assignment).
Video 1: Qubricks interlocking and shaping different configurations.
___a. idea
As I want my final building blocks to be stuffable -meaning that they will have to contain different types of electronics (microcontrollers, wires, sensors, possibly LEDs)-, I designed an updated, hollow version of the original Qubrick. In that version, the bricks have an inside grid that a) connects their centers (so that they could be connected with wires) and b)connects each center with the 3 closest surface centers (so that electronics could be inserted in each center).
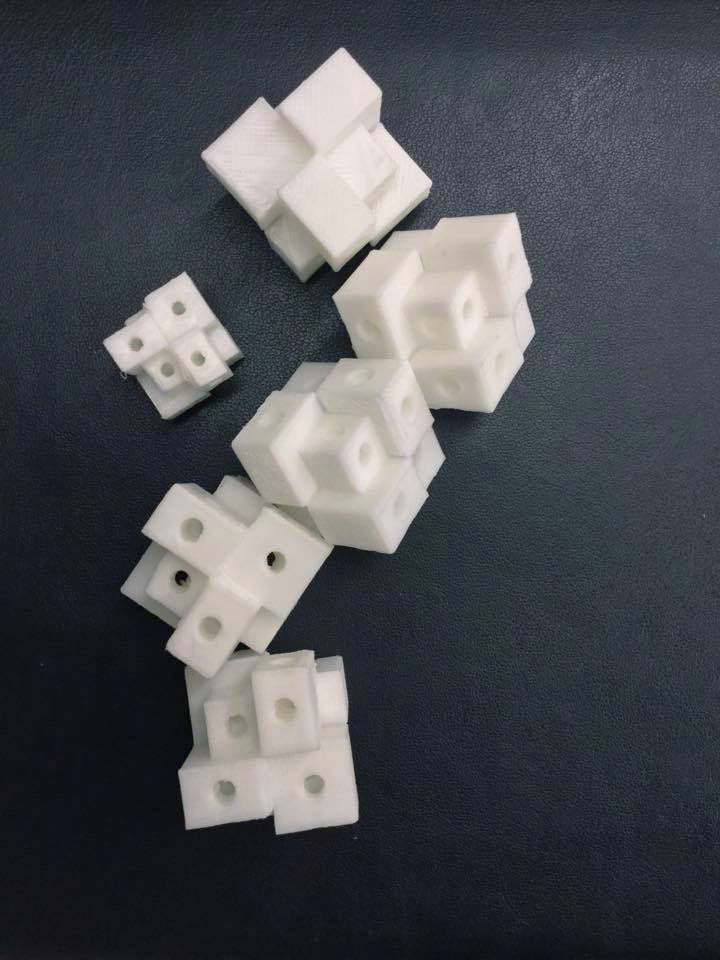
Figure 1. 3d printed version of Qubricks. An internal grid connects the centers of the solids with each other and the adjacent sufaces that belong to the Qubrick's surface.
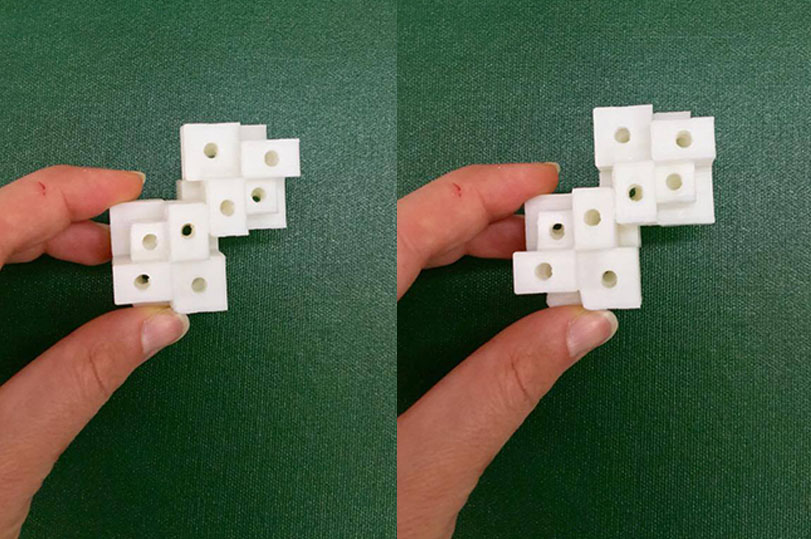
Figure 2. The cubes making each Qubrick have different dimensions, so the grid that connects their centers is not orthocanonical.
___b. modeling
I modeled my bricks in Rhinoceros 5. The steps that made my design process were (in order made retrospectively, as I was reflecting a lot on my design decisions as I was modeling them): 1. connect the centers of each sub-cube existing in the brick; 2. Design the size of the grid pipes; 3. Subtract the grid from the volume of the brick; 4. Make it a mesh - and make sure it's a closed one!
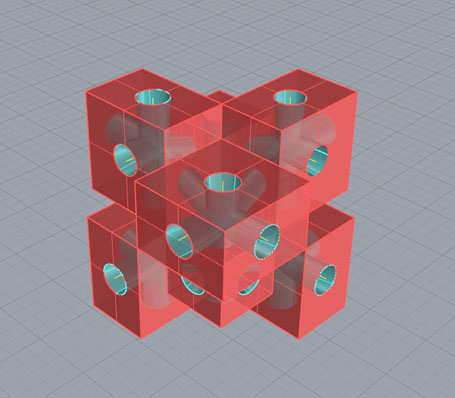
Figure 7. The brick polysurface.
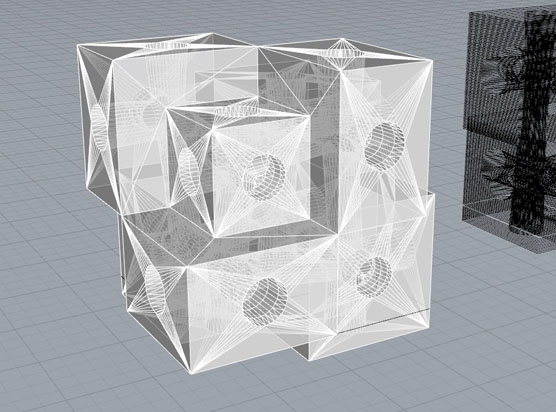
Figure 8. Making my polysurface a mesh for the 3d printing process.
___c. printing
To print my model, I used the 3DWOX Sindoh 3D printer in the Architecture shop. To prepare my model, I used the machine's software, which was pretty easy to use. I used the default settings, and the only "wrong" thing about the model that came out was that the printer extruded material on the top and the bottom sides of the printed object - talking with my classmates, I realized that this is something that you have to be aware of when using this printer. Although I re-exported a new g-code with other settings, I did not have time to re-print the model (the Sindoh machine is extremely precise but the printing process takes time).
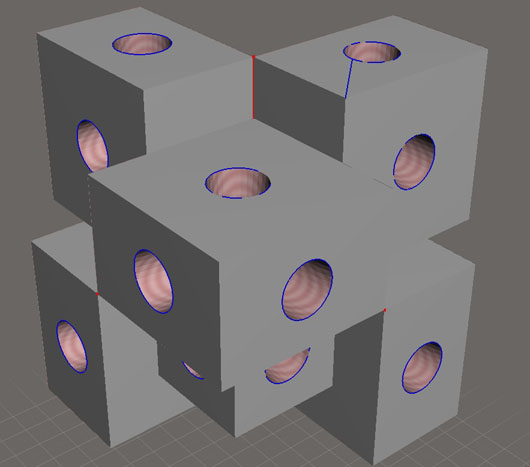
Figure 9. Importing the .stl file into Autocad 123D, and checking for collisions.
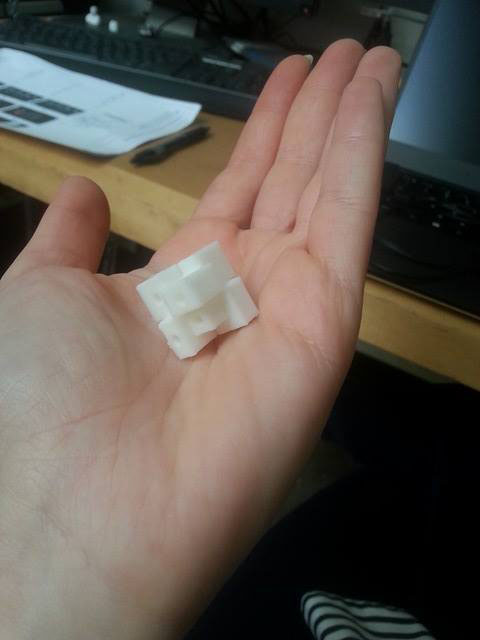
Figure 10. A small-sized test print, with not any added supports.
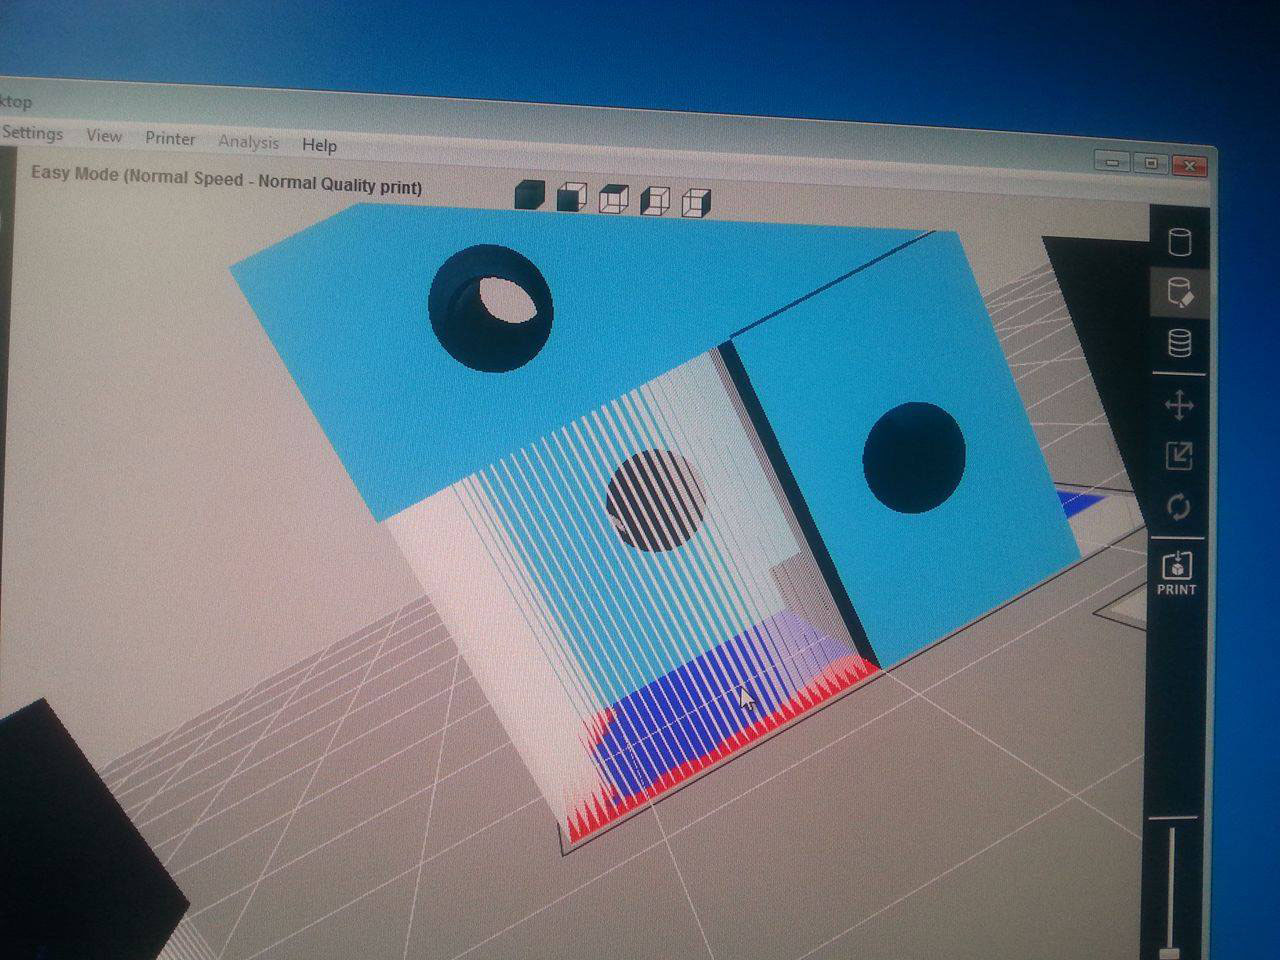
Figure 11. Adding supports in the 3DWOX software.
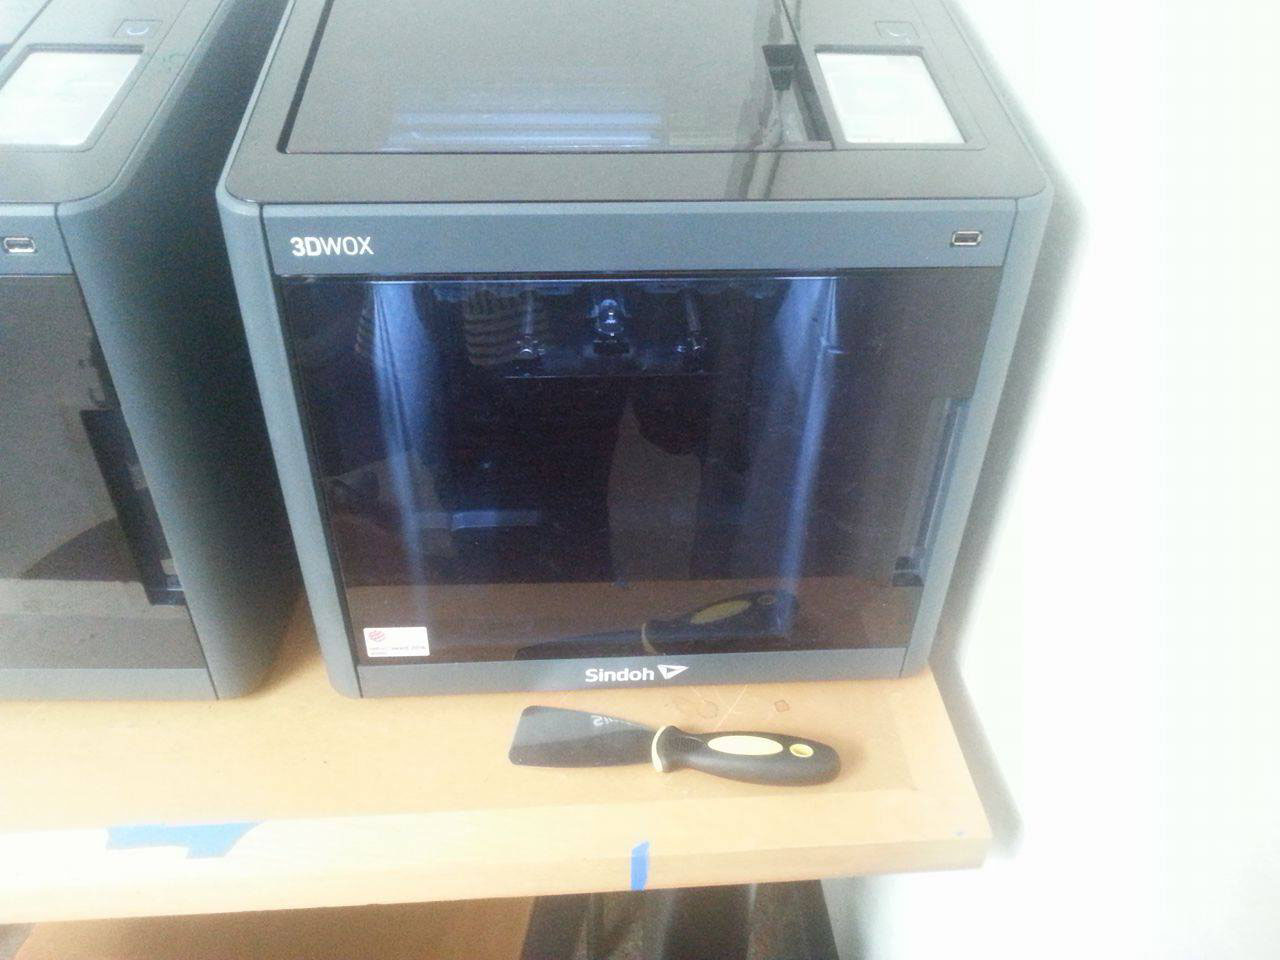
Figure 12.Printing in the 3DWOX Sindoh 3D printer in the Architecture Shop
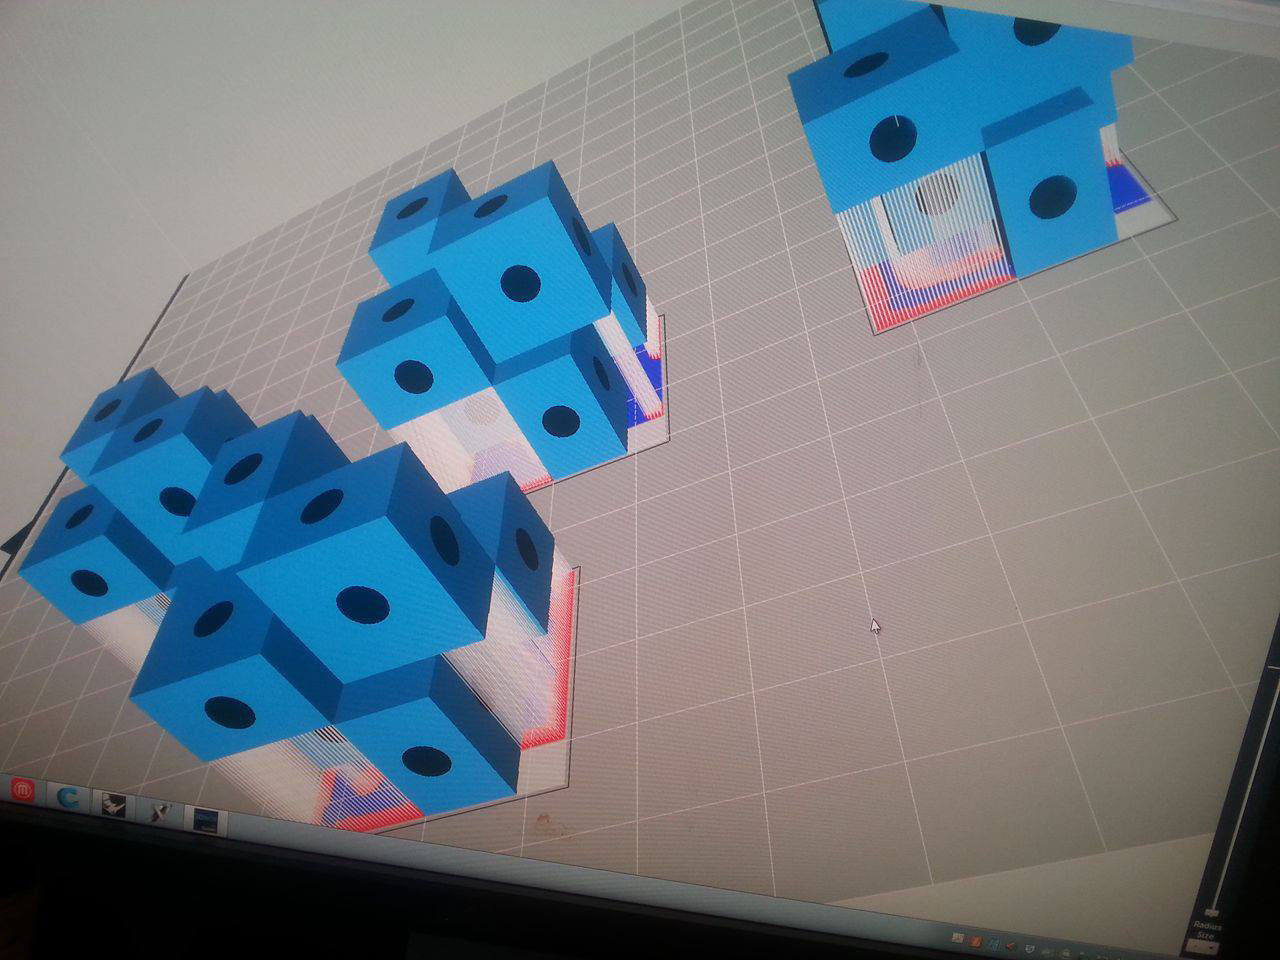
Figure 13. I made a couple of bricks to see how they would interlock, and how same would be the details of the brick edges, a part which I thought that would be tricky.
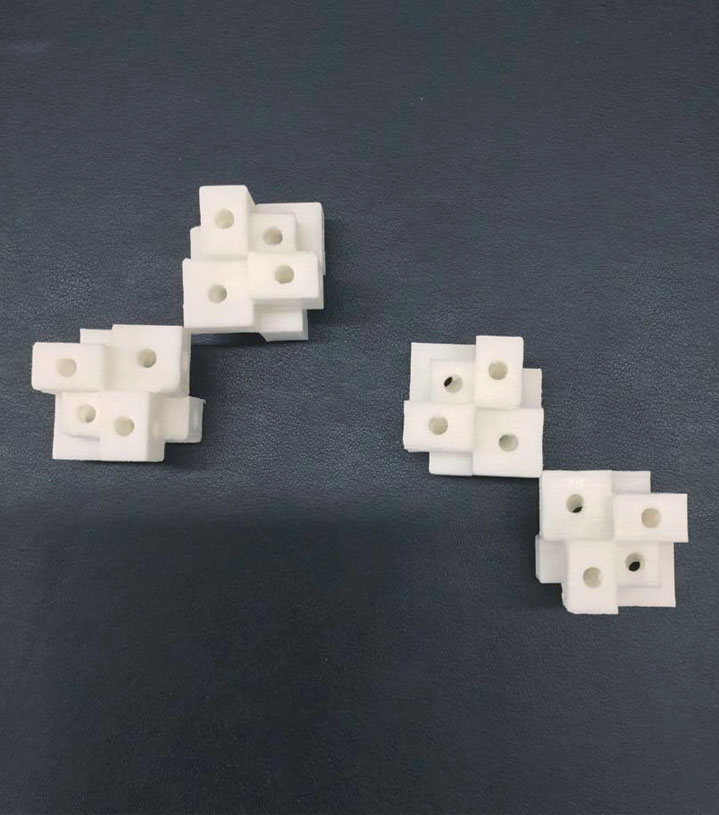
Figure 14
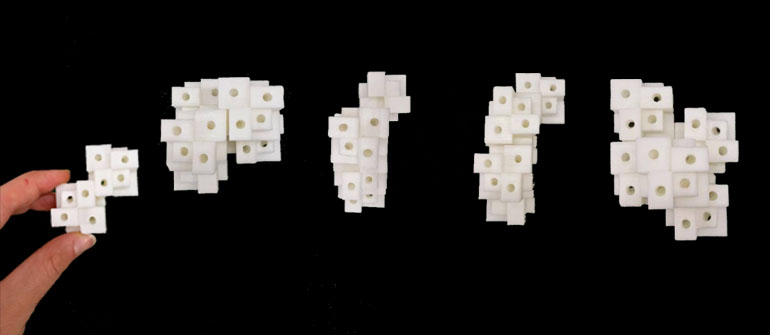
Figure 15
2. 3d Scanning
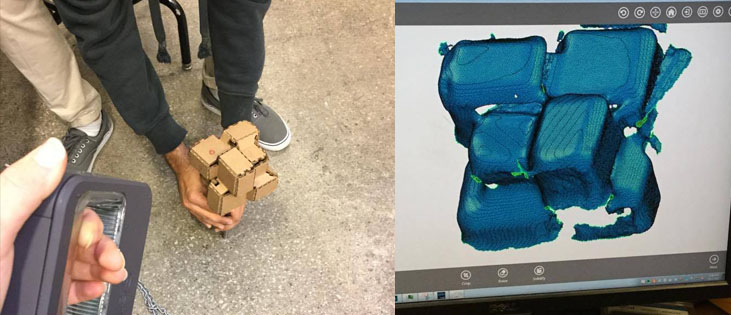
For the 3D scanning part of the assignment, I experimented with possibly every moveable object found in the Architecture shop. Among the objects I scanned were a pineapple, a recycling bin, a ruler and the press-fit carboard brick that I made back in week 1. After some not-so-succesful attempts to scan the objects, I decided to download 123D Catch and use it with my iPad.
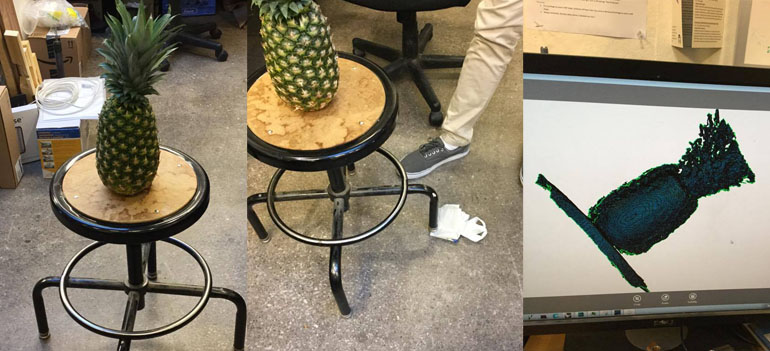
Figure 16. Scanning the pieapple using the handheld Z-corp 3d-scanner at the Architecture shop.