Interfaces! That's what I do! We can use Unity! We can do VR! I could do something cool and impressive that I'm proud of without spending genuinely upwards of 25 hours on it! It could be such a good opportunity to do the interface work for my final project!
However. If there's anything I've learned from last week, it is the motivating power of a dumb meme. A friend showed me a website which I don't seem to be able to find again which features a single button, labled "press to honk a horn in an apartment in Brooklyn". When you press the button, it honks the horn. There's also a fancy associated page with some nice data visualization on metrics about horn honks: when they were made, where the IP addresses came from, how many honks came from each IP address, etc. And, I still haven't successfully completed embedded programming, outputs week, or networking week.
Therefore, my plan is to make a board with an ESP322 (the one with the camera), and a small speaker. I don't think I'll be able to figure out connecting it to the whole internet, but I do think that I can connect it to a website which can talk to it over local wifi, and that's enough to honk a horn in one part of the building from another part of the building. Pretty cool stuff. Then, because I technically know how to database programming for front-end interfaces (though I'd have to dust off some notes), I can associate it with a nice queriable database of past honks. Thus, the plan is:
I had a really good plan for this project. I was going to write something for my hello-echo board such that it would blink the LED with a delay. Each time you pushed the button, it would increase the delay, such that, it would blink more slowly, until an unreasonably long delay, at which point the delay could reset back to 0. I could even recycle some of the hello-echo code to make it output into the nice tkinter window what the current delay is. However, problem. Here's the hello-echo board again:
The button and LED both come off of the same pin, and then go to groud. The board will never know when that button is pressed. So instead, I'm just writing c code which sets PA7 high. It will turn the LED on when the button is pressed because the circuit closes. Simple. Probably doable.
Helpful links:
My files:
The commands to program the board finally made sense to me. They generally follow the format of make -f filename.make, followed by make -f filename.make program-programmername. The programmer name isn't something standard. It's refered to in your make file. There will be functions called program-something, such as program-tinyusb, and you can rename those to basically anything.
After successfully and uneventfully programming my board, the light still would not turn on. I thought that there might be a problem with the button, so I de-soldered it, and replaced it with a wire-- I would now have a USB that would always be on. This still didn't work, so I tried turning the LED around. Still no progress. I tried testing to see if any pin was sending out 5V sucessfully, and apparently, I told PB4 (which is theoretically, according to the data sheet, pin 4) to light up my LED, rather than PA7 (pin 6).
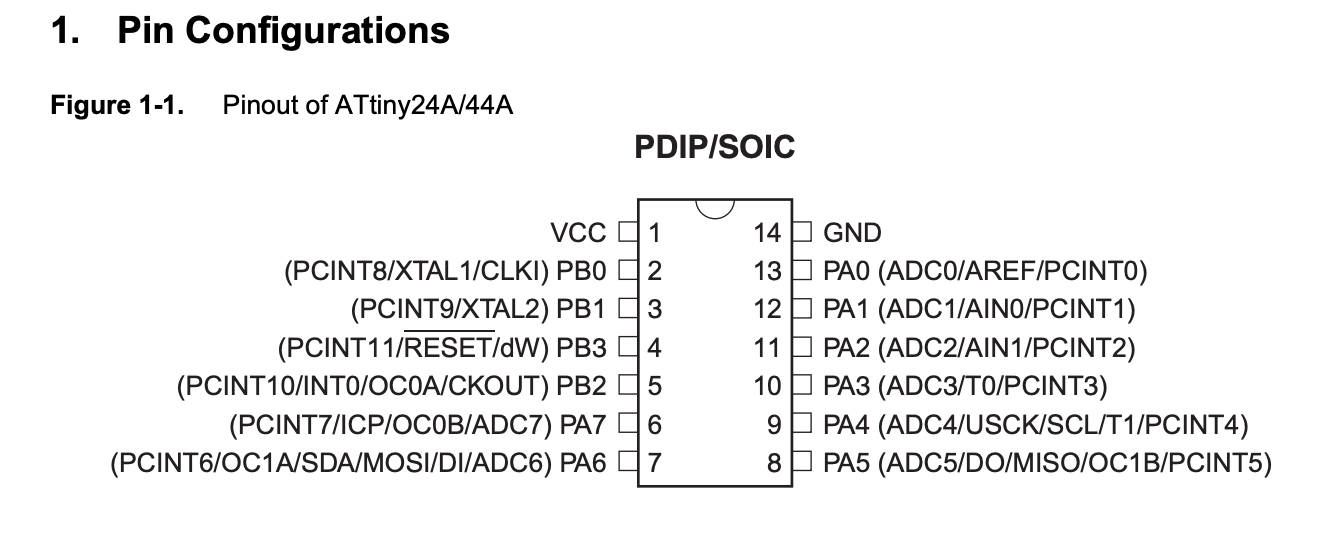
Am I reading this wrong? Is this out of date? How does "6" correspond to "PB4"?
One more mistake wire, and putting the LED back where it goes later, we had a LED that was being powered by a microcontroller, which had been told to do so by code written by me.

Finally, I put back the button, and, voila. An LED that turns on when you push the button.
My first goal was to get the board to make sound after being told to over wi-fi while still plugged in via FTDI. If that works, I can worry about the power situation later. I took apart Neil's ESP8266 board and Neil's speaker board, to try to make something which incorporated the necessary parts of both.
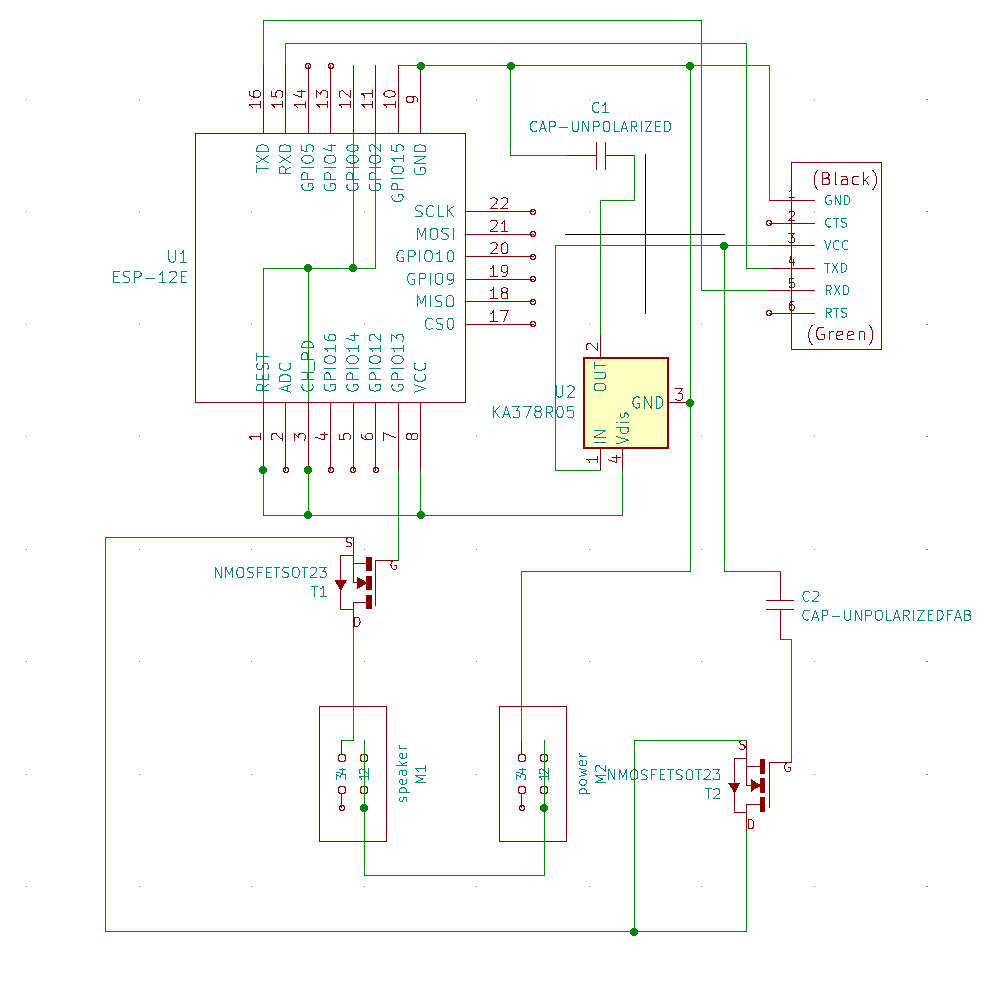
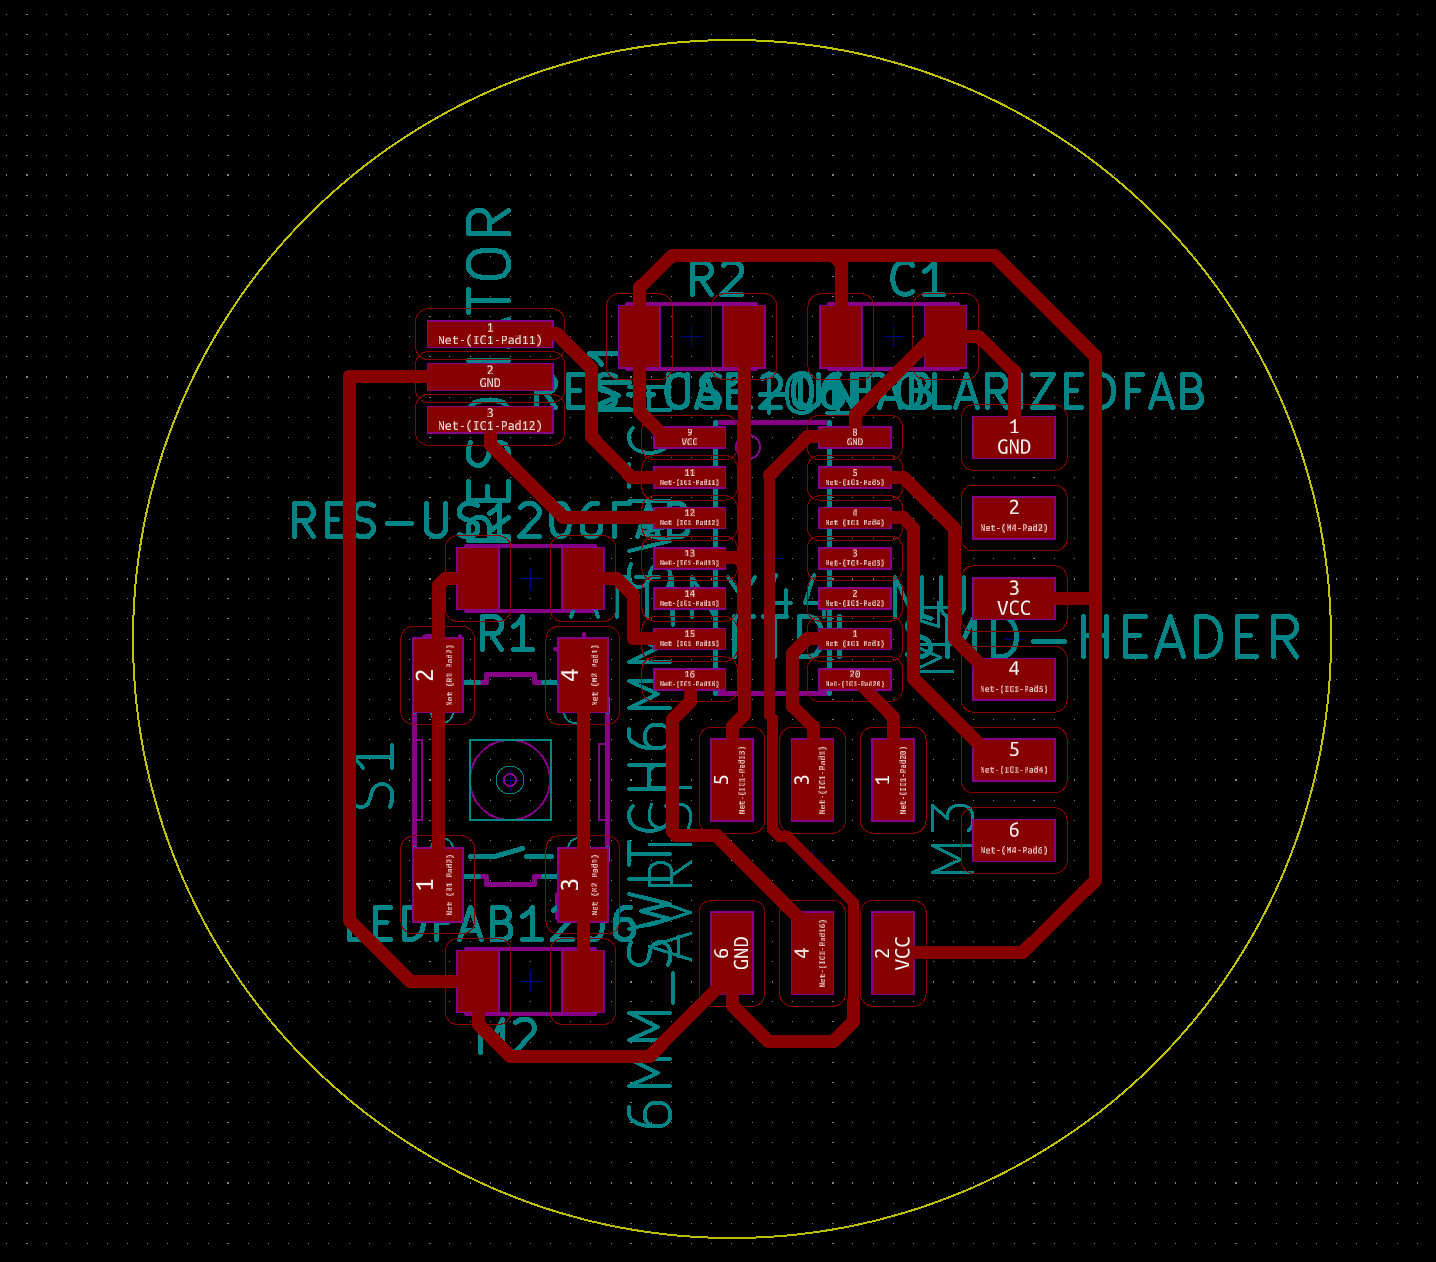
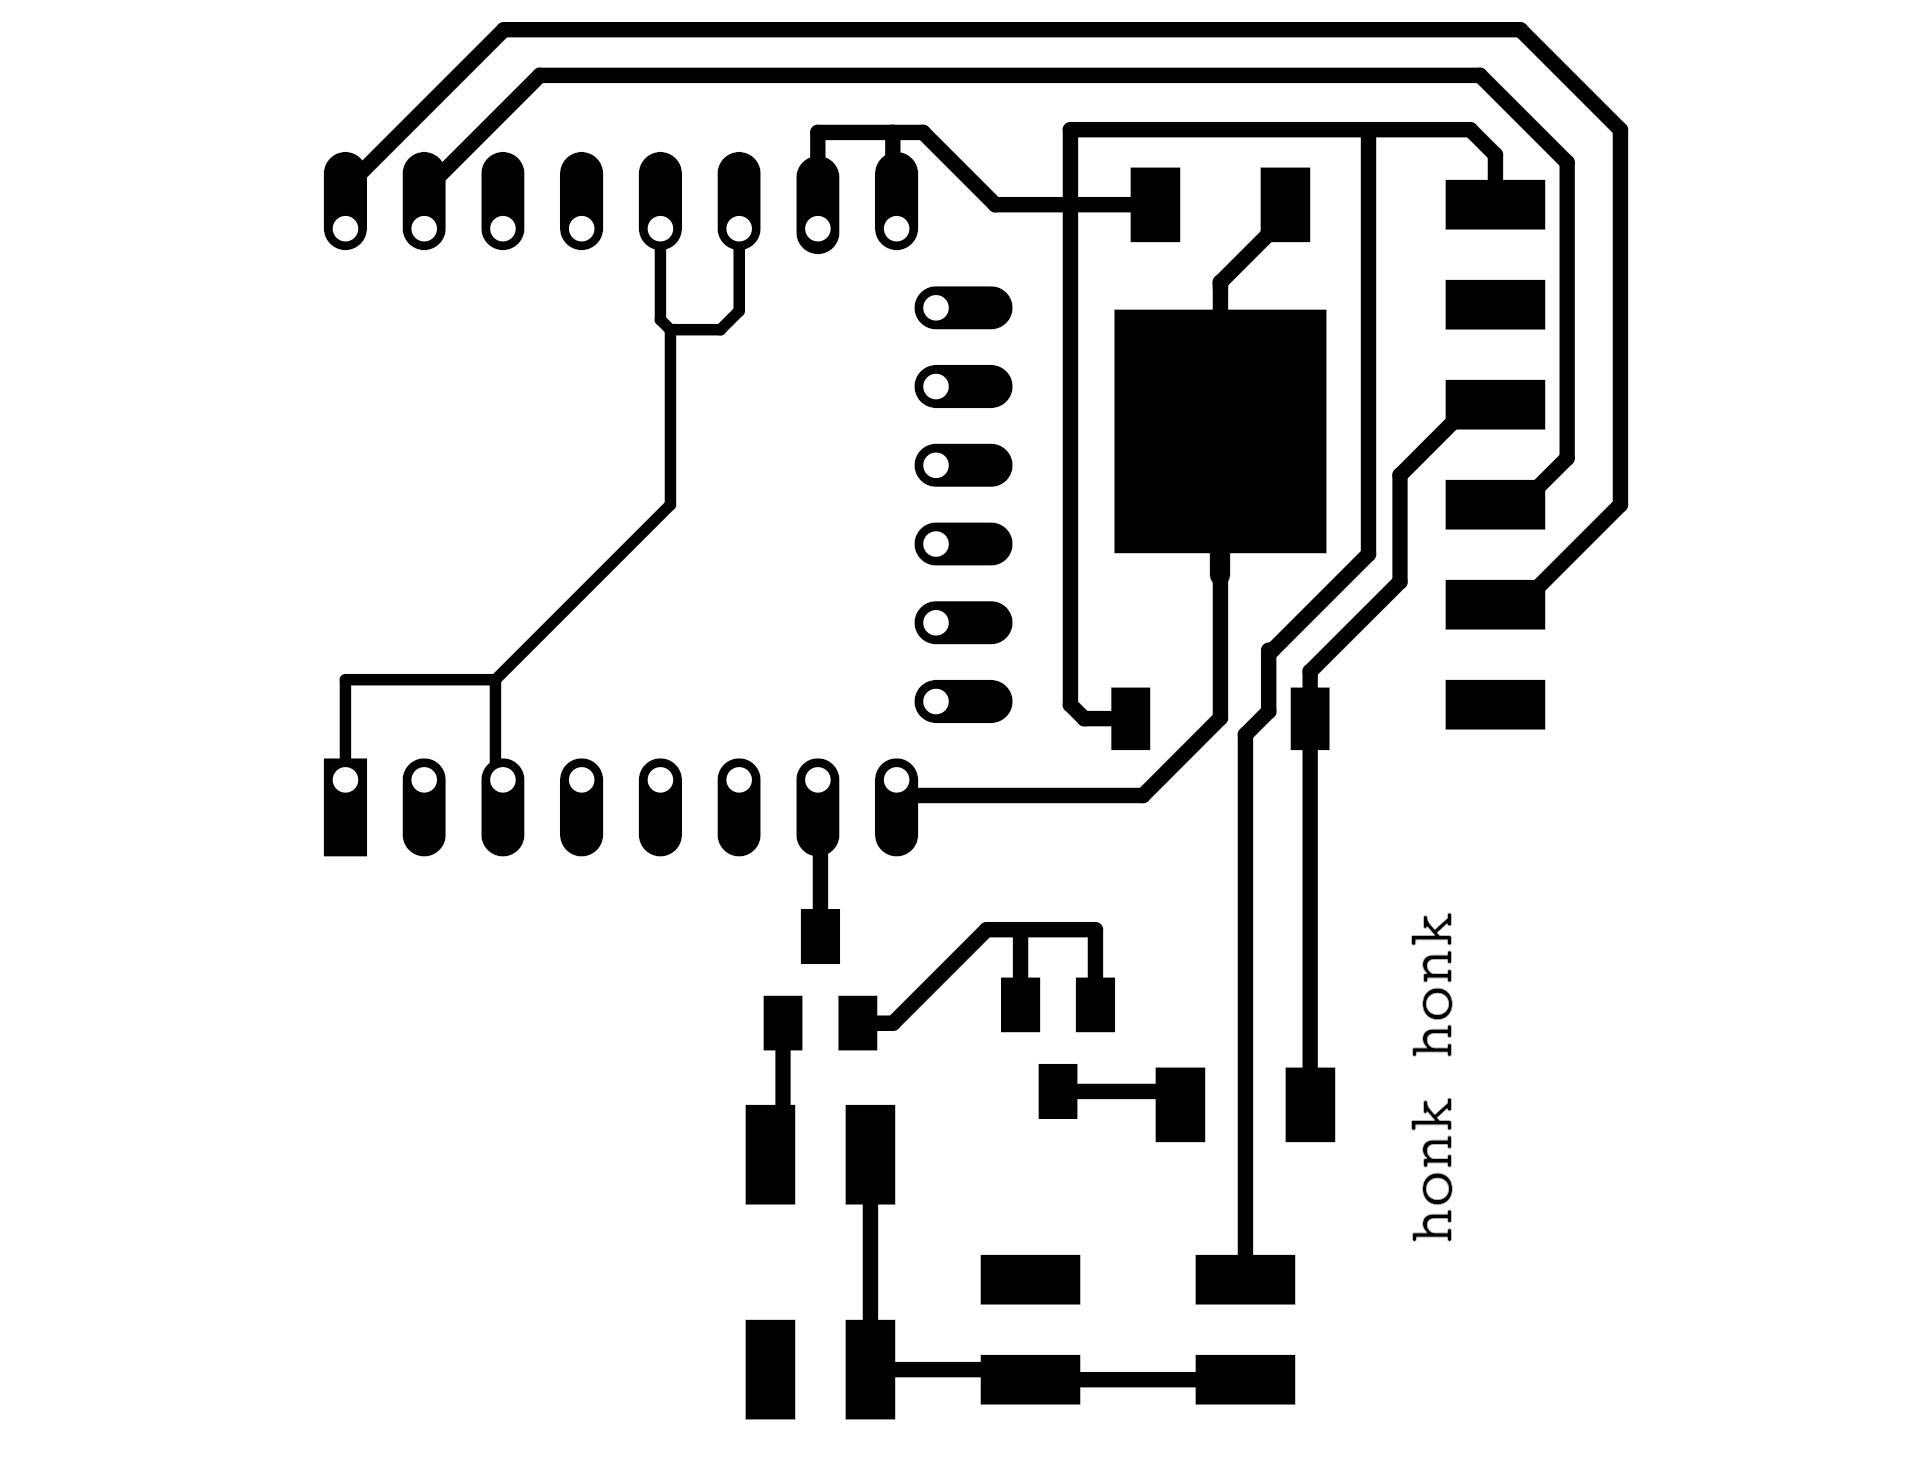
Schematic, round one. Hopefully, the mysterious 3-pin parts from the original speaker board are both mosfets?
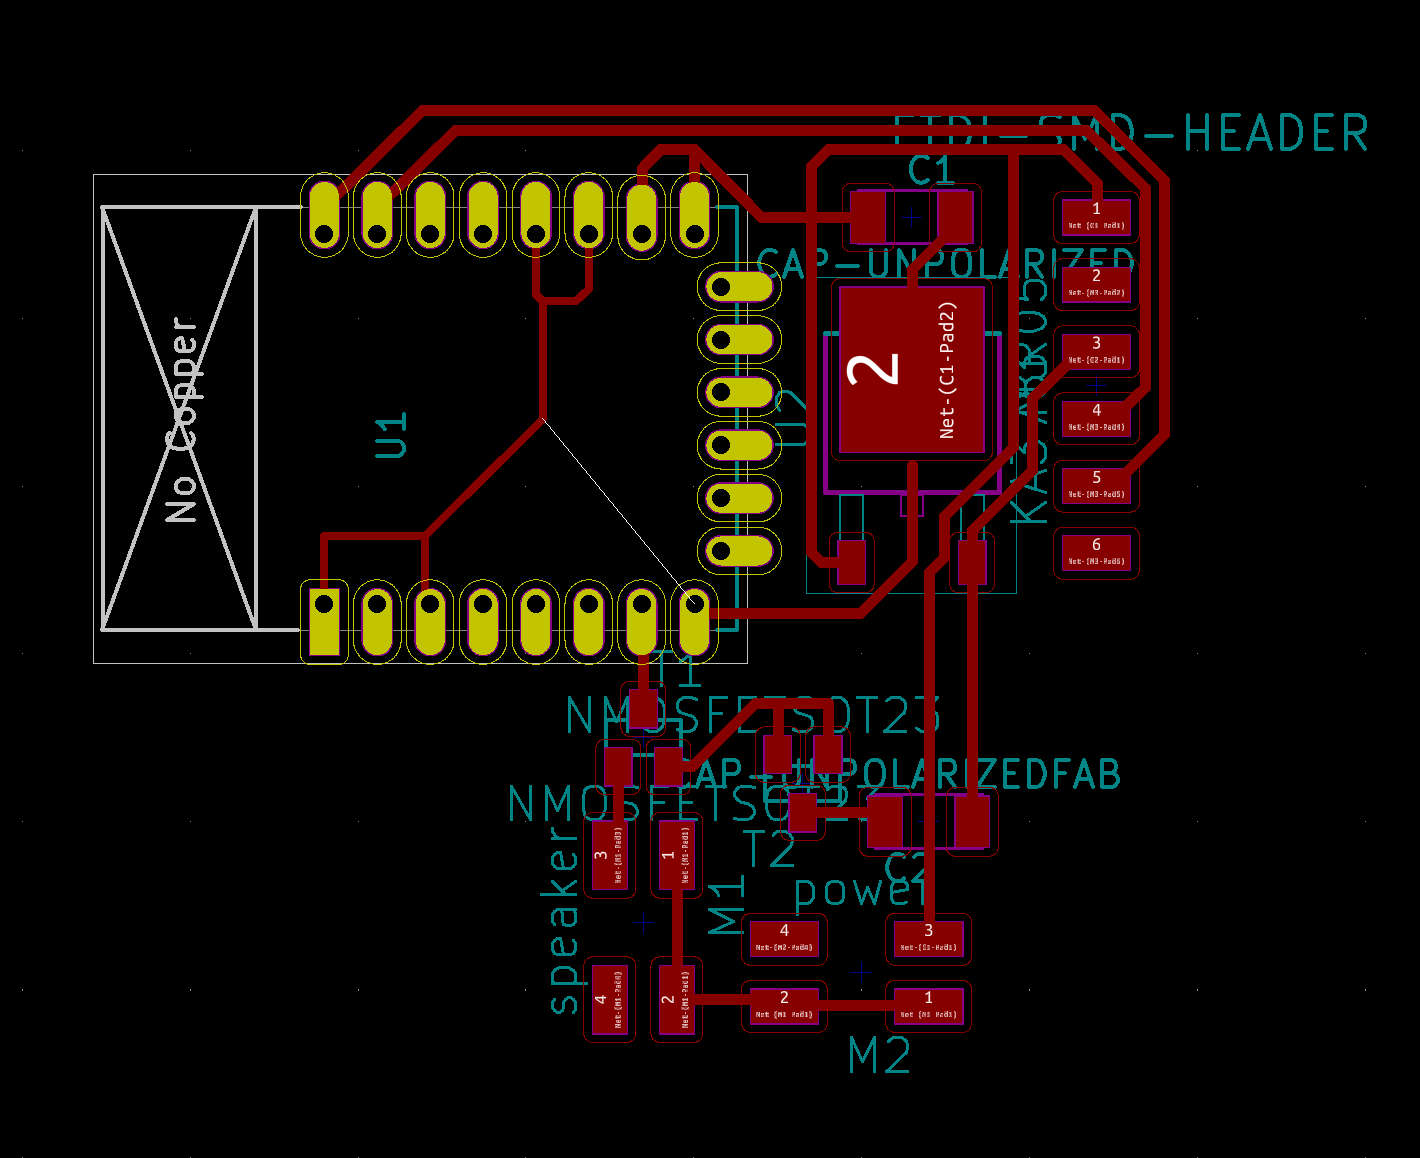
Traces, round one. The footprint for the voltage regulator is the one from the fab inventory, but is it actually the right footprint?
My files:
And after five separate attempts at milling (don't bother using PCB scraps; they tend to not be perfectly flat, and therefore don't work), we have a board!

When plugged into an FTDI cable, the LED on the ESP8266 does light up, but the light goes out shortly after. A bad solder connection? A fundamental problem with the design?
I thought that a good way to get started would be to just start with Niel's example code for the ESP8266. As it turns out, there is no example code. The file miniterm.py from this video isn't anywhere on the website. miniterm.py is part of pyserial, which can be installed via the command pip install pyserial on any machine that isn't Windows. Therefore, if you have a machine which is both running a non-windows OS and has USB ports, it should be straightforward to run. However, Windows's "Command Prompt" isn't really a terminal. After trying to work with Cygwin, mysys2, and a really suspicious-looking file, I decided that maybe it was time to stop downloading exe files indescriminitely, and isolate just getting the speaker working.
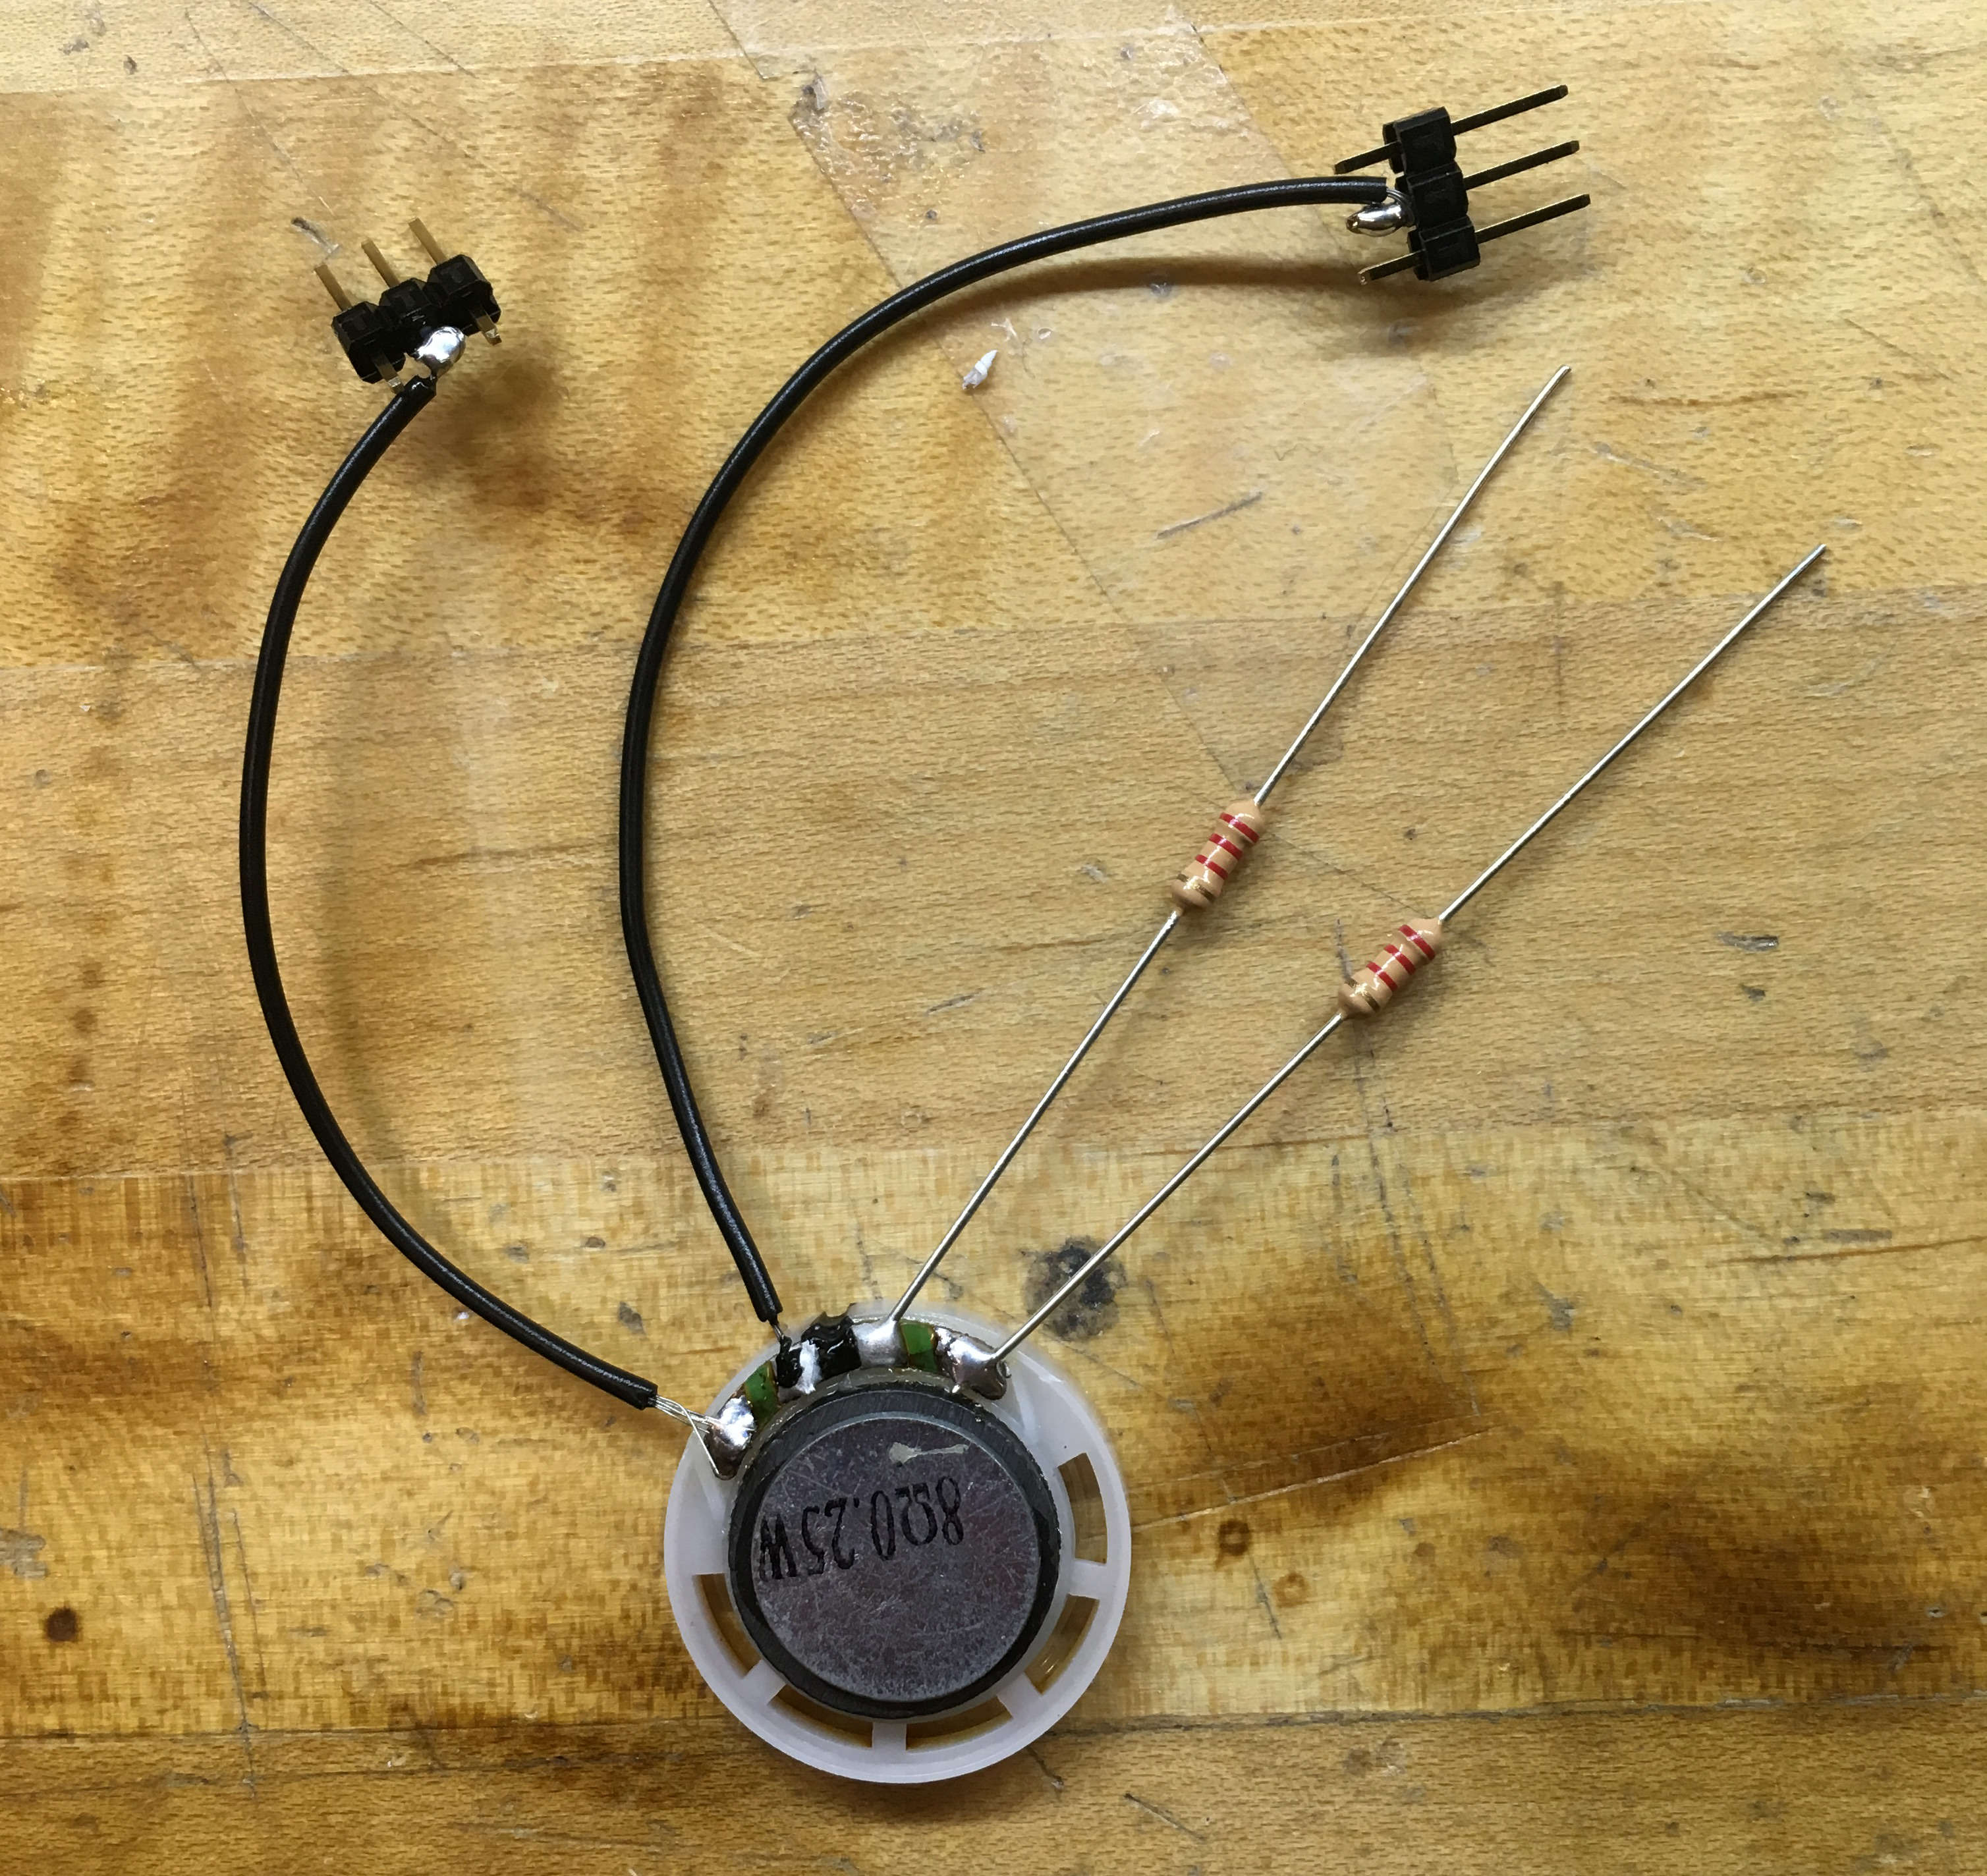
The speakers in 043 don't have a clear, obvious place to connect leads. I did manage to find them on digikey but the data sheet they link to is...

...less than helpful. Yes, that is the entire datasheet.
science.
After burning out four separate speakers, I've learned some Basic Things About Speakers:
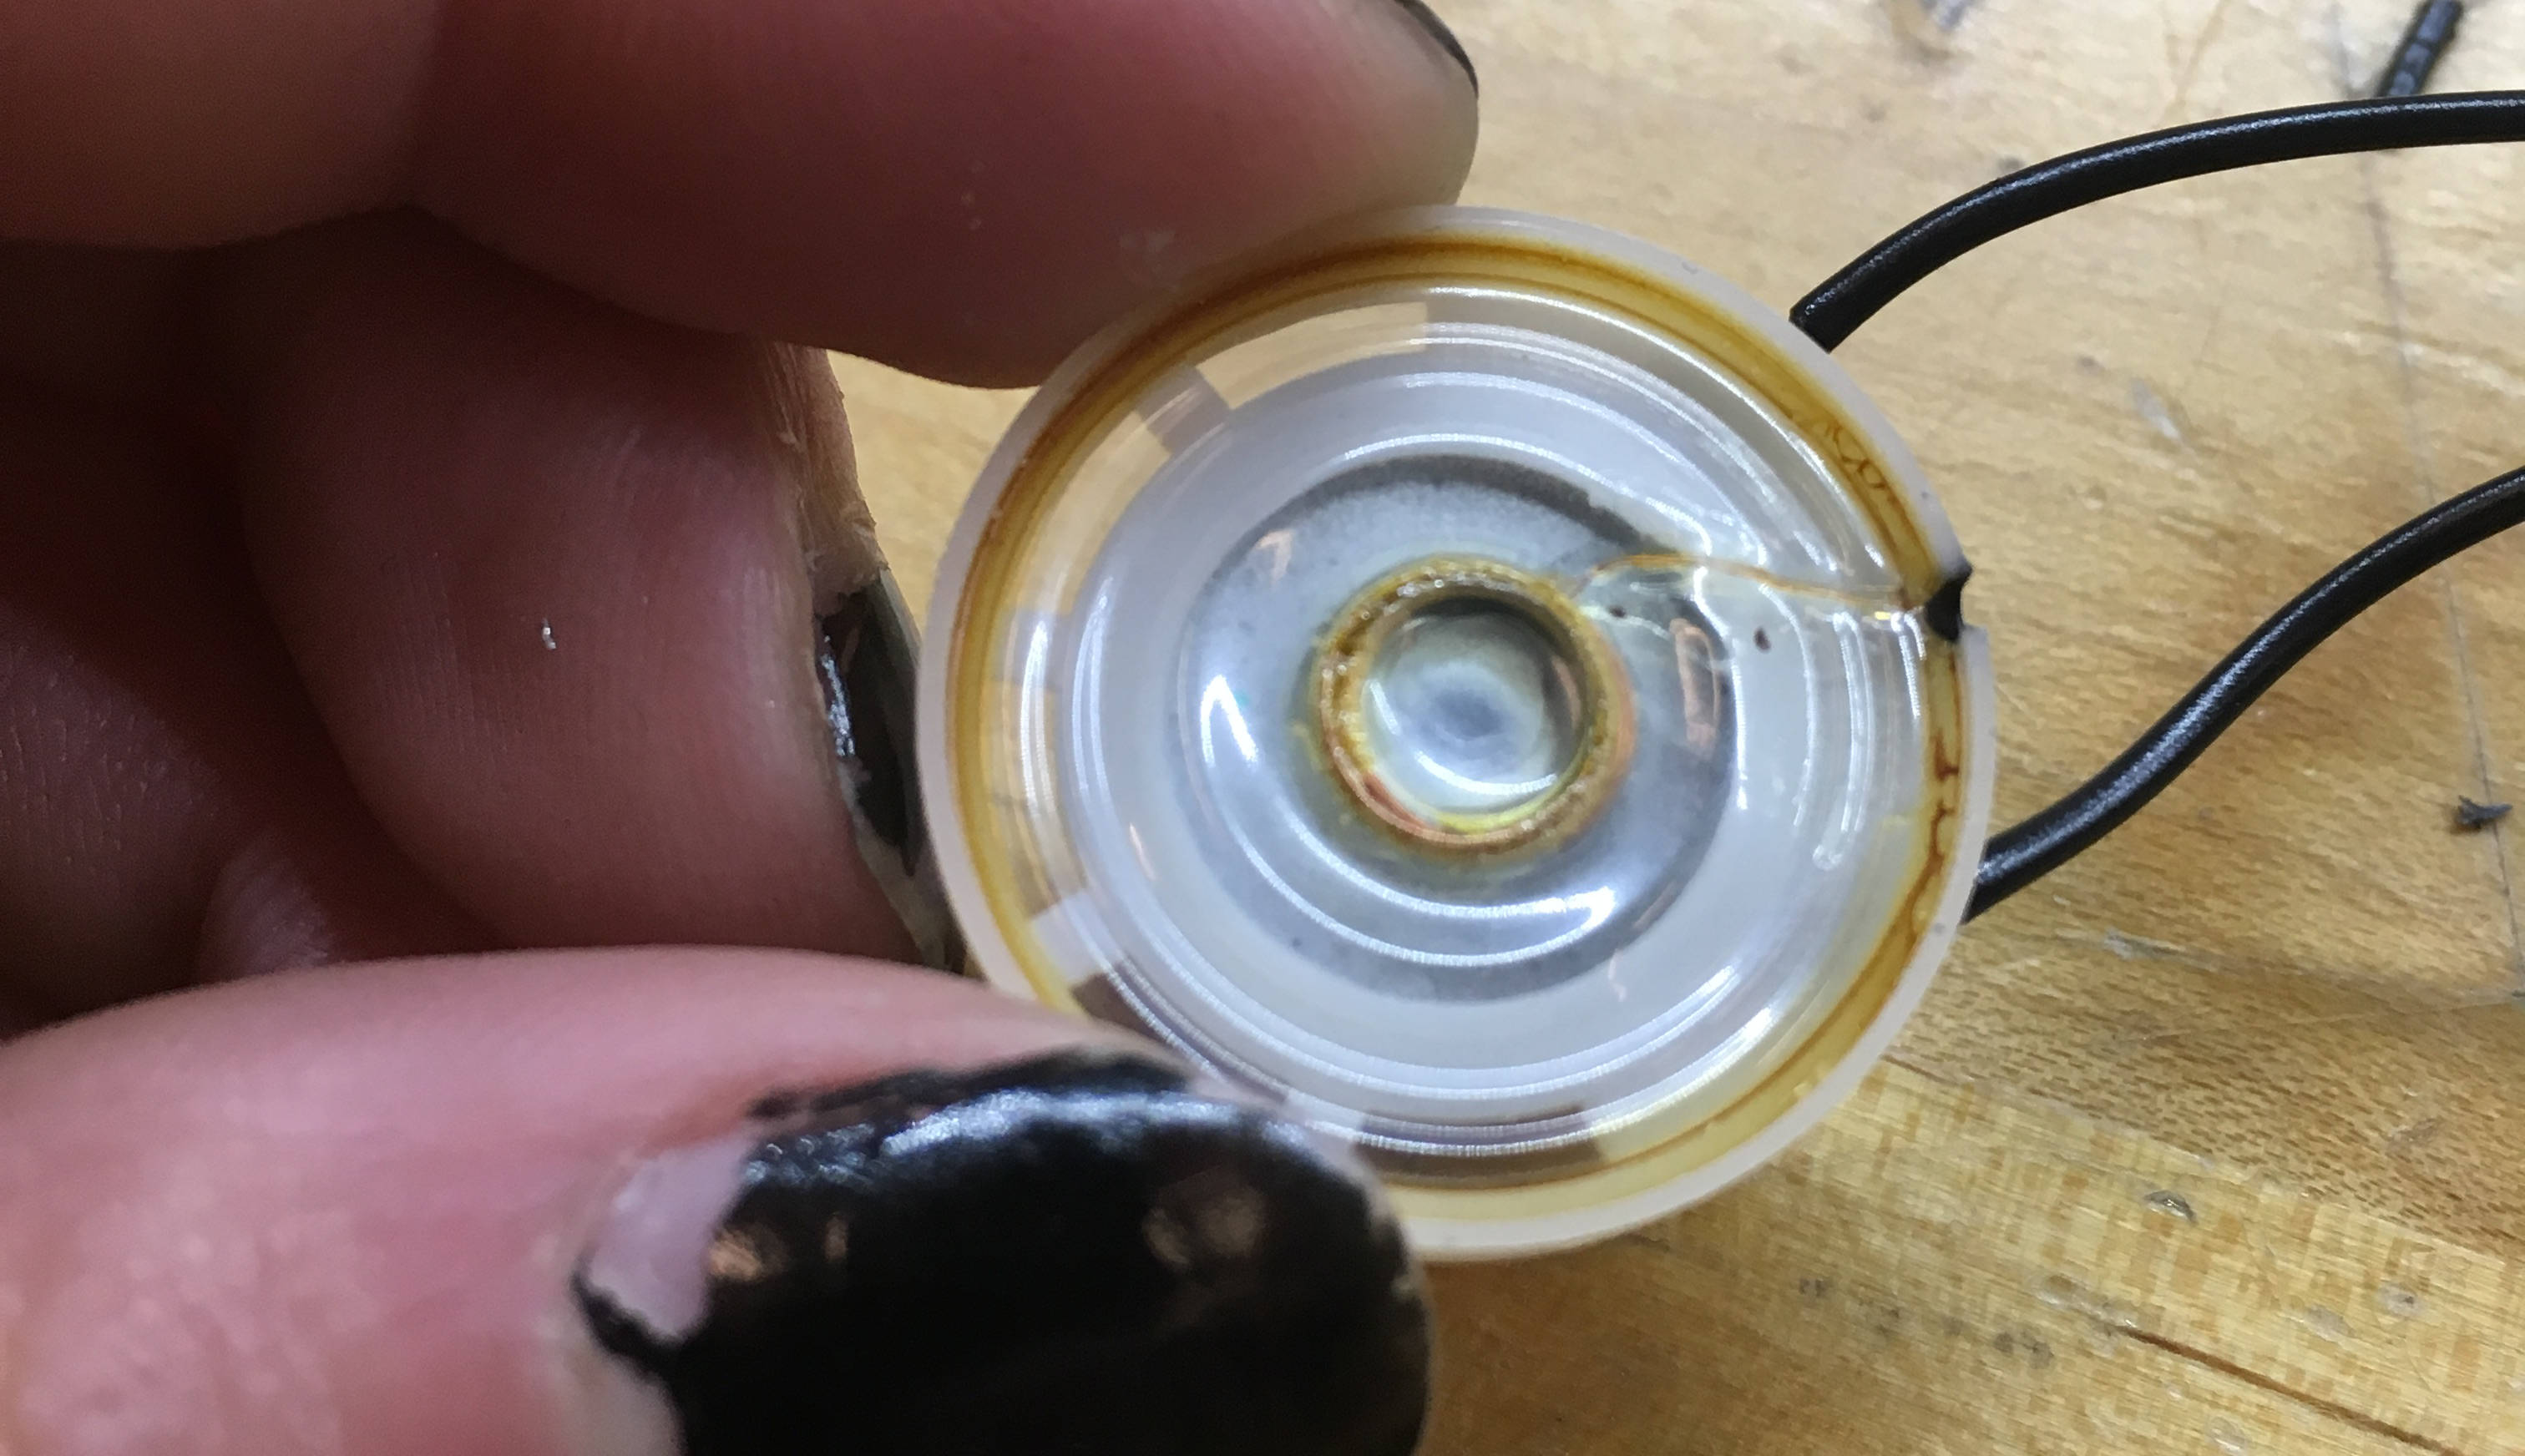
Fourth thing learned about speakers: this is what they look like when you've melted the coil and the cone together.
Most of exactly copying Neil's board was uneventful, except for programming it. In order to program a board, you need to supply it with 5 volts of power, independent of the programer.
a solution, more or less.
I got the dreaded Error = 1 while trying to program it, and thought that the problem might be something to do with the plastic parts holding the wires that connect to power and speaker to the main board. Maybe they weren't cutting all the way through the plastic?
really hoping anything will work at this point
While that didn't work, it did let me hear this weird hum whenever I plugged in the board. I think I'm hearing noise in the circuit.
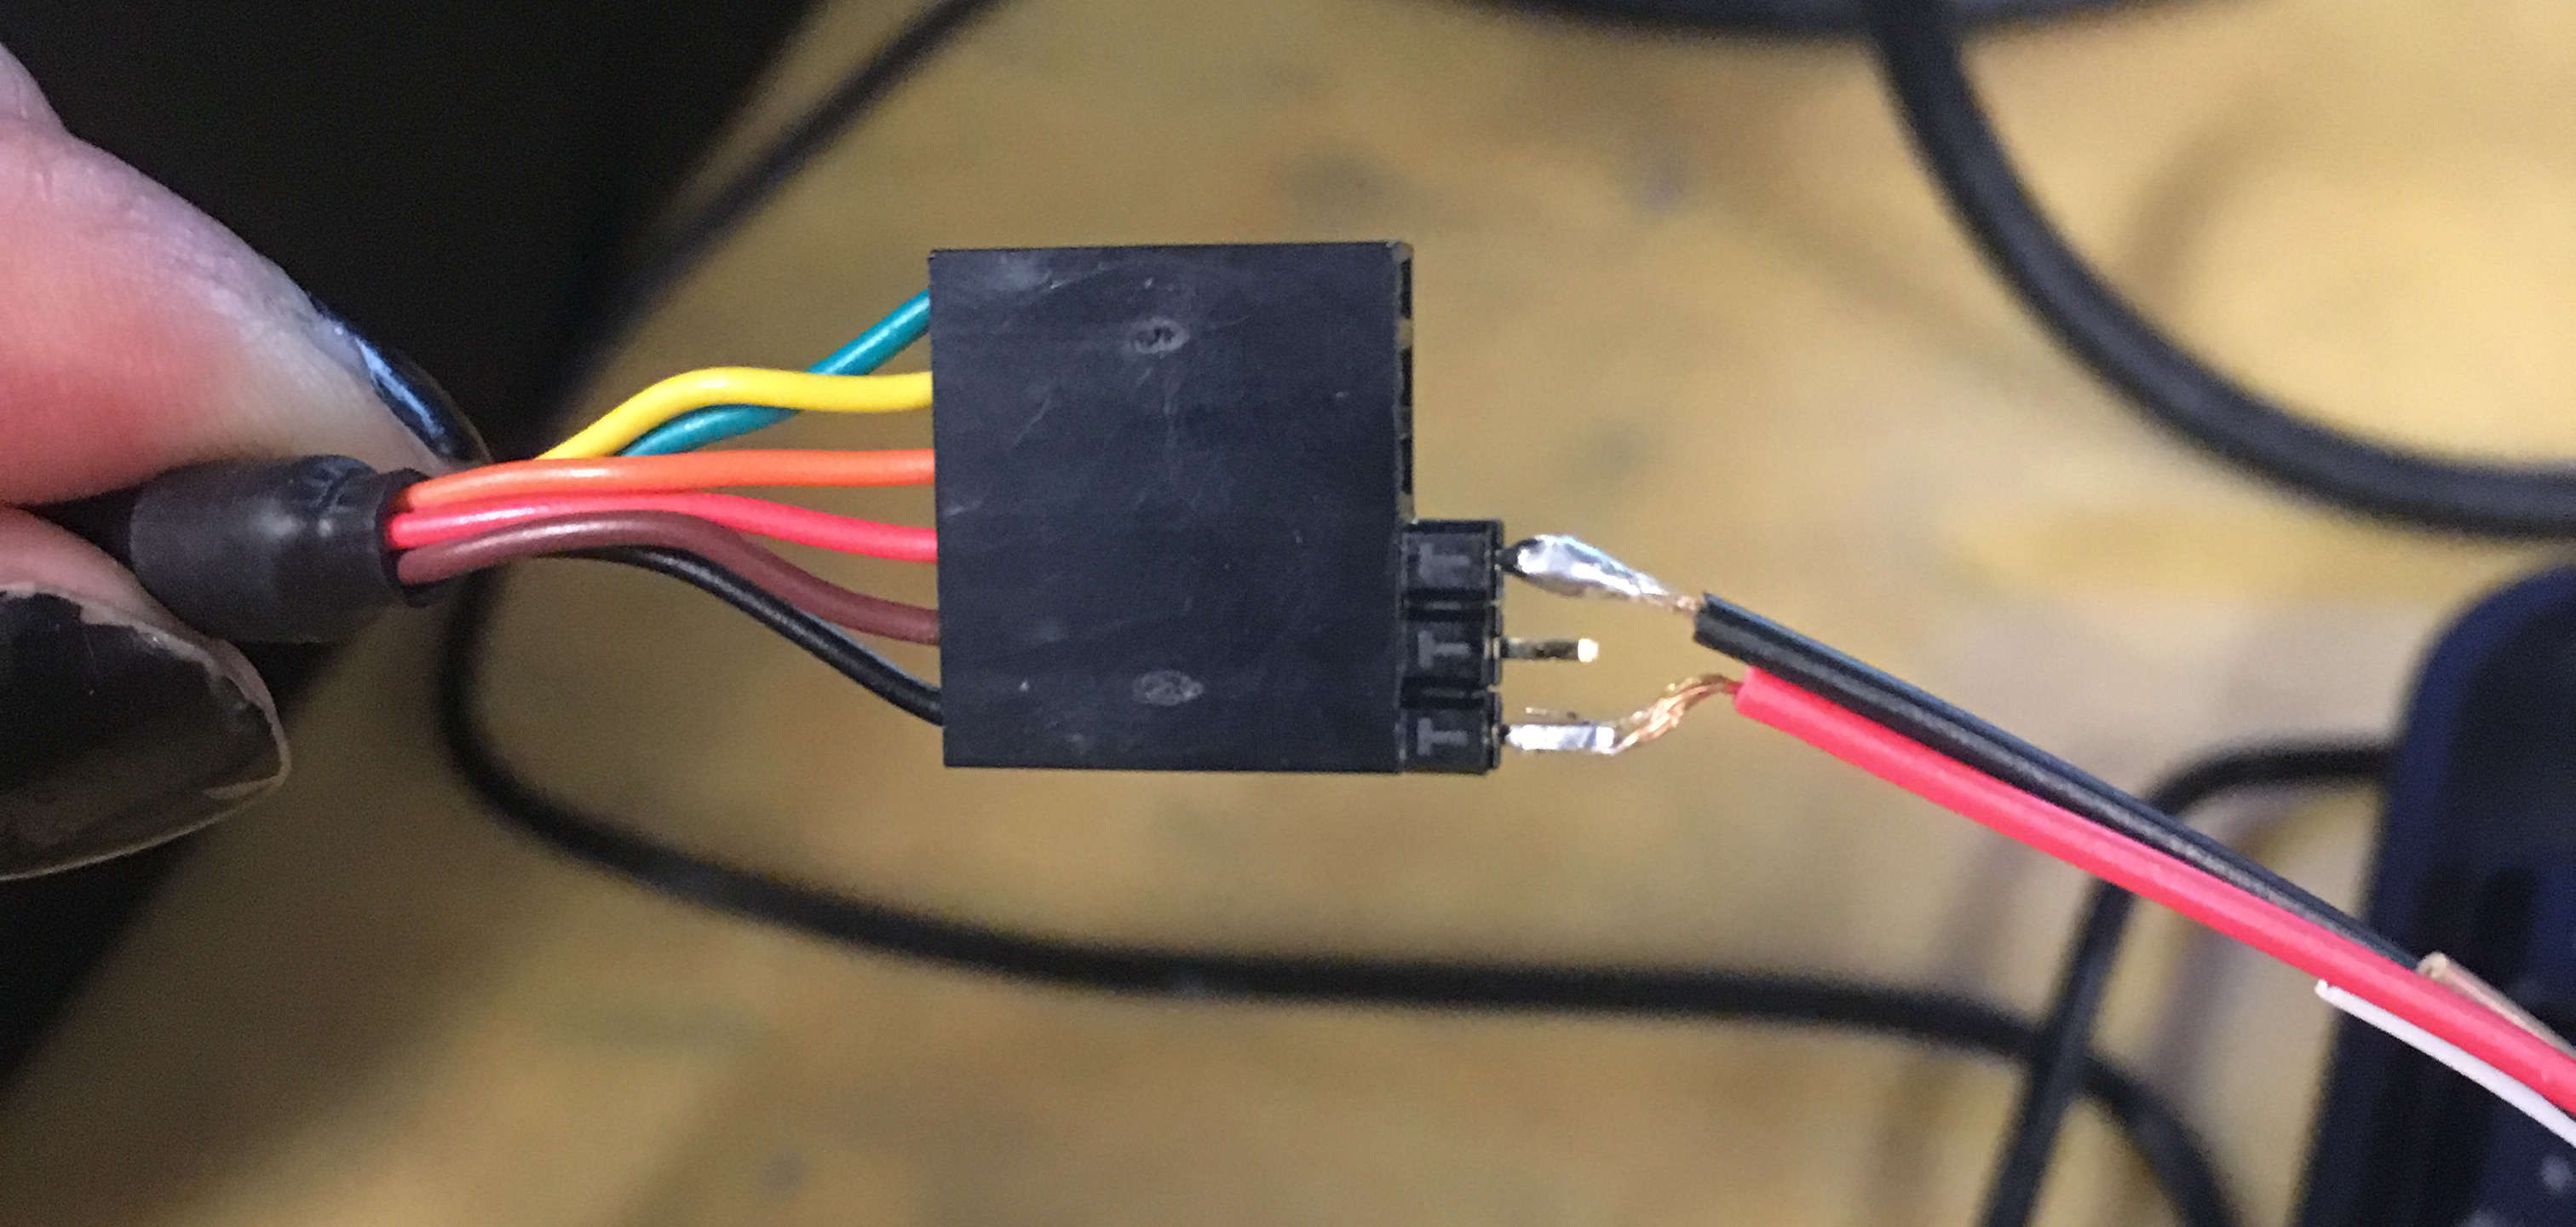
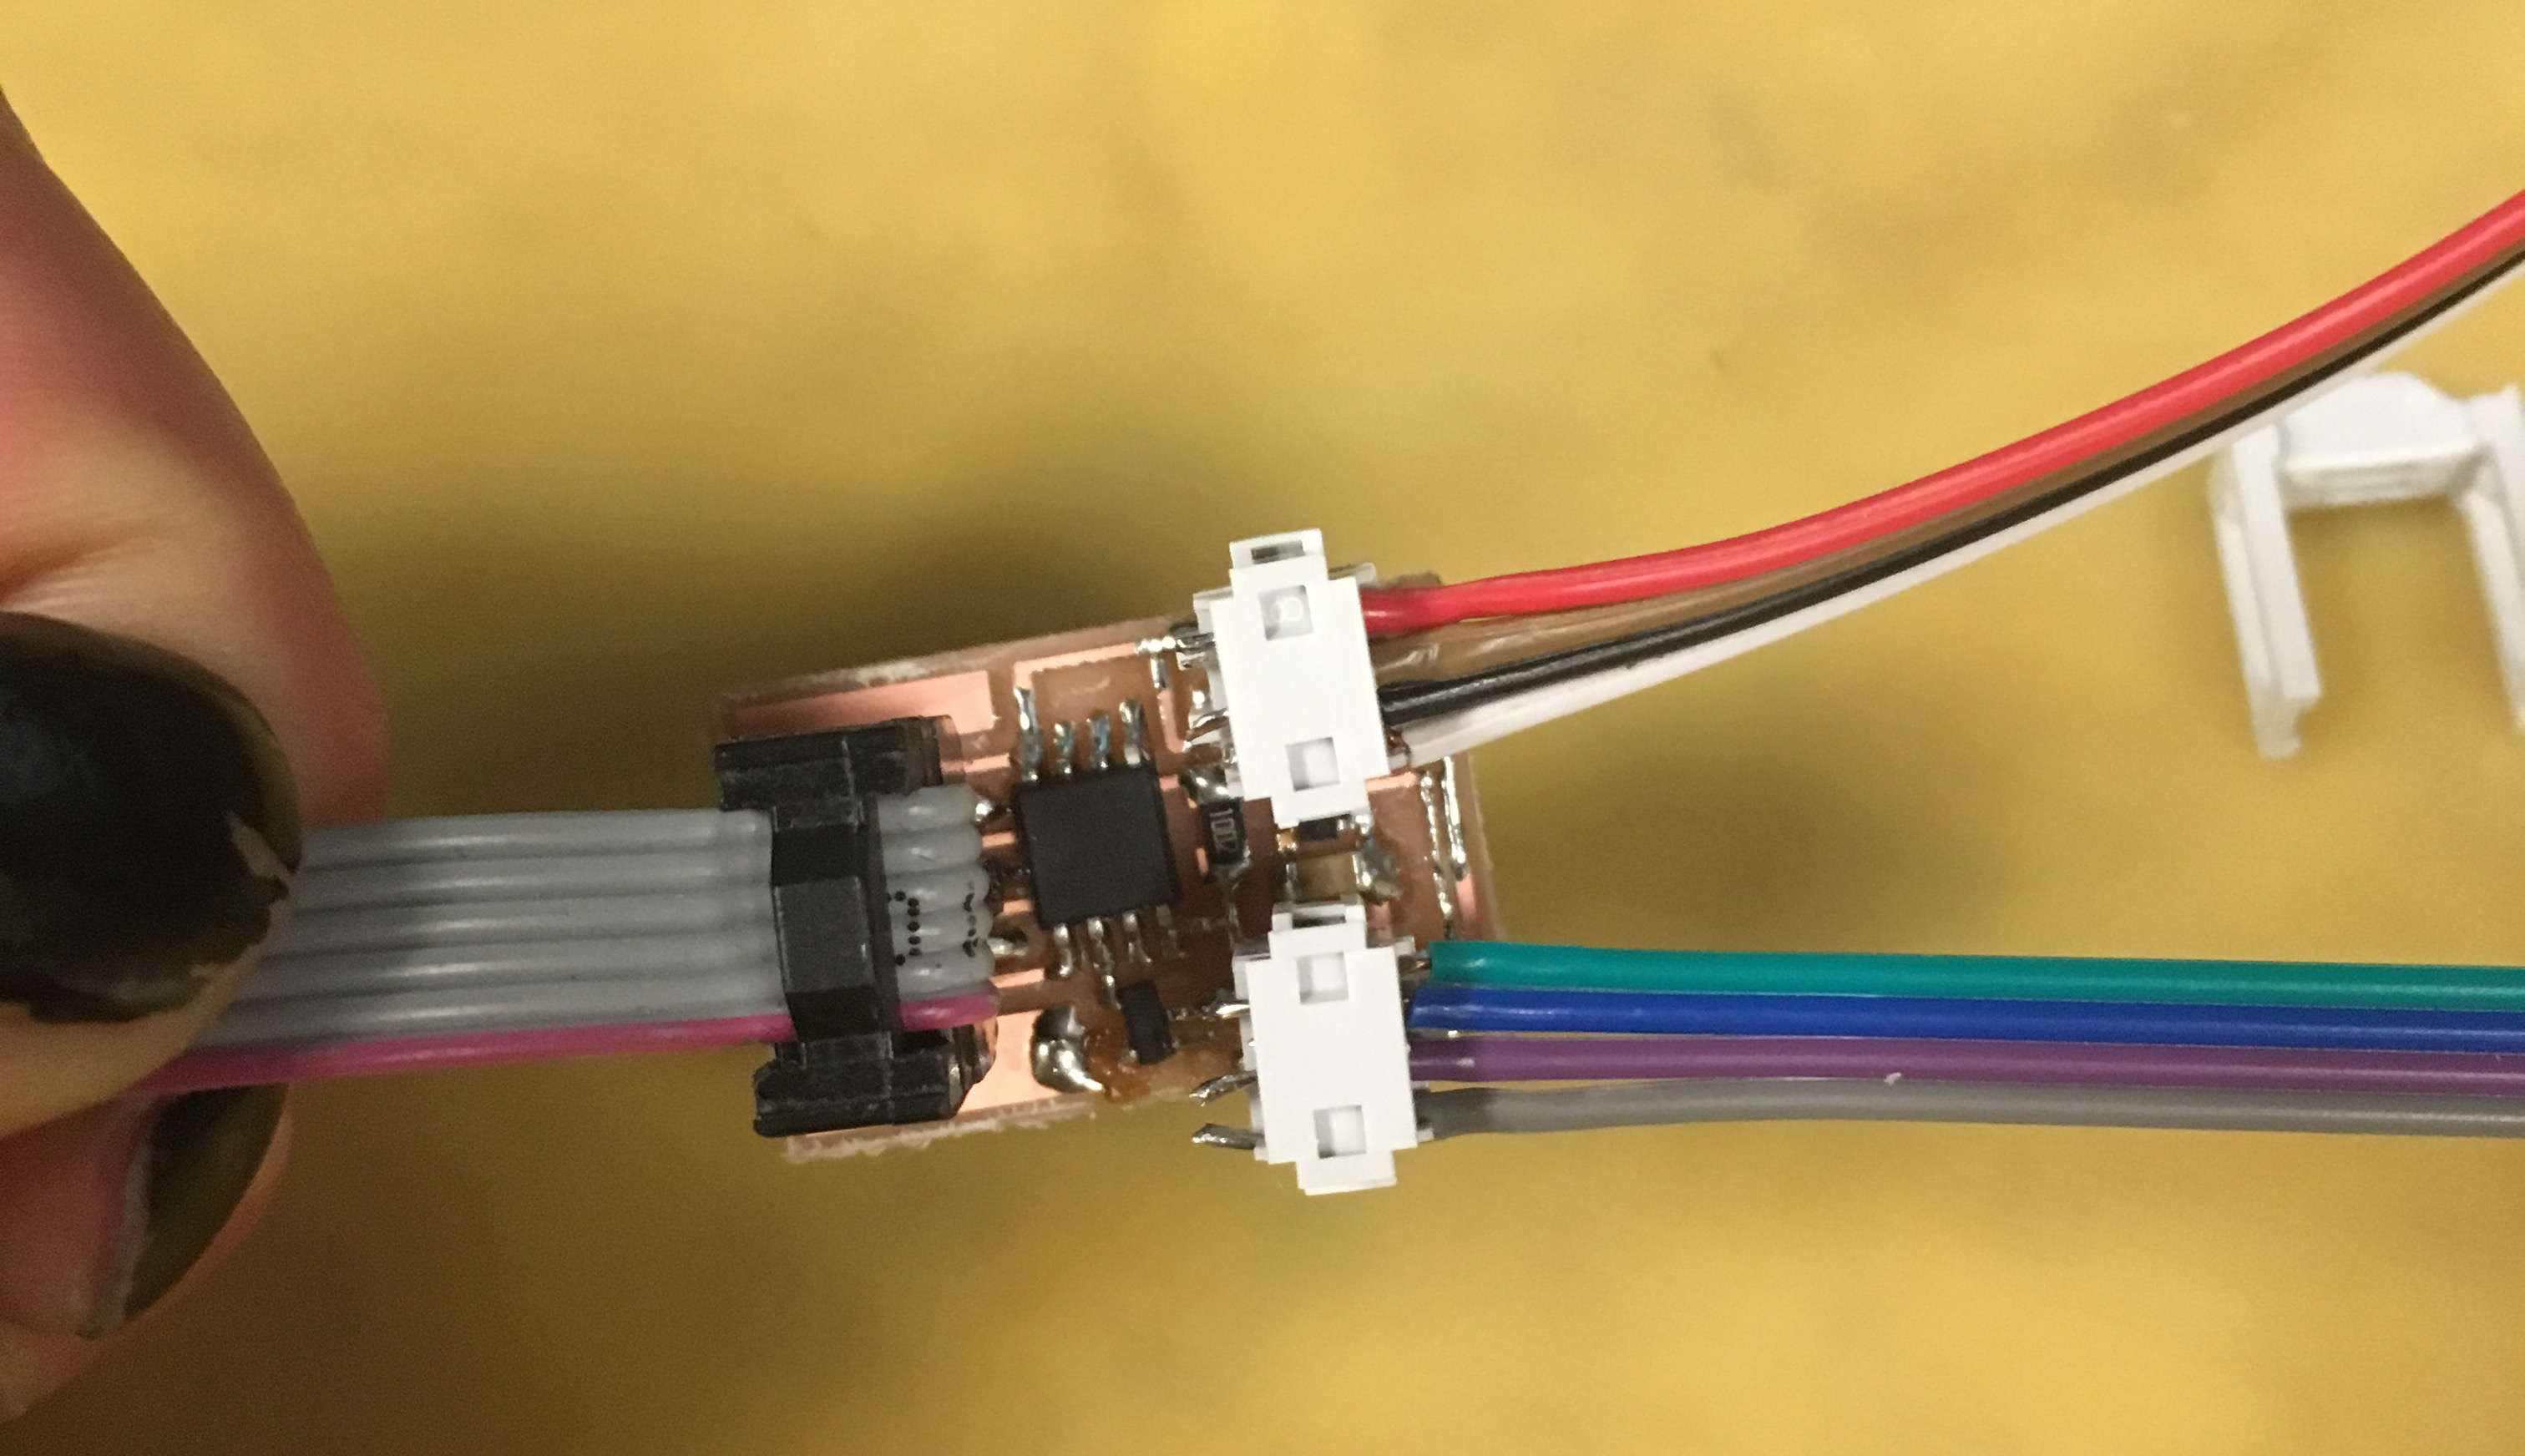
And, for future reference, exactly the way that all of the wires were plugged into the board:
Technically, this is sound coming out of a speaker of a board that I made, which is different from what Neil's default board does in that it doesn't work quite right?
All of Tuesday was trying to remember how to make databases and interfaces for them. While Flask has an awesome tutorial for making web interfaces that adapt responsively to input from databases, working through all of it, is frankly, more time than I had.
I also, because I am really scrambling on my final project this week, put something in VR, which is an interface.
Later, I will also have this and other VR scenes be cued by putting different cubes on a little interface that reads them, which is technically an input device working with that interface.