This week we built a machine!
This week, our goal was to work together as a section to built a mechanical machine with automation.
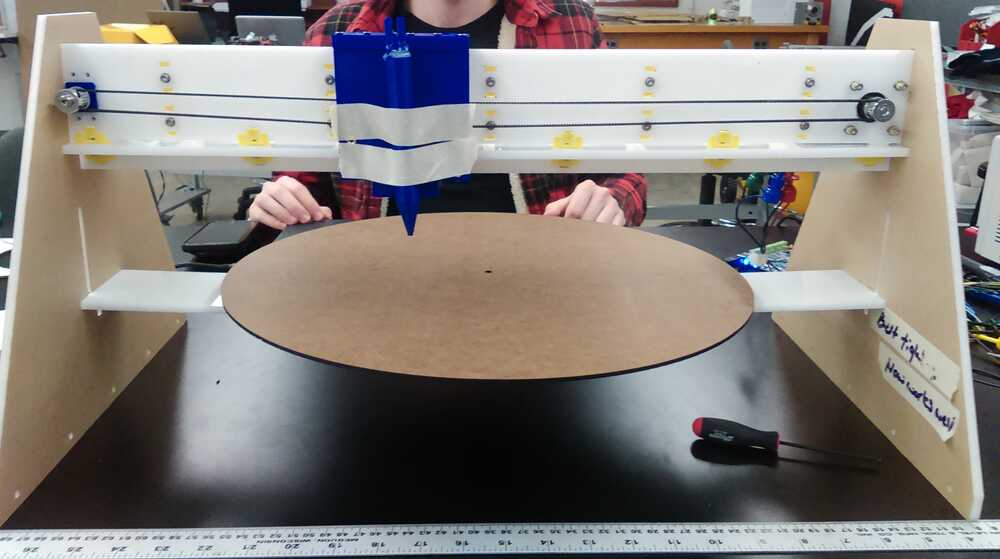
The Harvard section decided to built a polar coordinates painting machine that would be able to paint arbitrary designs using one linear axis (r) and one rotary axis (theta). We wanted to use a paint extruder as the drawing element.
See the Harvard Section Machine Page for documentation of our machine and its design, construction, programming, and testing.
I didn't play a huge part in the conception and design of the machine, but I did help with the assembly and troubleshooting. First, I stopped in for an hour or so to help assemble the linear axes. I learned how to install the heat-inserts with a soldering iron, but I think I ended up putting them in the wrong way, so that wasn't very helpful.
Later, I contributed to the algorithm for motor control by explaining how to convert images from cartesian to polar coordinates.
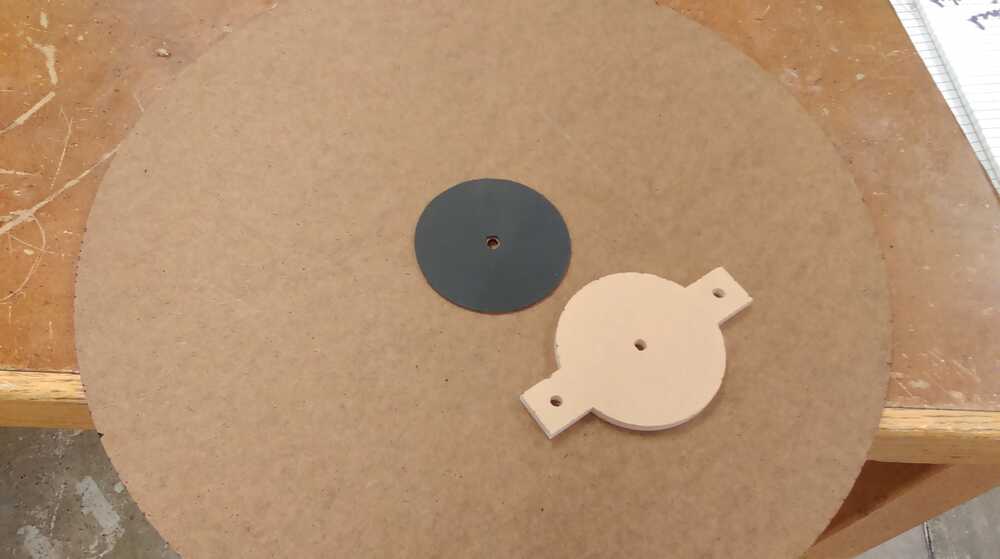
The main work I did was on the rotary turntable. Lincoln had come up with a plan for mounting the turntable on an acrylic bracket mounted directly to the motor shaft, while the motor would be screwed directly to the frame of the machine. We ran into problems though in mounting the acrylic bracket directly to the motor shaft because our laser cutter wouldn't cut the walls of the D-hole exactly perpendicular, causing the bracket to tilt on the shaft. In order to fix this problem, I first drilled out and installed a custom nylon spacer on the shaft to give the acrylic bracket clearance from the frame. This would also prevent the motor shaft from protruding through the workpiece.

Next, I used a drill press to drill out a straight hole in the center of the bracket that would fit the motor shaft snugly. This allowed the bracket to fit more-or-less straight. Since we'd be using dripping paint as our print-head, it was not necessary to be exactly level.
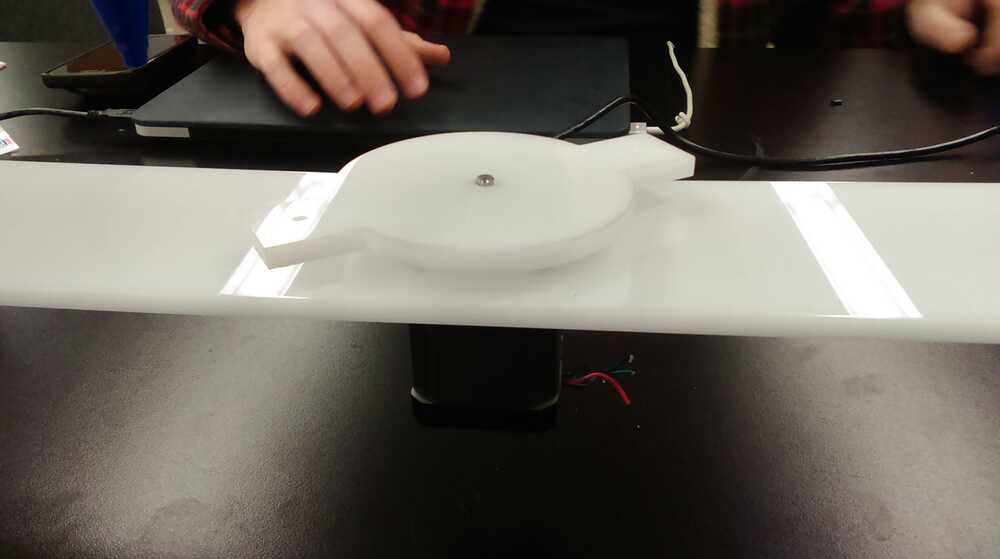
We wanted to be able to remove and replace the turntable easily in order to mount new pieces of paper or canvas, so I stuck a piece of rubber sheeting to the turntable that would give a fairly-high friction mount to the acrylic bracket. This would allow the motor to turn the turntable without a rigid and hard-to-remove connection.
With all of this done, the turntable could be mounted and was ready for testing.
My last contribution was to set up the Harvard Machine Week page with a style-sheet and basic outline so that others could add in their documentation.