Week 2 - Computer-controlled cutting

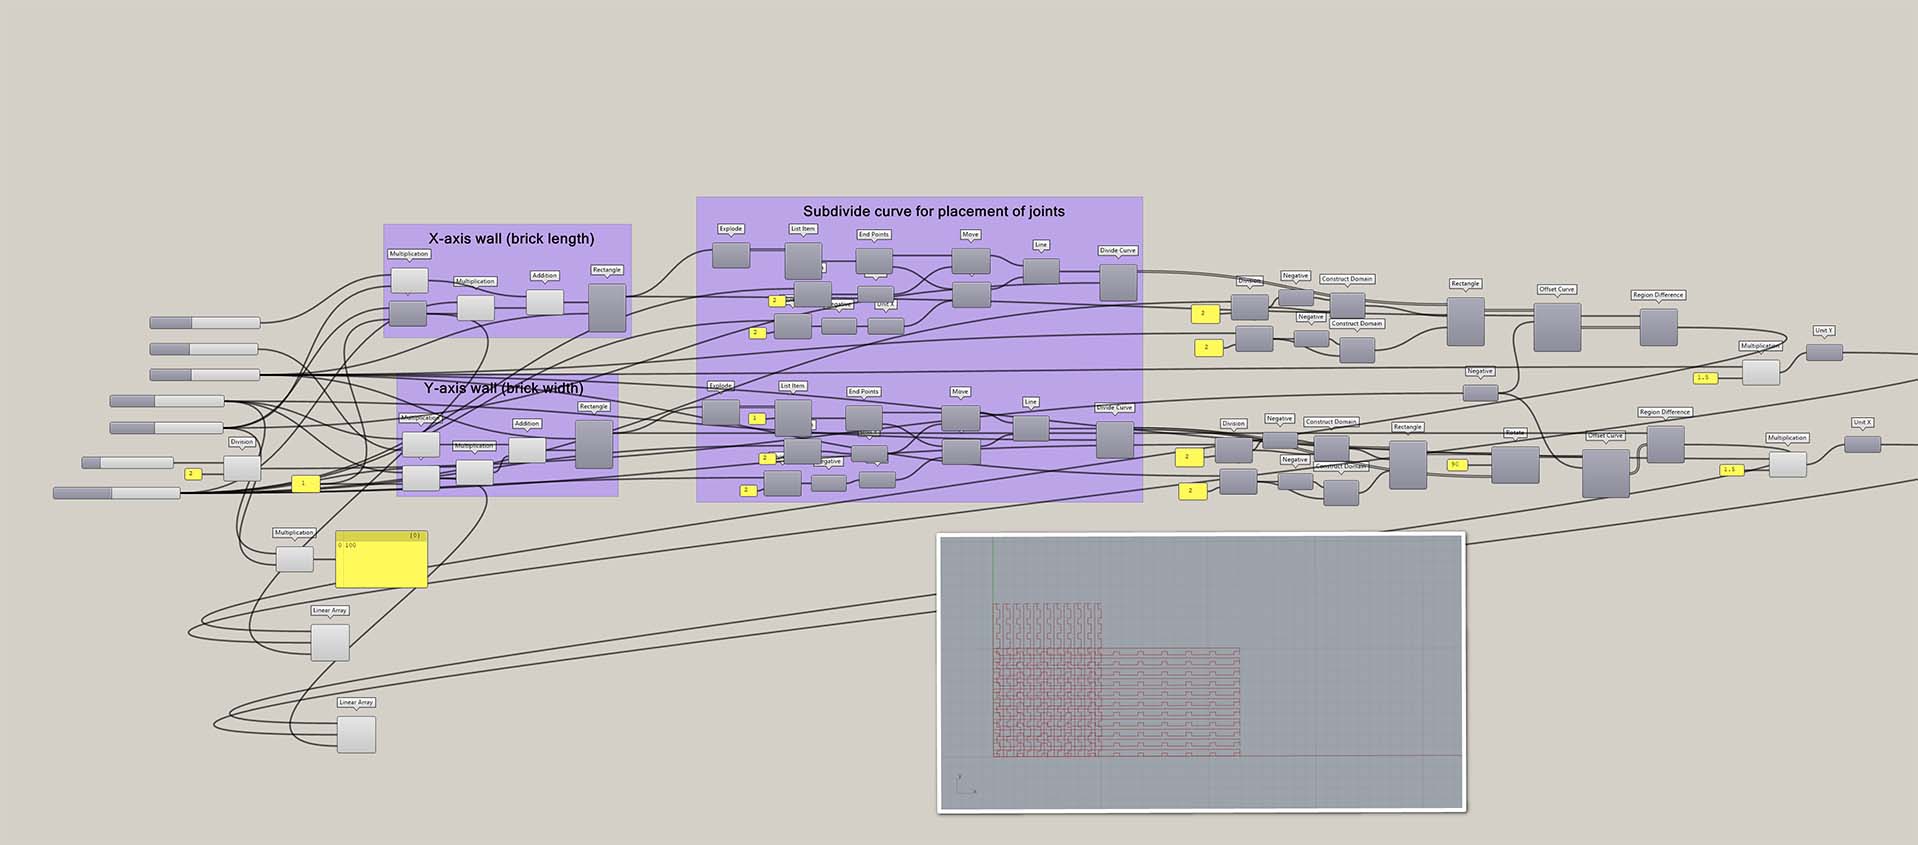
This week's exercise was to develop a parametric design of an object to be cut on a laser cutter. It just so happened that I had to produce a mold for my studio assignment and, instead of doing it by hand I decided to produce it strictly in Grasshopper. The mold would be used to cast 1:25 CMU bricks for a physical model.

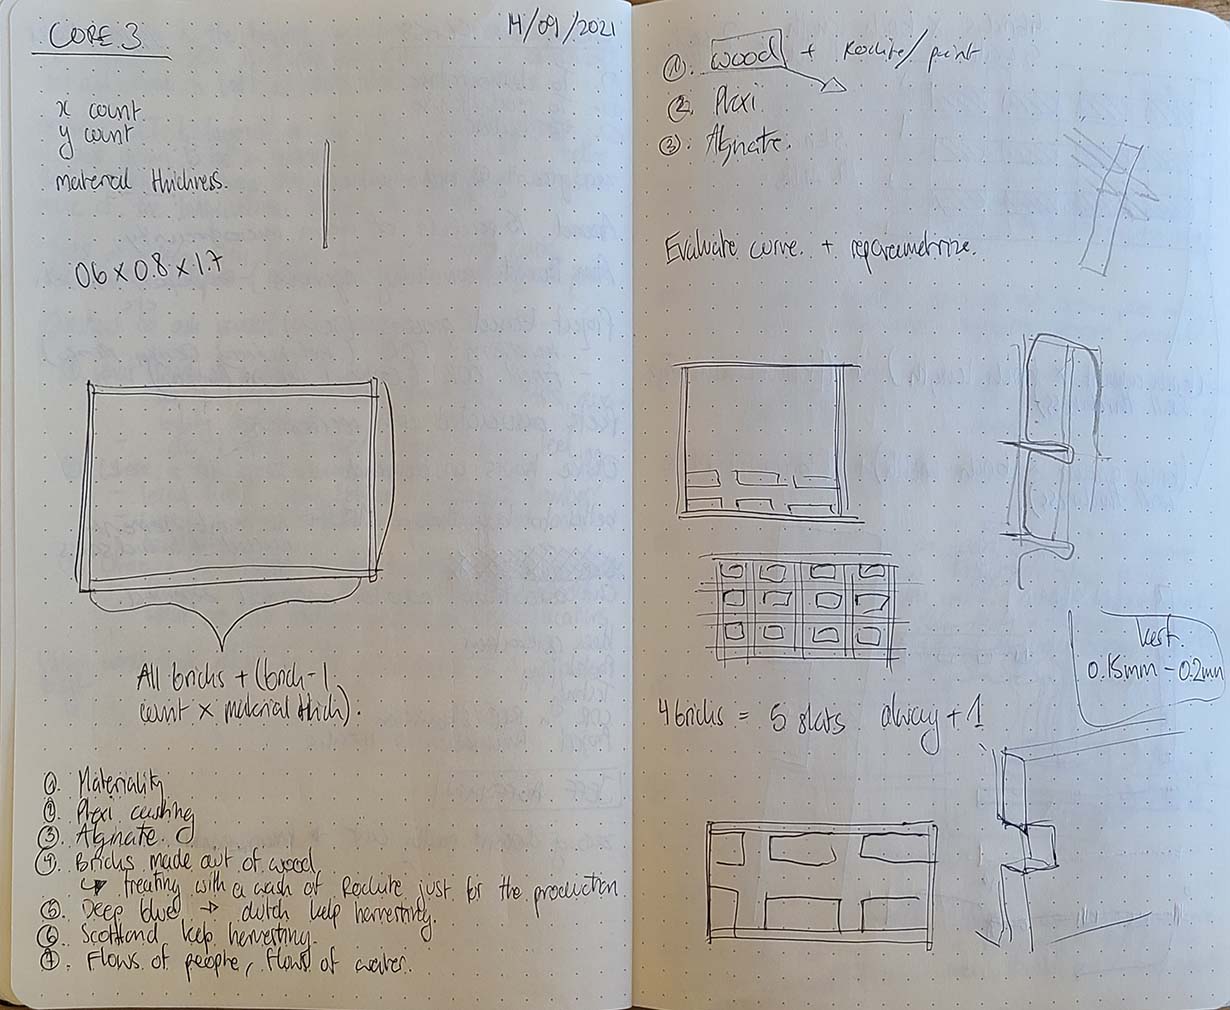
Some initial sketches of my thought process. It took me some time to work out how many walls my mold would need for a given number of bricks I wanted to produce. I even had to start by creating a script that just arrayed the bricks into a grid to help myself visualise what the pure laser-cutting script will have to do.

The script basically produces a rectangle that is the height of a stipulated brick and the width (or length, depending on whether it is going in the x or y axis) based on the amount of bricks desired and the dimensions of the brick. It then explodes the rectangle, grabs the long edge, subdivides it based on the amount of bricks wanted and in those subdivision points places a rectangle that later gets subtracted from the original rectangle to produce the outcome lasercut curve. The small rectangle is additionally controlled by the kerf offset for a good press-fit joint.

The parameters are as shown:

Here are some of the photos of the process. The laser cutting worked well, and the kerf-adjusted holes made the assembly process really quite easy. For the purpose of casting the bricks for my studio model I had to apply hot glue to the edges of the mold to keep the rockite in. FYI, the bricks came out nice and uniform (with some minor cracks here and there... but that gives them soul and personality!)

One other task for the week was to test how vinyl cutting works. I must say that I don't anticipate using the vinyl cutter extensively for my projects, but I was amazed to see that you can create circuitry with it. In any case, for my test I cut out a blue sticker of the Mars Perseverence rover that I stuck into my sketchbook. I might return to the machine with some more complex designs later...

It took me some time to get the gf setting correct on the vinyl cutter. I guess the shape of my .png was also a little too complicated for a first test due to the amount of tiny angles all around its outline.