Week 4 - 3D Printing and Scanning

This week was all about 3D printing and 3D scanning. For one of my other classes I was already setting up to make some silicone moulds that I would have to 3D print. You can find the STL here.

I got inspired by someone making a silicone combustion engine and wanted to try out their fabrication process by using a "virtual lost-wax" casting technique. This meant creating an outside shell and an inner core between which my silicone would cure. This process, like the standard lost-wax required that I destroy the mould after the silicone has cured. 

I found out that Acetone is the best way of dissolving ABS plastic and, since it's easy to get a hold of, I chose to use it for my demoulding. I forgot about the supports on my ABS print (which unfortunately ended up inside my enclosed 3D print) so I tried out the acetone-dissolve trick on them first. Here's a video that shows that process. This was a bit weird to work with because the acetone would create a sort of sludge that would begin to stick to the mould as well as my hands. I couldn't tell if the supports inside were getting dissolved so I just decided to pour the silicone anyway.

After pouring in the silicone I figured I will have to do another one because I knew this one would be a pain to open back up with acetone. However, before I did that I wanted to perfor the 3D printer test to see what the limitations of my 3D printer would be...

I started off with a 3D printer test file I found on Thingiverse (I couldn't initially get the .stl files from HTMAA website working). In any case, this also suggested that I shouldn't be going below 0.2mm when it comes to the resoluttion of walls or gaps. I decided to use that on my next mould print.

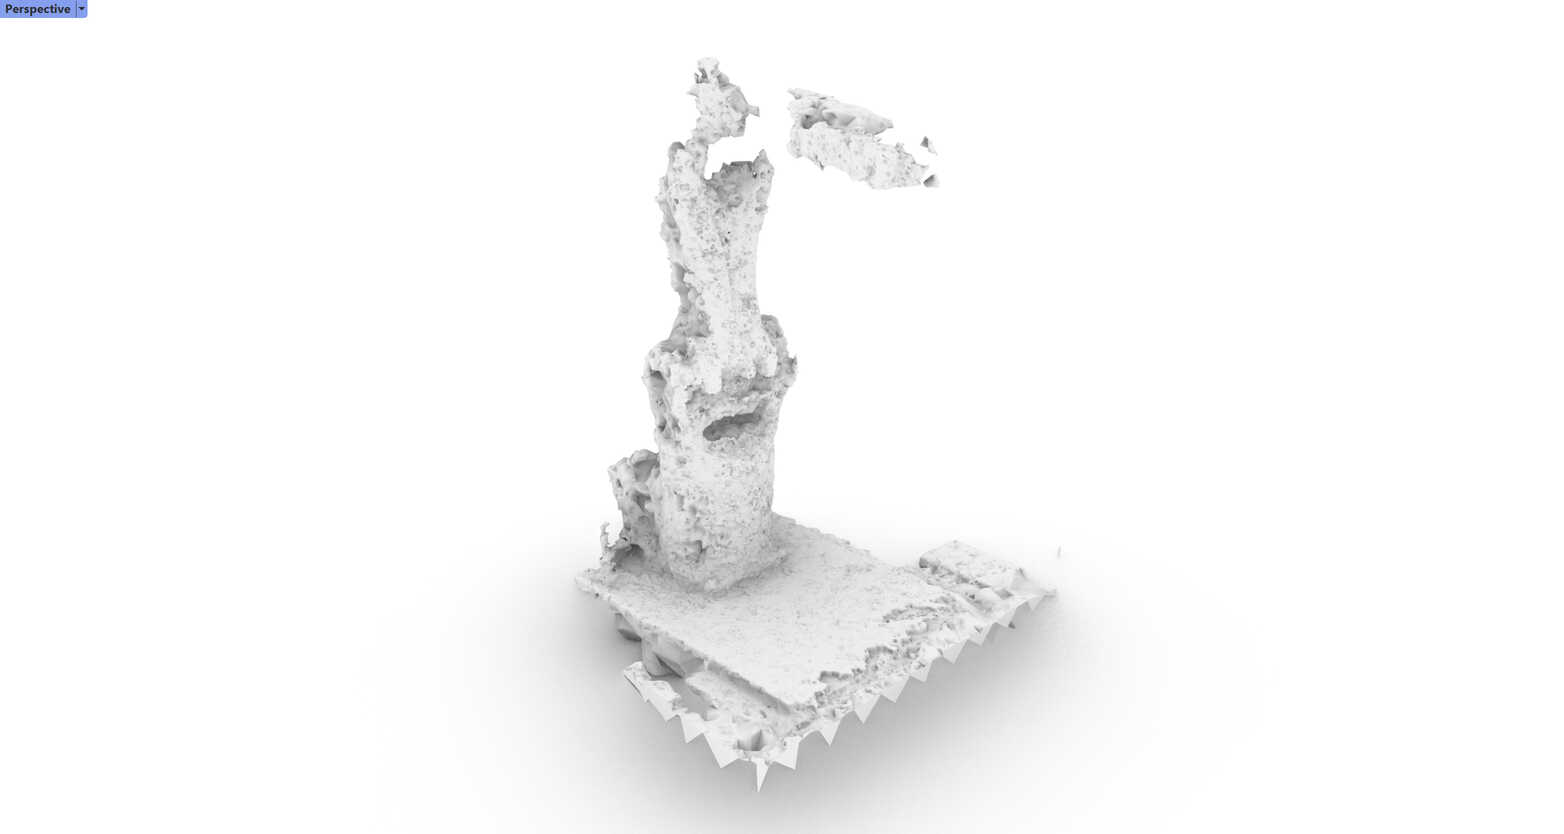
The first print came out quite bad. I didn't notice that someone changed the default settings for the speed and amount of material extruded. I was noticing that my surfaces were patchy and would leak the silicone if I used them. I decided to print it all again.

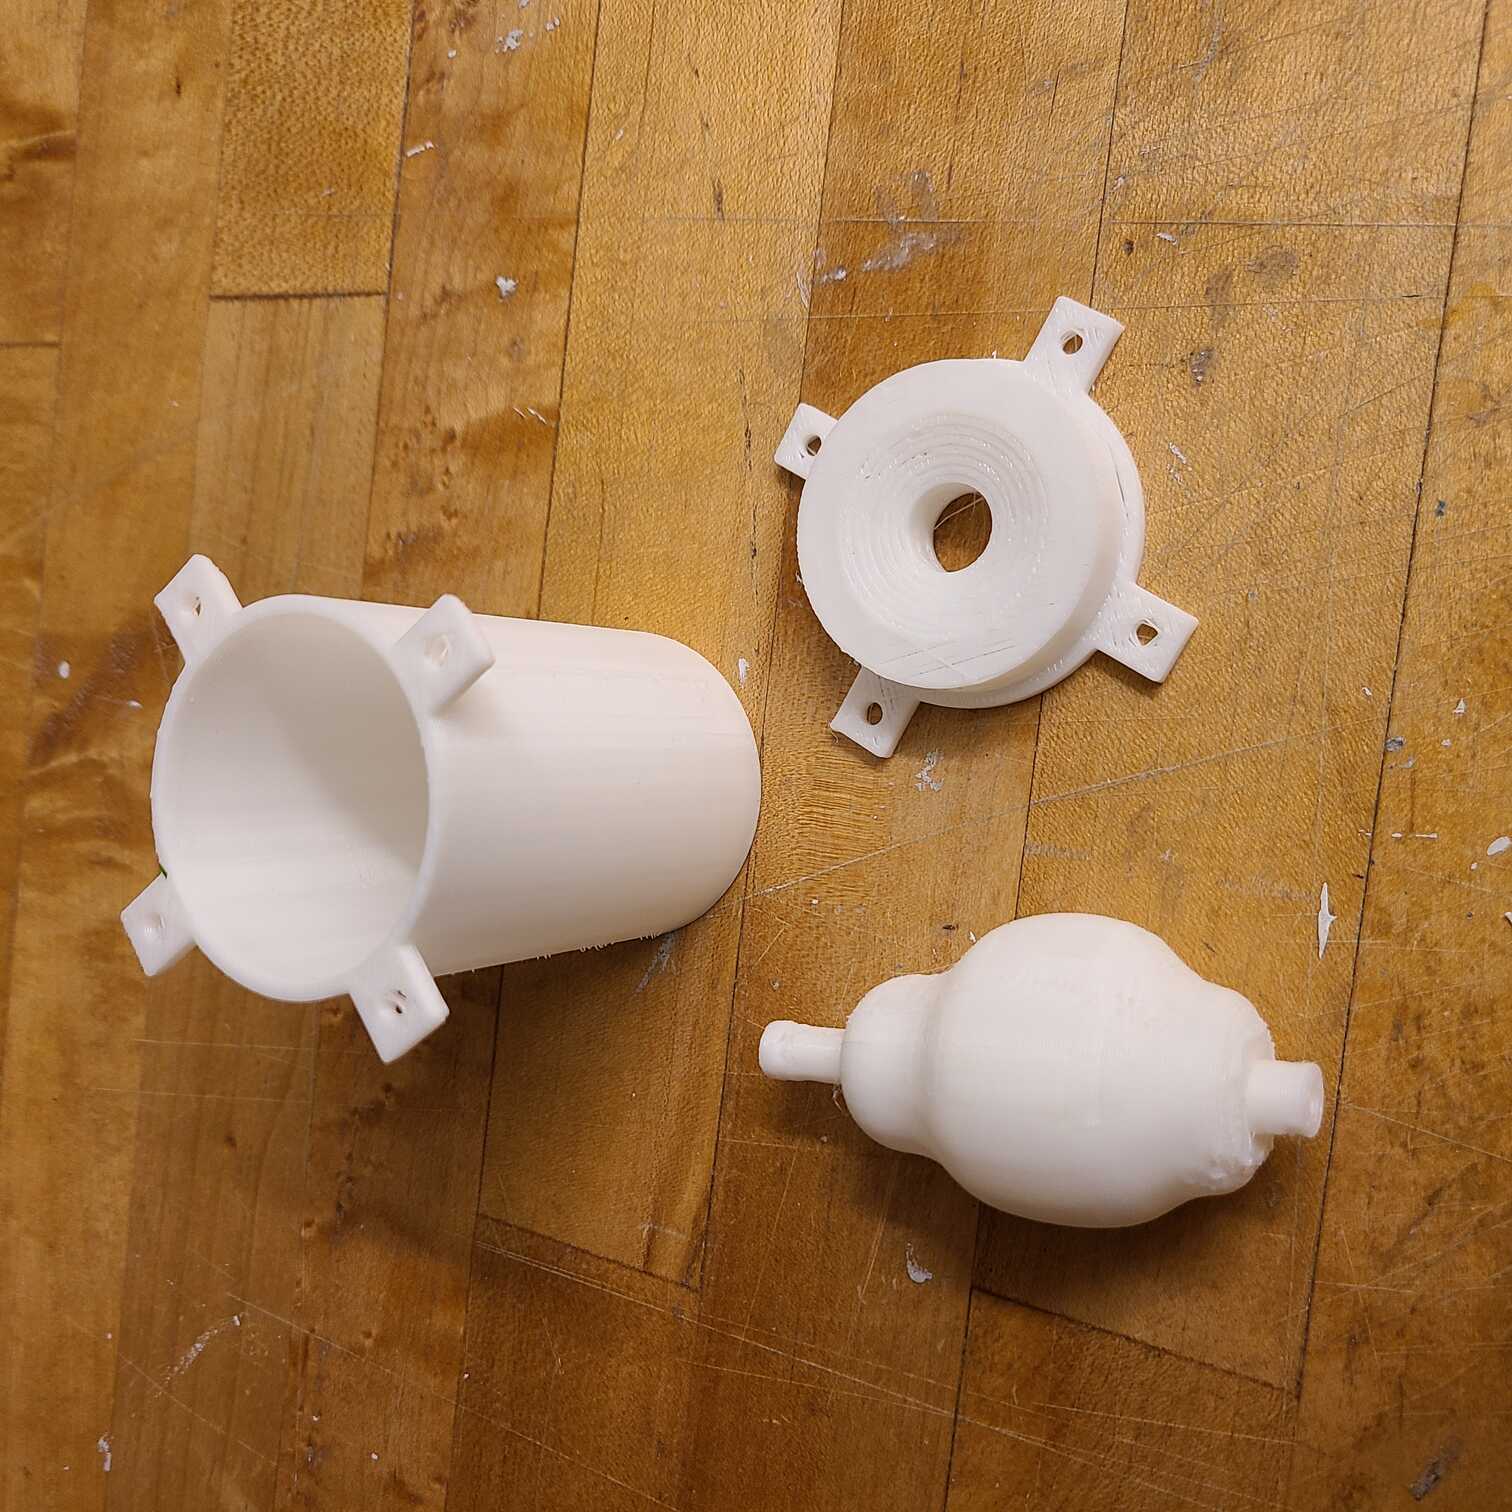
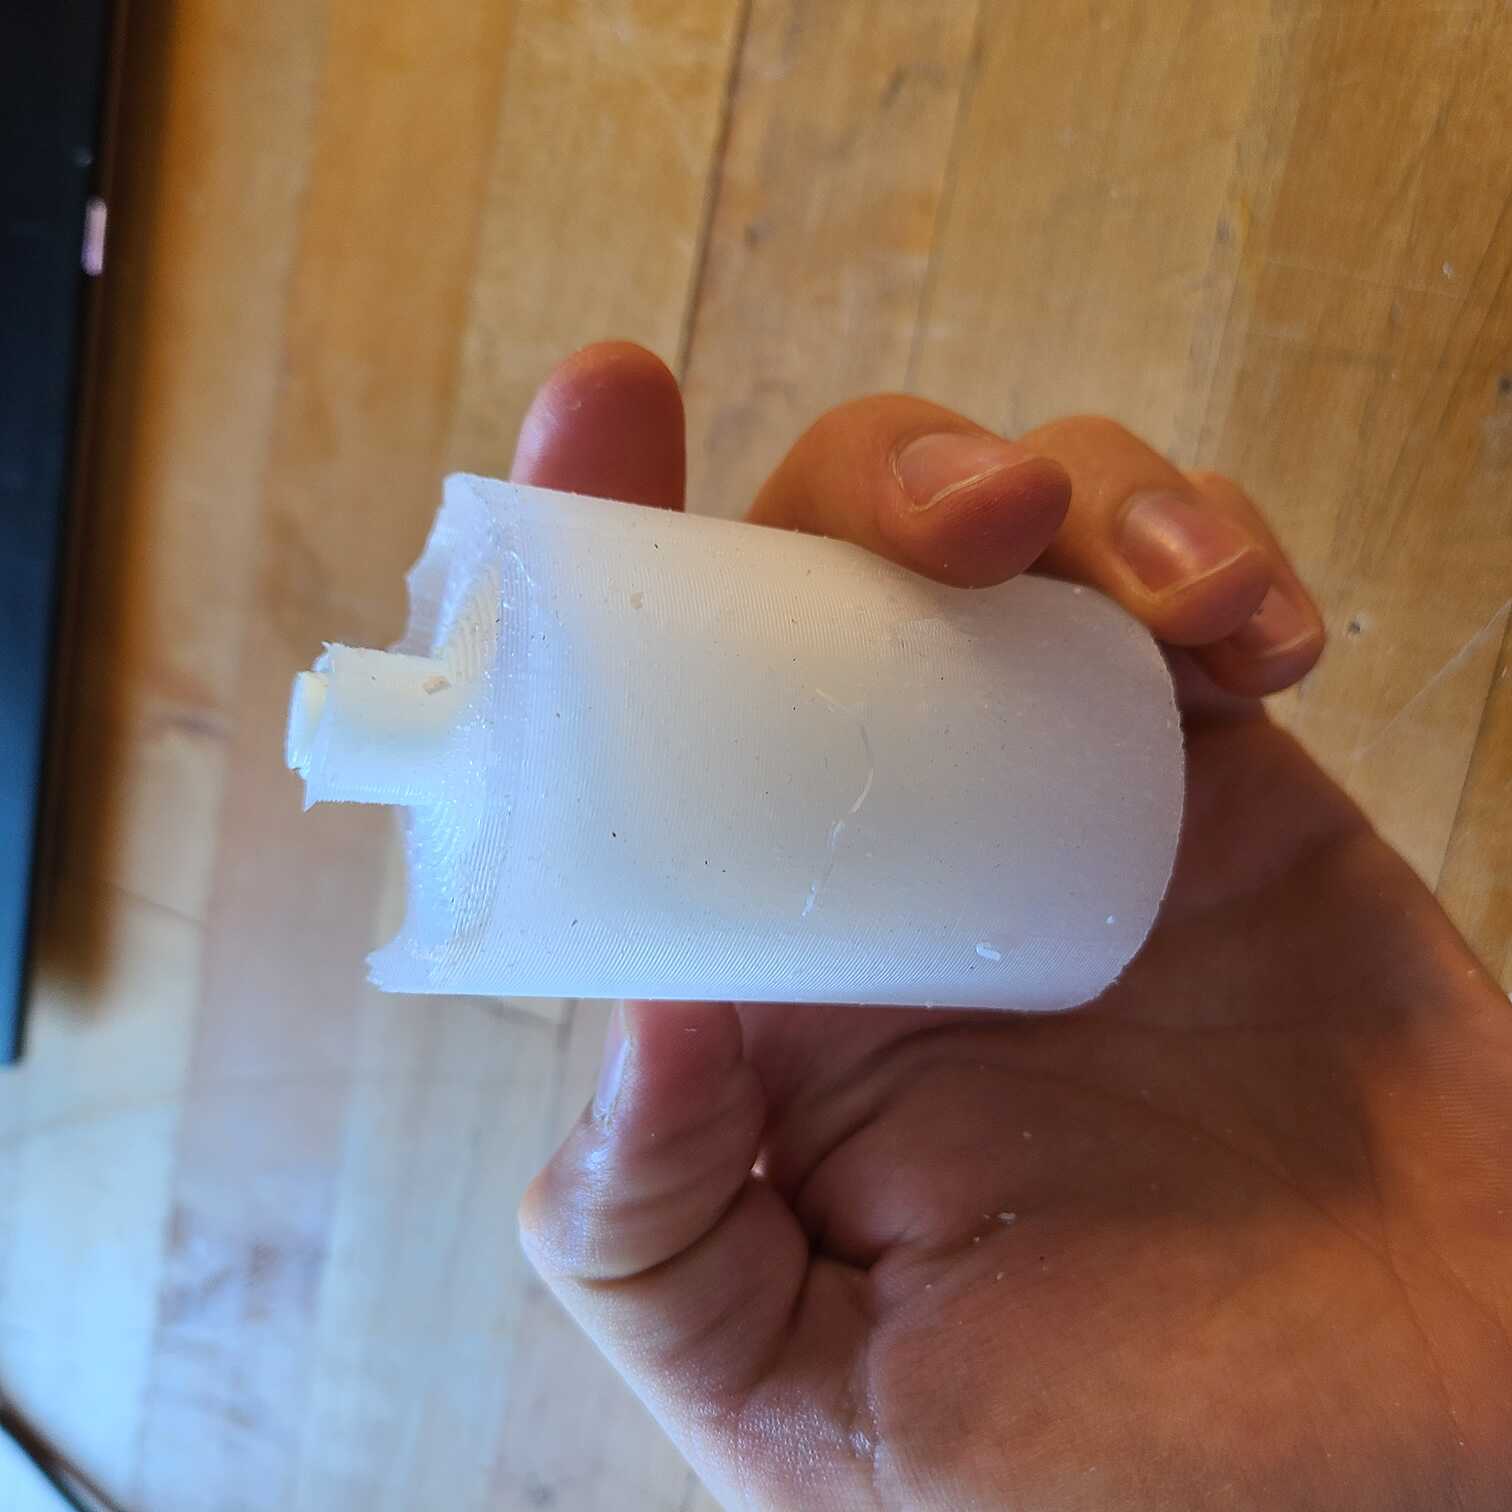
The next print came out much better and I could start assembling the mould...

After assembly I got down to casting. Always make sure you measure out how much silicone you'll need! I had to rush to get a second batch prepared so that my cast wouldn't set.

I also did some 3D scanning. I started of with the Sense but quickly realised that thing was next to no good. I tried some photogrammetry software. Autodesk's RecapPro was something I've used before but when I sent the model off to the cloud it gave me an excessively long wait time due to me having an educational license and I just gave up on waiting for that one. Metashape was cool but it seemed to get confused with my photos. For some reason they didn't reliable produce the metadata that the software used for better triangulation. Ultimately I tried Meshroom and that one seemed the most down-to-Earth and effective. I took some photos of the Kuka robot in the Architecture Workshops and plugged the images into the software. It chugged along and produced a decent model for a quality of pictures I wasn't too proud of. I also think the light conditions in that space are tough. Anyway, here are the results...