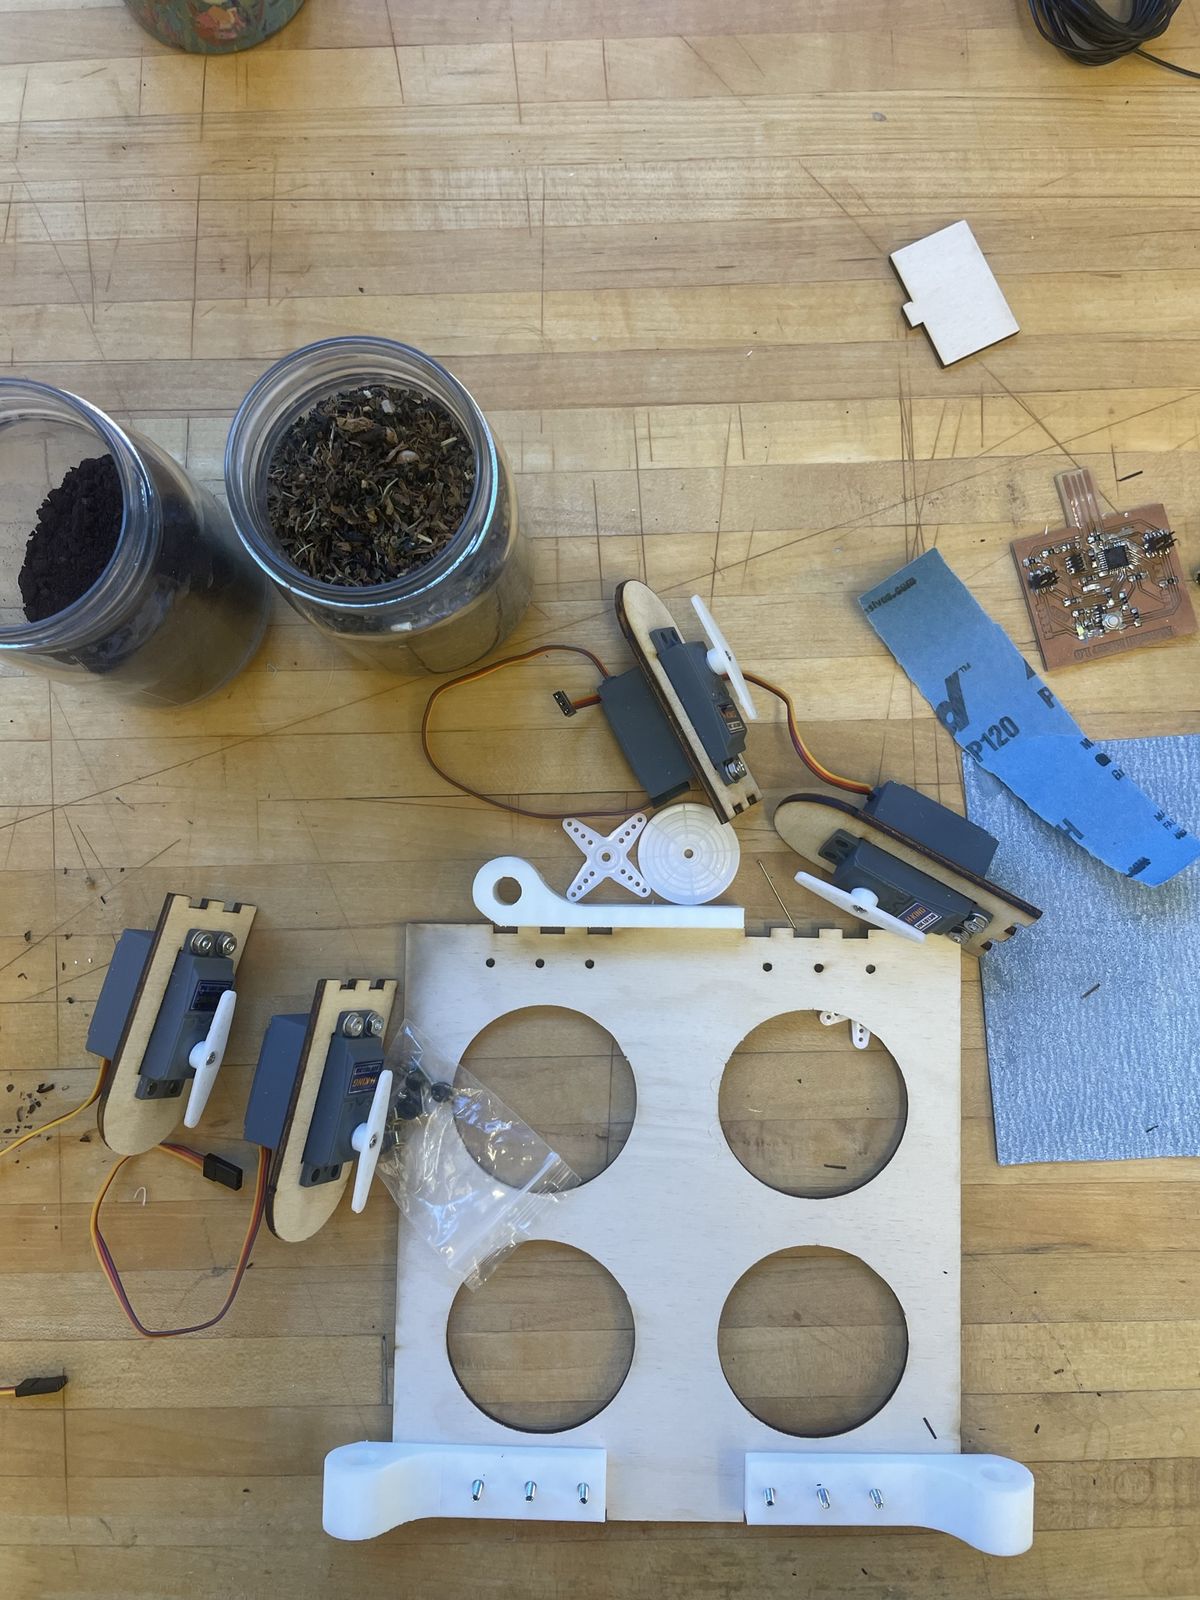
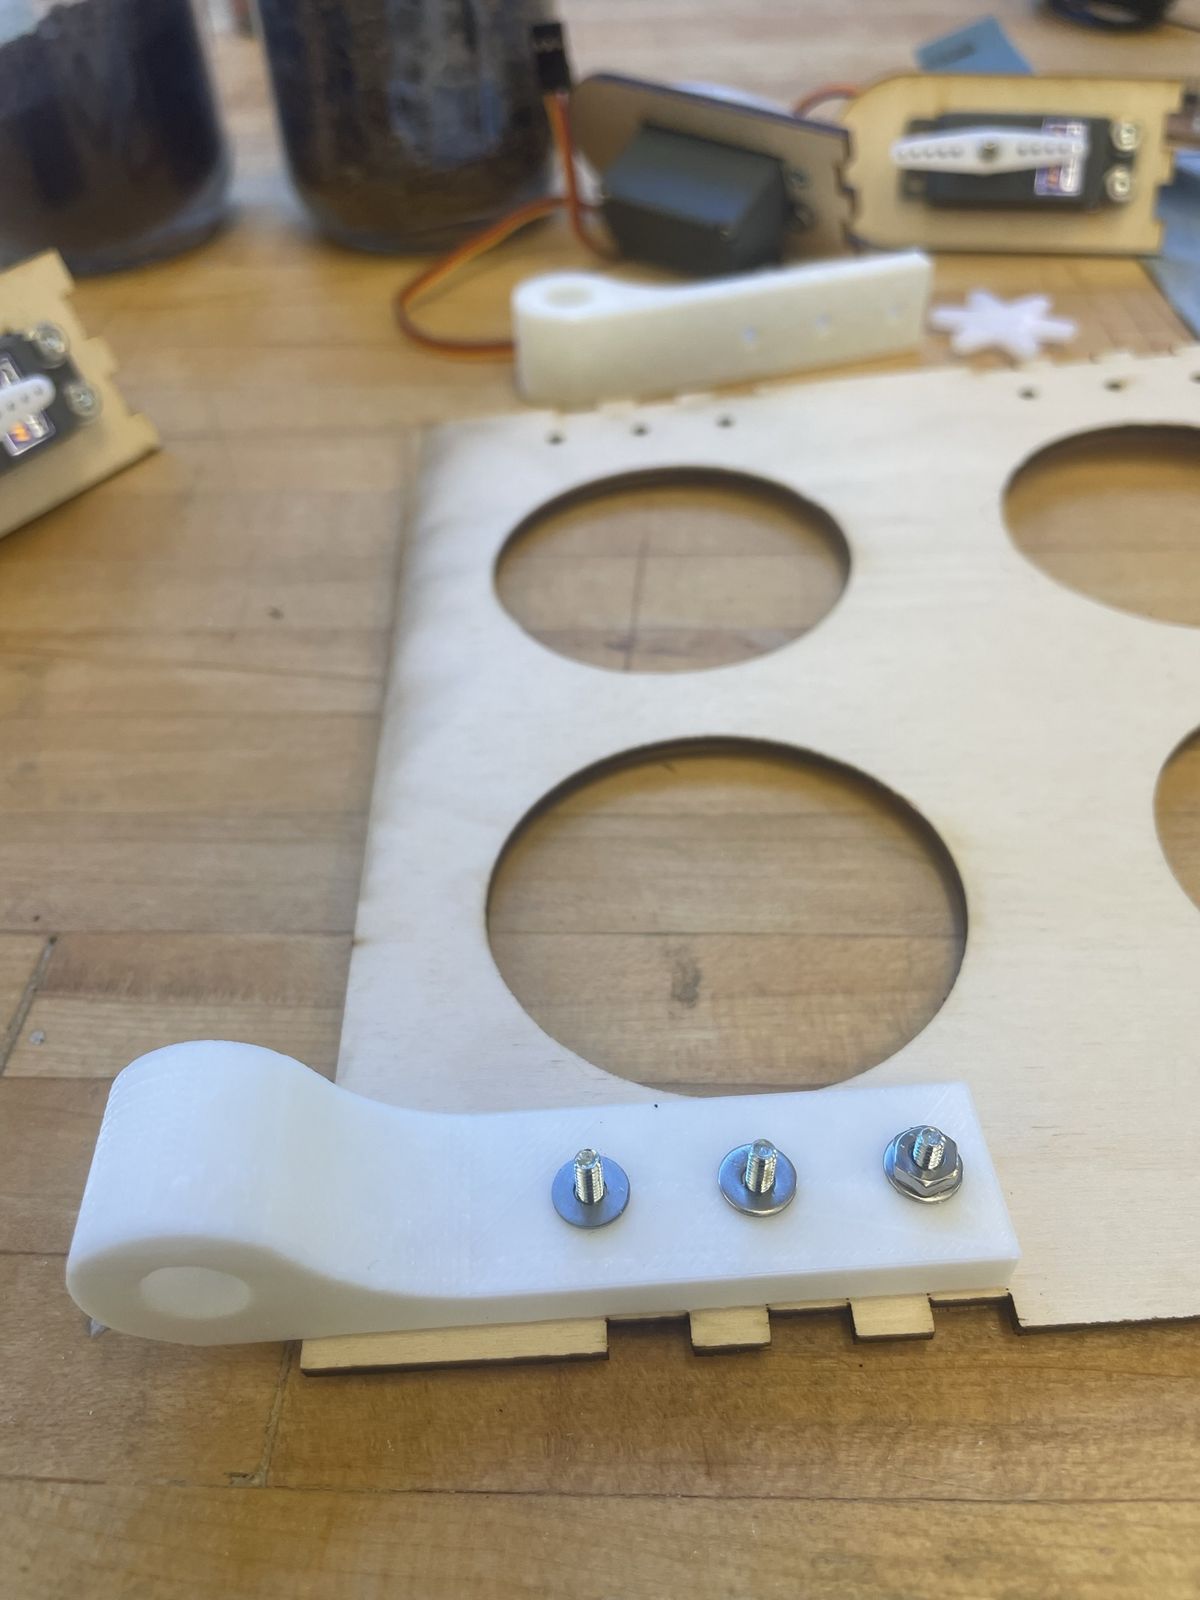
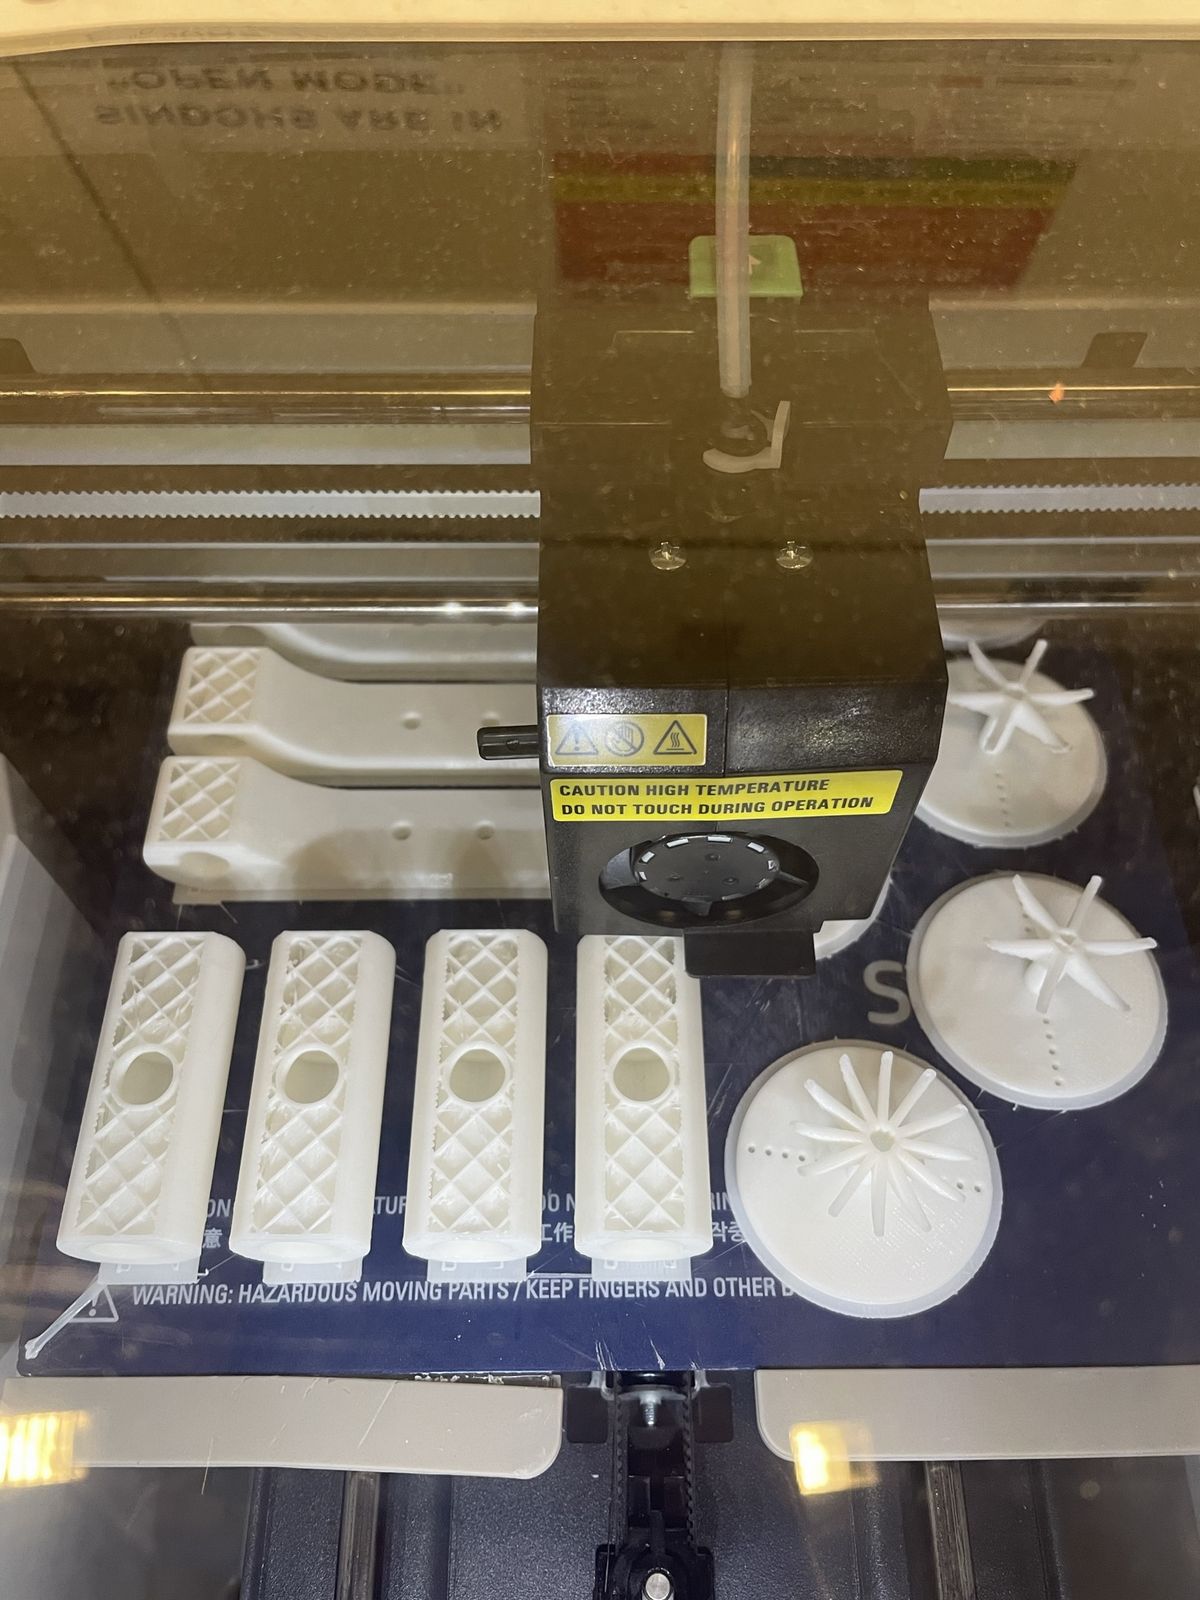
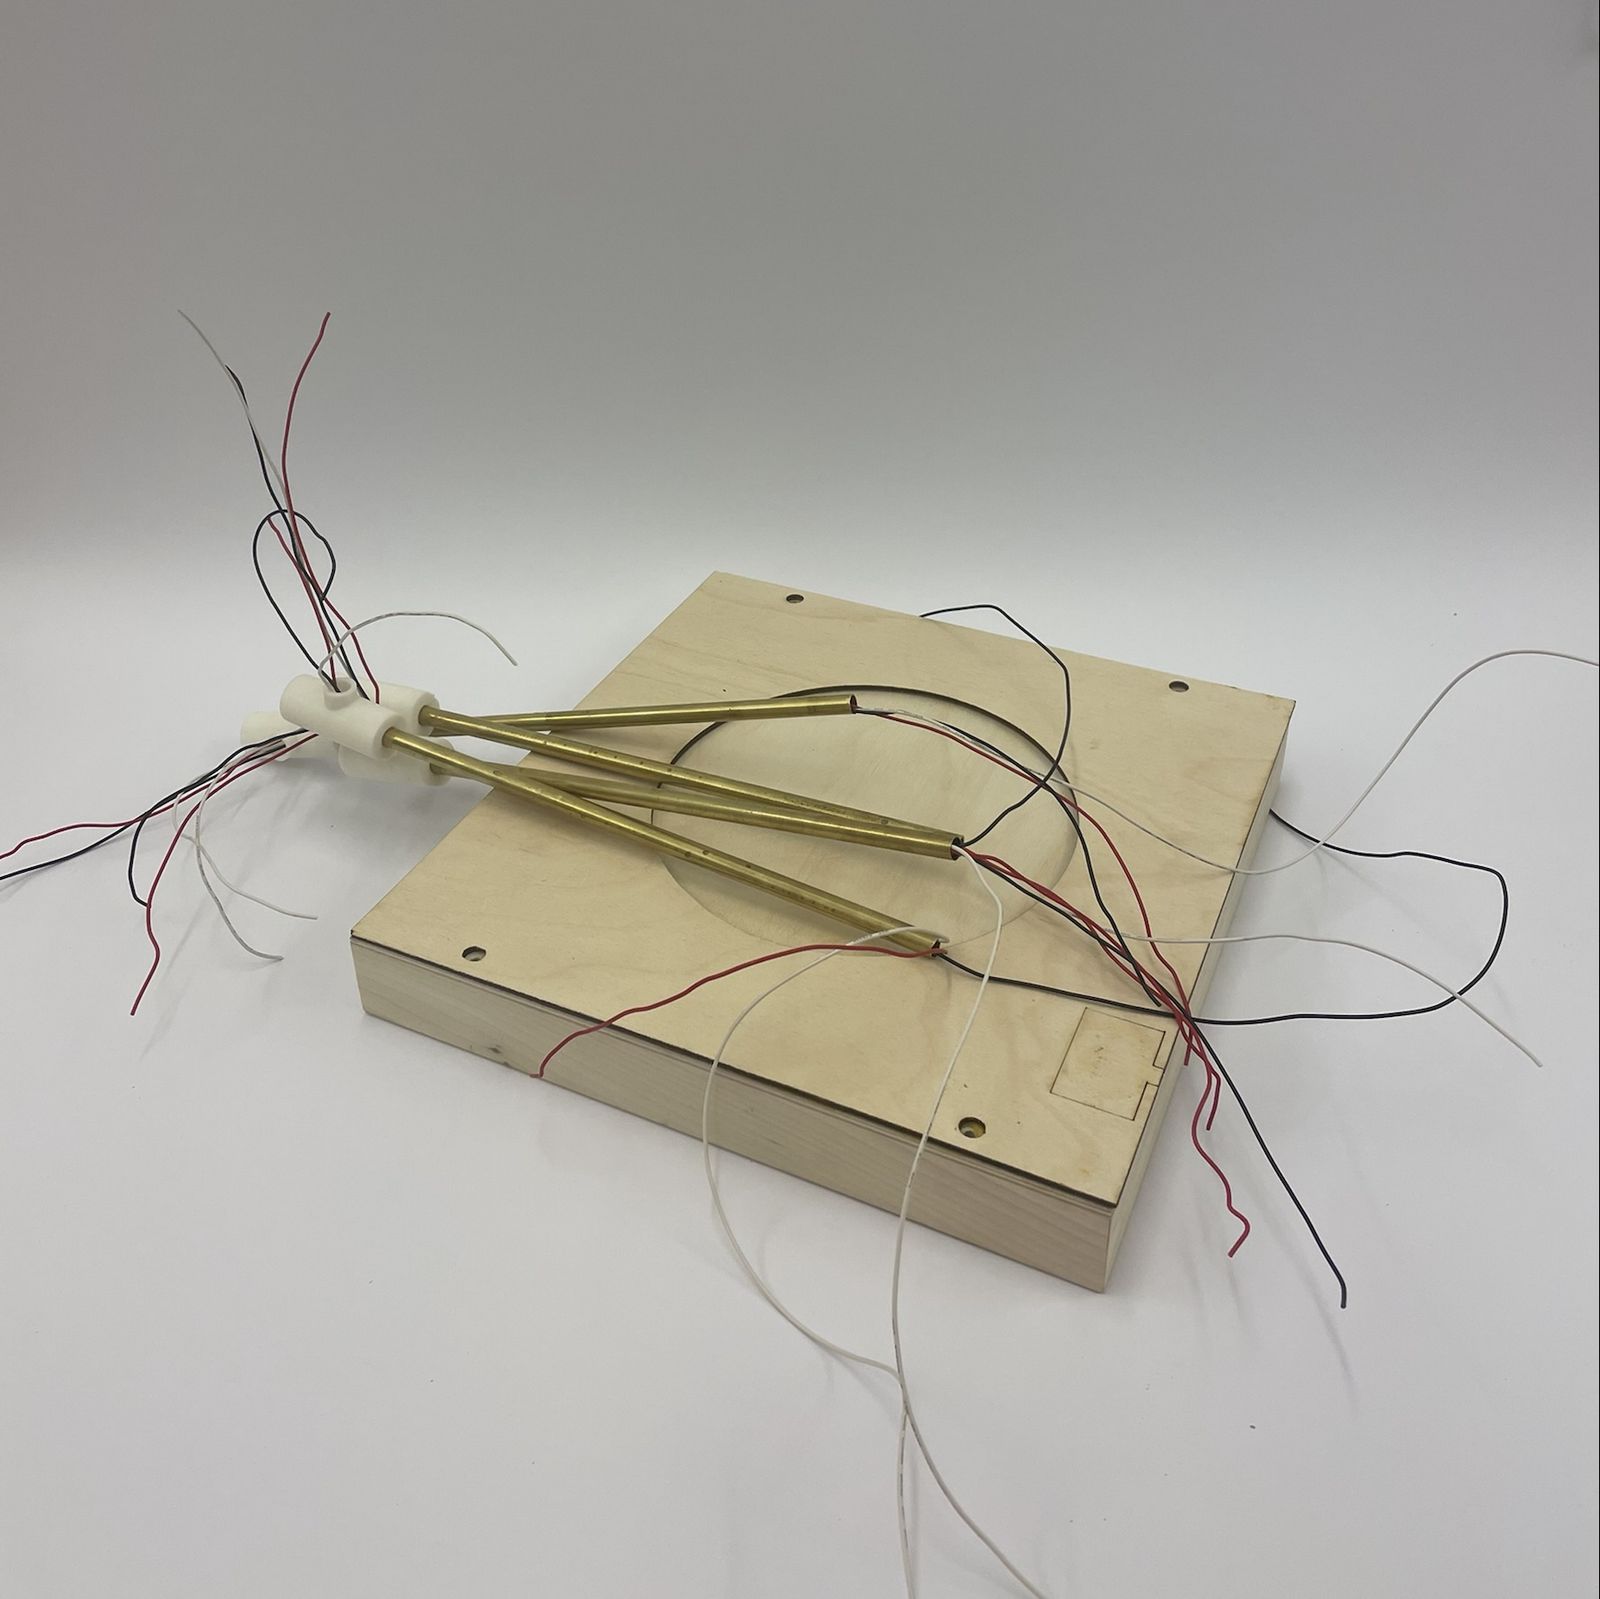
brainstorm

In the first week I designed this machine, which I now think was really ambitious:

I imagined it had maybe 9 ingredients that I could select in a UI, it would dispense them, mix them and then extrude them. 

I had designed this as a bio-yarn extruder but soon realised it could mix any bio material. 

I also realised that designing a dispenser, a mixer and and 2 (or 3!) axis extruder would be far too much for me to handle. Especially given that I have no experience in machine-design. 

w1 brainstorm sketch

I've found that the 'spiral development' structure of this course is so effective, and I think that's how I'm going to structure this project too. It'll also give me an opportunity to pare what is most importnat in this project. Fundamentally what I'm interested in is designing something that : 

  1. Enables Custom Material Design 
  2. Prepares the Material for Fabrication 
  3. Is equipped to fabricate 
questions to answer

final design

i was hoping to make something really minimal with minimal materials. Unfortunately I was leaning on 3D printing a lot with the joints and the cannisters. I would like to recycle transparent plastic bottles of some kind next time and only 3D print the funnel/wheel house instead of the entire cannister. 

There are only 3 main processes and materials: laser cutting (plywood), 3D printing (joints and cannisters on Sindoh) and cutting metal (copper pipes)

I feel confident about this construction but I am worried that my electronics wont work to do the project justice!

paddle wheel mechanism

Most of the systems I looked at involved something that looked like this from a patent document for a dry foods dispenser. Automatic cat feeders sometimes have a version of this where the paddle wheel is 'vertical' instead of 'horizontal' but I think this version might be logistically easier to plug a servo to. 

Using this, I would be able to translate 'turns' into volume of the powder - this might be a little tricky but absolutely do-able. 

paddle wheel feeder

paddle-wheels are the choice for commercial pet feeders, so they must be effective for dispensing aggregate/grains/powders. I think these are more appropriate because volume is determined by rotations instead of time, so it will give more accurate amounts. 

The vertical wheel is what is most popular in DIY projects and manual cereal dispensors. I can imagine that this will be best to keep the ingredients moving. A lot of these examples say how difficult it is to construct an anti-clog design this may be why the vertical wheel is popular - because it is best at scooping up the grain. 

I can find loads of these examples online:

  1. Arduino Pet + Grain Feeder
  2. Pet food dispenser
  3. Double paddle dispensers
  4. Adafruit DIY Cat Feeder

The horizontal paddle mechanism is common in commercial cat feeders. It relies on gravity to pull the grain into the paddle, which then falls out of a few segments into the bowl. I'm not sure why this isn't more popular but I am also a little nervous that the ingredients would clog up or bottleneck with humidity. 

There is just one sort-of example online:  

  1. Automatic Pet Feeder

Powering my four servos was a big problem and with such little time it was difficult to solve. I made this board which integrated the charge/discharge module which we thought might be a power source. I milled and cut the board and it turns out it was a module to control the charge of lithium batteries! I'm going to try and hack the baord to hook up my servos to the variable output supply in the shop. 

Although I had spent a whole day drawing up, milling and stuffing a new D21E board to have on display in my final project, I think I make lots of mistakes when I'm under pressure. A trace or two came up when I was trying to fix a little solder error and I just decided I would use my output board. 

This board had been bootloaded incorrectly the first time and then had refused to be bootloaded again. After a few weeks Alek had a go and it eventually gave in and was working properly! Frustrating, but I was so glad just to have a working board. 

The above board is the hacked charge/discharge module board. I added a pin to the VCC In so that I could clamp on the power clip of the variable adapter in the shop and connected what would have been in the in and out pins of this module. I therefore had 6 ground break outs and 6 power break outs that could host my servos seperately to my controller board. 


I would have to connect my power board ground to my controller ground. 

This was the interface I began during the interface week. Calvin helped me debug it when hooking it up to my arduino script. My main difficulty was how to parse out the 4 instructions for my 4 different servos in the code. This was mostly done in arduino but it was also useful to print the values to check the servos were doing the right thing.  

interface

//Sasha McKinlay_ How to Make GUI 2021

import controlP5.*;//import ControlP5 library
import processing.serial.*;// allows processing to speak to Arduino

Serial port; //setting up serial

ControlP5 cp5; //create ControlP5 object
PFont font_Title; // Creating Fonts
PFont font_Sub;
PFont font_Button;
PFont font;


void setup() { //same as arduino

size (1000,1000); //window size (width, height)

// initializing serial
printArray(Serial.list()); // prints all available serial ports
port = new Serial (this, "COM7", 9600);// connect to arduino port, whichever Controller is connected to


cp5 = new ControlP5(this); //initialize CP5

//Managing Fonts
font_Title = createFont ("calibri light bold", 30); //custom fonts for buttons and title
font_Sub = createFont ("BaskervilleURW-Reg", 15); //custom fonts for buttons and title
font_Button = createFont ("BaskervilleURW-Reg", 20); //custom fonts for buttons and title
font = createFont("calibri light bold", 12);

// Add Button
cp5.addButton ("Mix_this") //this is the name of the button
.setPosition(375,825) //coodinates of upper left corner of button
.setSize(250,60) //(width, height)
.setFont(font_Button)
.setColorBackground(#231F23)
;

// Adding Text Fields
cp5.addTextfield("T_Ing1") //name of text field
.setPosition(170,700)
.setSize(120,30)
.setColorBackground(#B4B4B4) // set background colour
;

cp5.addTextfield("T_Ing2") //name of text field
.setPosition(350,700)
.setSize(120,30)
.setColorBackground(#B4B4B4) // set background colour
;

cp5.addTextfield("T_Ing3") //name of text field
.setPosition (530,700)
.setSize(120,30)
.setColorBackground(#B4B4B4) // set background colour
;

cp5.addTextfield("T_In43") //name of text field
.setPosition(710,700)
.setSize(120,30)
.setColorBackground(#B4B4B4) // set background colour
;


// Adding Sliders
cp5.addSlider("SliderVal")// name of slider
.setPosition (200,275)
.setSize( 60, 400)
.setRange (0,12)
.setValue(6)
.setNumberOfTickMarks (13)
.showTickMarks(false)
.setColorForeground (#231F23) // set foreground colour
.setColorBackground(#FFFFFF) // set background colour
.setColorActive (#231F23) //set active colour
.snapToTickMarks (true)
;

cp5.addSlider("SliderVal2")// name of slider
.setPosition (380,275)
.setSize( 60, 400)
.setRange (0,12)
.setValue(6)
.setNumberOfTickMarks (13)
.showTickMarks(false)
.setColorForeground (#231F23) // set foreground colour
.setColorBackground(#FFFFFF) // set background colour
.setColorActive (#231F23) //set active colour
.snapToTickMarks (true)
;

cp5.addSlider("SliderVal3")// name of slider
.setPosition (560,275)
.setSize( 60, 400)
.setRange (0,12)
.setValue(6)
.setNumberOfTickMarks (13)
.showTickMarks(false)
.setColorForeground (#231F23) // set foreground colour
.setColorBackground(#FFFFFF) // set background colour
.setColorActive (#231F23) //set active colour
.snapToTickMarks (true)
;

cp5.addSlider("SliderVal4")// name of slider
.setPosition (740,275)
.setSize( 60, 400)
.setRange (0,12)
.setValue(6)
.setNumberOfTickMarks (13)
.showTickMarks(false)
.setColorForeground (#231F23) // set foreground colour
.setColorBackground(#FFFFFF) // set background colour
.setColorActive (#231F23) //set active colour
.snapToTickMarks (true)
;

}

void draw (){ //same as loop in arduino

background (255,255,255); // background colour of window(r,g,b) or (0 to 255)


//making title backing
fill (35,31,32);
rect (200 , 70, 600, 45); // (X, Y, Width, Height)

// rect (560,275,60,400);


// making a title
fill (255,255,255); //text colour (r,g,b)
textFont(font_Title);
text ("The Desktop Material Mixer",325, 100); // ("text", x coordinate, y coordinate)

// making a subtitle
fill (35,31,32); //text colour (r,g,b)
textFont(font_Sub);
text ("INGREDIENTS" , 200, 240); // ("text", x , y )

}

// adding functions to controls

void Mix_this(){ // button sends current numbers to controller
//port.write(720);
println("sent");
float value = cp5.getController("SliderVal").getValue();
float value2 = cp5.getController("SliderVal2").getValue();
float value3 = cp5.getController("SliderVal3").getValue();
float value4 = cp5.getController("SliderVal4").getValue();

println(value);
println(value2);
println(value3);
println(value4);

int SendVal1 = int(value);
int SendVal2 = int(value2);
int SendVal3 = int(value3);
int SendVal4 = int(value4);

port.write(SendVal1);
port.write(SendVal2);
port.write(SendVal3);
port.write(SendVal4);

//println("Sent " + SendVal+" to Arduino");
}

arduino

#include <Servo.h>

Servo servo1; // create servo object to control a servo
Servo servo2;
Servo servo3;
Servo servo4;

int pos = 0; // variable to store the servo position
//int val = 0;
int buttonState = 0;
int val=0;
int val2 =0;
int val3=0;
int val4 = 0;
int i;
int counter = 0;

void setup() {
servo1.attach(5); // attaches the servo on pin 9 to the servo object
servo1.write(0);
servo2.attach(6);
servo2.write(0);
servo3.attach(7);
servo3.write(0);
servo4.attach(4);
servo4.write(0);
Serial.begin (9600); // start serial
pinMode(2, OUTPUT);
pinMode(3, INPUT);

}

void loop() {
buttonState = digitalRead(3);
if (buttonState == LOW) {
digitalWrite(2,LOW);
}

if(Serial.available()) {
digitalWrite(2, HIGH);


val = Serial.read();

for (int k = 0; k<=val; k++){
digitalWrite(2,HIGH);
delay(50);
digitalWrite(2,LOW);
delay(50);
}

for (int i=0; i <= val; i++) {
if (i<4) {
servo1.write(i*60);
delay(500);
}
else if (i>3 && i<7) {
servo1.write(180-((i-3)*60));
delay(500);
}
else if (i>6 && i<10) {
servo1.write((i-6)*60);
delay(500);
}
else if (i>9) {
servo1.write(180-((i-9)*60));
delay(500);
}
}

val2 = Serial.read();
for (int k = 0; k<=val2; k++){
digitalWrite(2,HIGH);
delay(50);
digitalWrite(2,LOW);
delay(50);
}

for (int i=0; i <= val2; i++) {
if (i<4) {
servo2.write(i*60);
delay(500);
}
else if (i>3 && i<7) {
servo2.write(180-((i-3)*60));
delay(500);
}
else if (i>6 && i<10) {
servo2.write((i-6)*60);
delay(500);
}
else if (i>9) {
servo2.write(180-((i-9)*60));
delay(500);
}
}


val3 = Serial.read();
for (int k = 0; k<=val3; k++){
digitalWrite(2,HIGH);
delay(50);
digitalWrite(2,LOW);
delay(50);
}

for (int i=0; i <= val3; i++) {
if (i<4) {
servo3.write(i*60);
delay(500);
}
else if (i>3 && i<7) {
servo3.write(180-((i-3)*60));
delay(500);
}
else if (i>6 && i<10) {
servo3.write((i-6)*60);
delay(500);
}
else if (i>9) {
servo3.write(180-((i-9)*60));
delay(500);
}
}

val4 = Serial.read();
for (int k = 0; k<=val4; k++){
digitalWrite(2,HIGH);
delay(50);
digitalWrite(2,LOW);
delay(50);
}

for (int i=0; i <= val4; i++) {
if (i<4) {
servo4.write(i*60);
delay(500);
}
else if (i>3 && i<7) {
servo4.write(180-((i-3)*60));
delay(500);
}
else if (i>6 && i<10) {
servo4.write((i-6)*60);
delay(500);
}
else if (i>9) {
servo4.write(180-((i-9)*60));
delay(500);
}
}
}
}

Calvin and Laura really saved me when they helped me with my ardino code. Laura and I weren't understanding how to 'add' to our position every time we hit the 'Mix this' button. 

When I approached Calvin with the same problem he came up with the best way to bypass it completely!.

Because the servo can only move 180 degree, he helped me figure out a way to map the input numbers from the Gui to positions that made sernse. e.g. 1 to 60, 2 to 120, 3 to 180, 4 back to 120 and so on. 

This is just repeated for each servo, making sure to write the correct value to each servo.  

3 Servos working with code worked out with Calvin. Responds go GUI, positioning corresponds to integer sent from GUI. 

All 4 Servos working in the system without aggregate. I was honestly worried now that the paddle dispensing system wouldn't work! 

in the workshop

fabrication + assembly

some parts

I used one sheet of 1/8" plywood from artists and craftsman for about $7 each for the box and the carriage. 

The most expensive part of this project (other than the 3D prints probably) was the copper tubing which was about $7 each. I needed two of these. 

Some transparent film (usually used for inket printers) for my windows for approx 13 dollars

Hardware was used from the shop but is can be found for very reasonable prices from hardware stores.
4x HK 15138  for $4 each, sourced from the lab. 

The aggregates were discarded materials such as coffee grounds and tea leaves. 

I used a lot of processes including 3D printing, laser cutting, drilling, metal cutting, assembly with hardware. 

machine + assessment

stystem integration

success!

I had triaged throughout the semester and especially in my last week. I decided that my definition of success was a system that could dispense a fine aggregate by a variable amount determined by a user through a GUI. 

There are a few wrinkles I would like to iron our for Material Mixer 2.0:

  1. The servo has to restart at position 0 so it throws out some material when it does this. This means there isn't perfect portion control. 
  2. I had triaged out a version where there were two paddles in operation: a finer one and a larger one. I would like to fold this back in so that binders (which are usually used in smaller quantities) could be controlled more
  3. The frame I had designed needed a little more cross bracing. My partner helped me add some fishing line to it to give it a bit more rigidity. I had planned to drill it into the base a little more to give it that stiffness. A 'machine' that's this flimsy is definitely not one anyone can take seriously!

The copper pipes as the legs of the elevated cannister carraige and the housing for my wires worked quite well. I didnt' exactly find a way to hind my wiring completely but it's pretty discrete as it is.

I had to improvise where the electronics would go as my 'presentation-ready' pcb board didn't make it and my plans for a power supply changed over the course of the last week ( I wish I had planned this better)!

presentation video