This week's assignment features possibly the most nebulous instructions we will ever get on an assignment: "make something big". Supplied with a maximum of two 4'x4' sheets of oriented strand board (OSB, a.k.a. wood sausage), we have to make something at least a meter in size using a router. I had initially planned to make the telescope body for my final project this week, but given the aesthetic limitations of the material supplied to us, I decided to go for something else.
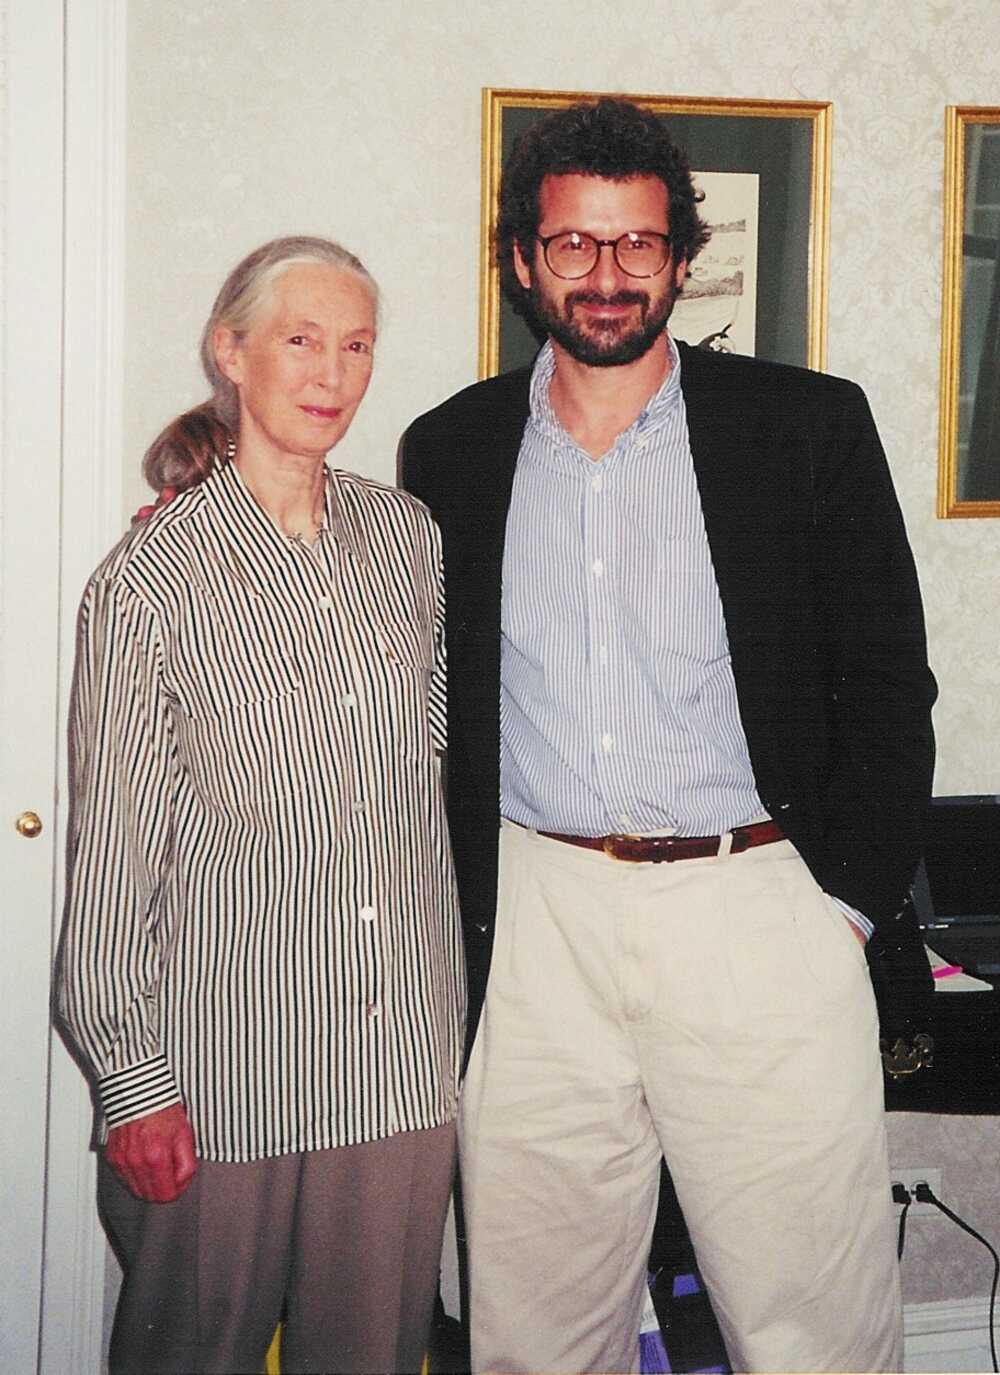
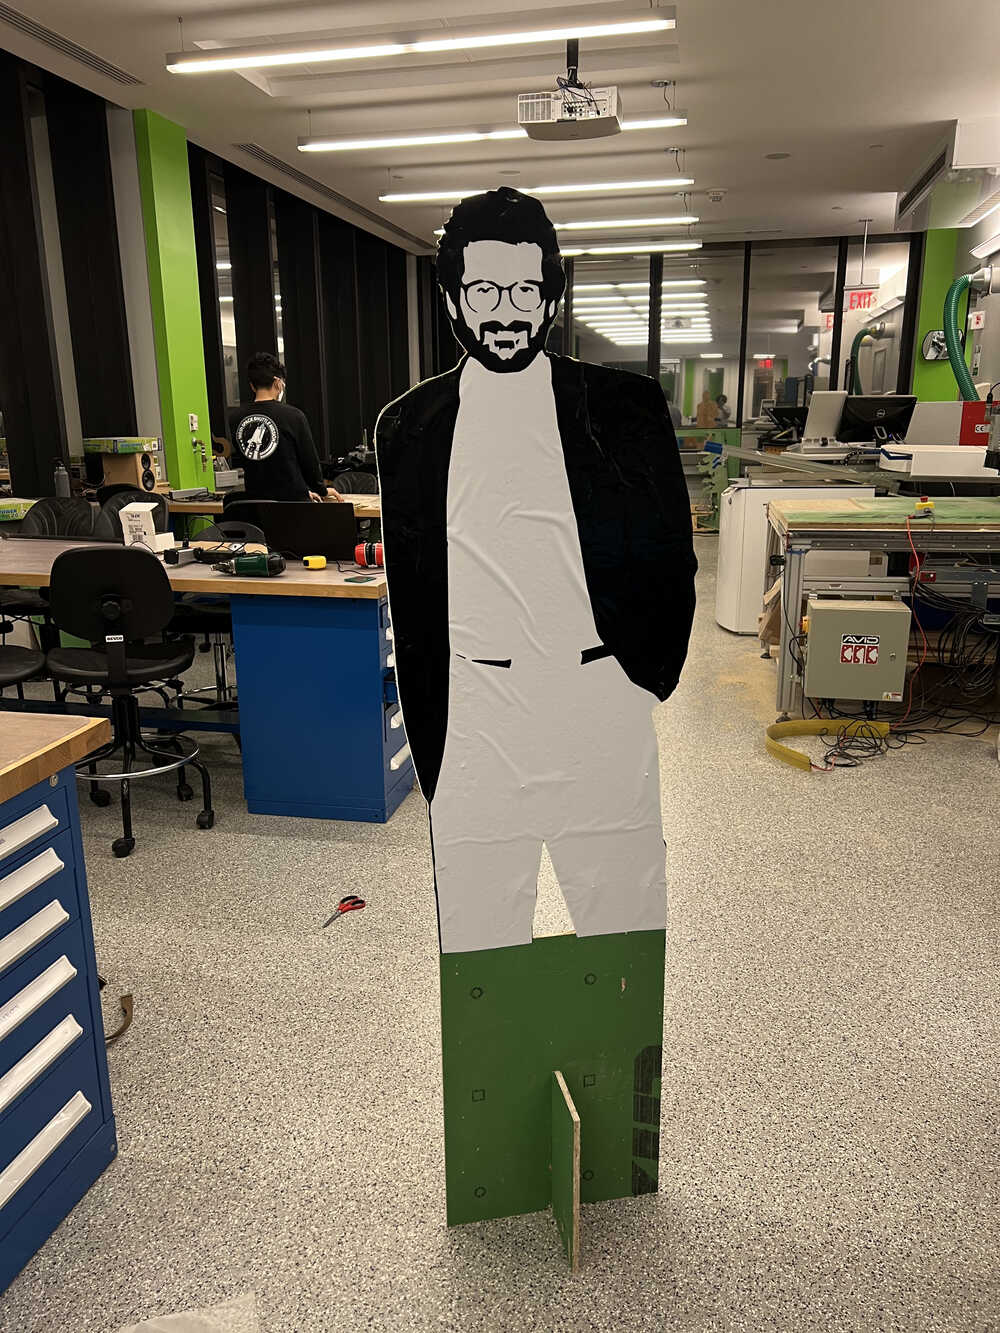
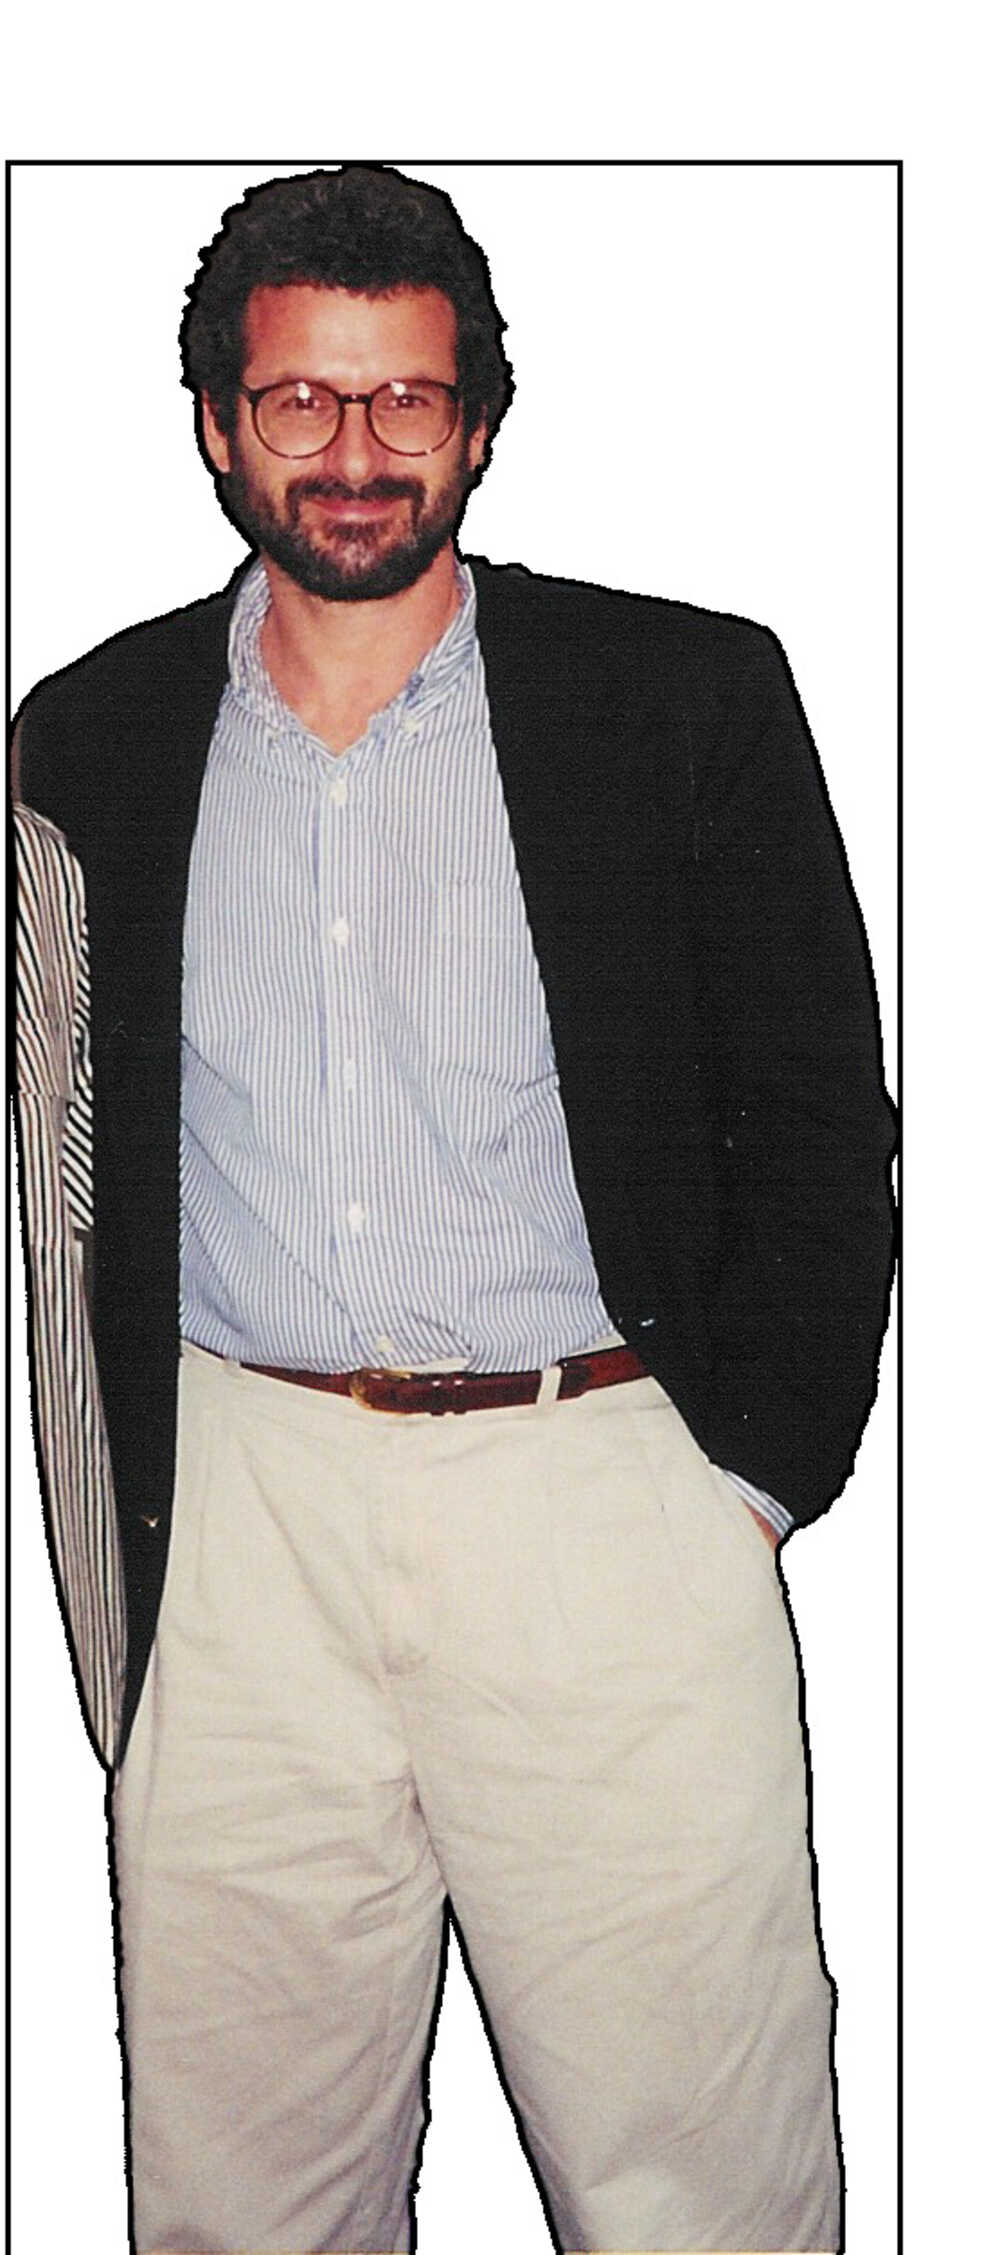
On our professor's personal page, I found a picture of a young(er) Neil with Jane Goodall. This immediately inspired me to make a life-size cutout of Neil, sort of like the cutouts you can buy of Obama or the Pope. I used photoshop to remove the background (and Jane, unfortunately), and added a border to make the outside edge well-defined. This process wasn't quite as simple as I described in the last sentence, as this was my first time using photoshop. There were several hours of messing around with the software and looking at tutorials until I was comfortable using it.
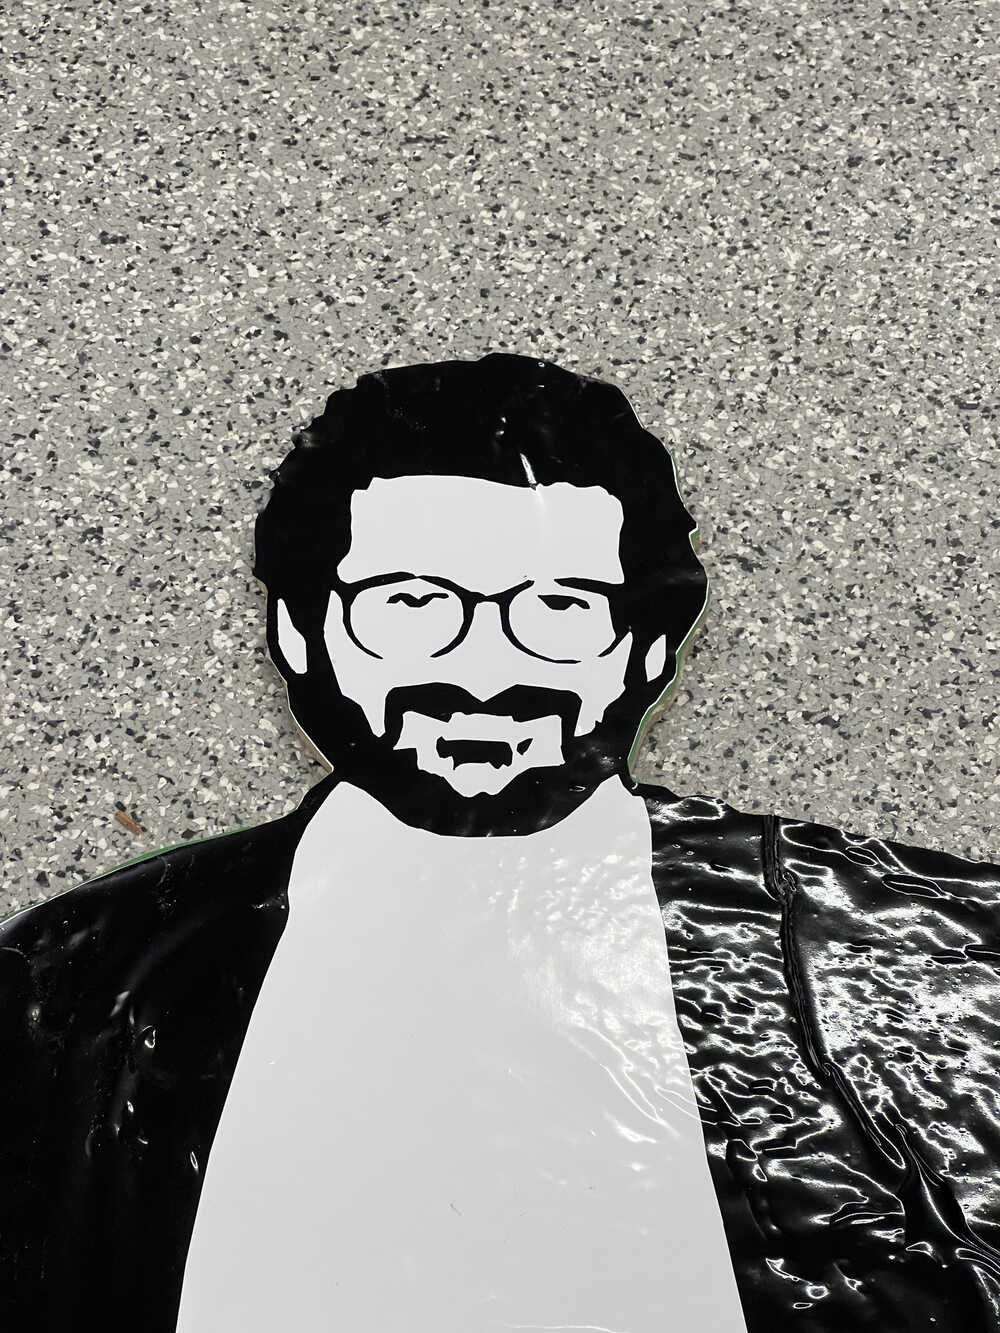
I then imported the PNG into illustrator, where I used the "Image Trace" tool to stylize the image of Neil into black and white. I had to mess around with the settings for this tool until the resulting image had just the right amount of detail in it. I finally converted this into an SVG which could be imported into Fusion 360.

In fusion, I imported the SVG into a sketch, extruded to the thickness of the OSB board (0.459"), and also added a very simple base.
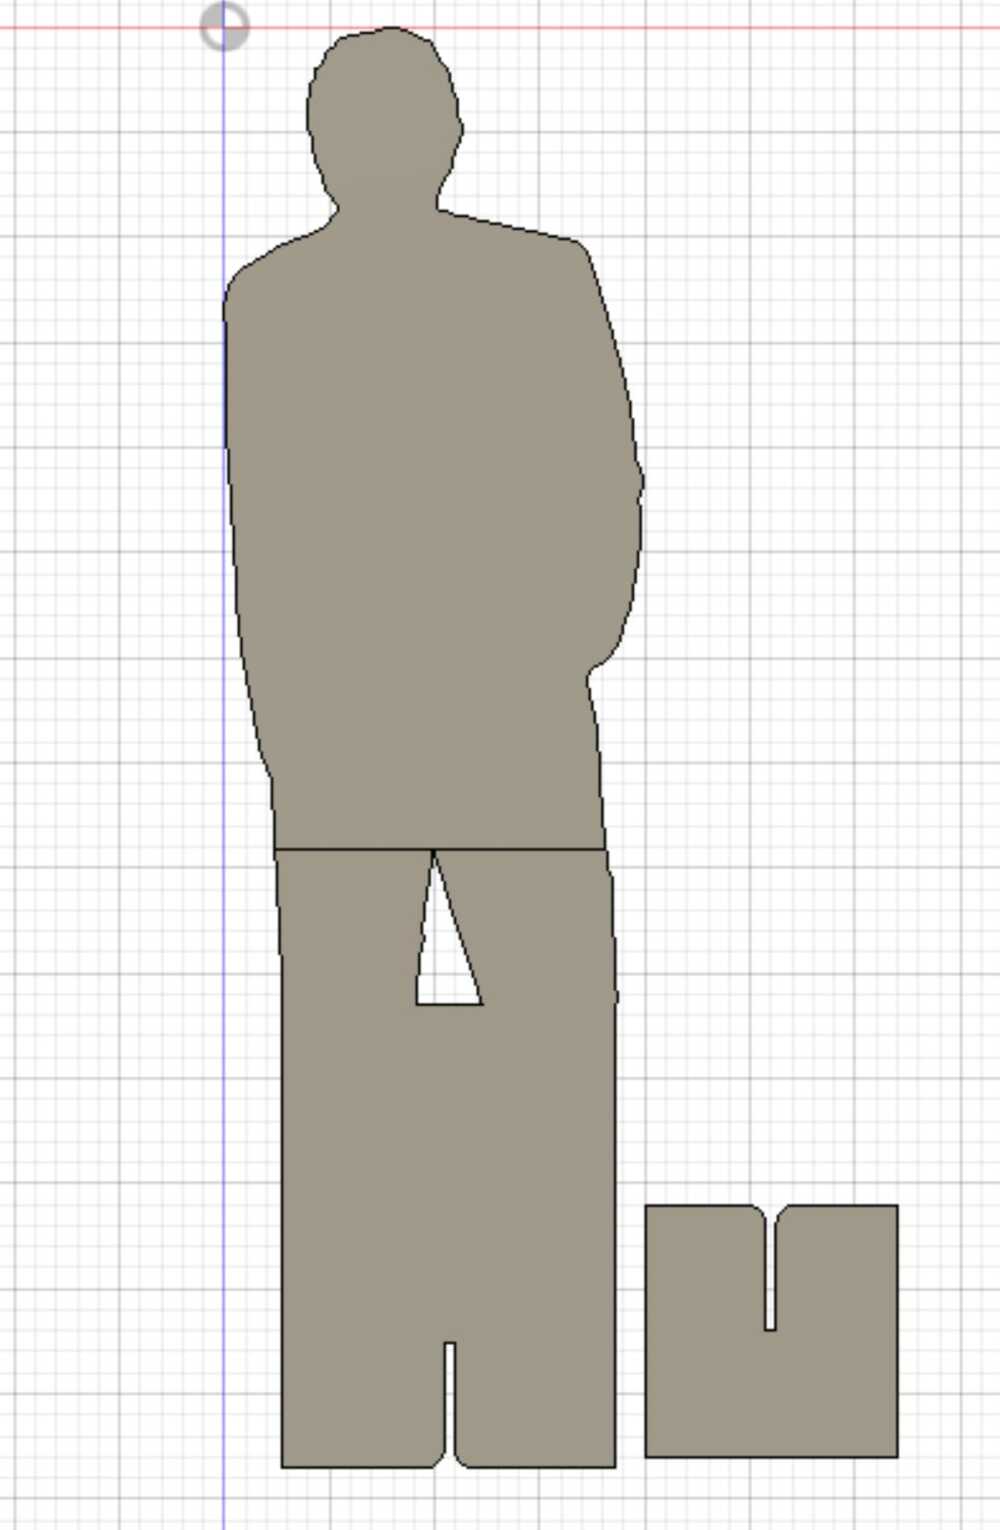
At this point, I sent the CAD to Anthony, the EECS section TA. This week, he did the CAM and quite a bit of the setup for us, but we'll have the chance to do all of that on our own during molding and casting week. The cam for my job was quite simple, and just involved laying out all the pieces onto a 4'x4' sheet and adding dogbones to the inside corners in the slots for the base. After nailing down the board of OSB, and setting the origin of the router, we're ready to machine. The majority of the cuts were made with a 3/8" flat endmill, with a few details fleshed out with a 1/4" flat endmill.
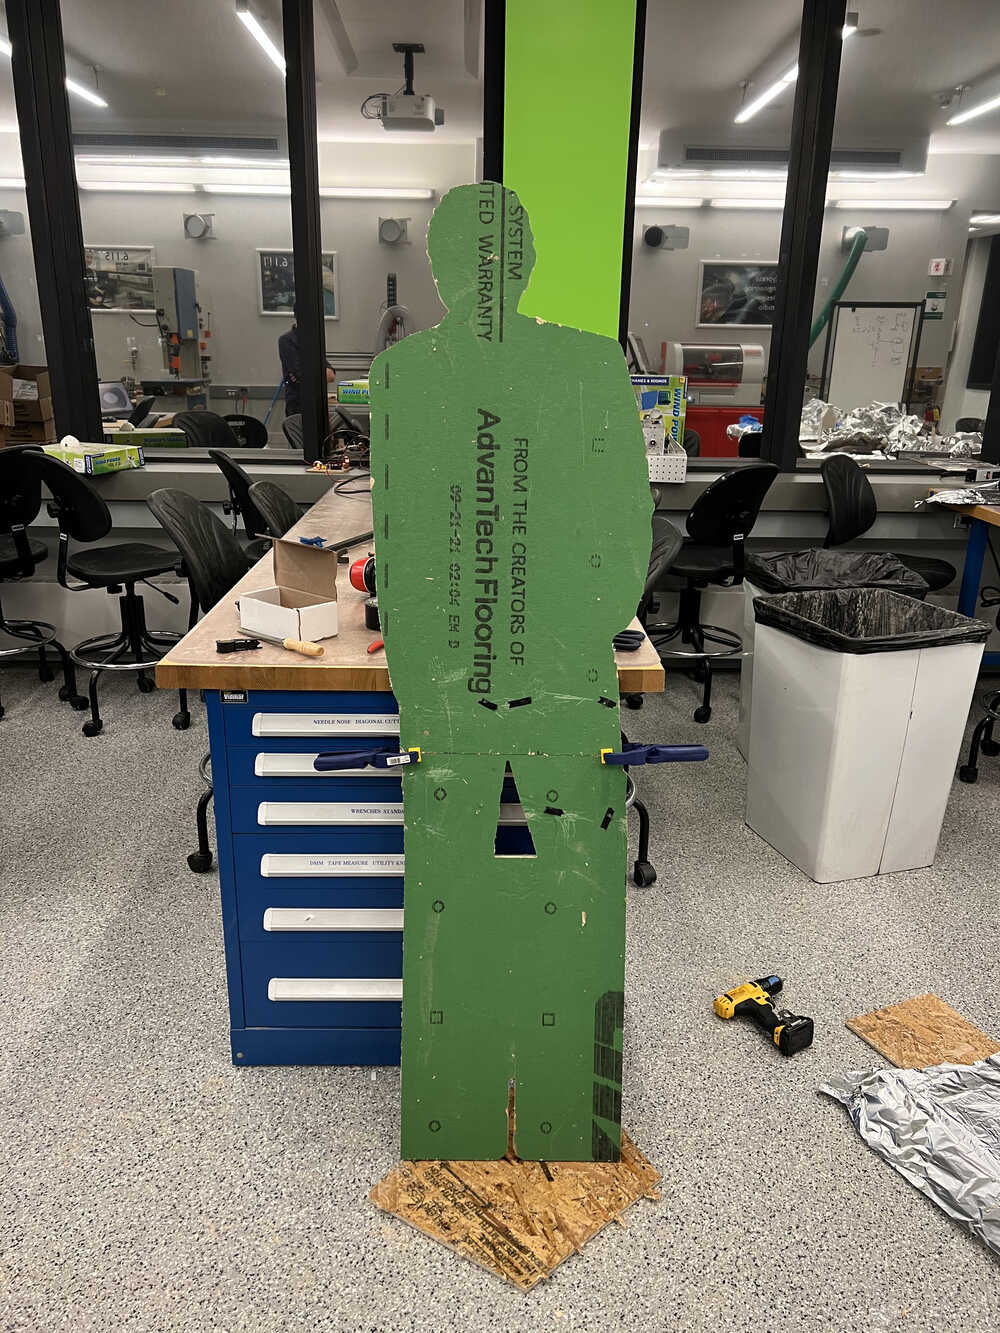
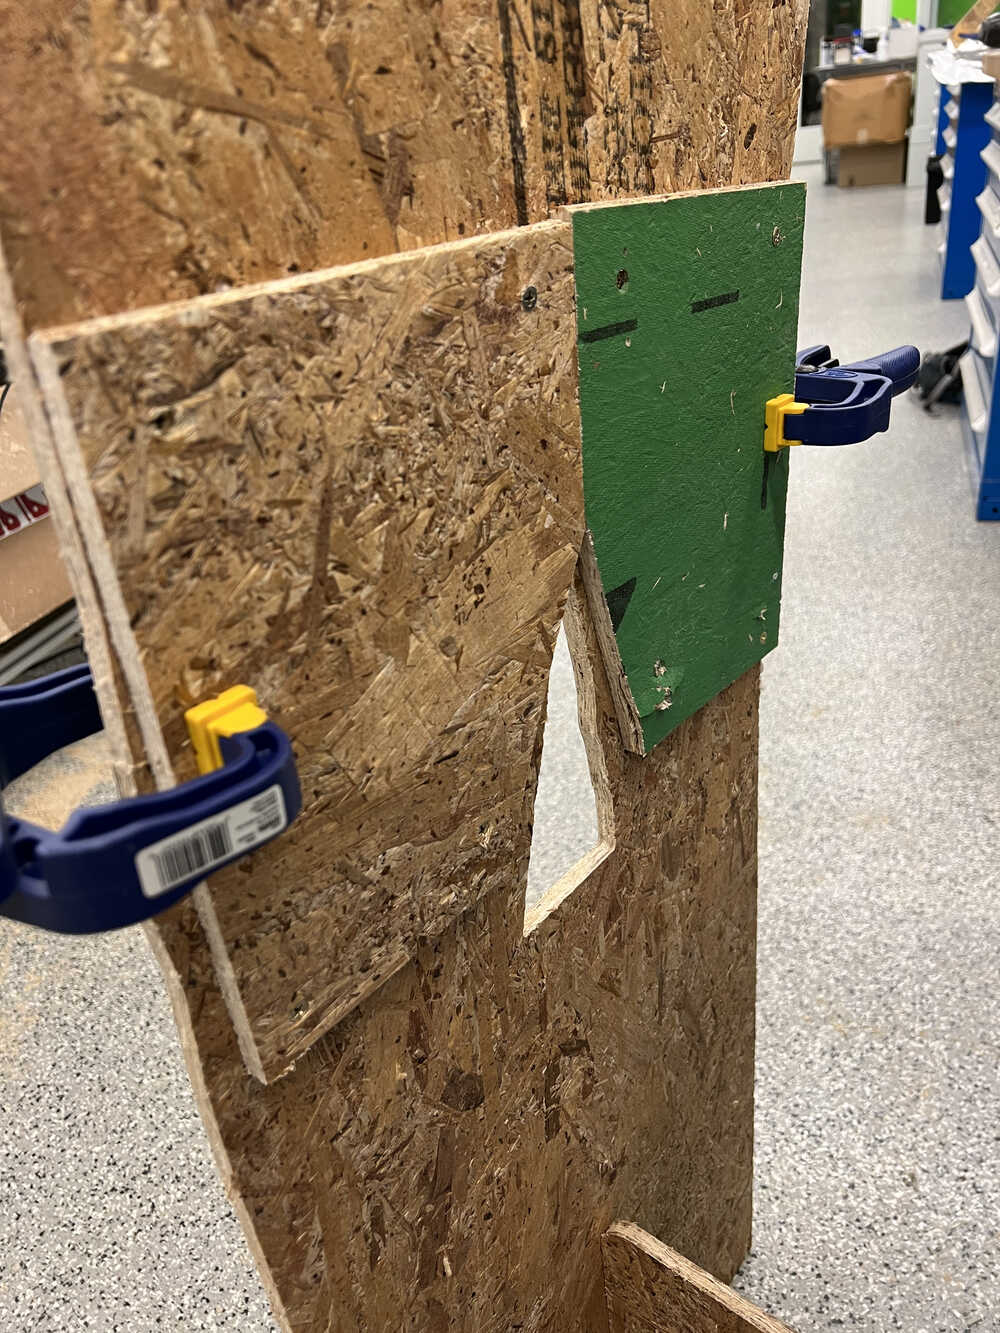
Since my job didn't have any tabs or onion skin like some of my classmates, I had zero finishing work to do. I joined the two halves of Neil with a couple scrap pieces of wood, glue, and screws.
I then used the vinyl cutter to cut out the black and white sections of my stylized image. Sticking them on was a huge ordeal because of the size, as well as the sawdust-laden environment in the shop. I required a ton of help from Anthony, as well as a couple dabs of super glue, in order to get everything to stick.