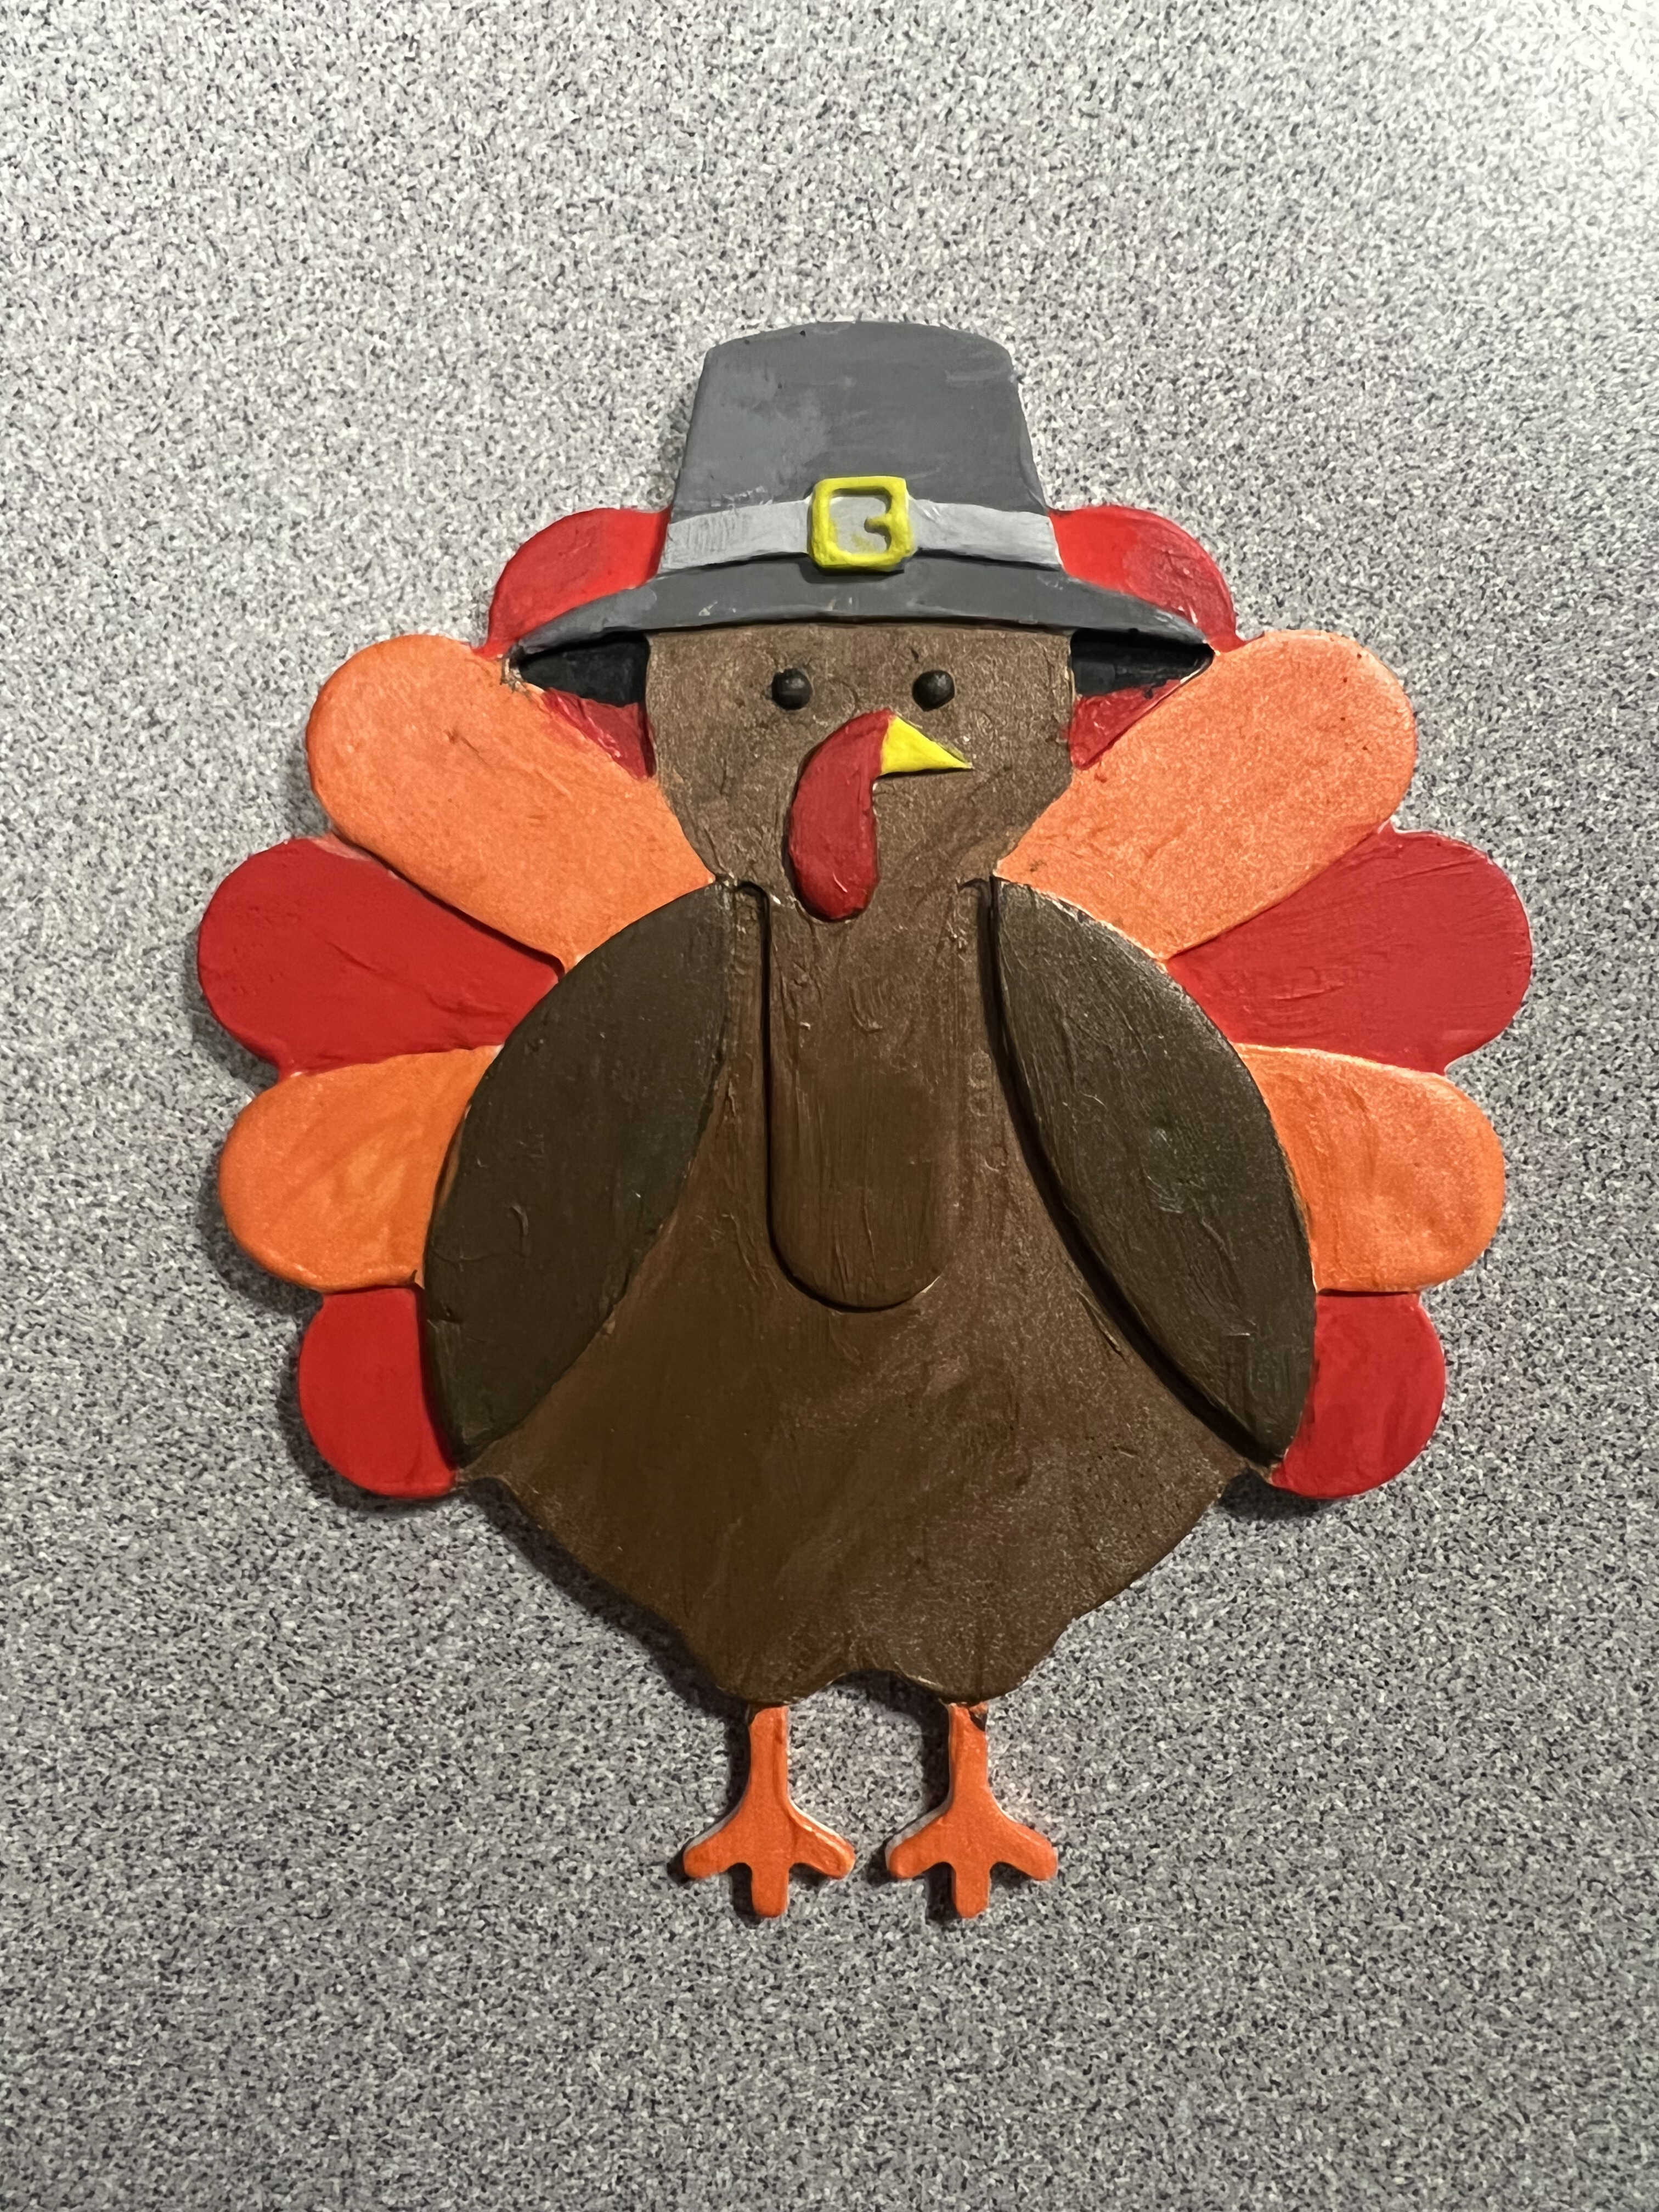
For this weeks assignment, I decided to CAD a festive thanksgiving turkey ornament. Inspired by a clipart I found online, I quickly designed this part
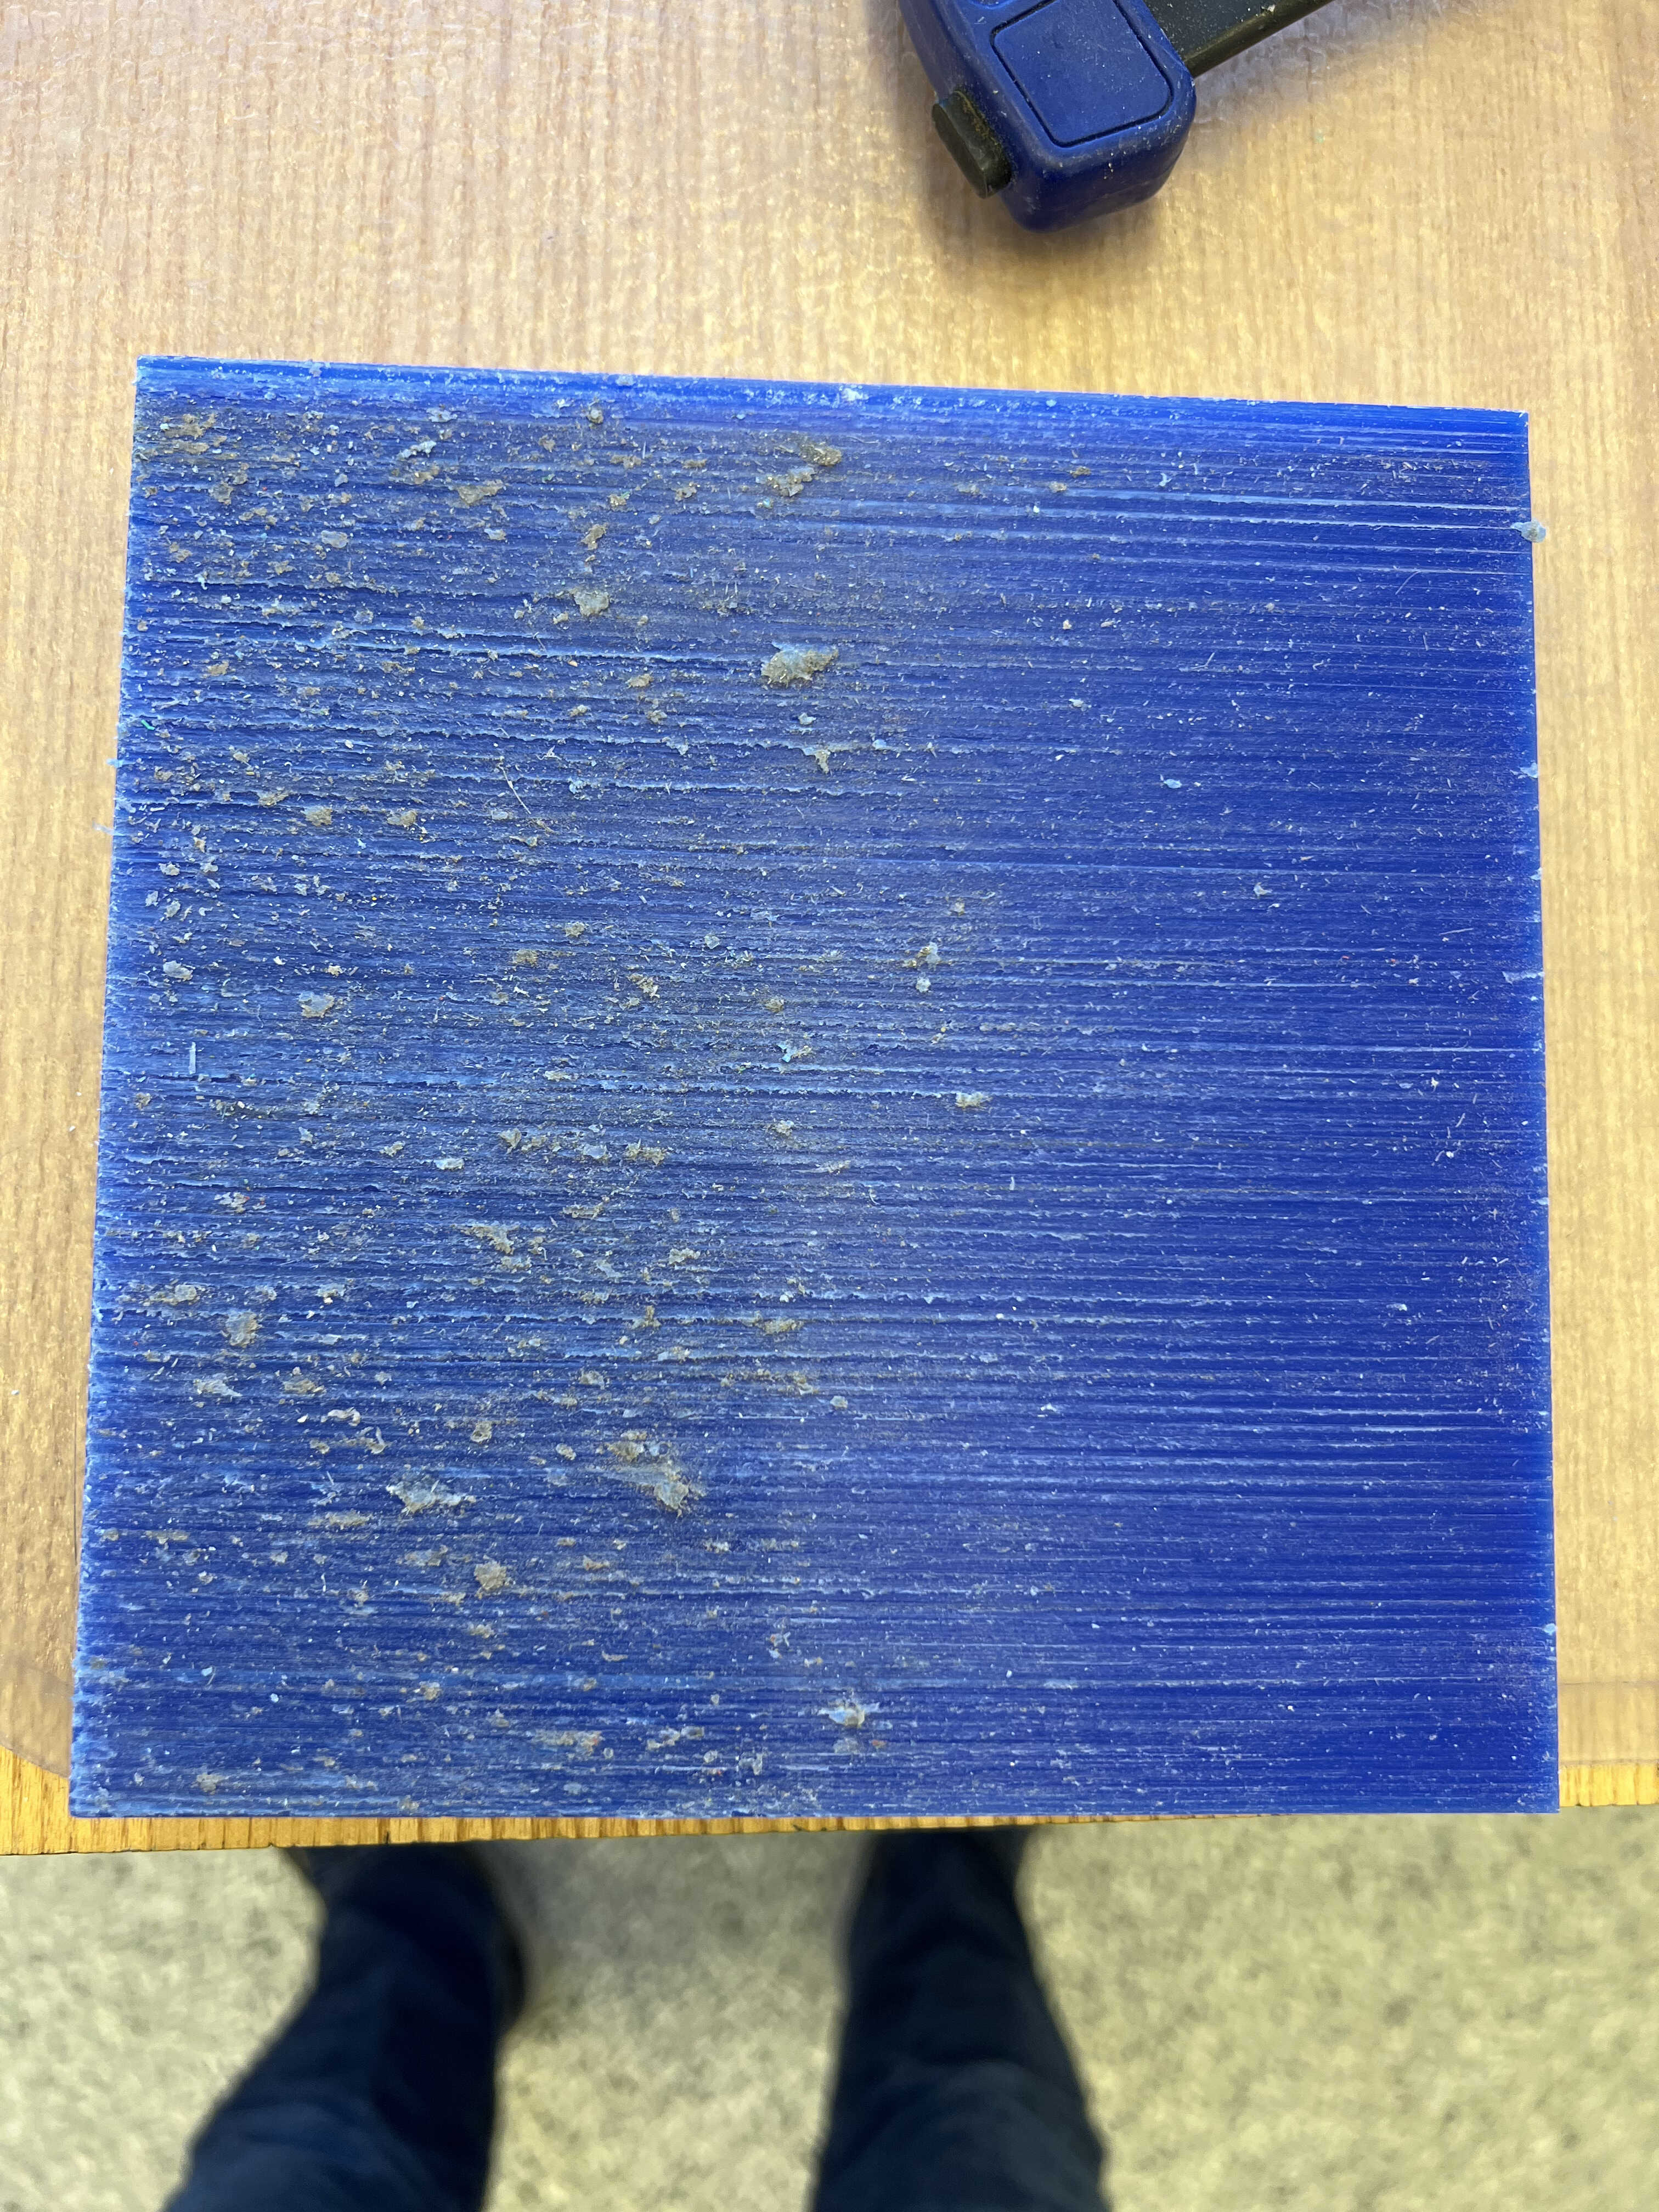
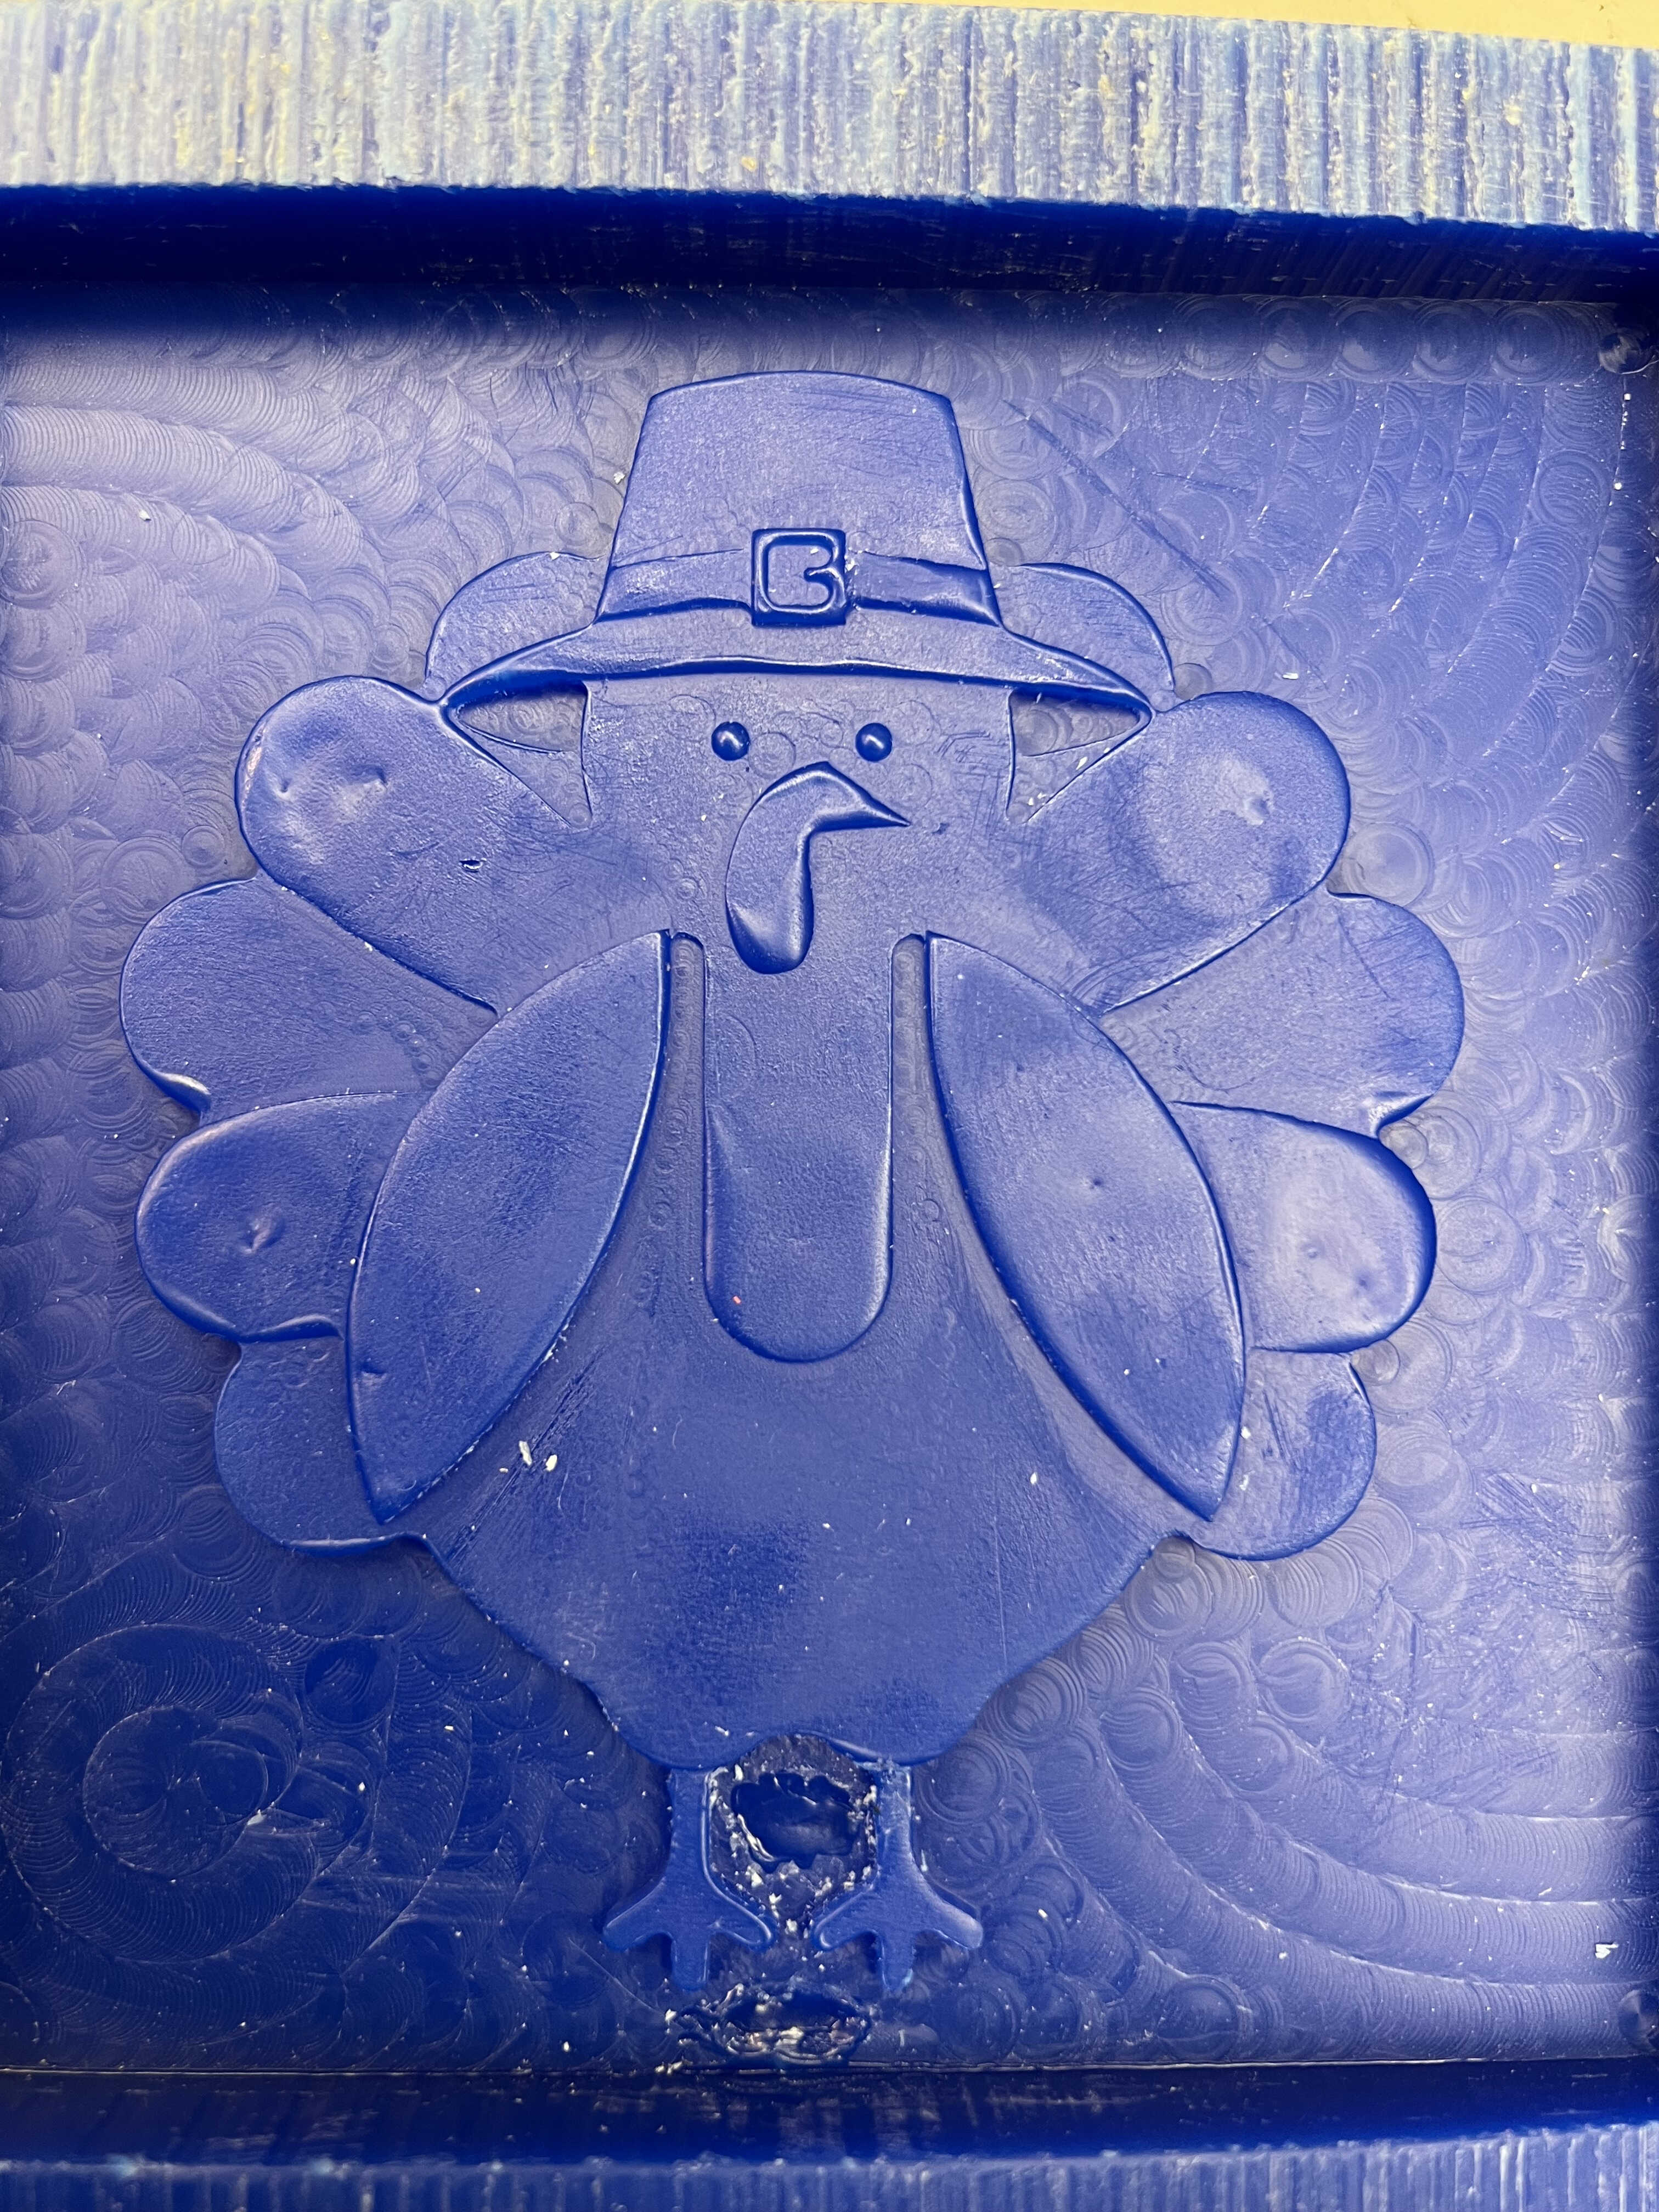
Since I needed a slighly different dimension for the wax than the 3"x7"x2" pieces that are normally provided, Anthony cut me a 6"x6"x1" block of wax to use. For the CAM, I only used two operations: adaptive clearing with a 1/8" bit, and a finishing pass with a 1/16" bit. For the finishing operation, I chose "flat" since my model entirely consists of flat parallel faces.
Time to start milling!
Oops! Looks like I didn't glue the block of wax down well enough. After cutting another section of wax and gluing it more thoroughly this time, I was back in business.
After changing the endmill on the router, I milled out the finishing pass
While machining, the router had created some small chips in the wax for some reason, so I went over to the heat gun in the soldering room and lightly melted the surface of the mold to fix these blemishes. This had the benefit of also softening the features and rounding out the eyes, giving my turkey a more cartoonish look!
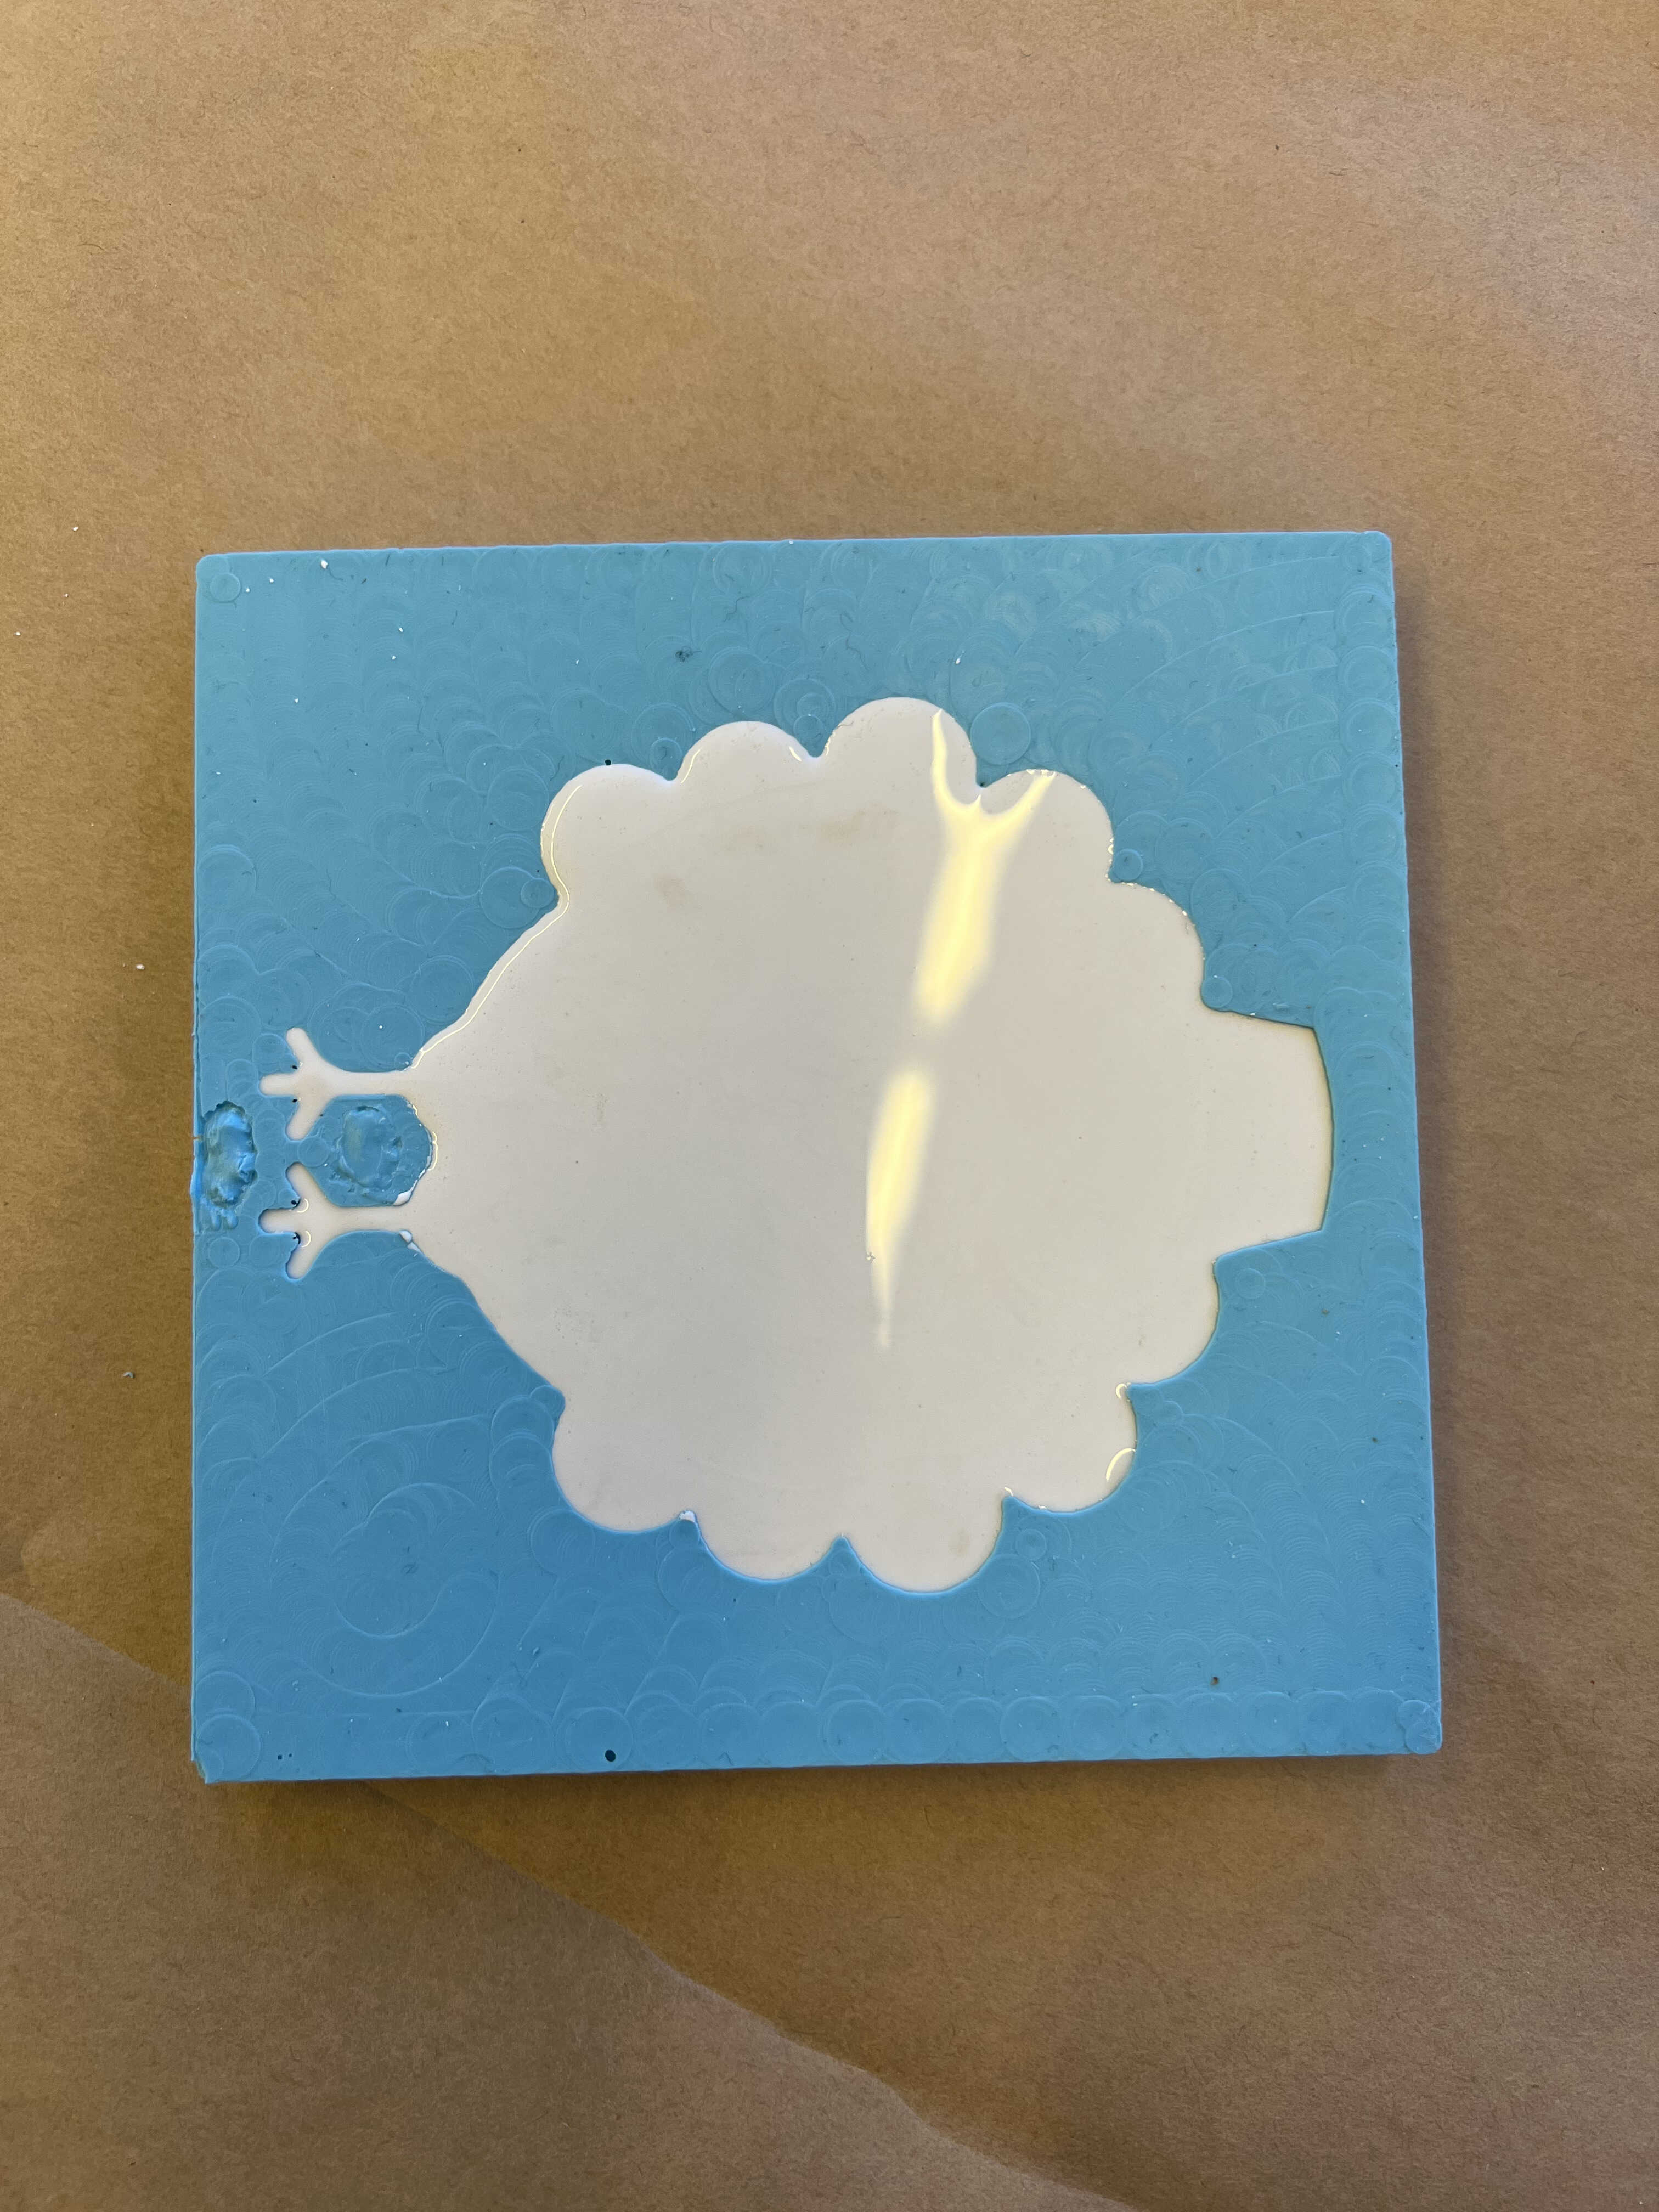
Next, I filled the wax mold with Oomoo, a silicone based material. After mixing equal amounts of part A and part B and pouring it into the wax, I had to wait until the next day to take my mold out. Then, I could fill the Oomoo mold with hydrostone, a cementlike slurry that hardens in a couple hours.
To complete the look, I painted the turkey with some acrylic paints. I think it turned out great!