Molding and Casting
The assignment for this week was: design a mold around the stock and tooling that you'll be using, mill it, and use it to cast parts.
[1] Mold Design
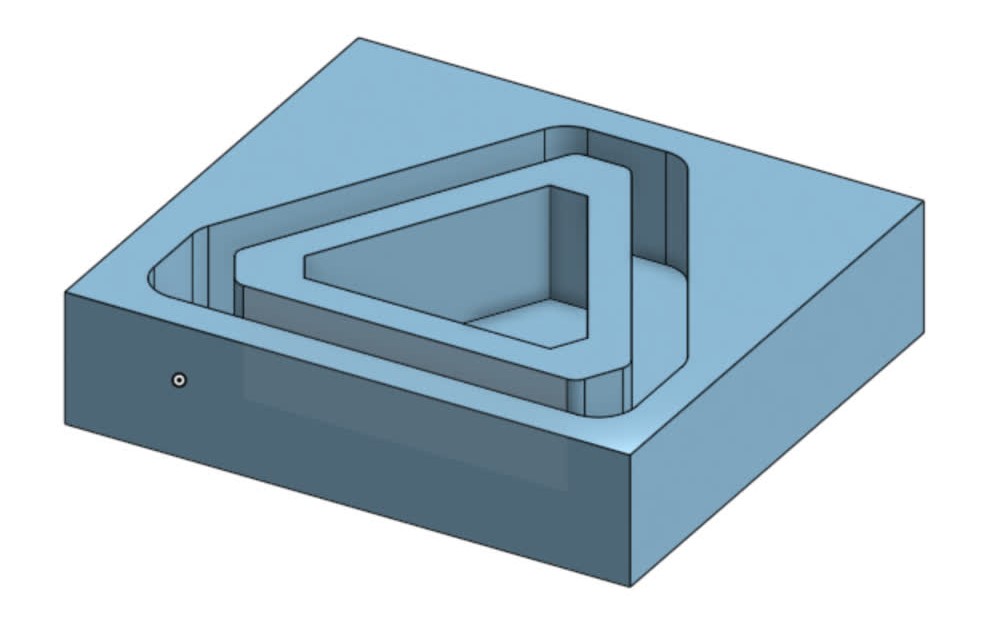
For this week I wanted to try my hand at making some modern desk lighting. I had recently watched a few YouTube videos about concrete decor and after seeing some pictures of concrete desk lamps, I decided to try to make one of my own. My goal was to have a "modular" customizable lamp with stackable sections. For simplicity, I decided to use stackable triangular sections. Because the plan was to first mill out an initial mold from a wax block, then cast mold-making rubber into that mold, and finally cast the desired material into the rubber mold, I needed to design a positive form of the final object in CAD which would get milled out in the machinable wax. That way, the resulting rubber mold would be a negative, so that the final casting would give me the actual object. This is what the positive mold looks like:
[2] Mold Fabrication
The first step was to mill out the CAD model in the machinable wax:
After milling out the mold, I realized I forgot to add a "lip" on the edge of the mold, without which I would not be able to form the bottom of the rubber mold in which I would cast the end product. I solved this issue by hot-gluing on some laser-cut plywood pieces to the edges of the wax mold:
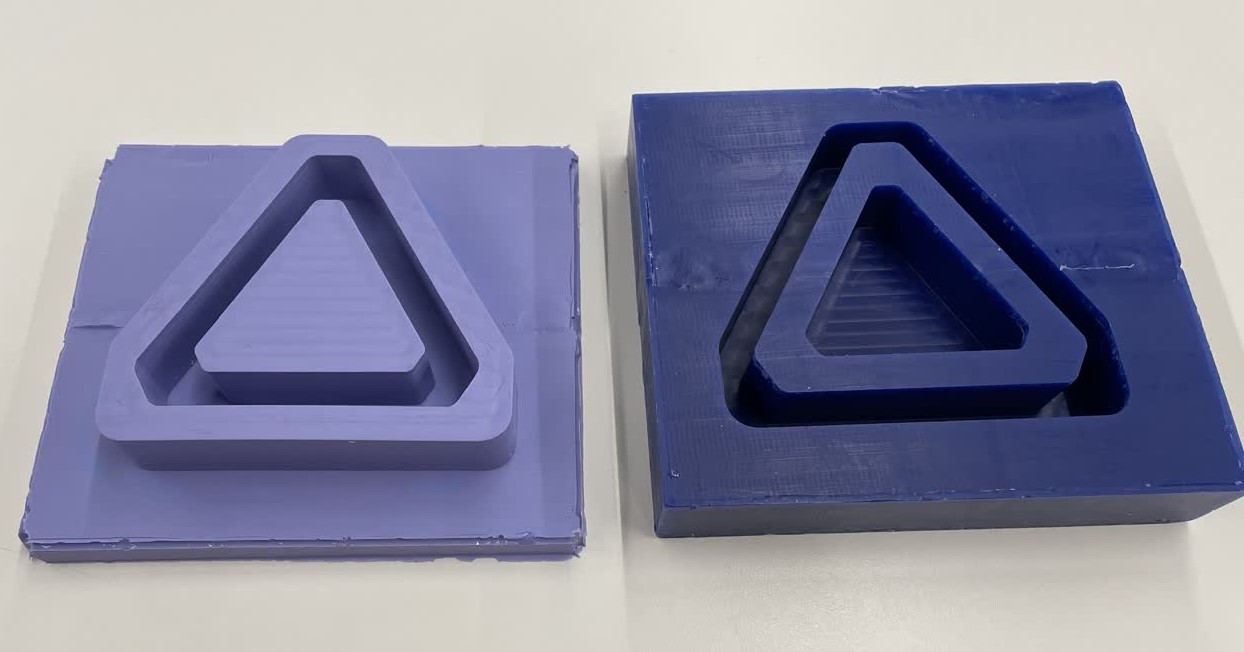
With the wax mold now ready, I mixed together the OOMOO 30 mold-making silicone rubber and poured it into the wax mold. I started off with 1 standard solo cup worth of OOMOO but it wasn't enough to fill the mold, so I mixed together another batch and poured it in, and that was enough. After tapping the mold on the sides to dislodge any air bubbles, I let the rubber cure for a day and demolded it the next day. Here is a quick look at the rubber mold-making process:
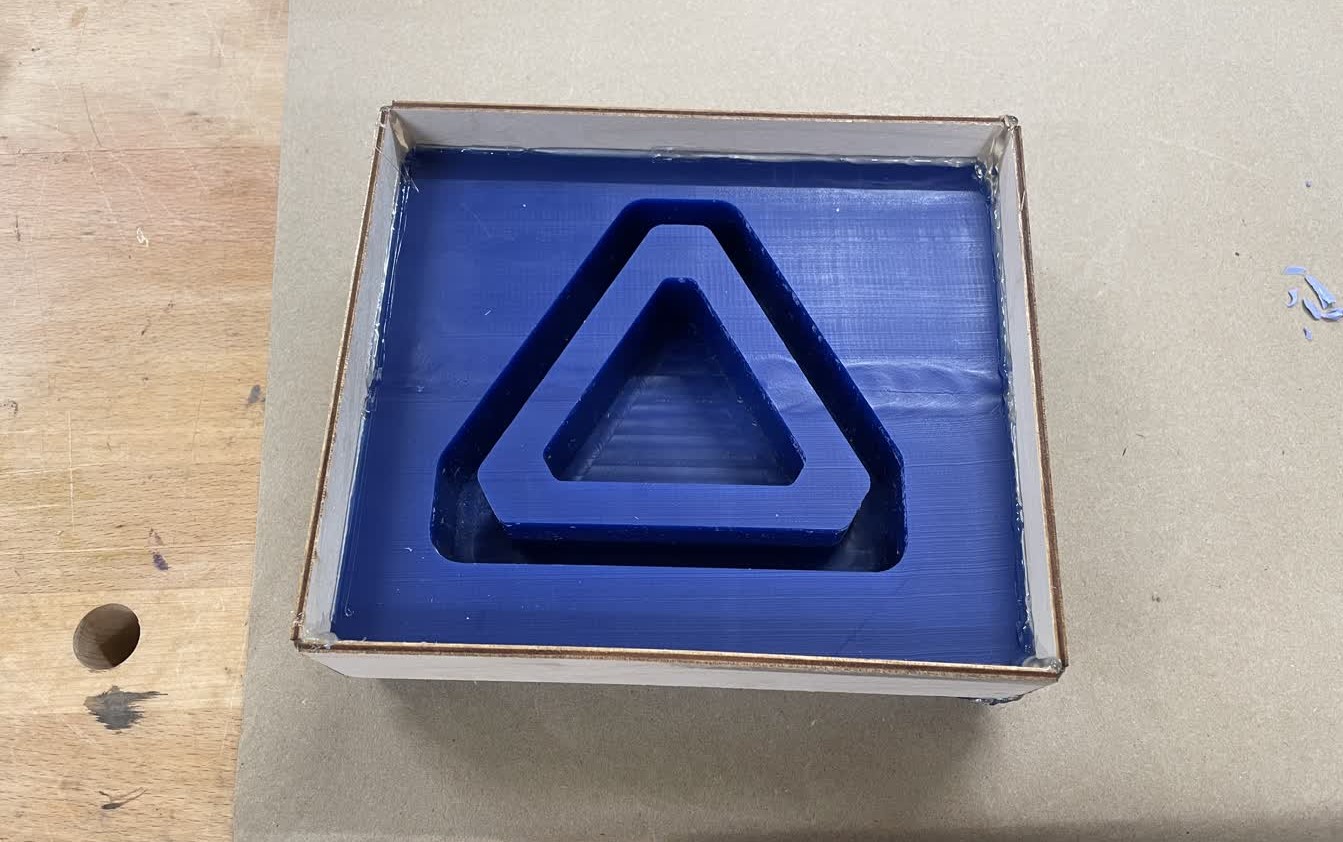
Using a little bit of isopropyl alcohol made the removal of the hot-glued plywood sides really easy. The rubber mold turned out extremely well:
[3] Casting
The group assignment for this week was to read SDS's for different materials and make test casts. The results are documented here. From these experiments, I determined that I would want to use the Hydrostone gypsum cement and clean epoxy resin.
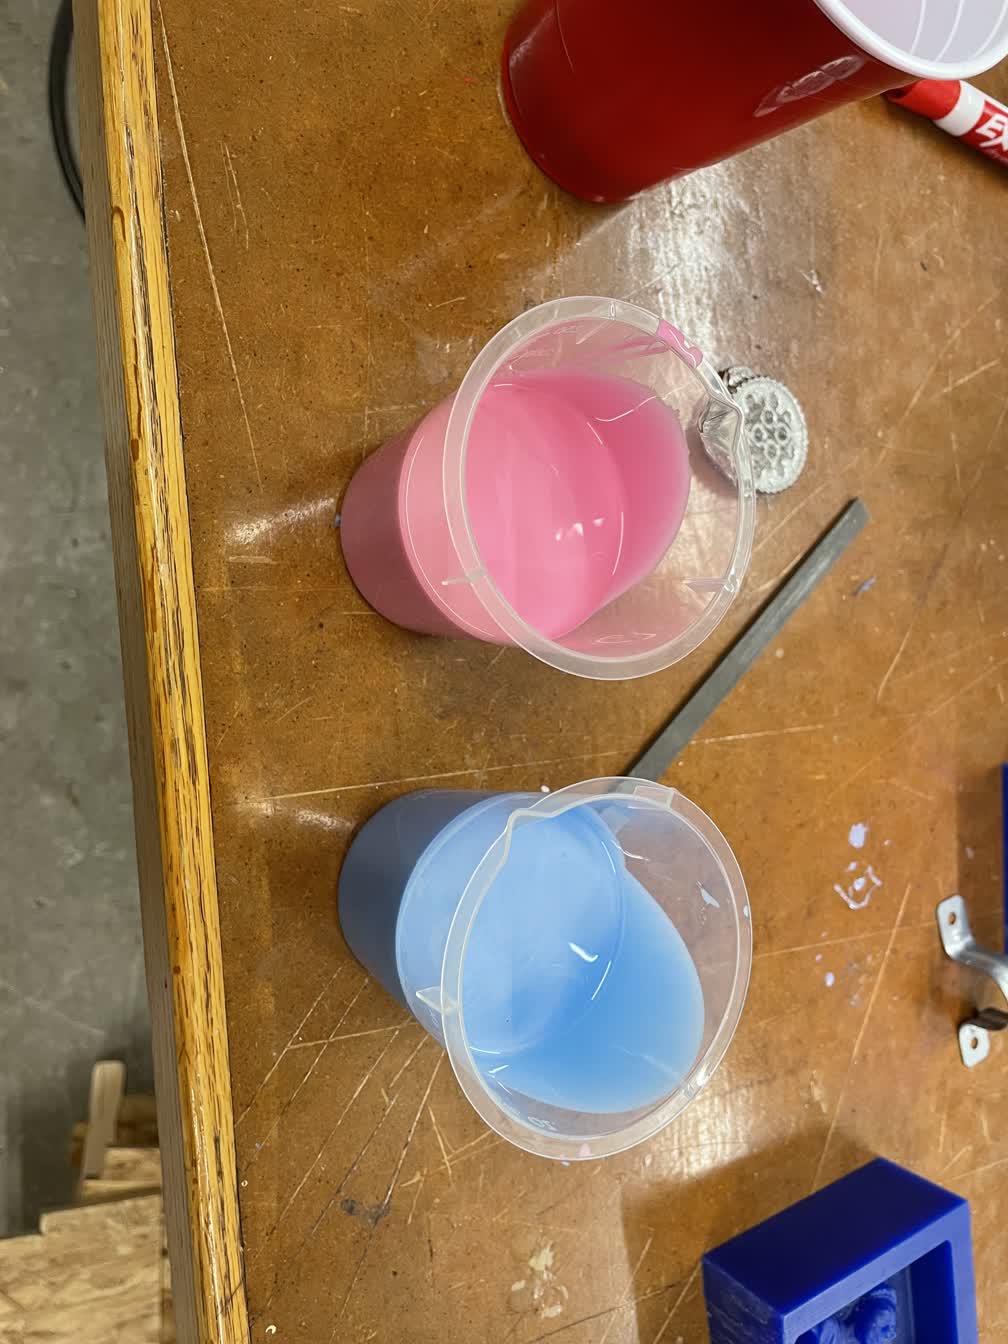
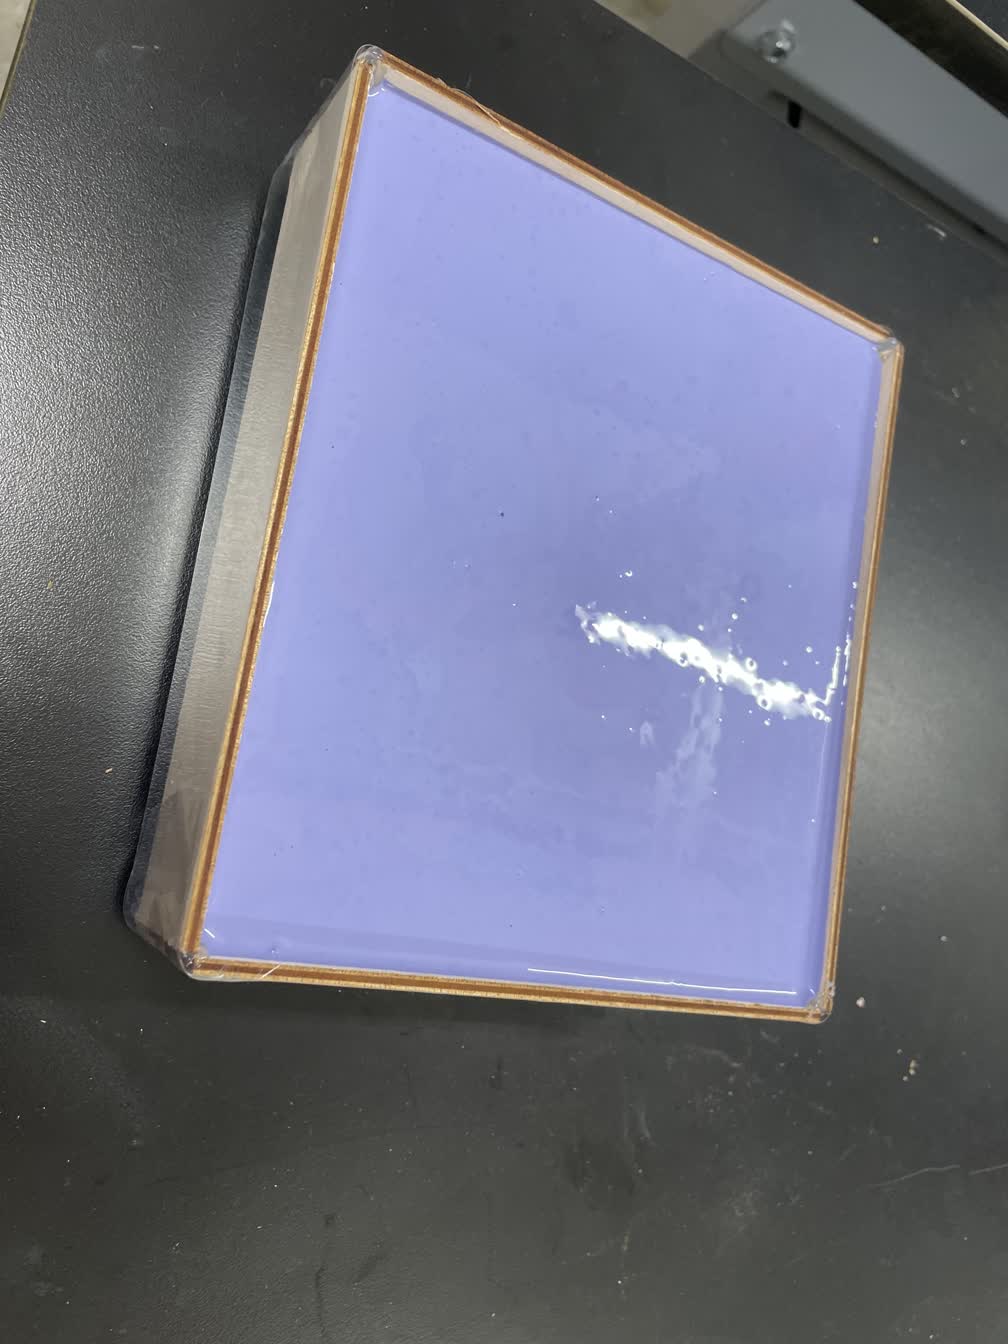
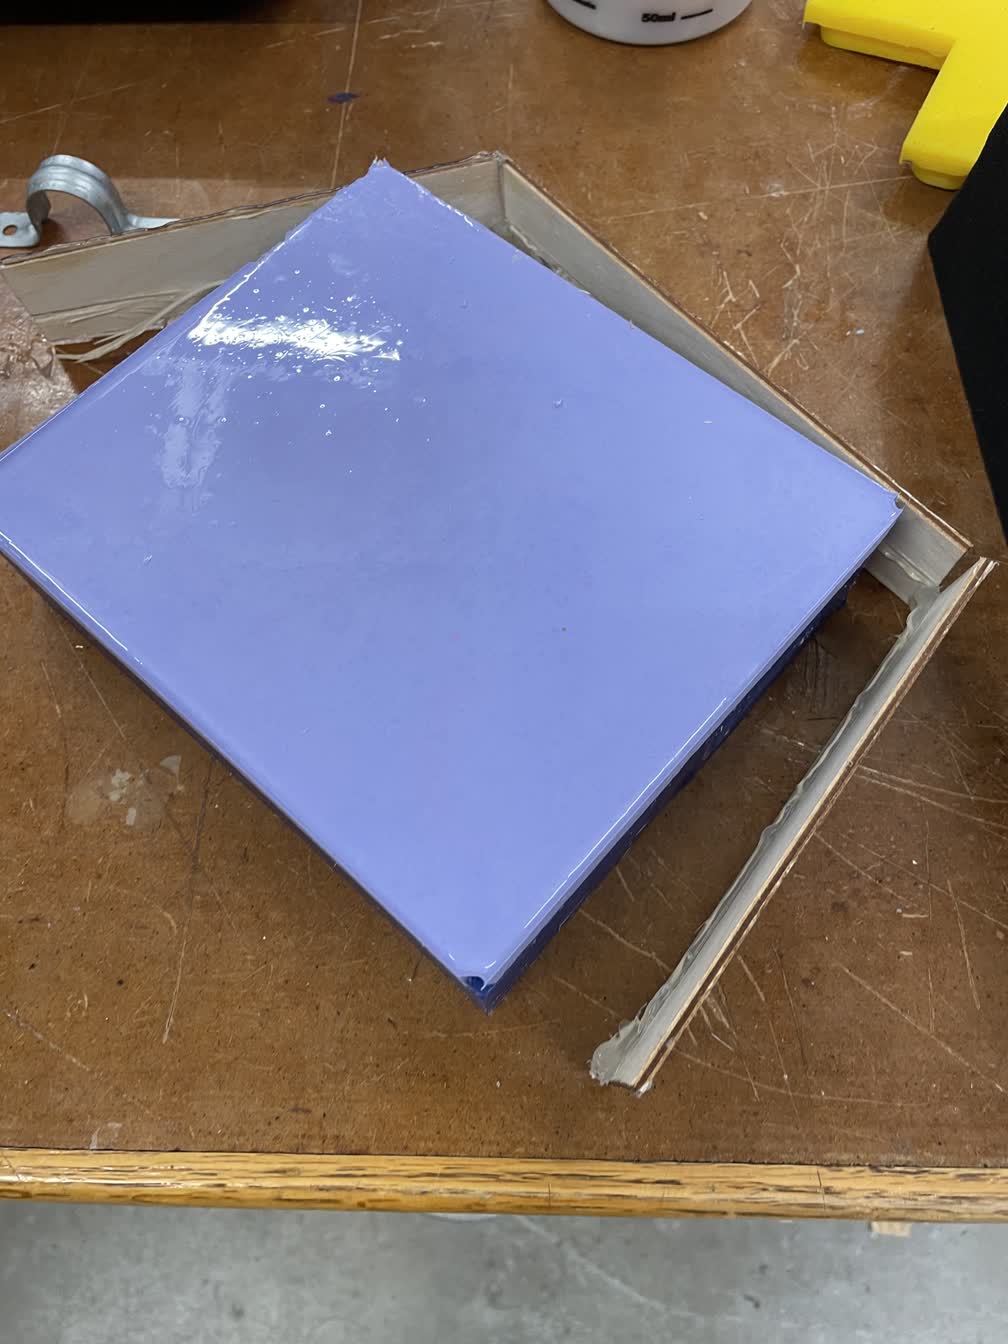
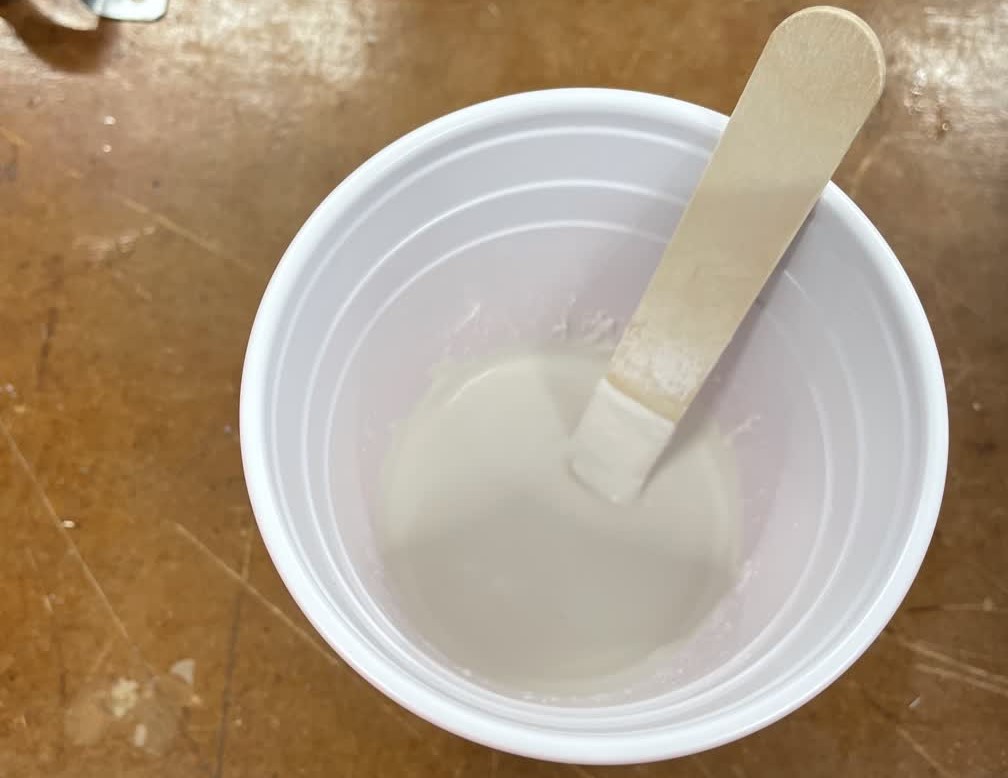
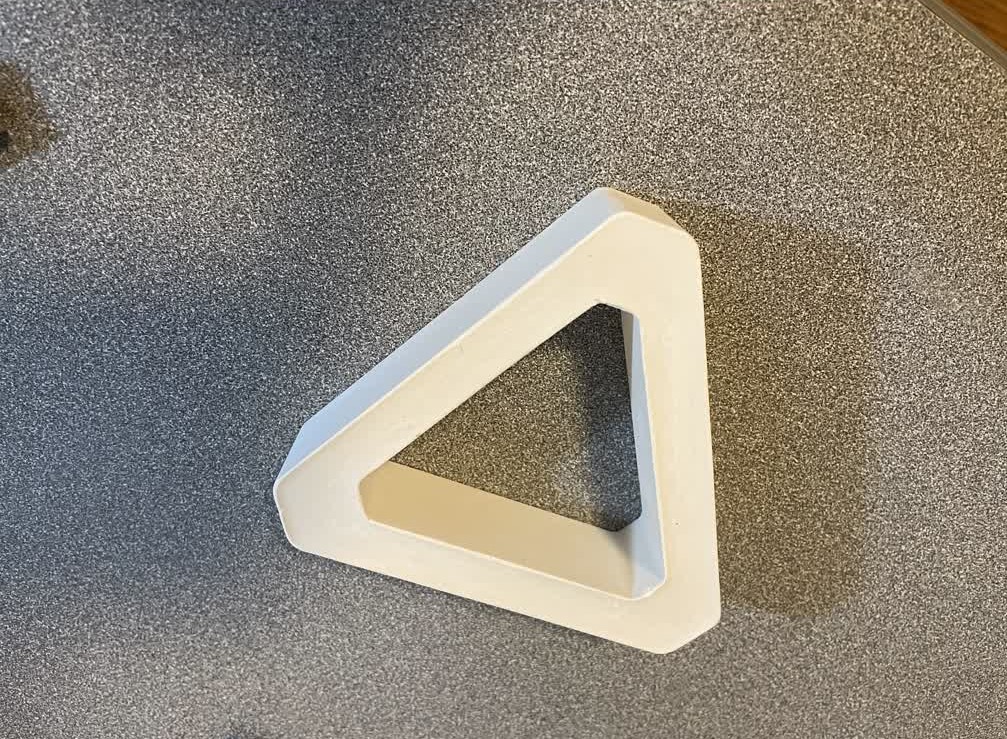
I first cast the Hydrostone, so to do this, I first measured out a 32:100 water to hydrostone mix by weight (I ended up using 64g and 200g respectively), and then I mixed them together by slowly adding the Hydrostone powder to the water. It is important to add the powder to the water and not the other way around to avoid the formation of clumps. After stirring and tapping the mixing container a lot of times to remove bubbles, I poured the mix into the mold and removed it a day later. The first cast turned out nicely:
I repeated this to produce a second hydrostone triangle. Next, I soldered together three short segments of white LED strip along with two extension wires, put them in the mold, and poured in some clear epoxy resin. Unlike casting hydrostone, this time I needed to spray a bit of mold release (Ease Release 200) in order to easily remove the epoxy once it had cured -- the spec sheet for OOMOO says mold release is not needed with materials such as gypsum cement, but it is needed for epoxy resins. This is what the LED/resin combination looked like while curing:

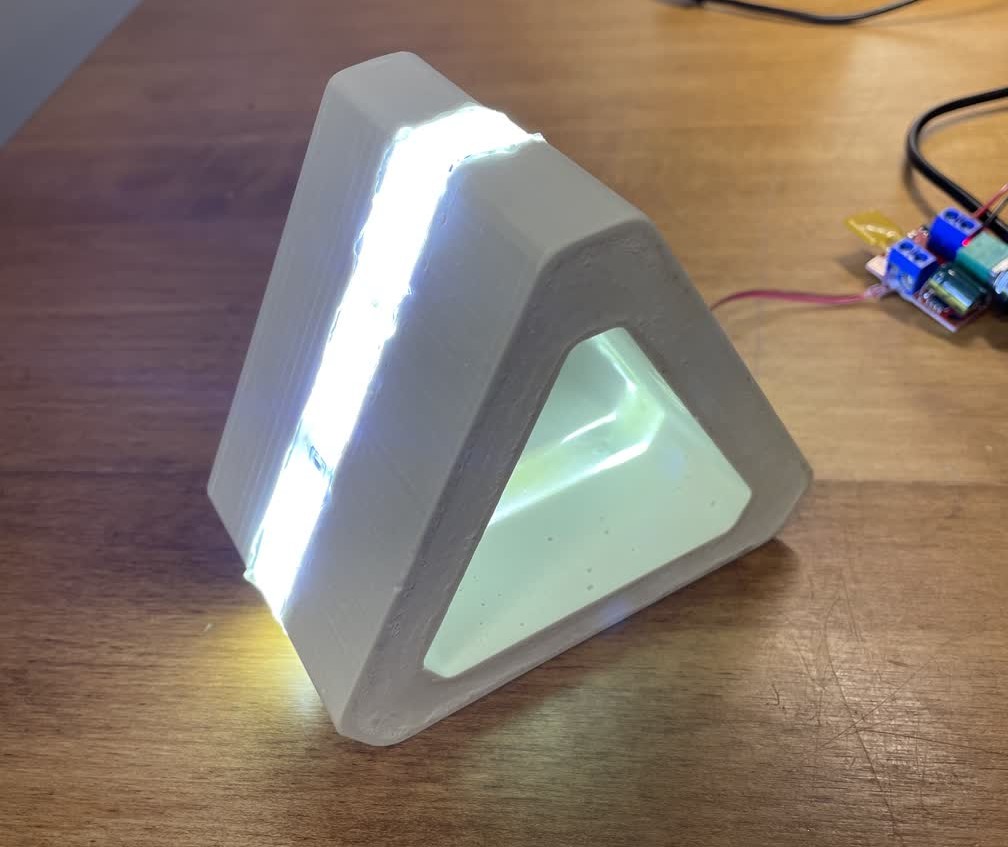
Finally, I combined the three pieces I had cast and joined them together with some more epoxy to create the lamp. The epoxy I applied to glue together the three pieces was a little messy, but the end product still looked sleek and I was satisfied with it: