
This week we’re 3D printing and scanning. During Neil’s lecture I realized that my conception of how 3D printing works was quite off. I envisioned the printers building upwards in a continuous way, like a 3D typewriter, which would mean stuff like bridges wouldn’t be possible. But they are!
So I decided to try some on my own. After floundering with AutoFusion 360 in Week 1, I’d started to get the hang of the sketch tool while designing my cardboard cutouts in Week 2. This Sunday I actually learned how to enter 3D-land with a “sketch → extrude → sketch → extrude” pattern and make some overlapping bridges.
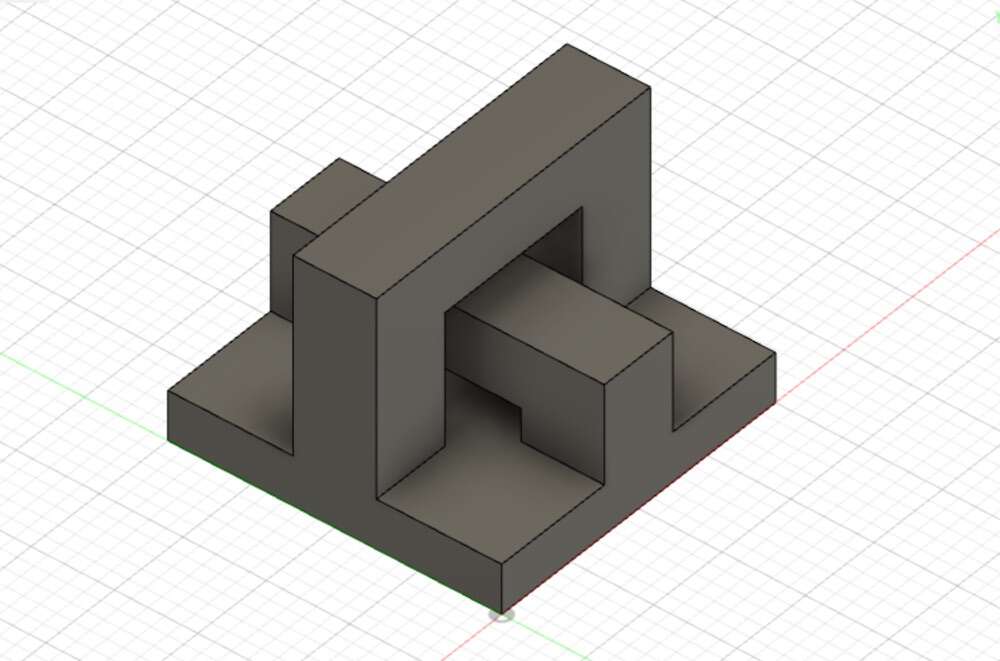
This was all parameterized, so I can adjust the size of the base, length of the bridges, height of the bridges, size of the bridge bases, and distance from bridge to edge (which I eventually set to zero).
Our first 3D print job was supposed to be small (few cm^3) and fast (under an hour). This came in at 2.5 cm^3.
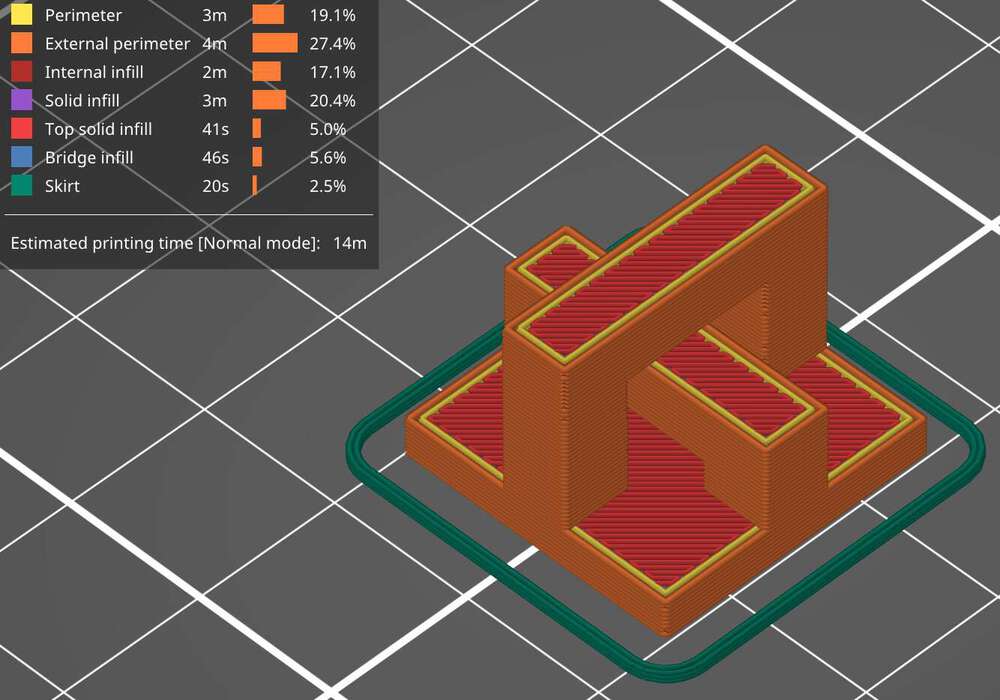
I exported my final design as an STL, popped it into PrusaSlicer, and set it to a 0.25mm print preset. Even though I hypothetically do not need supports for these bridges I decided to include them for this first run because I want to see what they’re like and also I’m a coward.
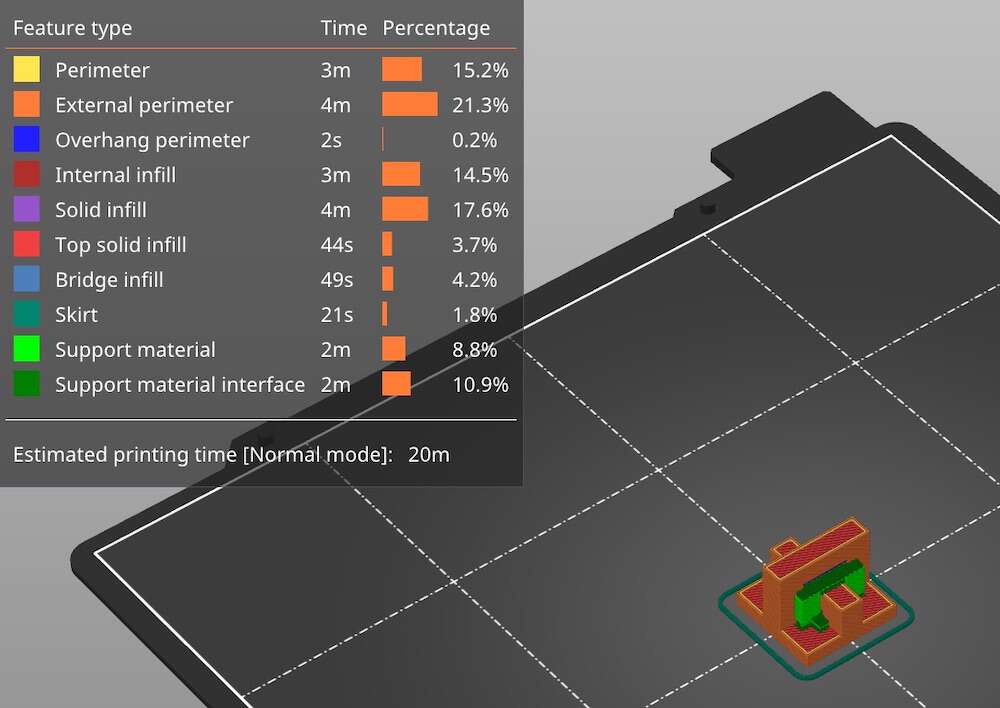
After slicing, my bridge print job looked like it would be 20% support material, plus it would wrap up in just 20 minutes!
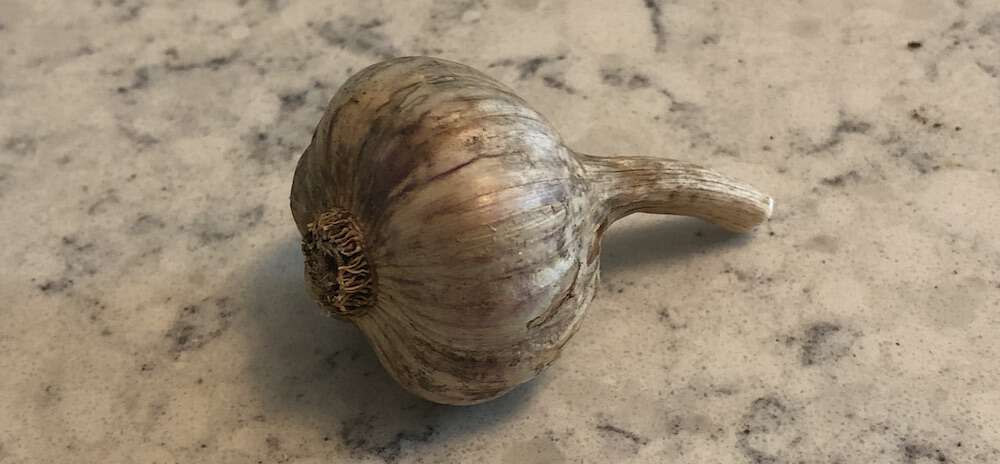
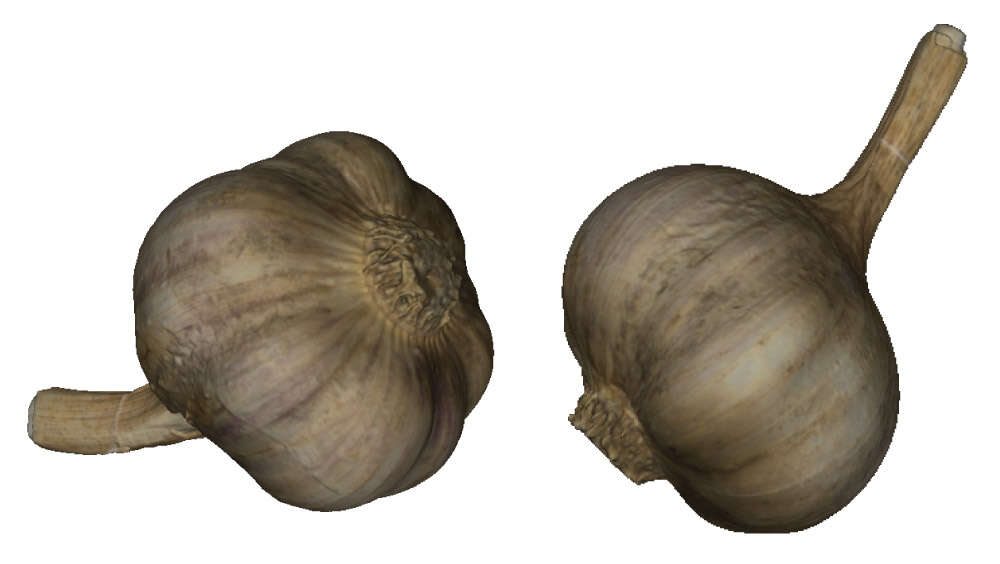
We’re also 3D scanning this week. I wanted something solid and impermanent with an interesting organic shape. So I decided to scan this lovely head of garlic that my parents grew.
Once I got to the workshop on Monday, the TA pointed out that 1) I was using a PRUSA mini preset, which was the wrong machine for slicing and 2) There was no way I actually needed support for these tiny little bridges. So I did an updated slice and shaved off 6 minutes.
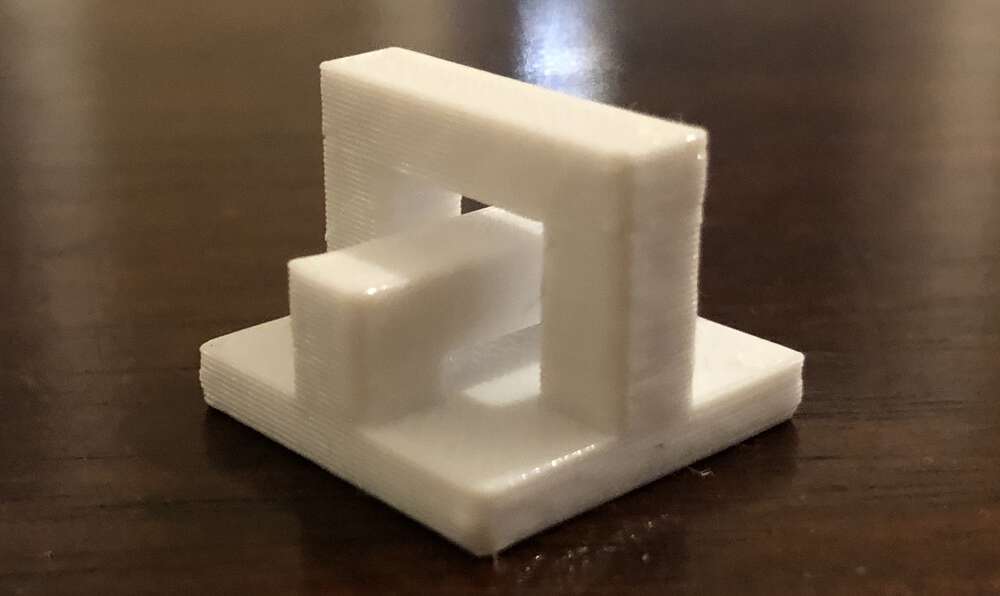
And then I ran my job and it just ... worked! I thought that 3D printing would be a little more involved, with at least the level of machine tweaking we had to do with the laser cutter. But it just worked. Here are my tiny little bridges.
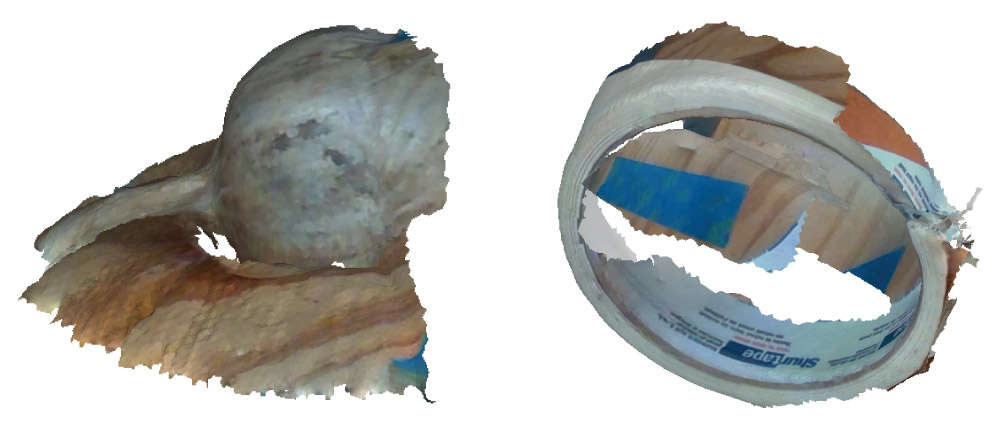
Just like last week, the part that I thought was going to be easy was actually hard (and vice versa). The fancy scanner wasn’t out on a table, so I figured it had been returned to the Harvard tech department. I took a shot with the much crappier scanner, and I got nowhere. Tried a variety of objects, including my garlic and a some tape.
On Tuesday I went back for round 2 and learned an important lesson. If you can’t find equipment, just ask someone. Turns out that the fancy Artec scanner was still available.
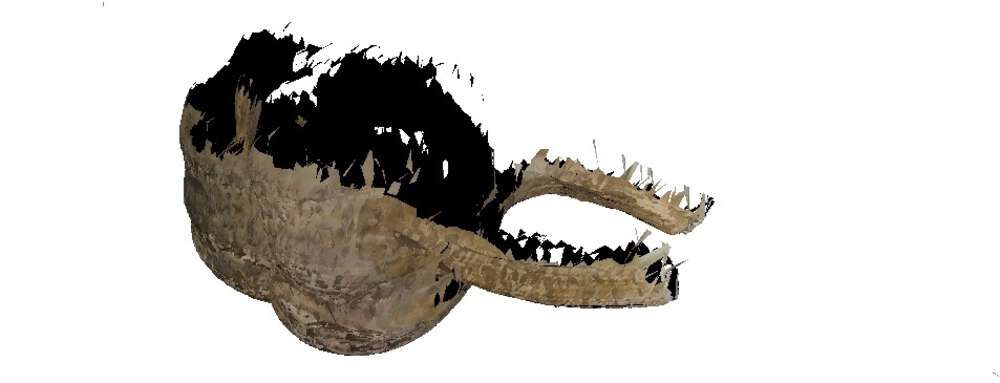
But I still struggled to scan my garlic. When it laid on a surface most of the bottom was obscured. I flipped it over to make a second scan, and the Autopilot feature in Artec 3D should have been able to merge those two scans into a single surface. But it wasn’t able to figure it out.
I ended up engineering a solution I was quite proud of. I used a clove hitch (lol) to string the garlic up on some thread, so I could capture it from all angles. Here’s my rig.
As an added bonus, tension in the thread caused the garlic to rotate slightly all on its own. It really was perfect for scanning, and the final model came out fantastic after some light editing.
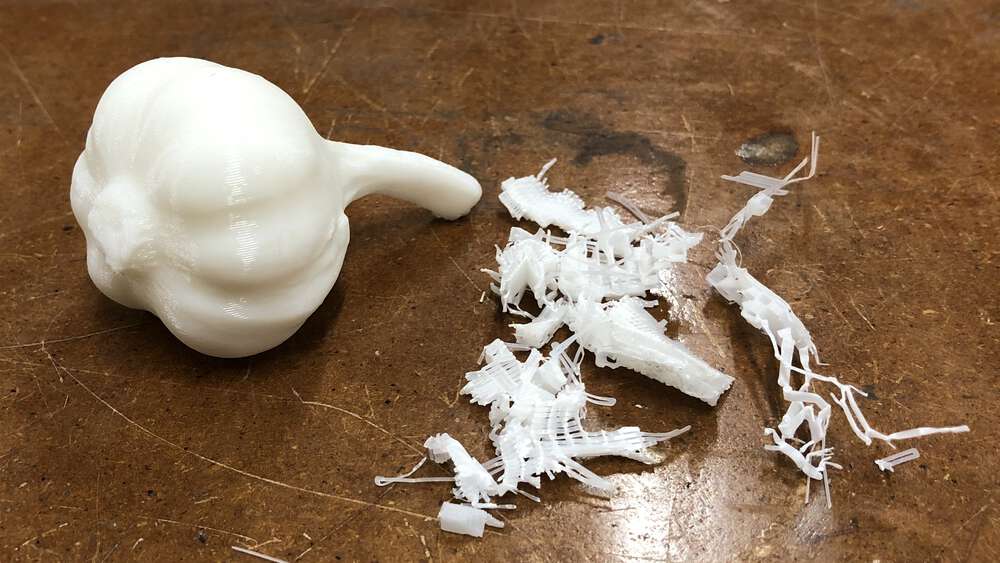
I sliced my garlic and printed it at .30mm, with support material. It turned out great!! And the support material was easier to peel than I expected.
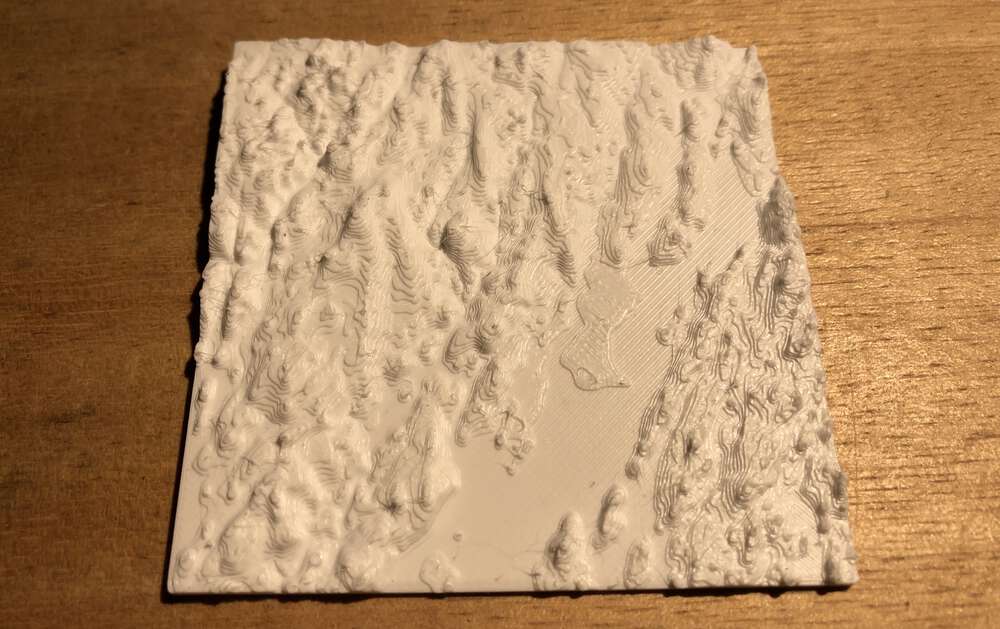
As one final idea, I realized that a cool use case for 3D printing would be making elevation maps. Well it turns out I was about the millionth person to realize this, because there are a ton of guides out there for converting digital elevation models (DEMs) to STLs. In fact, someone made a web-based tool for doing just that.
I set a bounding box for my hometown of Bowdoinham, Maine with a 10x vertical exaggeration. I sliced it and decided to try this one a little more detailed, with a .20mm “quality” preset. It came out pretty nice, although I could have made it bigger and I did end up with some silly strings. Also using a single color PLA definitely flattens it visually.
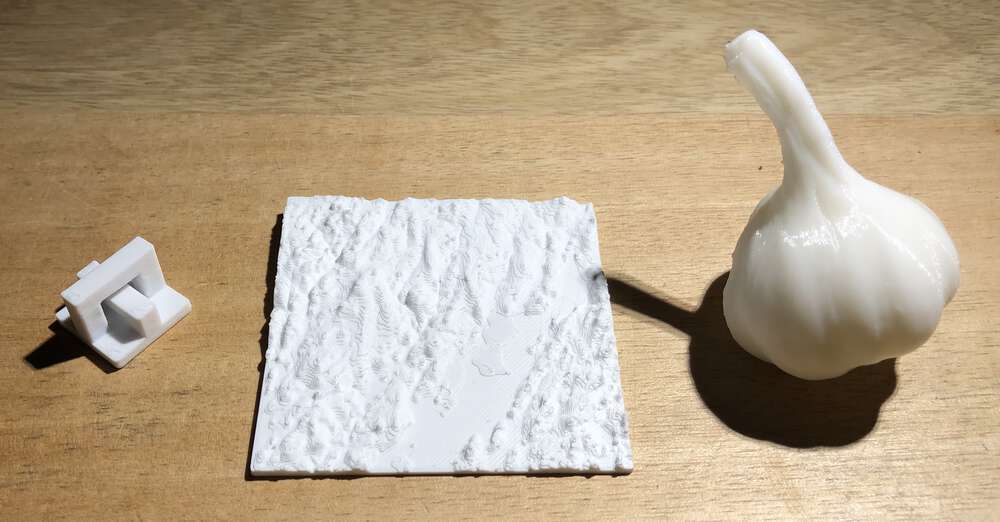
All and all quite happy with how my stuff came out this week. 3D printing feels like magic, and I’m proud that I got to a printable STL three different ways: Designing in CAD software, scanning an object, and converting an external dataset. Here’s the whole gang together.
The group assignment this week was very broad and my section approached it a couple different ways. Takeo performed a bridge test to see how far the printer could span a bridge without supports. Amazingly, the Prusa was able to bridge both an 80mm and 120mm gap while keeping a flat top, although in both cases the bridge “sagged” a bit as the bottom layers became unlaminated.
Suvin did an angle test to see how much overhang the FlashForge printer could handle. He found that wwith angles of up to 90°, overhangs would still print(!) although with substaintial dripping. If the angle was 10° or less, there was practically no dripping.
Finally, Nicolo did the wall thickness test to see what size walls and gaps the Prusa could handle with a 0.4mm nozzle. While set to draft mode (0.3mm), the printer wouldn’t even attempt to print walls narrower than 0.7mm. When in quality mode (0.05mm) it attempted walls down to 0.5mm. In both cases, the printer would not produce gaps smaller than 0.2mm.
Files: My double bridge shape was so simple that the STL file came out to just 4KB. But my garlic was 19MB, and my map of Bowdoinham was 25MB. So let me know if you want them.