Week 3,
Ideation Phase: The assignment for this week was to print something using a 3D printer that couldn't
be made using subtractive methods and also scan a 3D object. I've 3D printed before but not with this design stipulation so I knew I wanted to design some cool interlocking or nested geometry,
ideally in an earring form so I could wear my work out and about. I've never done any 3D scanning at all so I knew I would learn something new either way so I didn't dwell on this yet.
When I asked one of the mentors
at the EDS lab about the point of 3D scanning, he pointed out that organic shapes that are hard to CAD could be good scanning candidates. I kept this in mind when choosing my object. I ultimately settled on a curvy clay green earring
I had (very in
line with the earring theme I'm curating for this week) that I thought a 3D mesh of would be interesting.
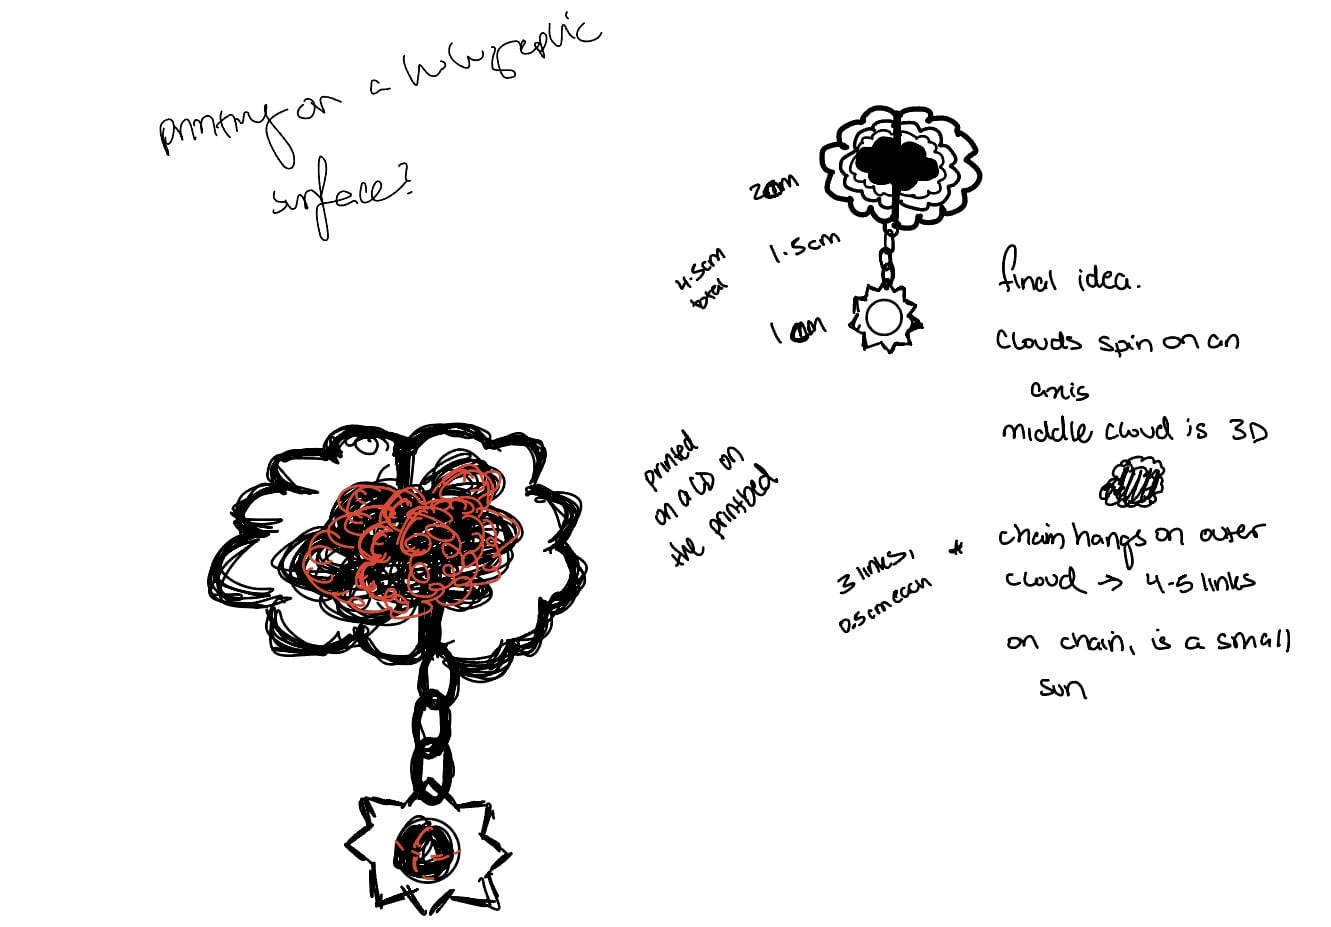
Design Phase : When it came to the 3D object, I looked at past websites to get ideas and after looking at many, I decided I wanted to play with printing a rotating part and a chain while also incorporating a holographic print
as I'd seen in this website. With those three goals in mind and the aforementioned desire to have
this be an earring, I came up with this:
CAD-ding it was slightly difficult as it relied more on curvatures than any of what I've CAD-ded this semester. I started my CAD on Sunday night and ended Monday afternoon. I'm still not completely comfortable
using Fusion 360 (or any CAD software for that matter) but I've been getting better at doing so which I'm happy about. This was the finished CAD:
Execution Phase : Scheduling the print wasn't difficult. After a quick training on the 3D printers of the EDS lab,
I chose the Stratasys which had dissolvable supports which I felt I might need for the many slight overhangs in my design. Printing on the Stratasys meant I would have to shelve my goal of hologrpahic printing for now
as only the Prusa printer could handle printing on a CD. I decided that I could do another print with simpler features that wouldn't need support if I really wanted to try holographic printing.
After I scheduled the print and went home, I re-read the
EECS group characterization of the Stratasys printer and realized the rotating part I CAD-ded may not have enough clearance between the hole and the axis.
Which meant some edits would most likely have to be made unless by some miracle, my part still spun. Upon my print finishing, I wasn't able to test if it met my goals of a chain that behaved...well, like a chain, and a rotating part. Since
the part had needed a lot of support, that meant it also needed a lot of dissolving time. My earring went straight from the printer to the lye bath (of which you need very funky heatproof gloves to put things in and pull things out)
and stayed there for about 2 hours.
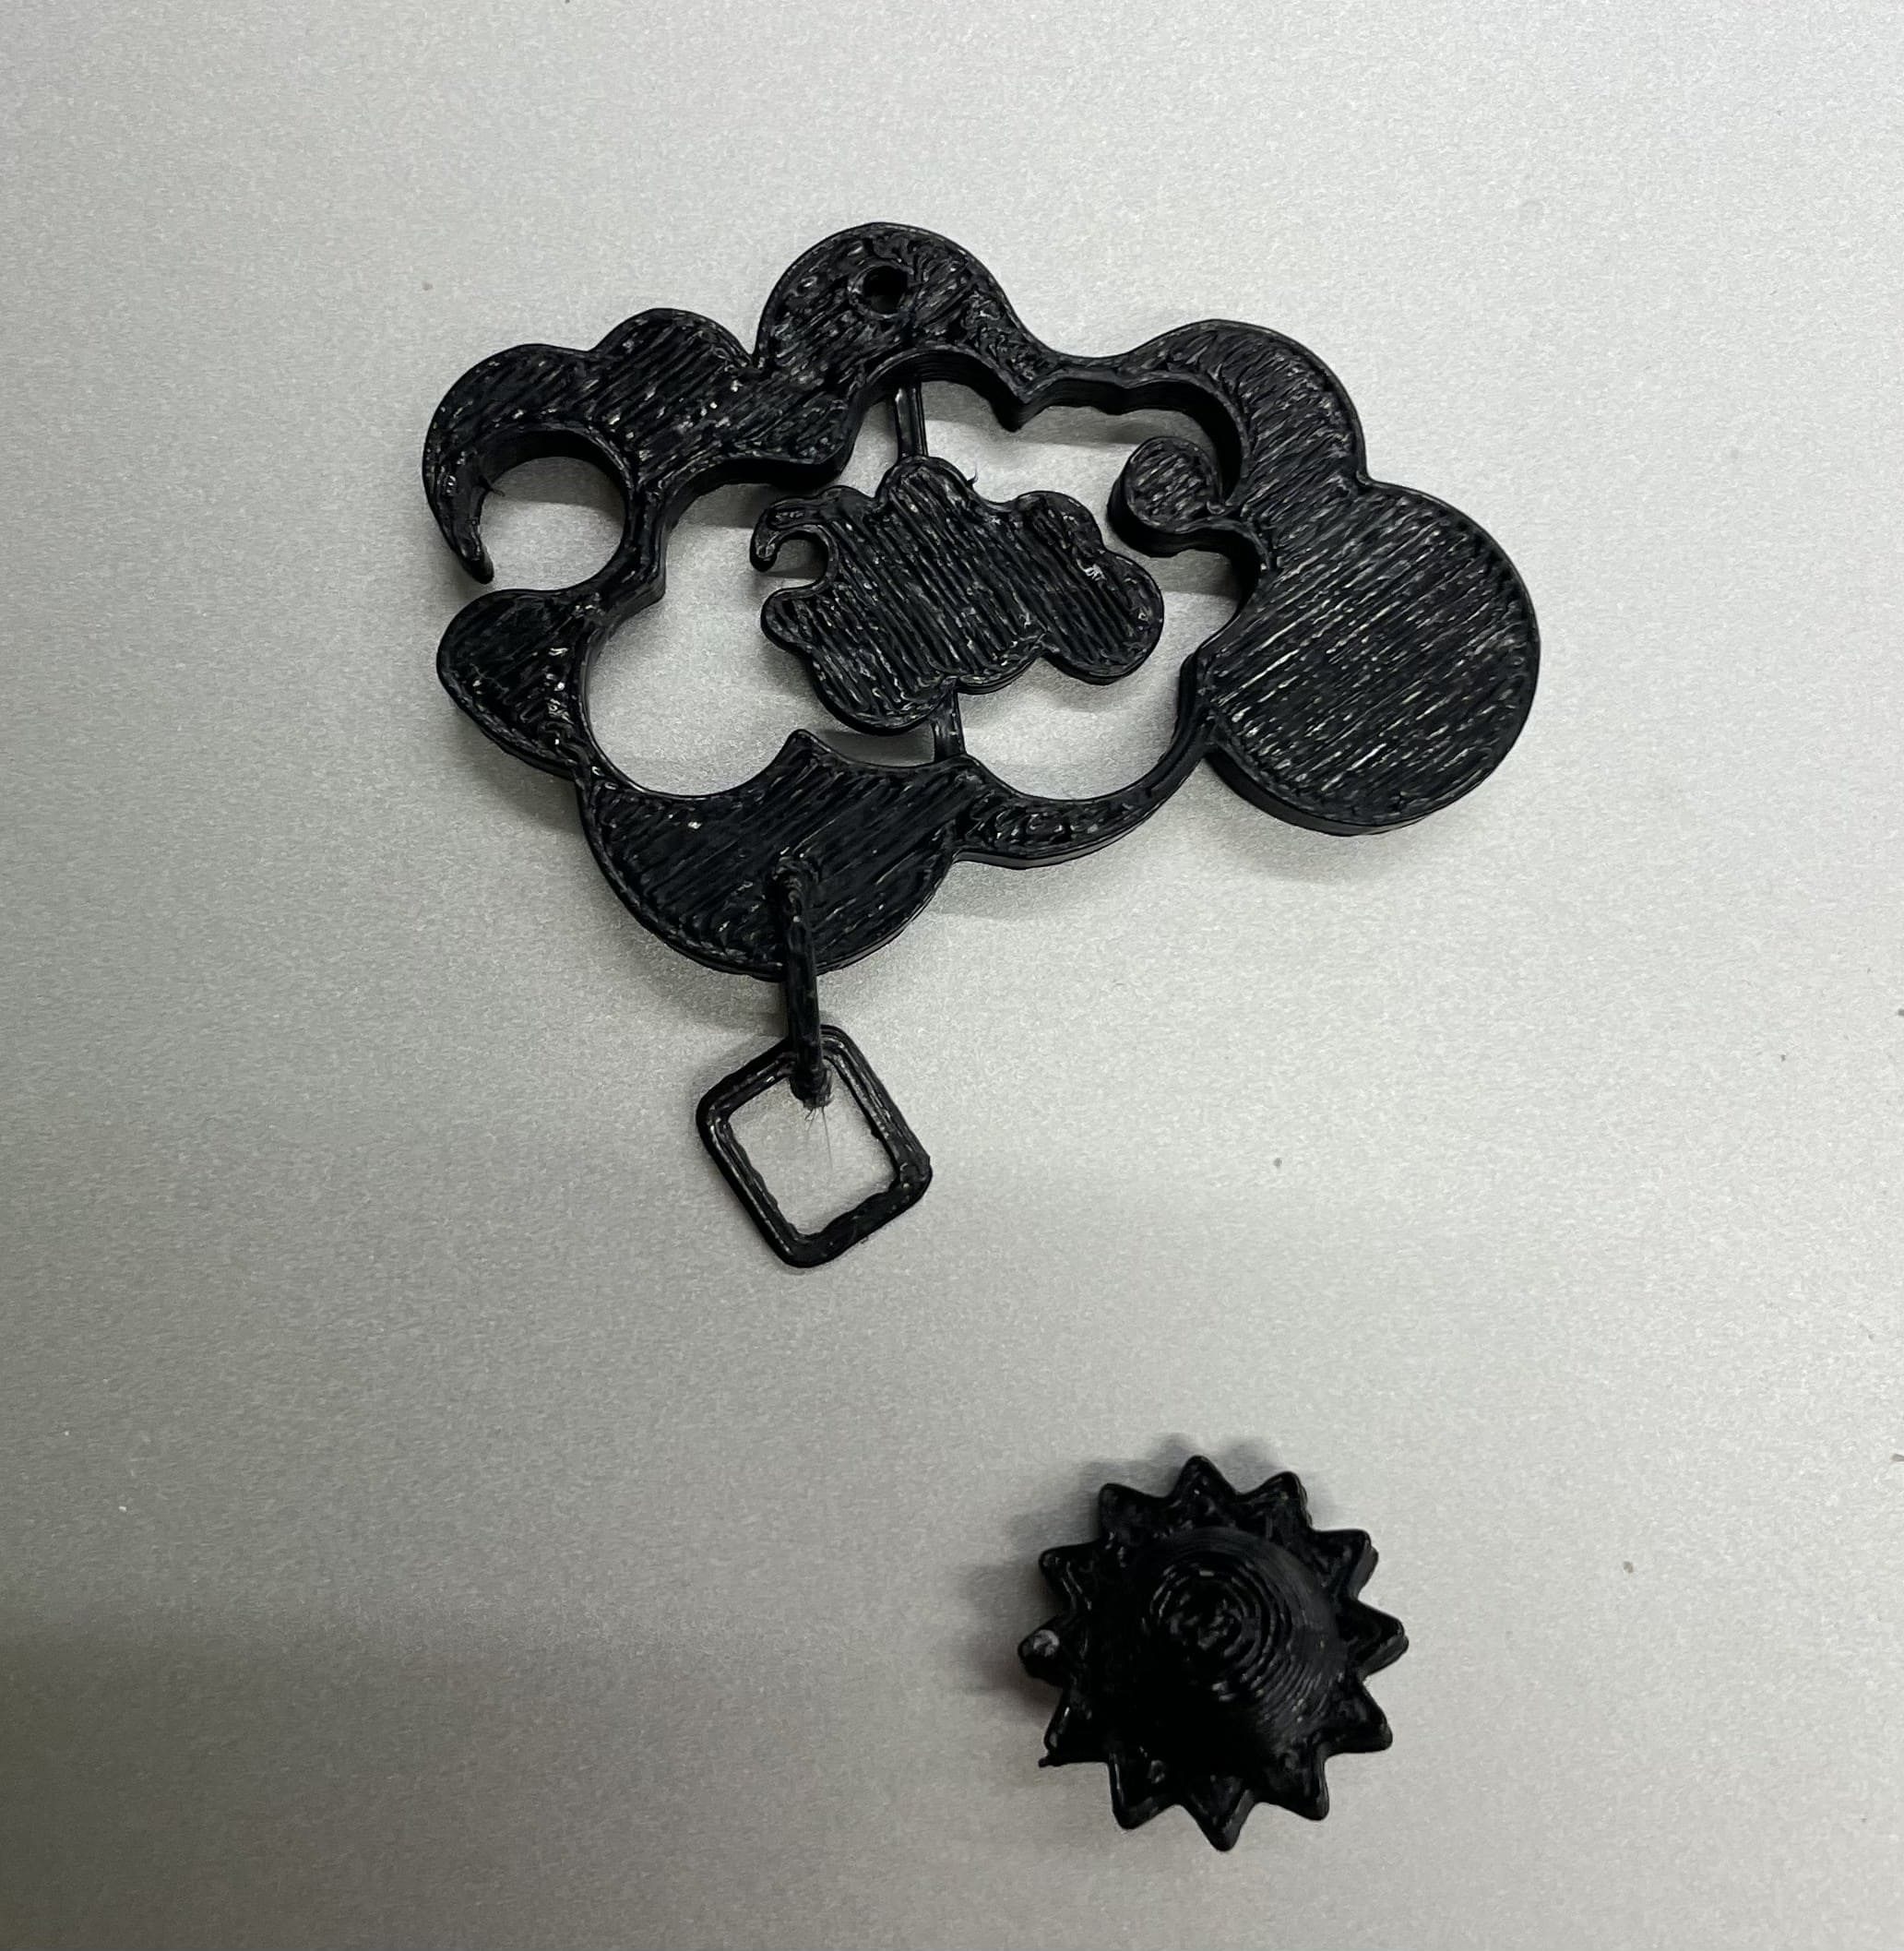
Unfortunately, once the supports had dissolved, things were still amiss. The bottom chainlink had snapped, most likely due to the fact that the shorter ends of the top and bottom chainlink were printed straight up and are pretty thin so likely
are pretty weak. Also, the aforementioned tiny holes that I'd CAD with little clearance made the chain too stiff and very resistant to even the slightest force acting against it.
Regardless, the top two chainlinks behaved like expected! And the rotating part...rotated? Not really, but more due to the fact the axis was so thin, it could twist. I count it as a mini success and while I will reprint, I won't
really change the design except to widen the holes of each part a bit.

On the 3D scanning front, things didn't go as planned. I was using the Revopoint Pop2 scanner to embark on this journey.
The green earring I'd chosen was either too small or too much of a curvy shape because for whatever reason the scanner could not keep track of it. After multiple failures, I decided to use my
Airpod instead (still had curves and still ear-related!). The Airpod wasn't sucessful initially and took 3 different scanning attempts to get anywhere near the general idea. I think the white and somehwat glossy exterior may have scattered
light in a way that was hard for the camera to stay focused on becuase it would often lose track of the Airpod and then make another instance in the the Airpod's new location (the Airpod was on a rotating platform). The woeful tale
of my first 2 attempts is shown below:

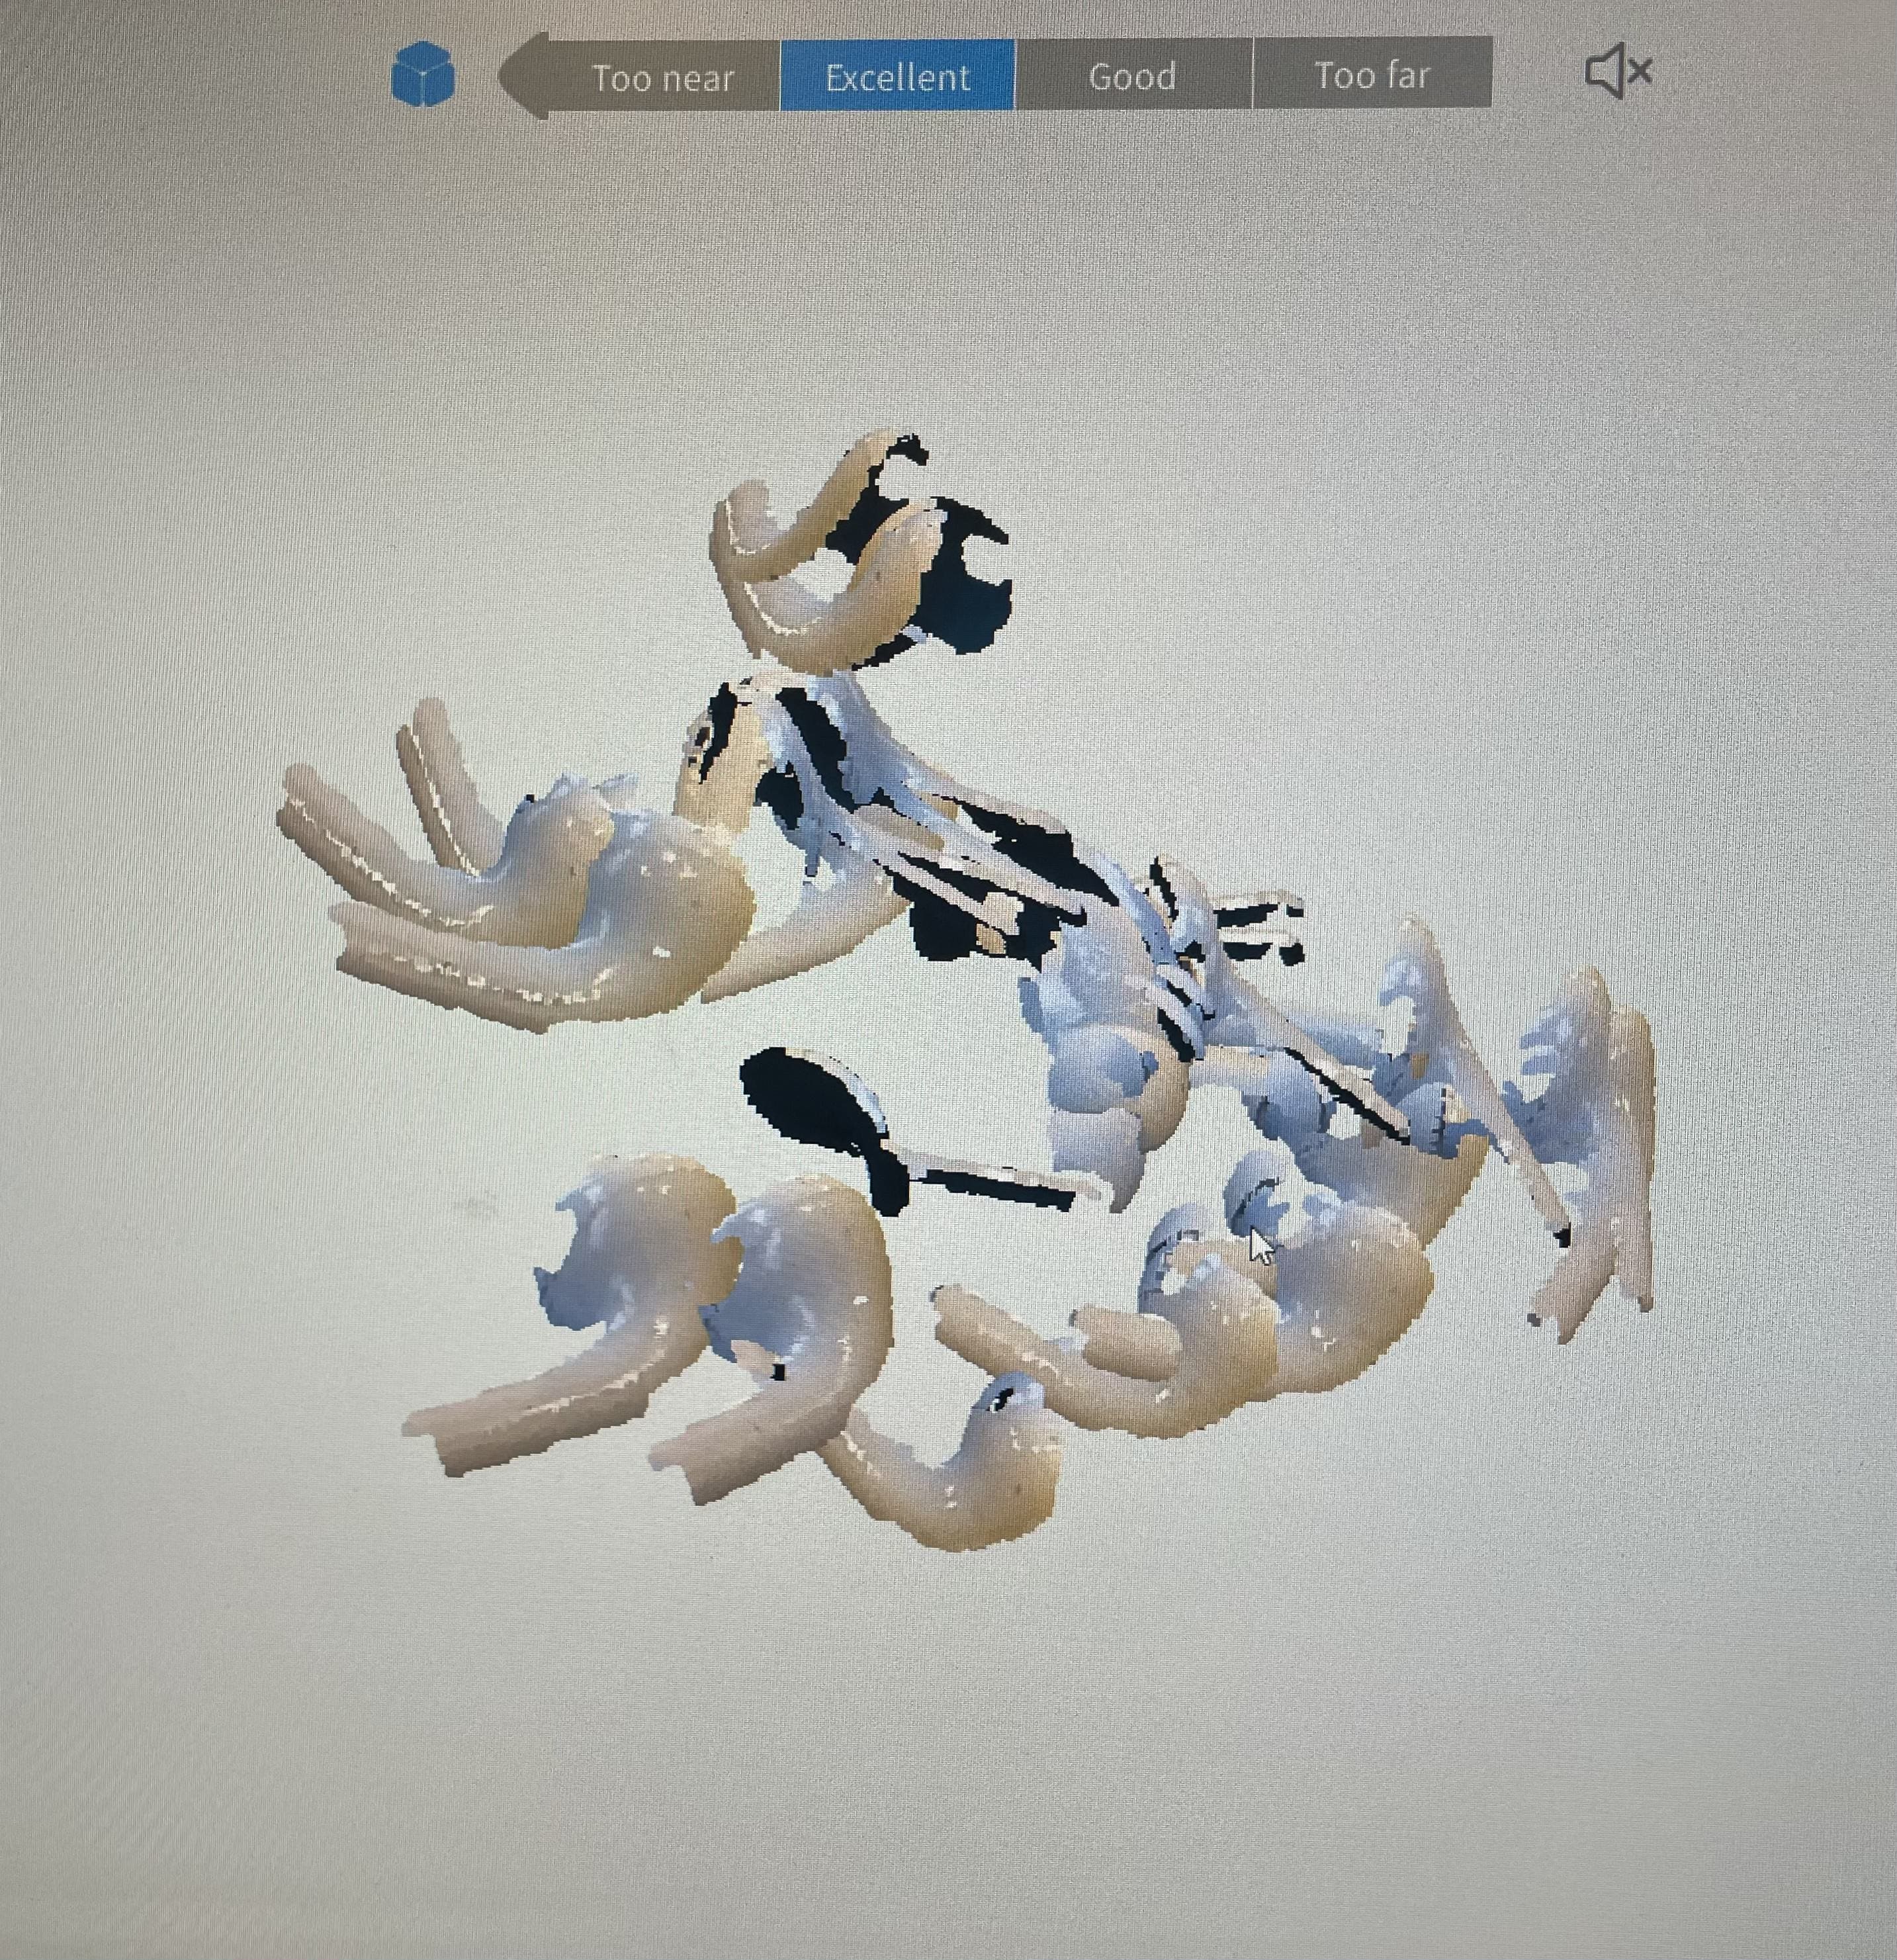
Final Product:
Here is my final mesh of my 3D scanned Airpod, opened in Fusion360. Since one side was touching the platform and facing away from the camera at all times, it appears empty on the bottom in the mesh compared. Also, all the black-colored
features on the Airpod are lost as the 3D scanner wasn't able to pick those up.
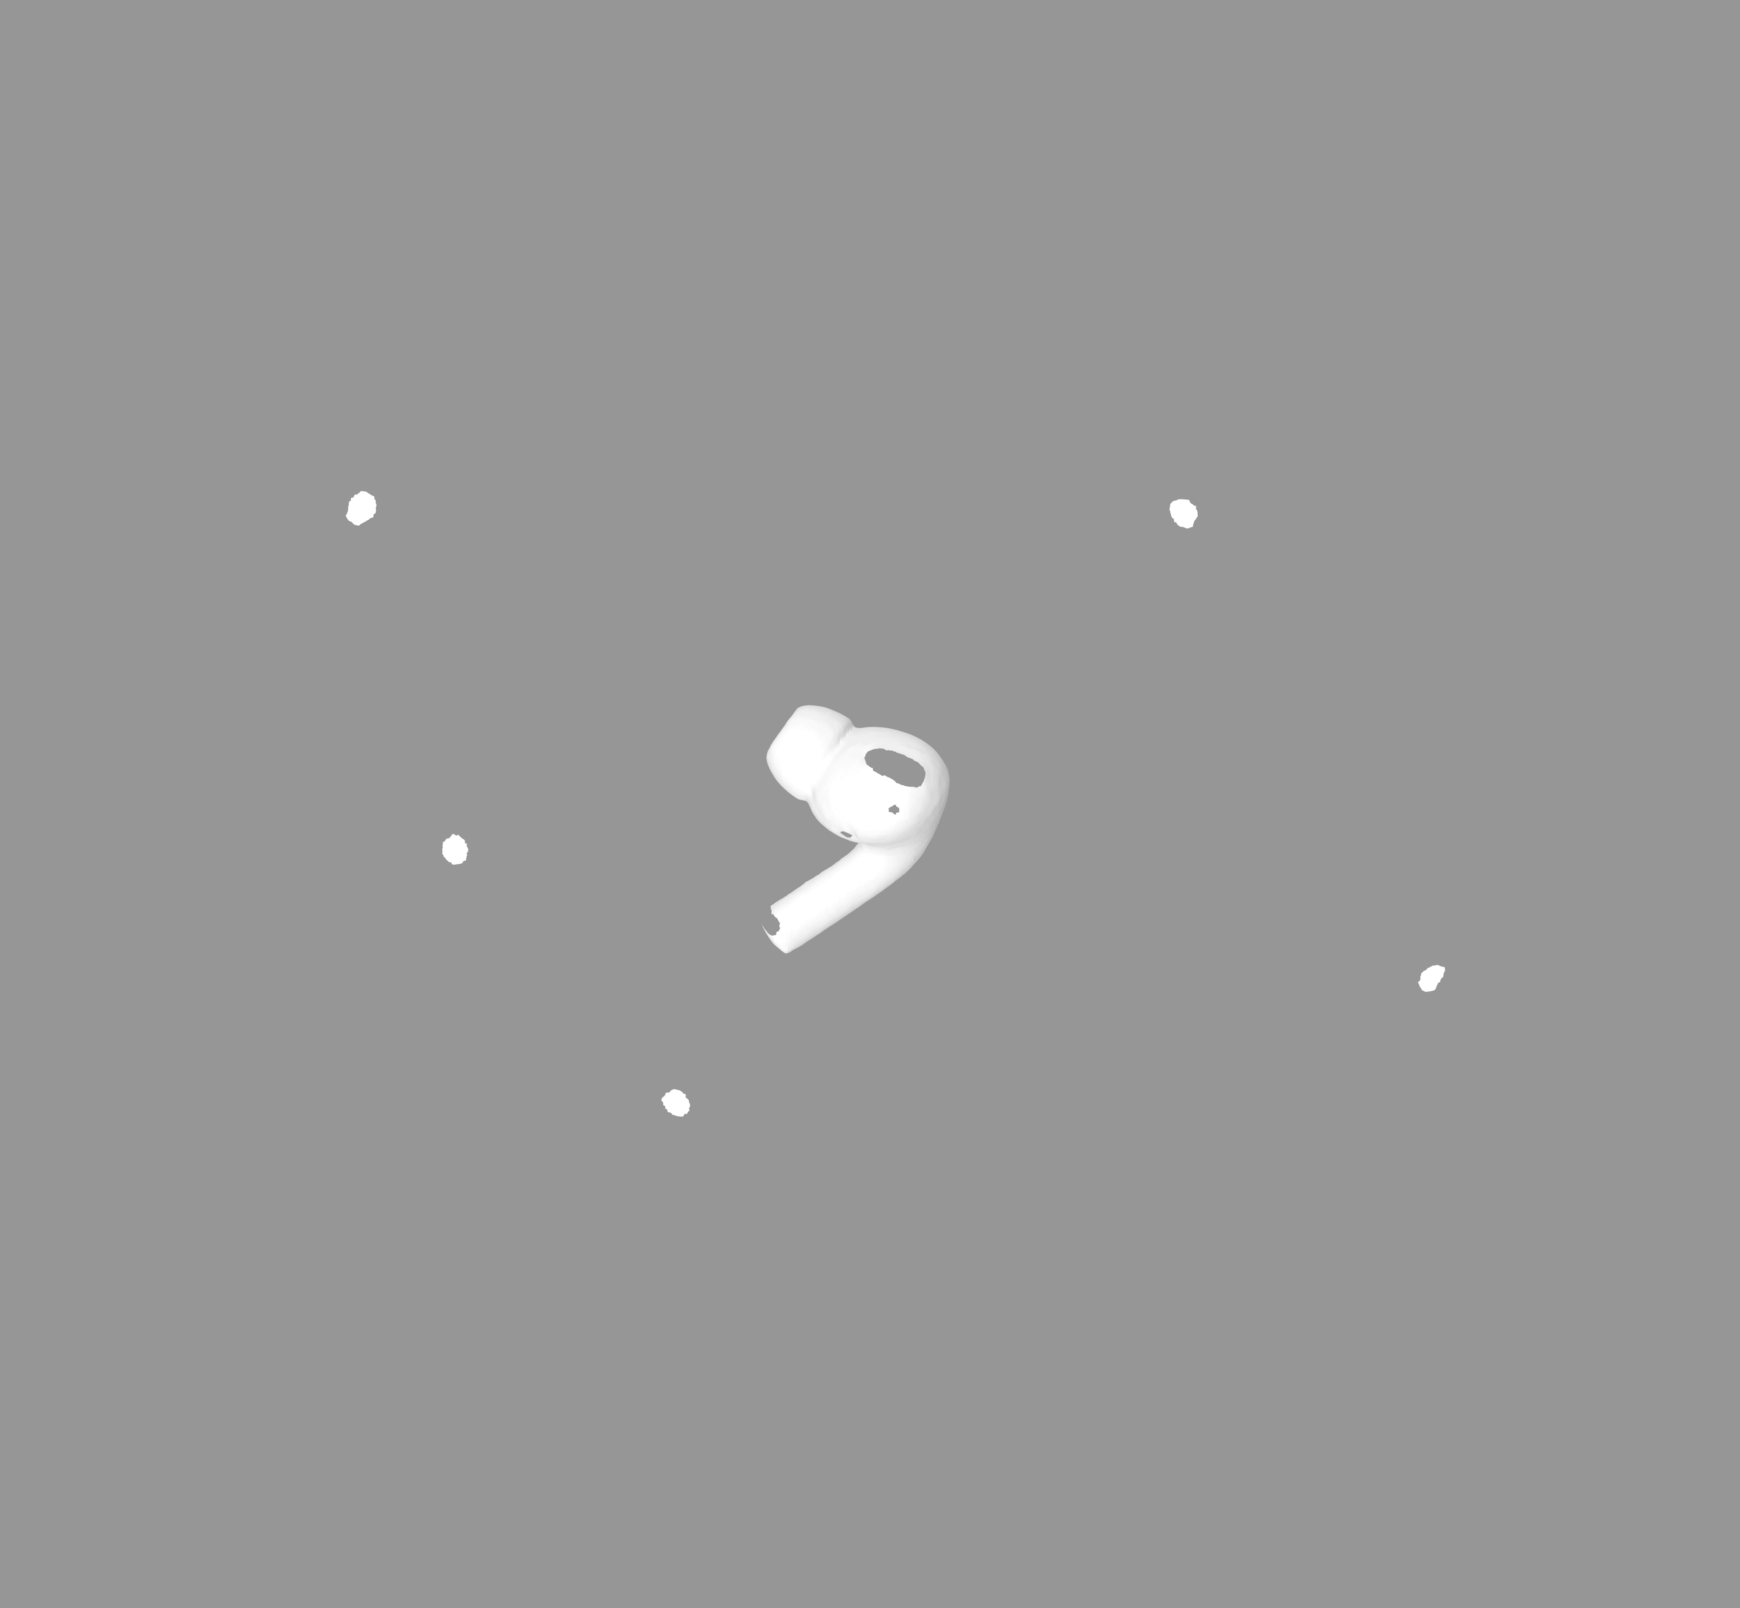
I think while 3D scanning can be useful, it is also very finicky. The same object can result in mutiple different meshes even if nothing is changed. Regardless, I could see this being helpful for my proposed final project. If I could 3D scan three or four different shapes, I could have those be the preset meshes that my bar soap extruder could print.
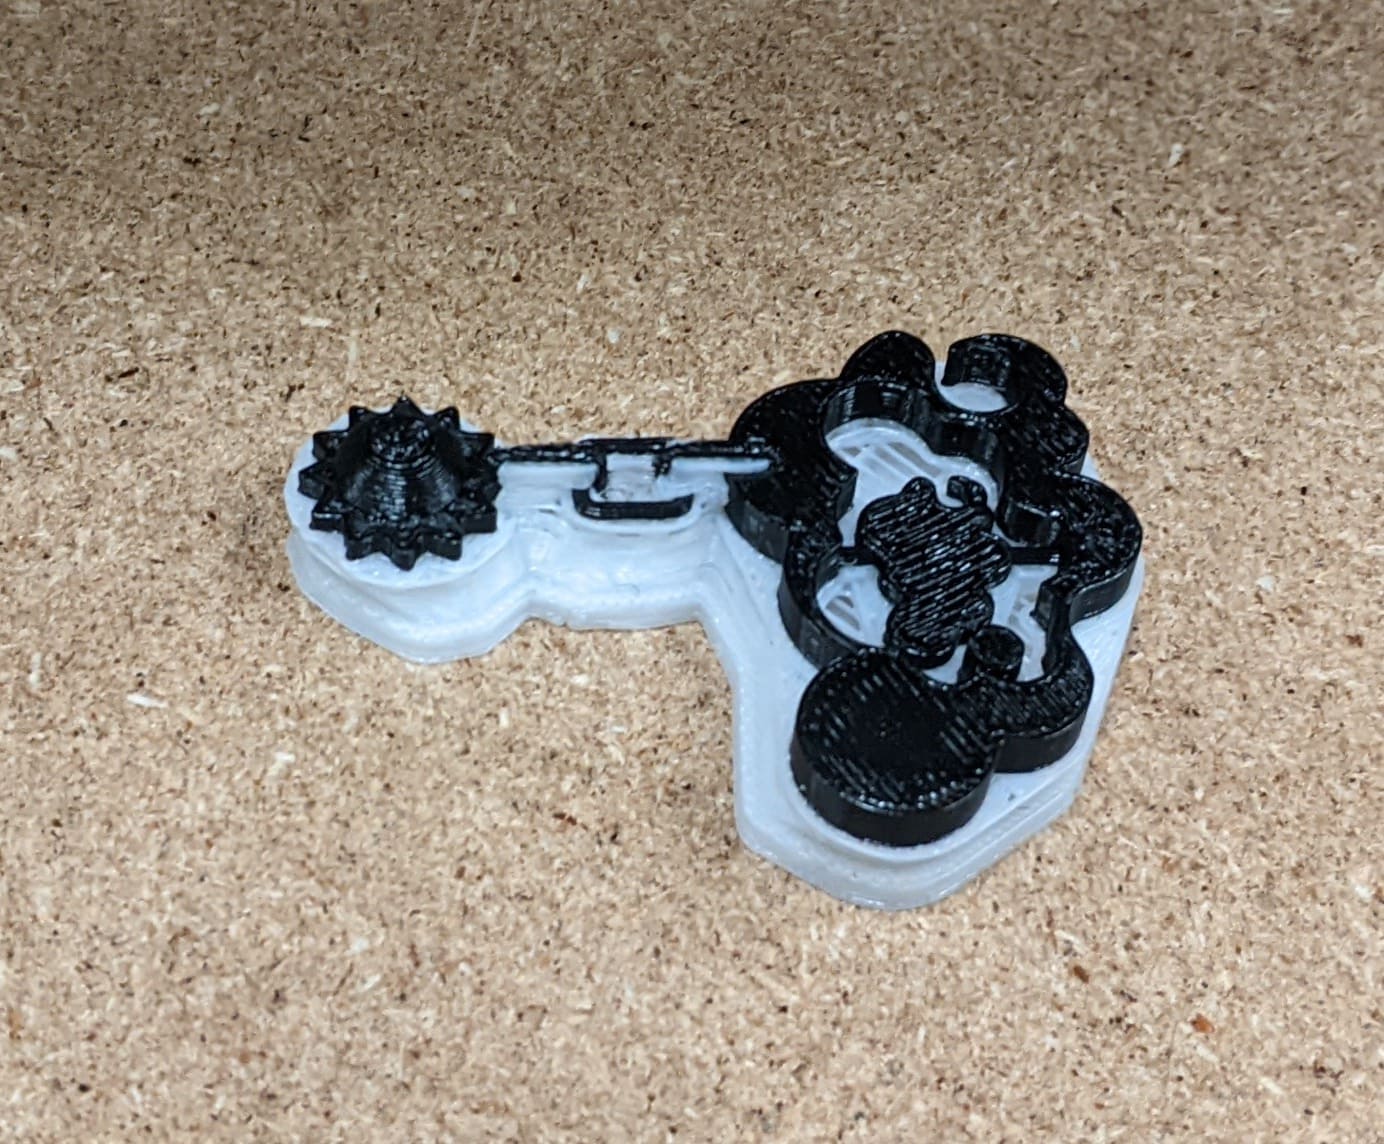
And here's my final 3D print! I didn't end up doing a holographic print because I simply did not have the bandwidth for further experimentation and rationalized I should probably pay some mind to my other classes:
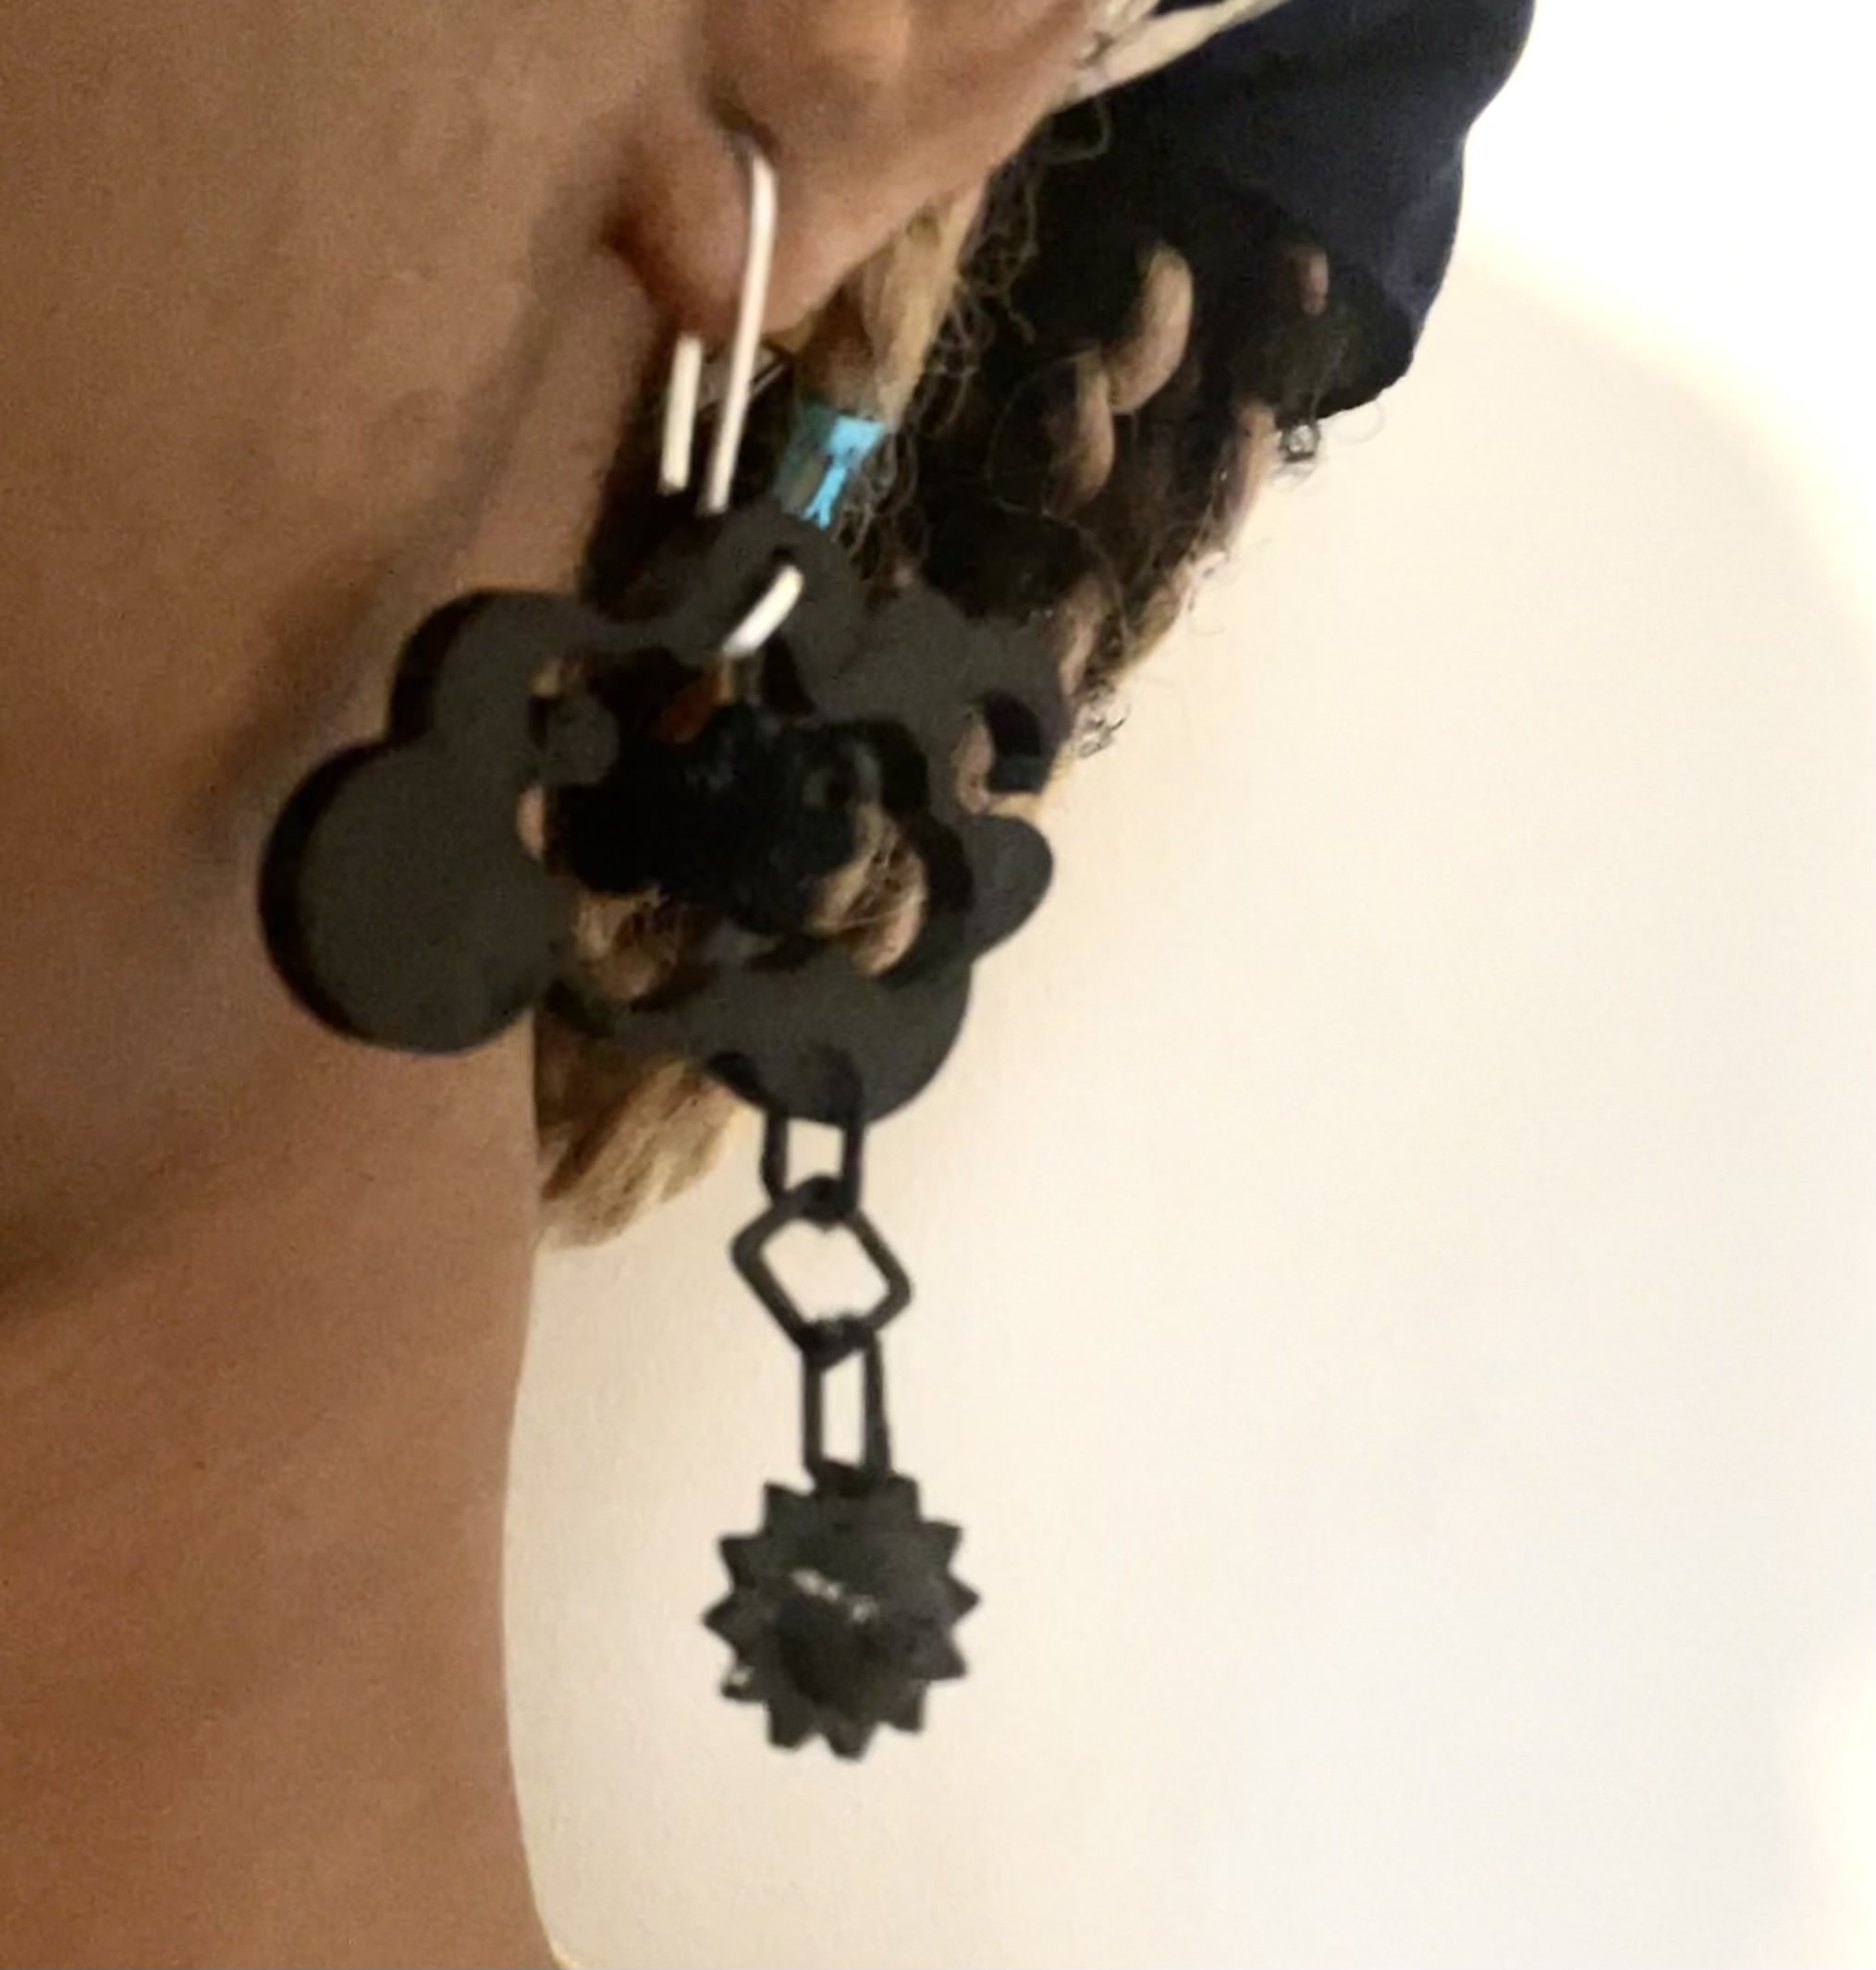
- Alex