Week 5 - Computer-controlled Machining
This weeks individual and group assignment concerned computer-controlled machining. The group assignment was to characterize the router in EDS and complete the required training. Results of the group assignment can be found by clicking the following link to the group page.
This weeks individual assignment was very open ended. Make something big. Your mind is supposed to run free. But unfortunately creativity is not my strong suit.
Make Something Big
When I heard "Make Something Big" my mind filled with tons of cool ideas. Unfortunately, none of them are made of crappy wood and none of them are feasible in a weeks worth of time on a machine shared by 20 people. So I relied on my girlfriend who said I should make a claw that grabs things at a distance. Why not?
We were given 2 sheets of 40"x48" OSB at 7/16" nominal thickness to work with. OSB is made of layers of wood shavings that are glued together. It's like a much worse version of MDF. Someone described it as oatmeal and I could not stop thinking how accurate a description that is. There are several constraints to consider in the design of the parts: 1) the thickness of the material is very non-uniform. This makes joints difficult and requires trial and error. 2) OSB crumbles at small dimensions, making it only useful to machine parts at 0.5" at a minimum. 3) The end mill diameter determines many things, including feature sizes and internal corner diameter. If you want snug joints you need to go with dog-bone corners. I originally designed my parts for a 0.25" diameter endmill due to a miscommunication, but only a 0.375" diameter endmill was available. The parts were designed below in Fusion. My first time using Fusion. I'm an advocate of Inventor and thought the transition to Fusion would be easier than it was.
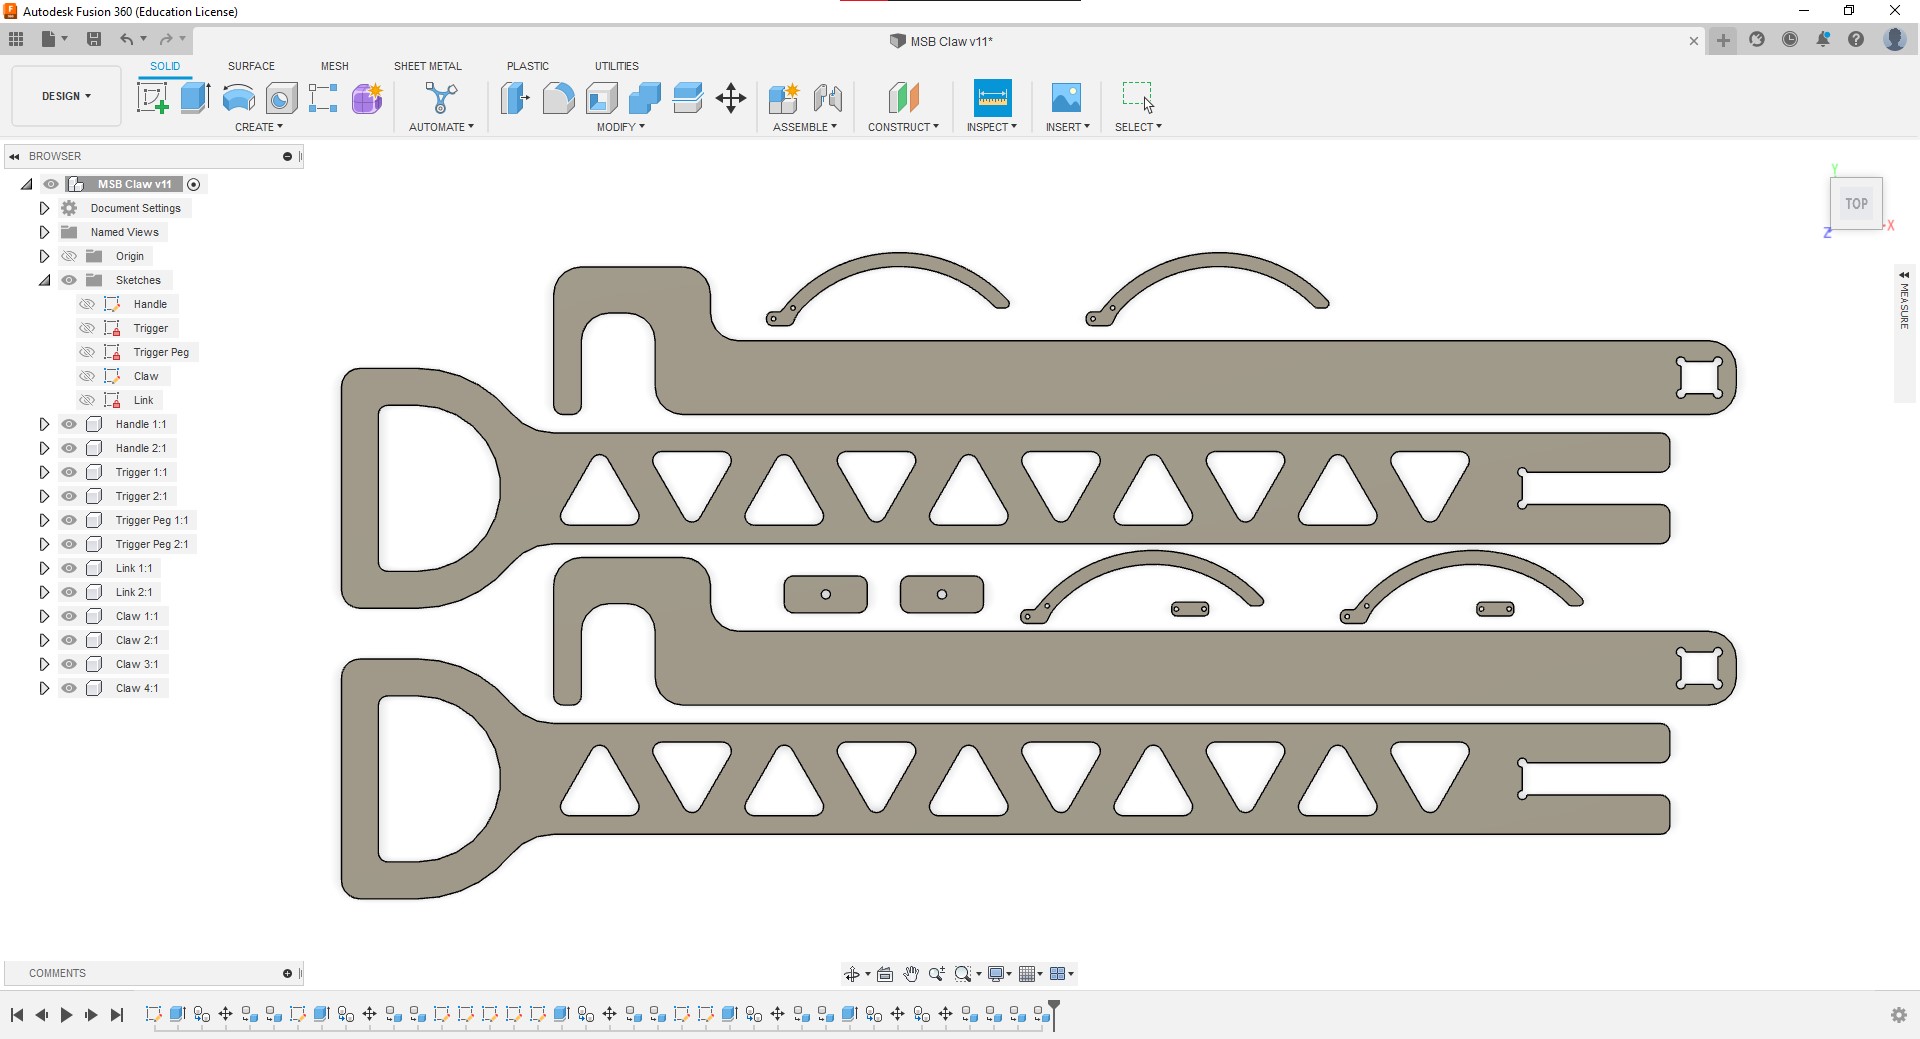
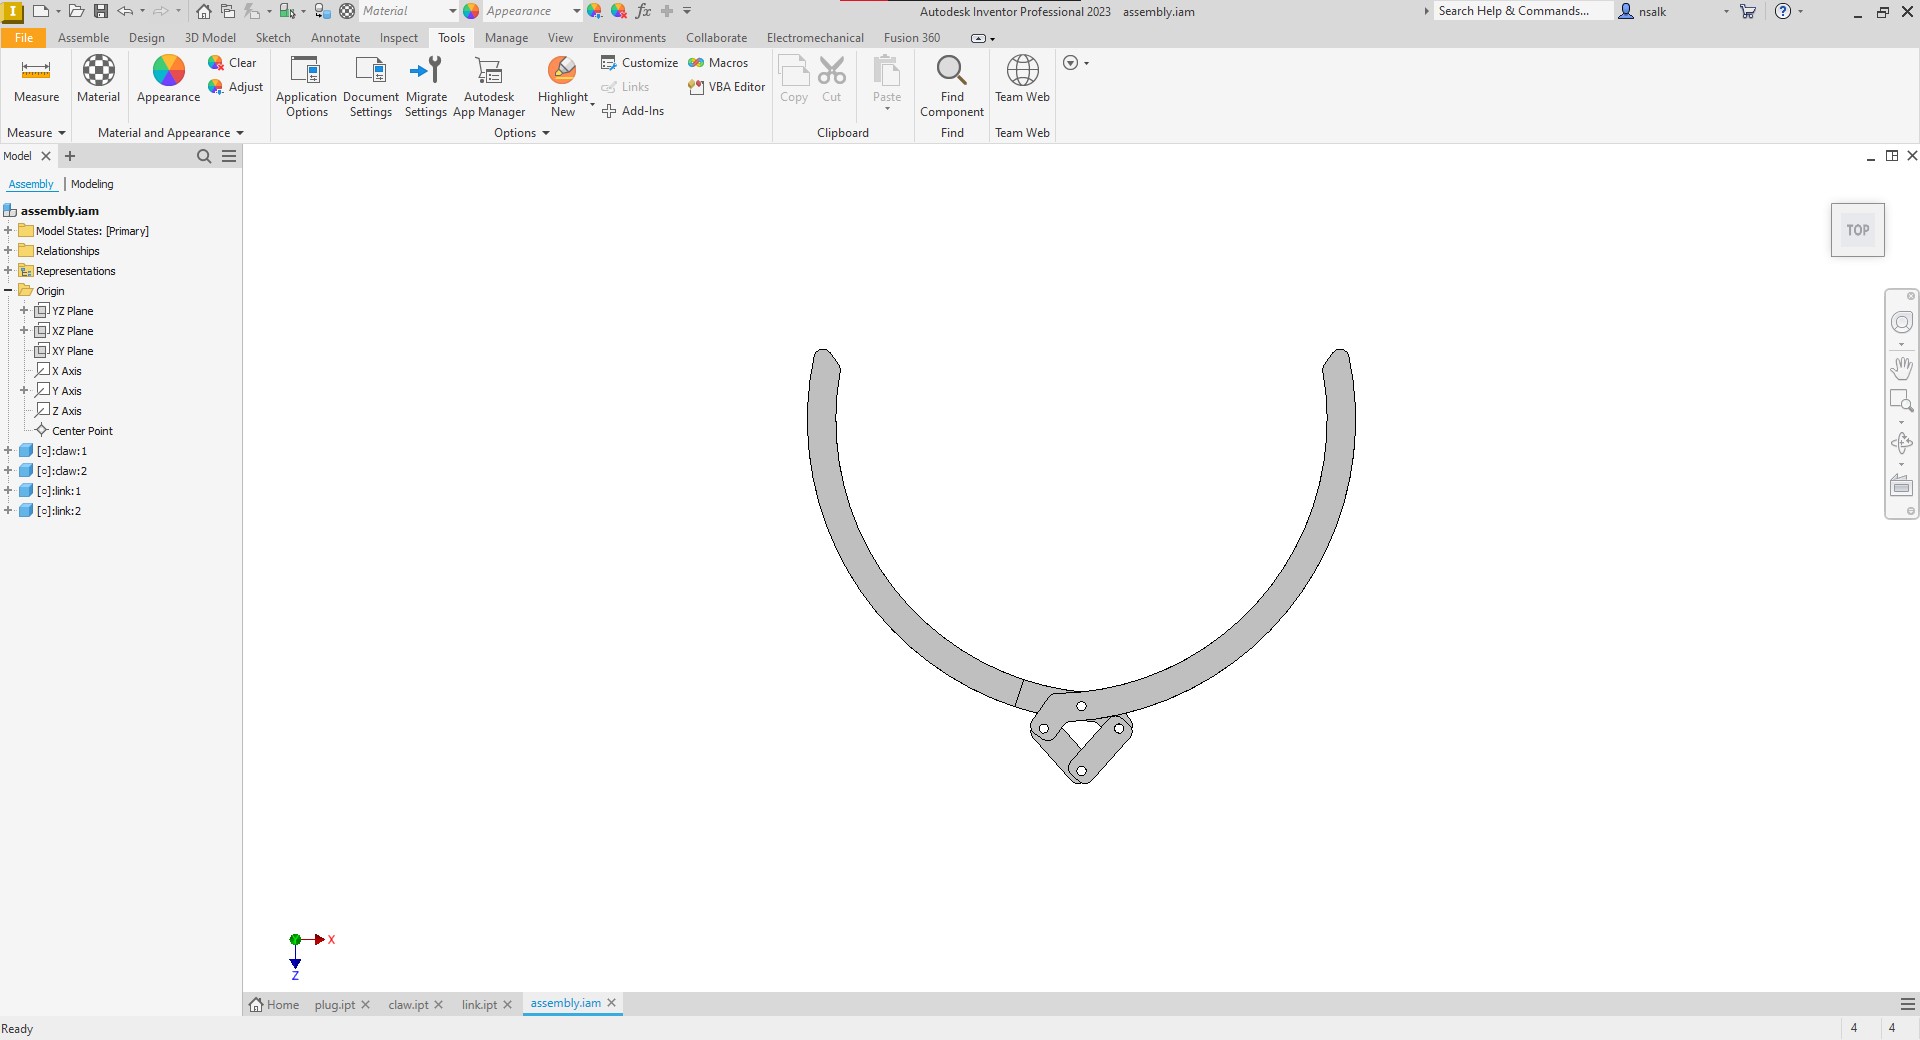
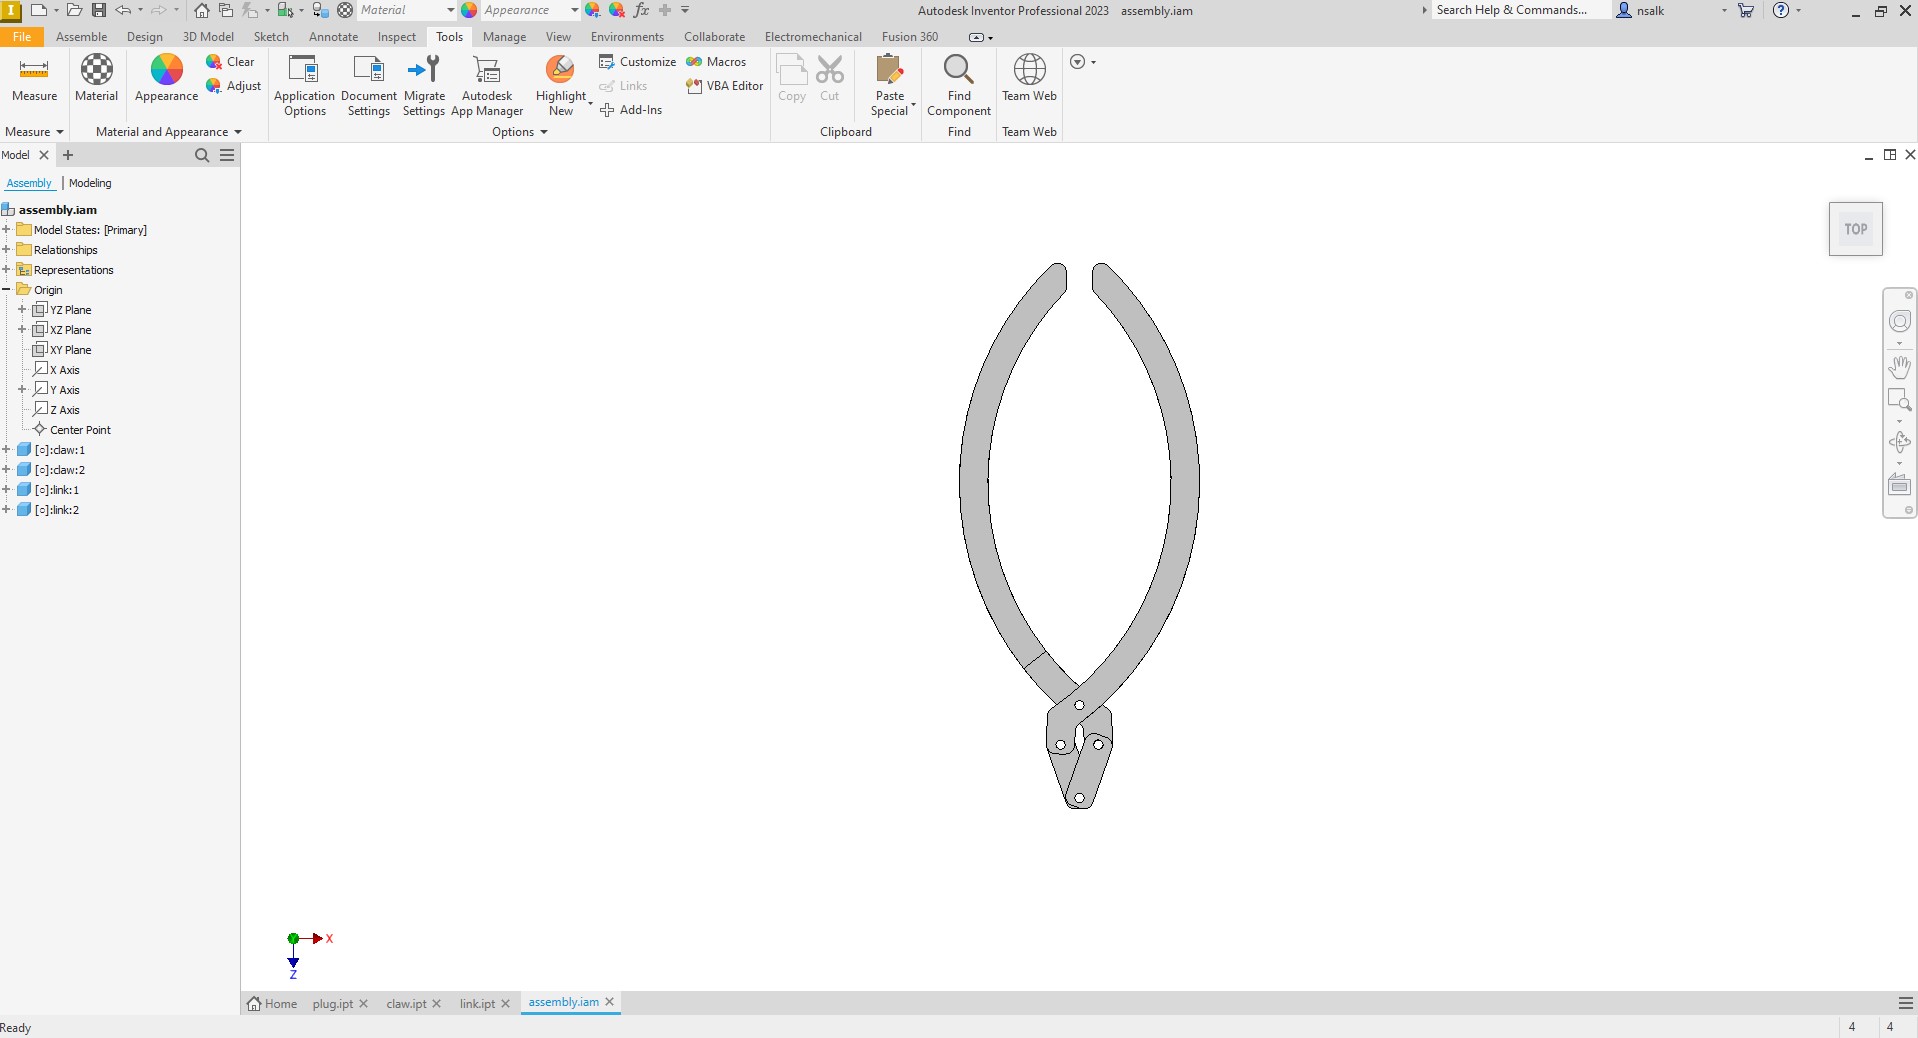
The claw parts I found out are not machinable with the router in EDS on OSB because they are just to small and will break. The internal links are are also to small and the trigger peg is just at the limit of size. These components were all 3D printed as they require some dimensions for the claw mechanism (see below).
I then sent the Fusion file to Anthony where he opened the file in his version of Fusion with some special CAM plugins. He switched to manufactur mode and started to input some details about the material, namely material depth. Since this is a 2D cut, he selected just the bottom surface the parts, which also tells the software how deep to cut. Although there is an automatic tab maker, it's not smart enough to know where the tabs are needed. Since this router doesn't have a vacuum table to keep the parts down, everything must be tabbed to the main board to prevent big parts from flying off at high speeds during the job. These tabs need to be cut off in post processing.
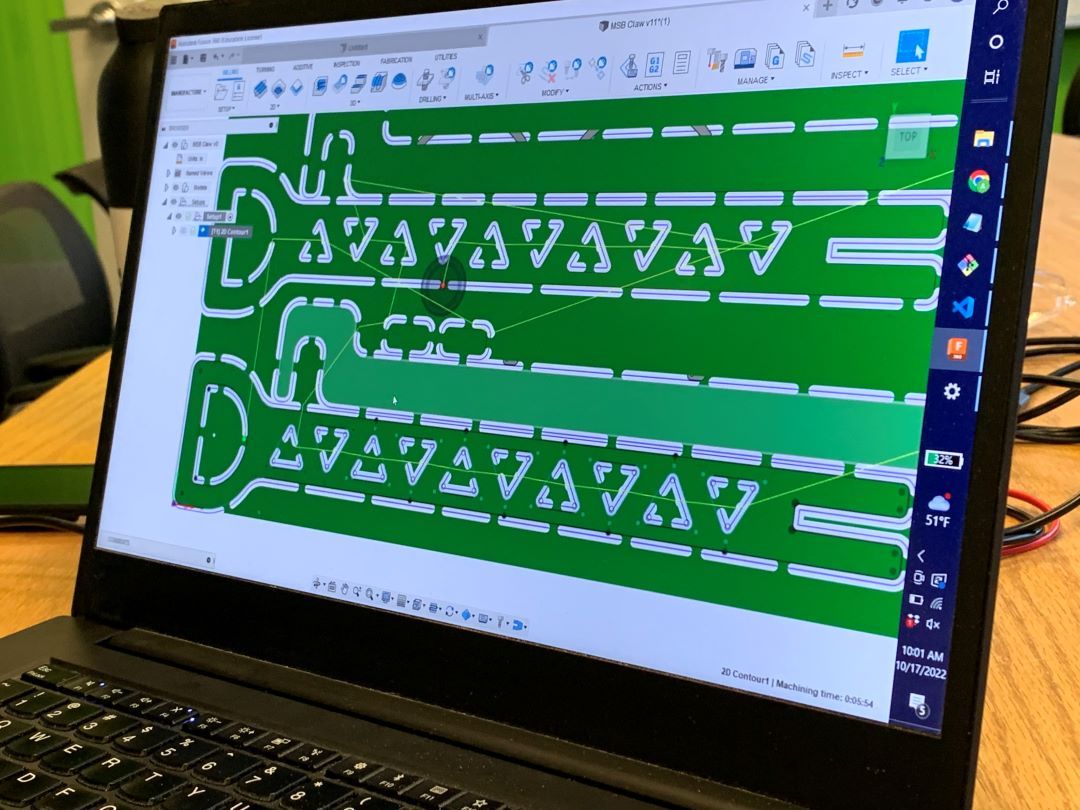
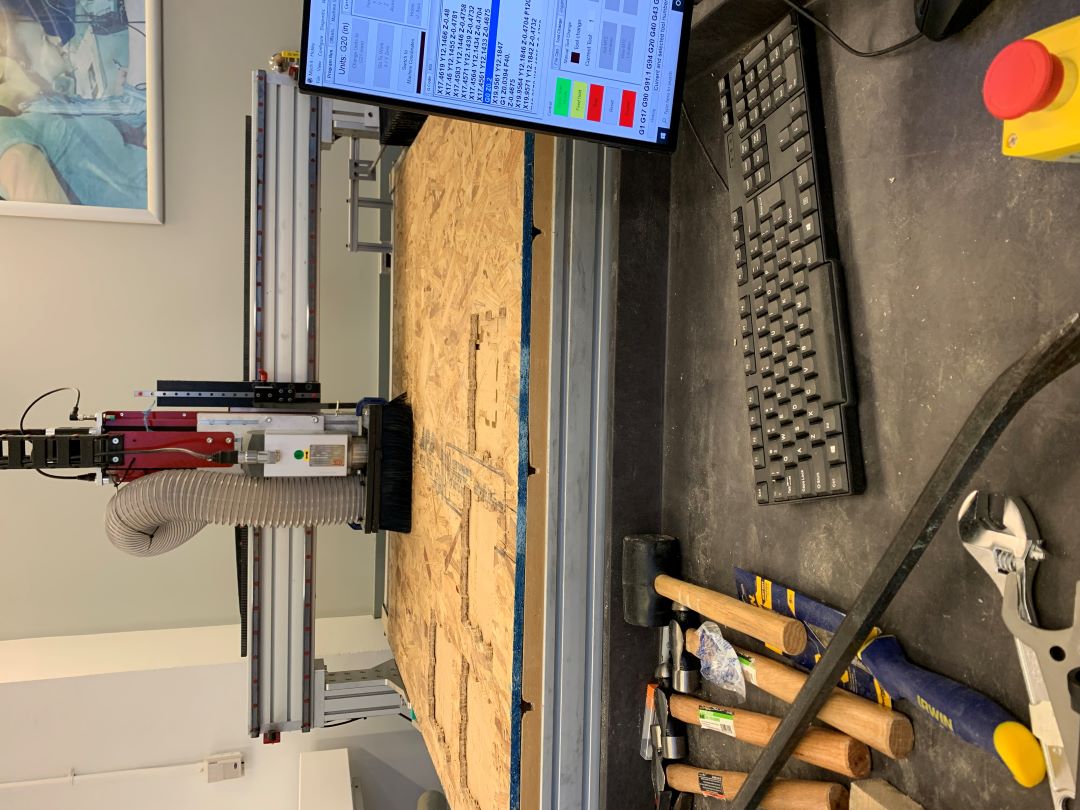
G-code is then generated and brought over to the router computer where it's loaded into a software called Mach4 which is aparently some legacy software still used today on even complex CNC machine centers. The material parameters and endmill parameters are input and the location of the origin is set to a place with available material to cut. The OSBboard is set on the MDF surface and nailed down with plastic nails using a presurrized nail gun. The plastic nails keep the board in place and flat and can easily be removed, sheared, ripped off after the job. The z-axis is zerod to tell the machine where the surface of the board is and the job is run.
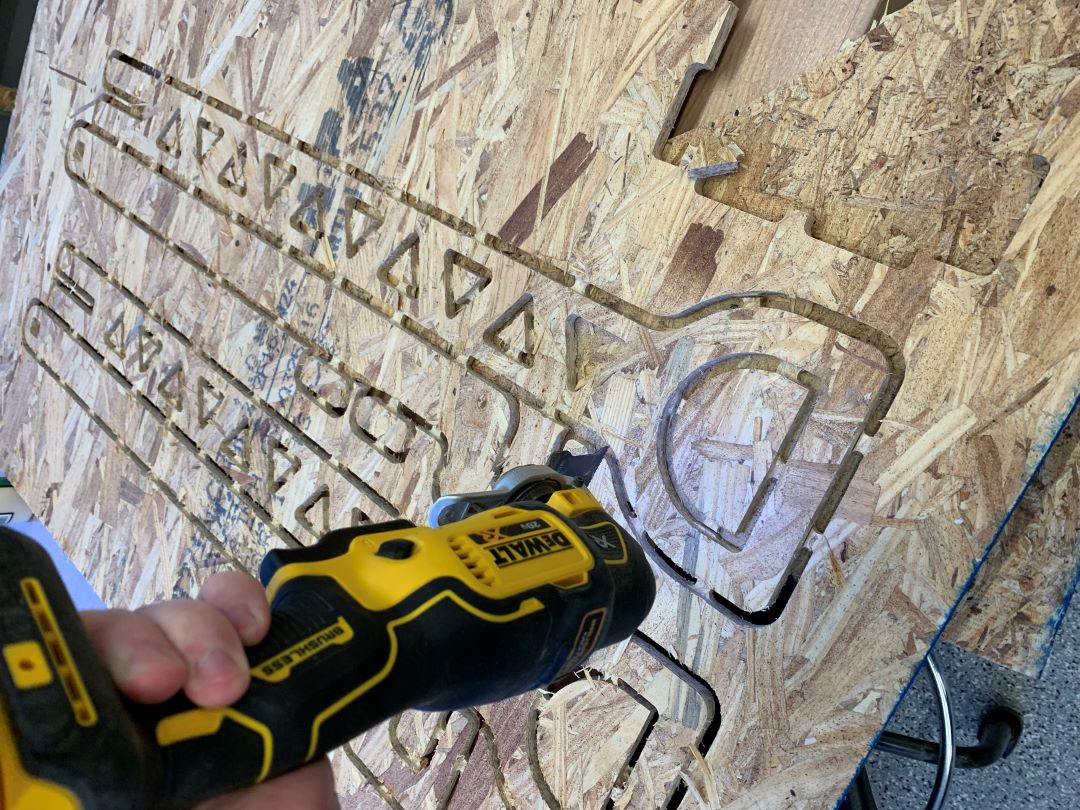
After the job finishes, the board is ripped from the router bed and an oscillating saw is used to cut the tabs off. This tool made what could've been a long and physically demanding process into a half an hour process and gave very need clean edges.
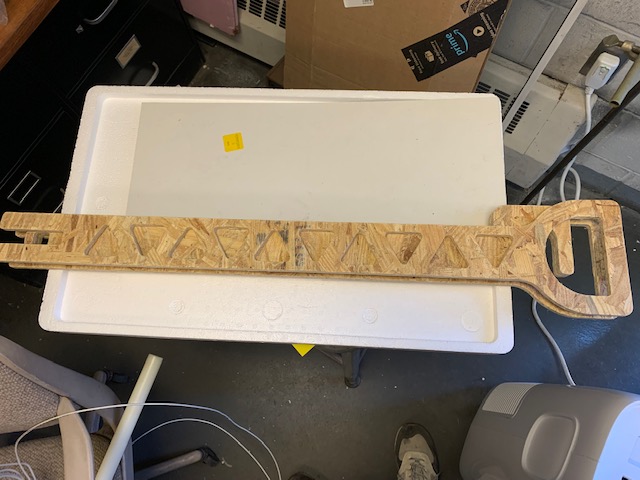
When the parts are completely cut from the board, the board is discarded. The OSB is rough and splinters and therefore needs to be sanded heavily to make it even touchable. Gloves were used in this process and the surfaces and edges were sanded with sandpaper over a garbage bin. The hard to reach nooks and crannys were filed down. The results is a pretty nice finish. I was pleasantly suprised at how well the OSB sanded down. I had concerns about the sturdiness of the material while designing the claw and trigger so I doubled up the thickness of each piece and glued them together with wood glue.

The wood glue creates a sturdy bond and I used some scrap material as spacers that I glued in for spacing the outer handles. The trigger beam shown above is meant to go in between the two outer handles pieces with a peg inbetween that constrains the trigger to only push and pull. The peg also connects to the claw mechanism which is yet to be assembled.
Design files for this week can be found here.