06 | Molding and Casting
This week had a lot of different parts much like molding itself.
Picking a model
To begin, I needed to find something to mold. As usual, I browsed through some past HTMAA students’ projects and came up with a short list:
- 2-part heart
- Mug with Kpop person in it
- Squishy mug
- Multiple color sword
- Carcasonne tiles
- Hypercube
- Appa
- Chocolates
Food safe molding
I’m invovled with the MIT chocolate club so I first decided that I’d like to make molds that we could cast chocolate into. This idea didn’t last long however. I talked to Anthony about this during our mold training and he unfortunally advised against this. There’s a lot of things to be worried about with food safe molding:
- You need a food safe silcion
- Everything that touchs your mold during machining must be food safe
- You can’t use coolant on your endmill
Specificaly Anthony was concerned about doing anything food safe in EDS since it’s filled with lead! Now this isn’t to say food safe isn’t possible. To begin lots of HTMMA students have done it in the past:
- Making chocolate tree coins
- Warewolf chocolates
- Not sure about the safety of this one since they first cast plaster and then chocolate on top of that
- Chocolate cats
However, you need to be worried about the residual material left behind after anything contacts with your mold. I definetely still want to do some chocolate molds in the future, I’ll likely just need to better research how to do it safely.
Some other useful links about food safe making:
Appa
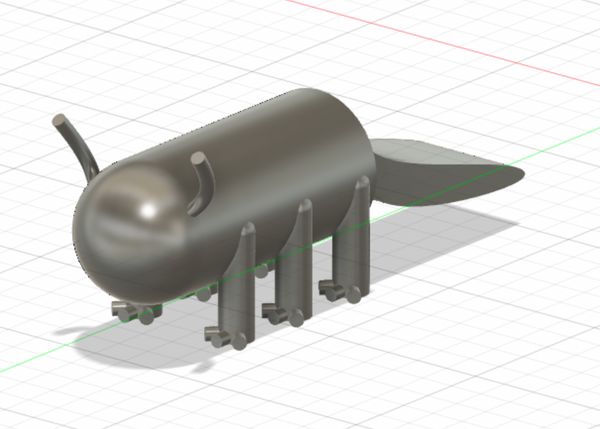
My next idea was to try mold Appa from Avatar the last airbender

Honestly, I should of spent a couple of seconds thinking about how in the world this could be machined before starting but I got obsessed with the CAD so here’s the story. To begin I designed a very rough base in Fusion that somewhat resembled what Appa’s body should look like.
Then I exported this as an STL and imported it into SculptGL a webbased sculpting tool. It’s effectively a simplified version of Blender running in the browser. I was cutting it a little close on time (this was Monday) so decided I didn’t want battle Blender and SculptGL looked easier to pick up.
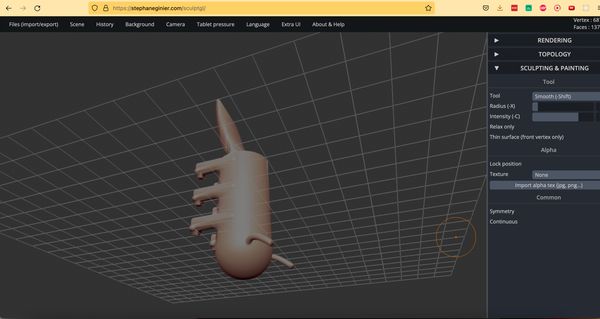
The learning curve was really small and it had all the features I needed to make Appa (except autosaving which is why I have no pictures of the tool itself)). There were a couple of gotchas’ throghout which you look out for when using the tool:
- When importing my model I needed to to check scale and center under import to keep the dimensions the same as my Fusion file
- You can change the Texture in the right sidebar. I changed mine to skin to do a detailed smooth but then forgot about and spent a while being frustated about why everything was having such small effects before switching texture back to None and everything worked again.
To turn my rough body into Appa I just played around with all the different tools until I had something I liked
- I moved points out of Appa’s head to make the horns
- I inflated Appa’s checks
- I inflated Appa’s eyes and deflated around them to make the eye sockets
- Used the brush to make Appa’s distinctive arrow
- Inflated and smooth Appa’s tail to make it more realistic and integrate it with his body
- Some other things
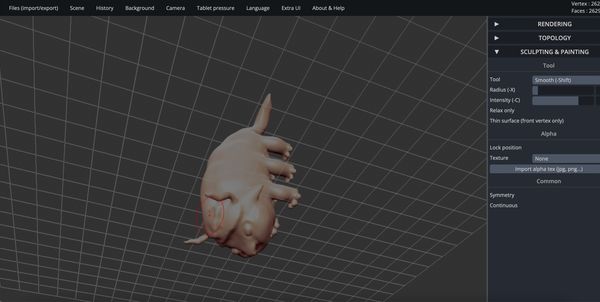
Until eventually I had this:
Hypercube
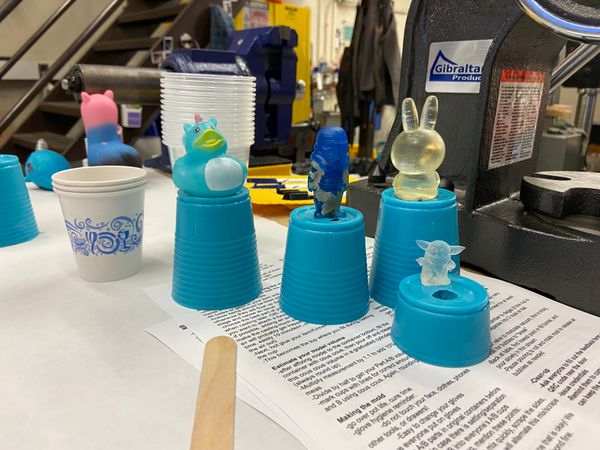
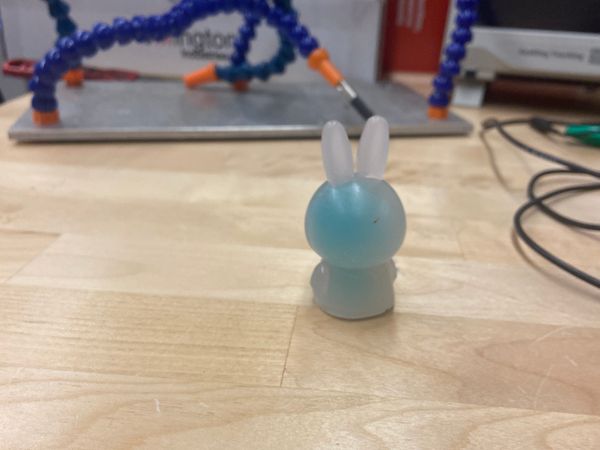
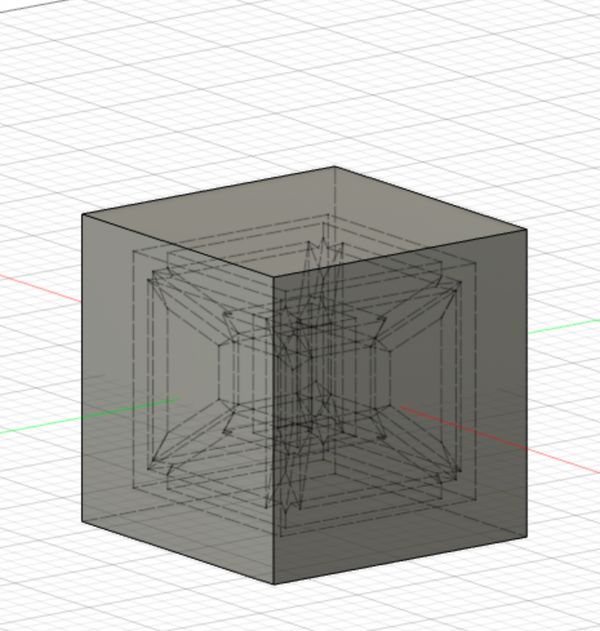
In class on Wednesday Neil showed us a previous student who molded a hypercube which is a 4D dimensional cube represented in 3D by having a cube inside of another cube. However this wasn’t the first time I had seen this mold. After HTMAA, I assume, that student had made a 3D printed version of their cube mold since in The Deep we have the mold and some casted cubes. I run silicion mold training every week, and it’s the model people are most interested in especially the squishy version which works as a great stress toy. Unfortunally, the 3D printed mold is netoriously hard to get a good cube out of so I decided to try make my own hypercube I could use for my trainings.
To begin I designed the two cubes in Fusion being careful to use parameters for the sizes and thickness to make it easy to change in the future.

Next I drew a line connecting the bottom corner to a top corner and created a pipe with a rectangular cross section.
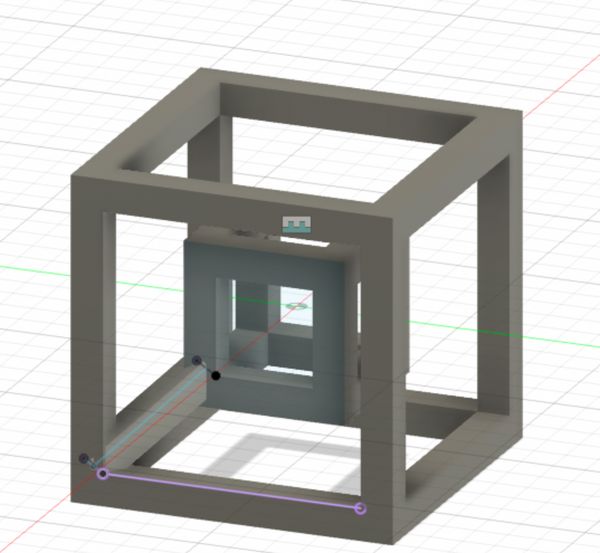
Then I circulated patterned and mirrored with arm to make 8 of them in total and get the finished cube
Of course, to mold the cube I actually need the negative of the space being taken up by my hypercube. I needed 6 parts – one for each face. I created a cube that was 10mm larger in width than mine and placed my hypercube inside. Then I used the Combine feature in Fusion to cut out my Hypercube from the block.
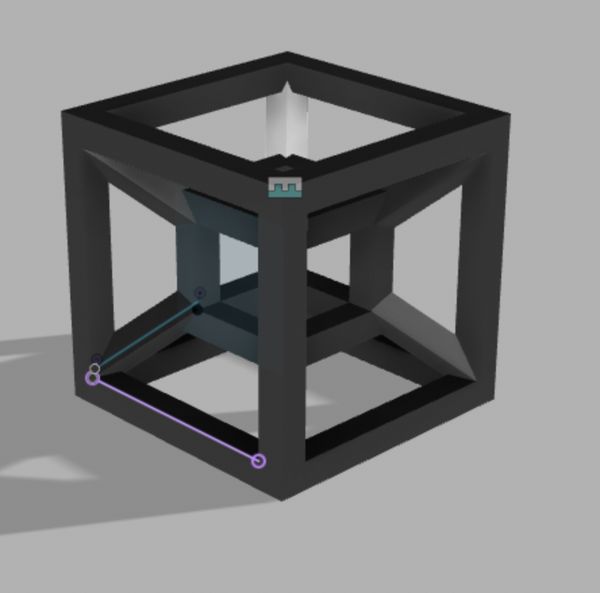
Then I created 4 planes each at a 45 degree angle cutting through the block to divide the block into 6 different pieces
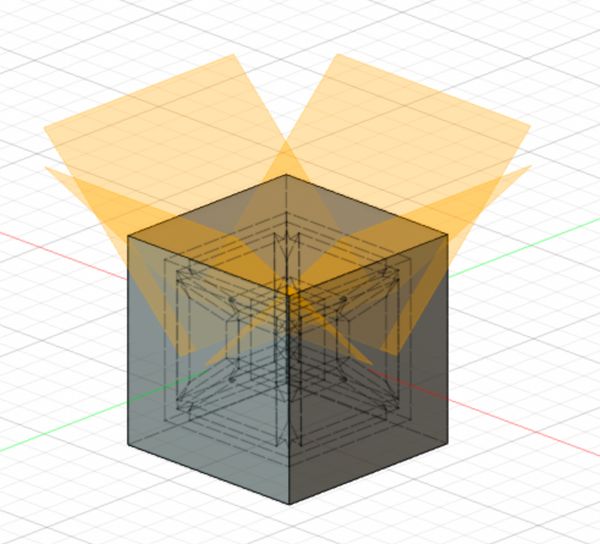
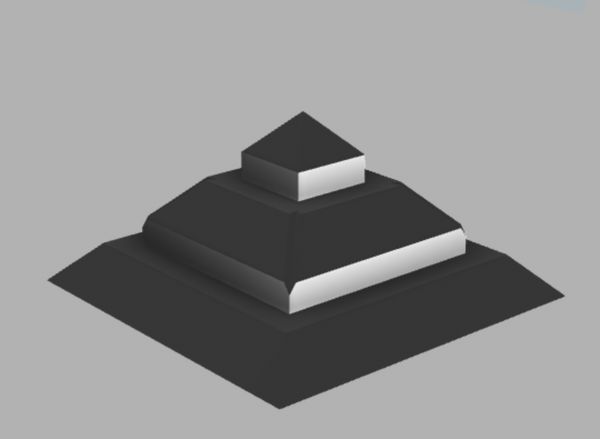
Which gave me the piece I needed to mold
Doing the CAM
Once my modal was done it was time to do the CAM. EDS was unfortunally not open when I did this so I had to follow the Anthony’s online guide and recitation video
I created a new Fusion file where I made a 1.5”x3”x7” block of wax. Then I inserted my hypercube negative and cut it out of the block.
Then I switched to the manufacturing view and created a setup file. Anthony had faced a piece of wood and placed it in the center of the router in EDS which meant I had to set my zero location at the bottom left of the block.
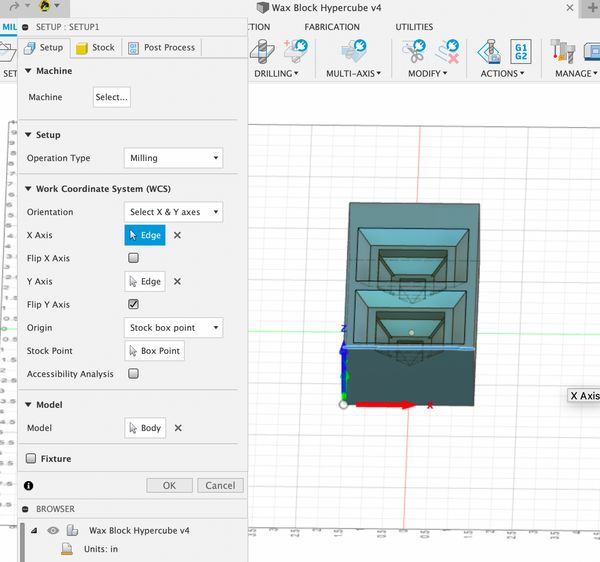
Anthony recommended using an adaptive clearing and then a flat facing before switching to the contour finishing operation.
I had initally followed the RPM and IPM settings Anthony had recommended in his guide however Anthony changed these due to the specifics of the machined
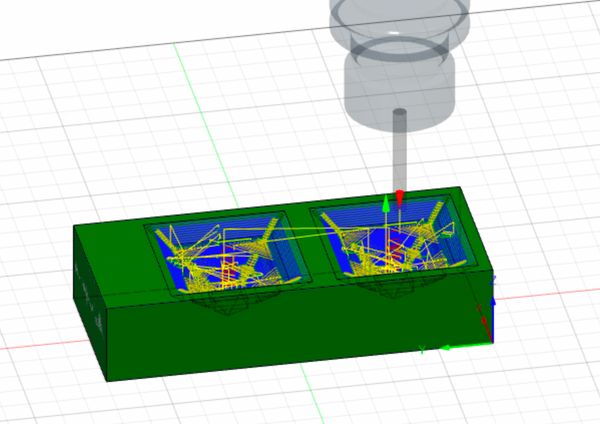
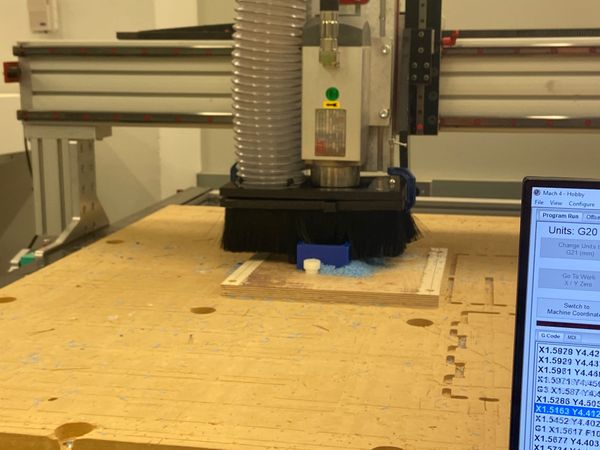
Cutting the block
In EDS Anthony quickly ran through my CAM, made a couple of changes and then we set it up on the router. Anthony had placed three dogbones on a wooden board in the center of the router which we used to set x=0, and y=0. To level the z-axis we connected a placed a metal box on the wood which was electrically connected to the endmill and the router went down until contact was made.

Then we set the feedrate to 50% and started the job. Once we were sure everything was going ok, we increased the feedrate up to 100%.
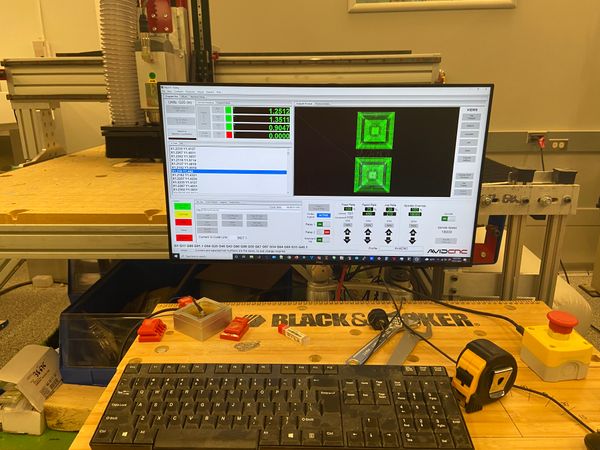
Then I just had to wait for the job to complete
Molding the block
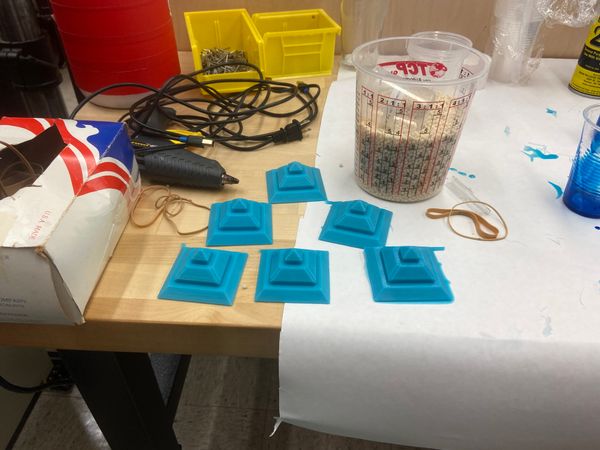
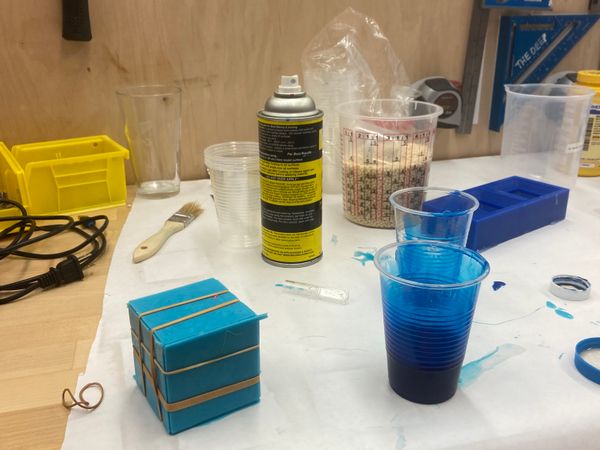
Since this was a 6-part mold I was pretty worried about getting it all done in time. Oomoo has a cure time of around 2 hours and my block only let’s me mold 2 at a go so it would of taken a minimum of 6 hours just to make the mold to cast the cube in. Instead I went over to The Deep where we have Mold Star which has a cure time of only 30 minute.
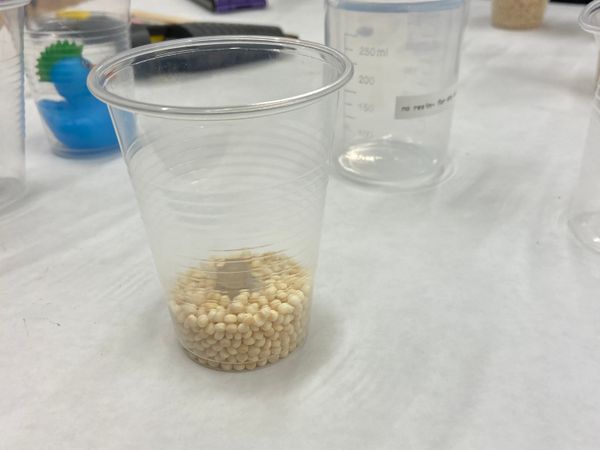
Firsly to figure out the volume of material I needed for my mold I placed some Cous Cous into the block.
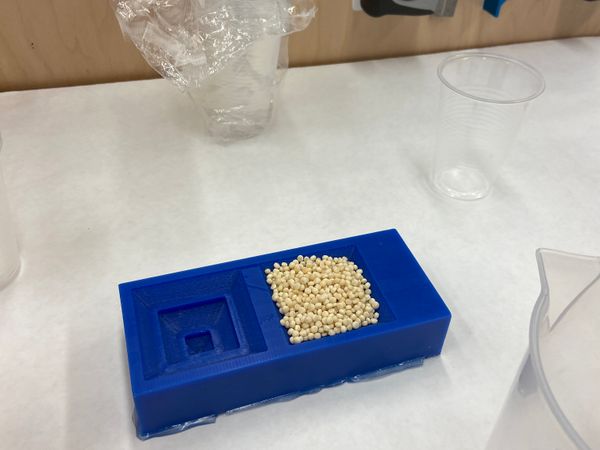
Then I got my Part A and Part B of MoldStar and mixed them together. Unfortunally, Mold Star has a pot time of 6 minutes so I wasn’t able to take any photos! After 30 minutes, I took out the mold and it was a success.
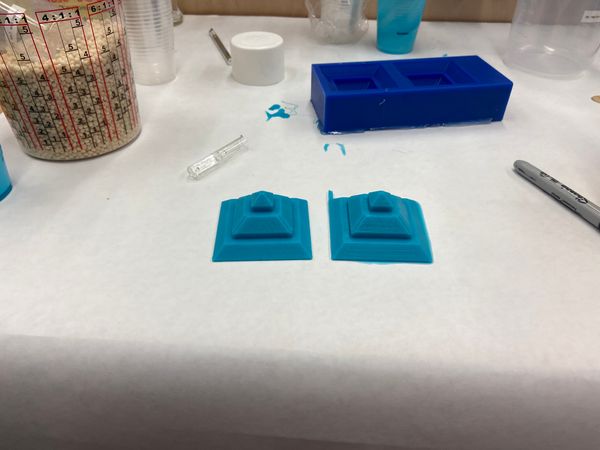
I repeated this process 2 more times to get my 6 pieces
Casting the cube
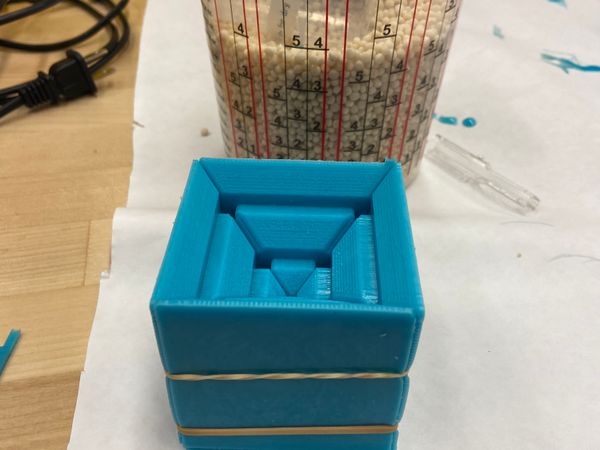
With my 6 pieces I could now, finally, mold my hypercube. I first applied mold release to all my pieces and then used elastic bands to form a cube shape.
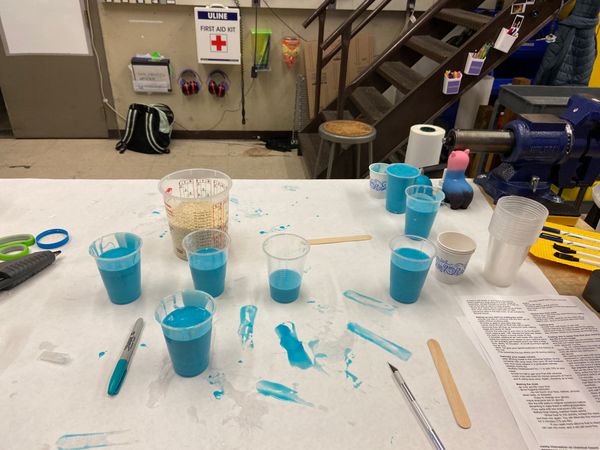
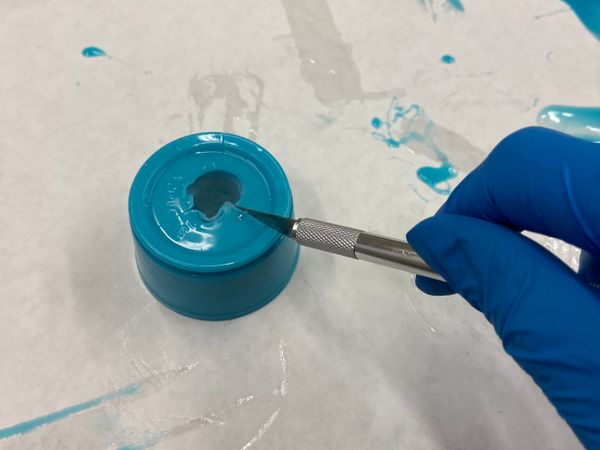
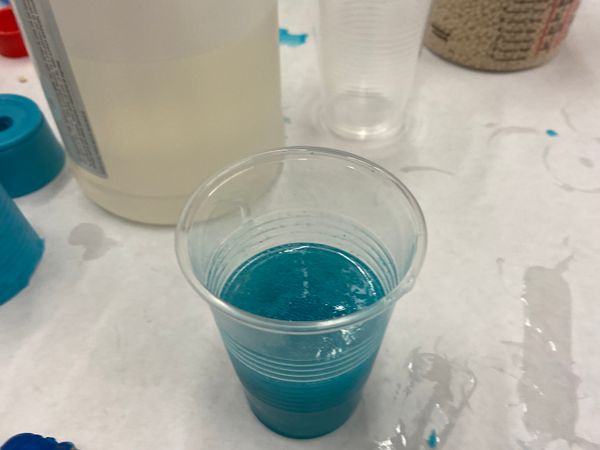
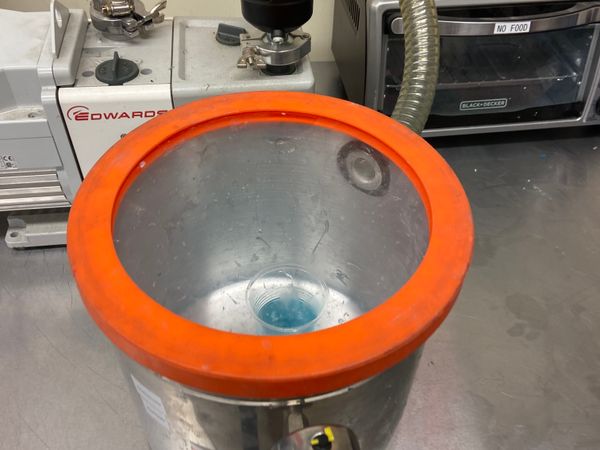
Then I got Part A and Part B of Dragon Skin, another Silicion, and mixed these together with some blue dye and glitter for effect. I then degassed this mixture in a vaccum chamber.
Finally, I poured this mixture into my mold. I don’t think I did this right as it was getting late and I was pretty tired but I’ve not gone and checked it yet.
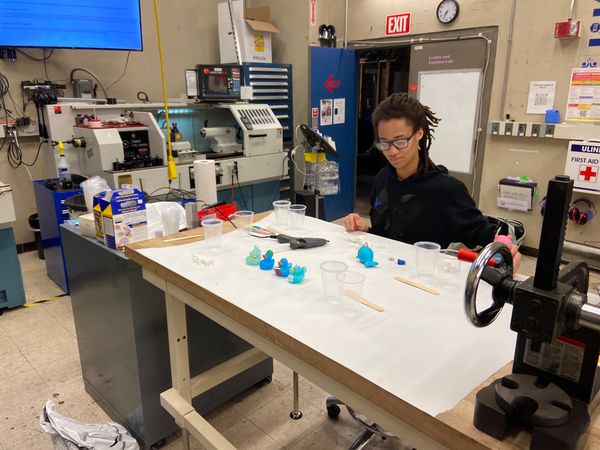
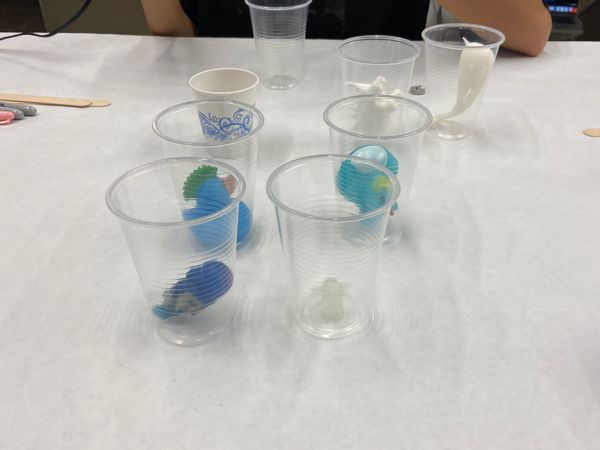
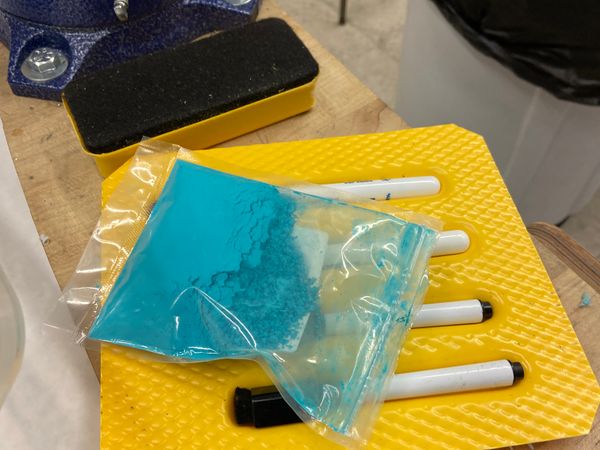
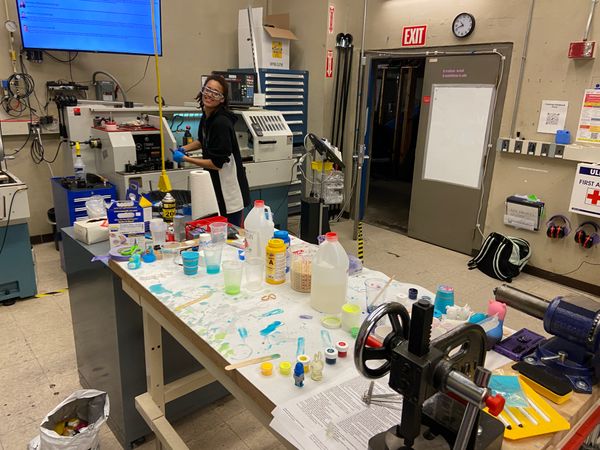
Some extra molding
Like I said above I run a mold making training for The Deep. This monday I decied to try experiment with some more molds