This week I started off with a couple of warmup shapes. I wanted to encapsulate my FabISP board in rubber, so I milled a 1″ by 2″ by 0.4″ hole in my wax block (using the Roland Modela).
I sealed the connector edges on the board with hot glue and covered the mini USB port with tape and the ISP header with a tape-wrapped cable connector. I tried this all on my broken FabISP board (my first circuit board attempt).
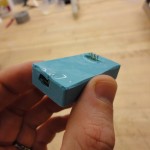
I suspended the board in the cavity with a third hand tool and filled it with OOMOO 25. After a few hours to cure, I removed the connector guards. It looks good (though uninteresting):
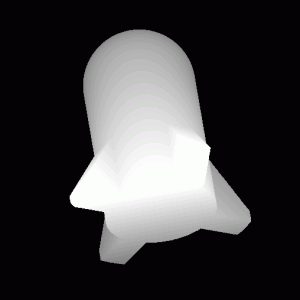
I had a USB key with a broken case. I wanted to encapsulate it in rubber, with a little bit more interesting shape. I made a rocket design in kokopelli:
The face you mill is the bottom:
As I had feared and Nicole predicted, the rocket depth is too deep for the Modela to mill successfully. Because of the straight drop of the cylinder, the collet hits the edge of the material. I had to stop the run and finish it (roughly) on the drill press.
This is curing as I write this. Suspense!
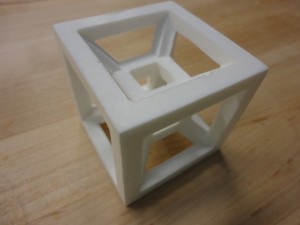
For my main project, I wanted to experiment with the geometry of molding and the constraints from using a 3-axis milled mold. I decided on molding a hypercube since the design of the mold(s) is almost puzzle-like.
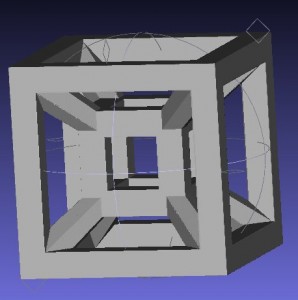
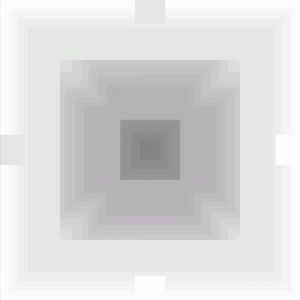
I did the design in kokopelli. The cad file is here. The final shape, from an exported STL viewed in Meshlab, is:
This design is almost certainly better suited for 3D printing, but maybe that’s part of the fun (challenge) of trying to cast it.
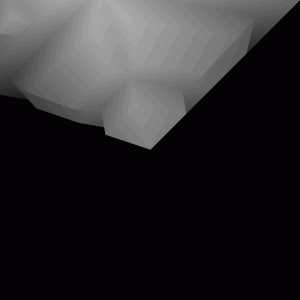
The trick is to make a mold for each face, where the mold actually faces inwards for the final part. The (negative) mold for each face should look like this (view from kokopelli):
The face that is milled by the Modela looks like:
The z depth for the Modela should be the size of the rendering area (cad.zmax – cad.zmin). Double check this for your own design: I may have rotated an axis before exporting the PNG, so the right thing might be x or y for you.
I added registration marks on two edges of each face, which will assemble correctly with the whole cube. The advantage of this design is that only one wax mold negative needs to be cut. The disadvantage is that six rubber molds need to be cast…
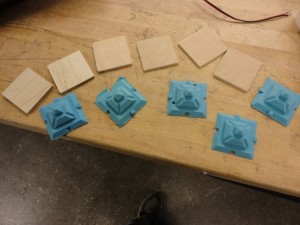
After lots of fun with OOMOO 25, I have an almost complete set of molds:
I cut some scrap pieces of wood to form backs for each face mold, since the rubber alone is pretty floppy.
Sadly, I (apparently) messed up the OOMOO prep for my sixth and final face mold, and it spent over 4 hours without curing (the others were fine after about 2.5 hours each). So I (temporarily) gave up on the full cube design and decided to get 5/6 of the way there by having a solid bottom face.
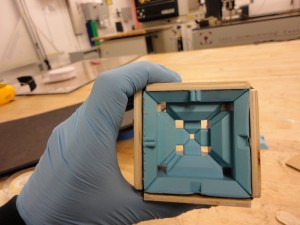
I assembled an outer ring of the molds, after taping the face molds to the wood backings. I used duct tape to connect the faces.
I added the bottom face and sealed the seams with duct tape to prevent leaks.
I decided to cast Smooth-On Smooth Cast 305 (“Liquid Plastic”) since my part has small components and the plaster-like materials seemed to be too brittle. A few online resources commented on the temperature of the mix, so I mixed the A and B liquids in an old coffee mug. Others warned of using wood to stir (introducing extra moisture), so I used a long old bolt. The final mix is not viscous at all; it pours almost like water. After about five minutes it goes from a clear color to whiteish.
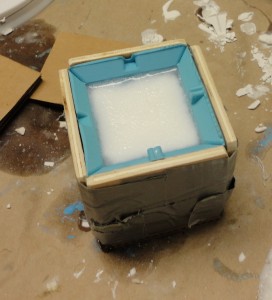
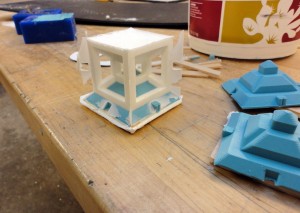
The (approximate) hypercube is curing now! It’s been sitting about 10 minutes in this picture.
Update:
The process is pretty successful. After waiting overnight, the slow last mold finally cured. It’s a noticeably different color, so I must’ve messed up the ratios. It works fine as a mold, though.
I set up a complete (6-sided) mold with the same process: wood backing for the molds and duct tape holding everything together. I used the same Smooth-On liquid plastic. I used a syringe to inject the material into the pour hole.
After curing, the molds are pretty stuck together. I had to use the bandsaw to separate wood pieces which were bonded together by a column of hardened plastic. After this, the molds come apart with some effort, and do seem to be reusable.
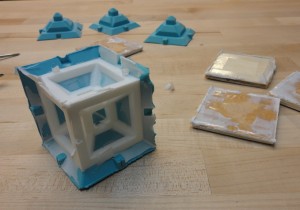
5-sided demolding example:
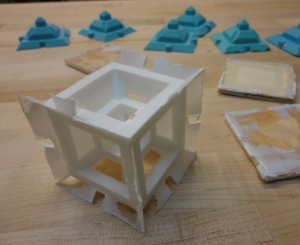
6-sided example:
There’s a lot of flashing left over, which I removed with a knife, a file, and some sanding.
There are some bubbles on the upper faces. I think a syringe wasn’t the right choice, since it added a lot of turbulence to the fluid. I would instead use a small funnel to keep a small stream. I would also spend more time (gently) rolling the mold around once filled (sort of spin casting).
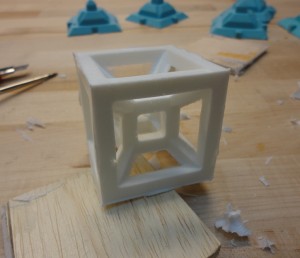
Finished object:
For more fun, I’m trying to expand the technique to make larger objects. See the ups and downs here and here.
Tips:
- For the Modela, you can lower the bit into the wax before starting (with the up/down buttons) to get an even top cut. Some tutorials recommend setting the top z to -1, but I set it to 0 without problems (dropping the bit in before zeroing accomplishes the same thing).
- Lowering the overlap of the “finish cut” should speed things up a bit. I dropped it from 0.9 to 0.8 for my designs and still got good results.
- Hot glue does not stick to the OOMOO rubber at all. Double-sided tape works decently.
- You can drill pour and sprue holes in OOMOO molds after the fact. I did this because I wanted to use the same wax mold for all my faces, and only one needed holes (even though I didn’t end up using it).
- Make sure the volumes are correct for mixing the casting materials. The failure mode for me was really long cure times.
Thanks:
Jill for Modela help. Seto for casting advice.

