Week 4
3D Scanning and Printing
Many meshes, tricky triangles and dizzying dodecahedrons
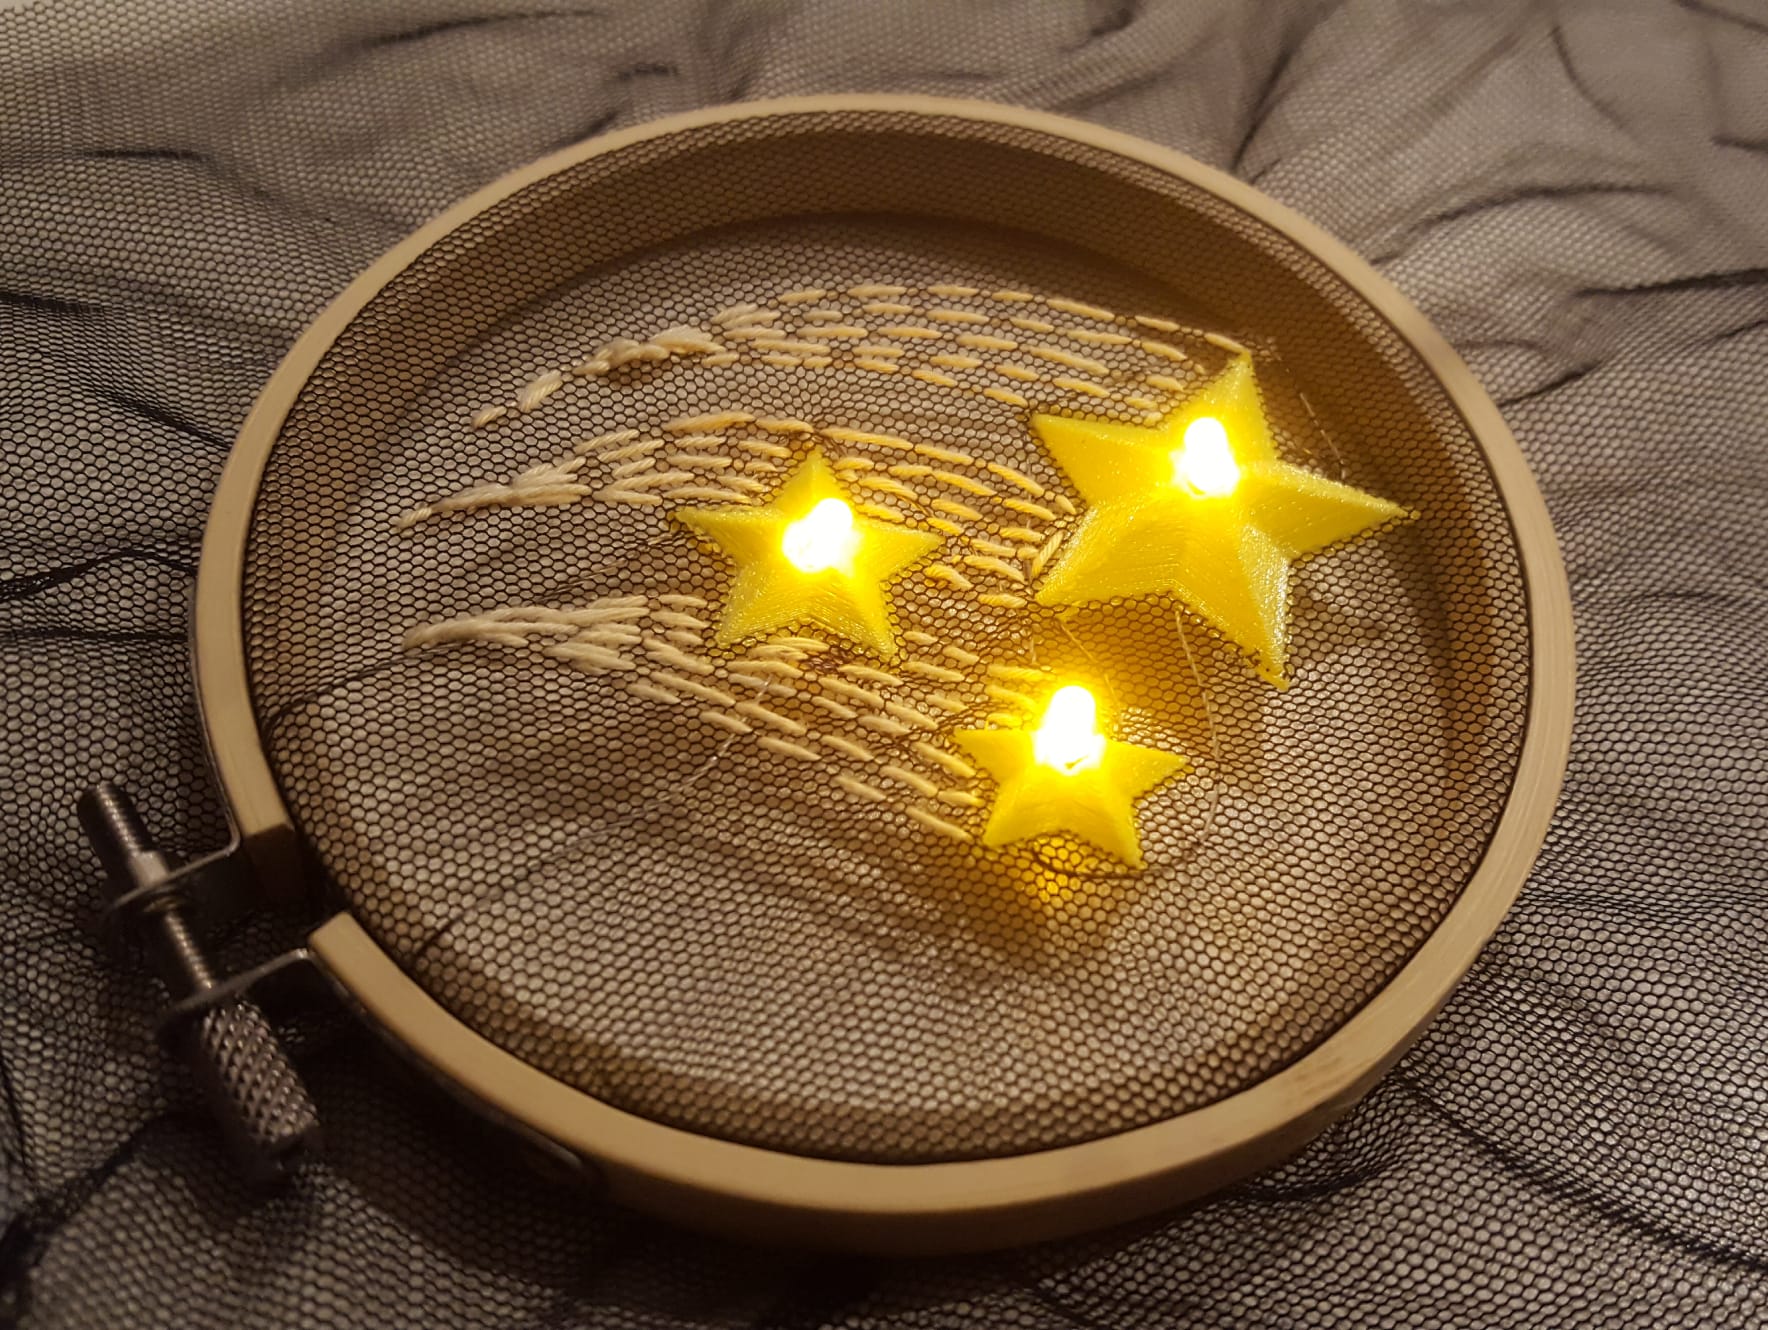
This week was incredibly fun! I love 3D printing and have experimented quite a lot with printing on fabric in the past. Here is a picture of a few years ago when I was experimenting with 3D printing on mesh, embroidery and sewable electronics, all at once!
3D Design
3D printing is a very creative endeavour, and in this week I was determined to get a better grip on 3D design. We started with Neil's lecture on 3D design, who showed us some impressive work done by previous students (looking at Lingdong Huang http://fab.cba.mit.edu/classes/863.21/CBA/people/lingdong/site/06-3d-print.html) and by staff (Jack Foreman's DefeXtiles and 70m 3D printed roll of 'fabric' https://tangible.media.mit.edu/project/defextiles).
Inspired by this all, I wanted to try something new. Leo gave me some amazing resources on code CAD programs (all open-source) and I set out to learn them all.
However, I got distracted by a 3D drawing software called p5.js, especially this Mandelbulb video by Daniel Shiffman:
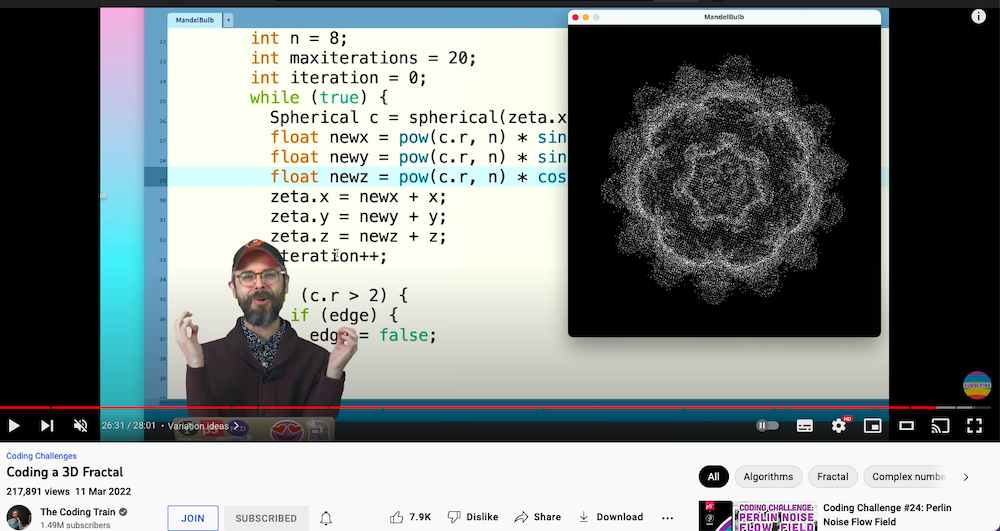
I thought I could make a simpler version, convert it to an stl and 3D print it. Before you attempt to do that, don't. And if you did find a way, please get in touch. I read so many forums on the subject that I don't think I will try to use p5 for anything other than creative coding any time soon.
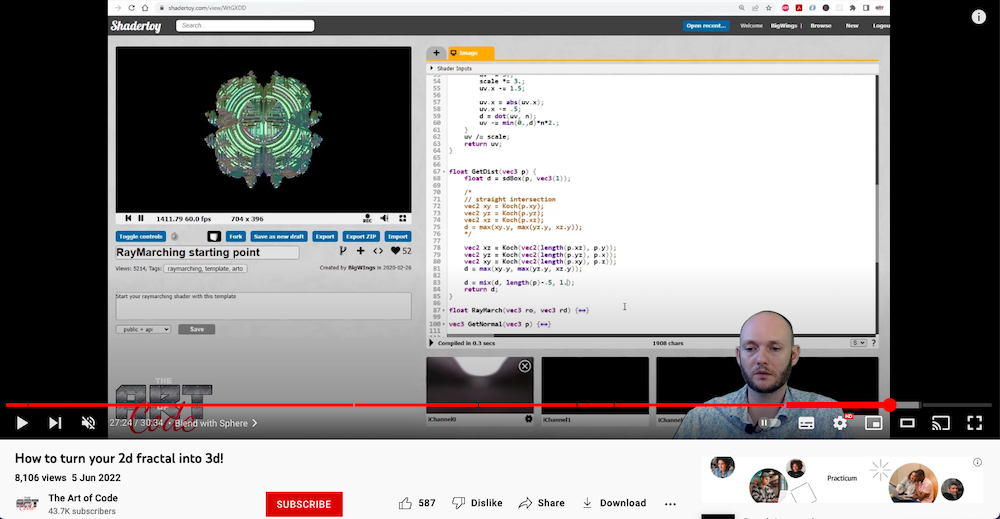
I also checked out some of the recommended resources and they were all great: Inigo Quilez uses mathematical functions to model shapes in 3D and has such good documentation, Neil would be proud. The Art of Code channel on Youtube uses Shadertoy for 3D graphics and here, for example, is a video on creating a similar Mandelbulb I initially wanted to make:
In addition, OpenSCAD, OpenJSCAD and CascadeStudio are all open-source platforms for writing scripts to make 3D models. However, I had to be a bit realistic with my time and learning new software from scratch can be quite time consuming. My inner Neil brought me to my senses.
I decided to go with Blender instead.
Blender
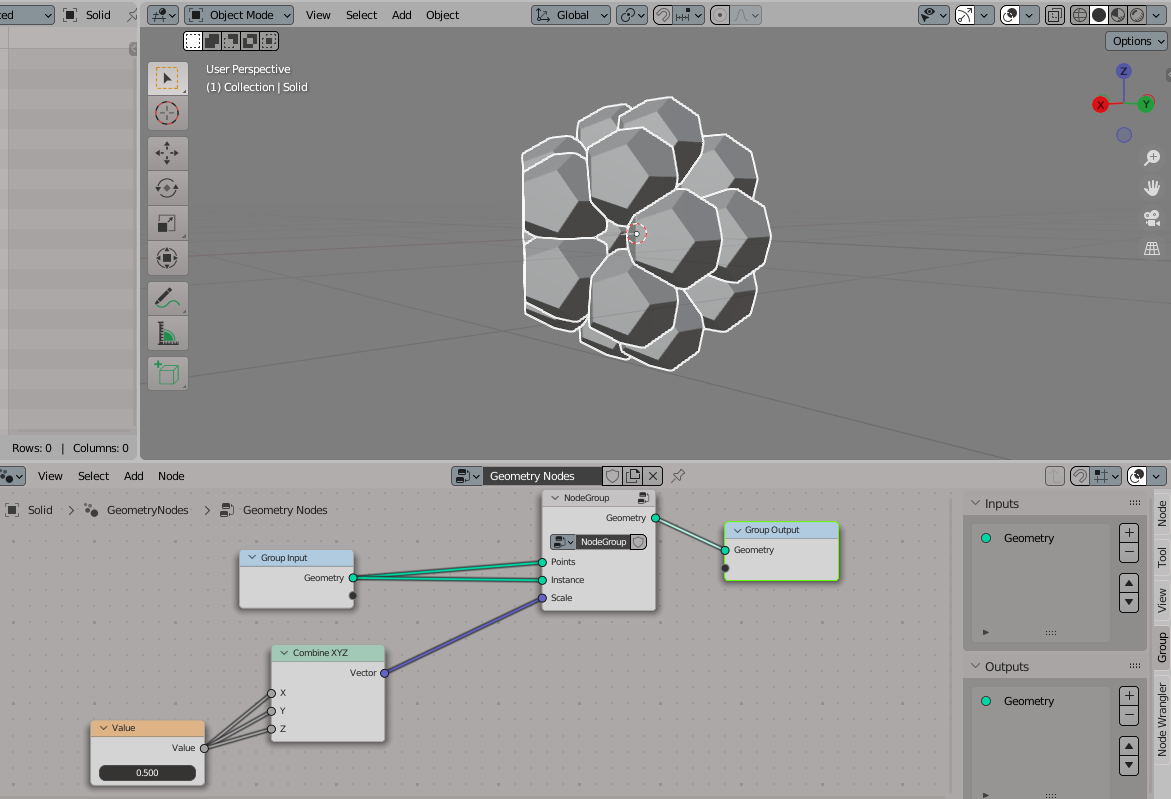
I had experimented with the platform a few years ago, and had made a donut and monkey on fire (as is the tradition with BlenderGuru on Youtube) and had heard about the geometry nodes system. In a nutshell, it allows you to use node-based operations to alter the geometry of your design. I found a few good tutorials and decided to make a dodecahedron, which is a shape with 12 flat faces. Here is the video I followed: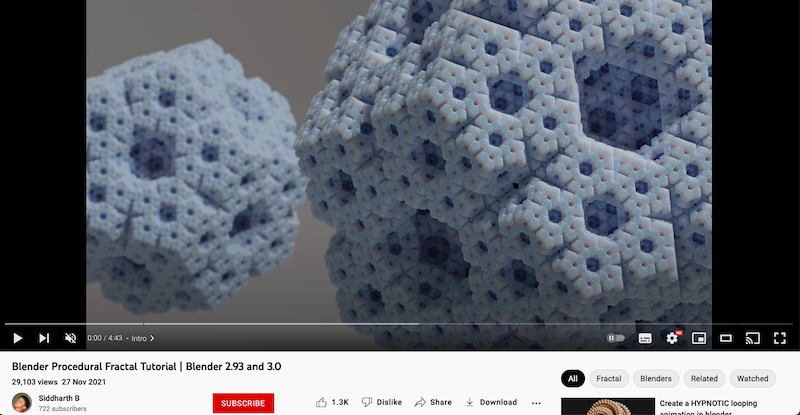
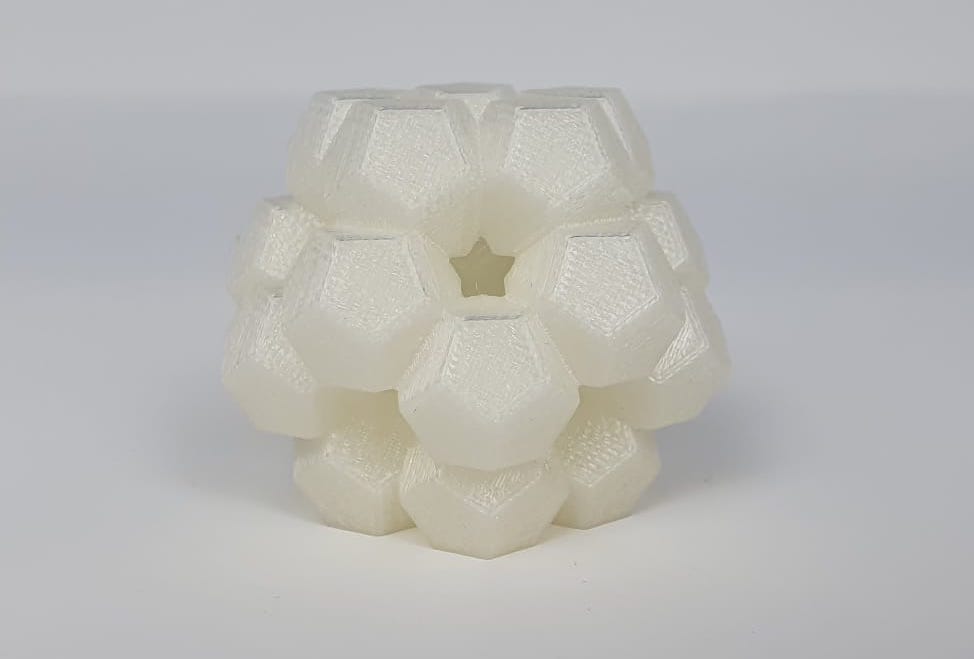
I played around with the values and nodes, and settled on this shape:
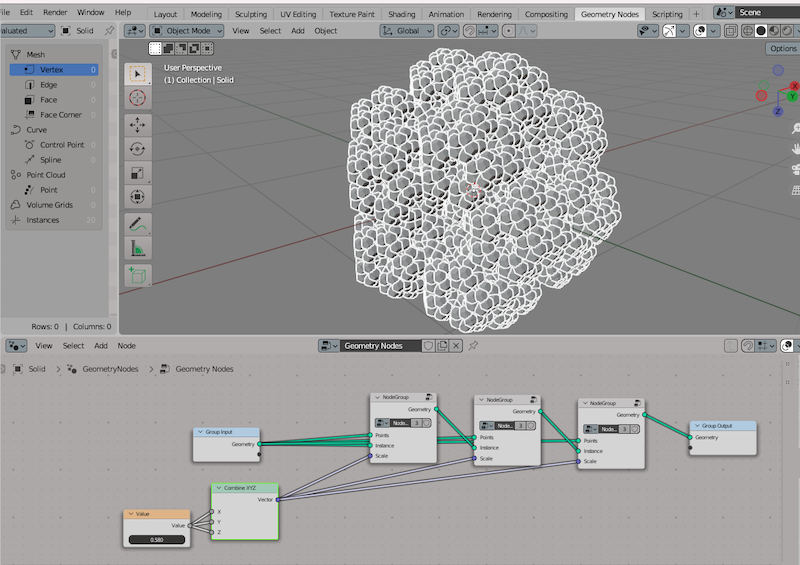
It has a few more than 12 faces :) In fact, it had so many that the Prusa Slicer took abnormally longer than usual to process the 288,000 (!) triangles the model had.
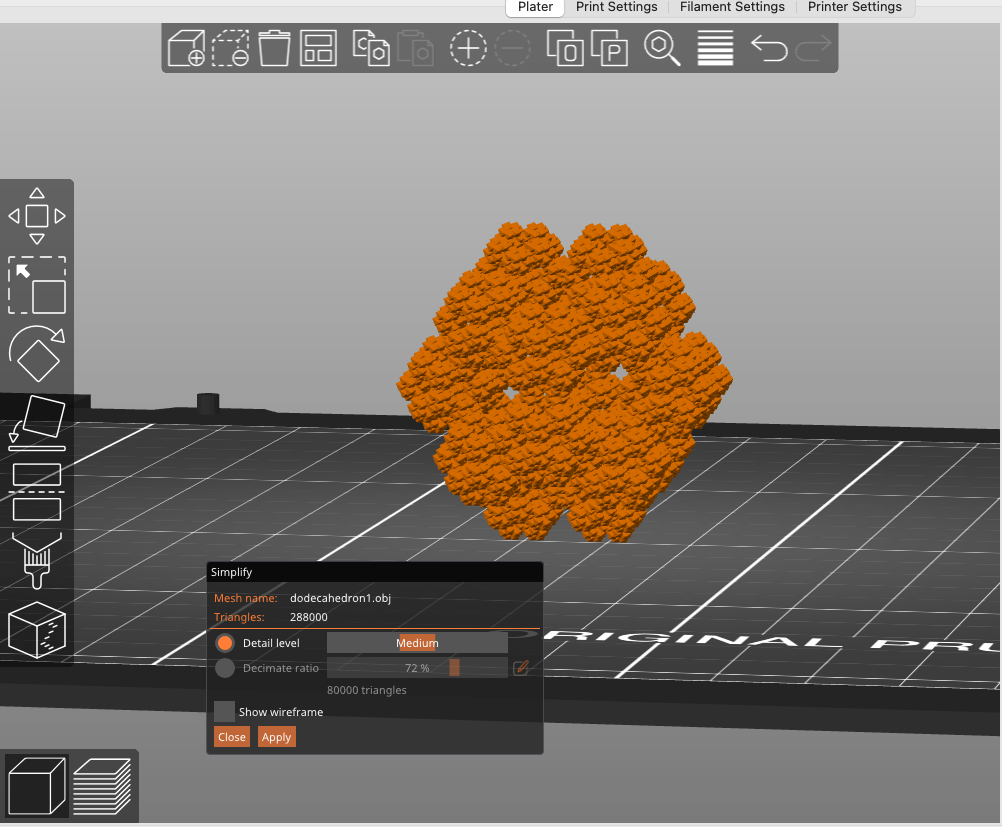
Simplifying it in the Prusa Slicer didn't help, and when I attempted to print it, it wouldn't adhere well to the bed. It turns out there was a problem with the filament: it was Silk PLA and it tends to require slightly different print settings. This just shows to never give up on your 3D dreams: always try it again on a different printer!
I went back to simplify my design and ended up choosing just one node:
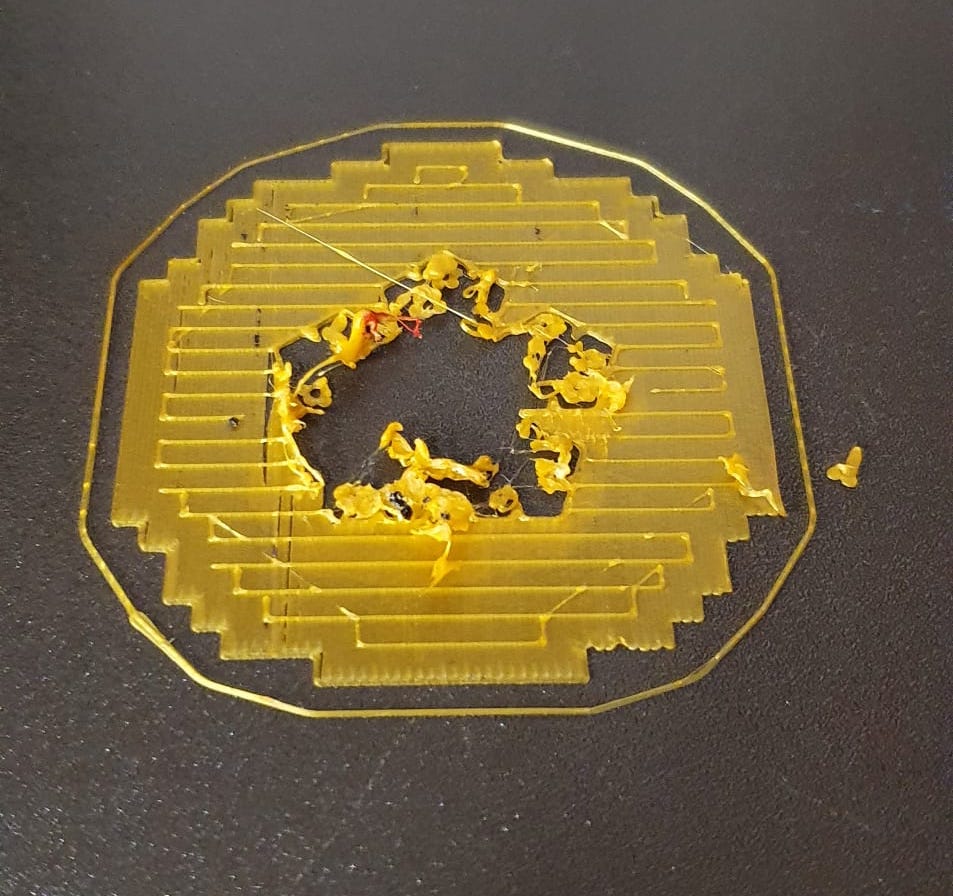
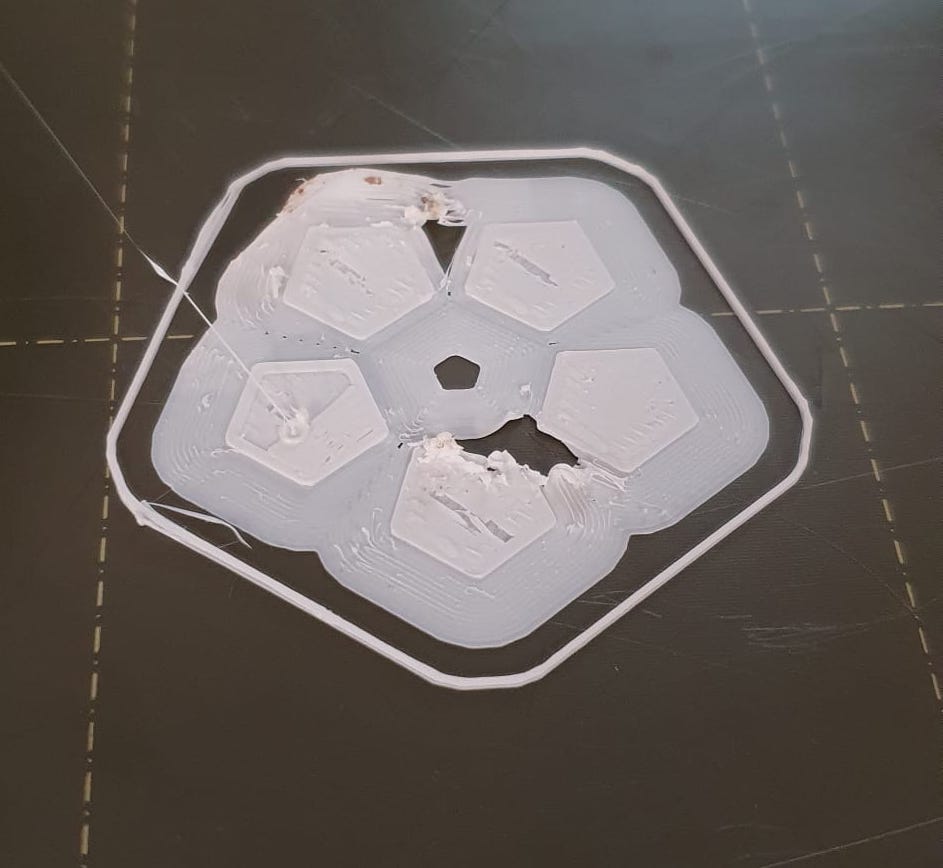
I printed two versions: one with support and the other without. I selected "Support on build plate only" after reading about all the support settings on Prusa's documentation website. Printers can be grumpy though, here is a picture of the first attempt at printing the simplified dodecahedron without support:
But patience is key, and when the second time running the print everything adhered excellently:
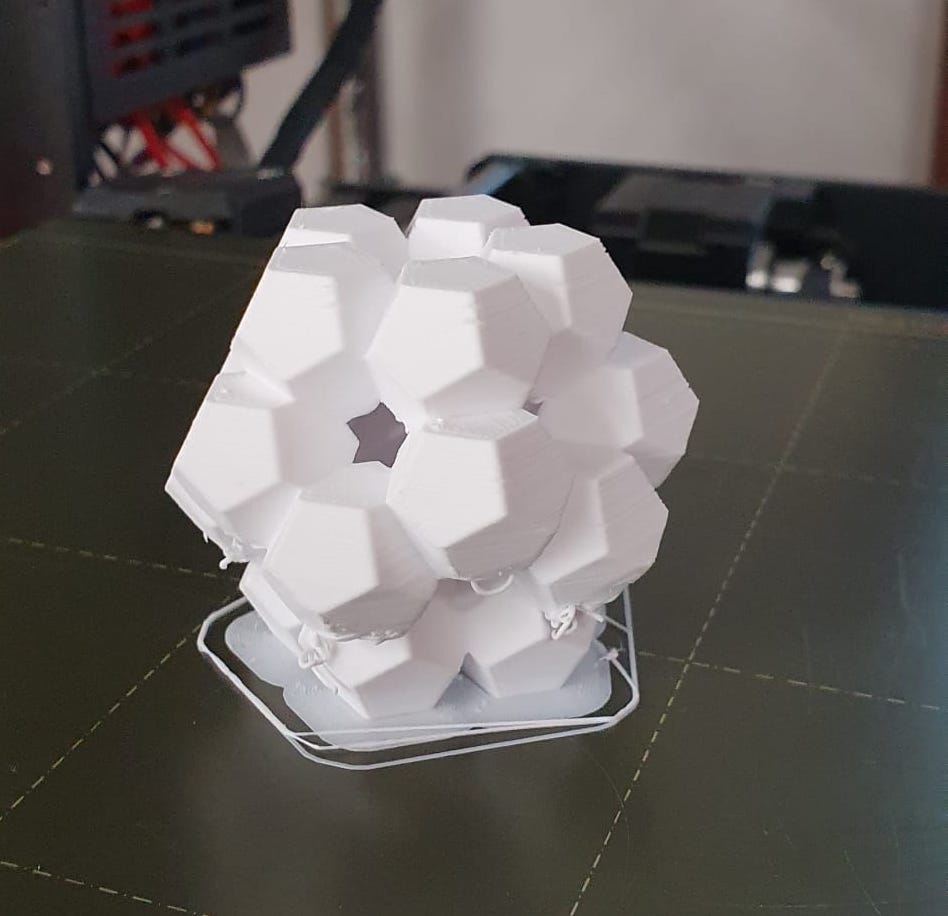
You can see there is a bit of overhang on some of the faces. "Good 3D design avoids supports" Neil said during the lecture, and I wonder how I could minimize those overhangs. I want to try printing gradually more complex dodecahedrons, because the smaller the faces, the less the nozzle has to head into the abyss.
The other version with the supports came out so well!
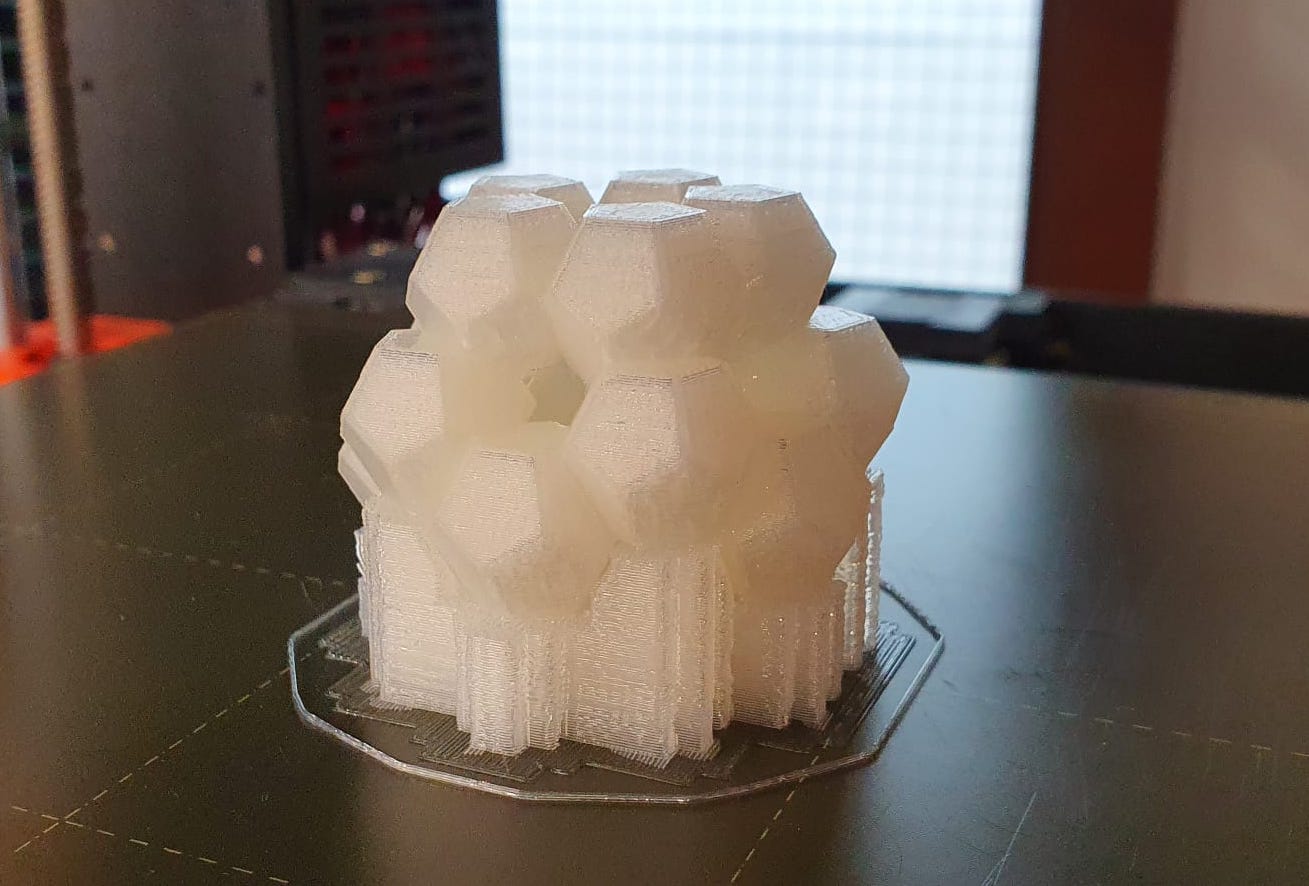
The support was a bit difficult to remove and I wish this would be improved in the Prusa Slicer. In the past, I have found Ultimaker's support structures pretty neat and easy to remove. Here is a picture of both the models side by side:
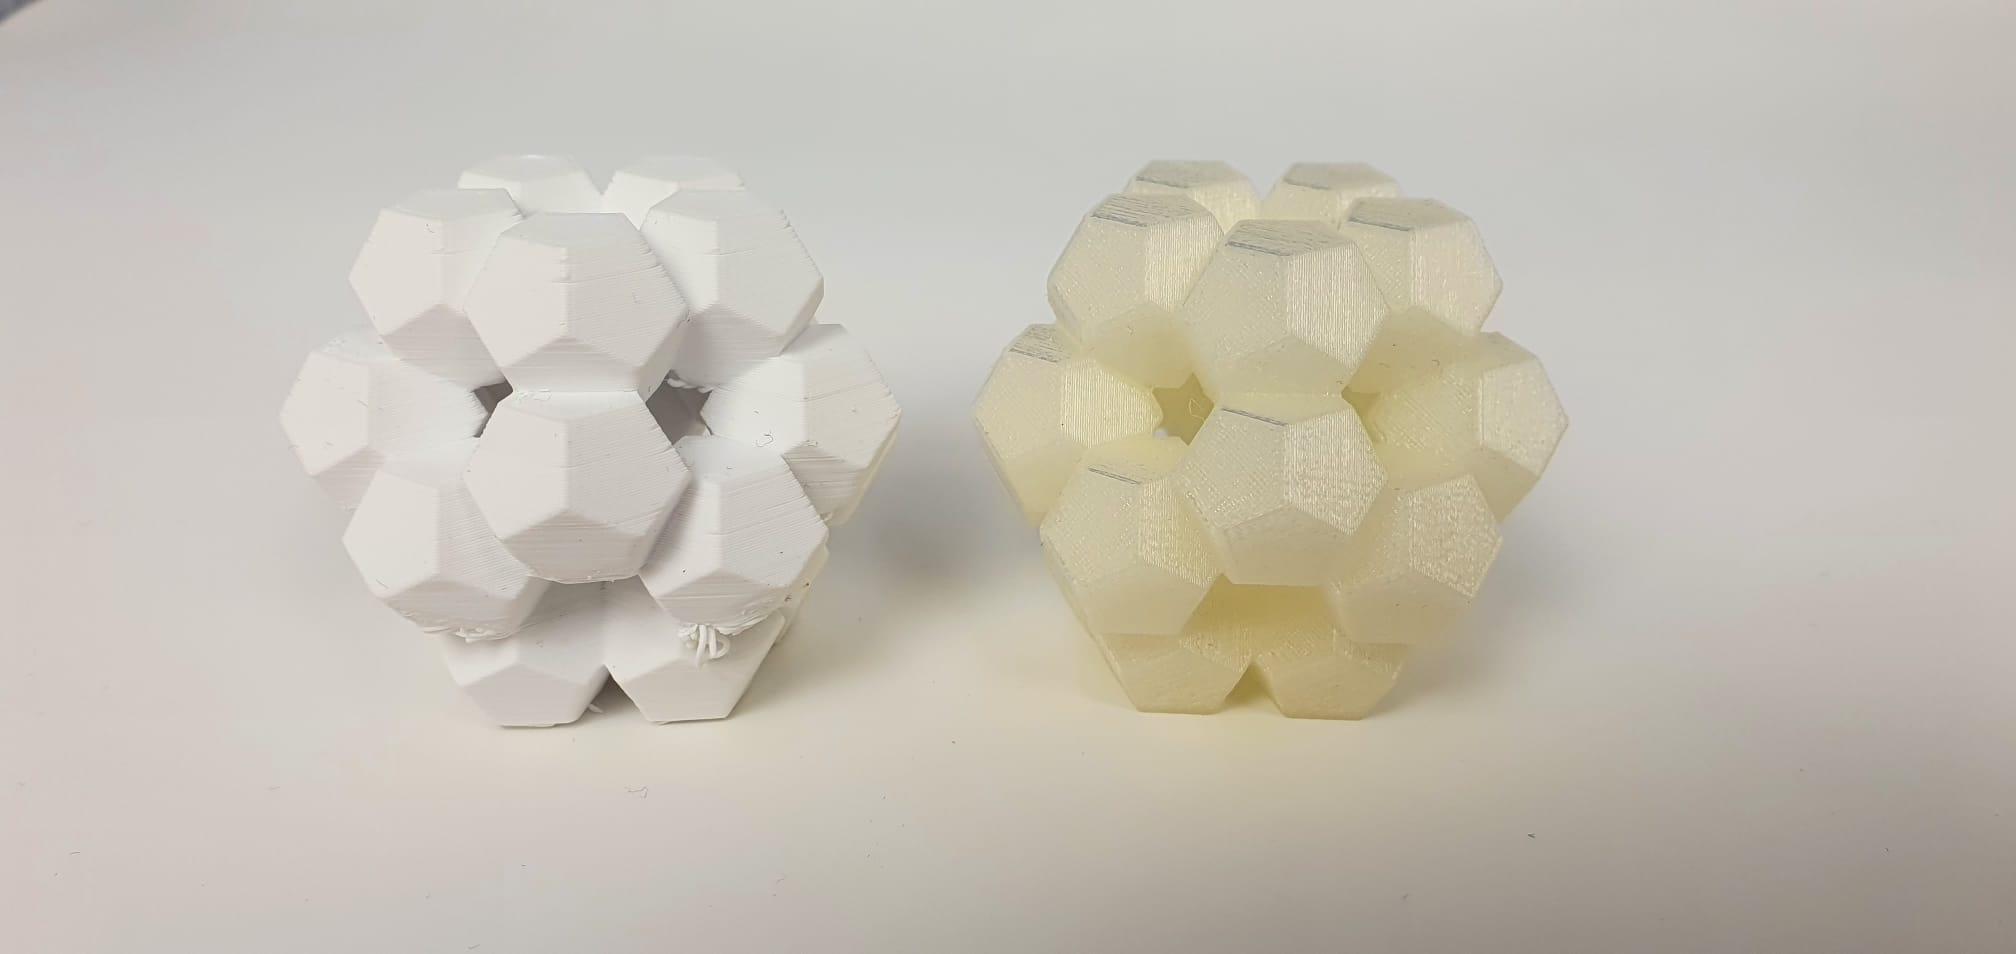
Overall, I am pretty happy with how they came out. I would like to try print the more complex dodecahedron and see how that turns out!
Waves in Fusion
I wanted to go a step further and 3D print an intricate wave shape on mesh fabric using Ninjaflex. I have used it before to print a snake on mesh: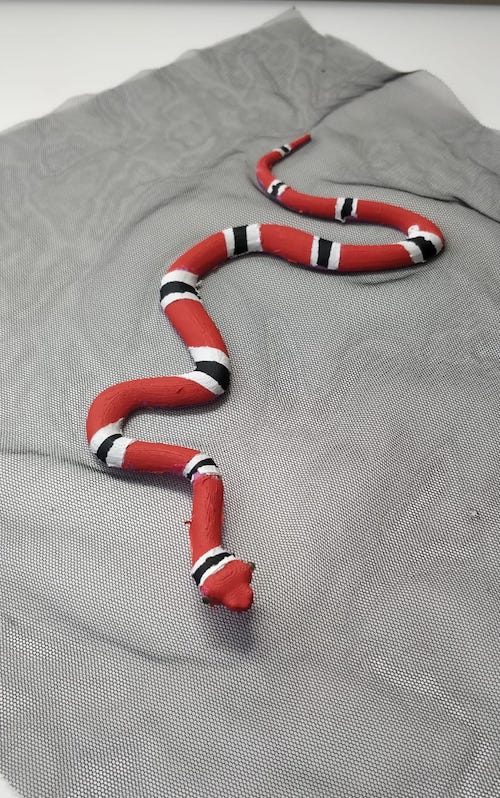
This was a few years ago when there were no good instructions on the specific print settings, so having gone through the joy/pain of hours and hours of testing, I was very happy to hear Kassia (a PS70 instructor) is using it to make 3D printed fabric structures using Prusa's recommended settings for flexible PLA.
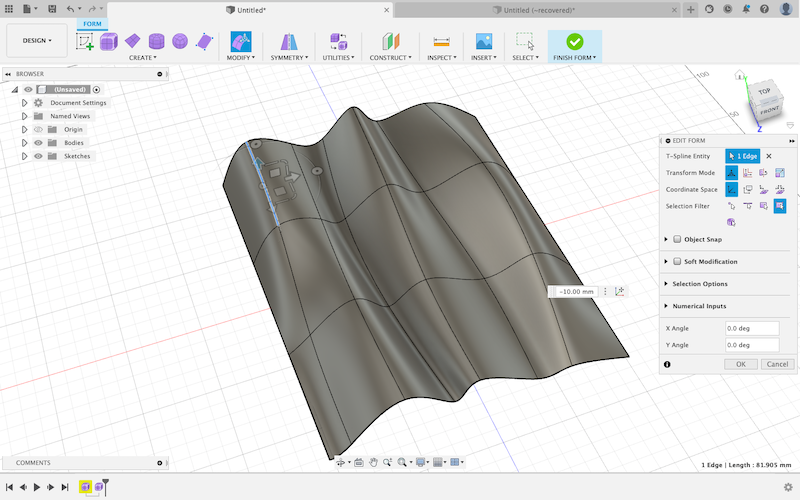
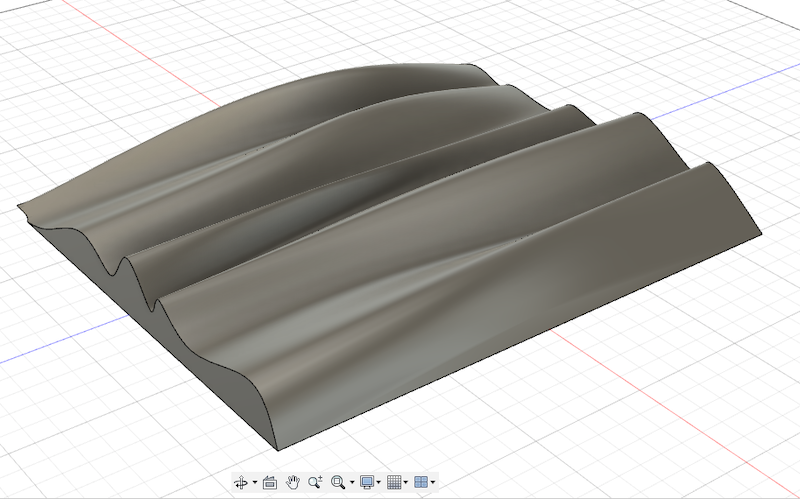
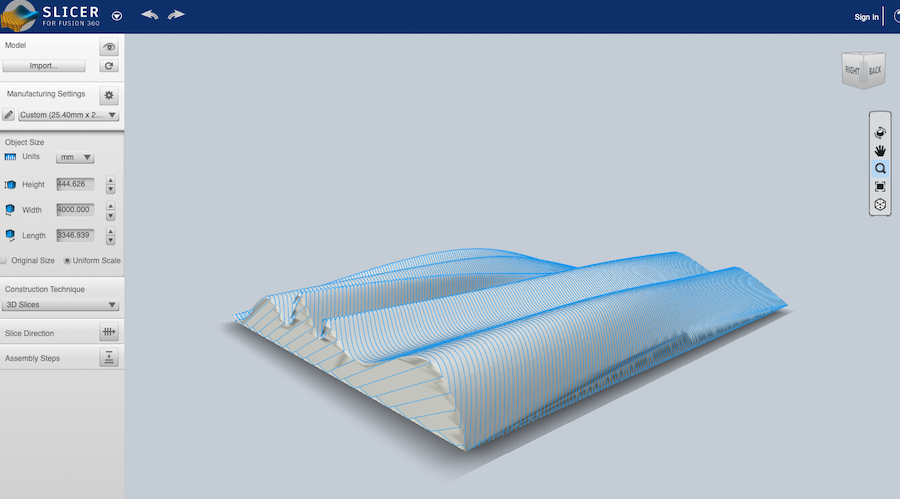
Following this tutorial by Modustrial Maker (https://www.modustrialmaker.com/blog/2019/4/10/making-a-floating-shelf-with-wave-shape-using-fusion-360-and-cnc-or-with-standard-woodworking-tools), I created a T-spline place in Fusion 360, and after tinkering with it a bit, I added 7 faces length-wise and 3 in the width. Using the *Modify* tool I was able to create wave-like lines in 2D, and when I started pulling across the Z-axis, beautiful 3D shapes emerged.
I then created a simple rectangle and used the Split Body tool to create a base for the waves.
In the Fusion slicer, I used 3D Slices as a construction technique, but since it was my first time using it I had some trouble getting what I wanted: I wanted thin, disconnected lines in a wave-like pattern so it when it is printed, it is flexible on the fabric too.
Nathan pointed out I could 'slice' it in Fusion too, by creating thin planes, aligning them using the Rectangular Pattern, and then using the Split Body tool. This would give the desired effect. This is a work in progress and will update here when I make it work.
3D Scanning
The 3D scanning procedure was pretty fun and straightforward. The Revopoint3D scanner is easy to use and the software has a nice interface. I brought in the legendary CS50 duck to eternalise it in 3D.
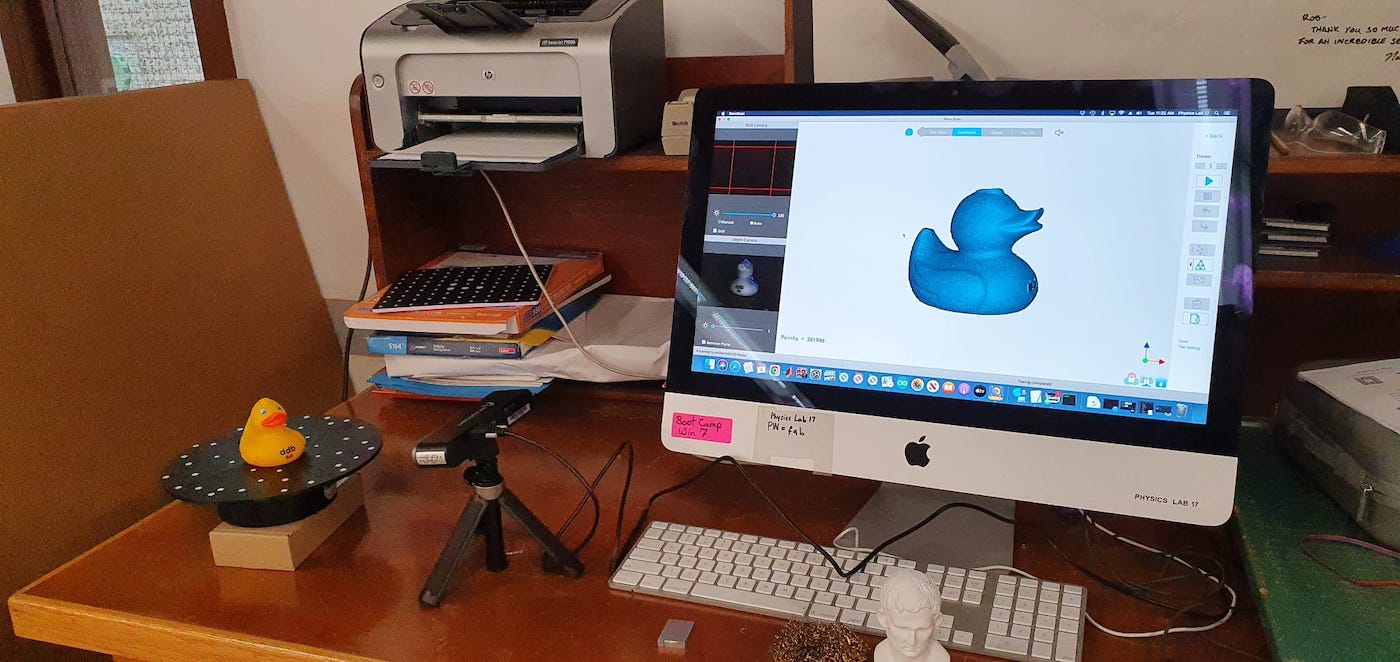
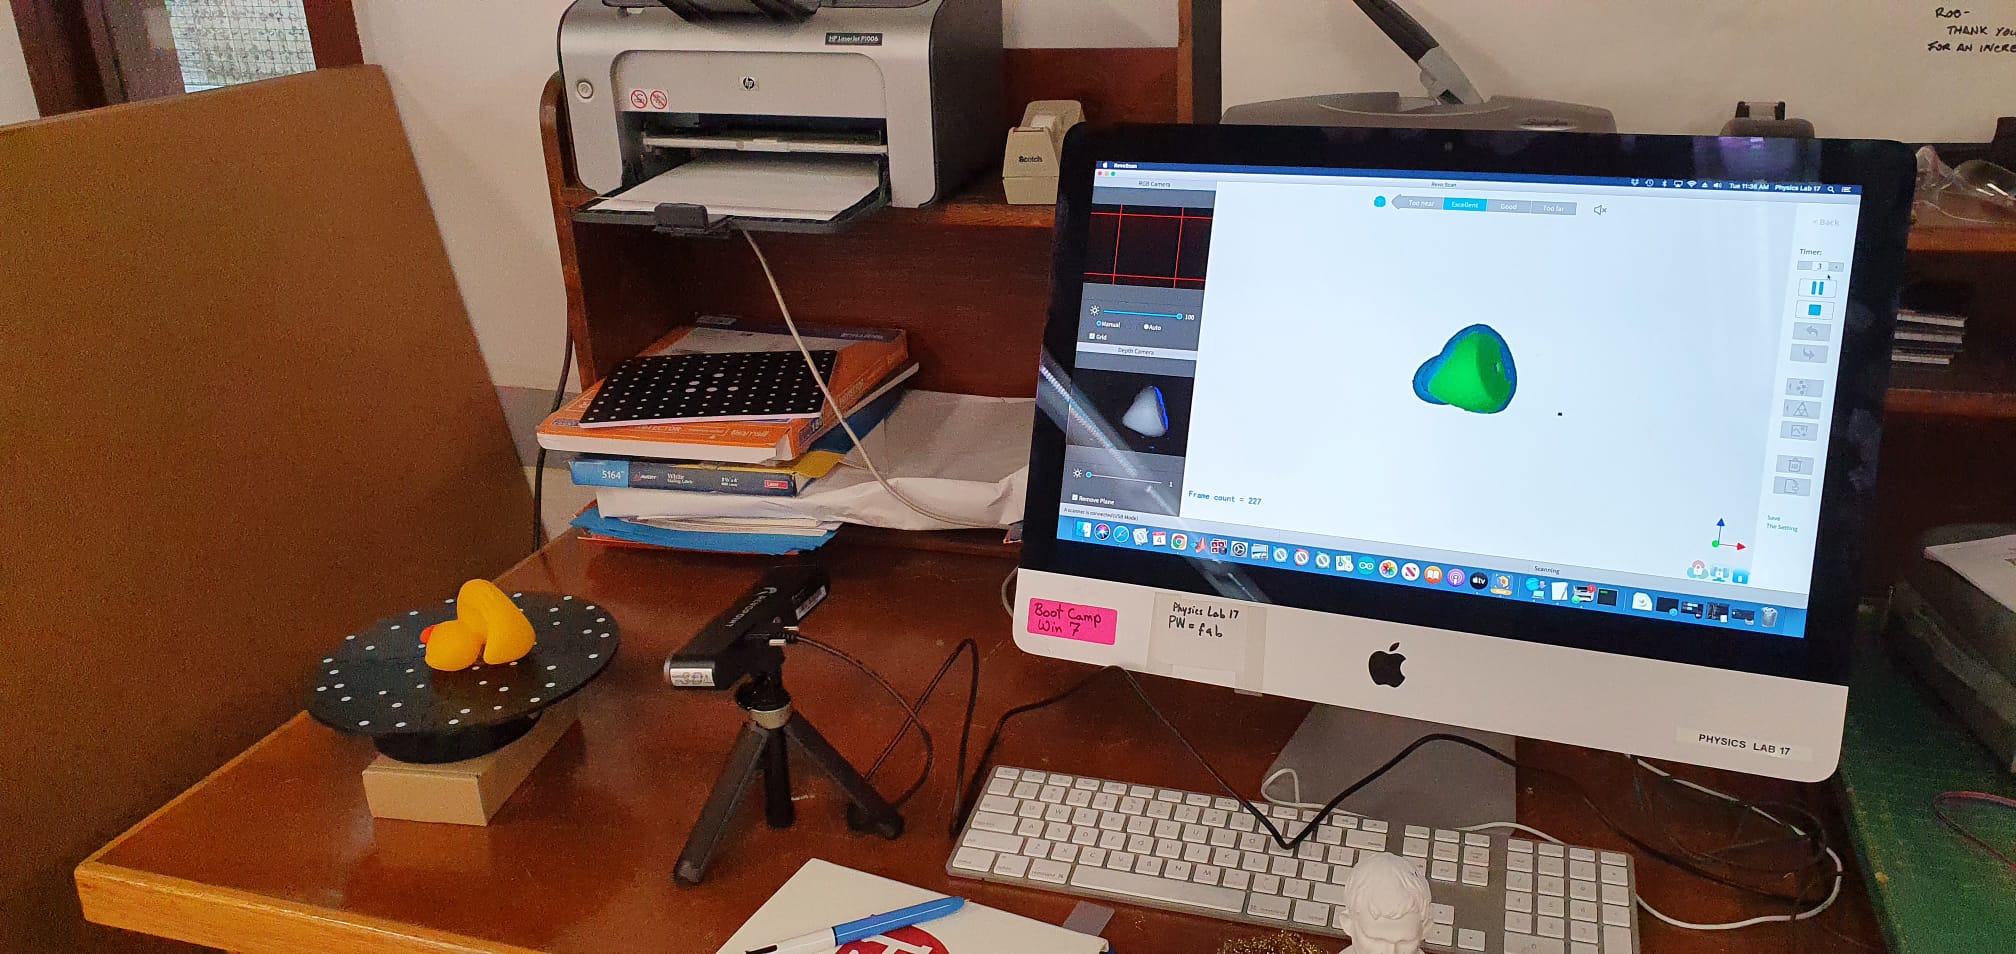
To get a good scan of all the corners of the object, I flipped it to its side:
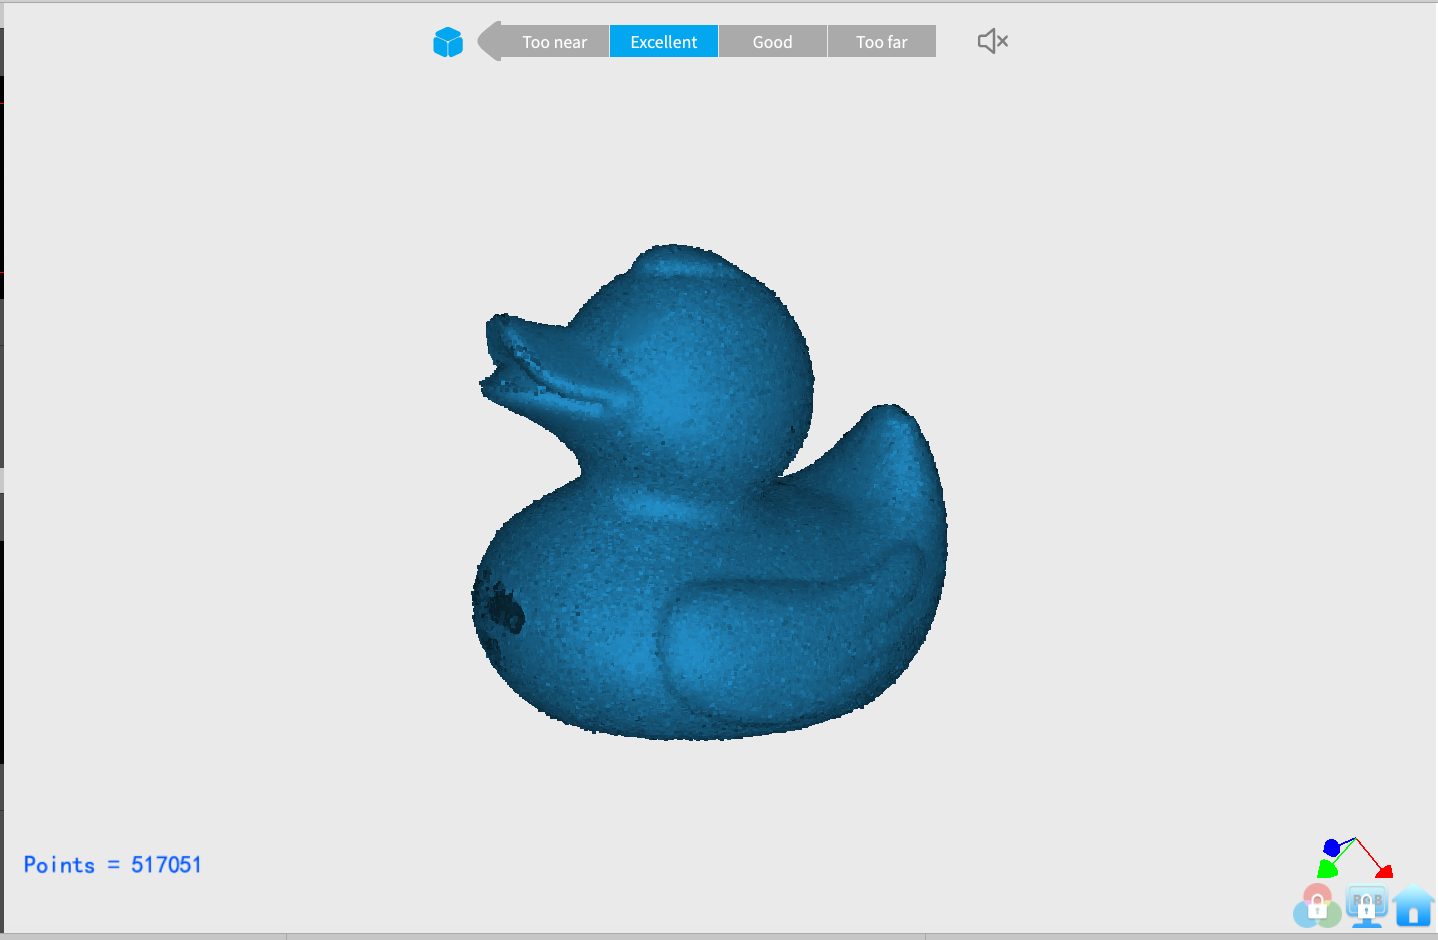
It came out beautiful!
Group Assignment
The group assignment was interesting and we printed a whole bunch of test files to test for overhang, support, infill and other design rules. We should have a Group Page to link to it!