Week 6
Computer Aided Manufacturing
Some blood, some sweat but no tears went into making something big this week!
Ideation
For this week, I wanted to go all out. Go big or go home is the saying! For inspiration, I jumped on Google and lo and behold, I found a fascinating project: the Quartz chair. Priced at $26,000 and visually very pleasing, it is a crystal-looking couch made out of hexagons and pentagons, designed by artists CRTL ZAK and Davide Barzaghi.

I made some quick sketches to visualise what I was going for, and used this image as a reference:
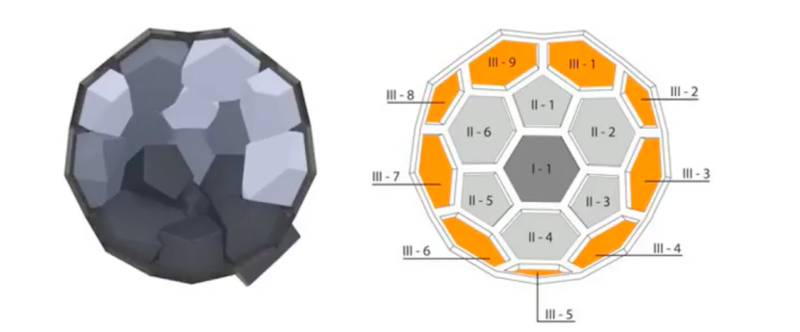
You can see that the structure involves a hexagon in the center, surrounded by hexagons and pentagons in alternating fashion.
CAD
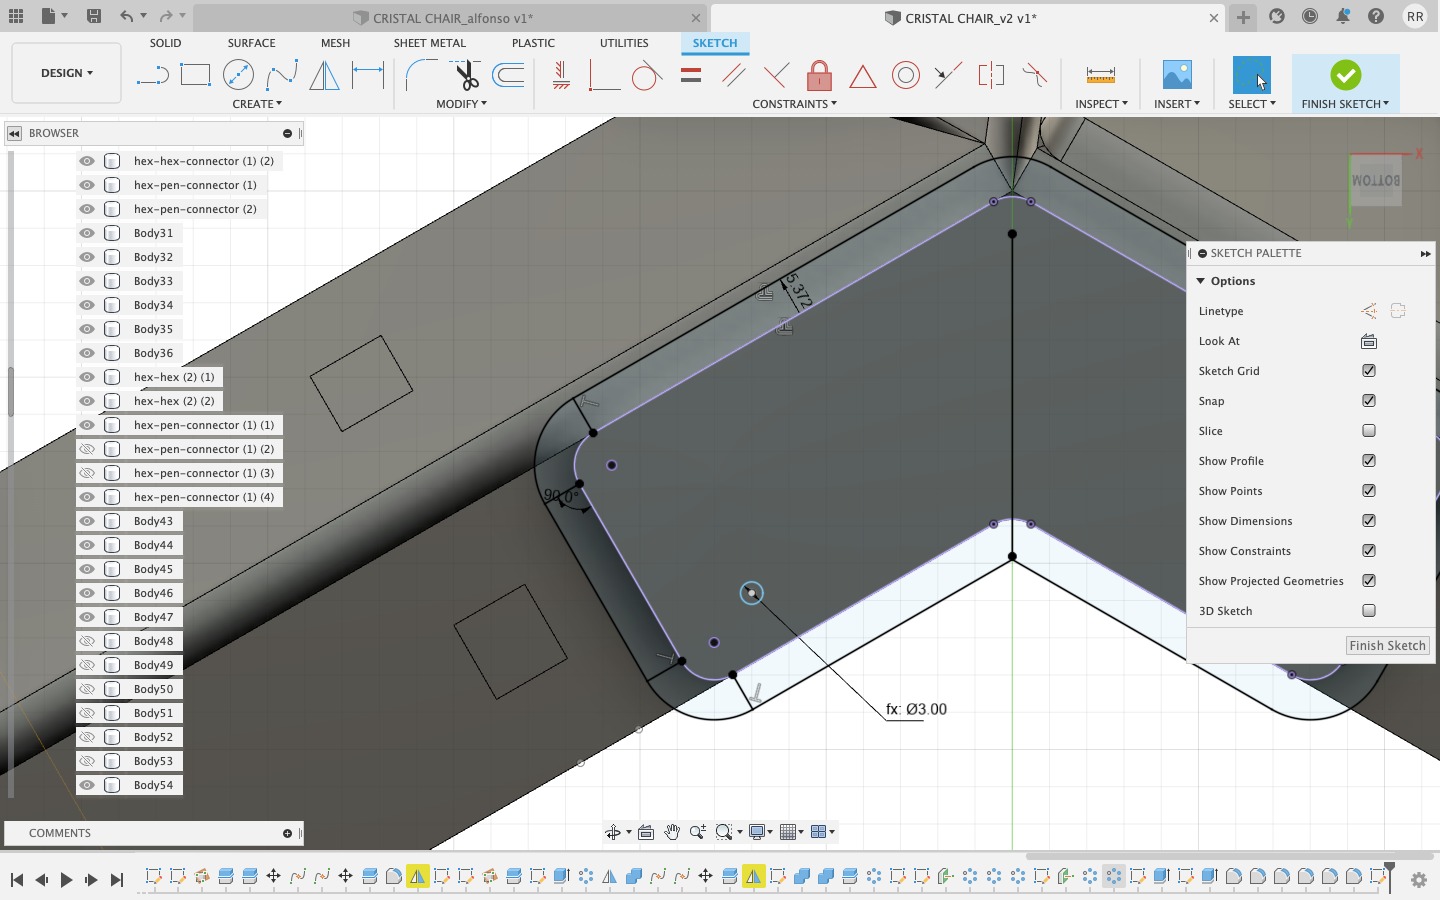
I went to Alfonso to find a way to design this and within minutes, he had CAD'ed it out and visualised it in 3D: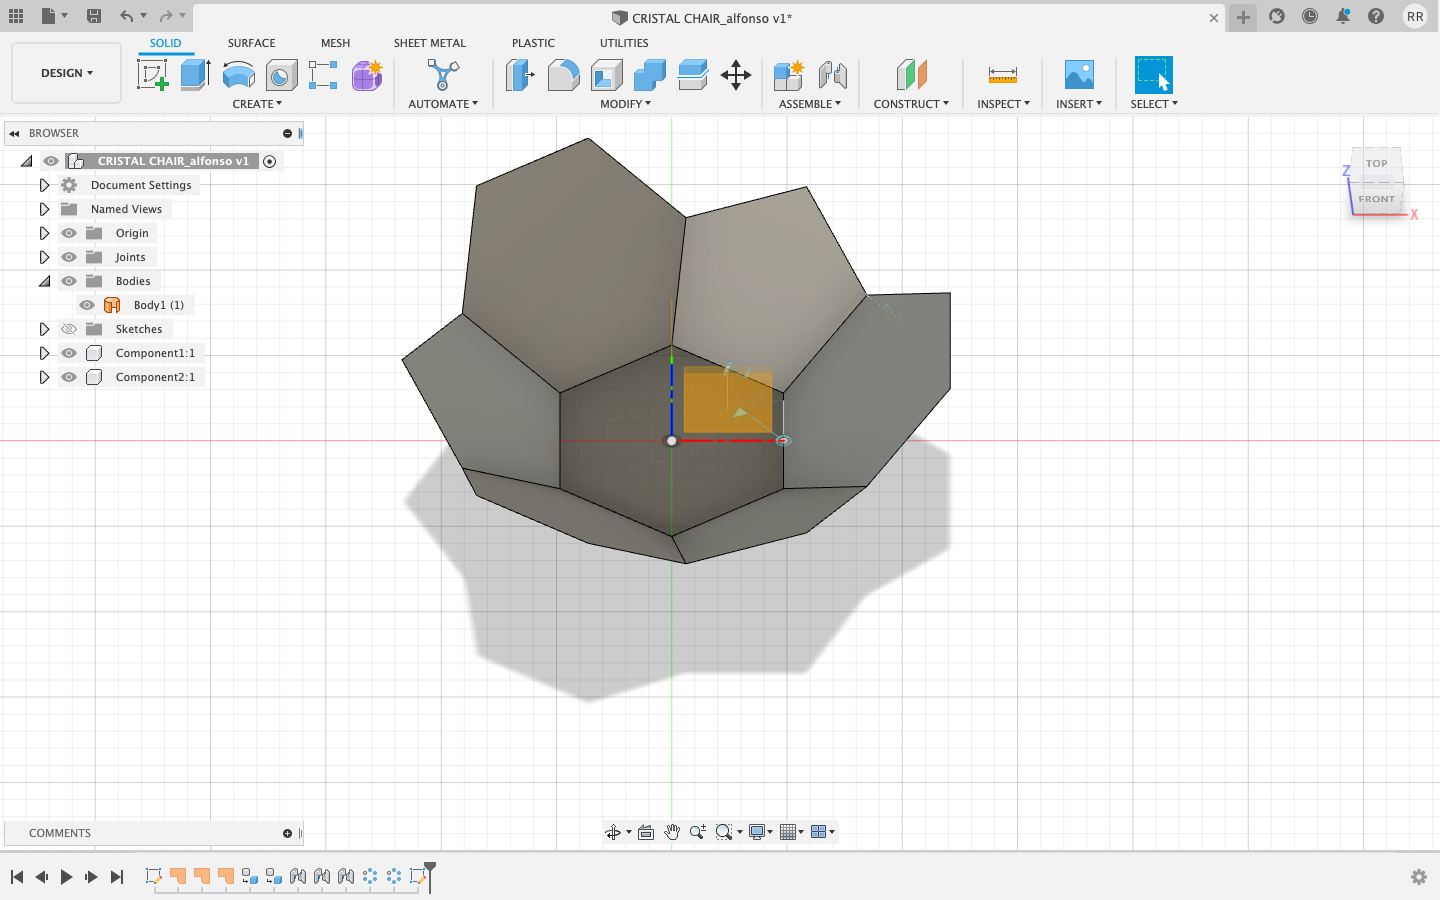
We made the shapes hollow by offsetting it by 8/length of each facets (all parametrized), but to cut out entire hexagons and pentagons from the wood would take up too much material, and I don't have an awful lot of it. So we designed individual facets. Hexagons have 6 sides, each with an angle of 120°, and pentagons have 5 sides, each with an angle of 108°. But the whole purpose of CAD and Fusion is to do as little work as possible, so instead of making two different facets, we used just one with the pentagon angle. You will later see why!
Alfonso made the sketch for the hexagon-hexagon shape on a 148.3° angle, and I set out to get the hexagon-pentagon angle right. I made the sketch on the surface of a hexagon and pentagon from the side. I used the pentagon facet we made earlier, and mirrored it. However, when I did that I kept on getting the mirrored copy on the wrong axis and I figured it is because it's angled. Suvin showed me a neat way around this: first apply a circular pattern on the facet, and then mirror it. Here is how:
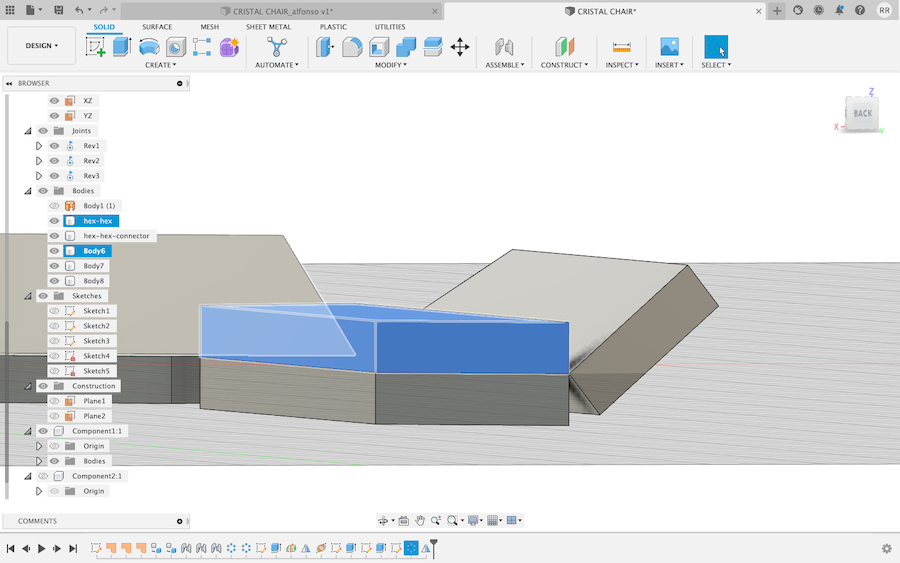
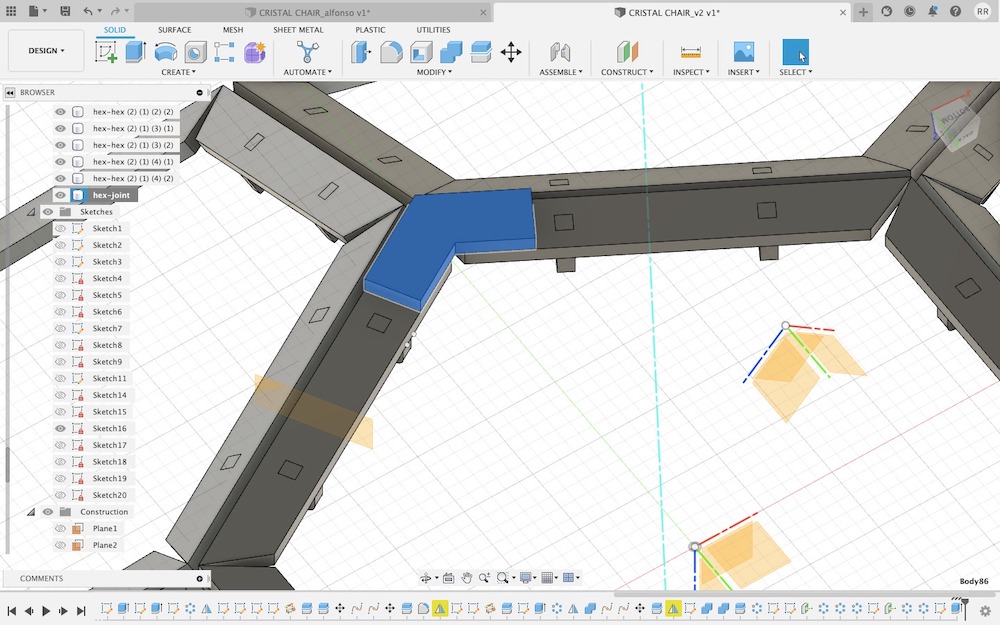
Now that the facets are in place, I need a piece that would connect the center hexagon with the other polygons, and the other polygons to each other (same edge, but on a different face). Alfonso showed me how to make one on the hexagon-hexagon angle, and I went on to do the hexagon-pentagon connector. I knew I needed two to for each facet-connection, so we created a plane right through the middle:
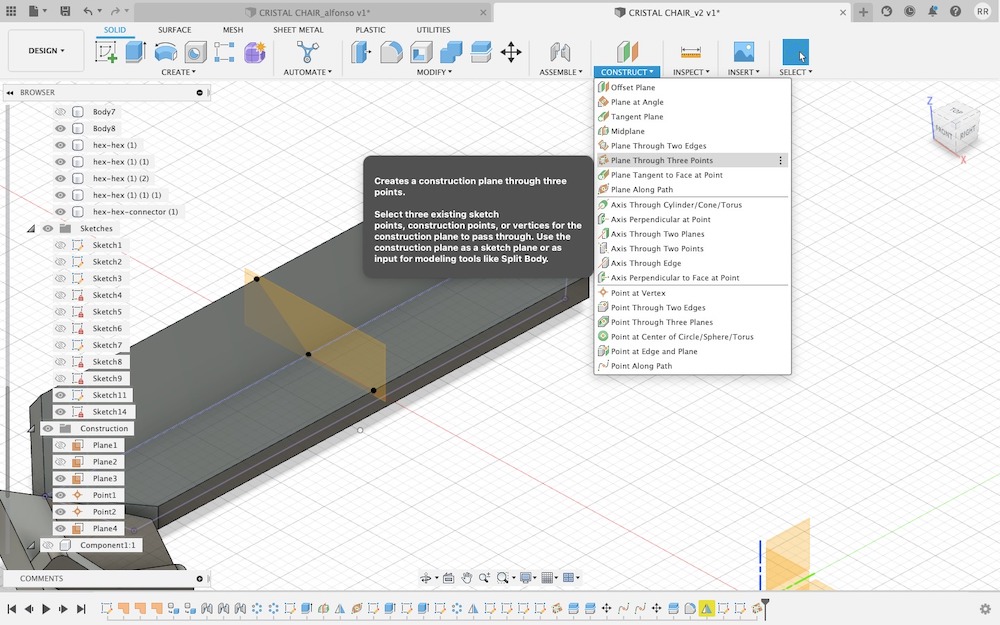
I made the sketch on same two planes:
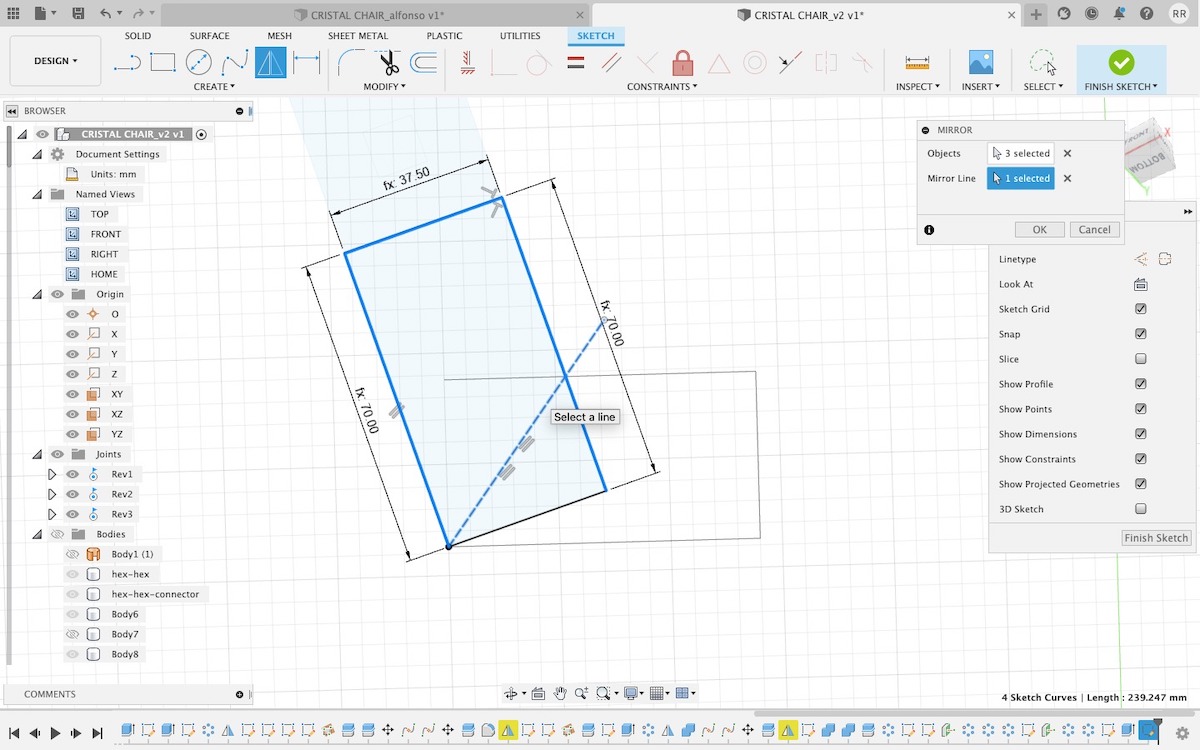
And first circular patterned, then mirrored it. When I hit the Command key to take the screenshot it hid the mirrored version, but you get the idea:
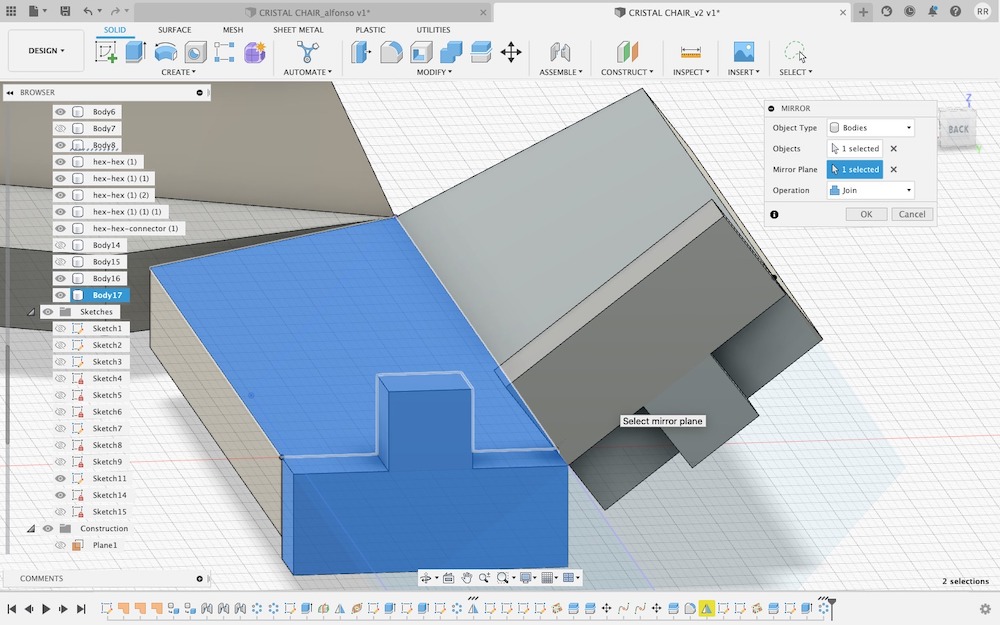
And then I mirrored the whole lot:
Remember when I said we designed only one facet, with the pentagon angle? Well, we created two angle-joints: one for the hexagon and one for the pentagon. The idea is to position the facets on the joint to get the desired angle. Here is the hexagon one:
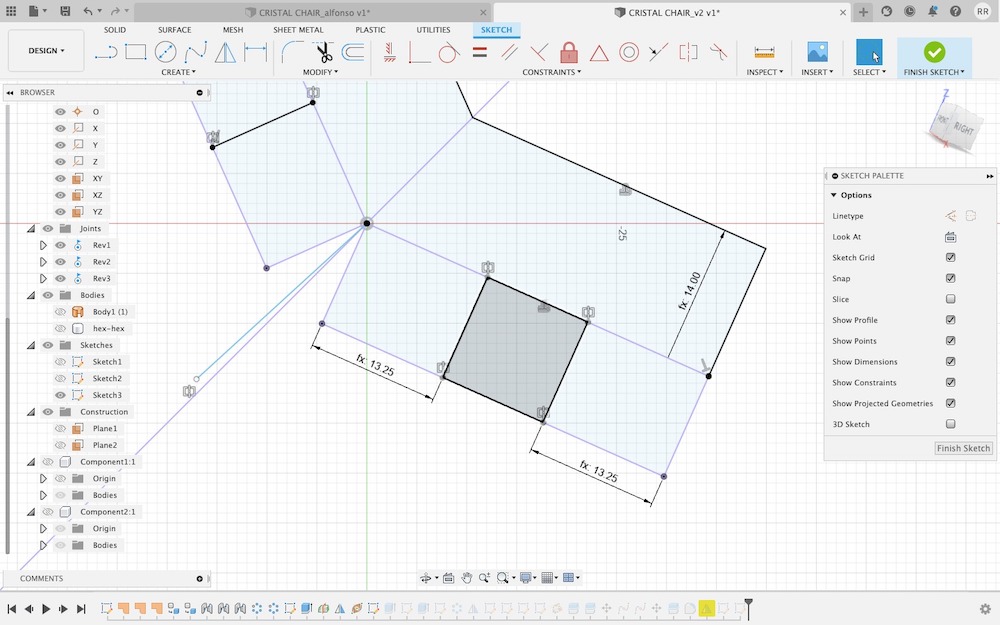
I made the pentagon-joint on the surface of two pentagon facets to get the angle right. I designed one side only, and then mirrored it:
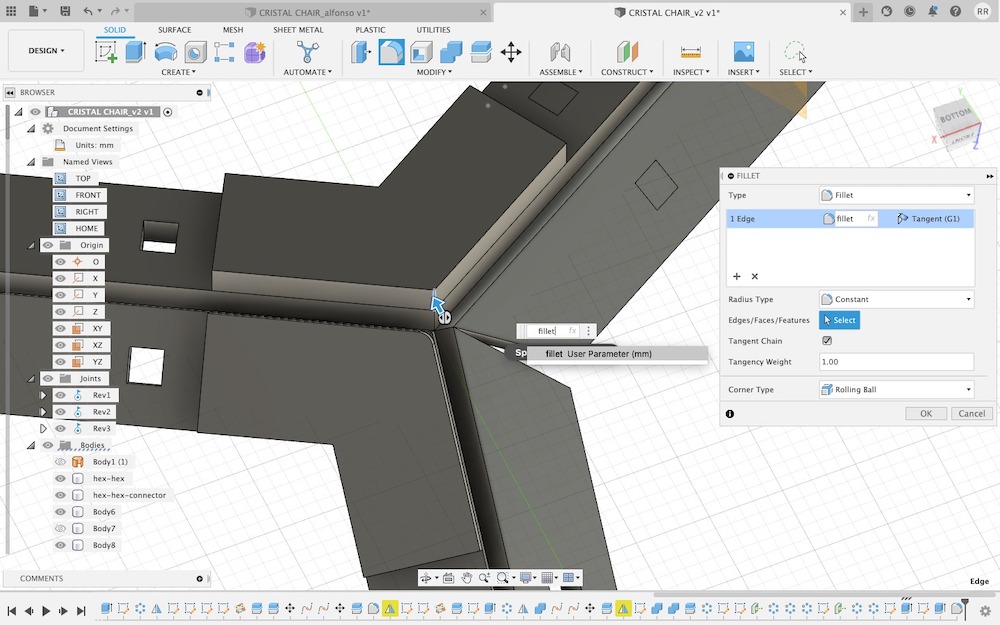
Of course, fillet the corners!
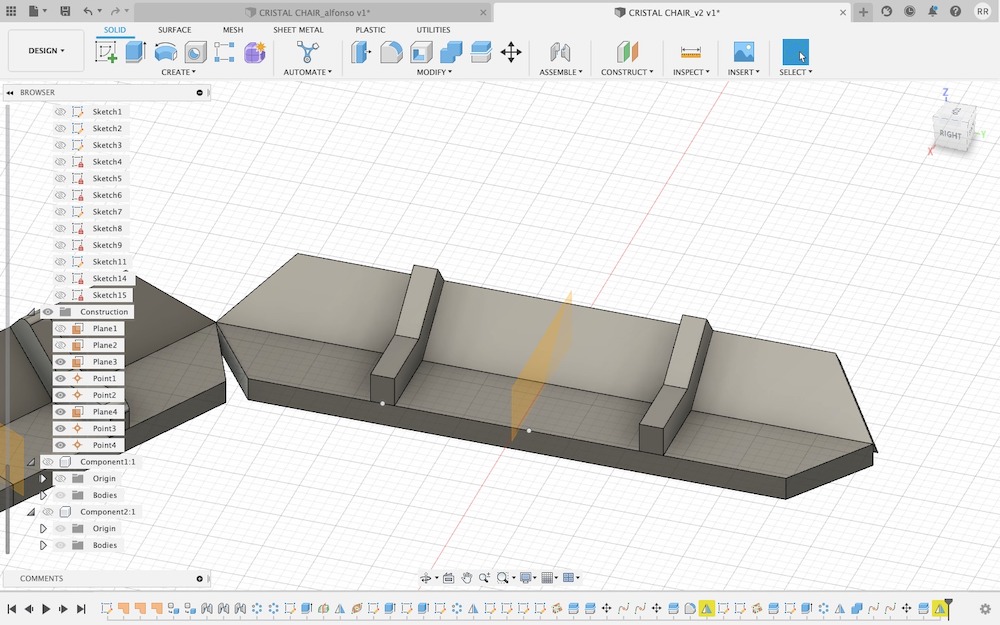
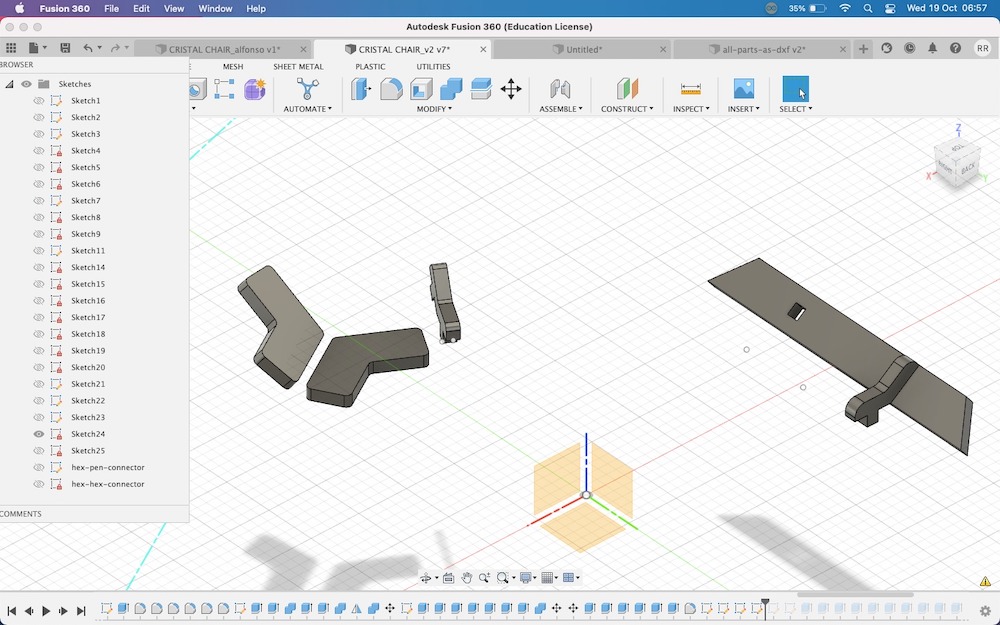
In the end, I had 5 unique shapes: the facet, a hexagon joint, a pentagon joint, a hexagon connector and pentagon connector:
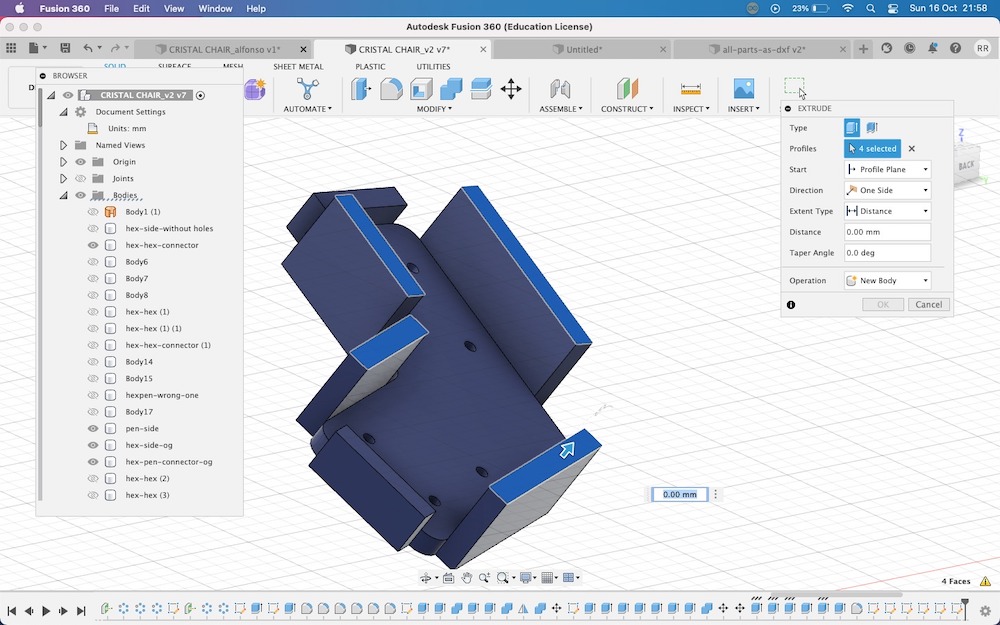
Everything assembled in Fusion:
We also made jigs for the pentagon and hexagon joints, so when I am joining (ahem glueing) the facets together using the polygon joint I would have a structure that would hold everything in place. Alfonso showed me how to create the hexagon jig, and I went about designing the pentagon jig. I made the sketch on facets+joint surface, and offsetted the jig shape to be about 5mm bigger:
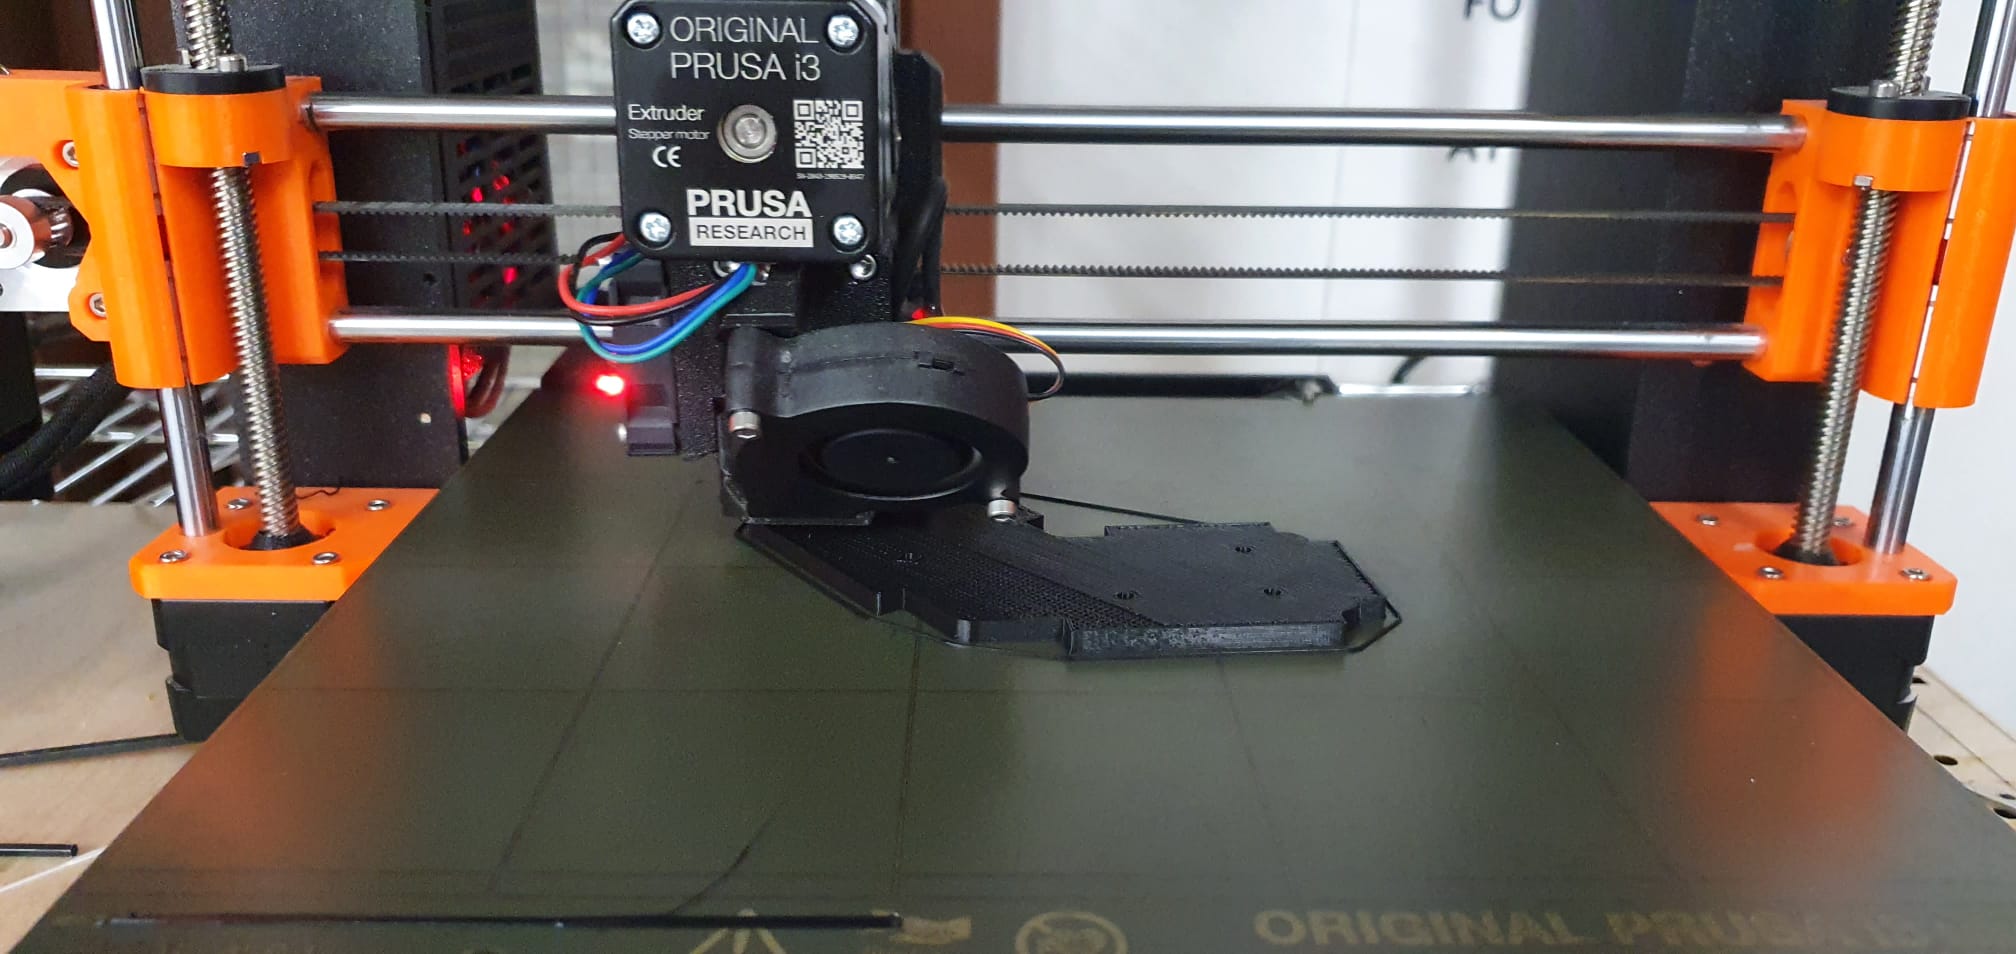
I created walls by extruding certain sections and voilà:
In the 3D printer it goes!
ShopBot
I wanted to make sure everything fit well together, and because I hadn't used a CNC machine before, I got my training done for the small ShopBot in the SC Lab. I made my first test cut:
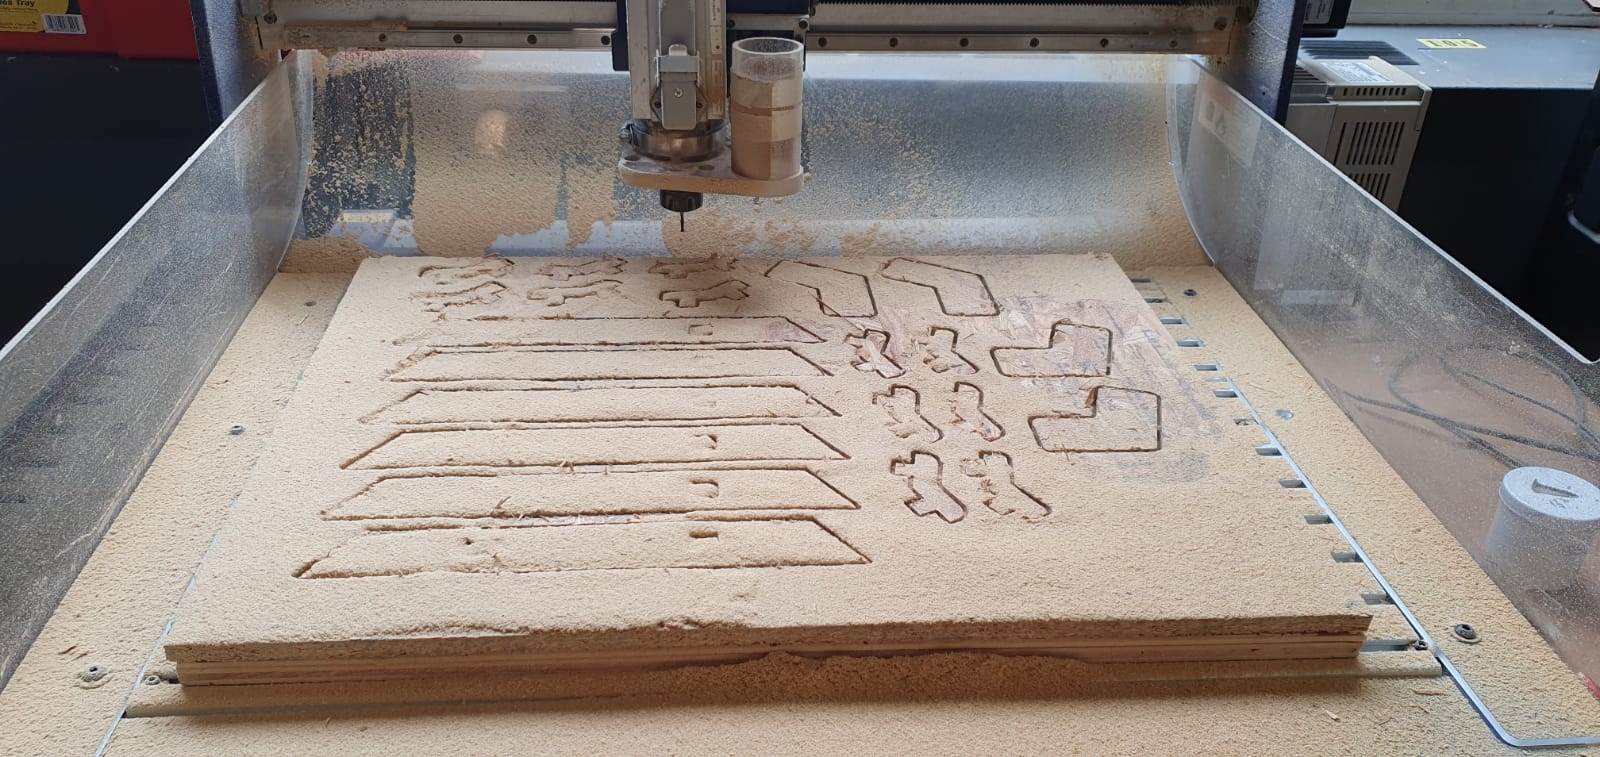
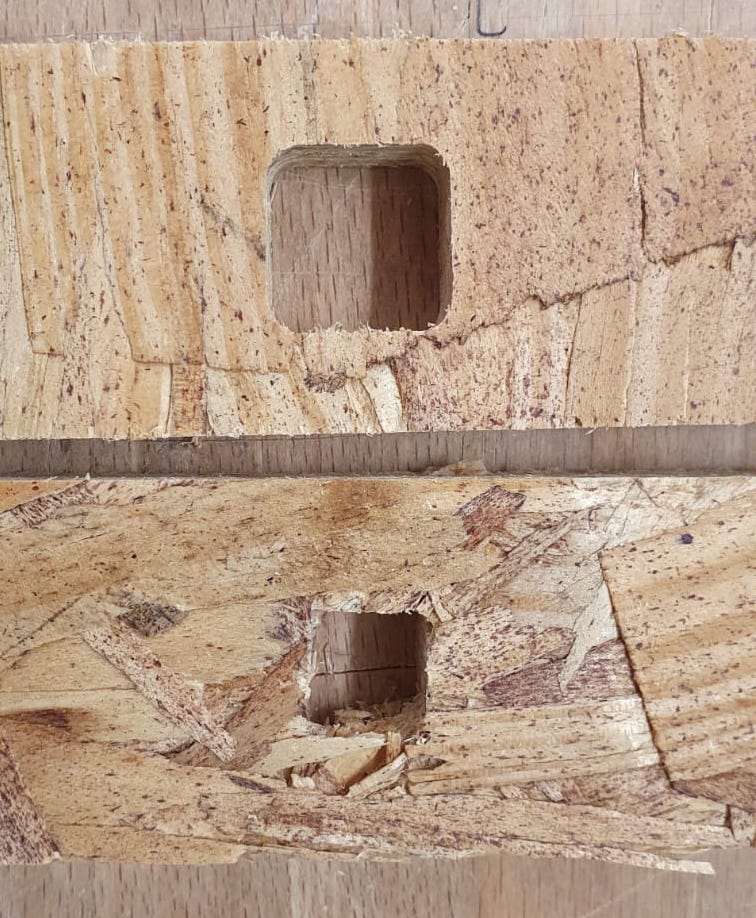
While I was at it, I also test cut two different holes: one that mills from the inside and one that mills froms the outside. The difference is huge:
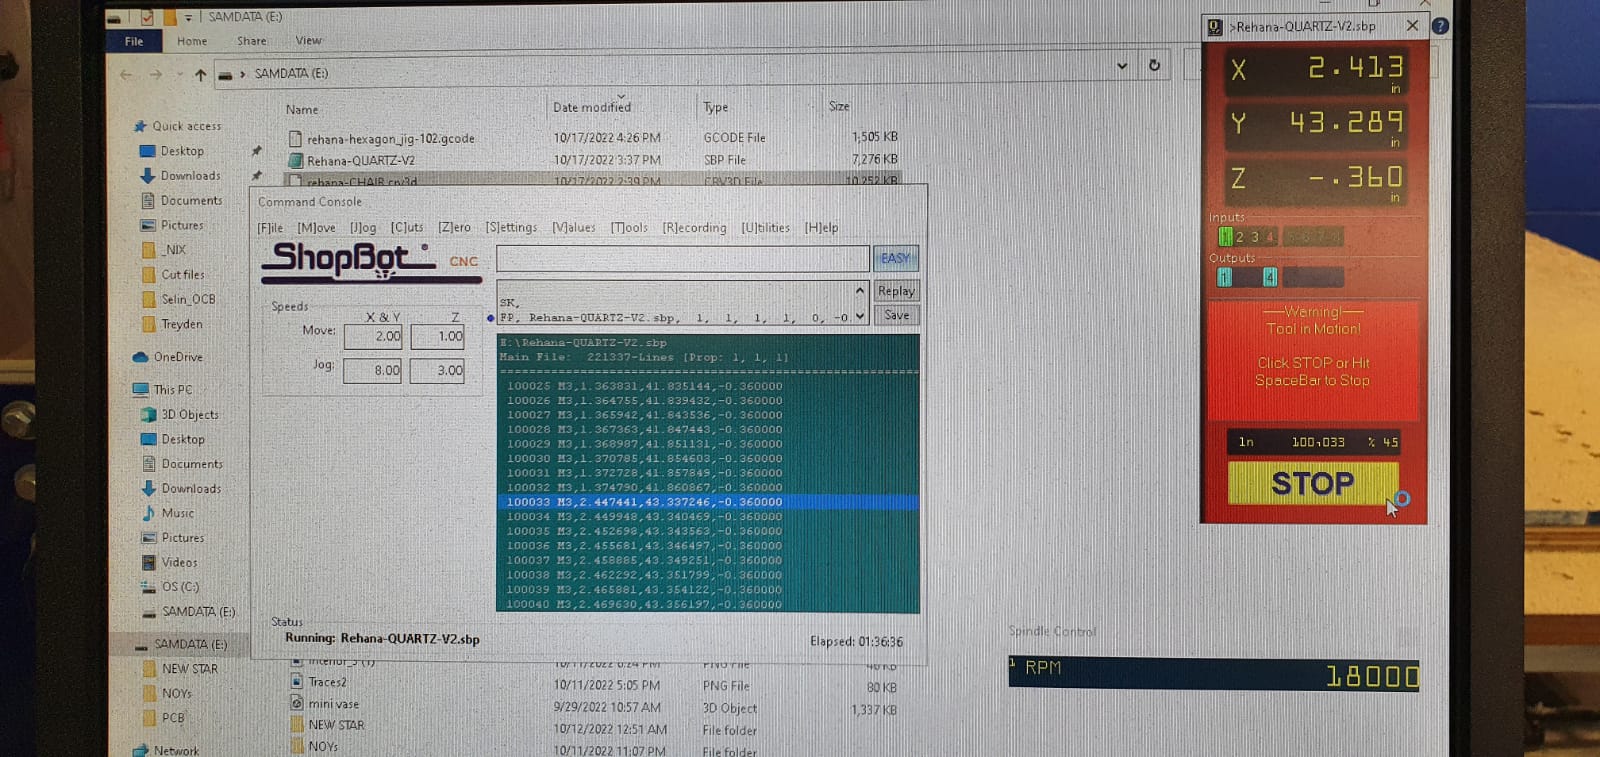
When that was all done, it was time for the big ShopBot! Daniel showed me all the steps:

And off we go!
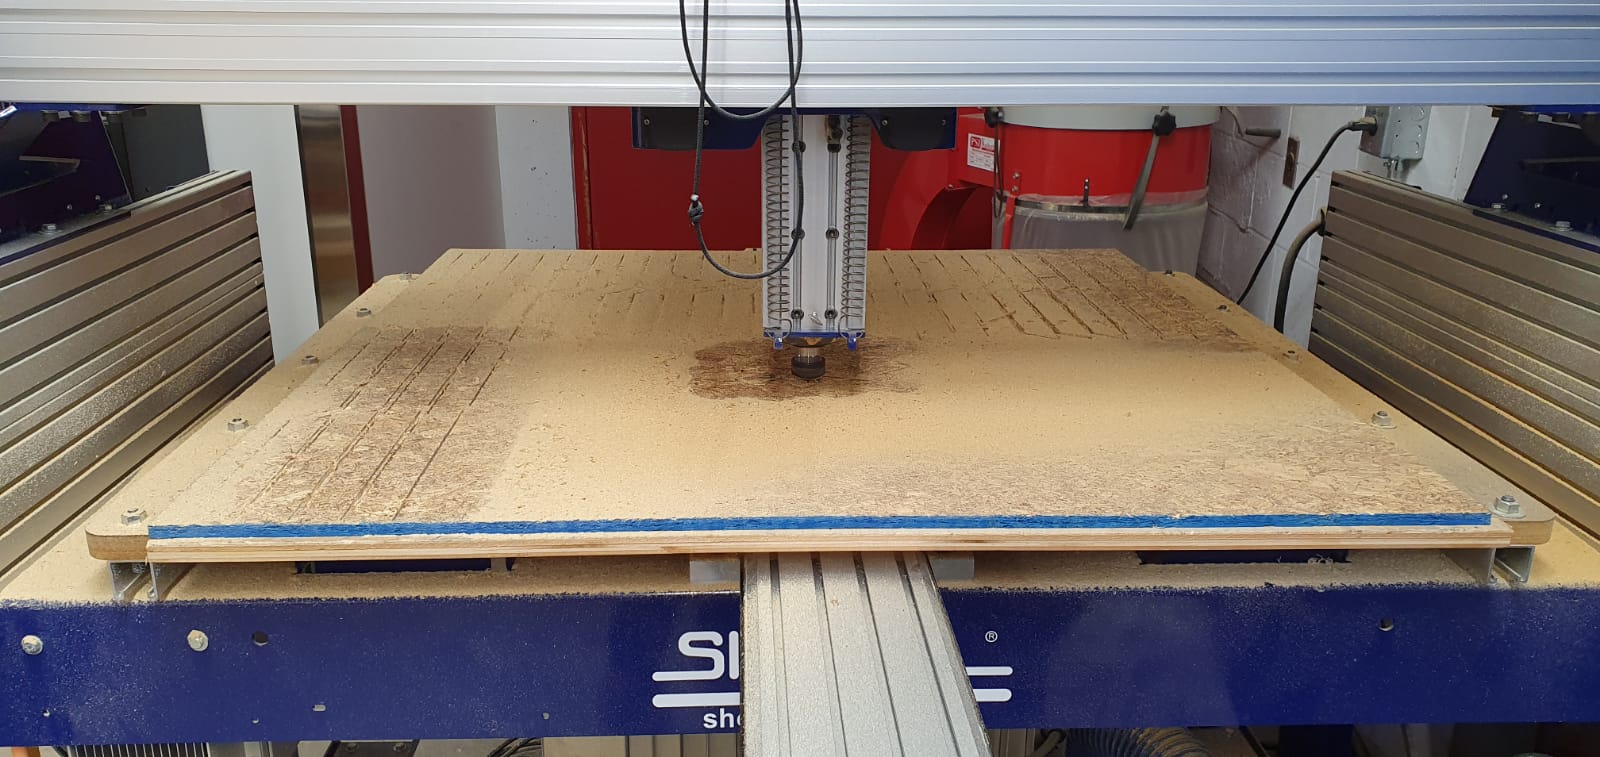
However, I quickly realised that I was going to be there for a VERY long time. I did fill up the entire 48x48 sheet, but didn't expect it to take so long.
Assembly
After milling for two hours (thankfully I wore ear pieces), I decided to run the remainder of my cuts on the small ShopBot. When that was done, I started glueing the facets to the joints! Here is a very unofficial step plan:Step 1. Put on a generous amount of glue:
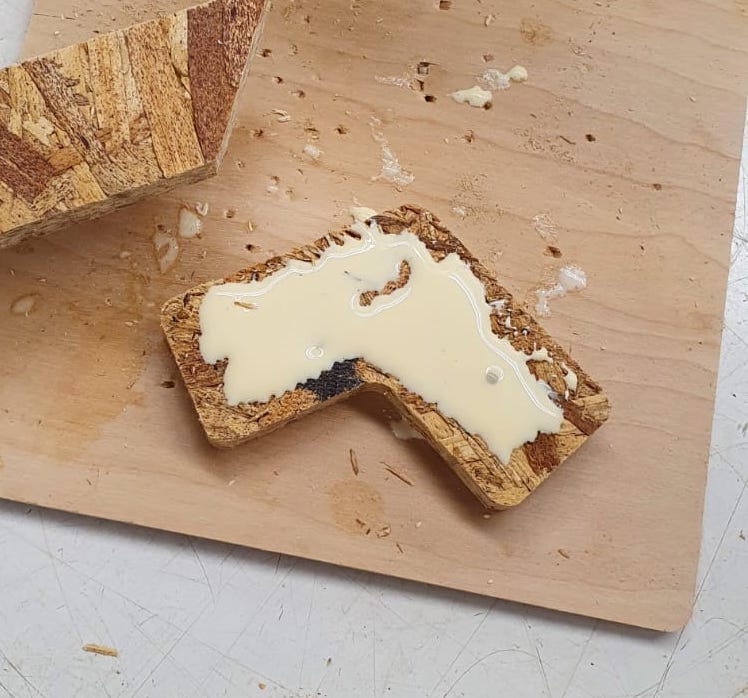
Step 2. Attach the pieces on the correct angle:

Step 3. Use the polymer nail gun because you didn't know which nails to use:
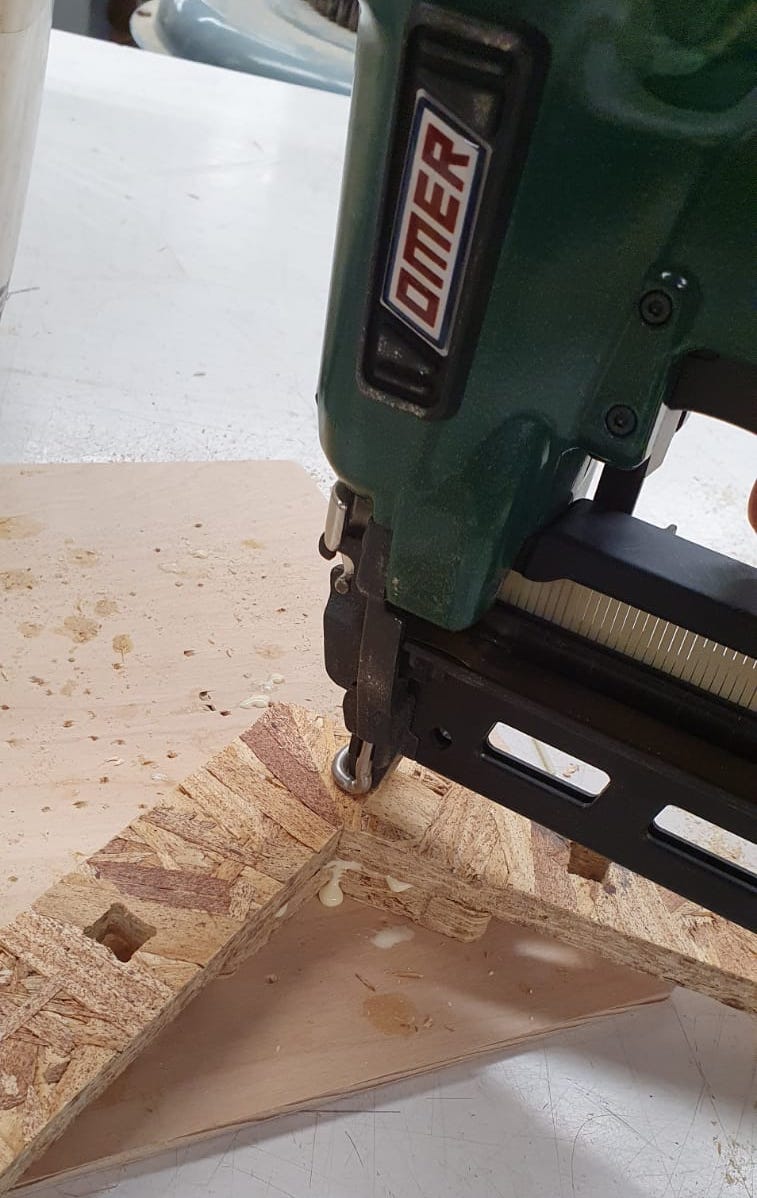
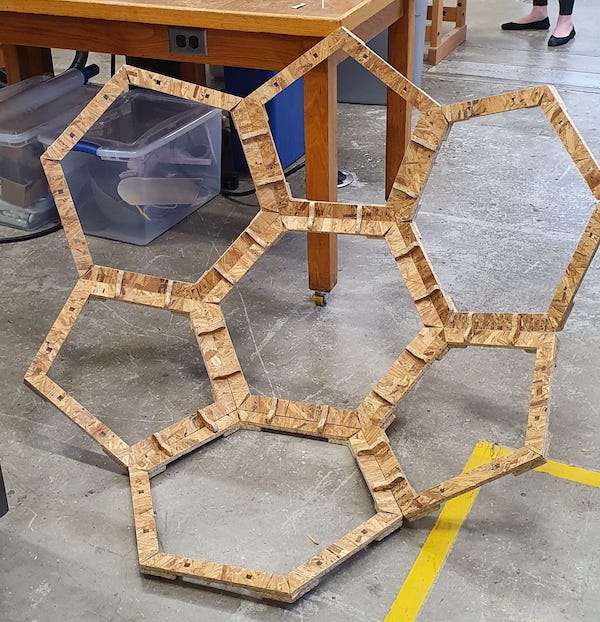
And that is how I got my first hexagon!
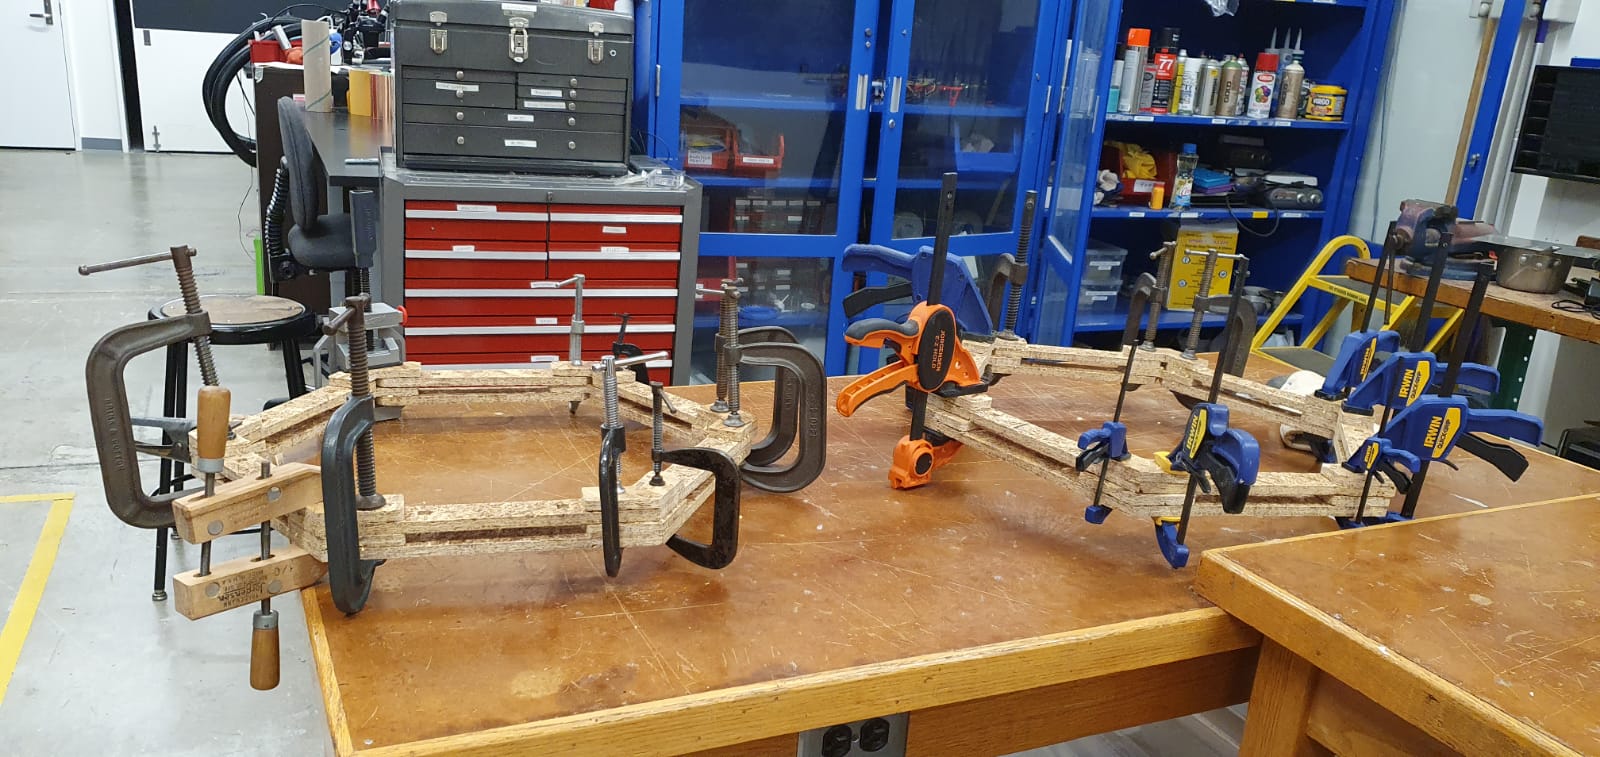
I used all the clamps I could find including the ones in the shop downstairs. I found some interesting clamps that I would expect to find in a museum rather than in the bottom drawer in the SC Lab.
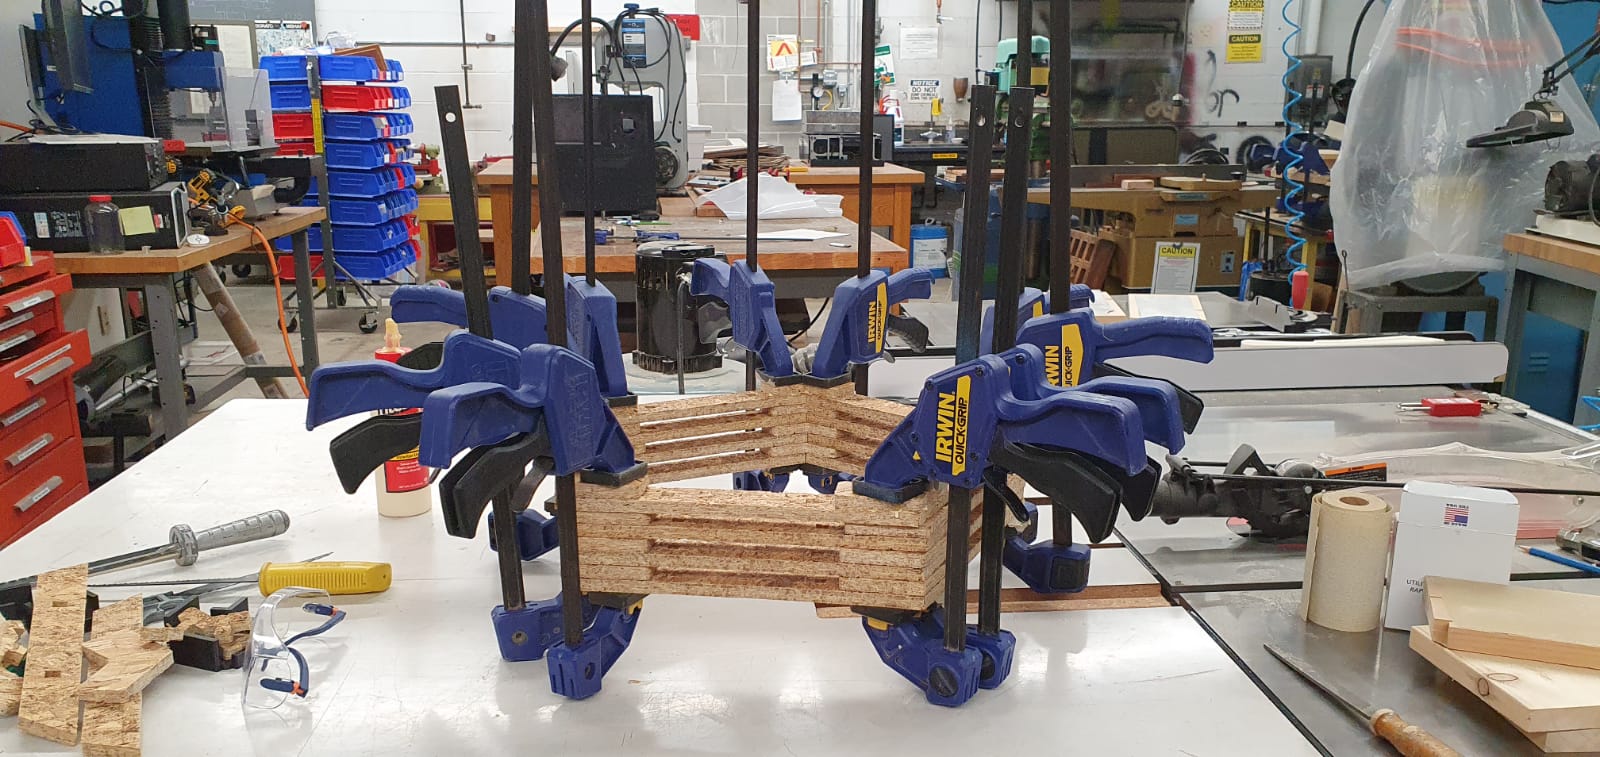
And here is some more!
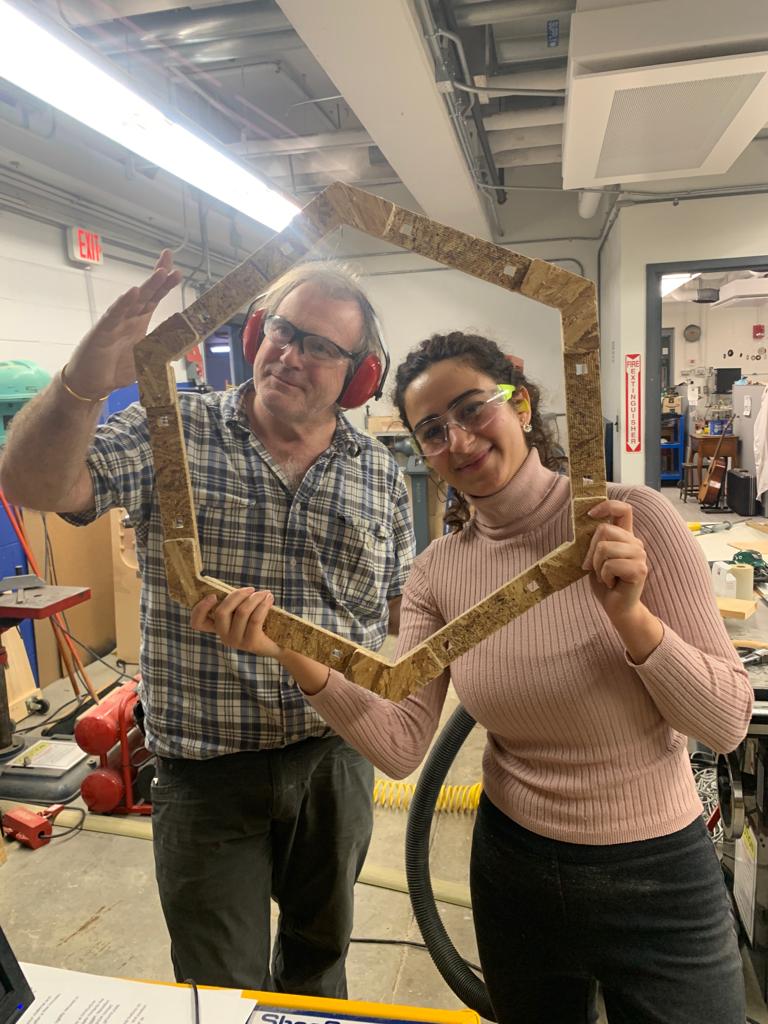
Assembly was fun! Apart from the splinters, the occassional misplacement of the hammer (on my thumb), and sitting on wood glue, it was a smooth-ish process. Some of the holes were too small, whereas others where perfect, but that is OSB ;)
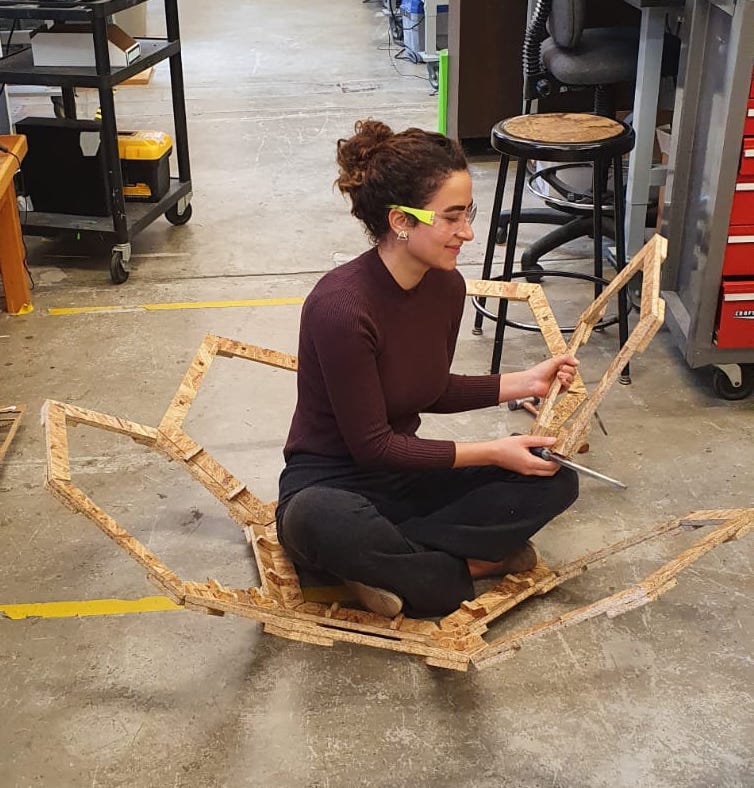
All finished!
At the end I realised that I needed legs to support the angled position of the structure, but I will design those when I decide to turn it into couch that is made out of stronger and more beautiful looking wood. I would also need to design the crystal-shaped cushions!