Molding and Casting
Designing
(Claire's website helped me a lot, thanks!)
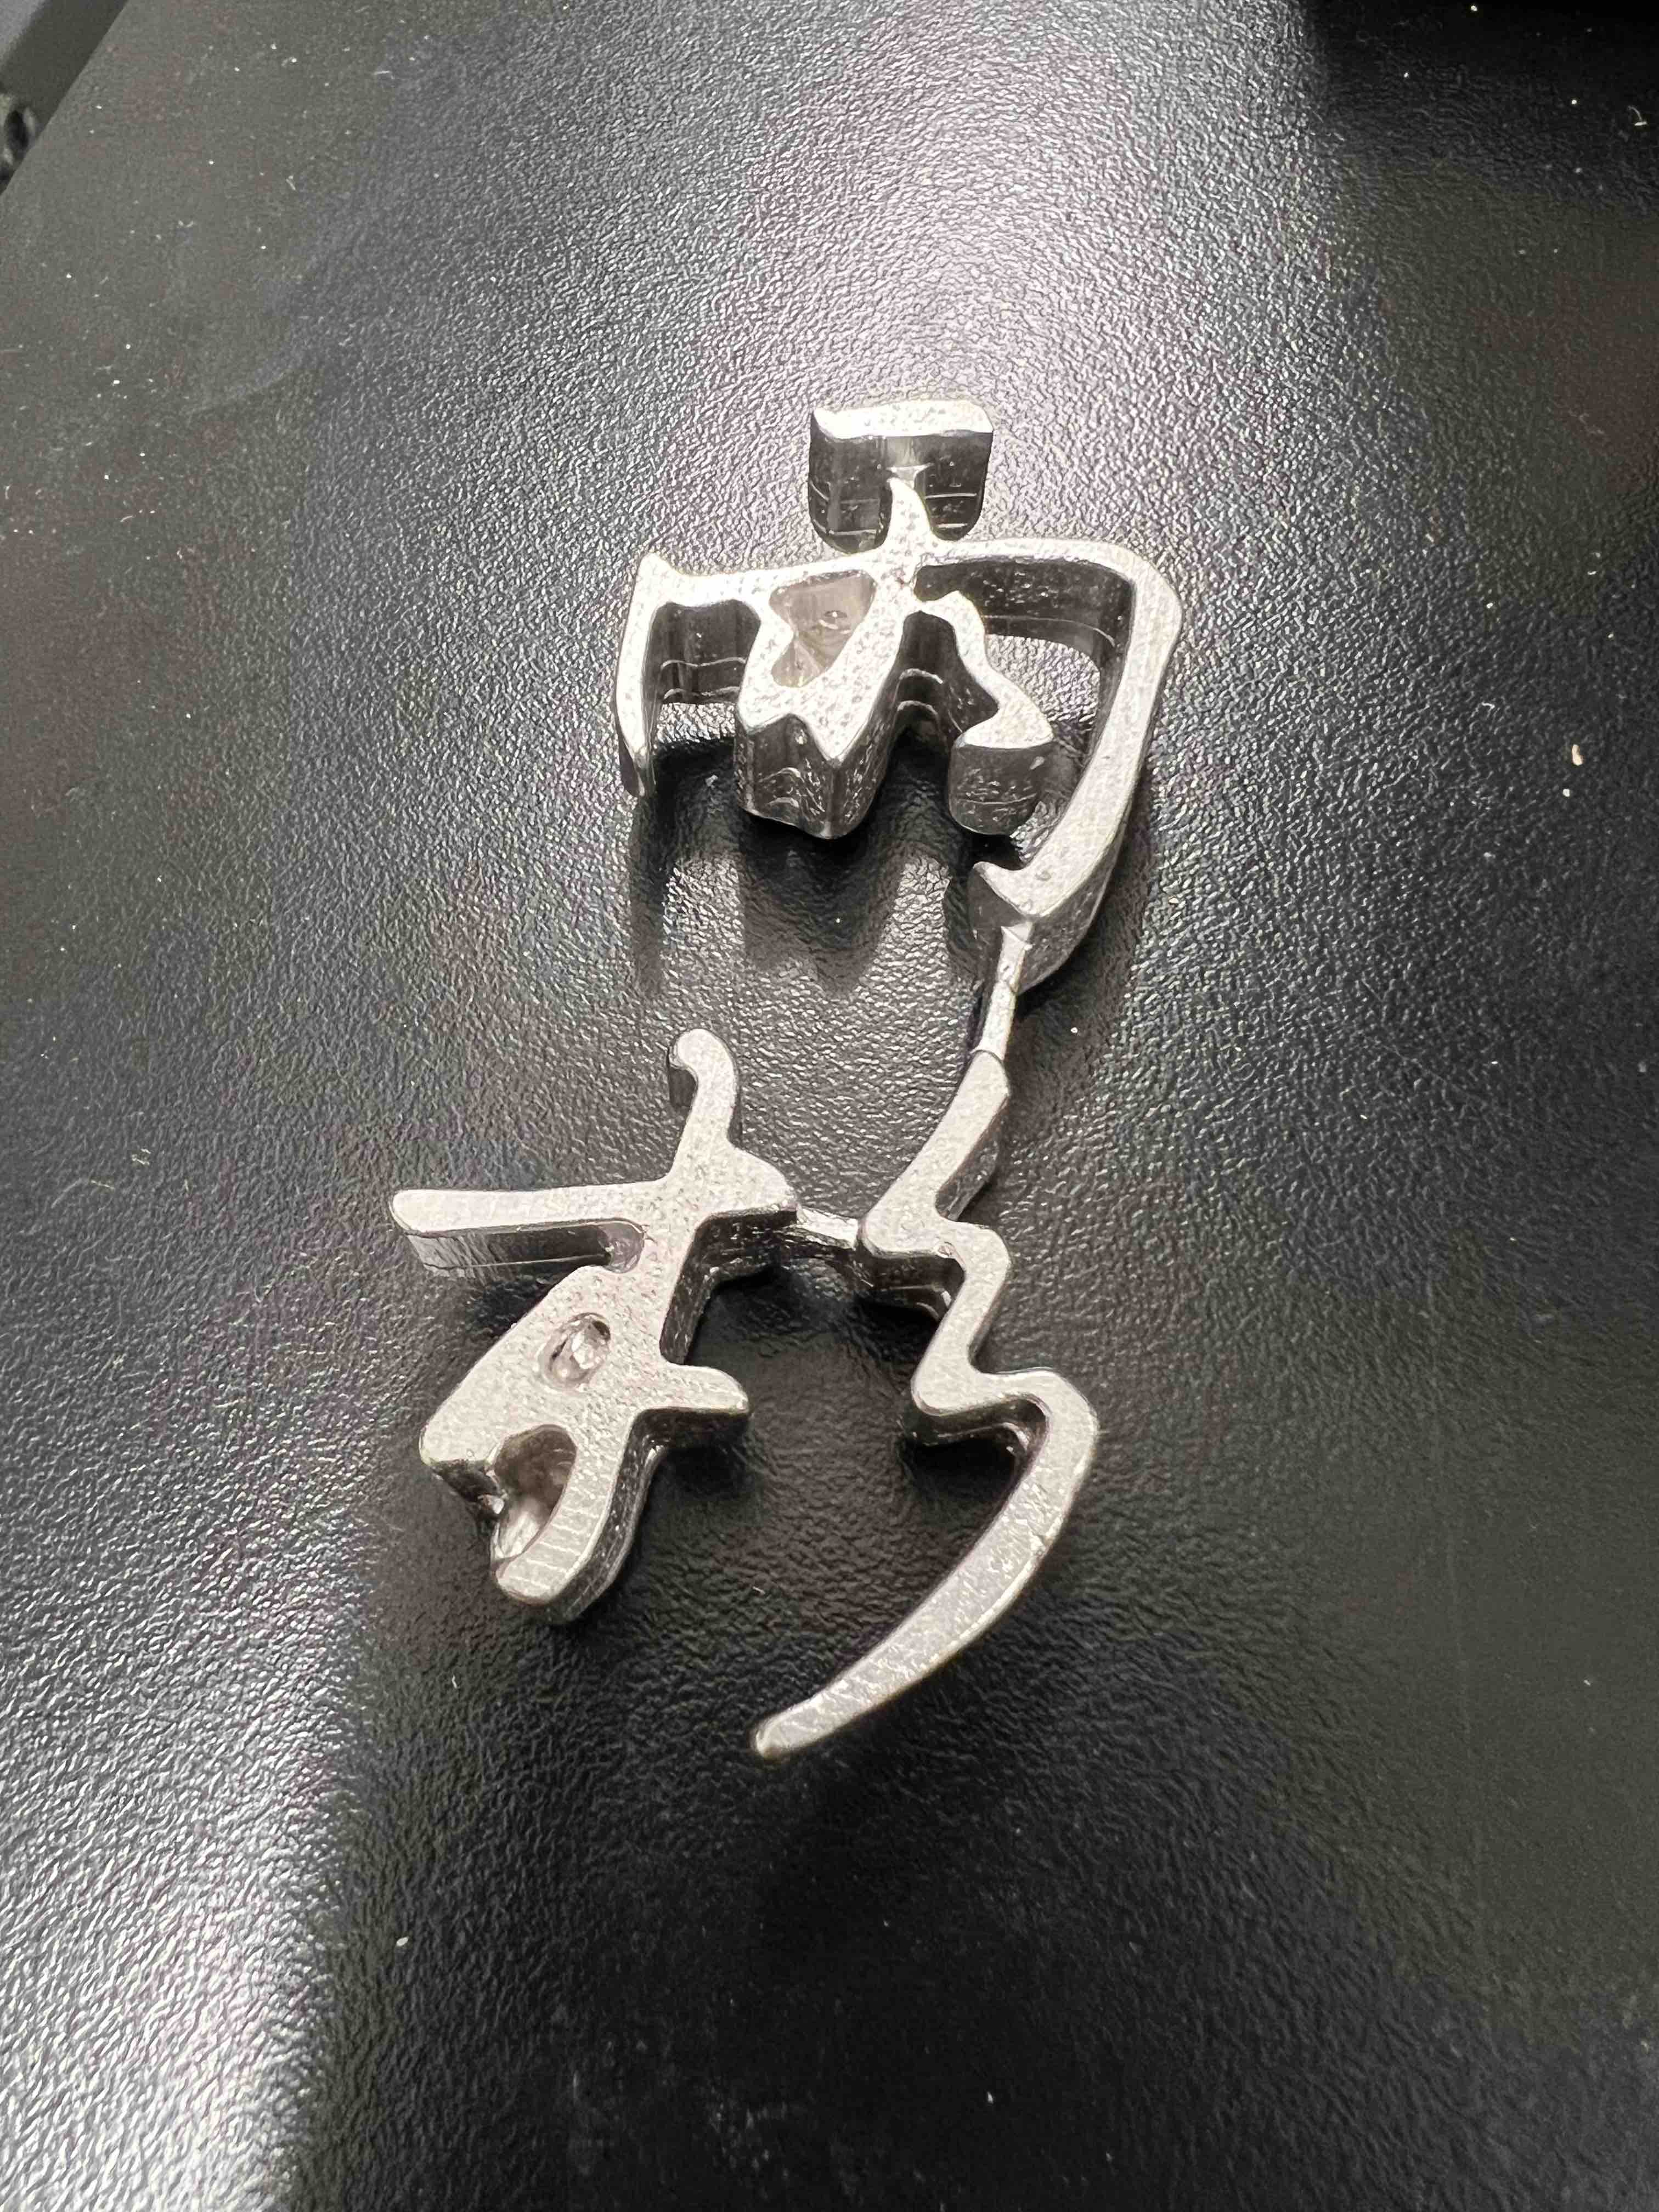
After seeing Lingdong (link) and Cathy's (link) works, I also wanted to cast using metal. So I decided to create a piece for my friend Yushan, with her name written in Chinese Calligraphy.
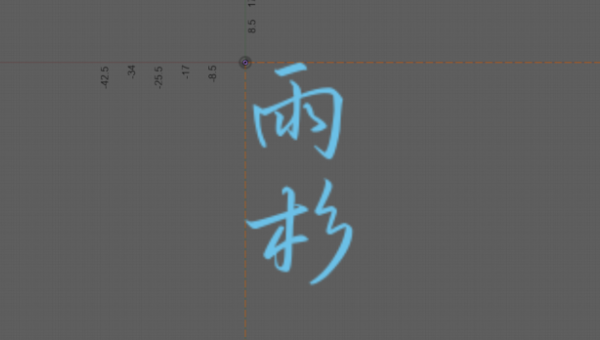
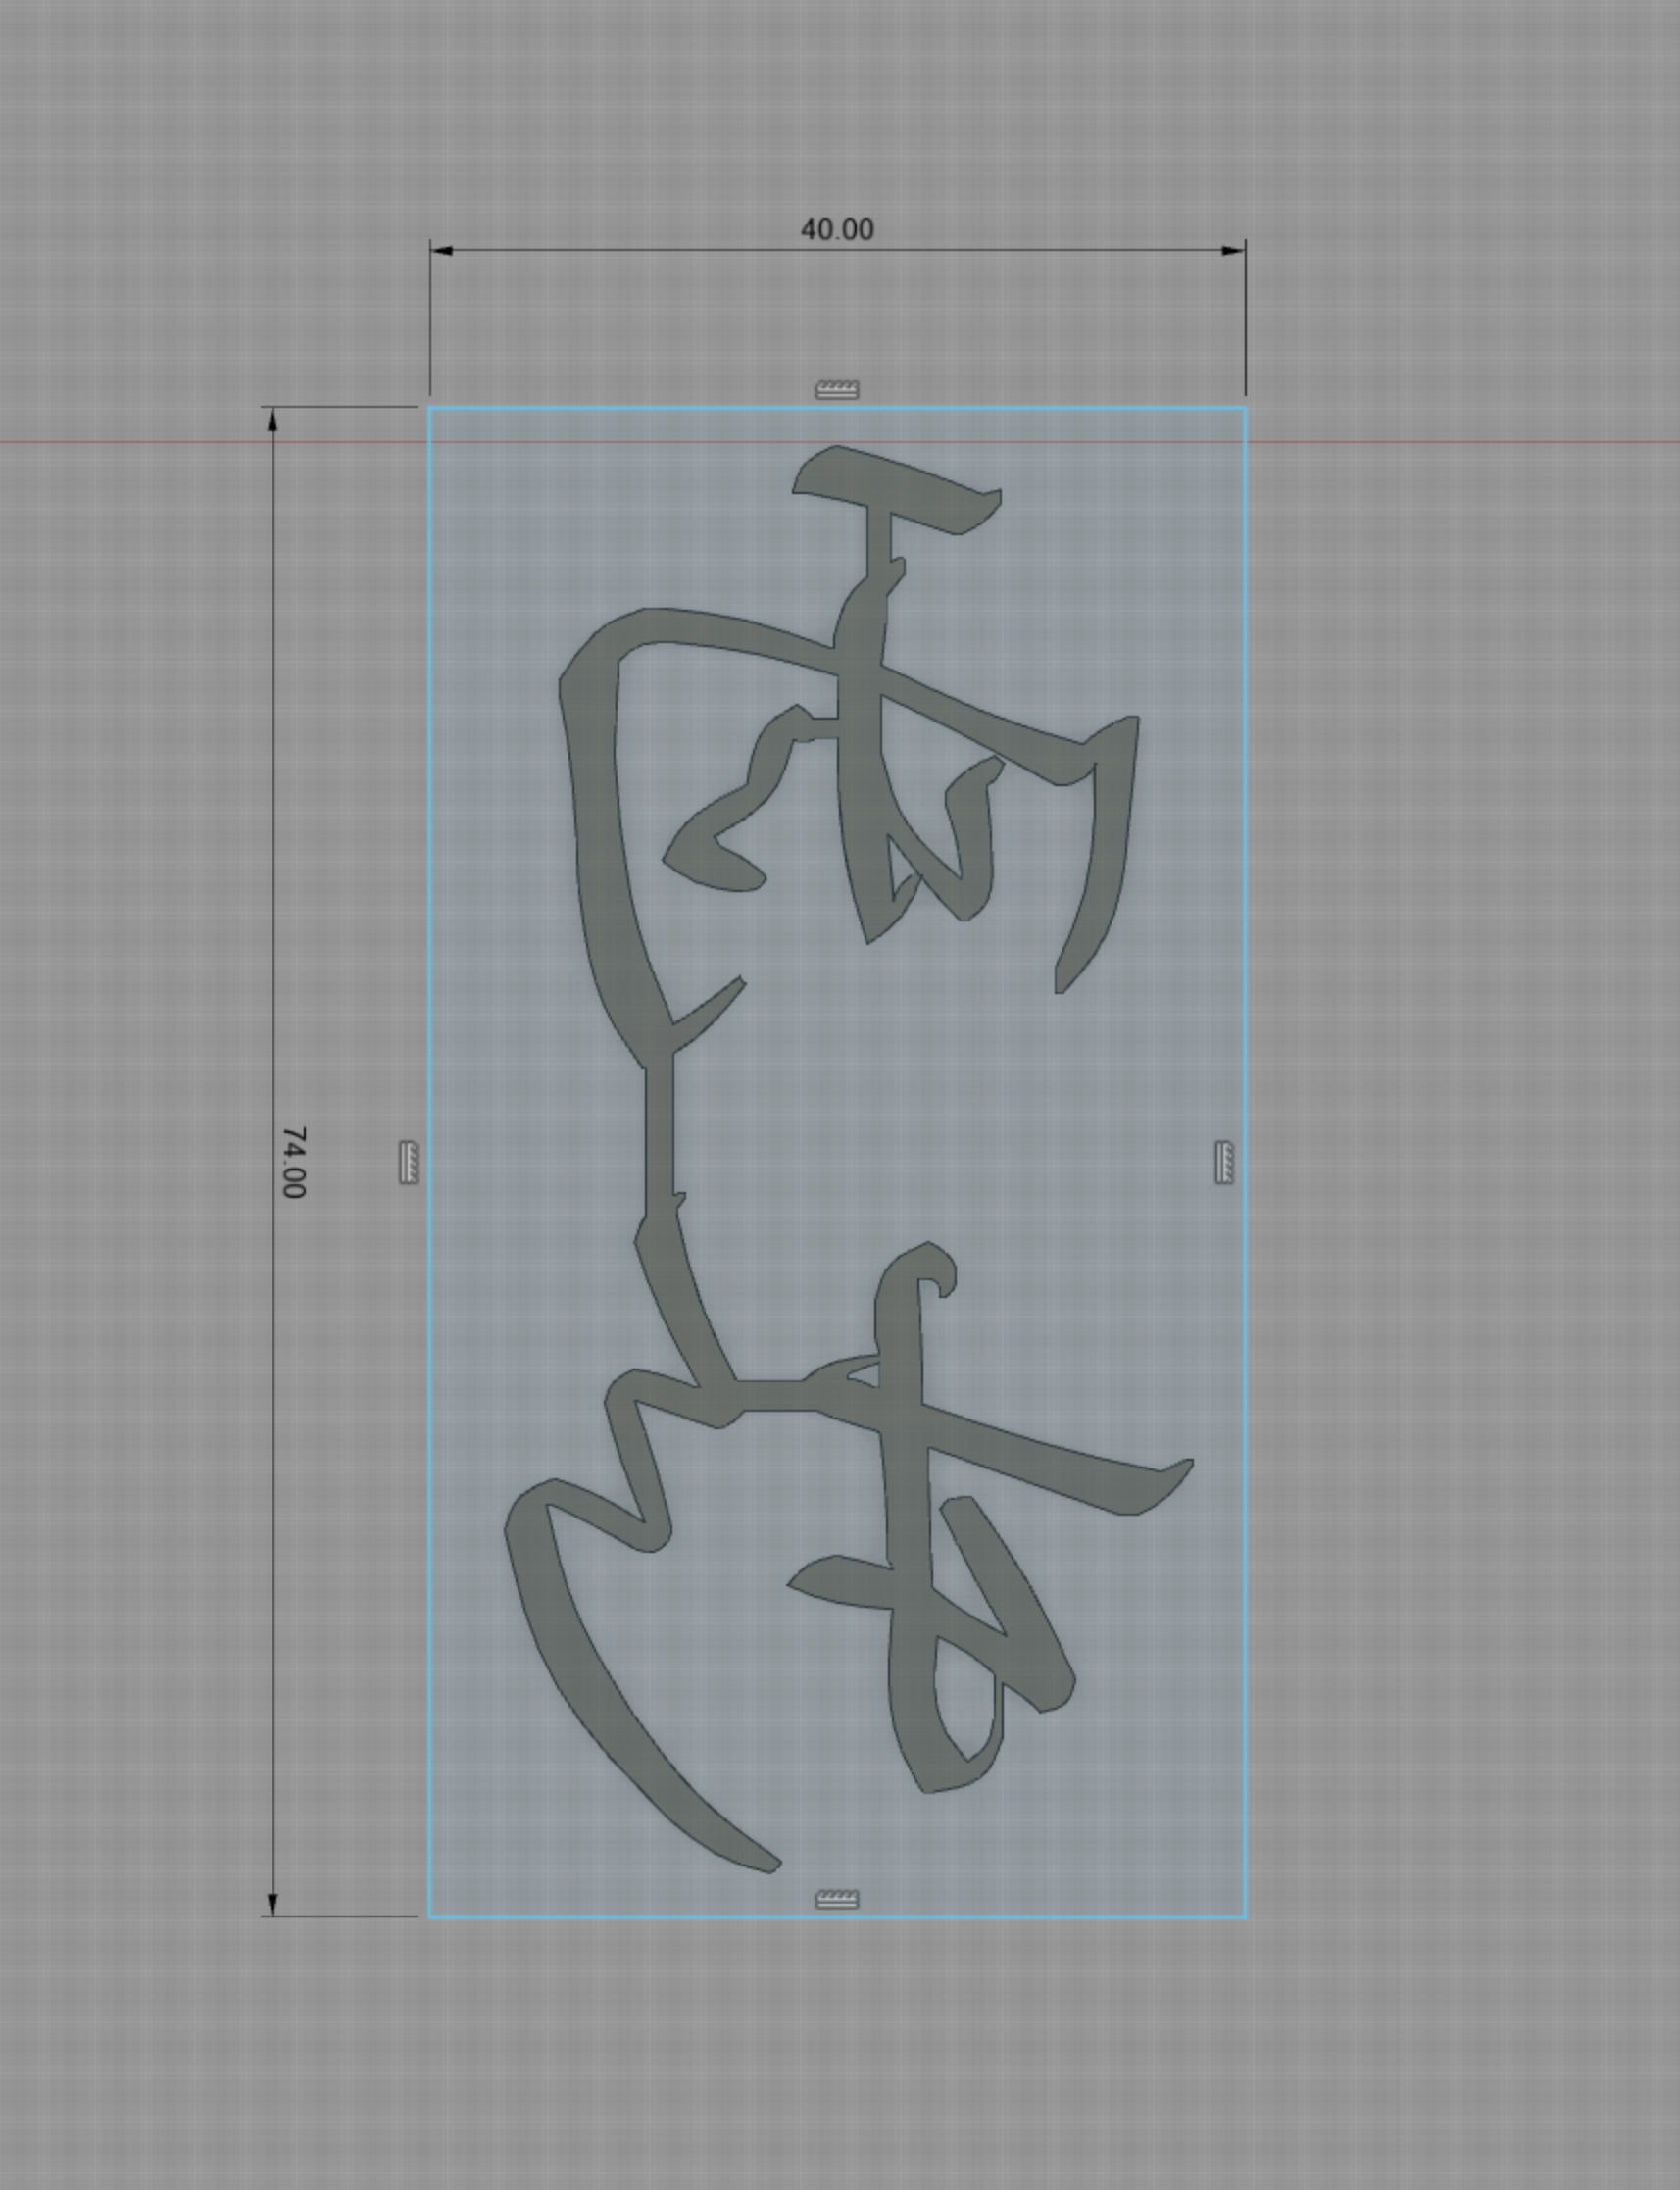
I started the process by designing the object in 2D, I imported the font into the Fusion 360 and typed the characters. I extruded the 2D font into 3D, which was 1cm thick.
At this point, I realized that some of the parts were not connected, if I cast it, they would fall apart. Therefore I drew those connecting parts with a thickness of 0.7cm.
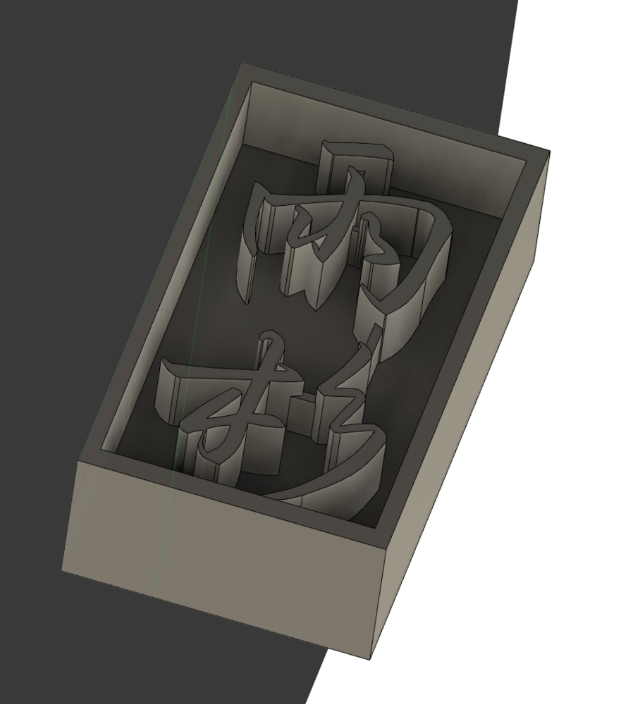
While happy about the result, I was going through the whole process in my mind, and I realized I needed a wall to hold the object, otherwise, the oomoo would not stay on top of the mold.
Milling
Pass 1 (using 1/8 drill bit)
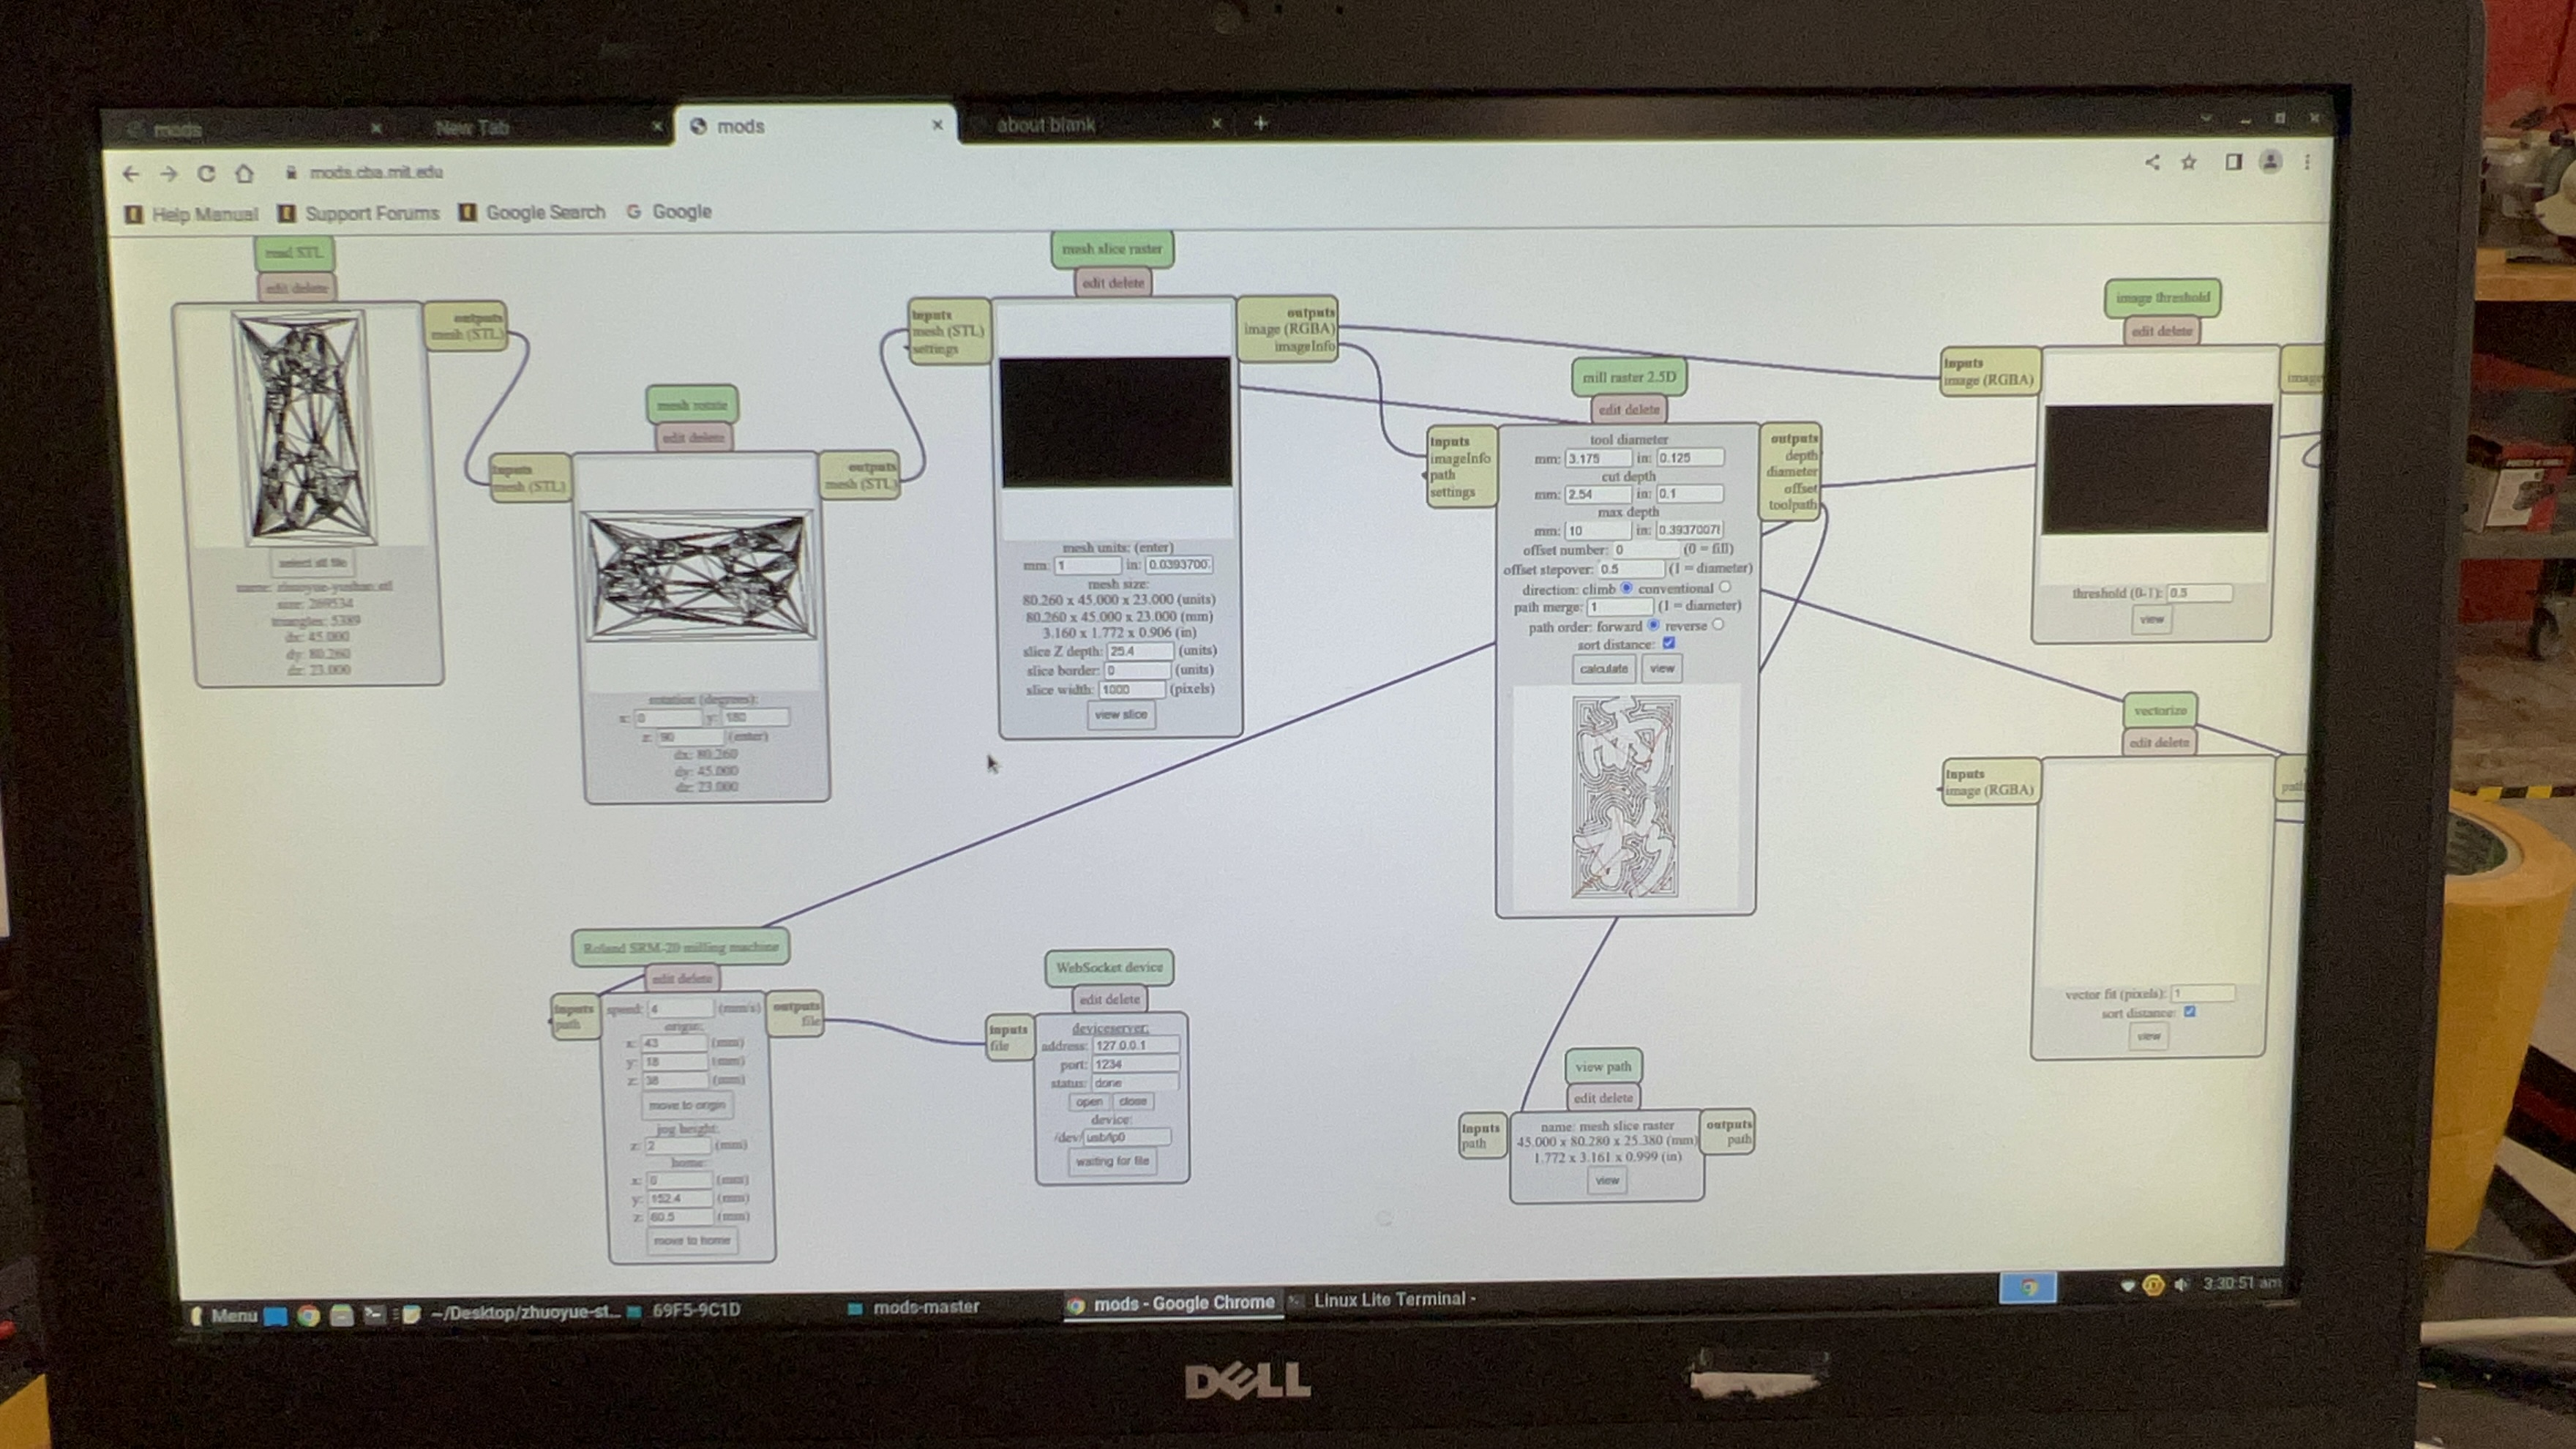
To mill the mold, you should open the mill 2.5D stl in the mods. The whole process is
similar to milling a PCB, except that you need to make sure you are looking in the correct direction
and setting the depth correctly. For me, the setting looks like this:
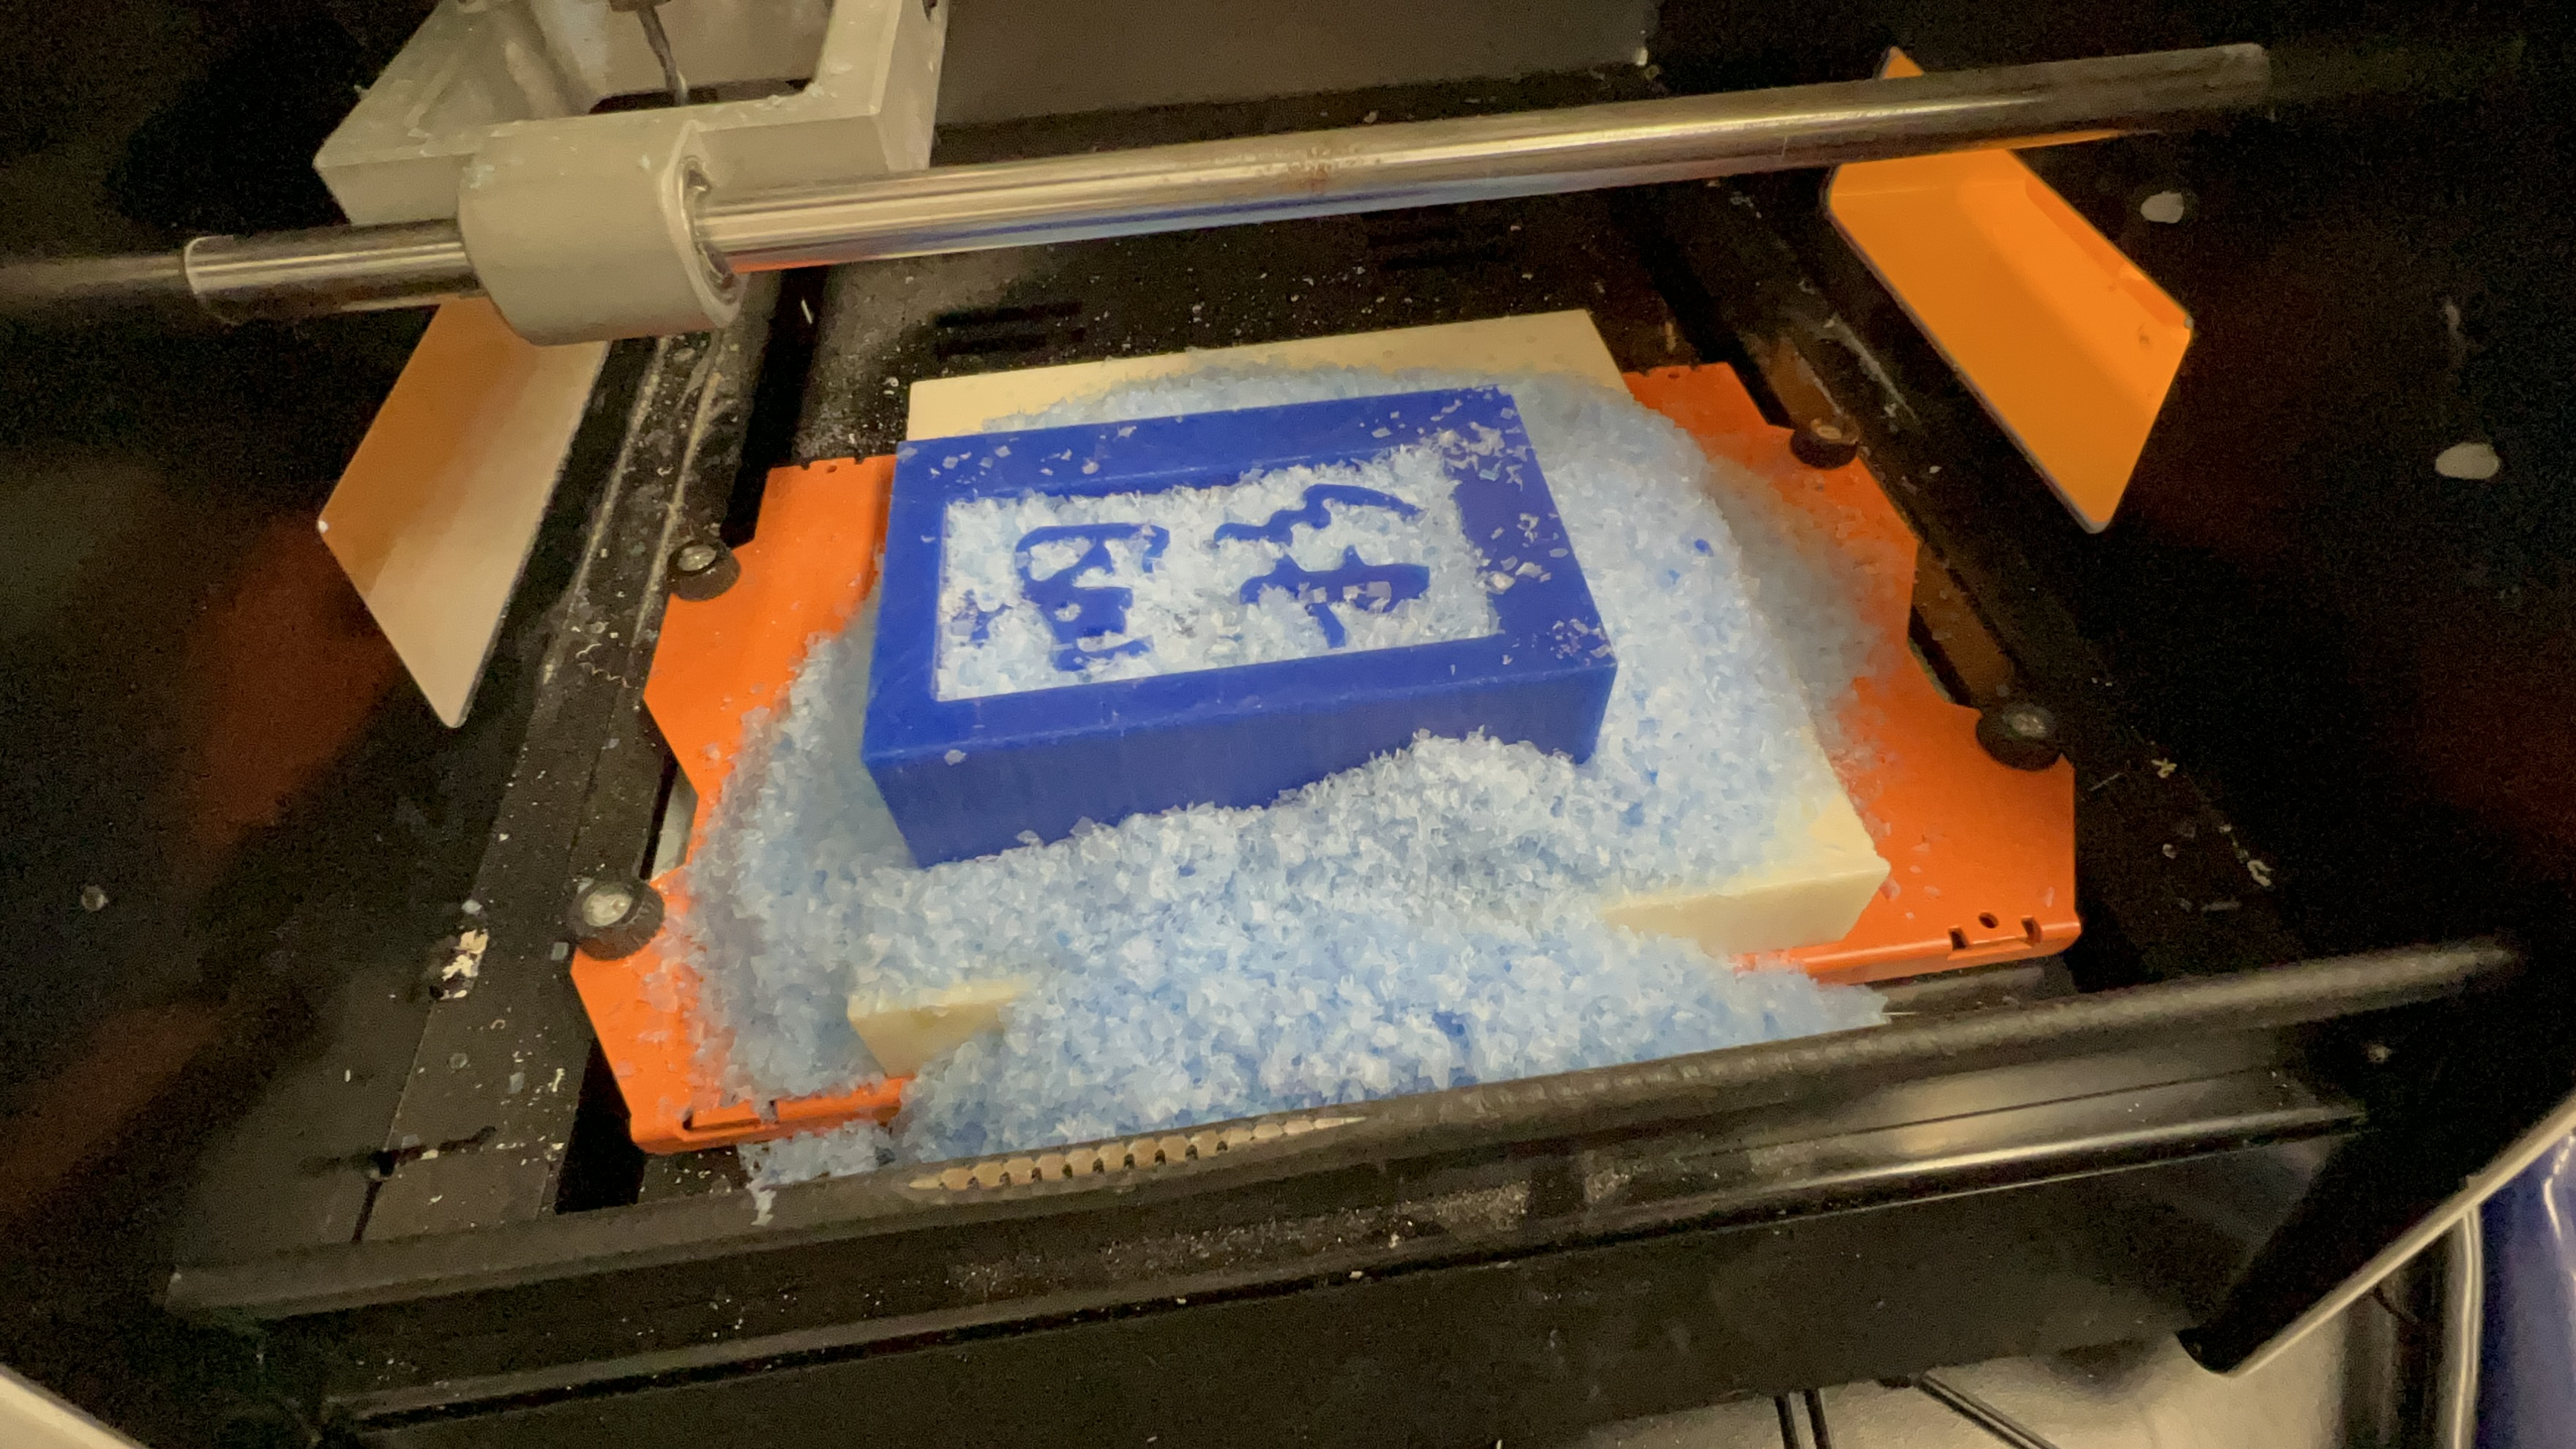
The rough pass was great
Pass 2 (using 1/32 drill bit)
guided by Claire's website (link).
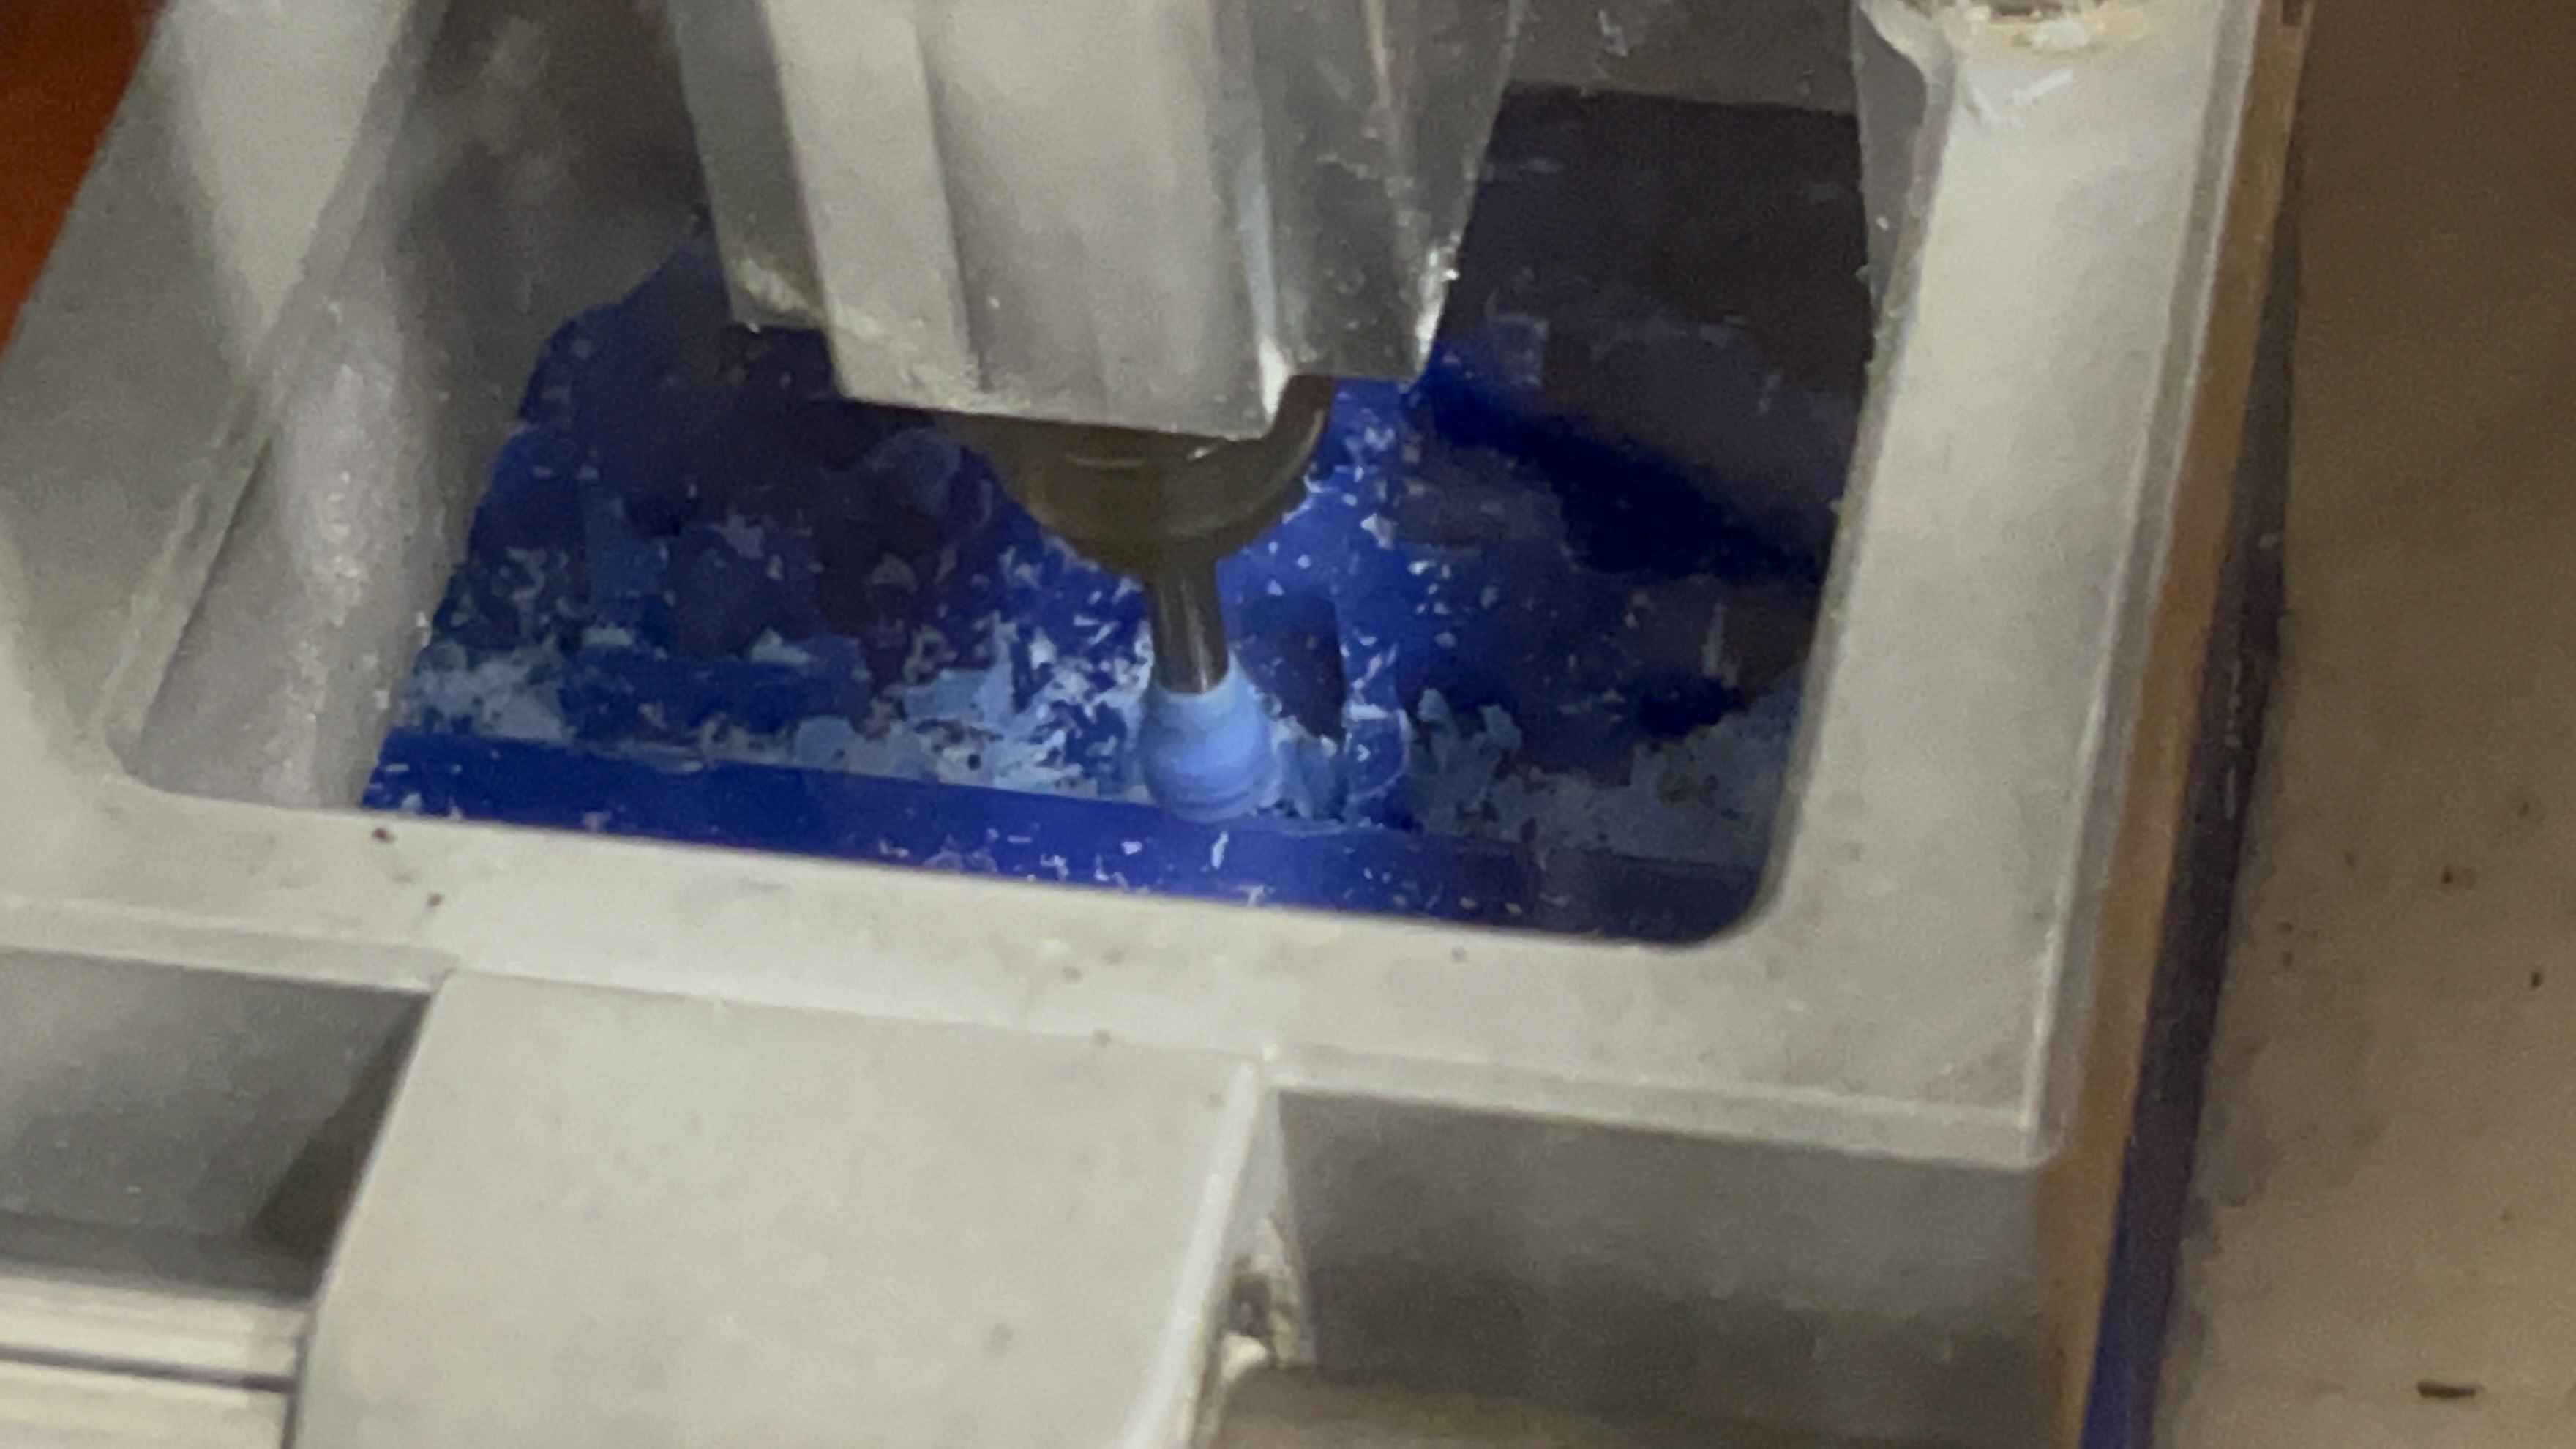
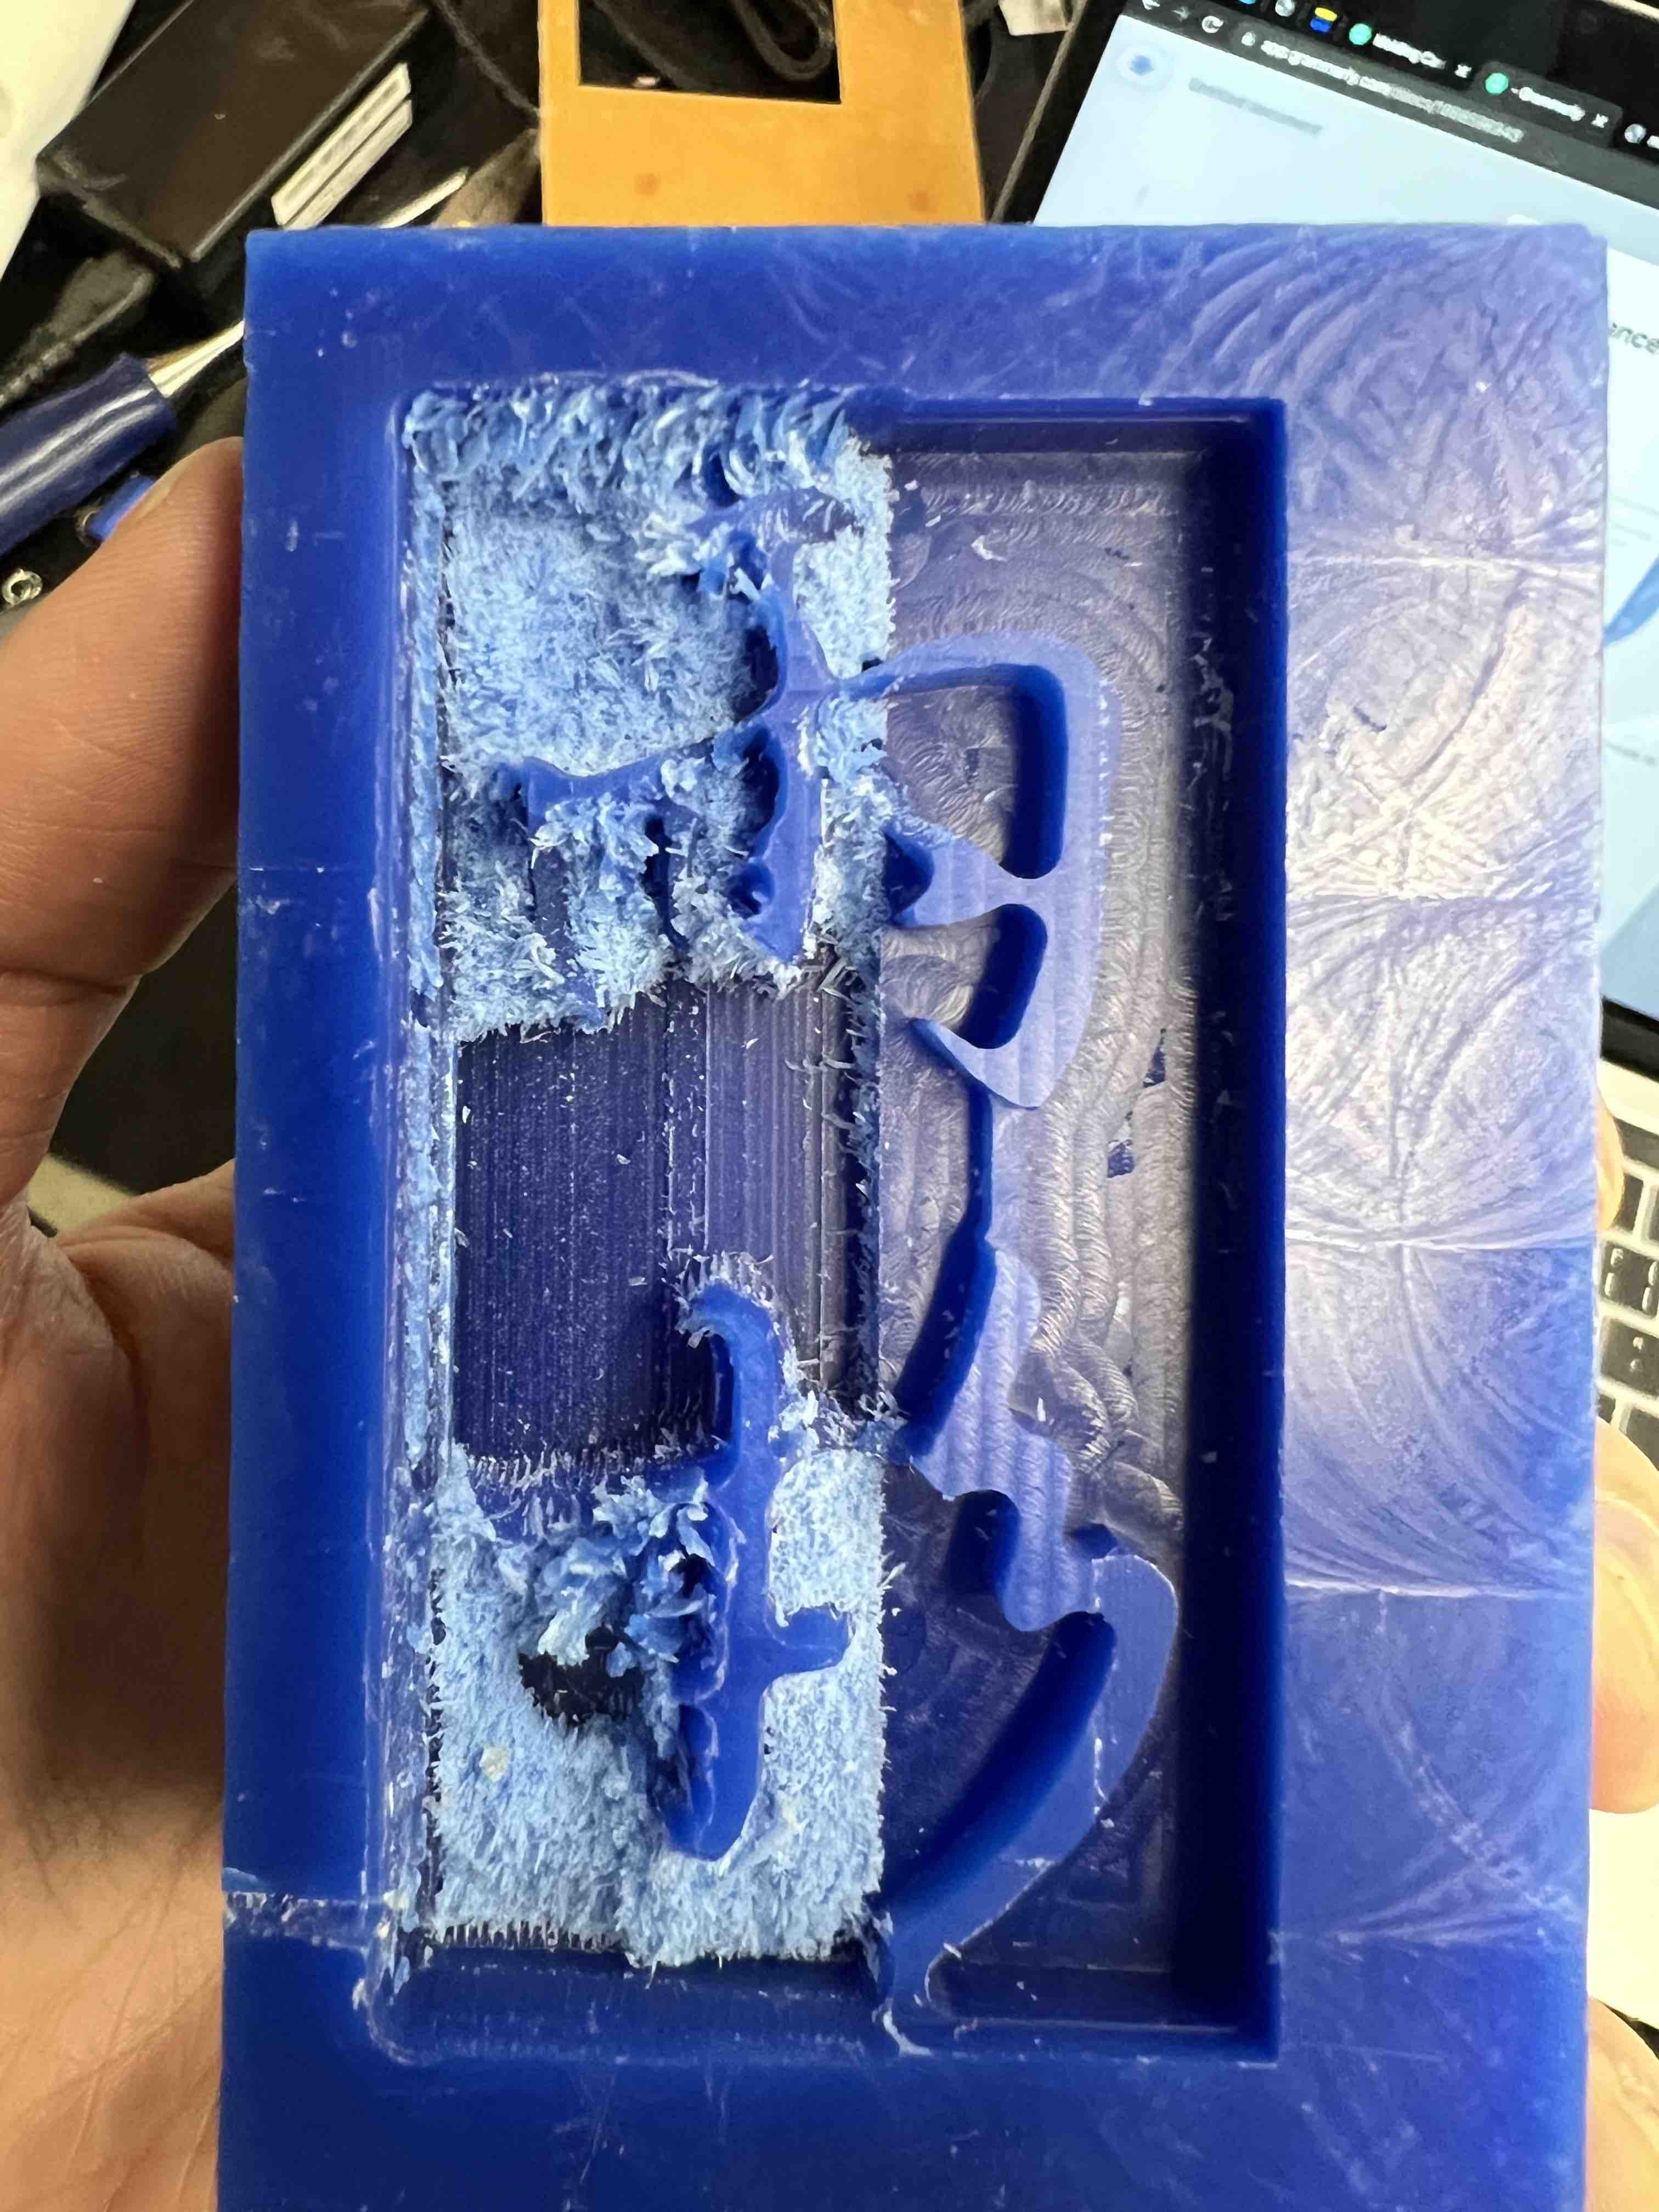
I then switched to Mill 3D, but tragedy happened:
It turns out that Mill 3D went directly to the deep part, but my design was too deep.
Therefore the top part of the drill bit hit the walls & the strokes, therefore destroying
everything.
Pass 3 (using 1/16 drill bit)
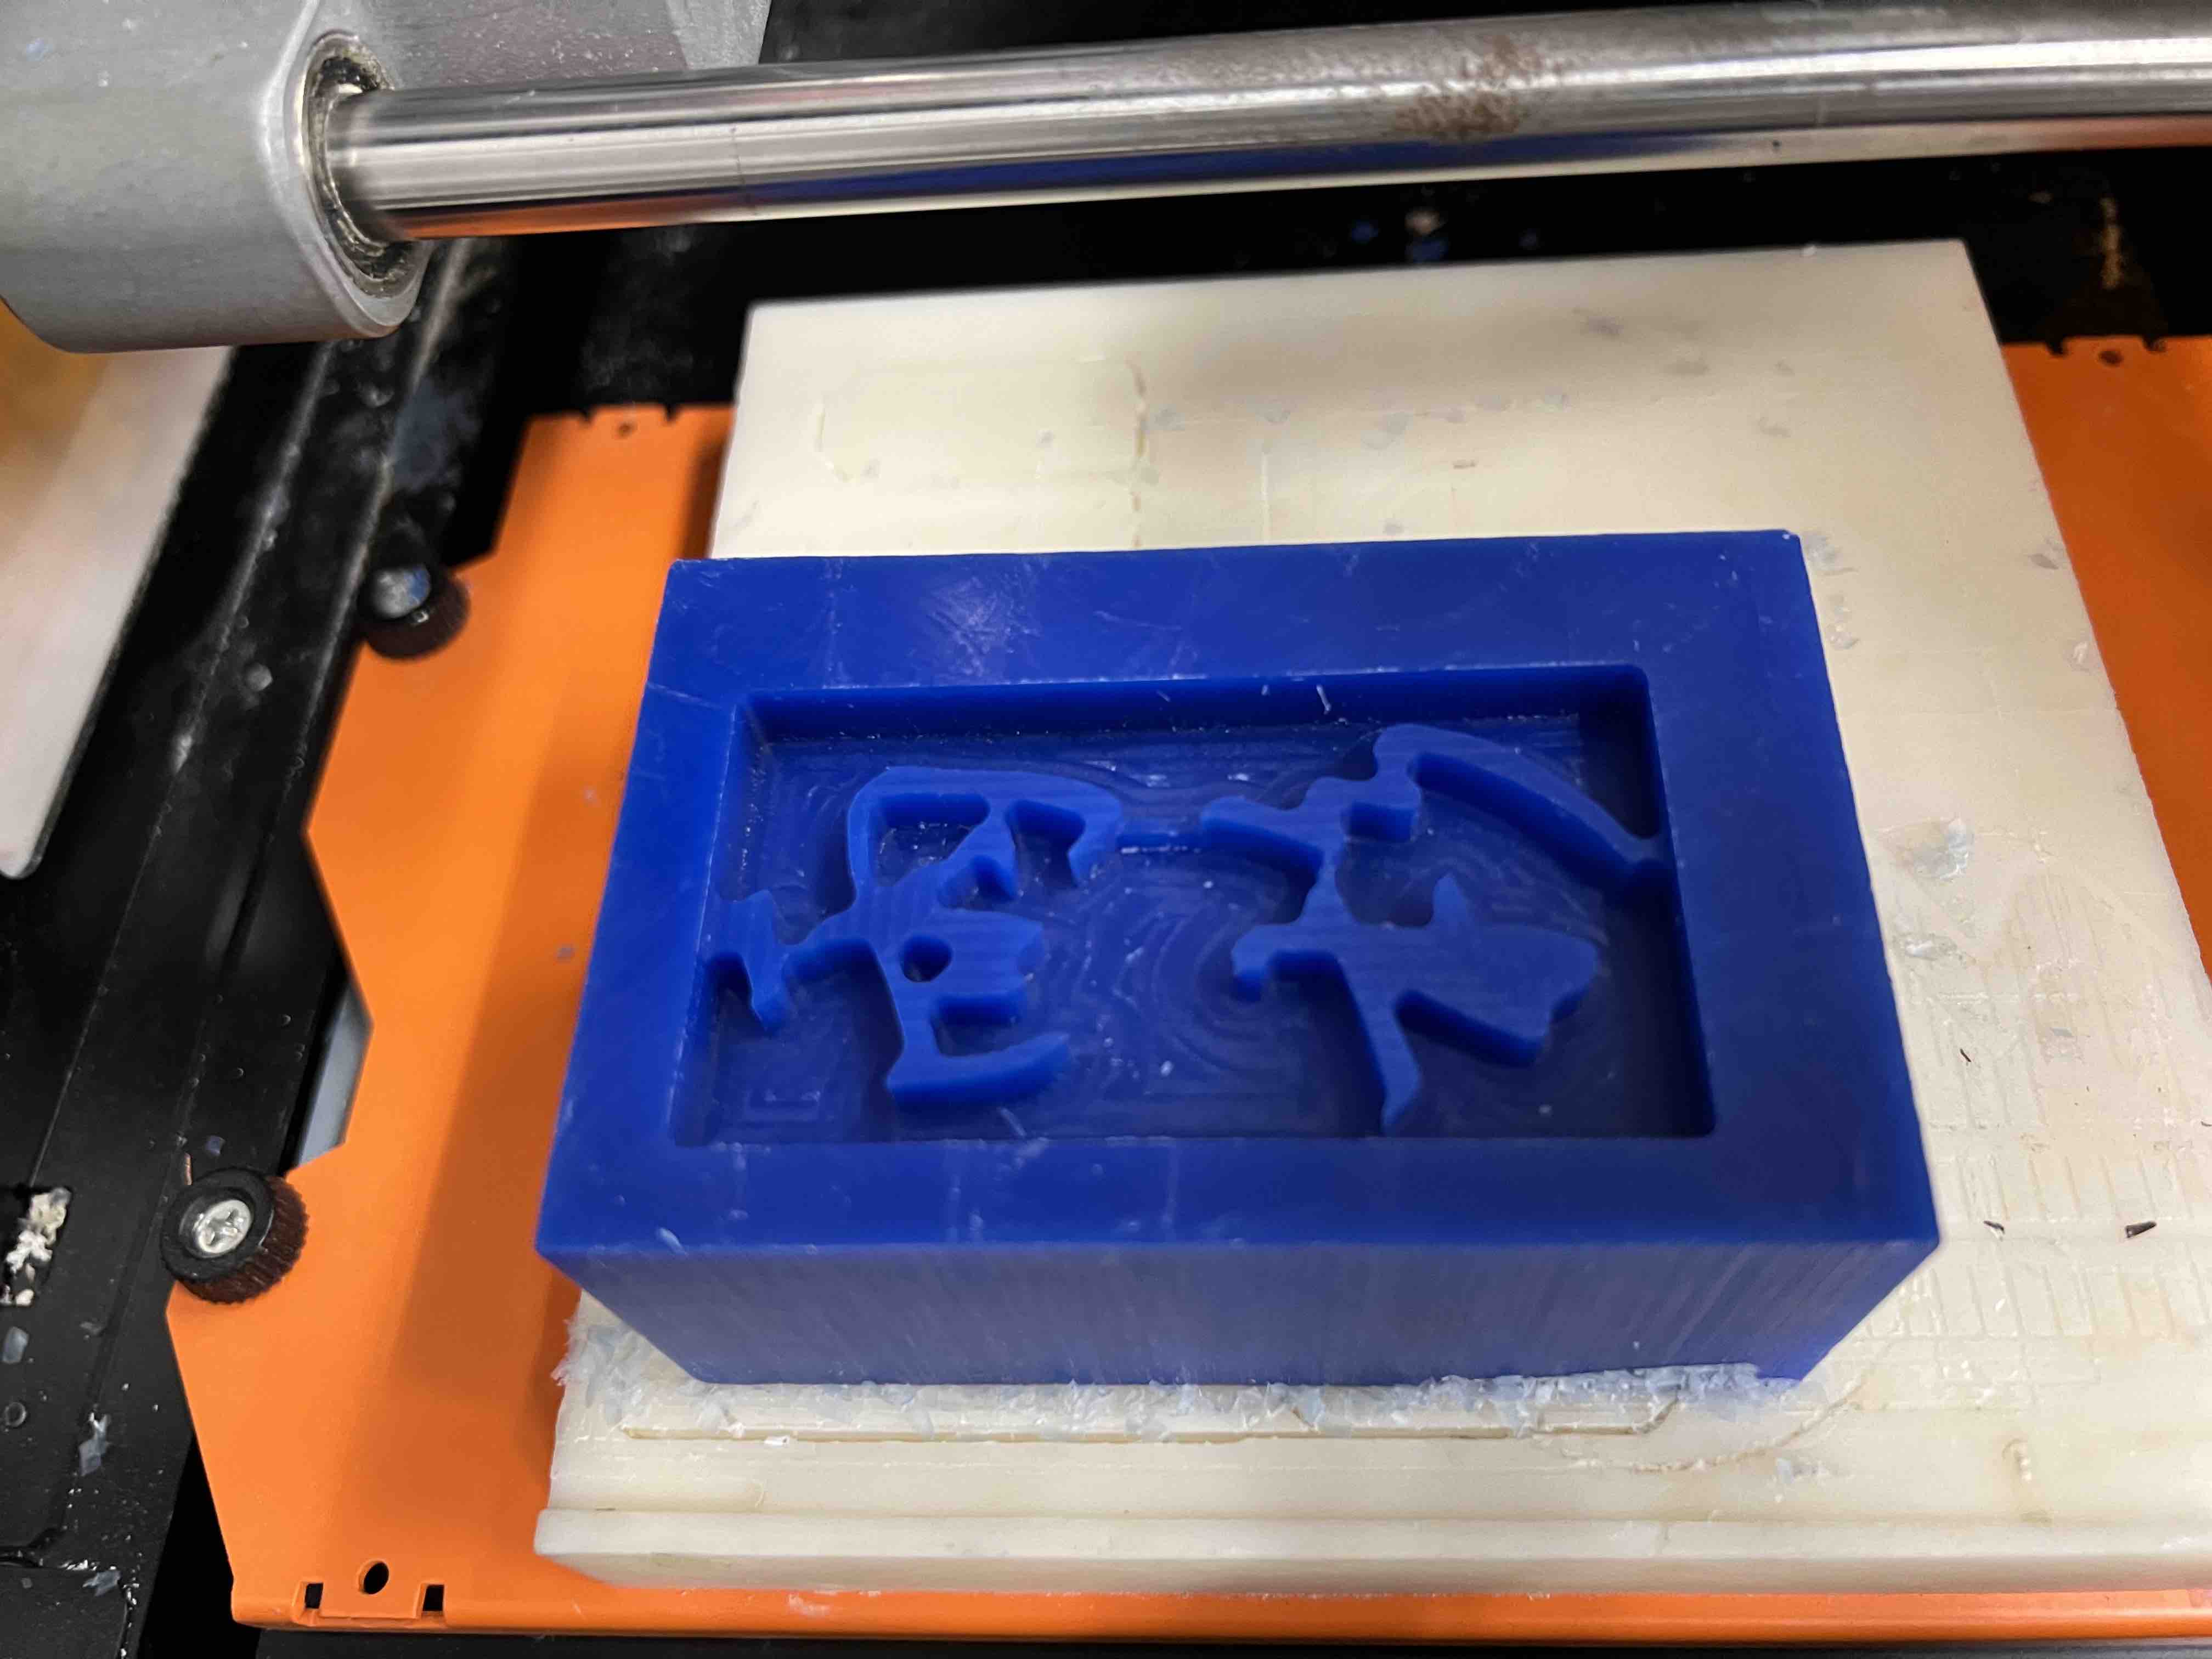
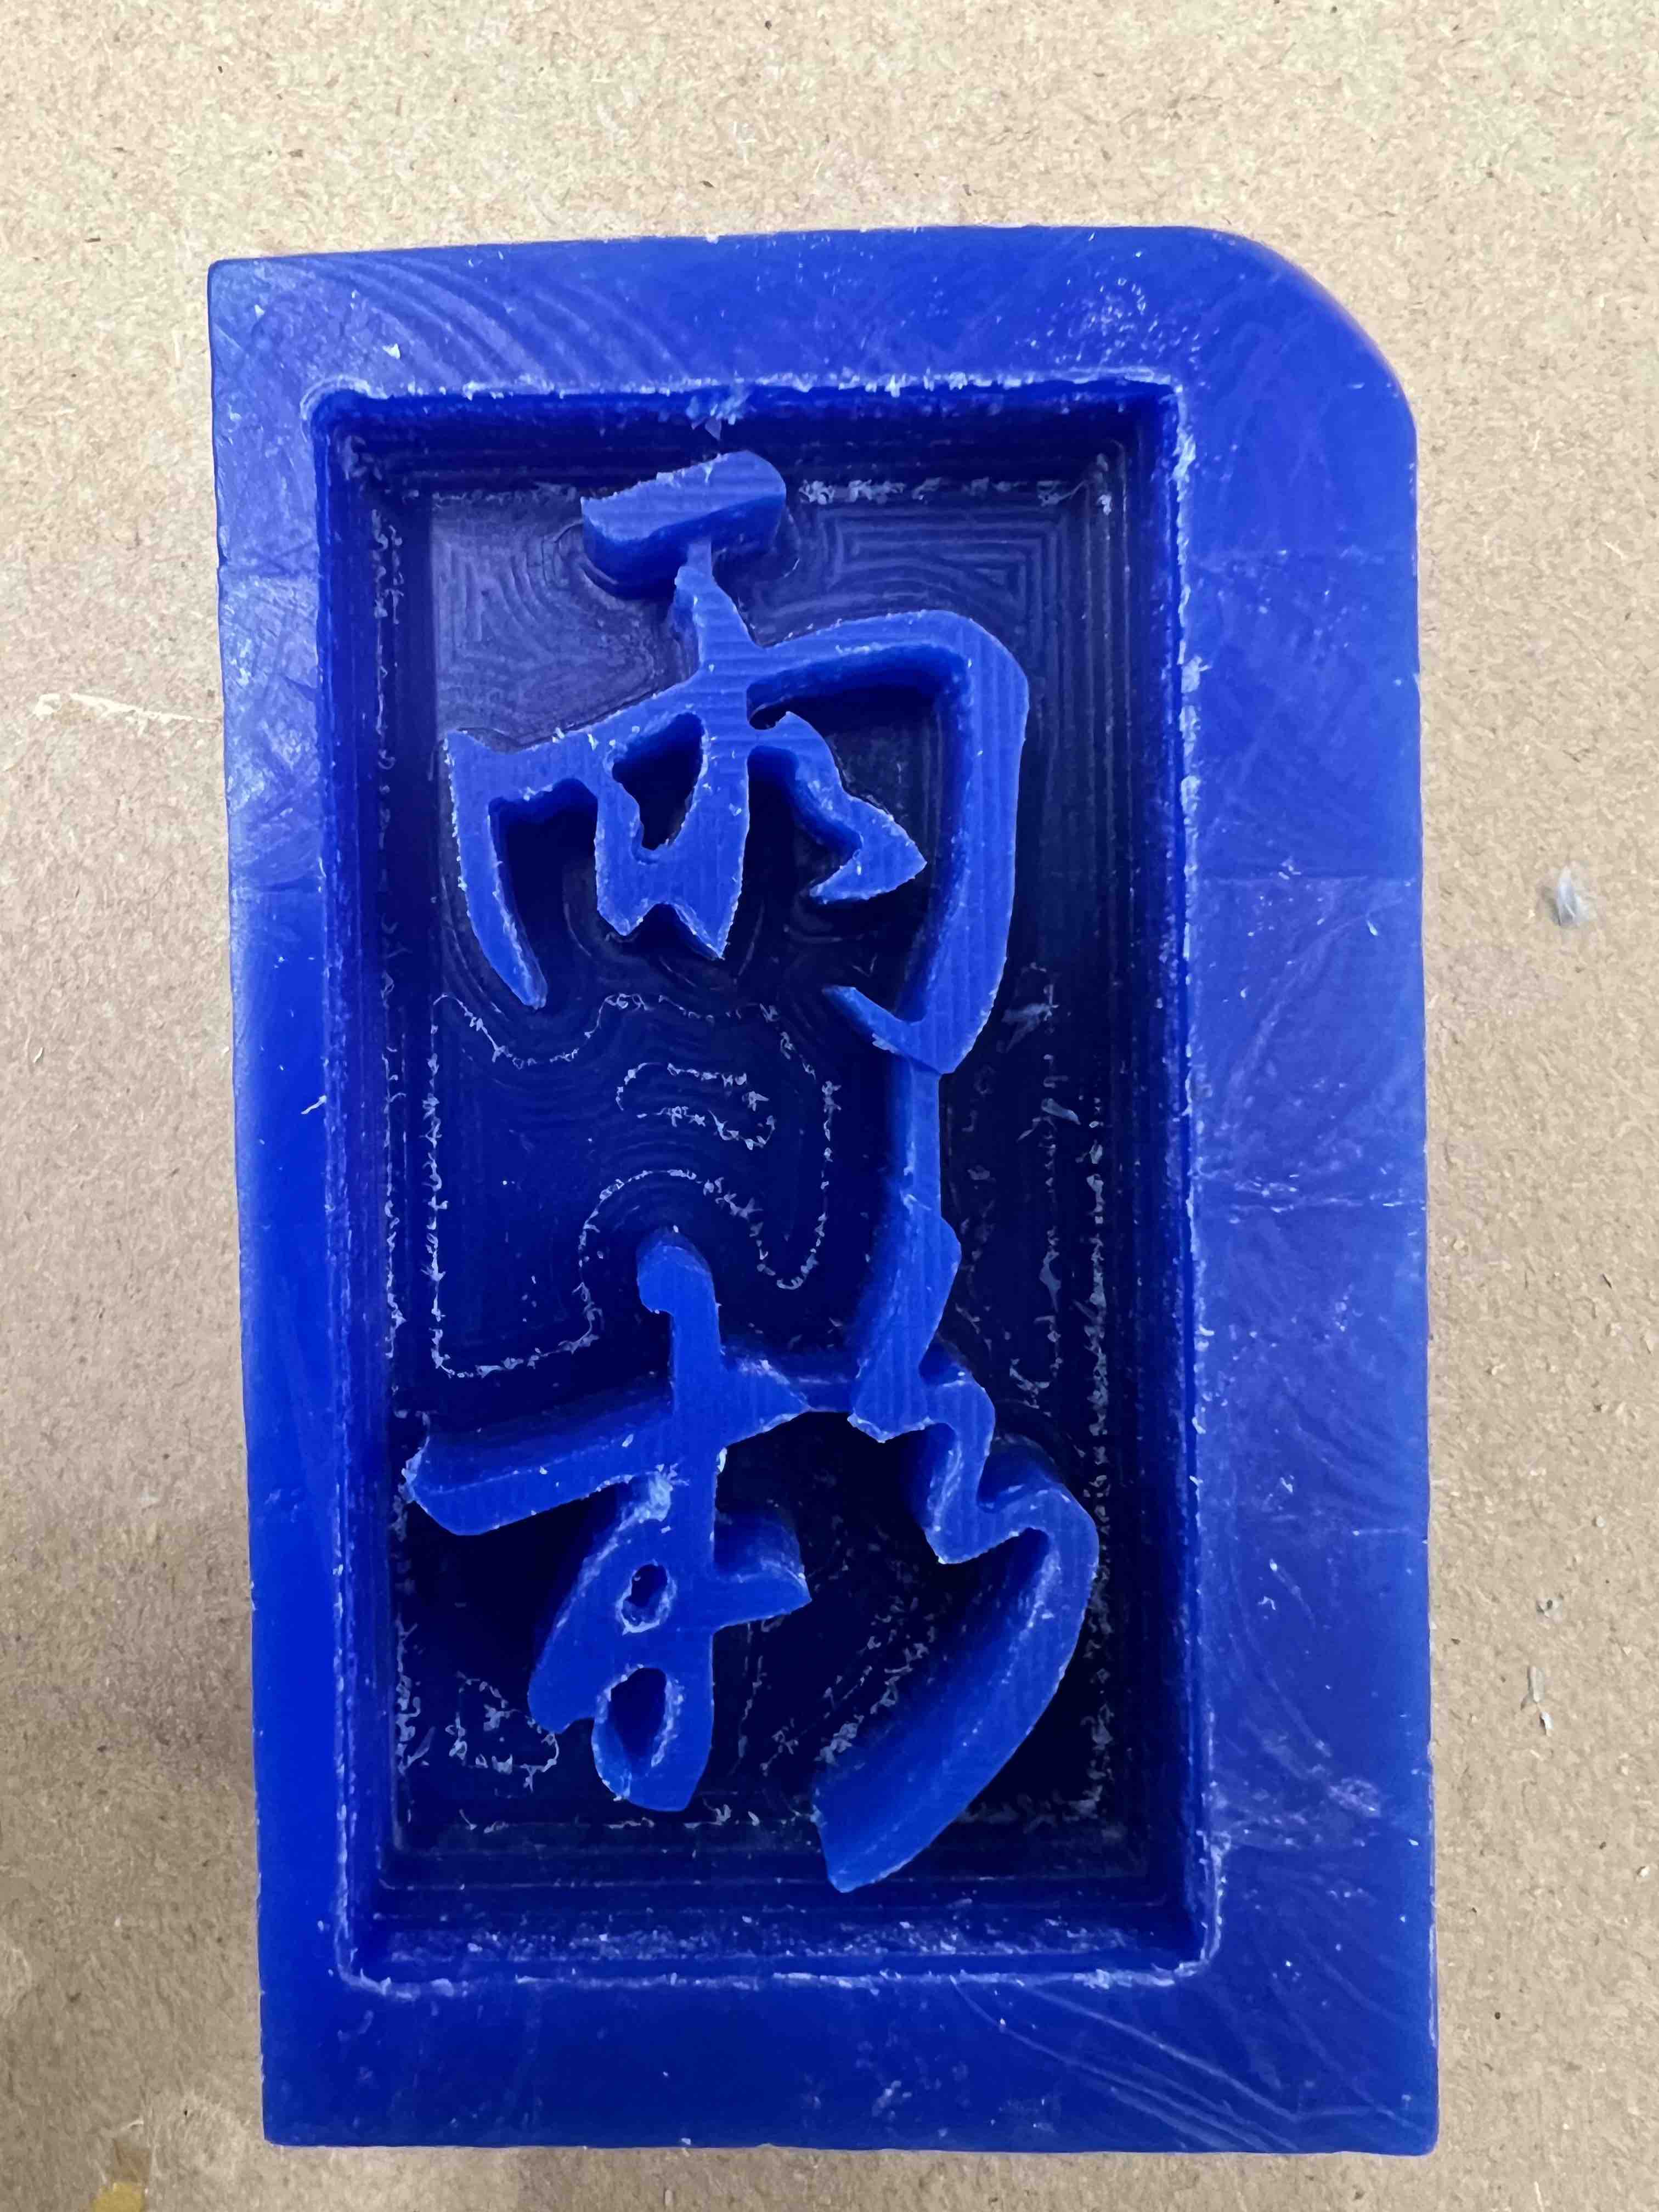
Feeling bad, I got a new wax and directly used 2.5D on 1/16 bit. I noticed in Pass 1 the end result
was actually shallower than my design, I guess it's because of the 2.54mm offset thing, so this
time I increased the depth setting to 13mm. It still took about 2 hours, and it looks
great! There are still some parts that have been "eaten" by the drill bit because the bit
hit the wall & my design, but it's not too bad.
Molding
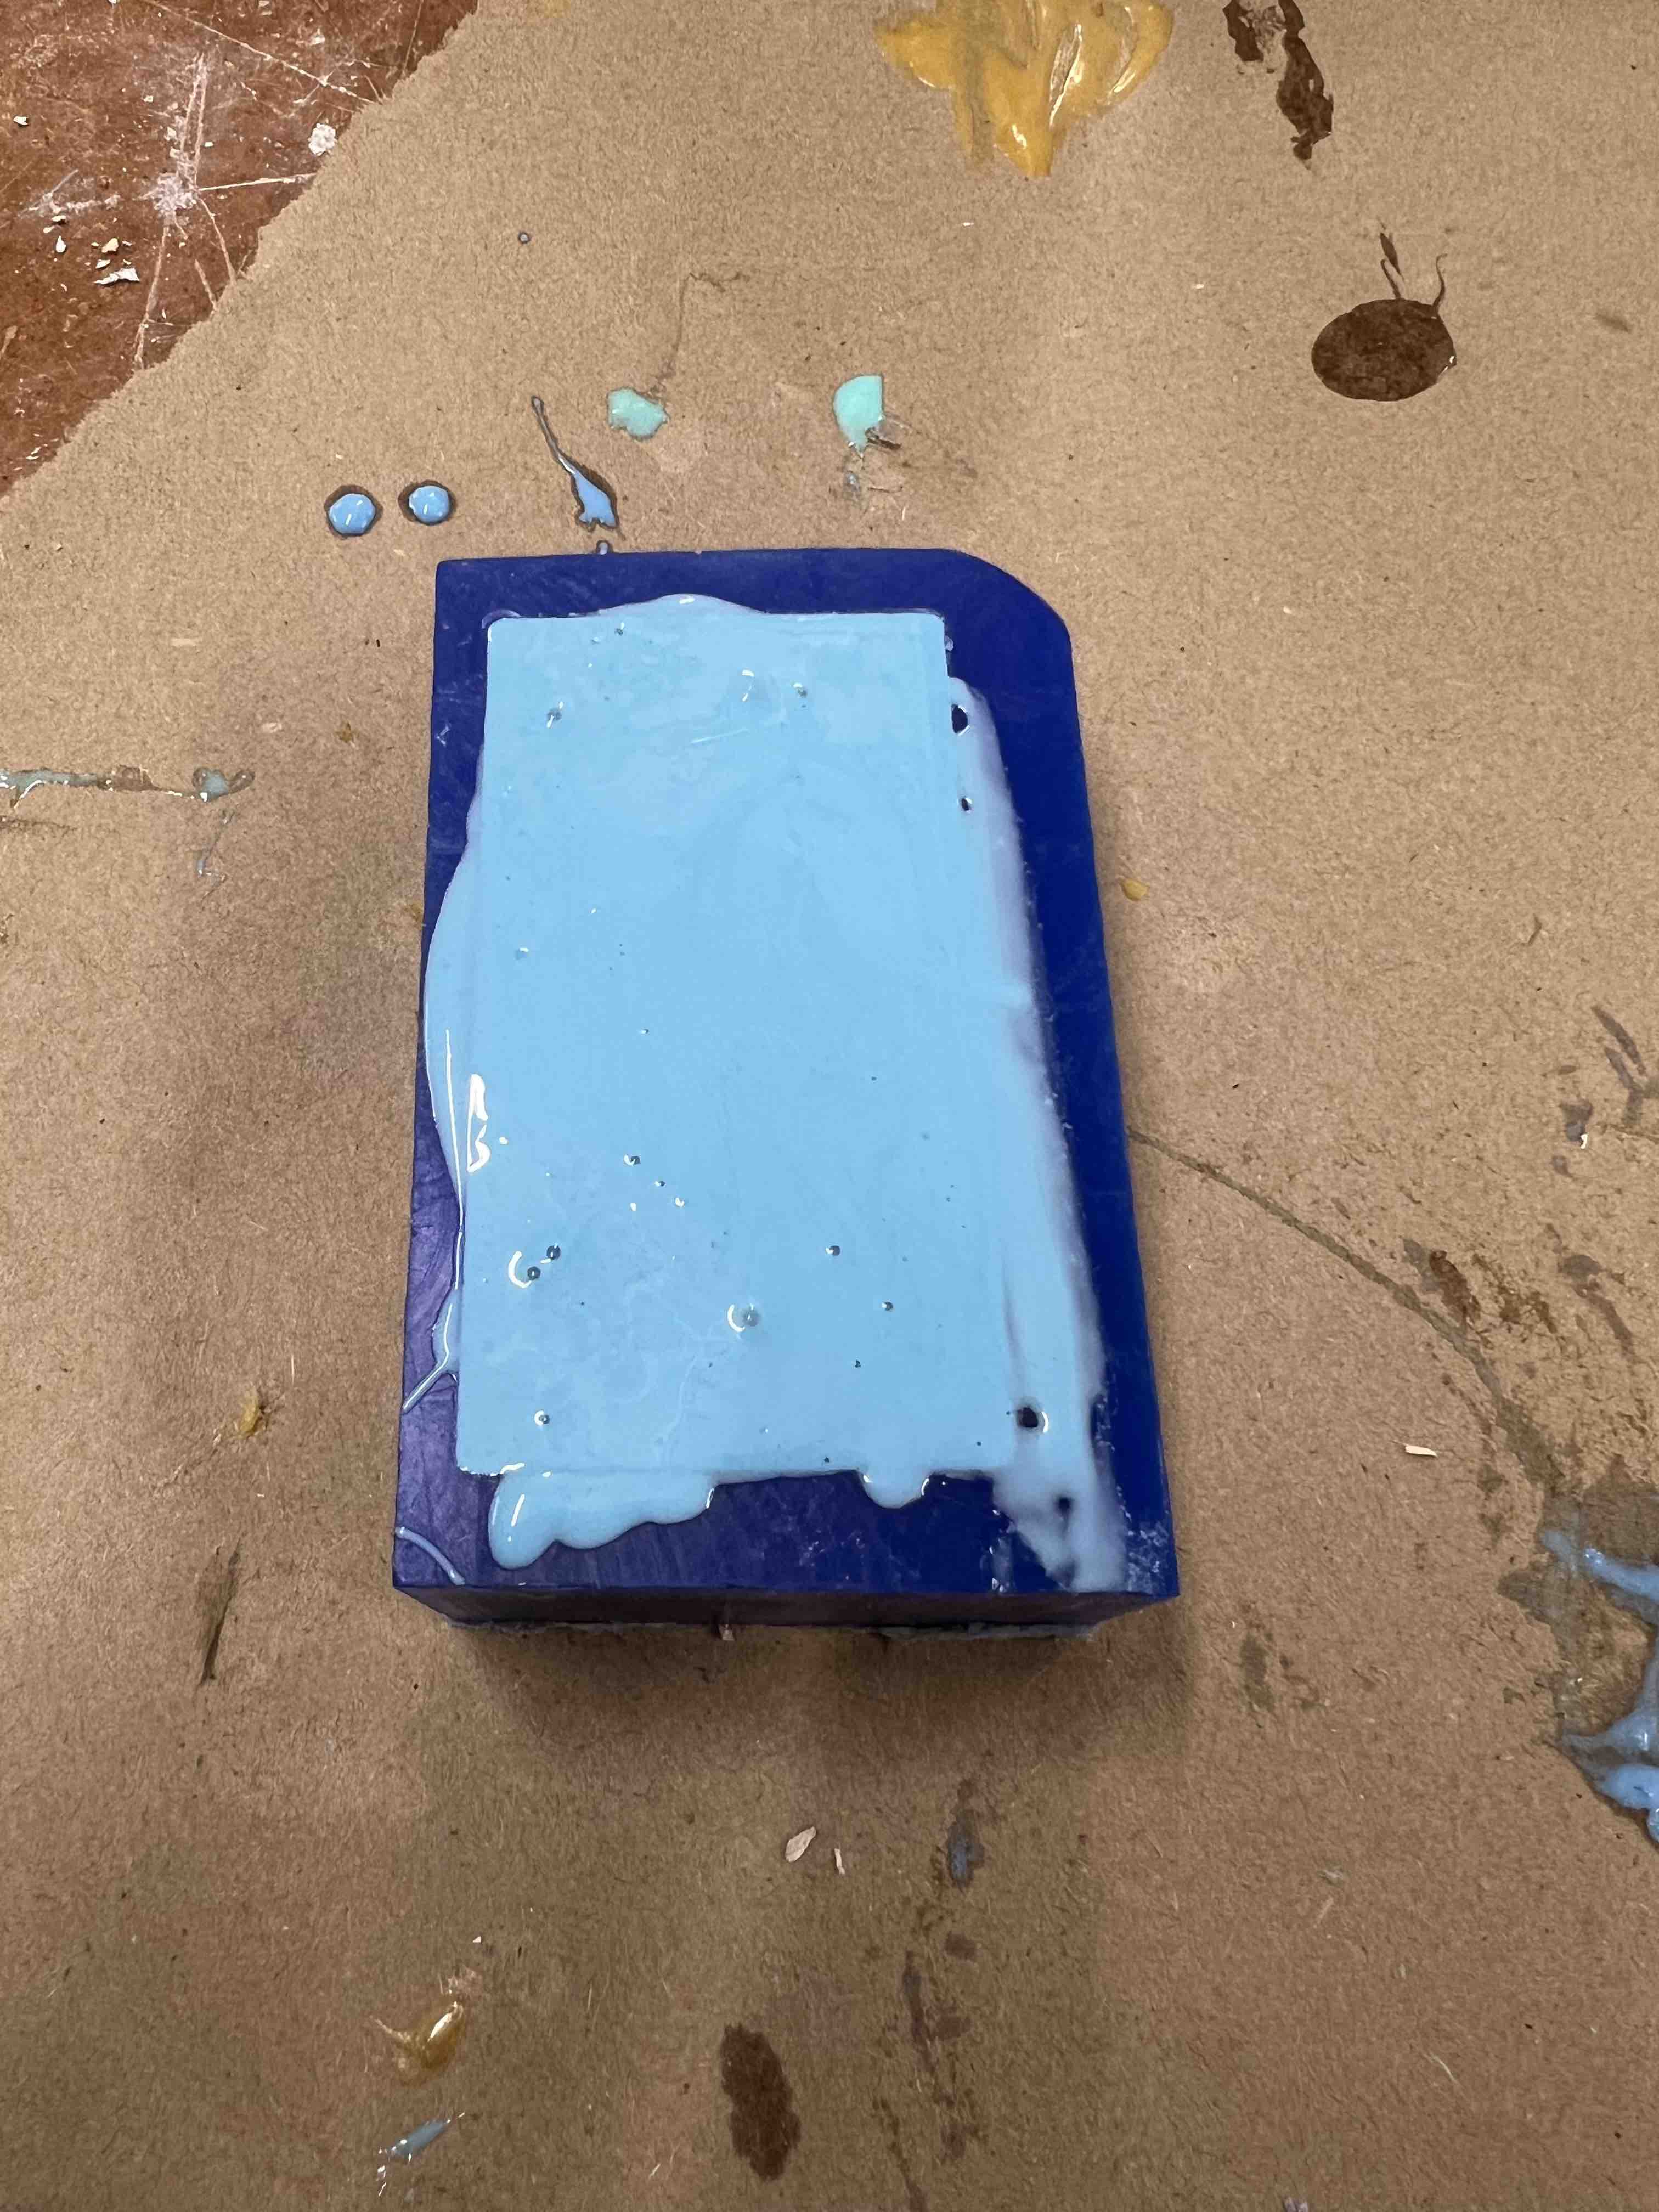
I followed the instruction on the oomoo (funny name) to mix the two 1:1 by volume. I didn't know how much I needed, so I ended up wasting a bit.
I noticed the mold was not very clean so I washed it a bit and blew it with air can, it was a BAD idea! I blew away one of the part!
Life needs to continue, I poured the oomoo and waited for 3-4 hours (it doesn't need that long, but I was just doing some other stuff while waiting), And the mold looked very good!

Casting
This is the part that I was most worried about because we were talking about metal that is 450 degrees!
Jessica said we should use the "convention bake", and Claire's Tutorial indicates that the temperature is 450. Although the timer was set to 10 mins, Jessica said it wouldn't take that long to heat up the metal.
Okay, so the first time, when the oven started beeping, I did what Jessica said and took it out. I noticed the leftover parts from the previous person were already melted, but the big chunk of metal that Nathan gave me was still there.
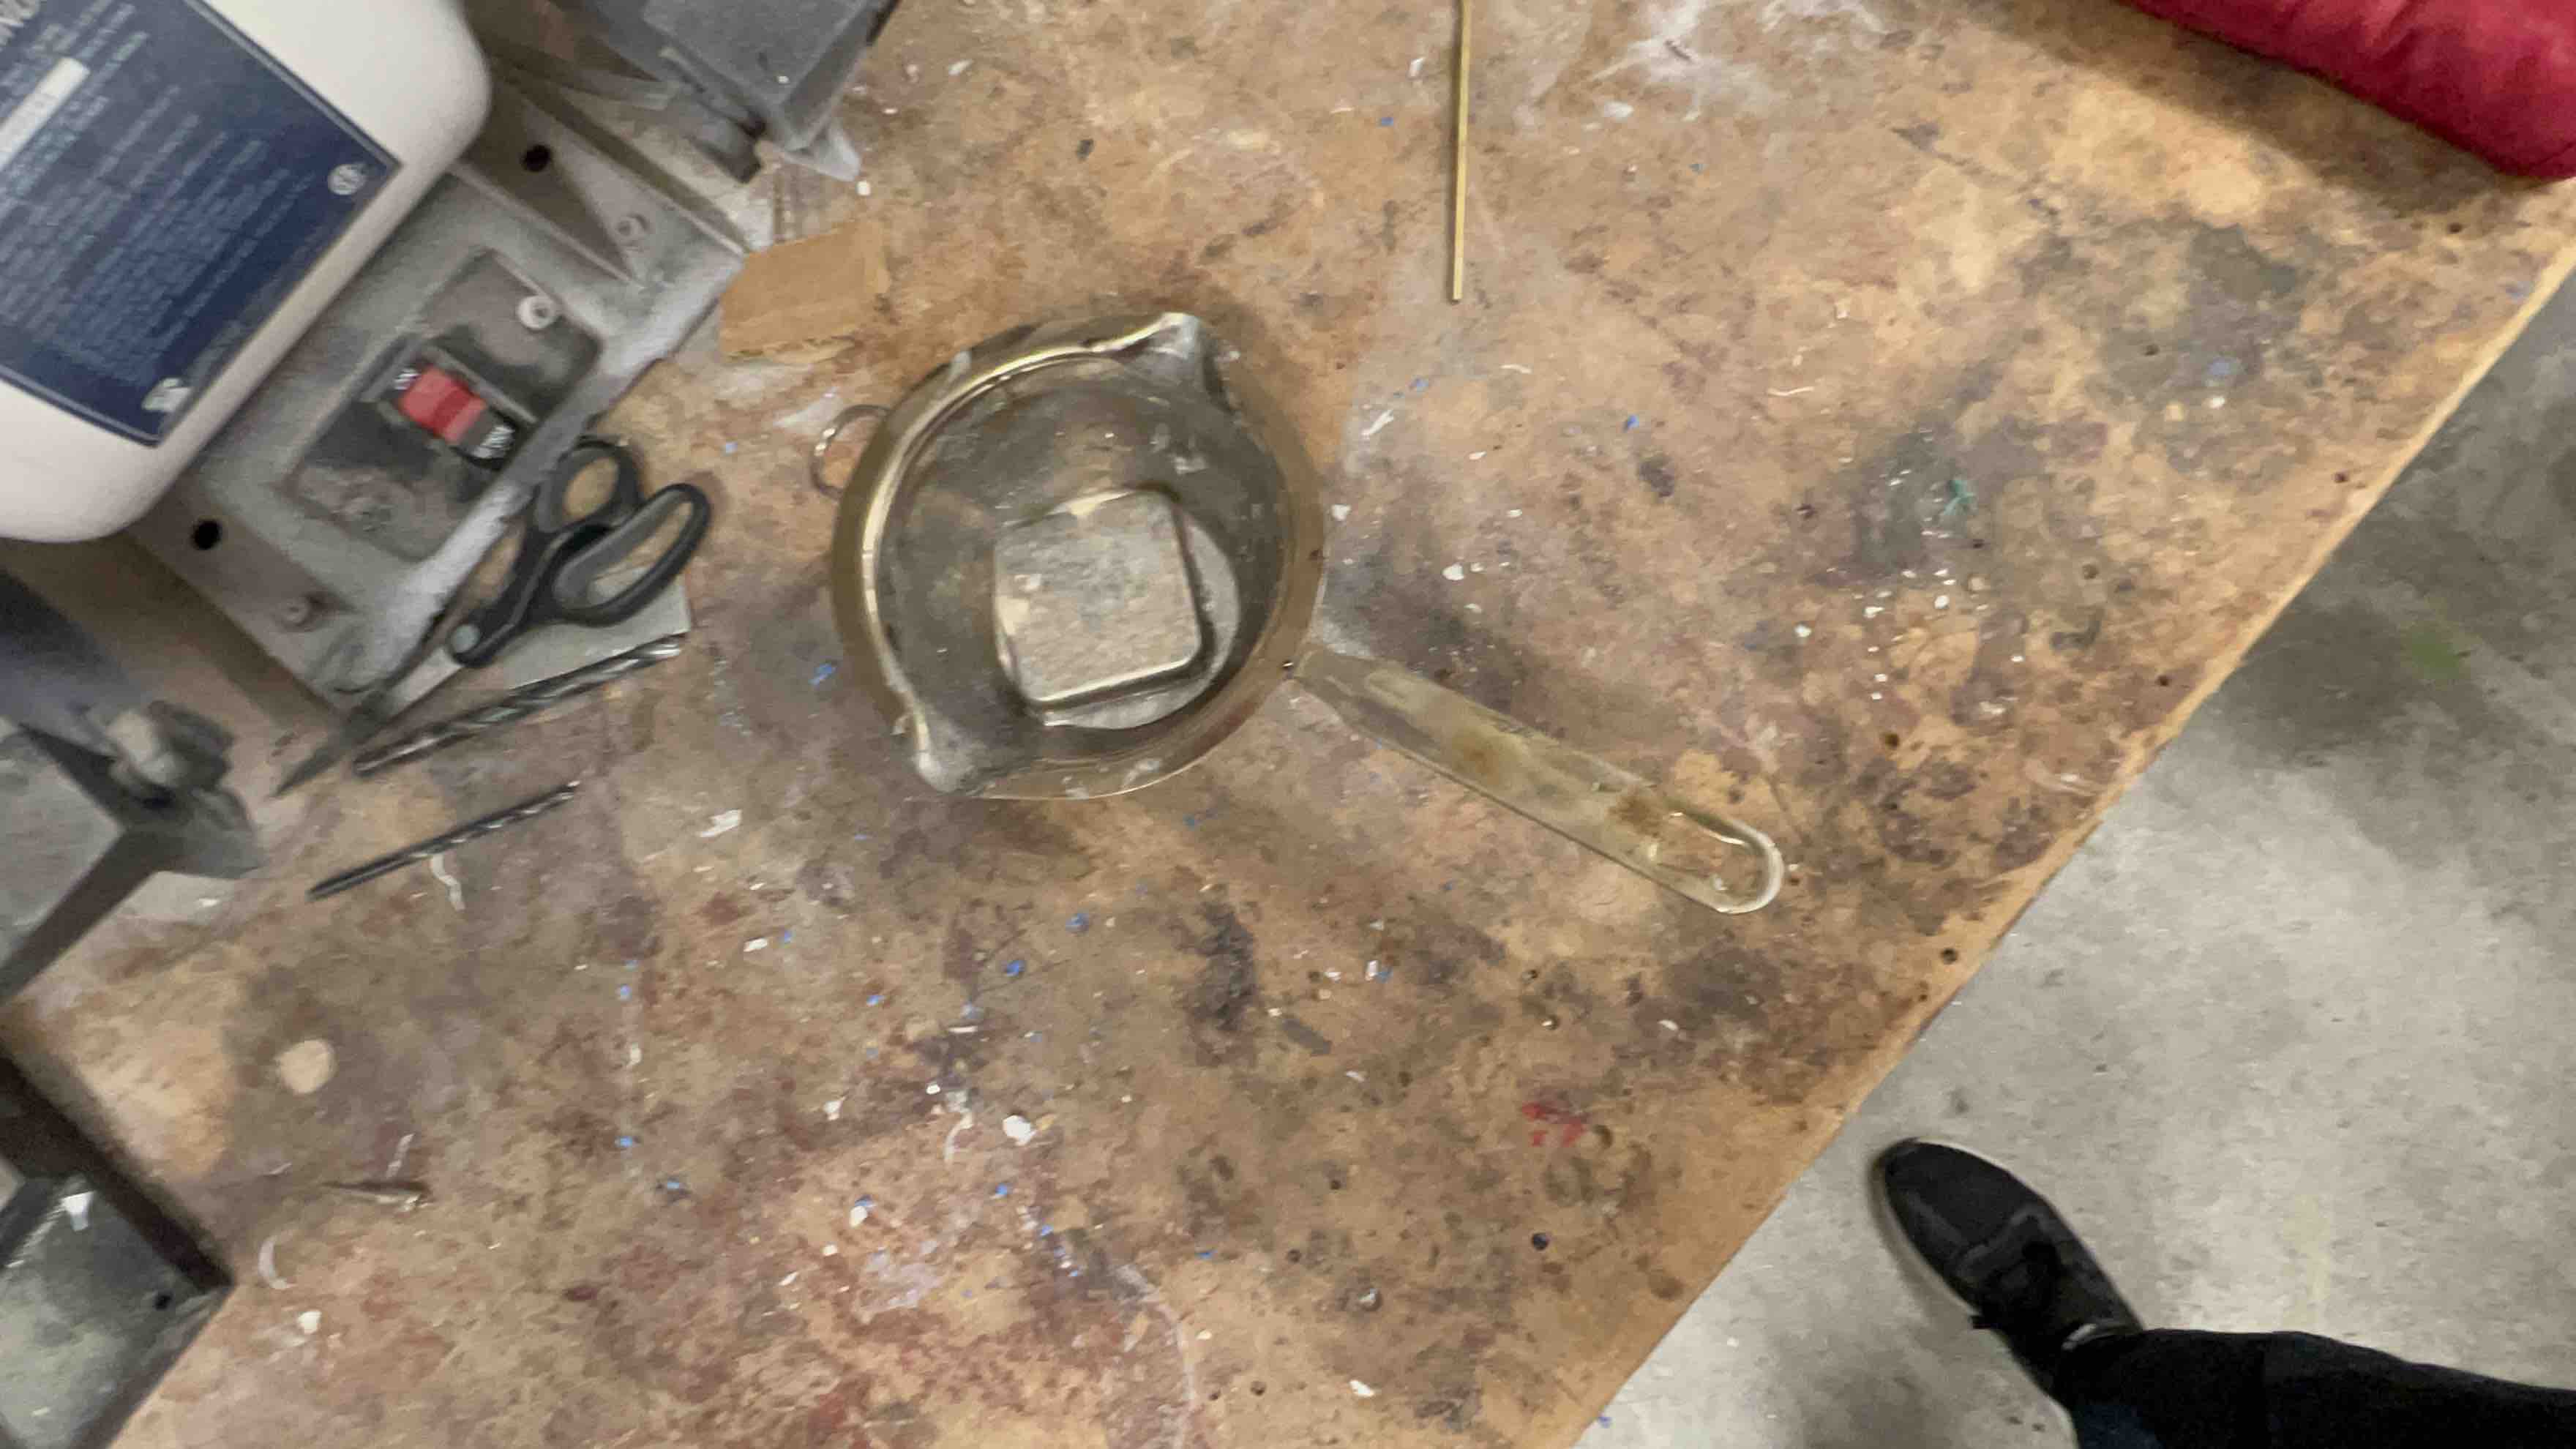
Not knowing why (also, my thumb got slightly burned while taking out the pan because some spots of the glove were worn out, which was super painful), I turned to Claire for help, she pointed out I should wait for the full 10 mins because that was a big chunk, so I started the oven.
This time it works!
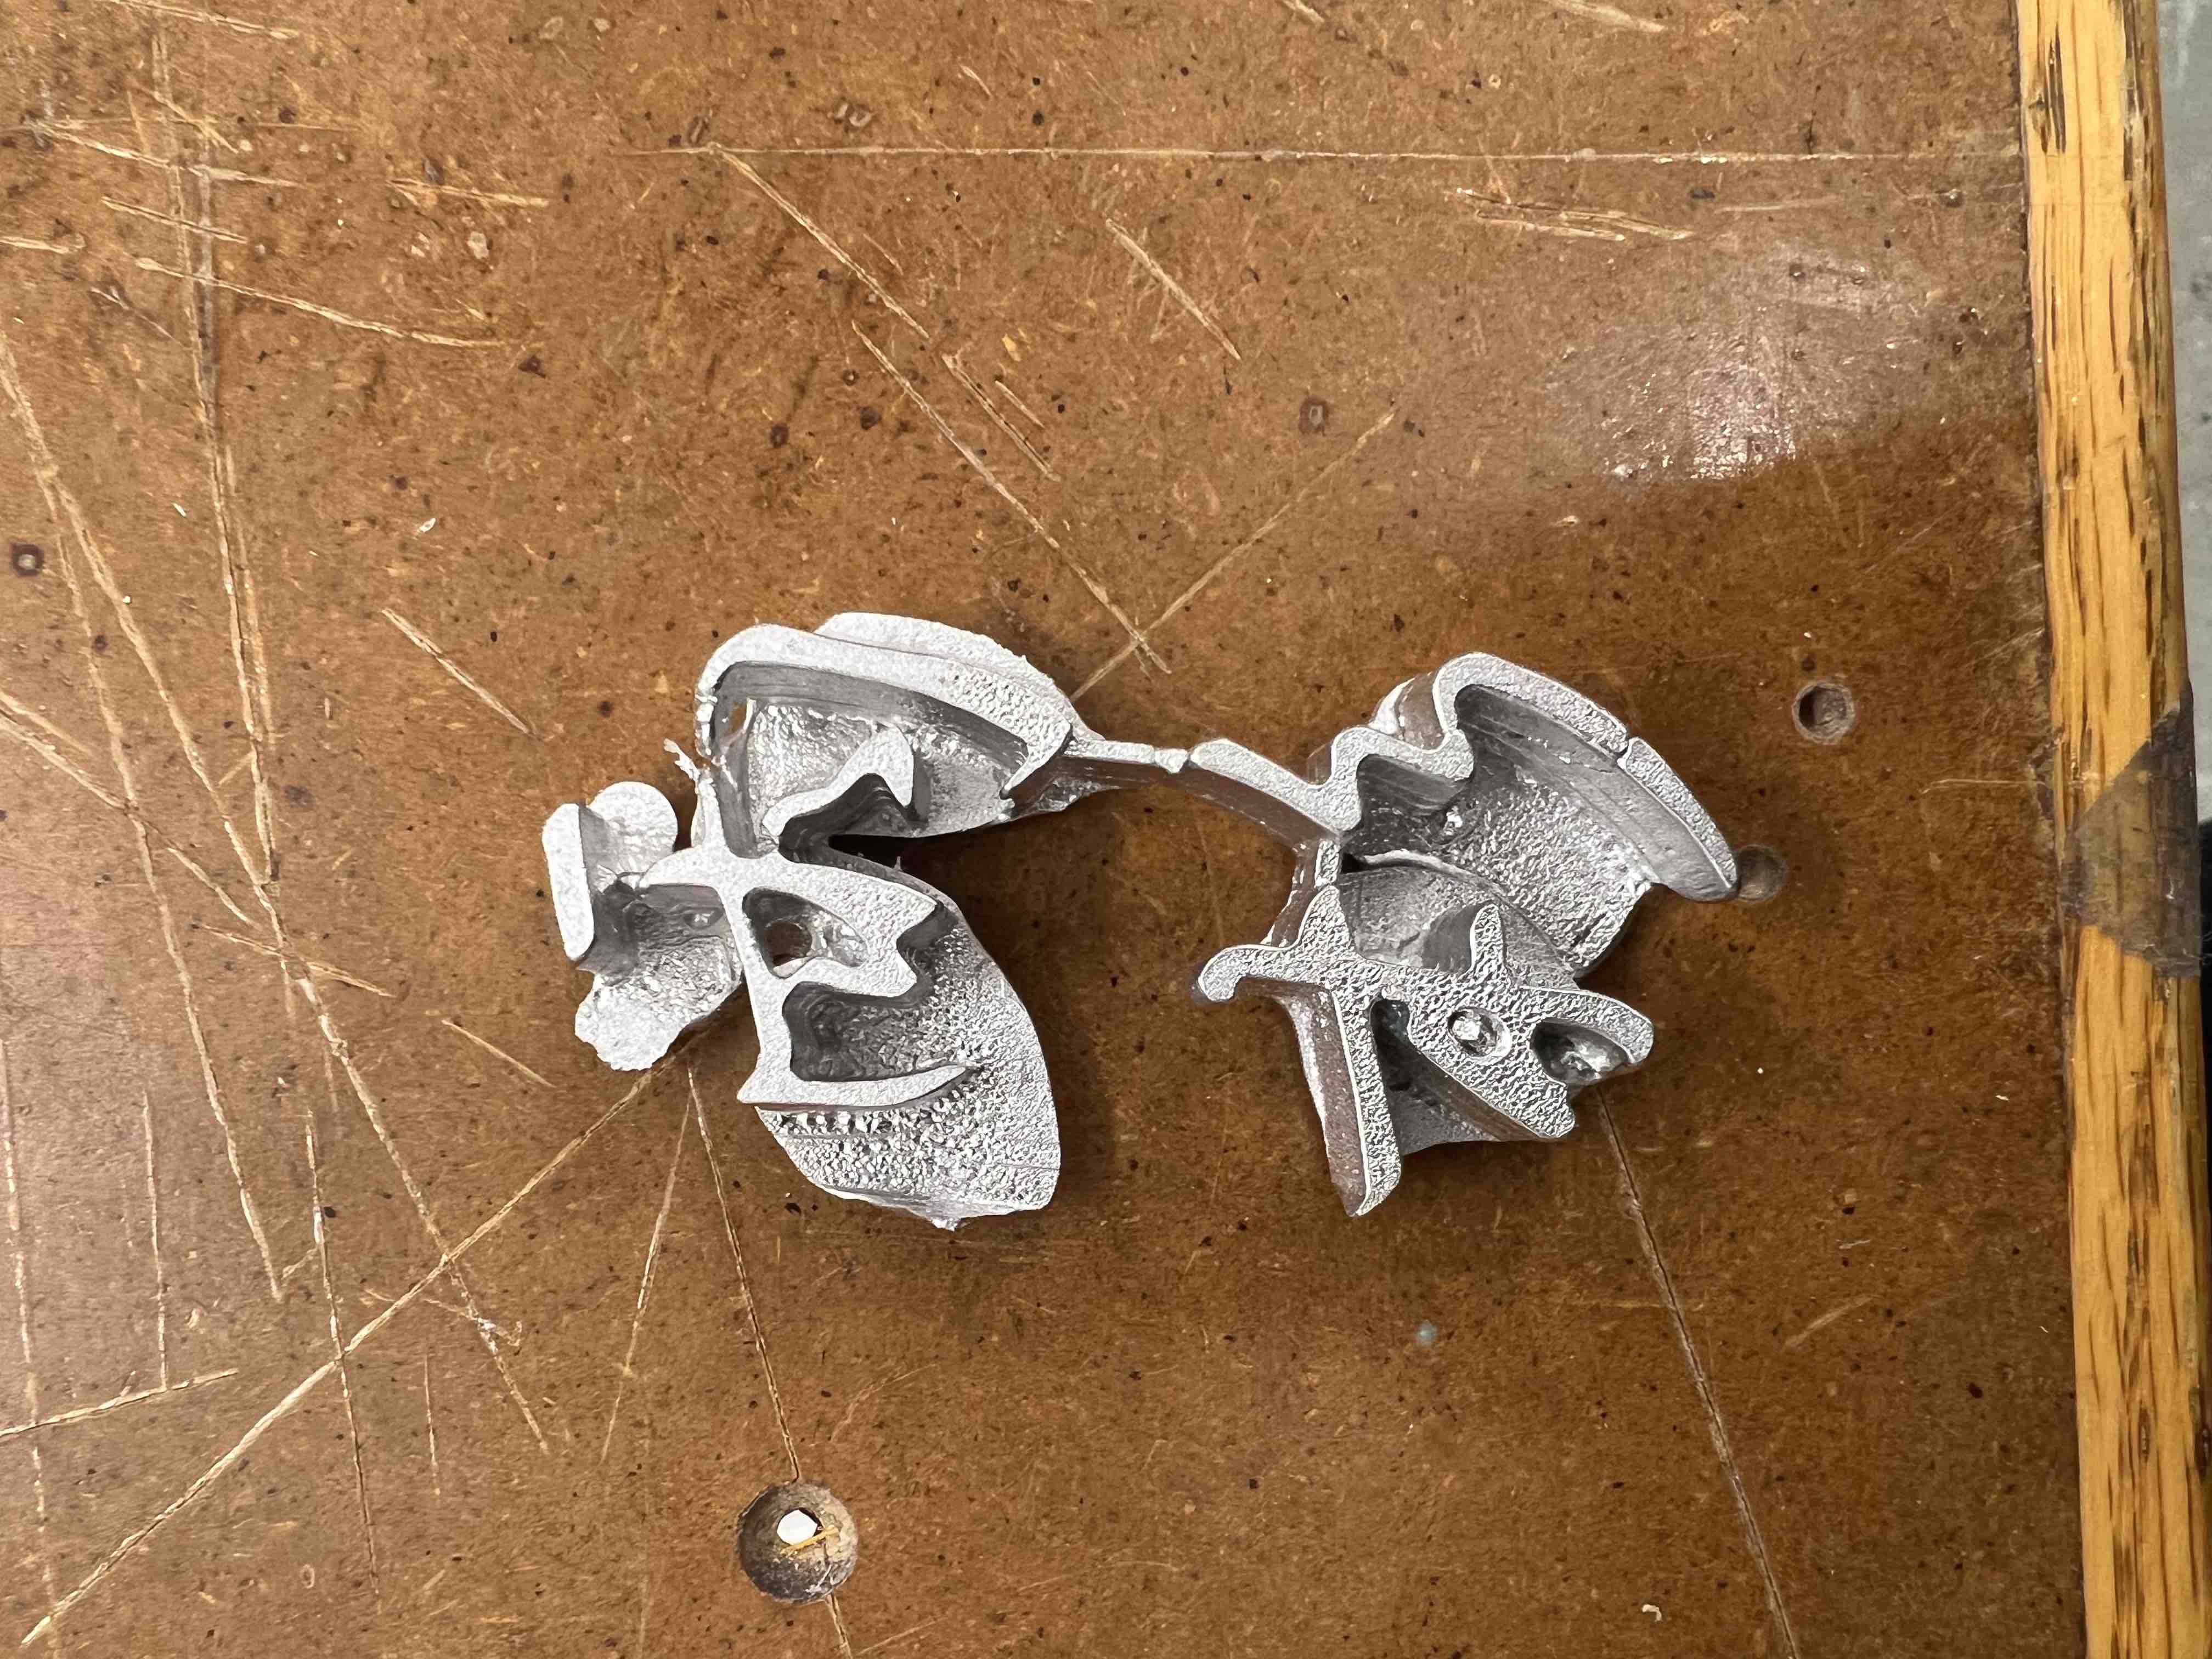
I cast a few more. I really want to get a clear backside, but each time I either pour too much or too little. Using both hands and practicing 5,6 times, I was able to get one that I was satisfied with.
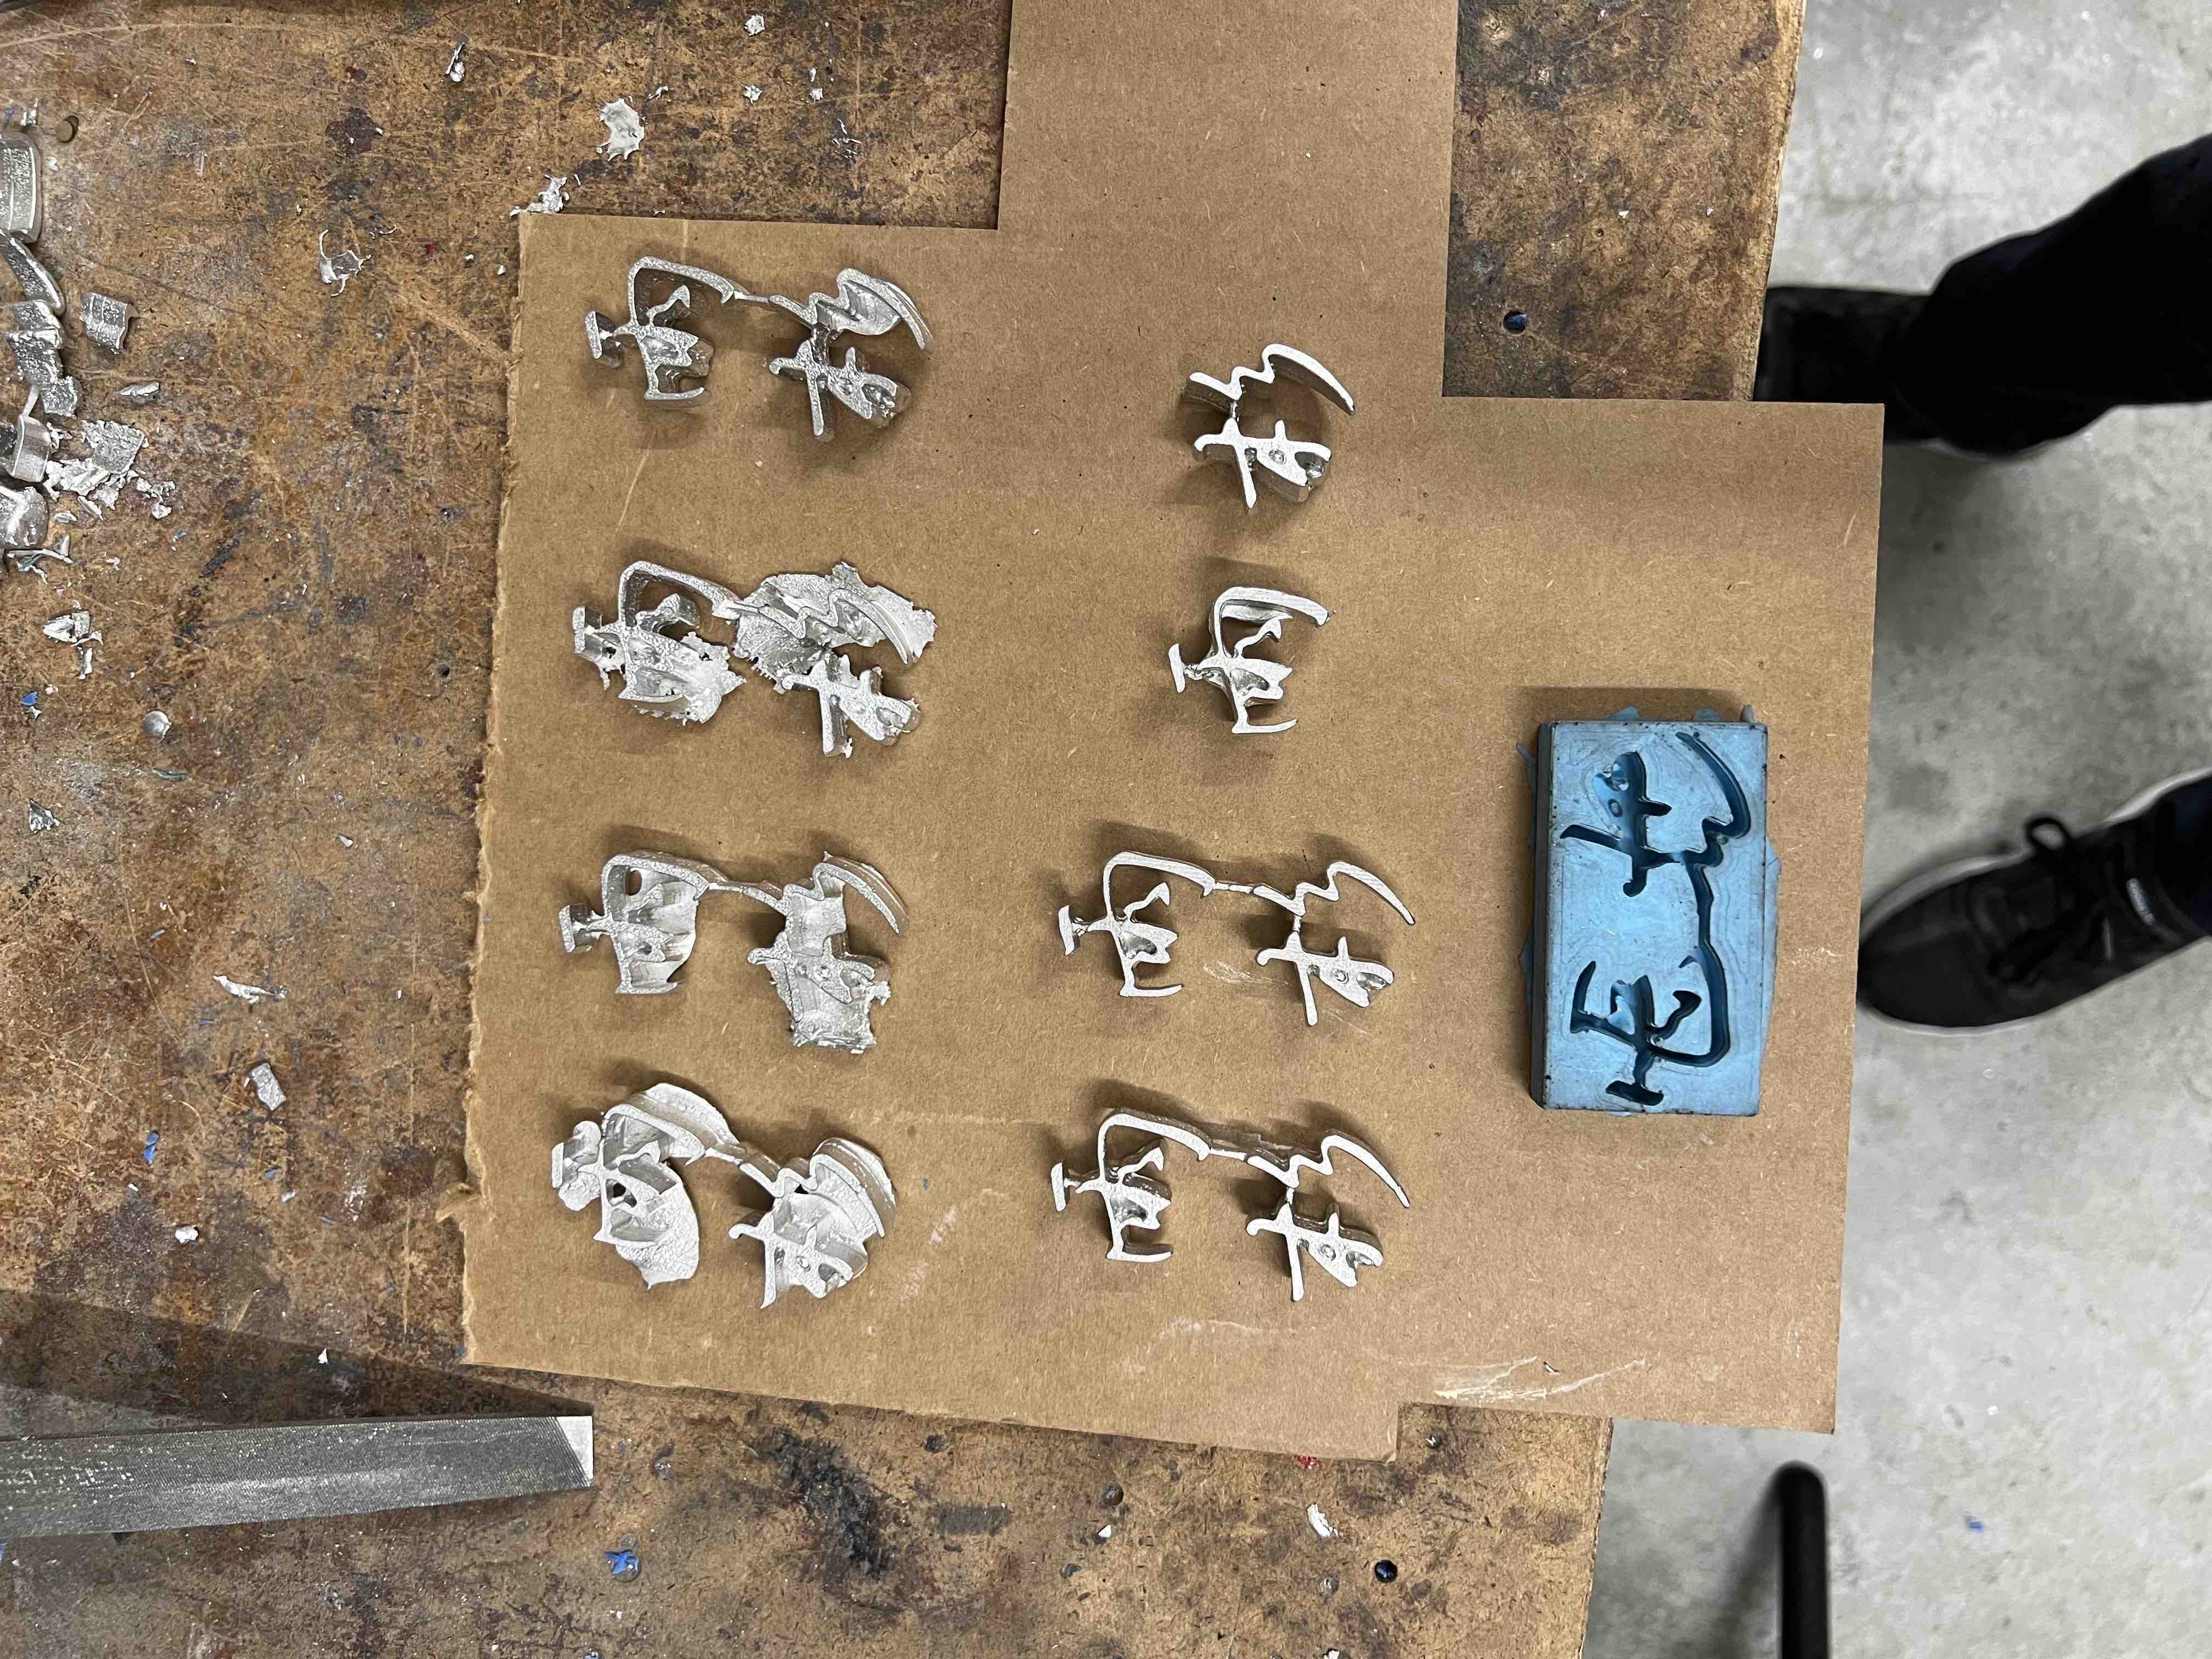
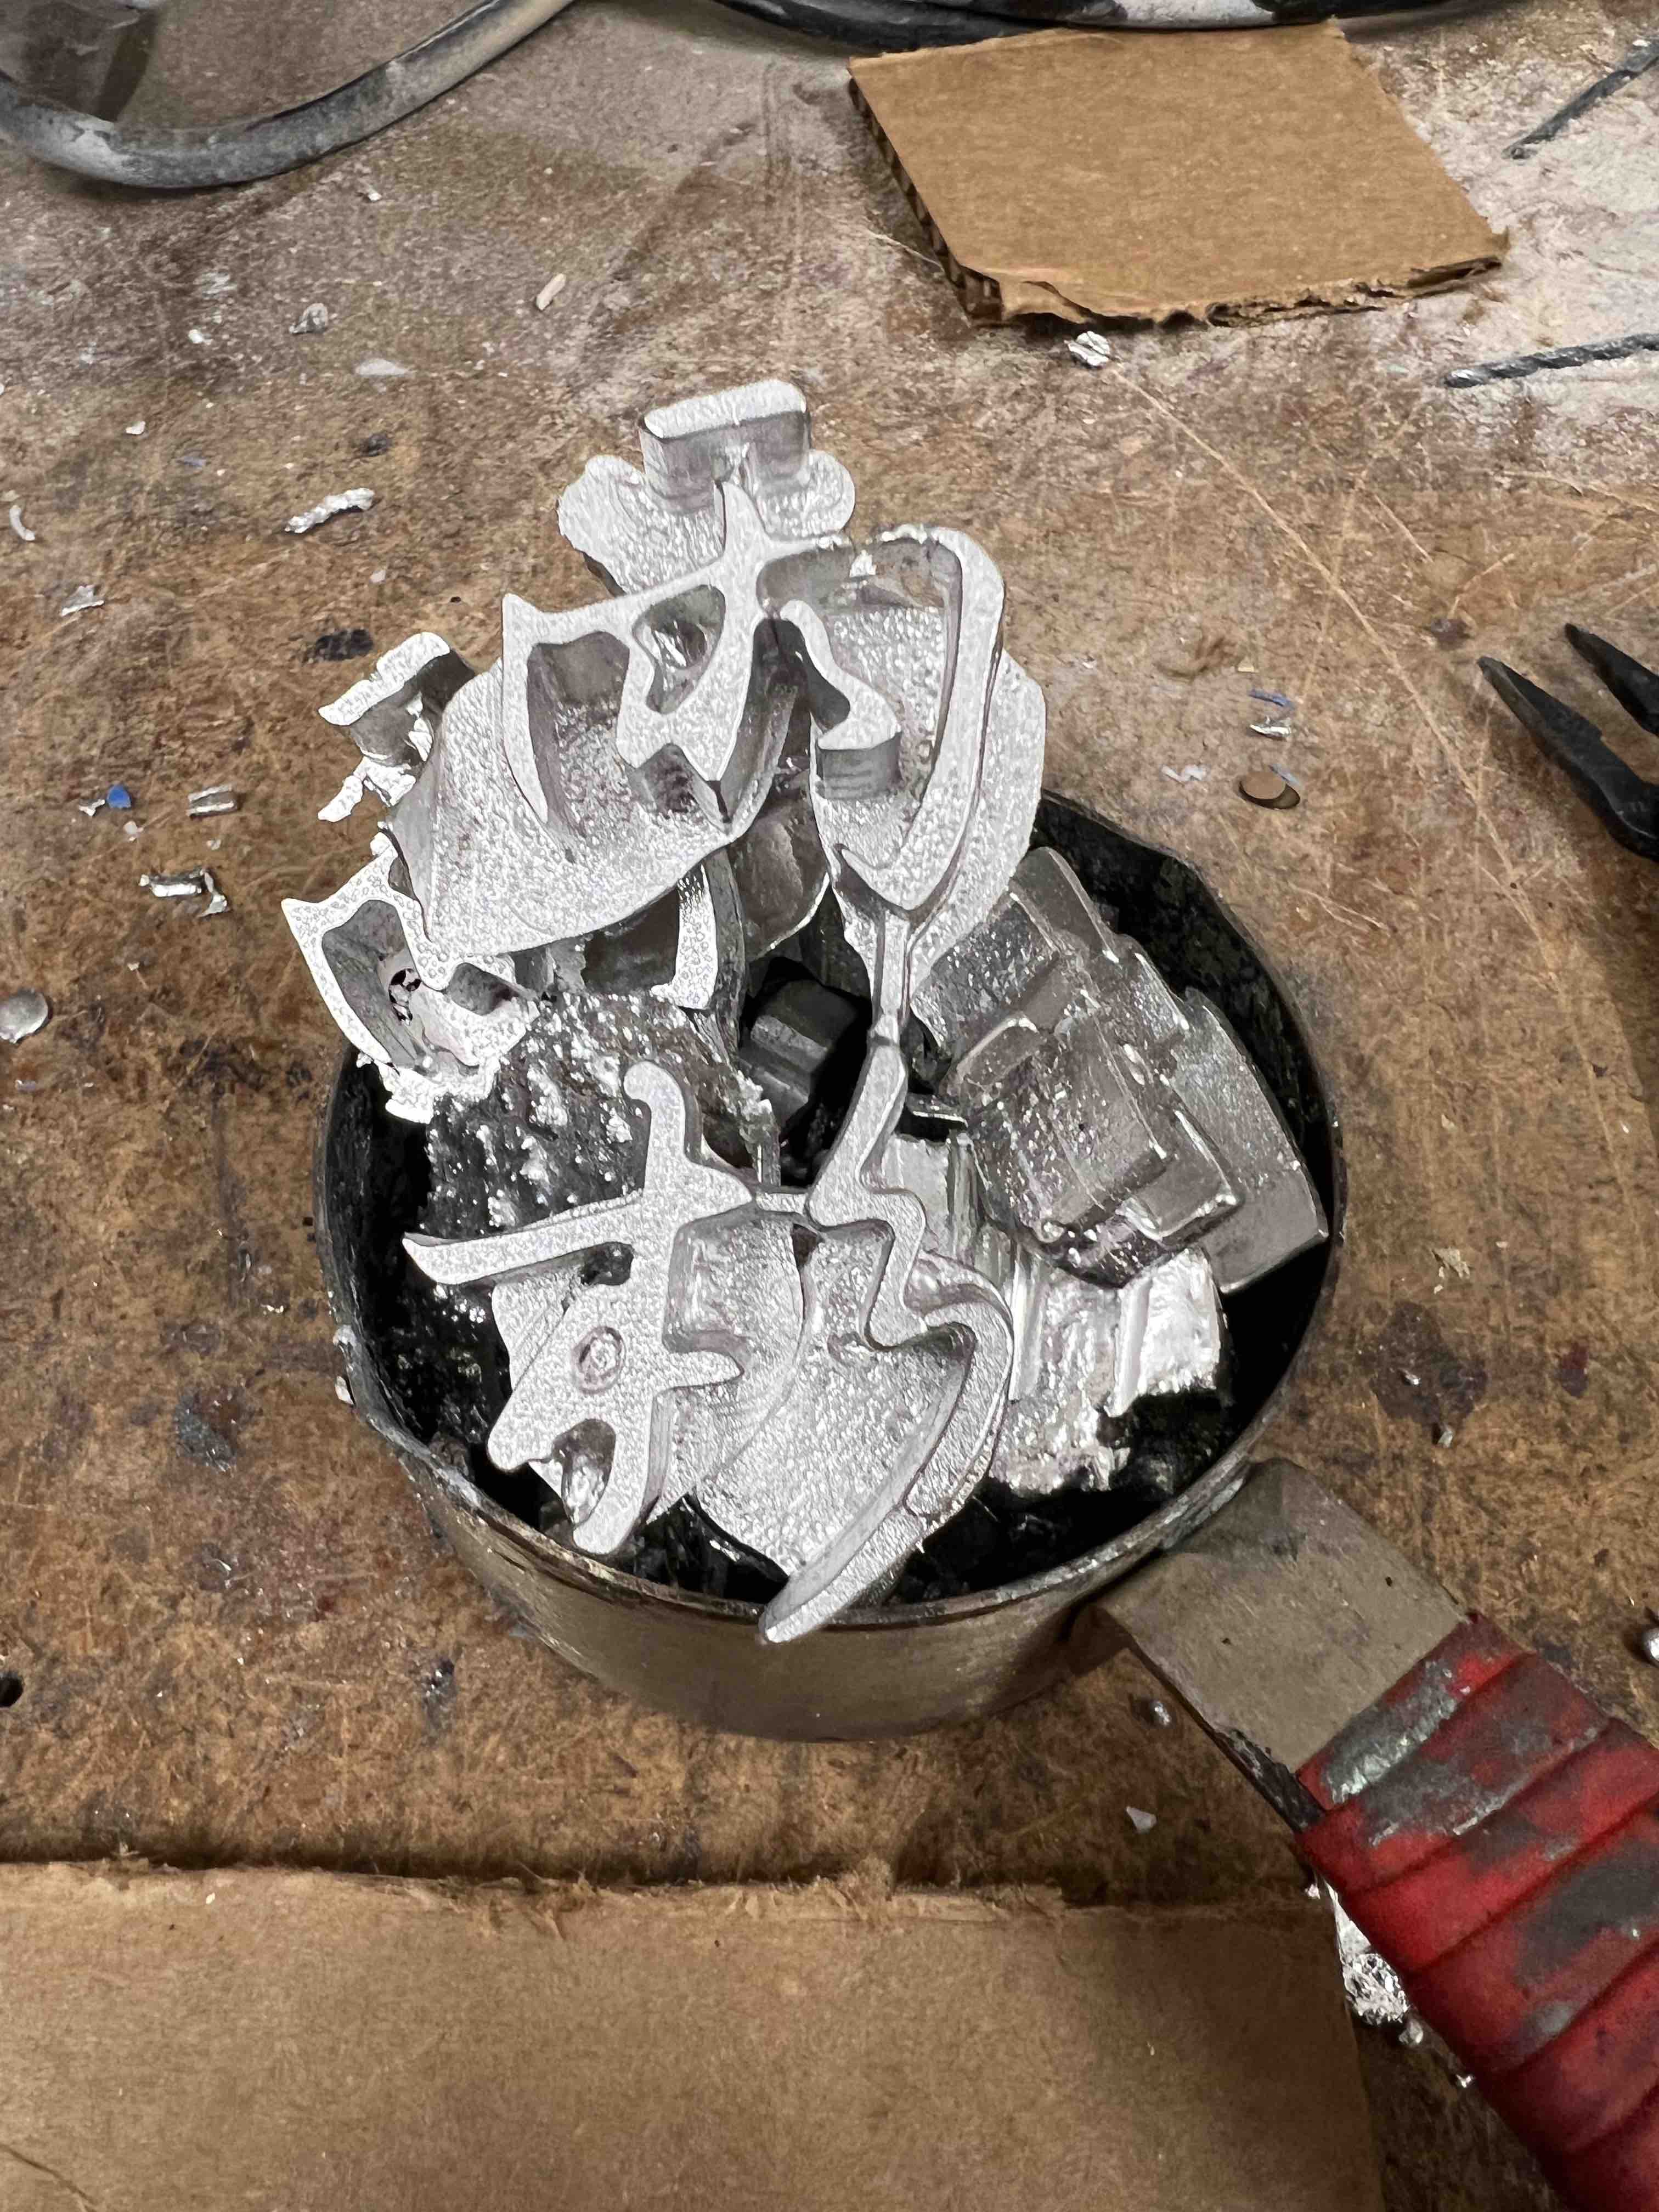
And of course those failed attempts were recycled!
I really enjoy this project!