Week 7: Computer-Controlled Machining
I had planned this week for a long time. When I first saw what was asked of us to produce at the end of this week ("Make something big"), my mind automatically jumped to one of the biggest instruments I could think of: a harp. I have never played a harp, but I have always been fascinated by their sound and their grandiose designs. When I started diving into the subject, I discovered an incredible amount of resources focused on the art of harp making, which I immediately knew I was going to offend once again with my uneducated imitation attempts. Nevertheless, after many hours of reading on the types of wood, joints and dimensions that should be chosen, I decided to go ahead and make the (probably) world first OSB, finger-jointed, Harp by designing my model on Fusion360. I took inspiration of the dimensions provided on this website, by looking at the free plans provided for the Waldorf Harp. Since it was my first proper design on Fusion (I finally managed to get a loan computer!), it took me a few hours to get the design right and make the assembly look good. I used the Finger Joint extension to get my finger joints ready, which saved me a lot of time. Finally, I had an OK design and I exported all the pieces to SVG to get ready for the machining.

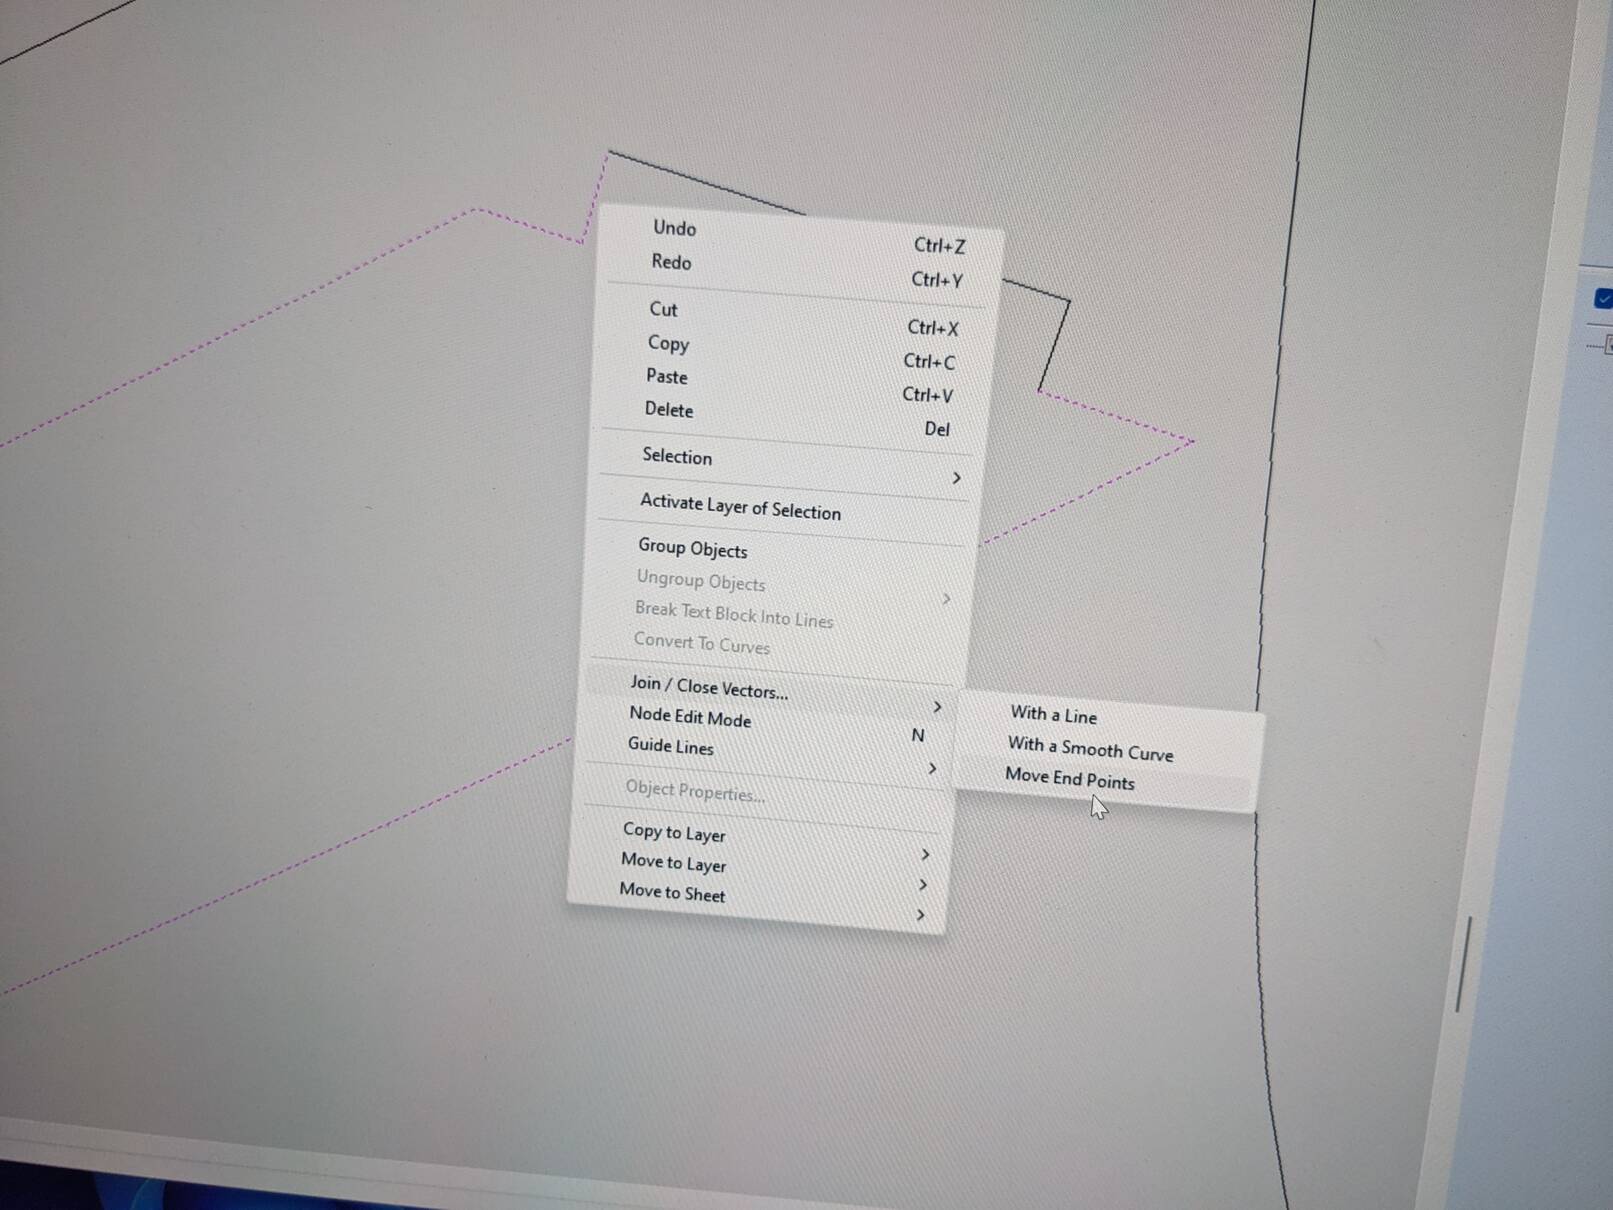
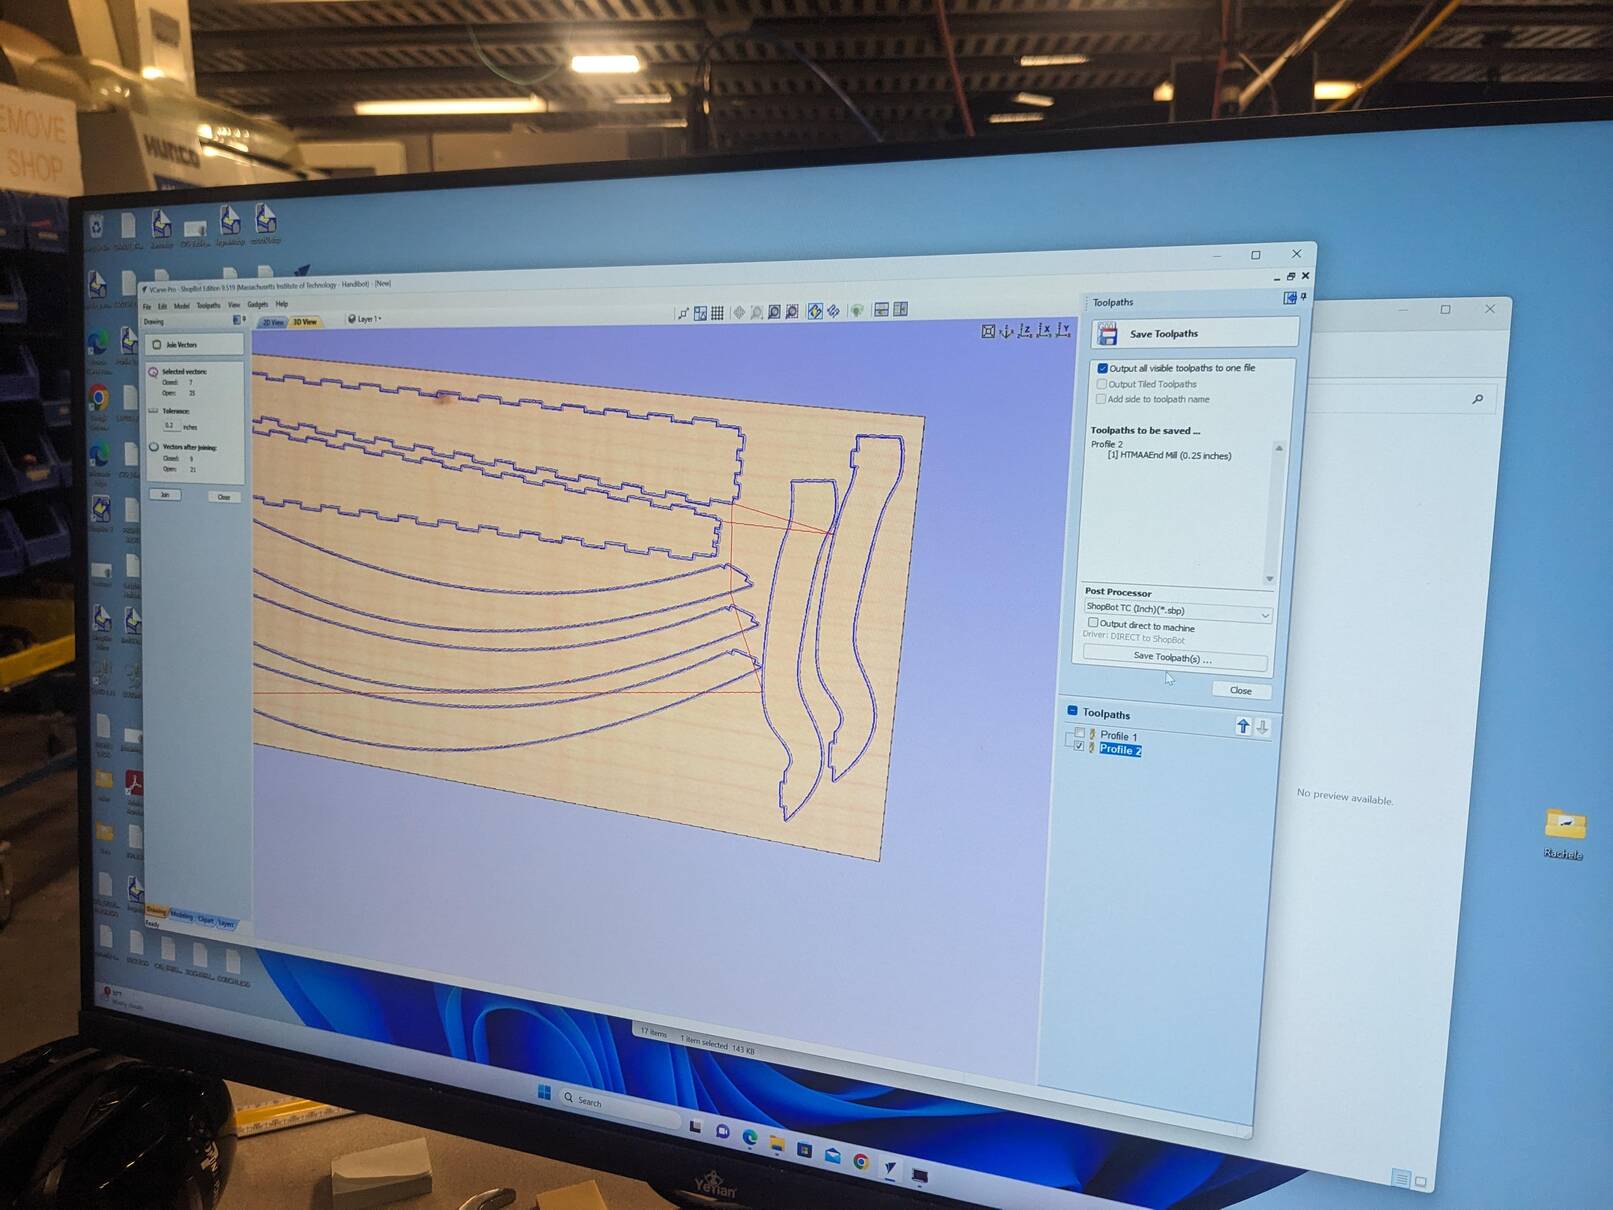
I then moved on to start cuting my pieces using the ShopBot from the lab. Since I did the assignment slightly late, I was actually able to use the leftovers from a few OSB sheets, which turned out to be very helpful because it was nearly impossible to fit all of my pieces onto one 96''x48'' OSB sheet. One problem that I had was that some of my vectors were not properly joined, but, thankfully, the VCarve Pro software enabled me to fix this pretty easily. I also used VCarve Pro to generate some dog-bone fillets for every finger joint. I generated the toolpath, and then started the ShopBot machine.
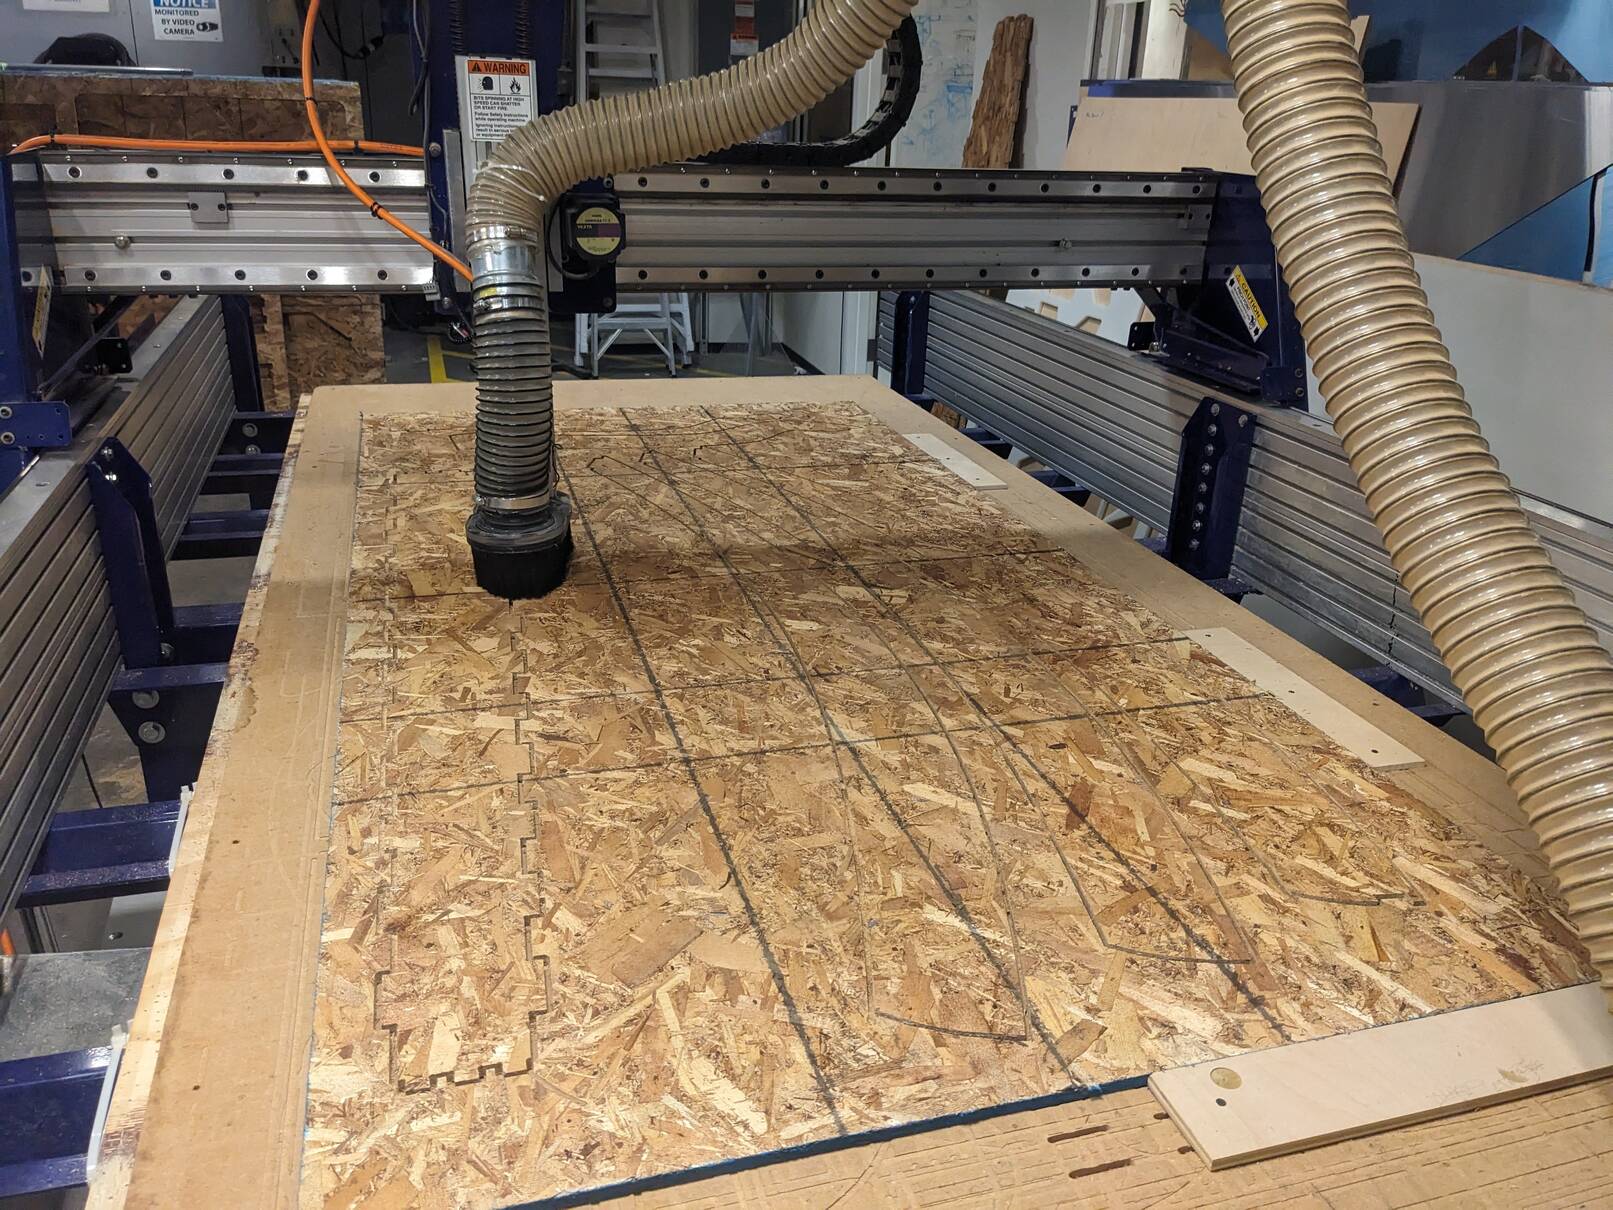
After less than half an hour, I had all of my pieces ready! I stored them in the lab and waited for an evening where some additional workforce was available to help me before starting the assembly process.

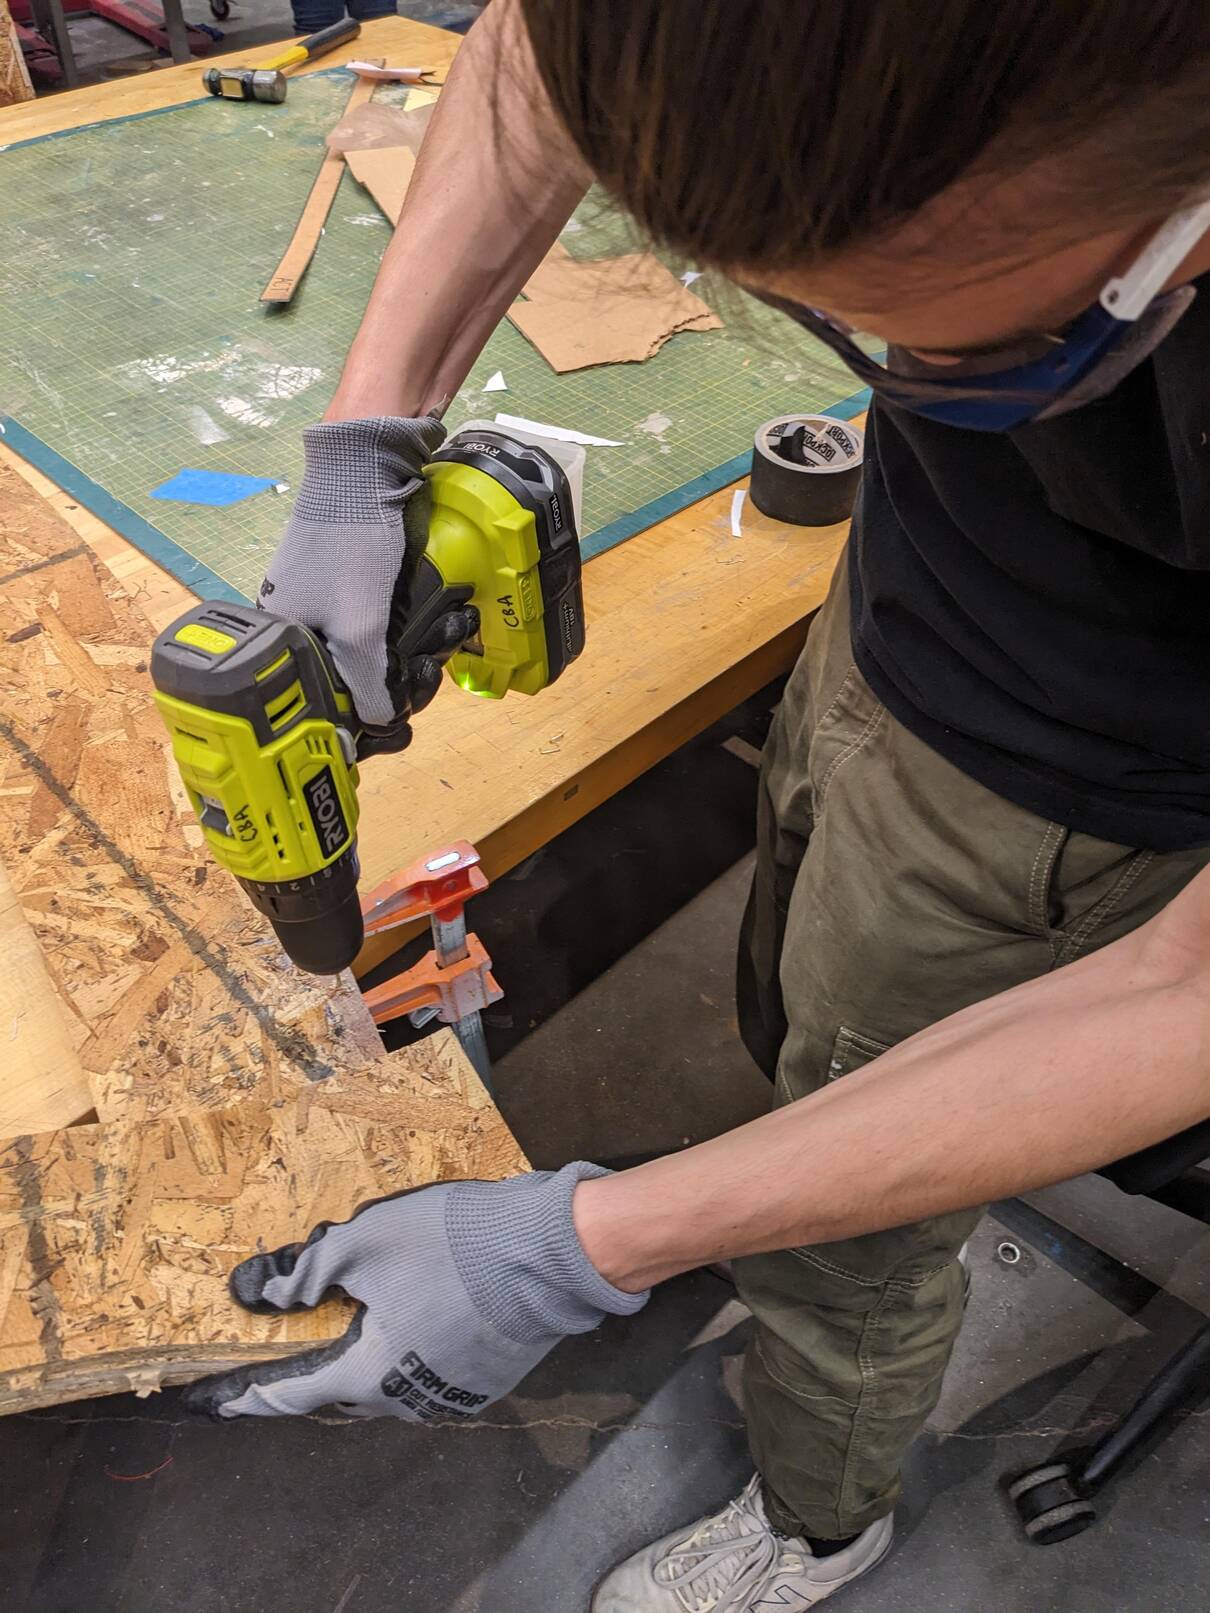
When B, my girlfriend, nicely volunteered to help me, I started the assembly process. The finger joints were voluntarily pretty tight so I had to hammer a few of them in to make them fit. In order to remove the rotational freedom, I added a few screws in, and the soundbox rapidly looked pretty tight and ready.


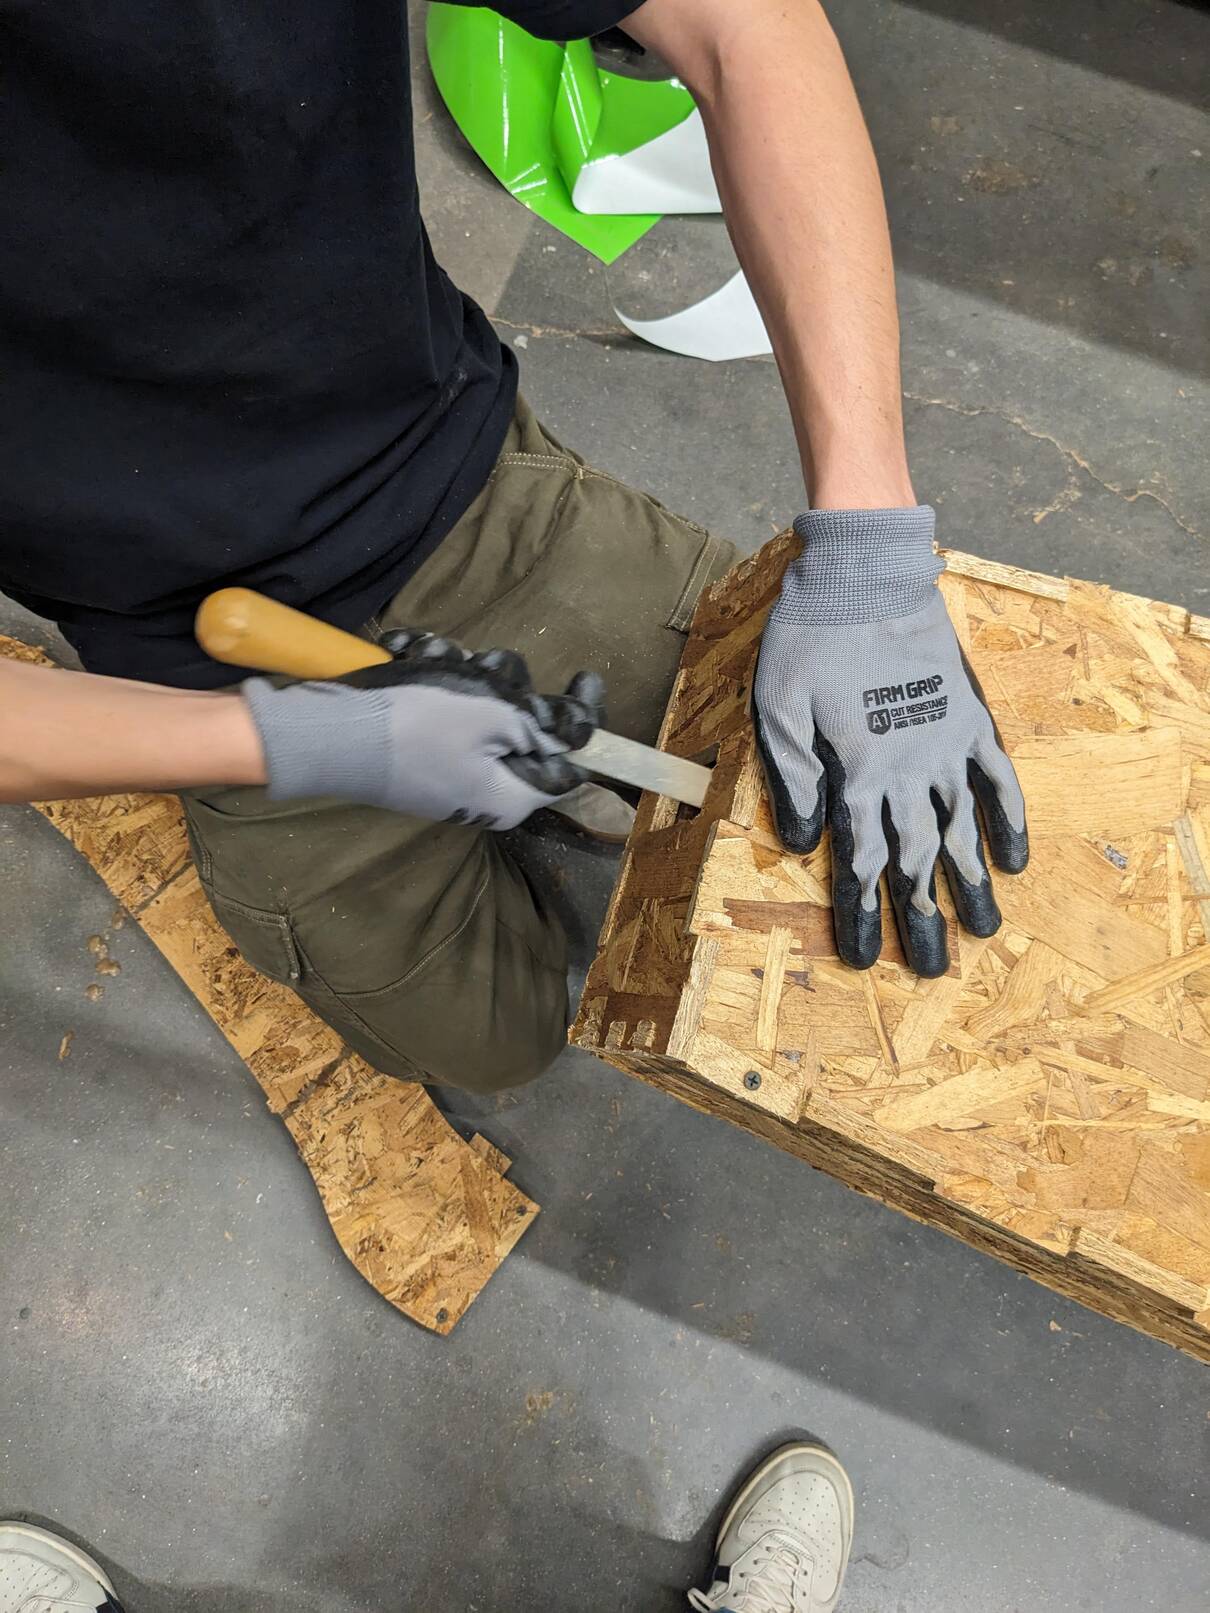
For the neck and the pillar, I machined three (almost) identical pieces to create some more thickness and I screwed them together. Only the middle piece was different with either a pocket, or an extruded finger. This helped the harp hold together. Finally, I also had to file the hole at the top of the soundboard in order to let the neck fit well into it. But I was pretty happy since this was the only part I had to file.
Finally, I obtained this full-sized, string-less, OSB harp. It might be even a bit too big since my left arm seems to struggle to wrap around the harp on the picture. Nevertheless, this was a great experience and I am now waiting to get some funds to buy some harp strings (they are incredibly expensive) so that my harp can finally make a sound!

Notes to a future me (learning outcomes):
- Friends are an unvaluable asset for wood assembly.
- Once again, please always double (triple) check your dimensions. (When will you learn?)