Week 5 - PCB Fabrication
# Goal
For this week, my goal was to mill the PCB I designed last week. Then, I wanted to strap it to a battery and see how the position/velocity tracking fared.
# PCB Fabrication
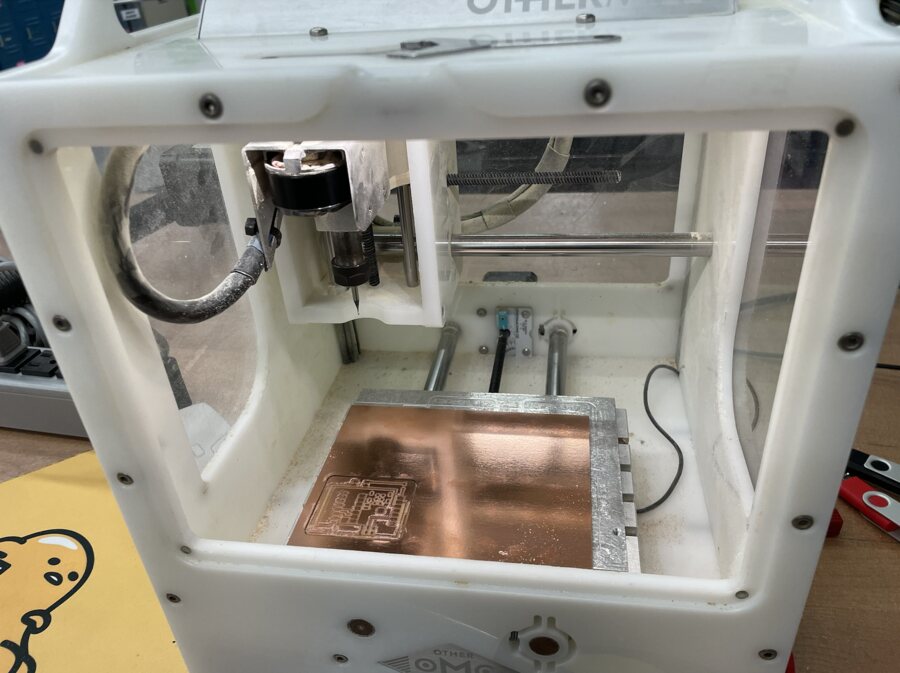
I milled my PCB design from last week using the Other mill. The nice thing about using the Other was I didn’t even need to work off images of the PCB design; all I did was export the PCB file.
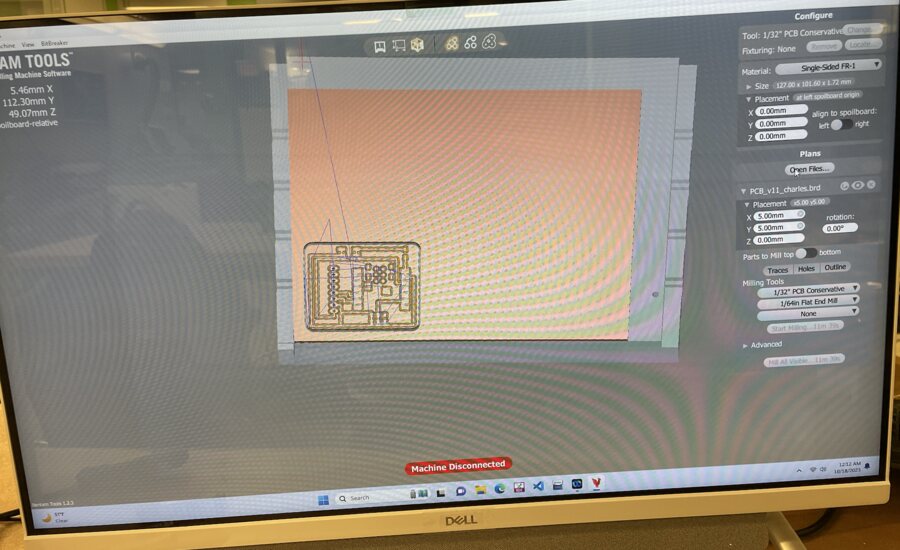
Anthony walked me through the milling process. I used two bits: the 1/32” conservative PCB and the 1/64” flat end mill. The Other mill’s software automatically decides which parts of the PCB to mill with which bit, so all I had to do was swap out the bits when the machine prompted me.
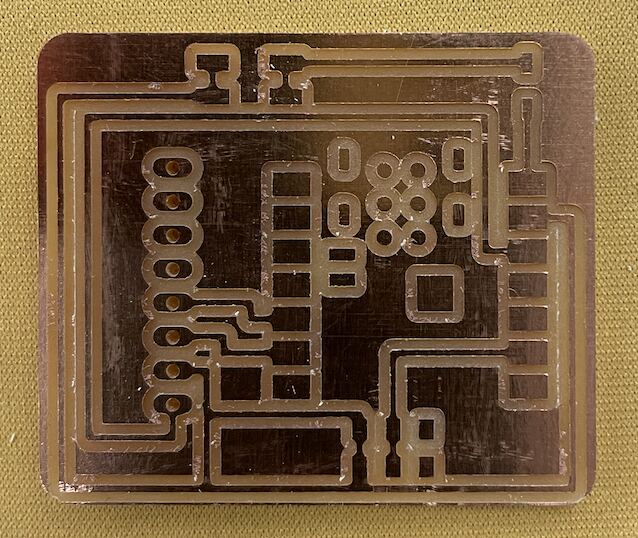
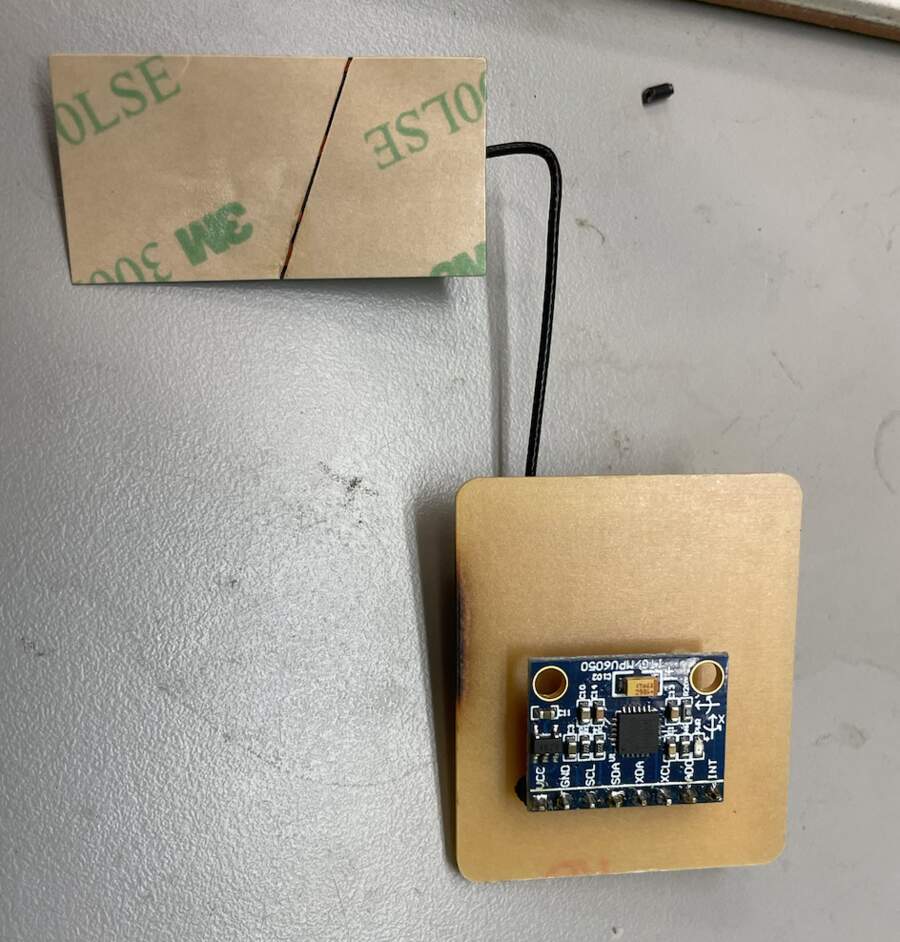
Here’s the PCB after I cleaned it up:
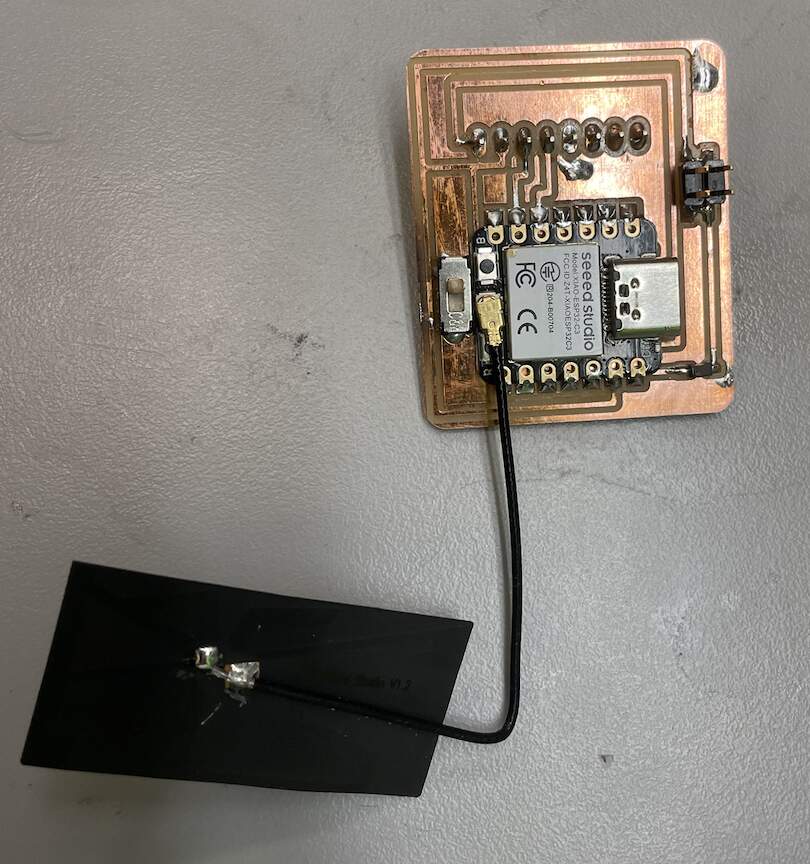
Next, I soldered my components. One mistake I made was soldering the ESP32C3 before the switch, which left the switch pins next to the microprocessor too hard to reach. Instead, Anthony showed me how to solder the joint with hot air and solder paste.
 |
 |
# Combining with Code
# Files
Coming soon!