HTMAA 2024 - Week 10
Computer Controlled Machining
HomeThis week, we learned about CNC machining. I've always wanted to use the CNC machine in the makerspace but never felt courageous enough to try so I'm glad I was able to take this opportunity to finally learn it.
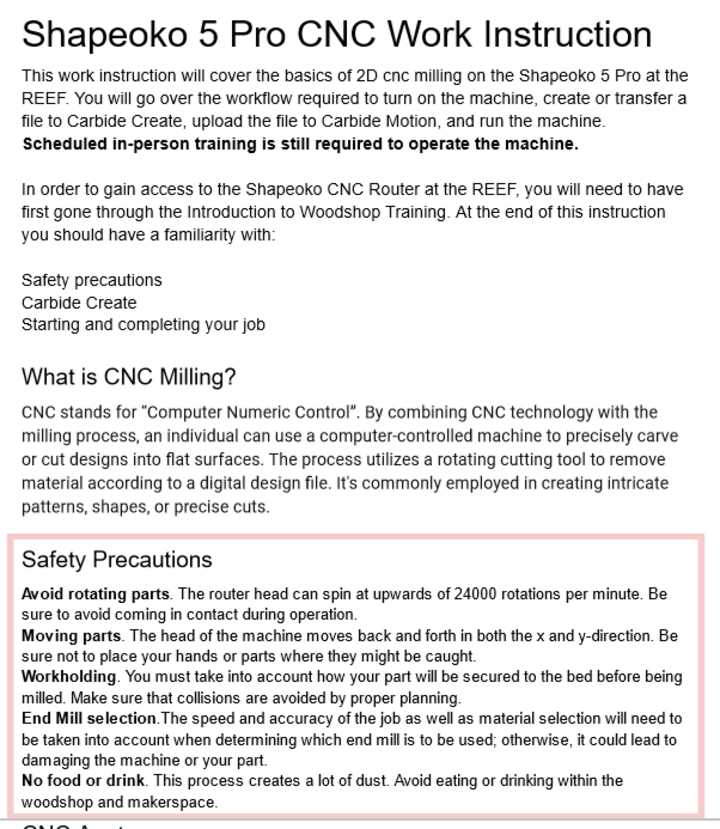
I started by reading the documentation for the Shapeoko 5 that we used in the makerspace.
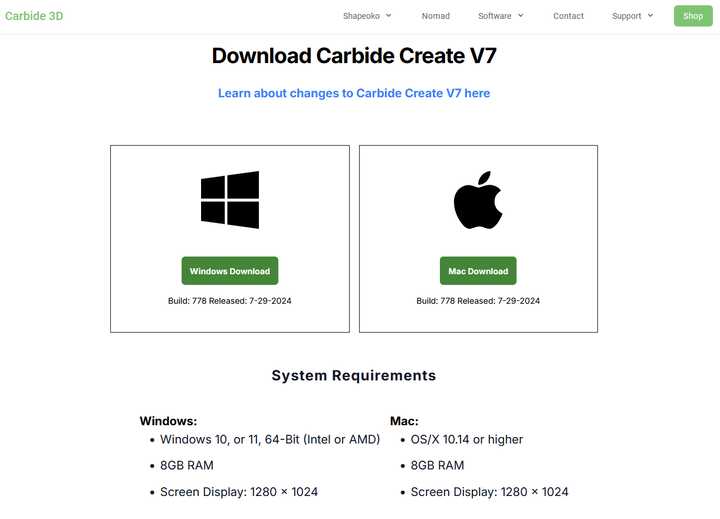
Then I downloaded Carbide Create onto my home desktop.
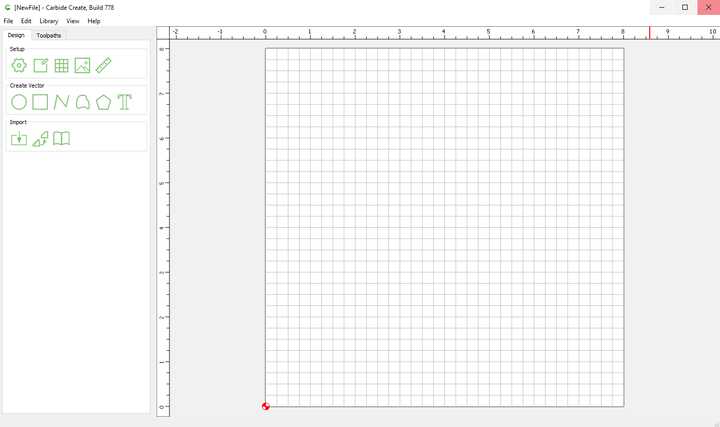
The UI looked rather simple and clean, and it was easy to find documentation on how to use it.
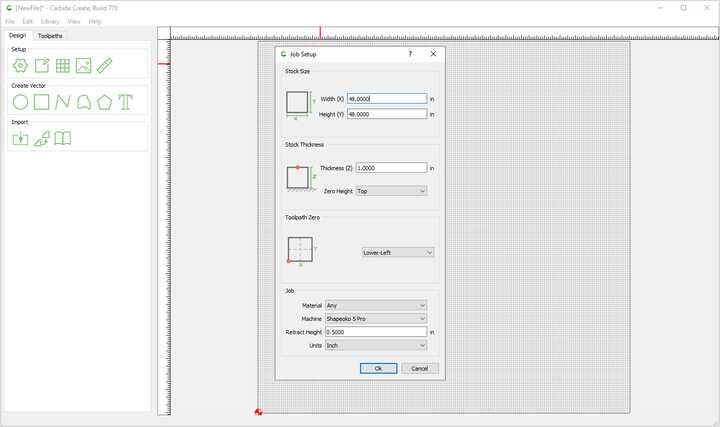
I set the job setup parameters to the ones we were given on the onboarding document. We were working with 4'x4' sheets of 5/8" OSB.

I played around with the built-in design tools and made a circle to see how long a big circle would take to cut, since apparently people's designs took a long time.
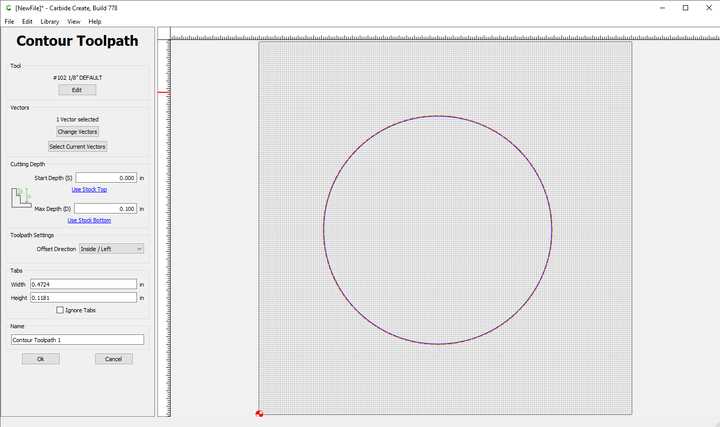
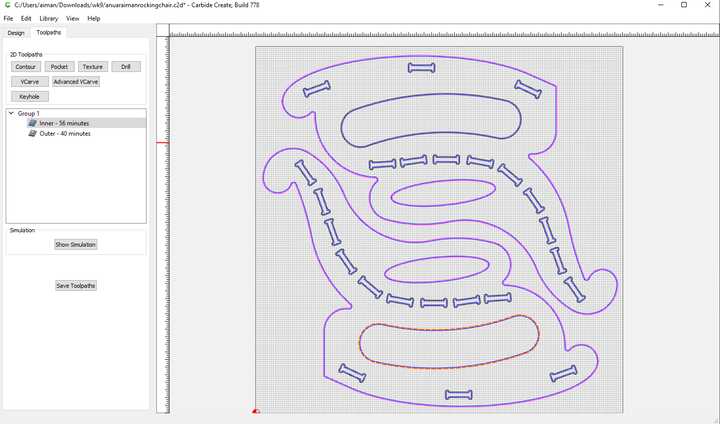
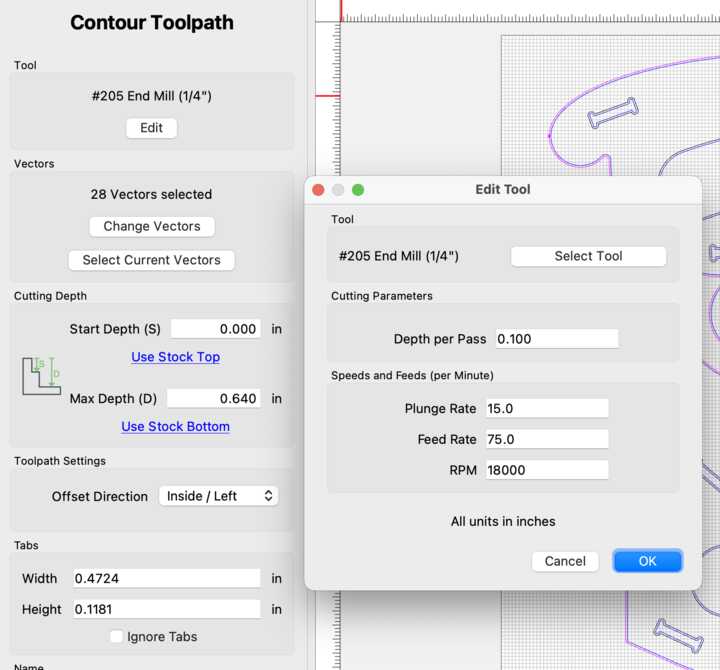
After making the circle, I edited the toolpath.
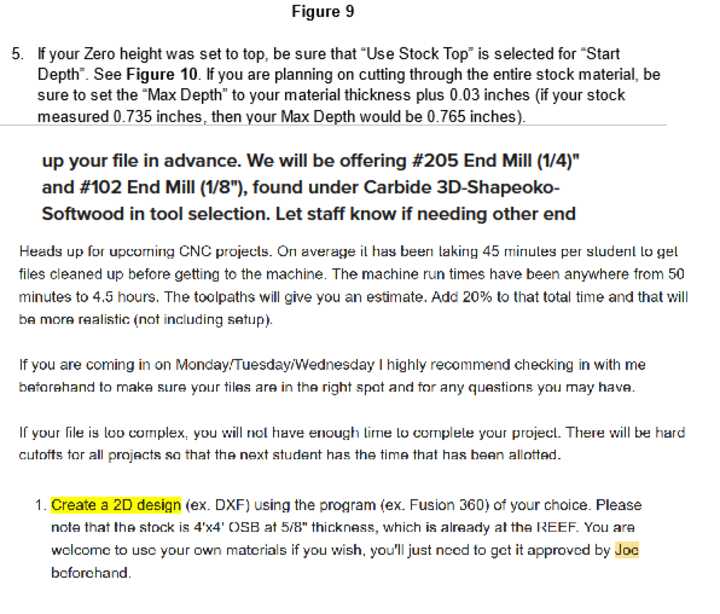
They sent out an email with a few clarifications, so I made sure to follow them as I was working.
I set the max depth to 0.655, which would have been 5/8" + 0.03, which is what they specified, but I would later learn to bring this down to 0.64.
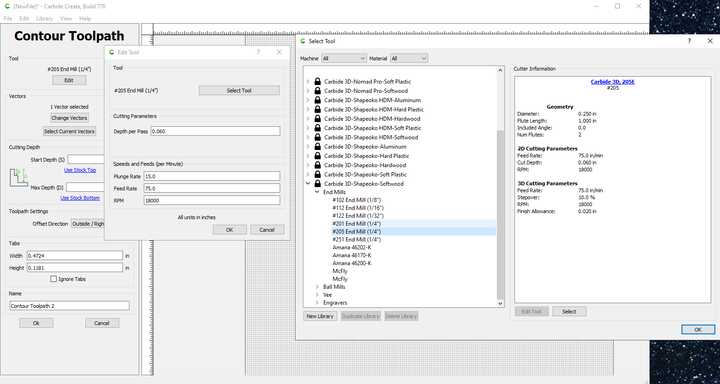
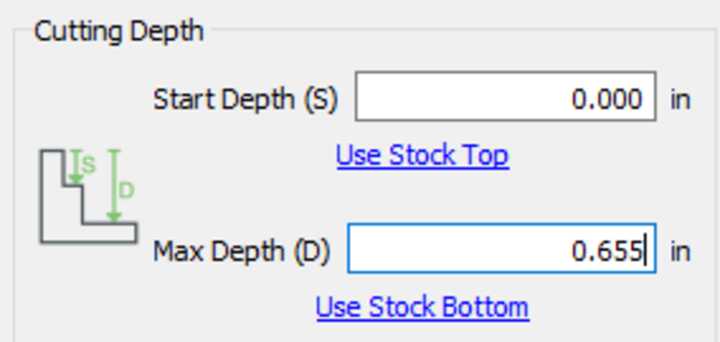
I chose the end mills we were given in the documentation, the #205 1/4" end mill, and the #102 1/8" end mill.
I saw the toolpaths once generated allowed me to see the amount of time a job would take, and Joe told us to add ~20% to that run time..
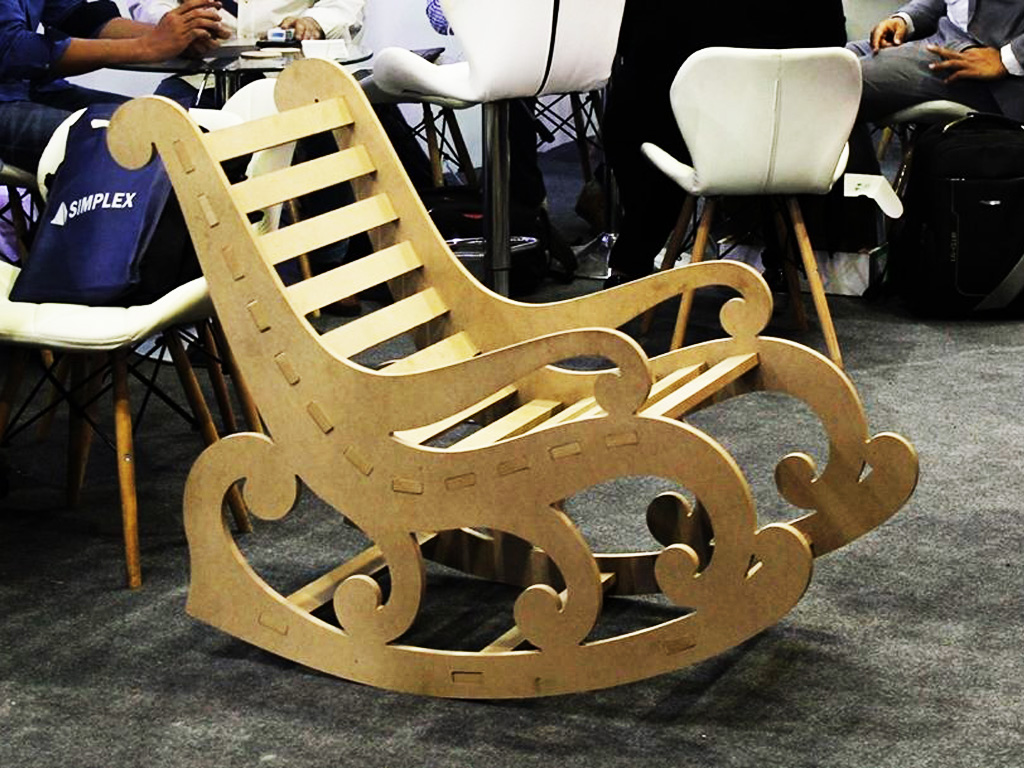
Now that I was familiar with the design space, I decided to start making my own design. I looked for inspiration online. I wanted to do something I could only uniquely make with a large format CNC, so not something like a table. Then I came up with the idea of a rocking chair, and looking into CNC rocking chairs I found this design which I was inspired by.
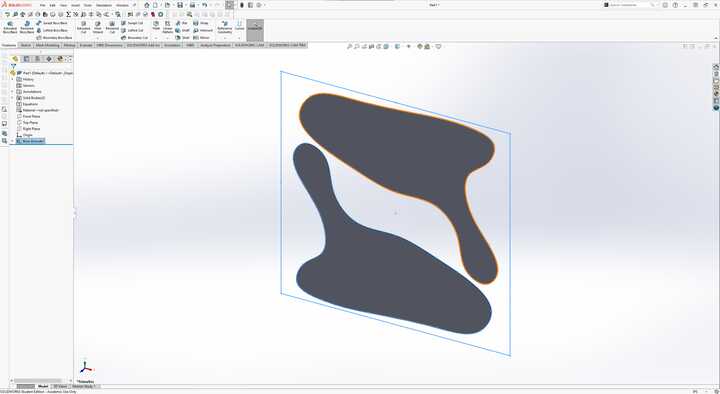
First I drew a rudimentary design in Solidworks to see generally how long it would take on the CNC router.
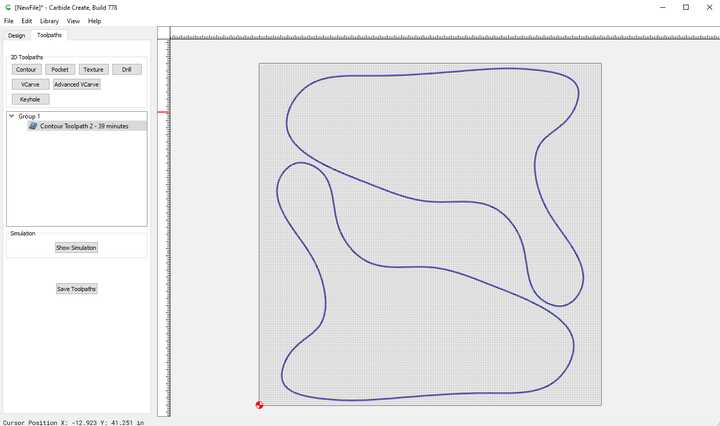
After I put it into the design space, I found that it took about 40 minutes to cut the general profile, so if I multiplied this by 2-3 for all the design features of the chair, it would be within the 2 hour time slot I was alotted..
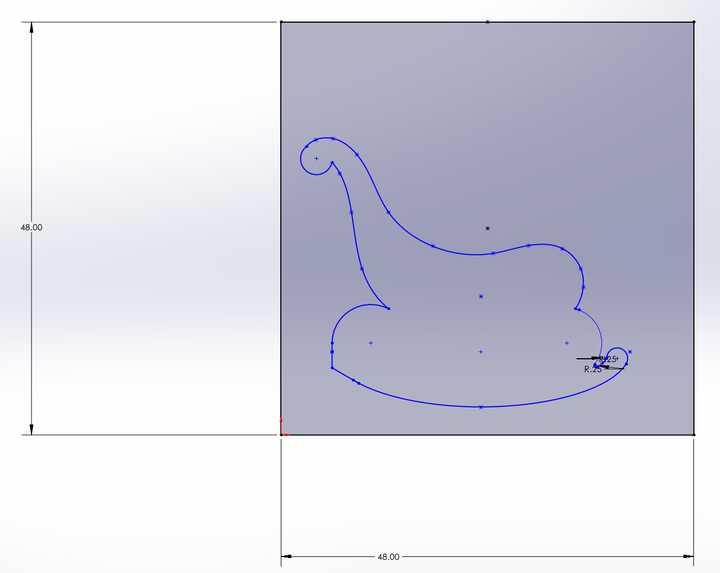
I got to work making the chair in solidworks. I started with a nice organic design, but realized that it would be difficult to scale.
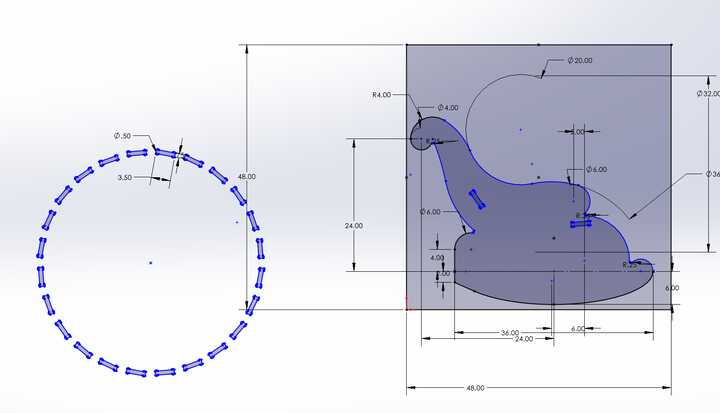
I added a lot of dimensions to make the design more replicable, and then got to incorporating the widthwise planks into the design by creating dogbones.
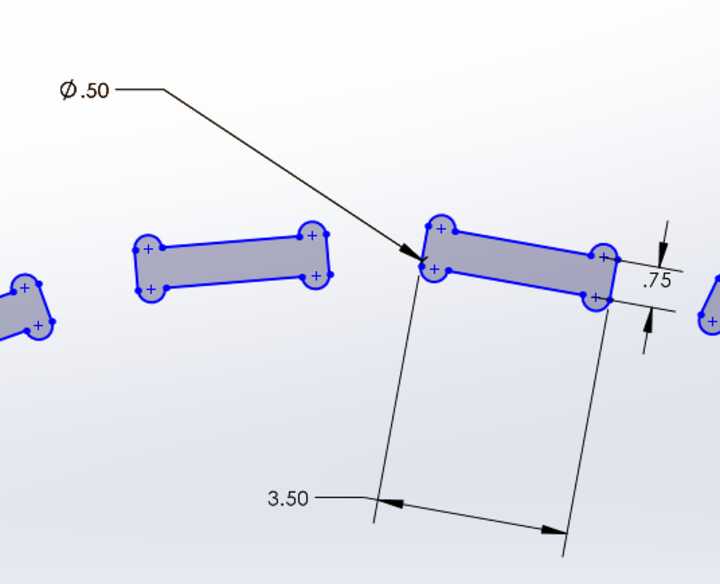
The holes needed to be rectangular to accommodate 1x4s, which had dimensions of .75"x3.5", but the router doesn't cut straight corners, so I had to add a little divet at each side to allow the 1x4s to fit.
These holes needed to be machined from the inside while the outer profile needed to be machined from the outside.
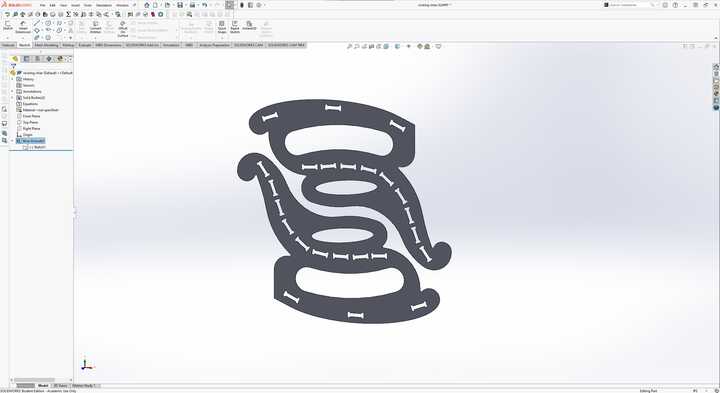
Here's the final at-home design!
It took about an hour and a half according to the estimation, so I was good to machine it. To give me more time I decided to have my print ready before coming to the makerspace by setting all the parameters beforehand.

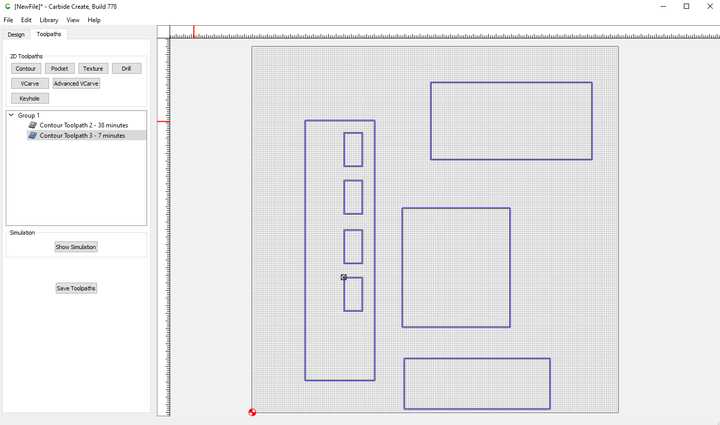
Here's the simulated toolpath!
At the makerspace, Jeff and Joe helped me clarify some design parameters, adjusting the depth per pass to 0.1 and the max depth to 0.64, both of which would decrease the amount of time spent machining.
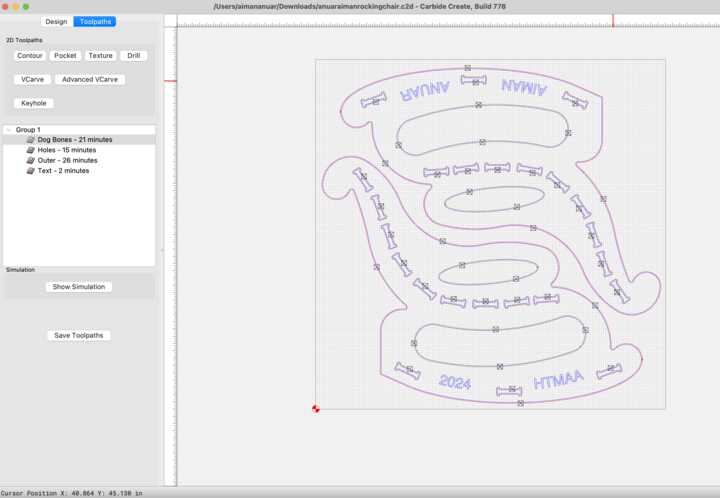
Due to the time saved (nearly cut down to 50%!), I decided to add some machined text using the 1/8" bit, which I originally didn't use to the loss of time due to swithcing the bit out, but now that I had time, I wanted to learn how to switch the bits out in the middle of a job.
Here is the toolpath!
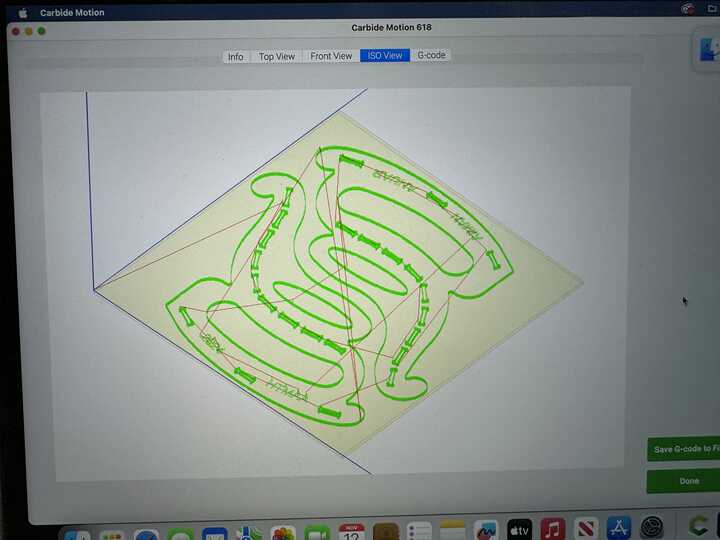
And a 3D view of the toolpath.
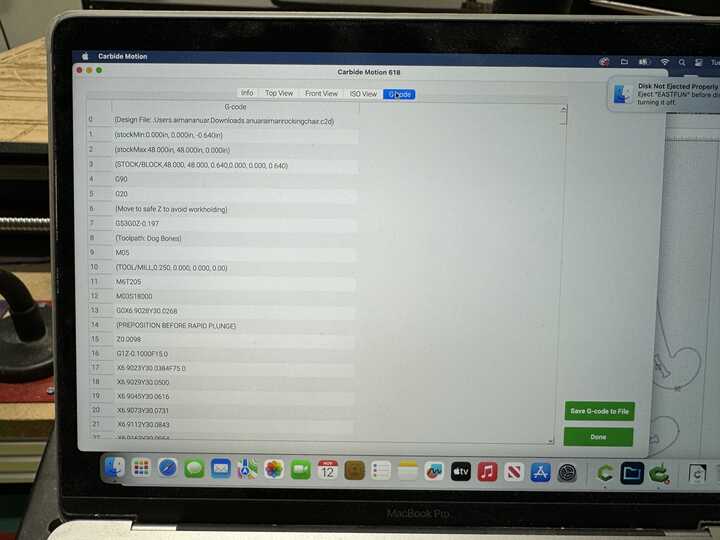
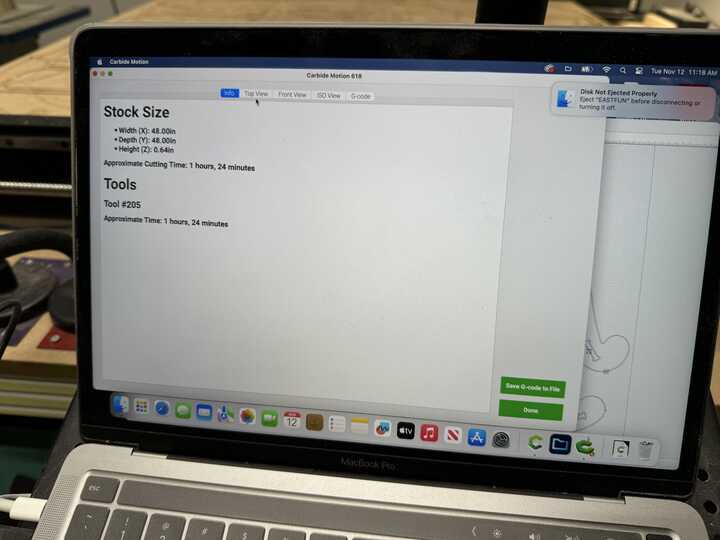
Some of the GCode!
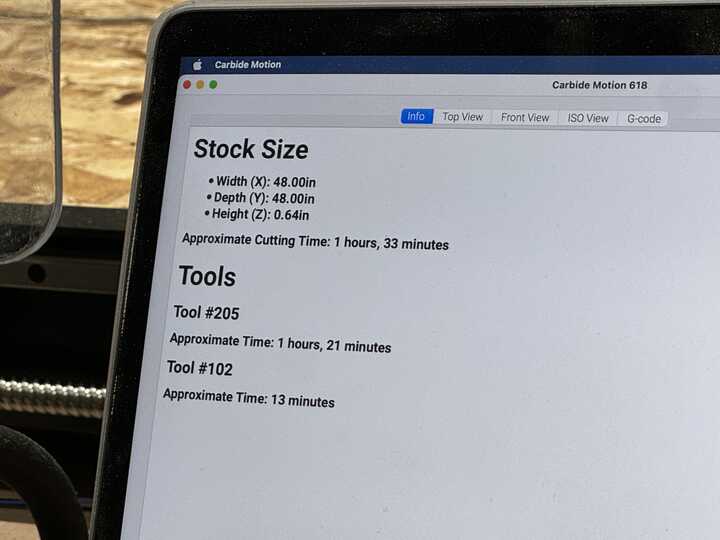
According to the program it would take about an hour and a half minimum.
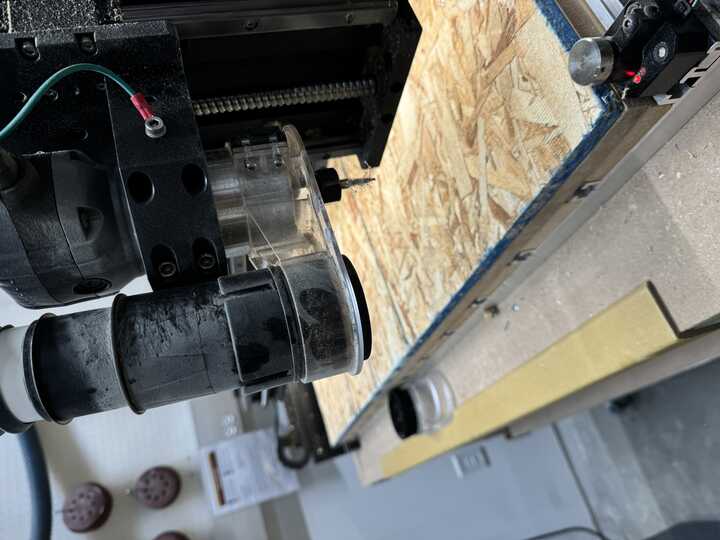
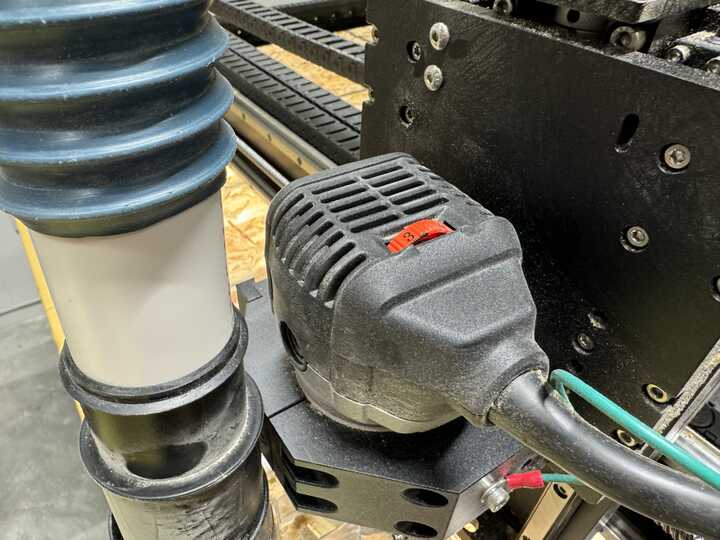
Here's a picture of the bit, which I practiced loosening and tightening by adjusting the vacuum cover and then using a wrench to loosen the collet.
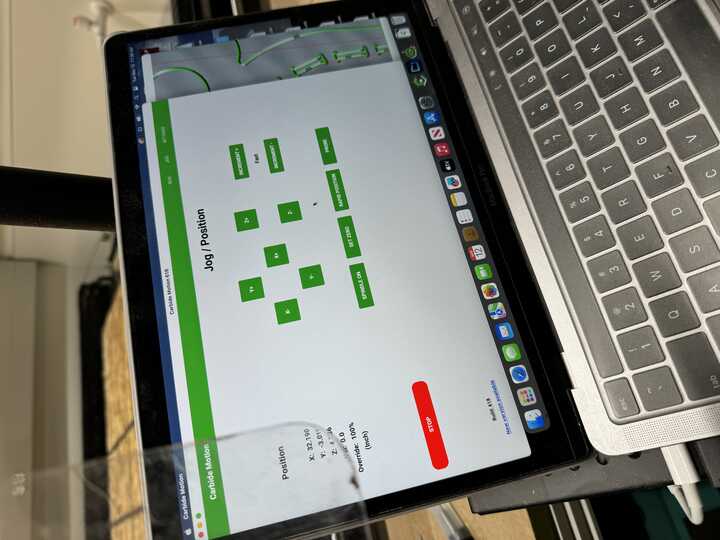
Here are some of the controls for the Shapeoko once a job was started.
We had to check documentation to set the spindle to the right speed depending on the material, which I set it to about 3-3.5 based on the documentation, and let it get right to the job.
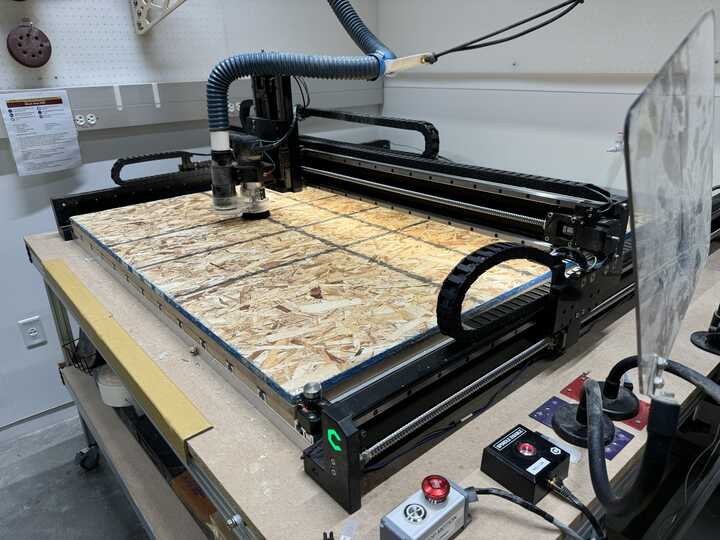
Off it went, and it was pretty amazing to see it trace out the path I designed.
As seen in the picture, it had to do multiple passes before fully cutting out a shape.
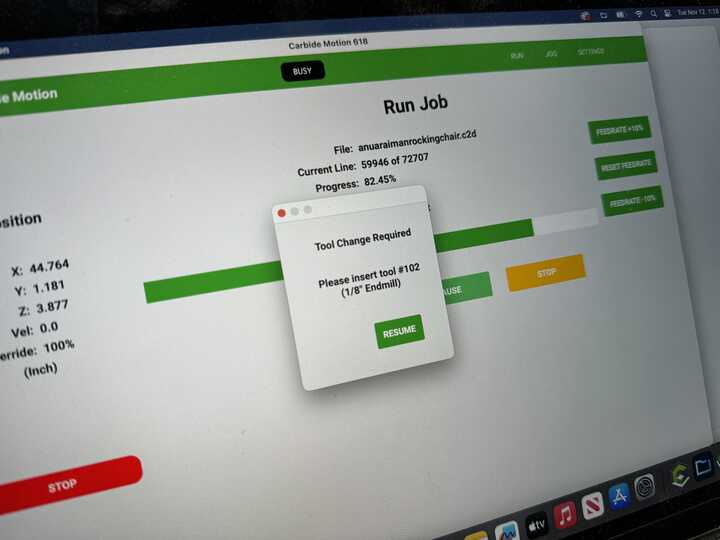
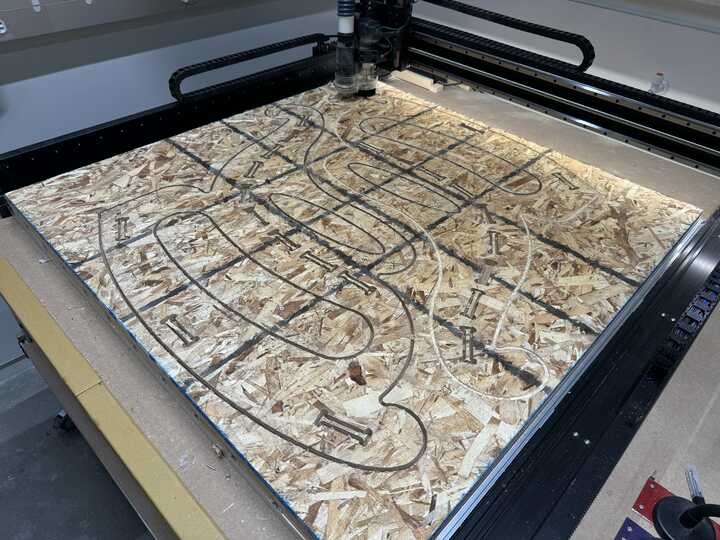
At the tool change, I changed to a 1/8" bit for better, smaller contouring.

I contoured out my name and the words "2024" and "HTMAA" on the side of my chair!
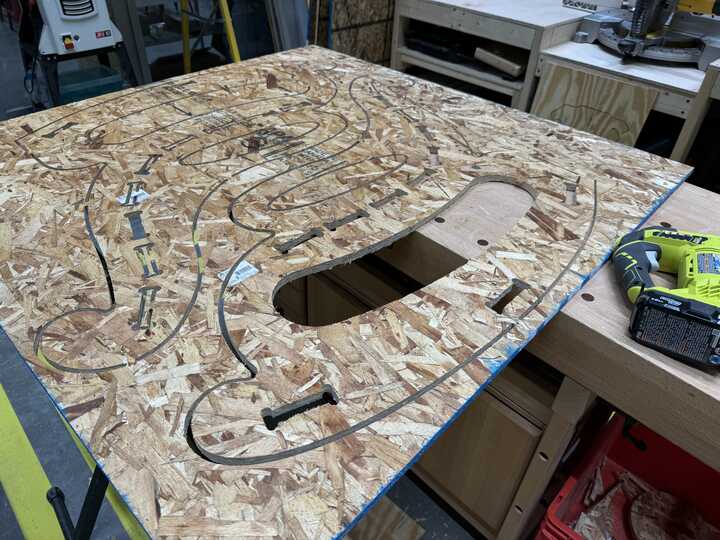
Then came cutting the parts out and removing the tabs. For this, I used a jigsaw to cut them out.
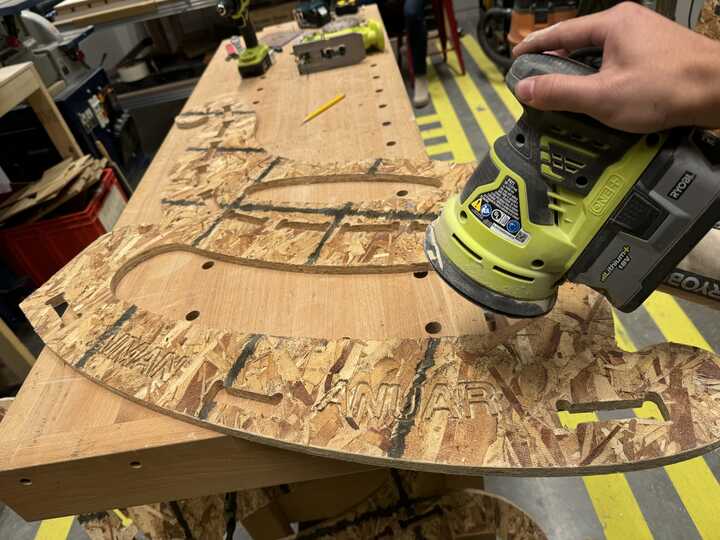
Then I sanded the corners with an orbital sander because basically the entire chair would be touched so I had to ensure there were no splinters.
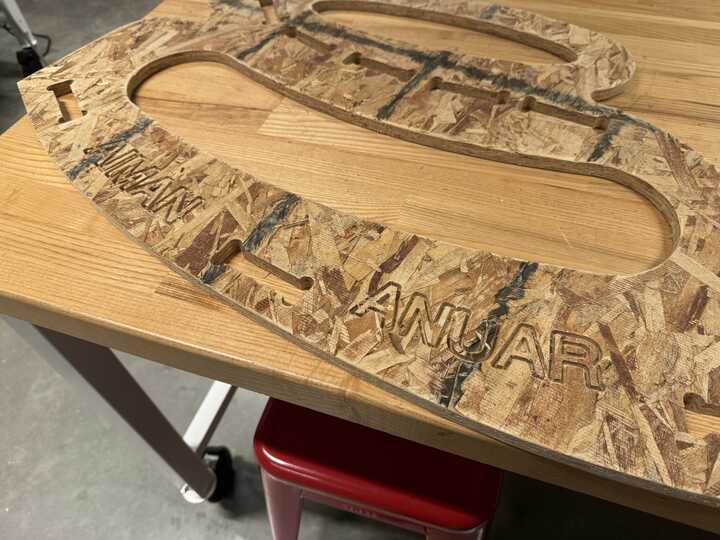
That's right, this is MY chair!
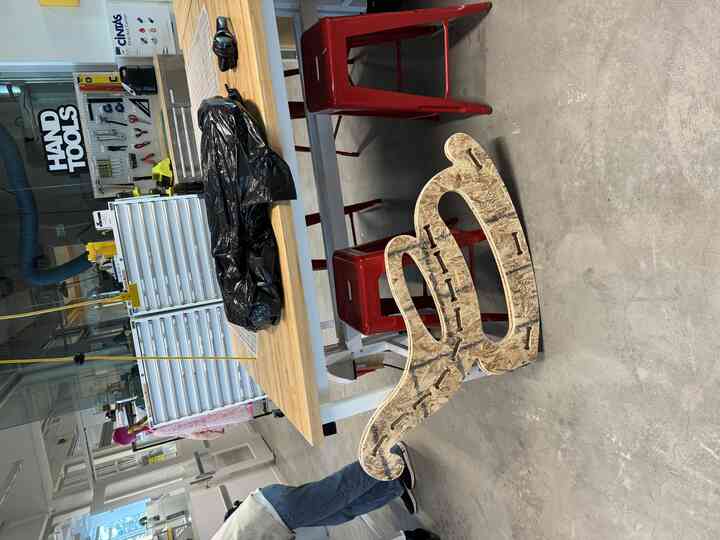
Here is the full side profile of one of the arms of my rocking chair.
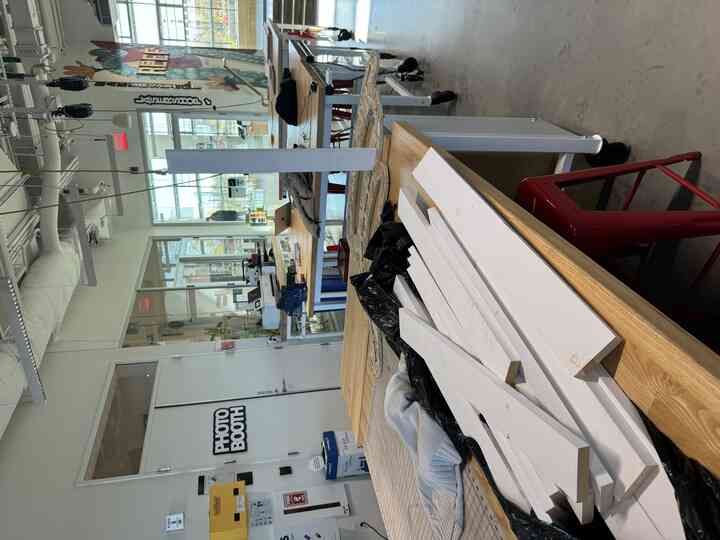
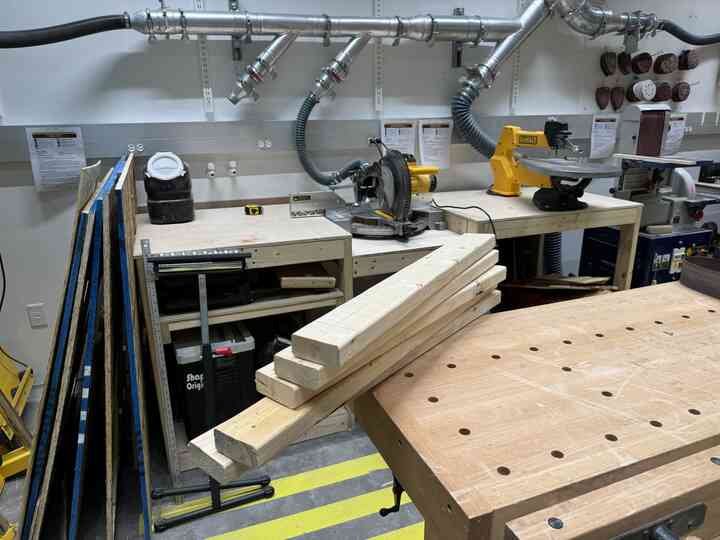
I brought some wood over from my job at the theatre. I cut down some white 1x4s into 30" long pieces, which was the smallest that would fit through the door of my dorm room.
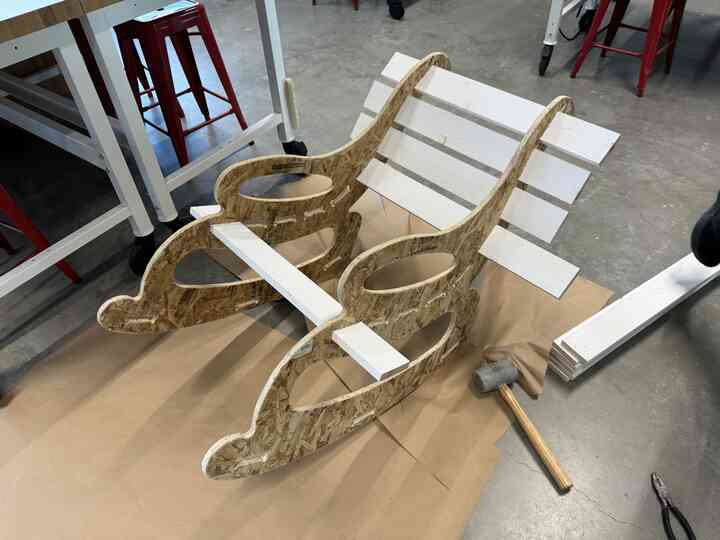
I started sliding over all of the wood through the cutouts in the side pieces. Some of them slid in smoothly and others required a bit of a push.
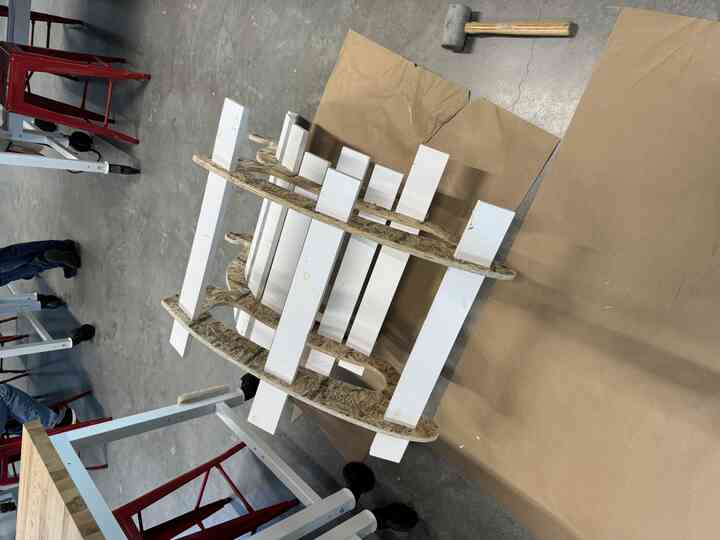
I had to flip it over to put the bottom ones on and these ones were really tight, demanding the use of a mallet.

All of the 1x4's in.
I deicided I needed to reinforce the 1x4s with some 2x4 bracing.
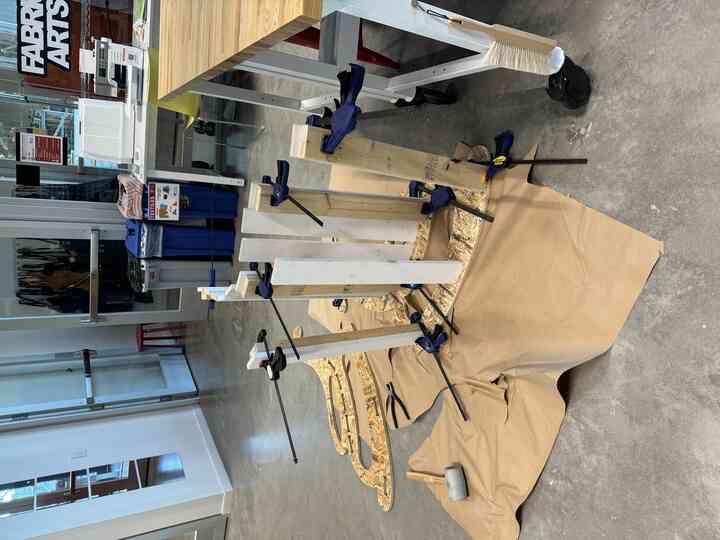
I glued everything together with wood glue and clamped it all.

It was kinda painful but I just put some wood glue on the ends of the 1x4s and then pushed them in, and used my finger to spread the rest of the glue to completion.
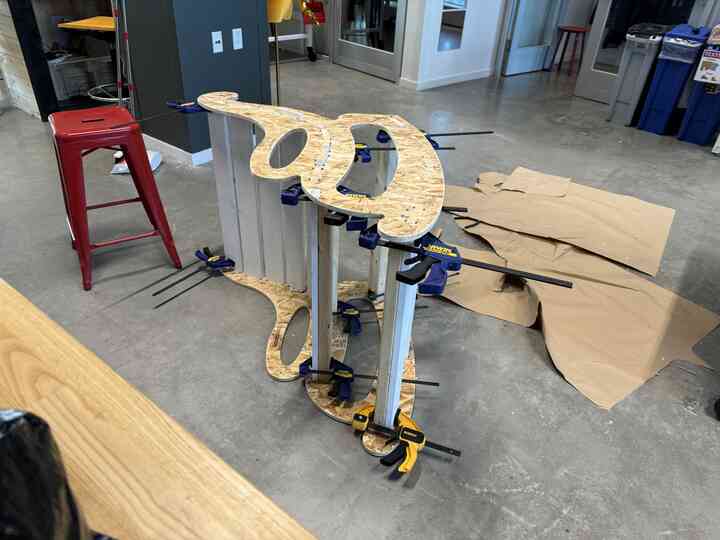
After gluing one side, I flipped it over and glued the other side.
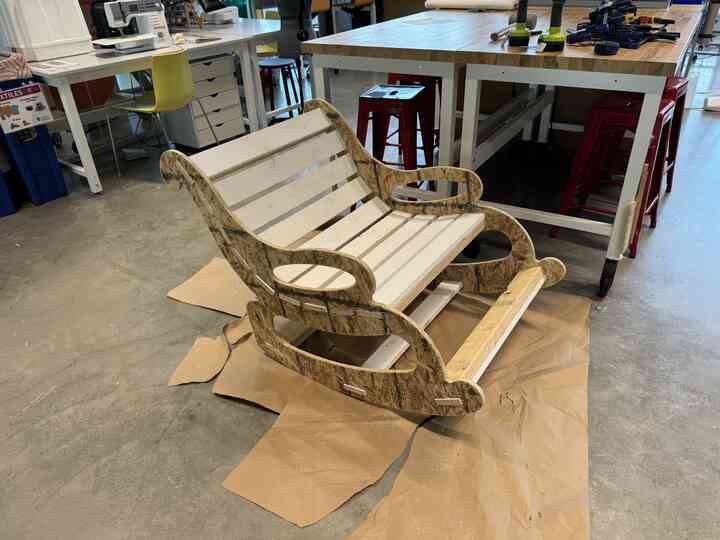
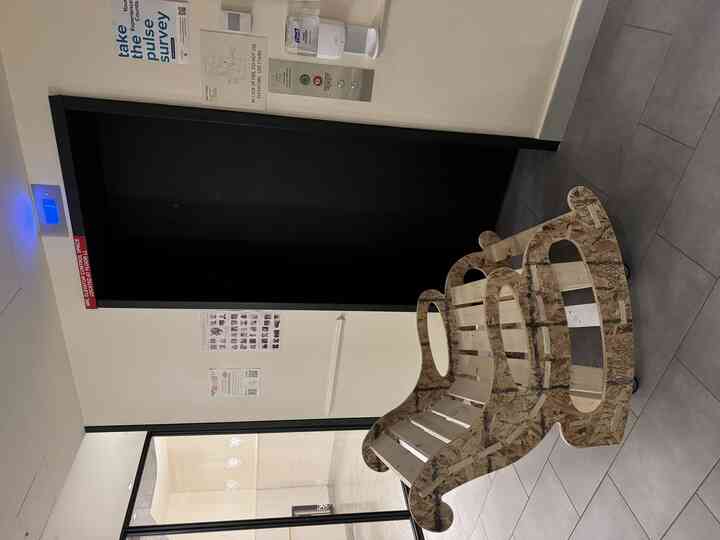
Here is the chair after drying! I then proceeded to sand it so it would be round and round off the parts of the 1x4s sticking out of the sides.
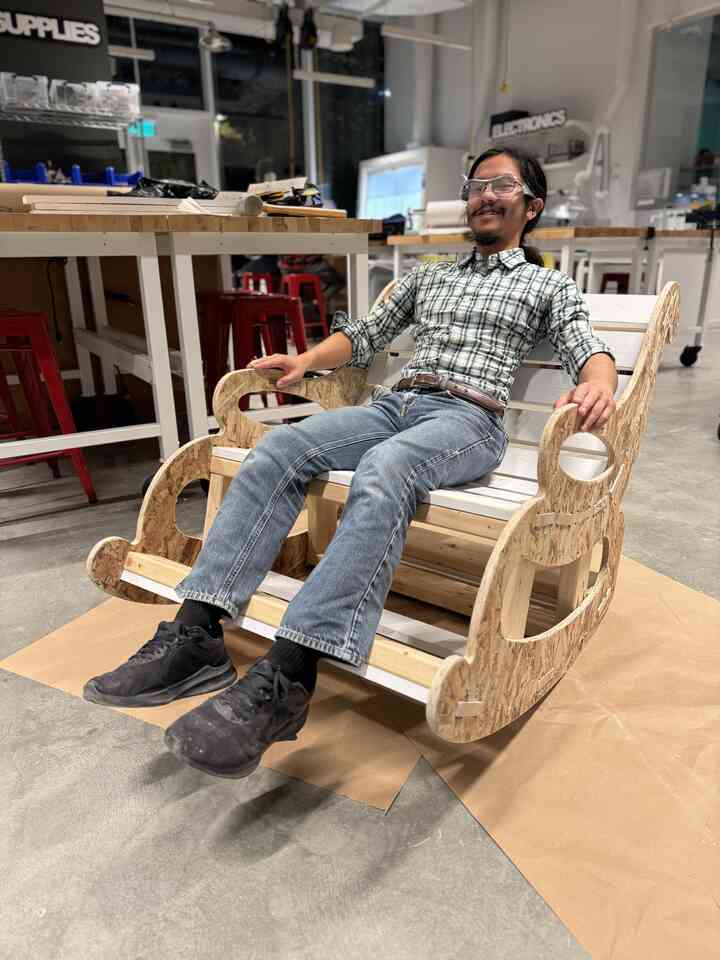
Above is a picture of me in the chair.
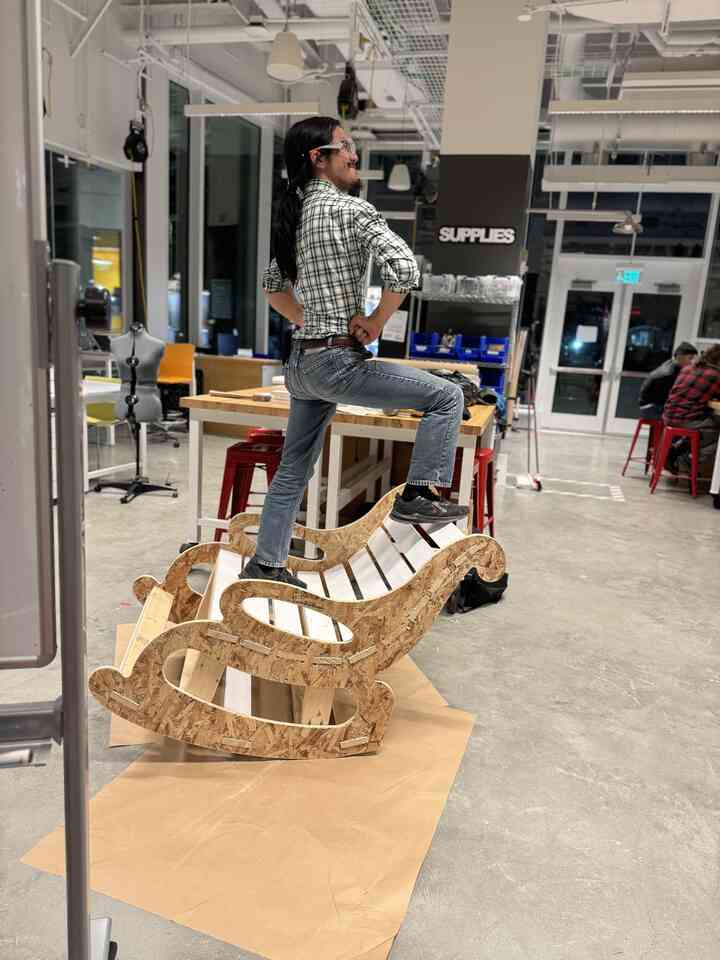
Above is a picture of me ON the chair. B)
That was CNC'ing! If I had CNC'ed the width-wise panels, I'm sure they would have been weaker and not as strong, but since this was furniture, I had to use those x4's to be able to support enough weight. This week I learned about a few main things with CNC— how to fix stock for a CNC machine, how to set spindle speeds and operate the CNC machine, how to design CNC designs to include corner cuts and tabs, and building using CNC'ed shapes. I look forward to using the CNC machine more in the future, although I am not sure how the CNC could be used for my toolbox project.
Home