HTMAA 2024 - Week 2
Computer-Controlled Cutting
HomeFor this week's group assignment, I completed and submitted my safety certificate for the Harvard REEF Makerspace!
I designed a comb on Solidworks per Neil's suggestions to measure the best finger widths to use for my laser cutting. Each bristle of the comb was 0.01" wider than the previous, from 0.10" to 0.35".
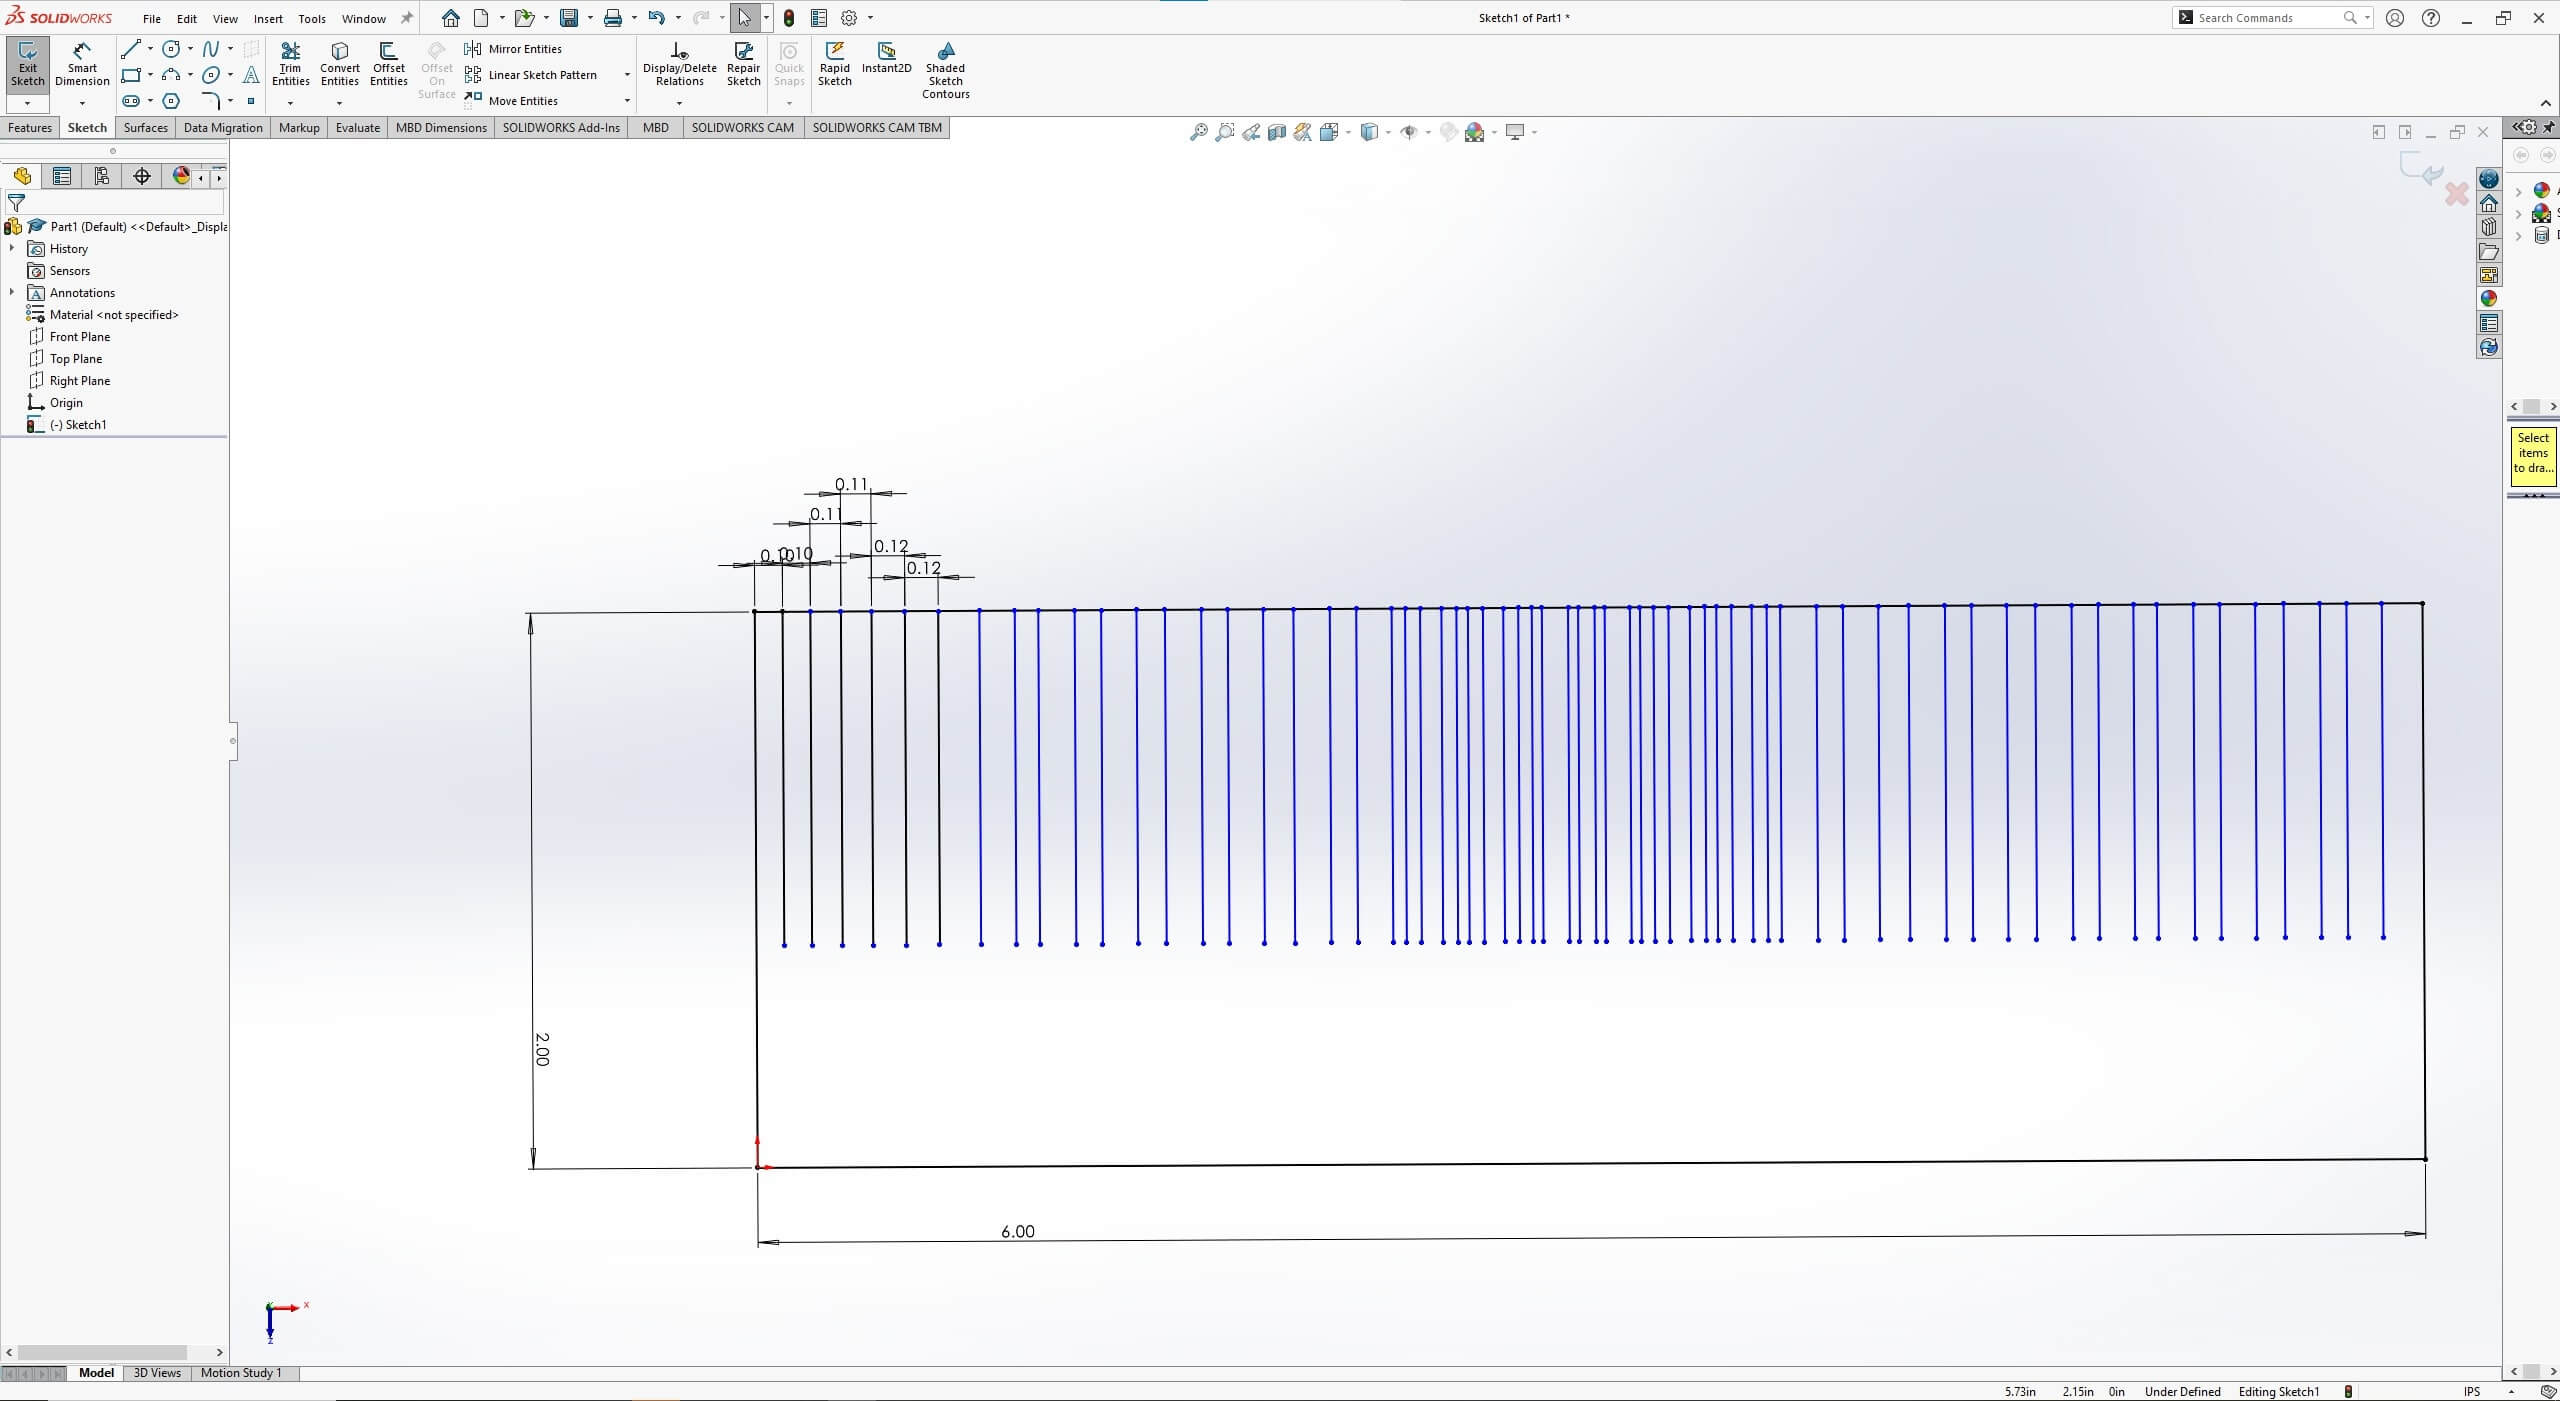
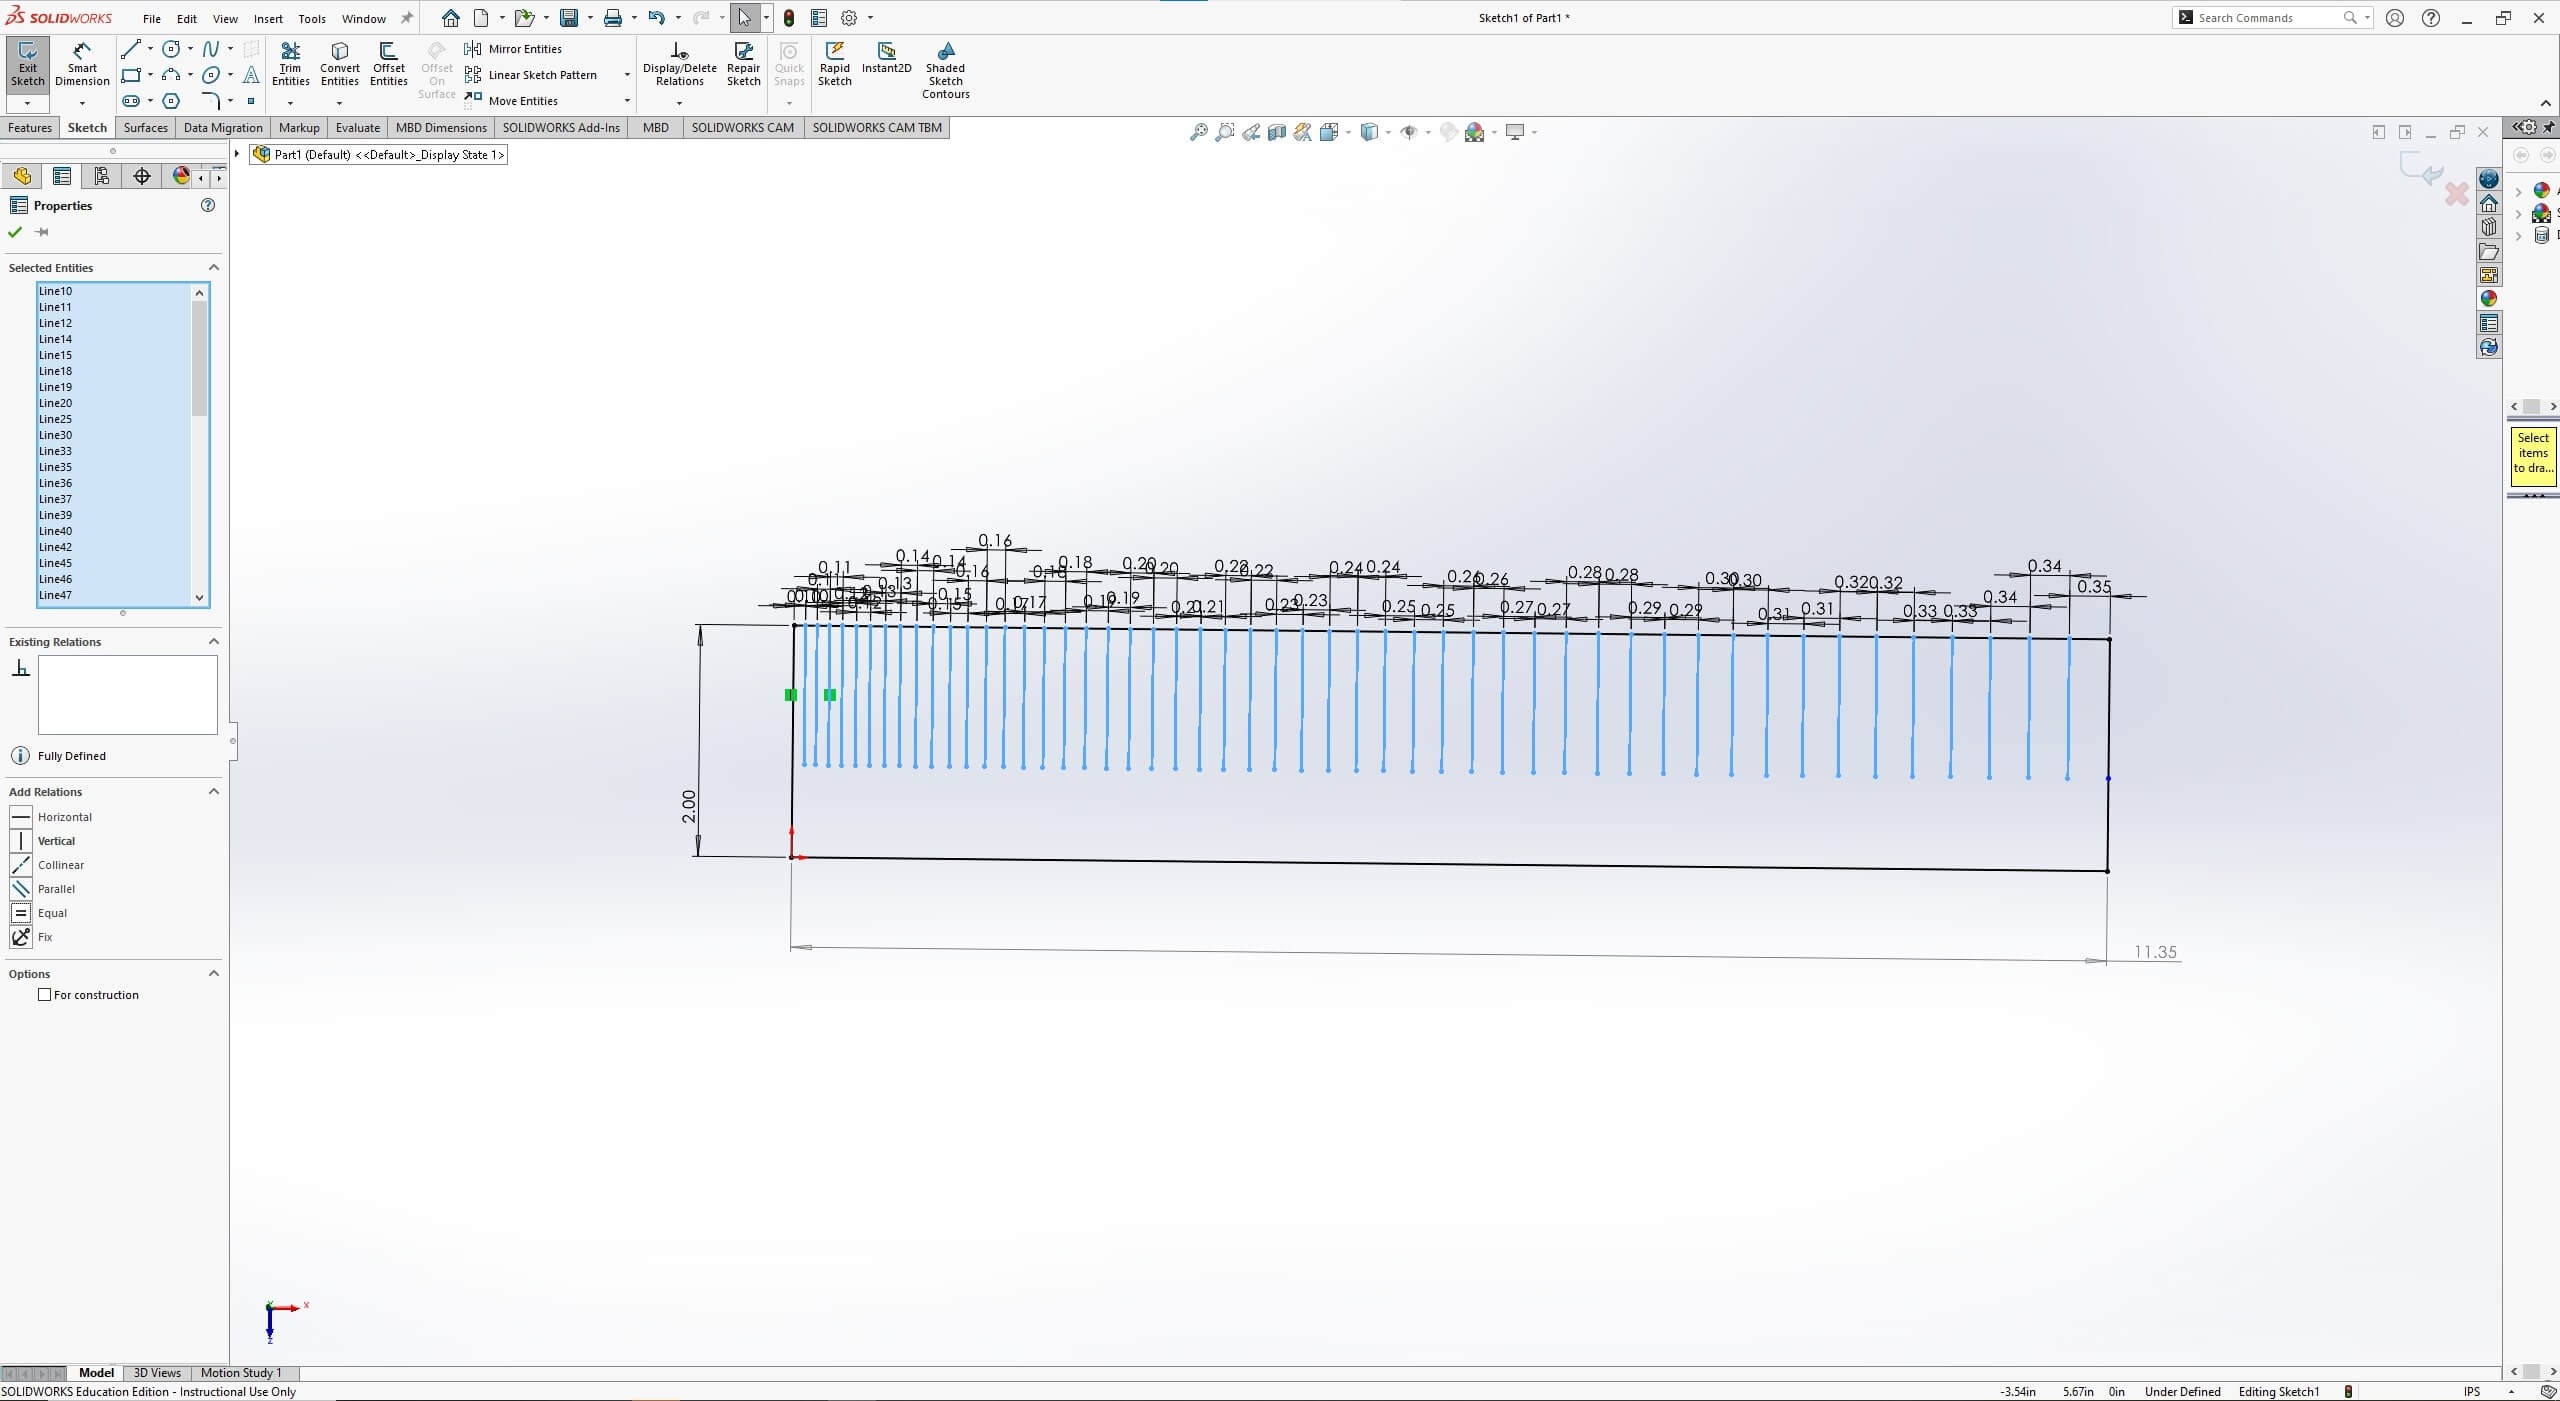
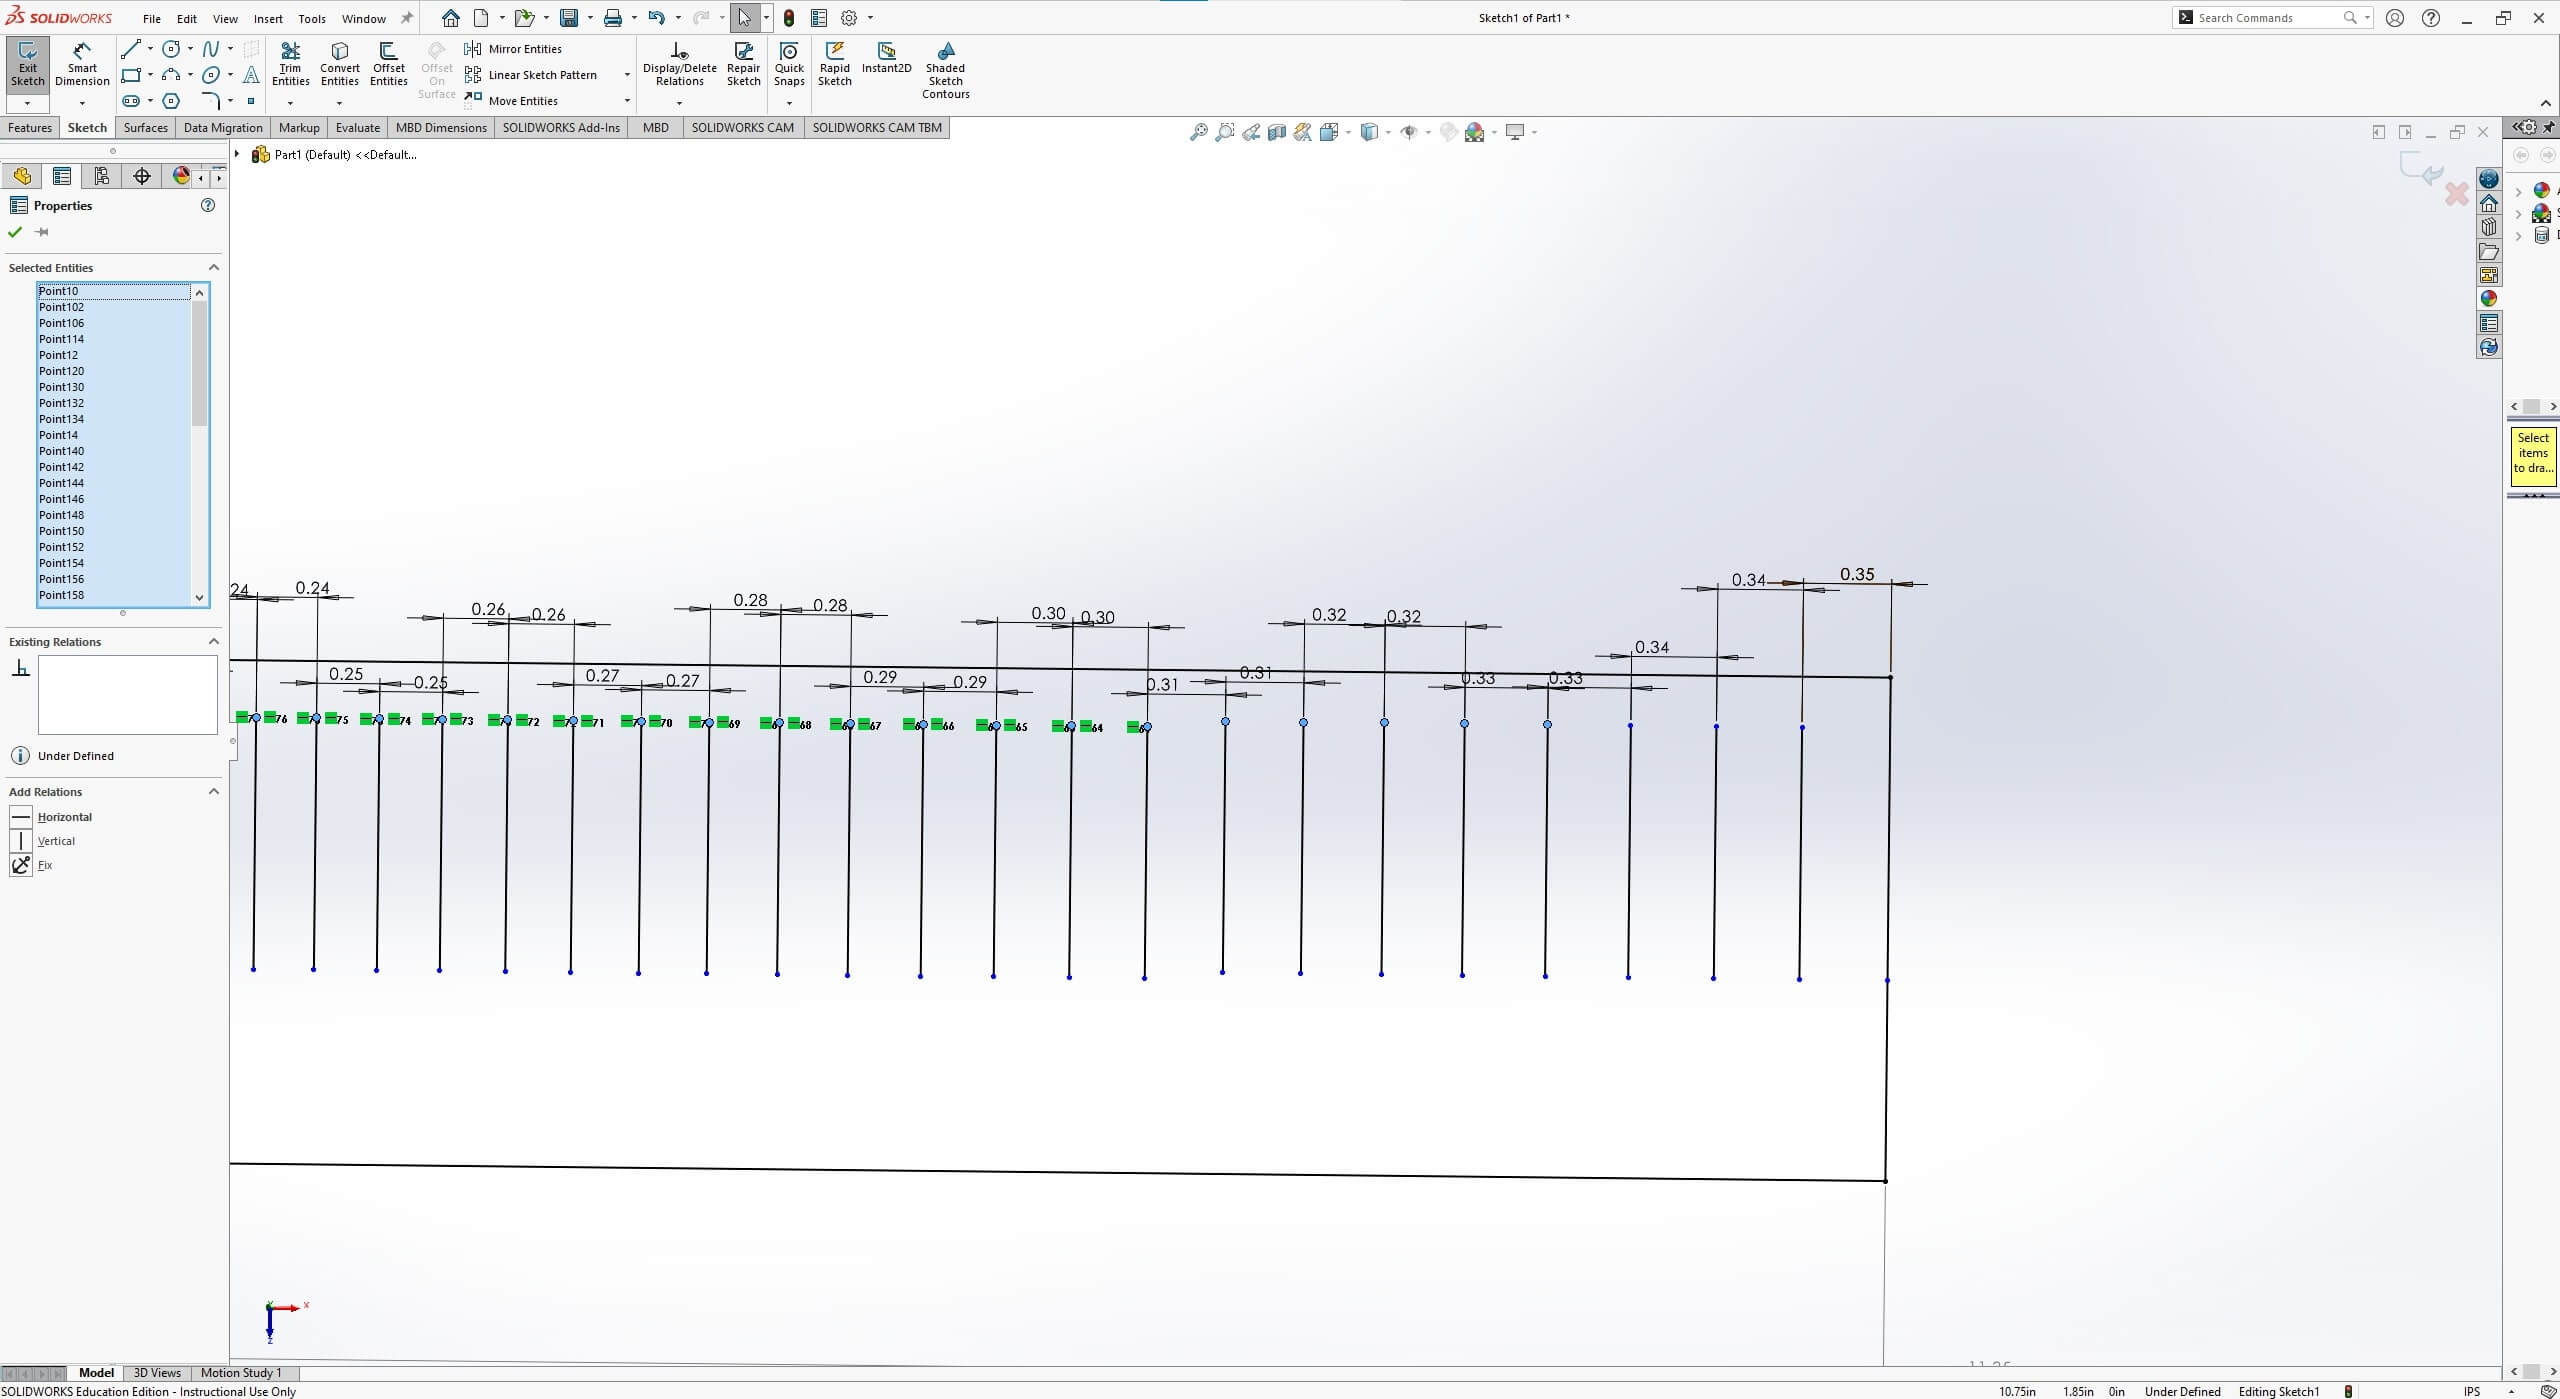
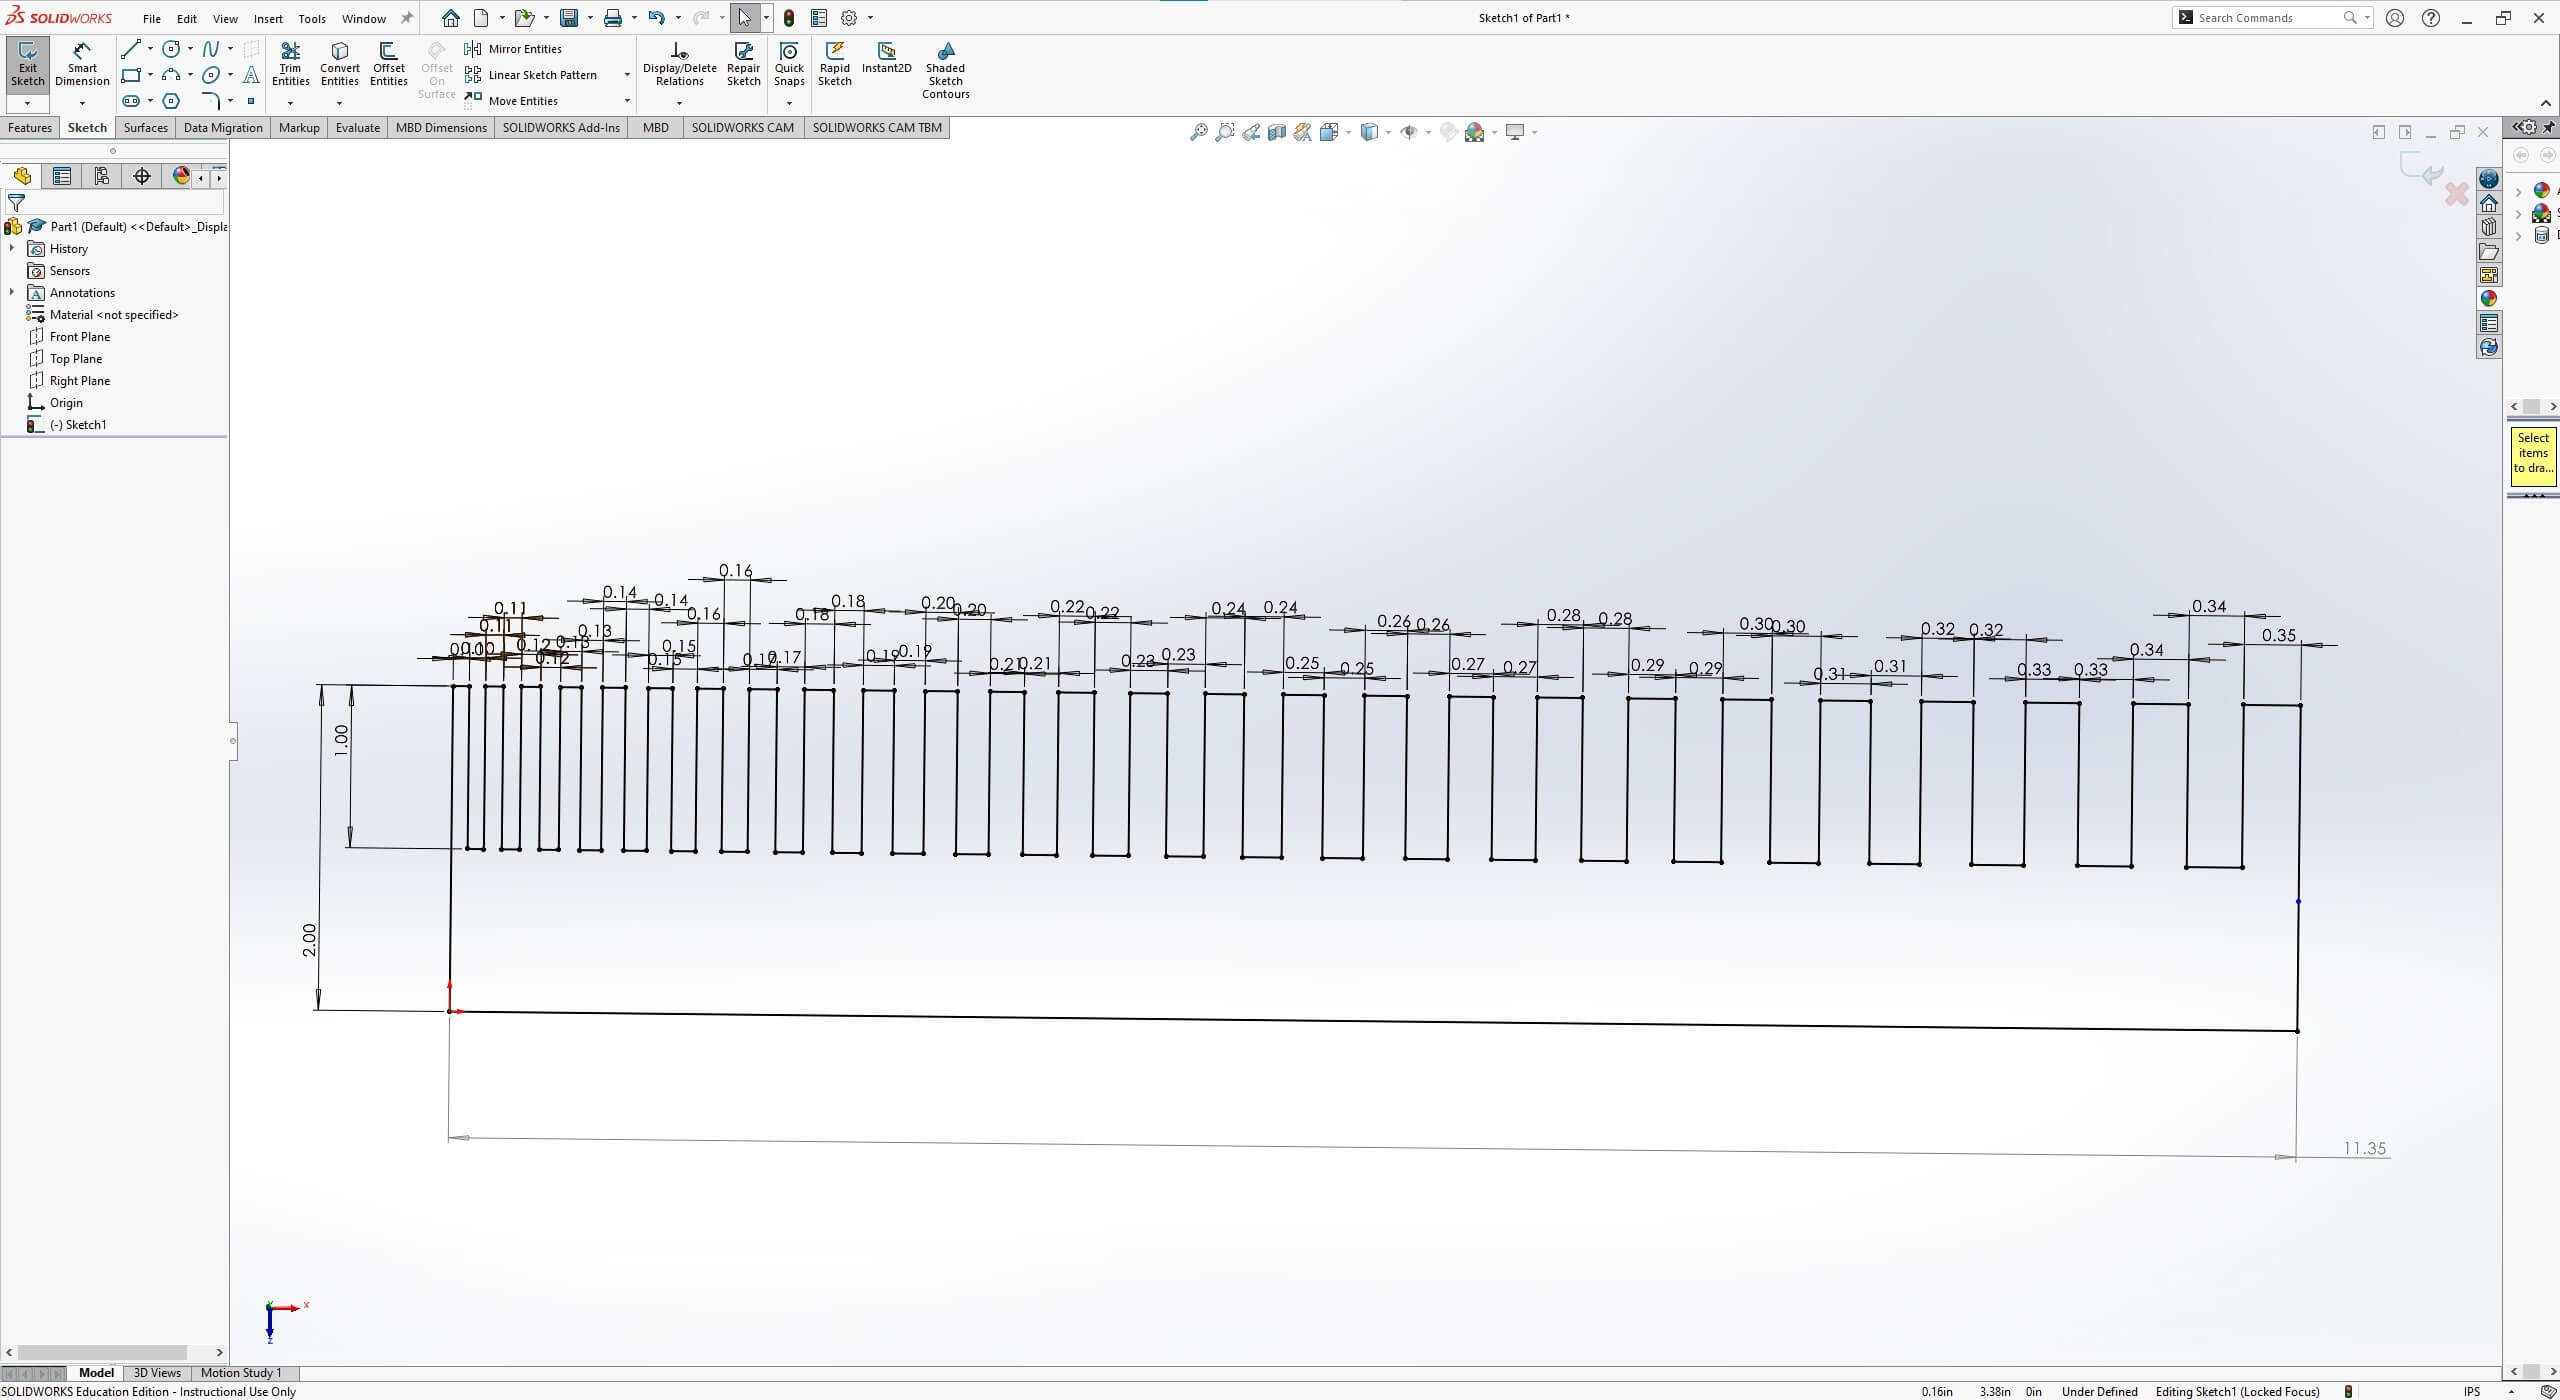
To measure the kerf, I figured I would incorporate it into the comb on the bottom, by having 1" and 2" wide fingers. I then exported a .dxf file from the face of the comb.
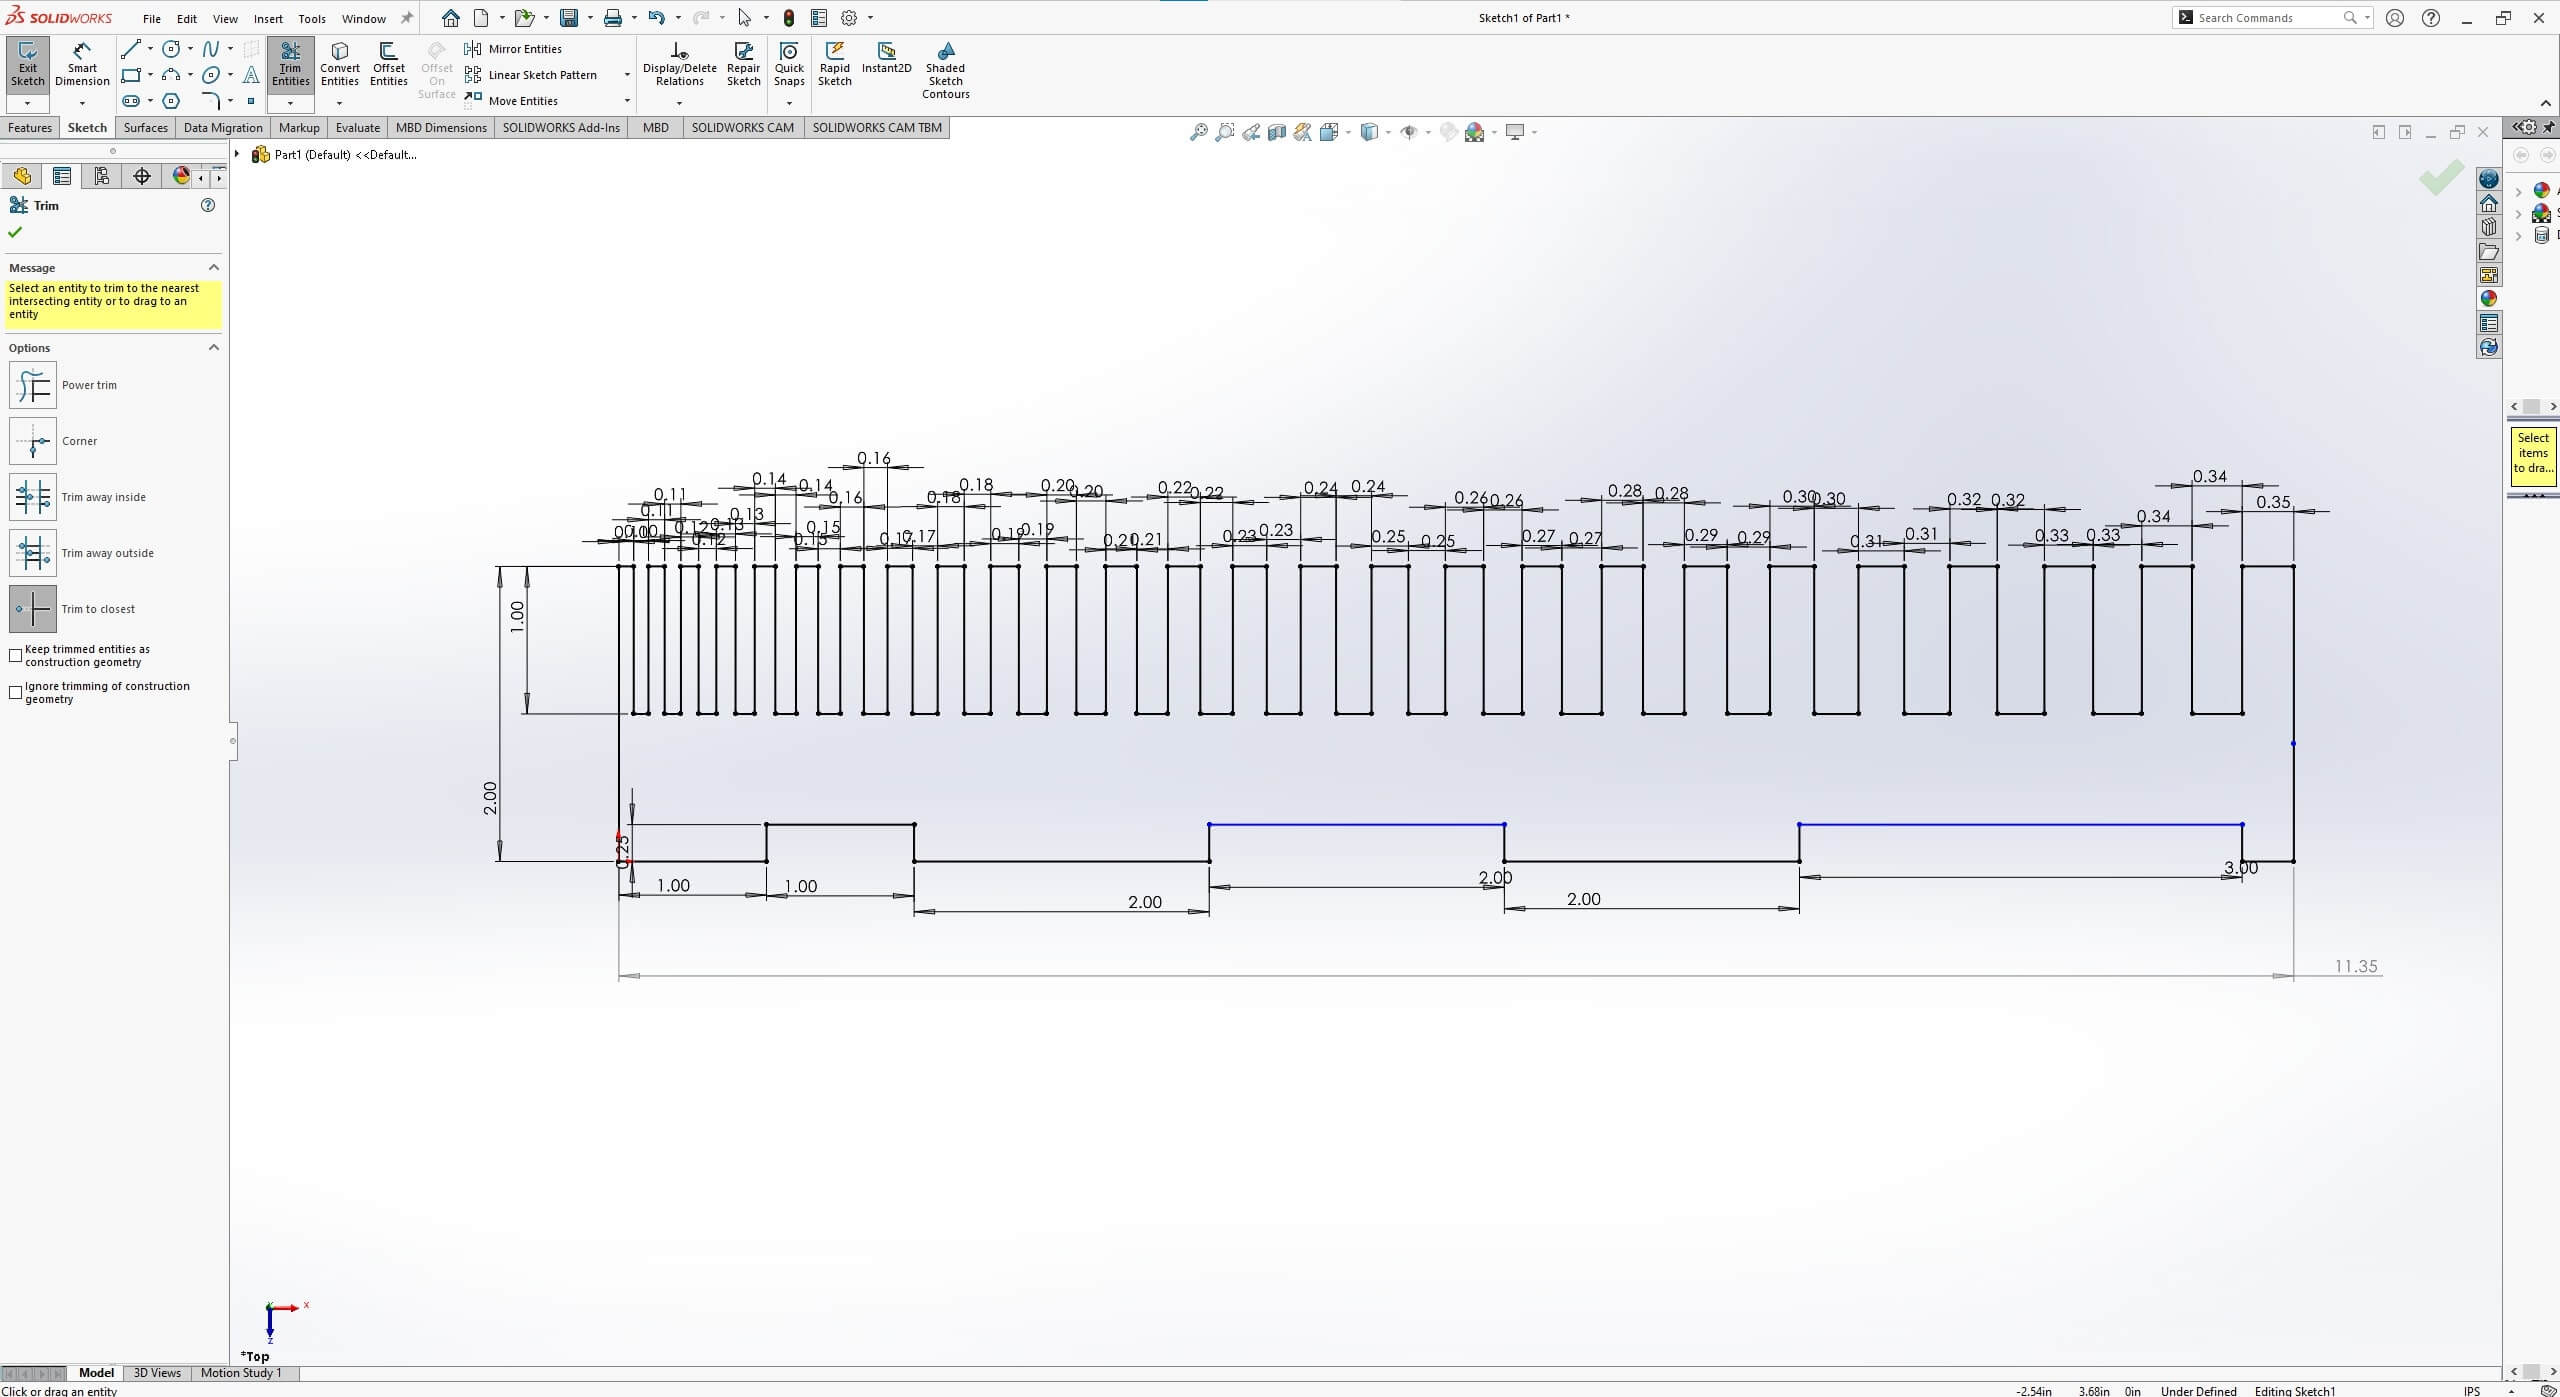
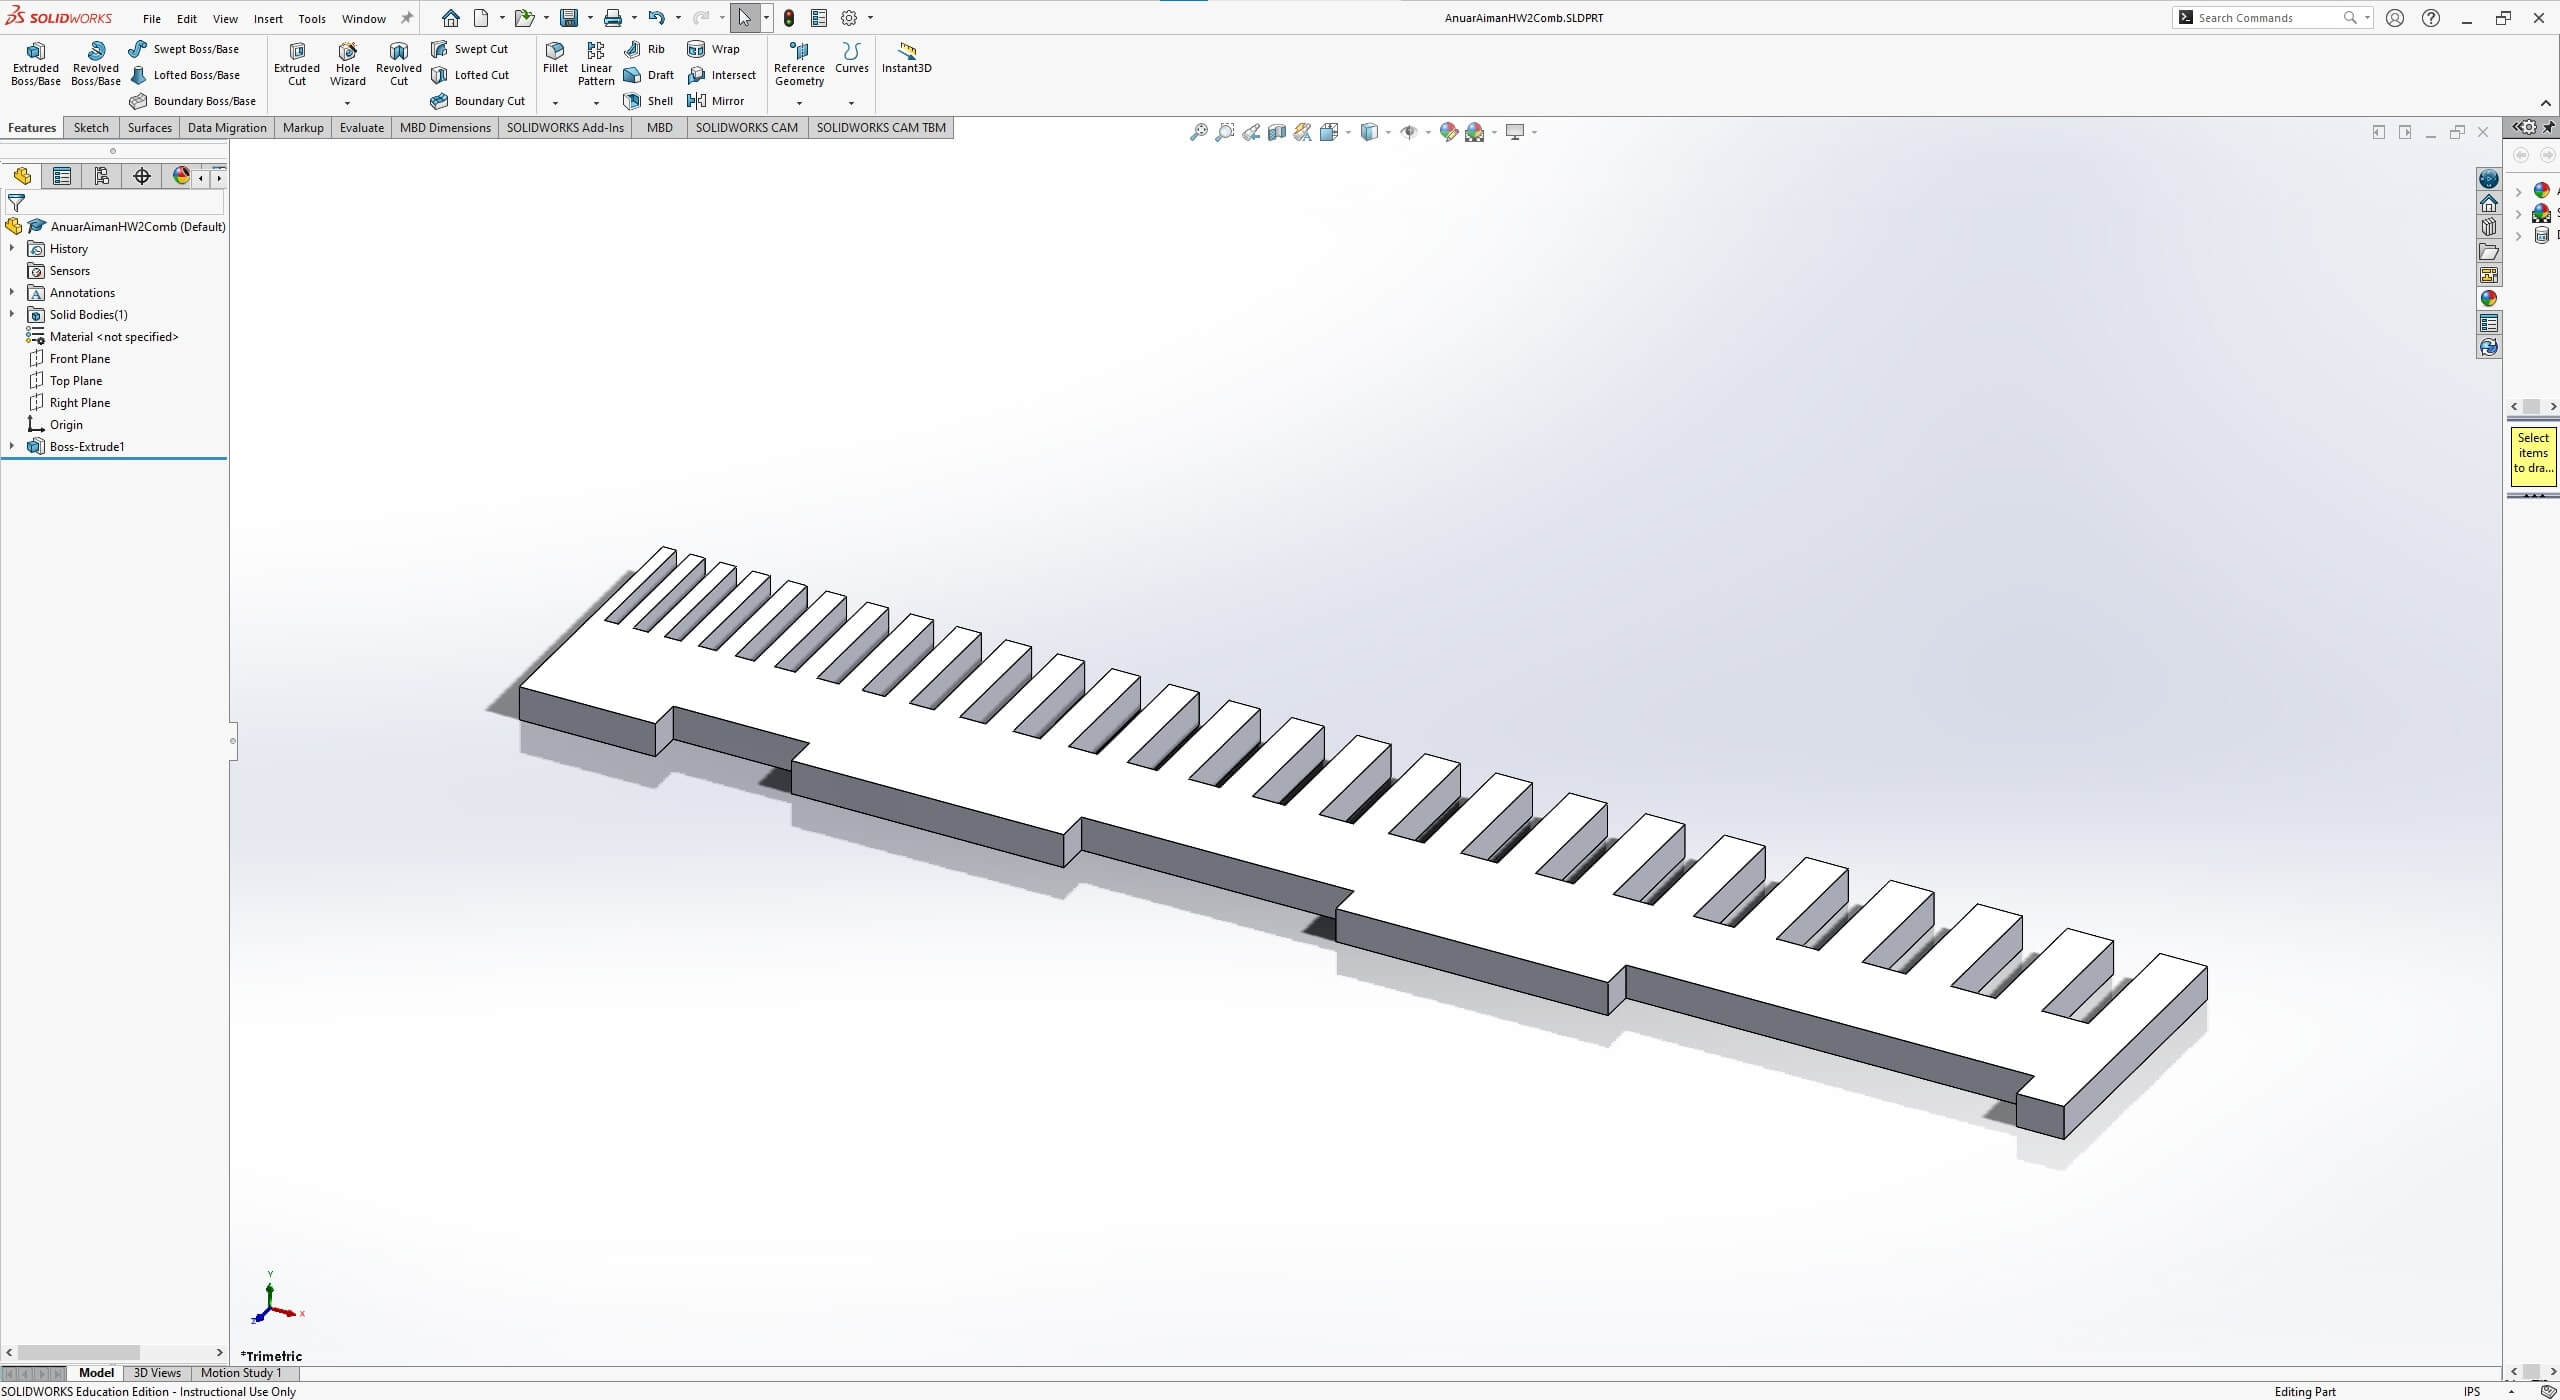
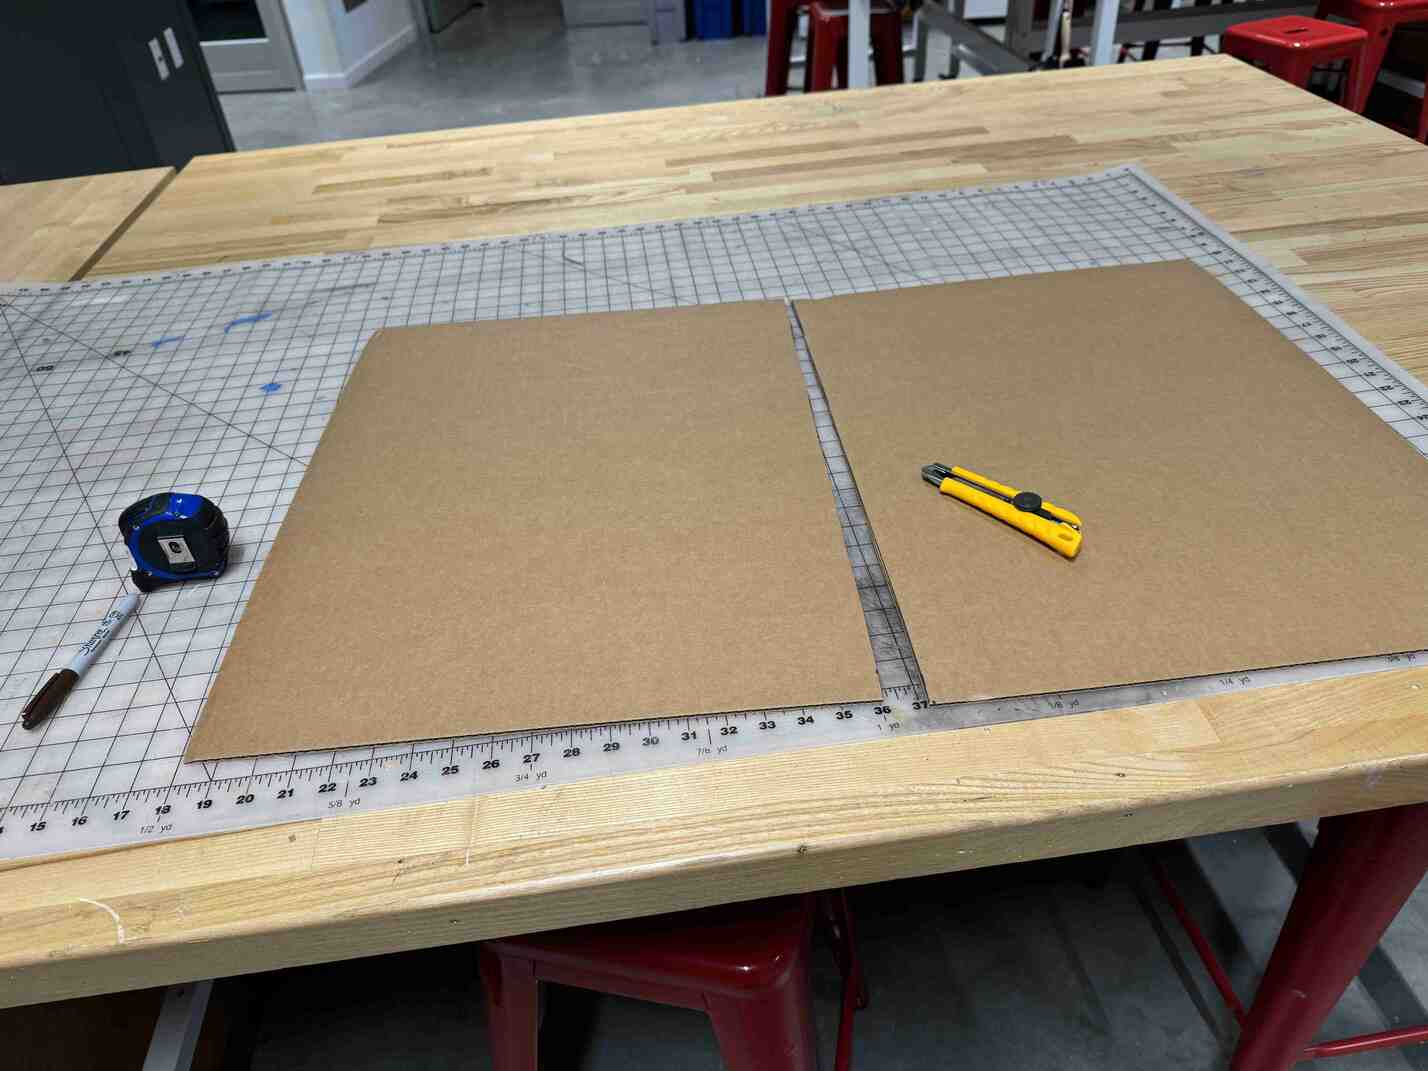
To cut the comb, I had to take the cardboard stock we got for the class and use a razor knife to cut it down to 24" x 18".
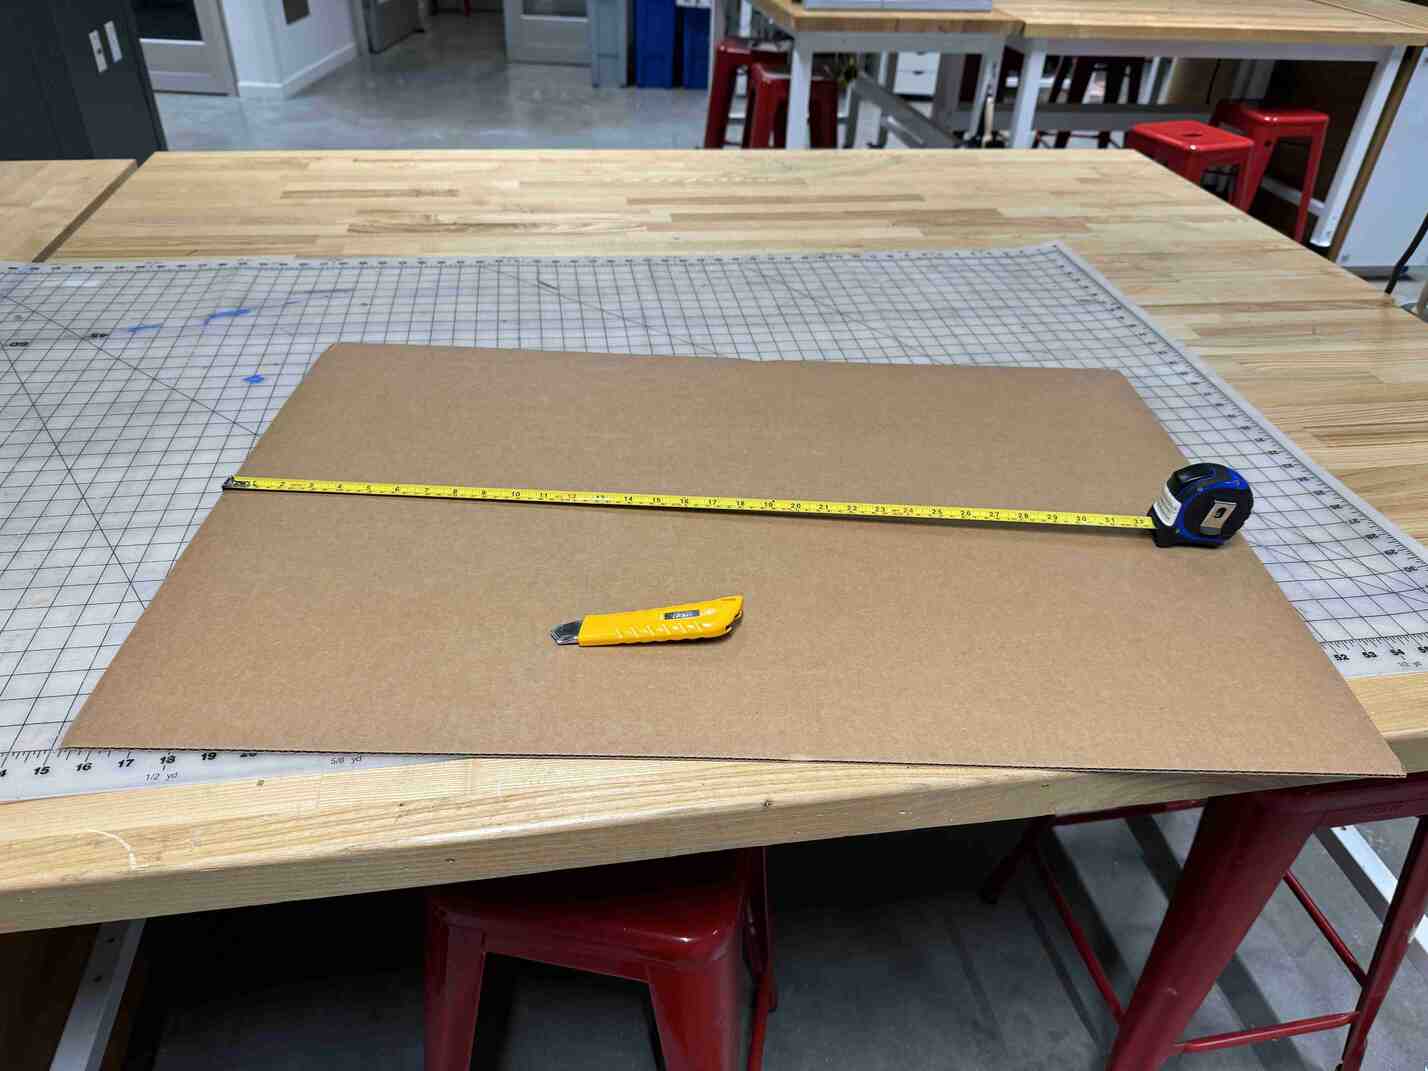
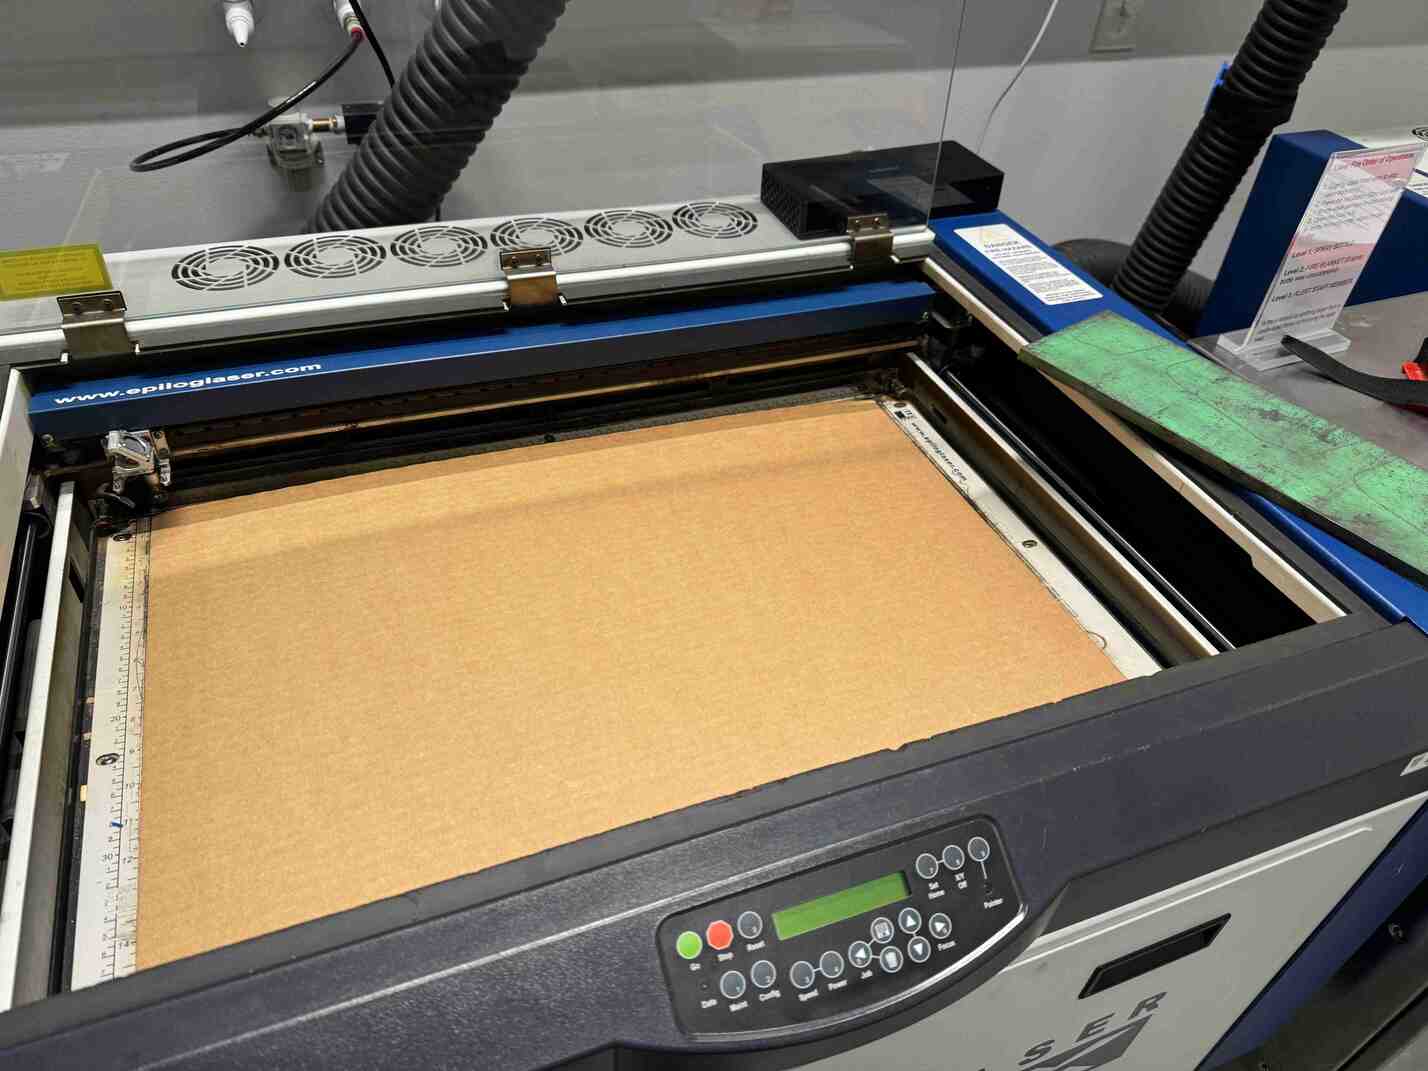
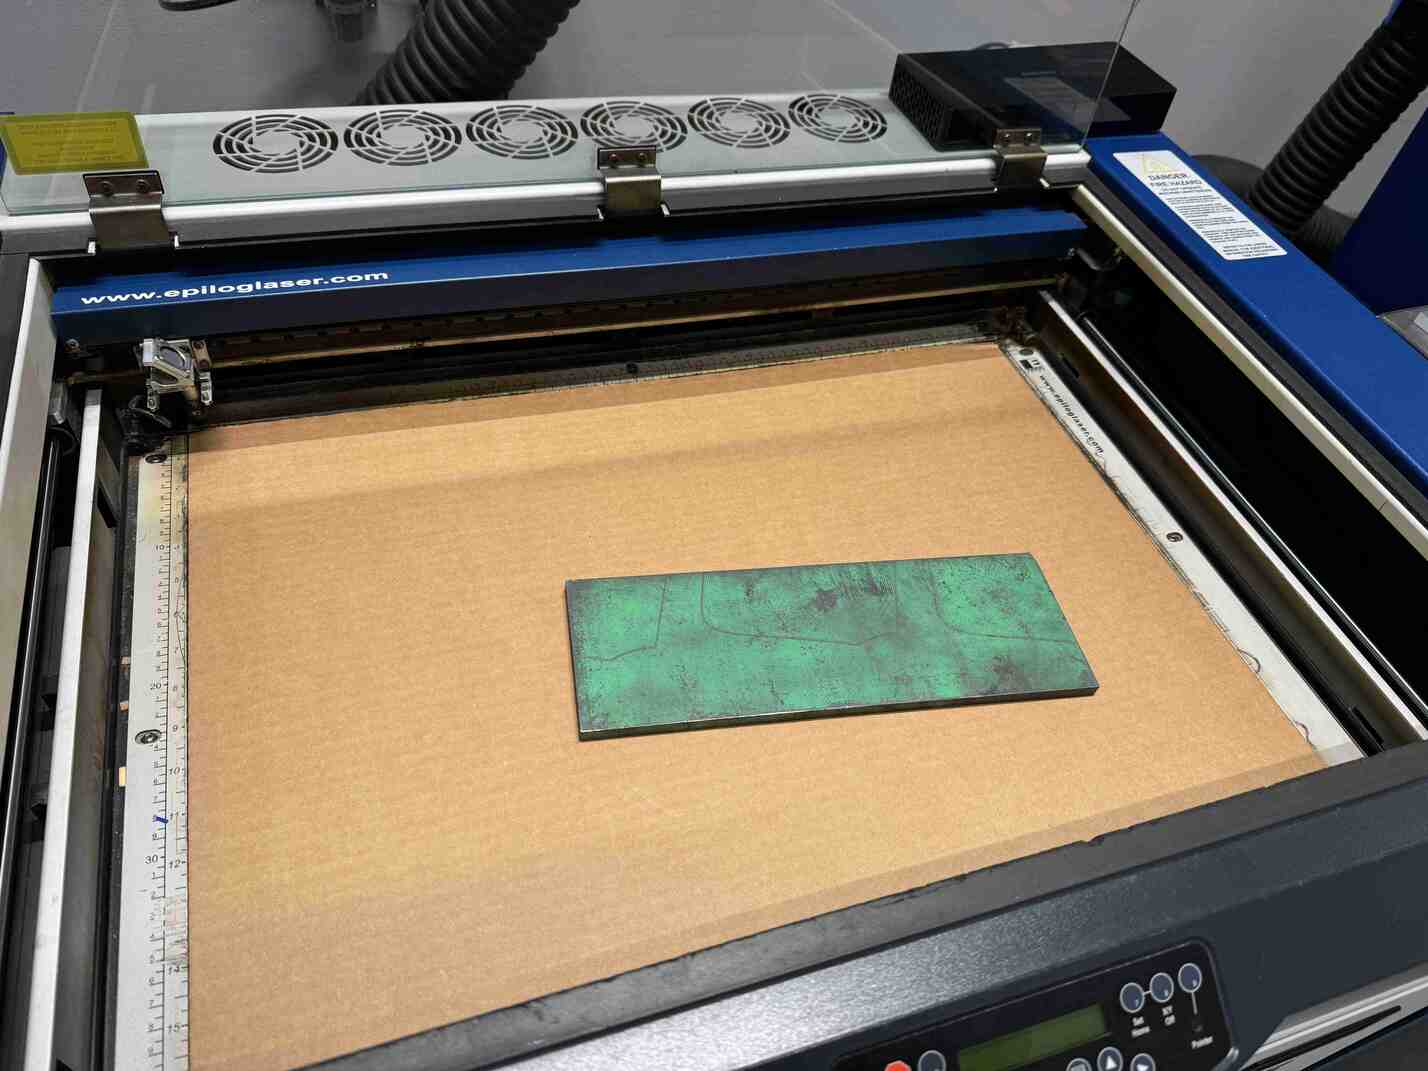
I put it in one of the Epilog laser cutters, but the cardboard was a bit warped, so I weighed it down with a metal slab.
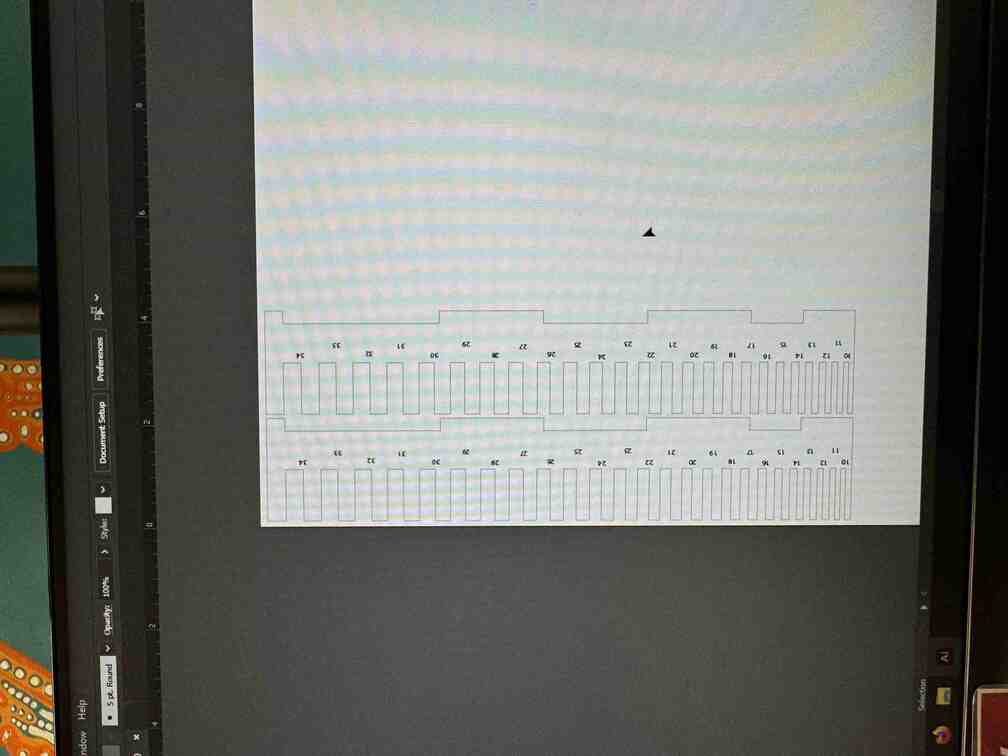
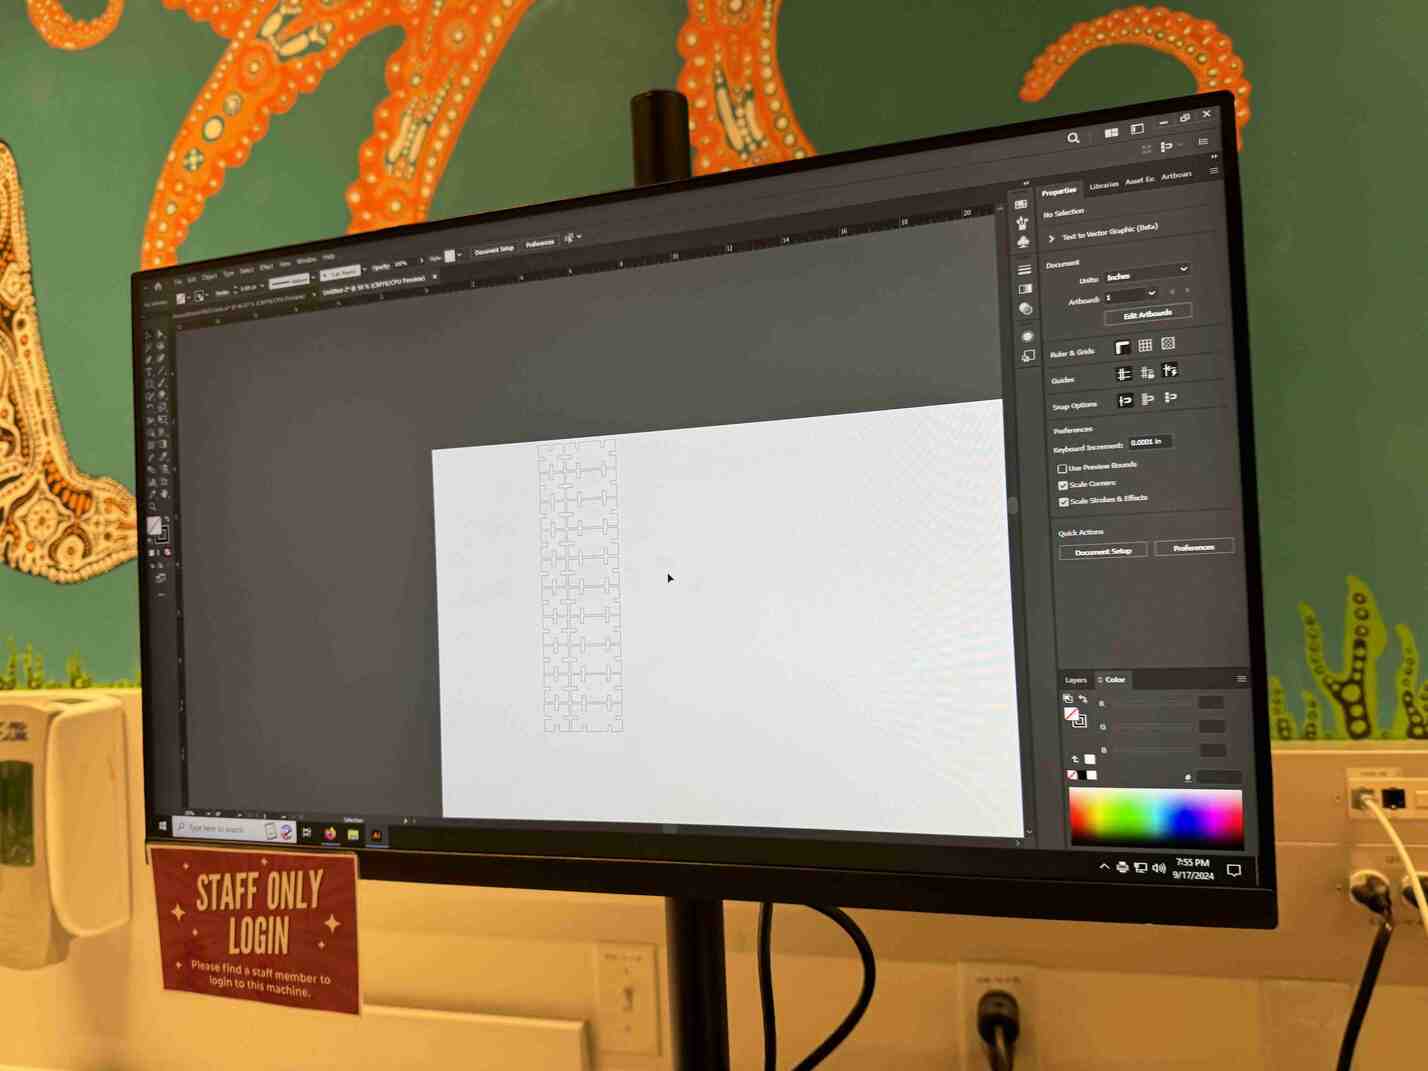
I loaded the .dxf file I exported out of Solidworks into Adobe Illustrator for cutting. I also added numbers to easily identify the dimensions of each tooth/gap pair. I used the cutting parameters defined by the guides in the room, but adjusted the speed to be a bit lower as I understand the machines are old and can be susceptible to not fully cutting through, and didn't want to have to do a second pass.
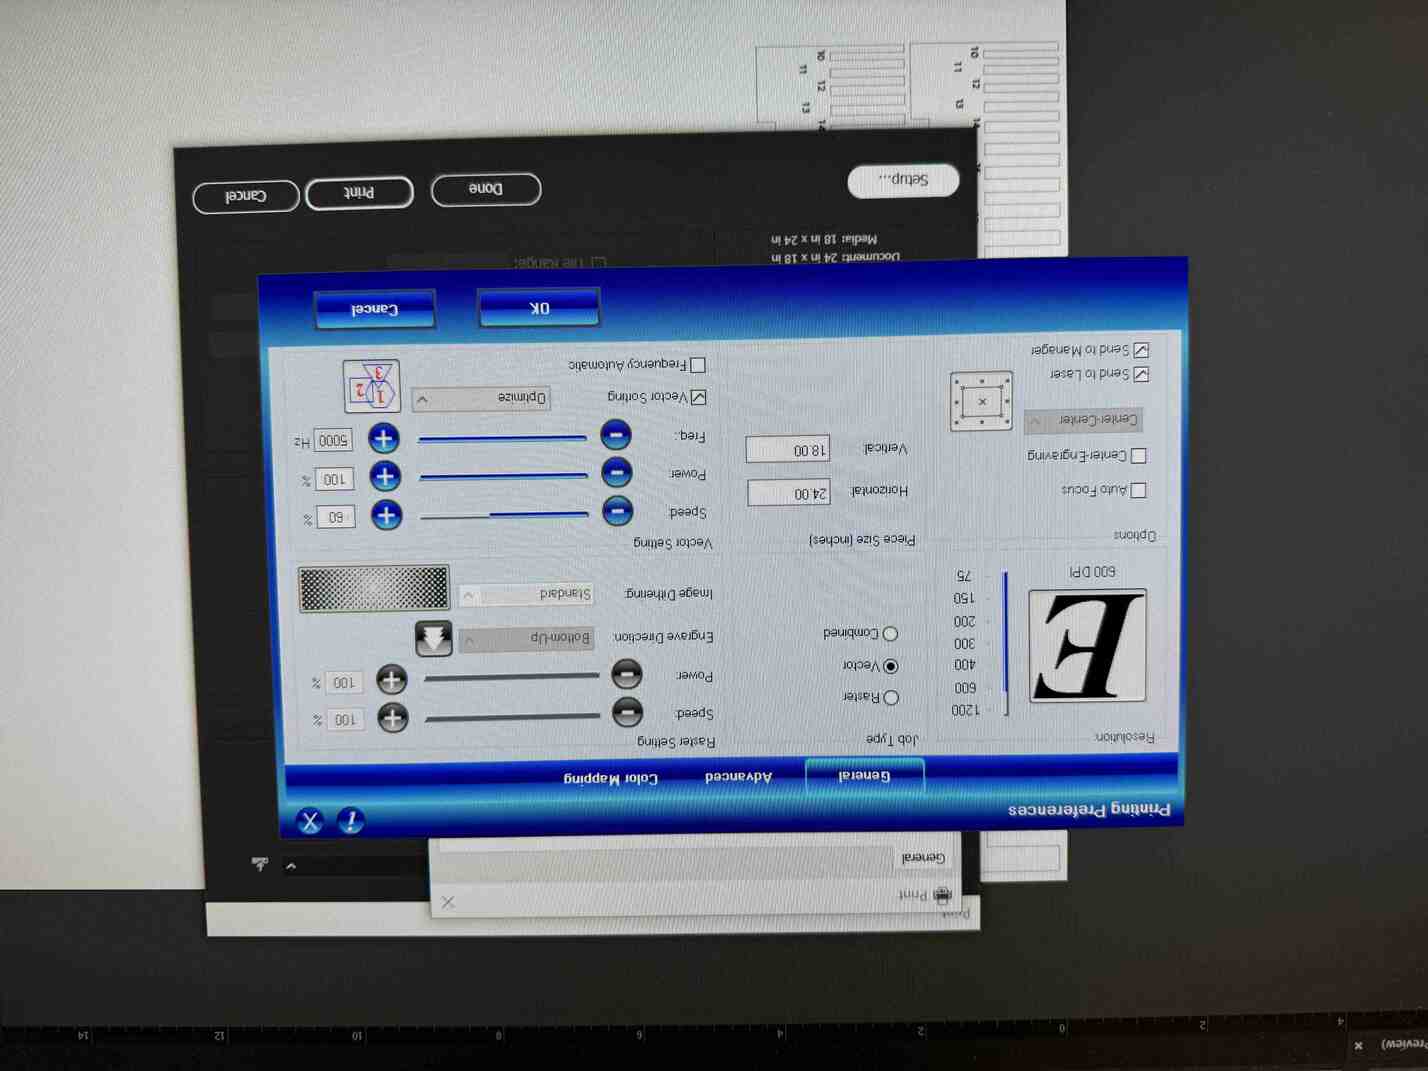
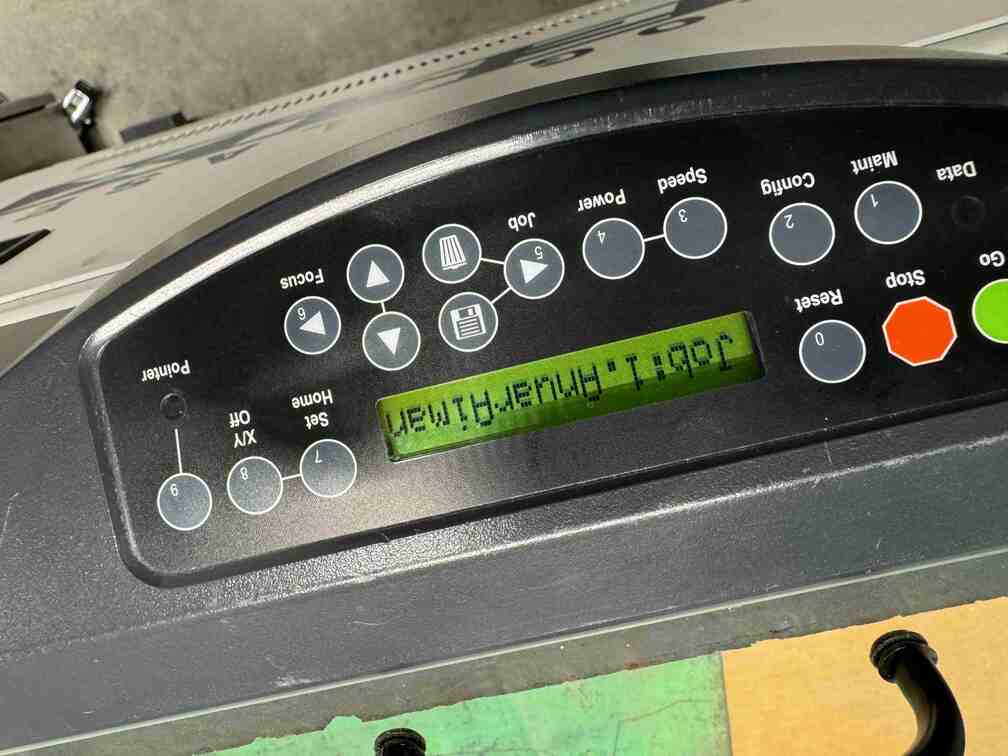
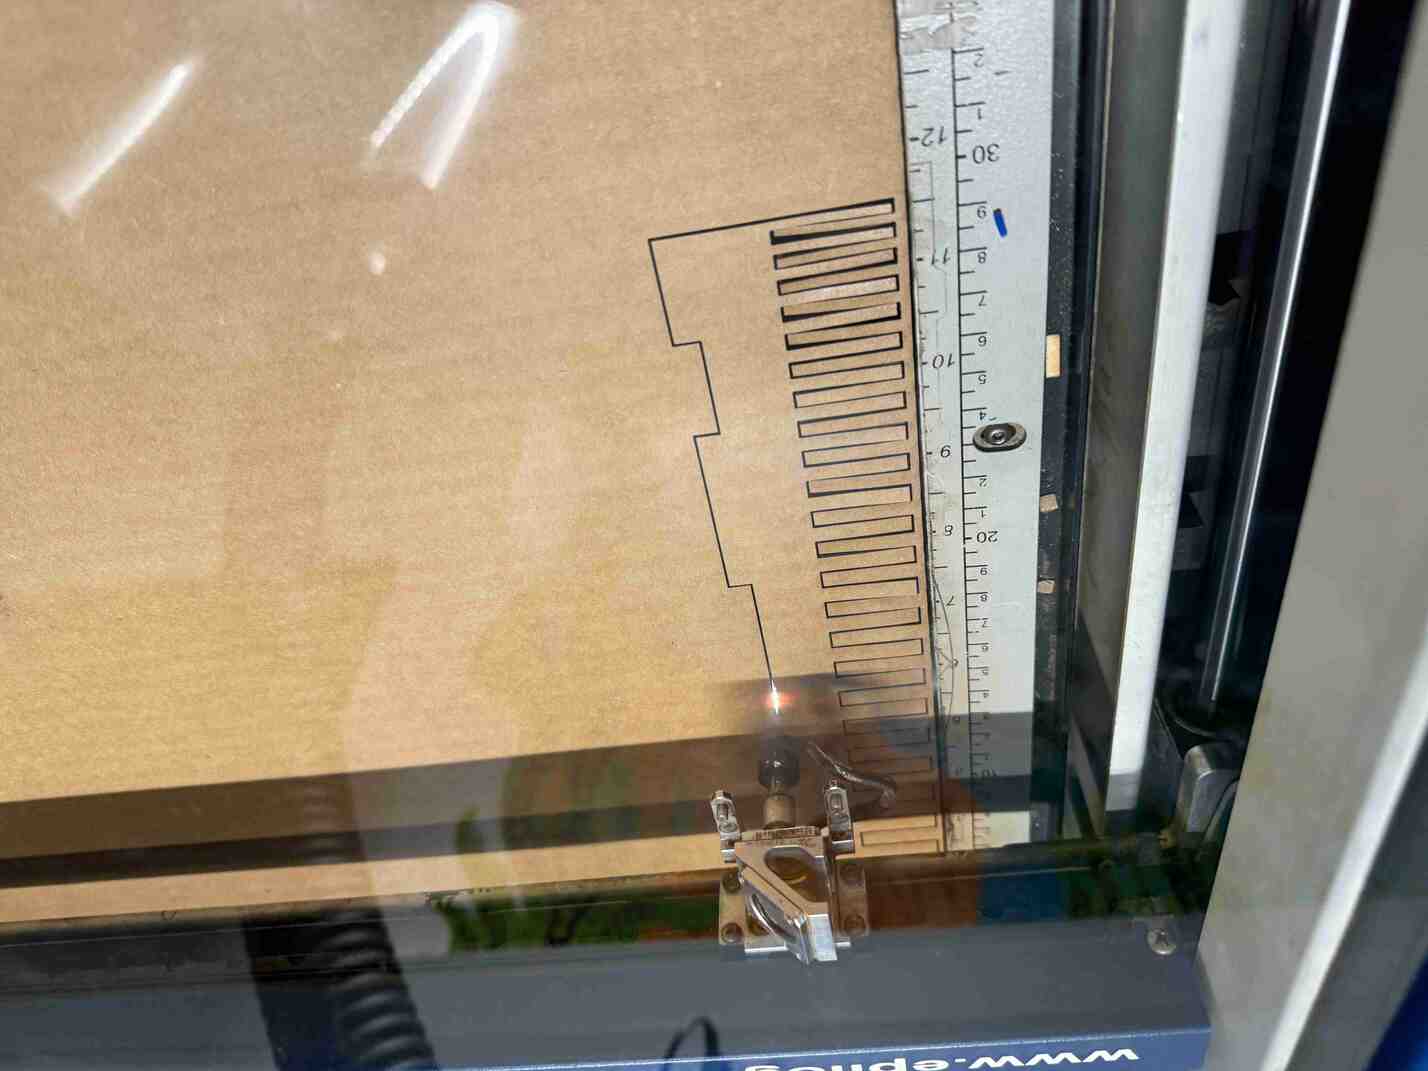
Then I did some cutting! I didn't take pictures of me manually focusing the laser cutter as I am so used to it by now, but the procedure is simply to take a focus tool and put it on the head, then lower or raise the head using the "Focus" button until it just barely touches the surface of the cardboard.
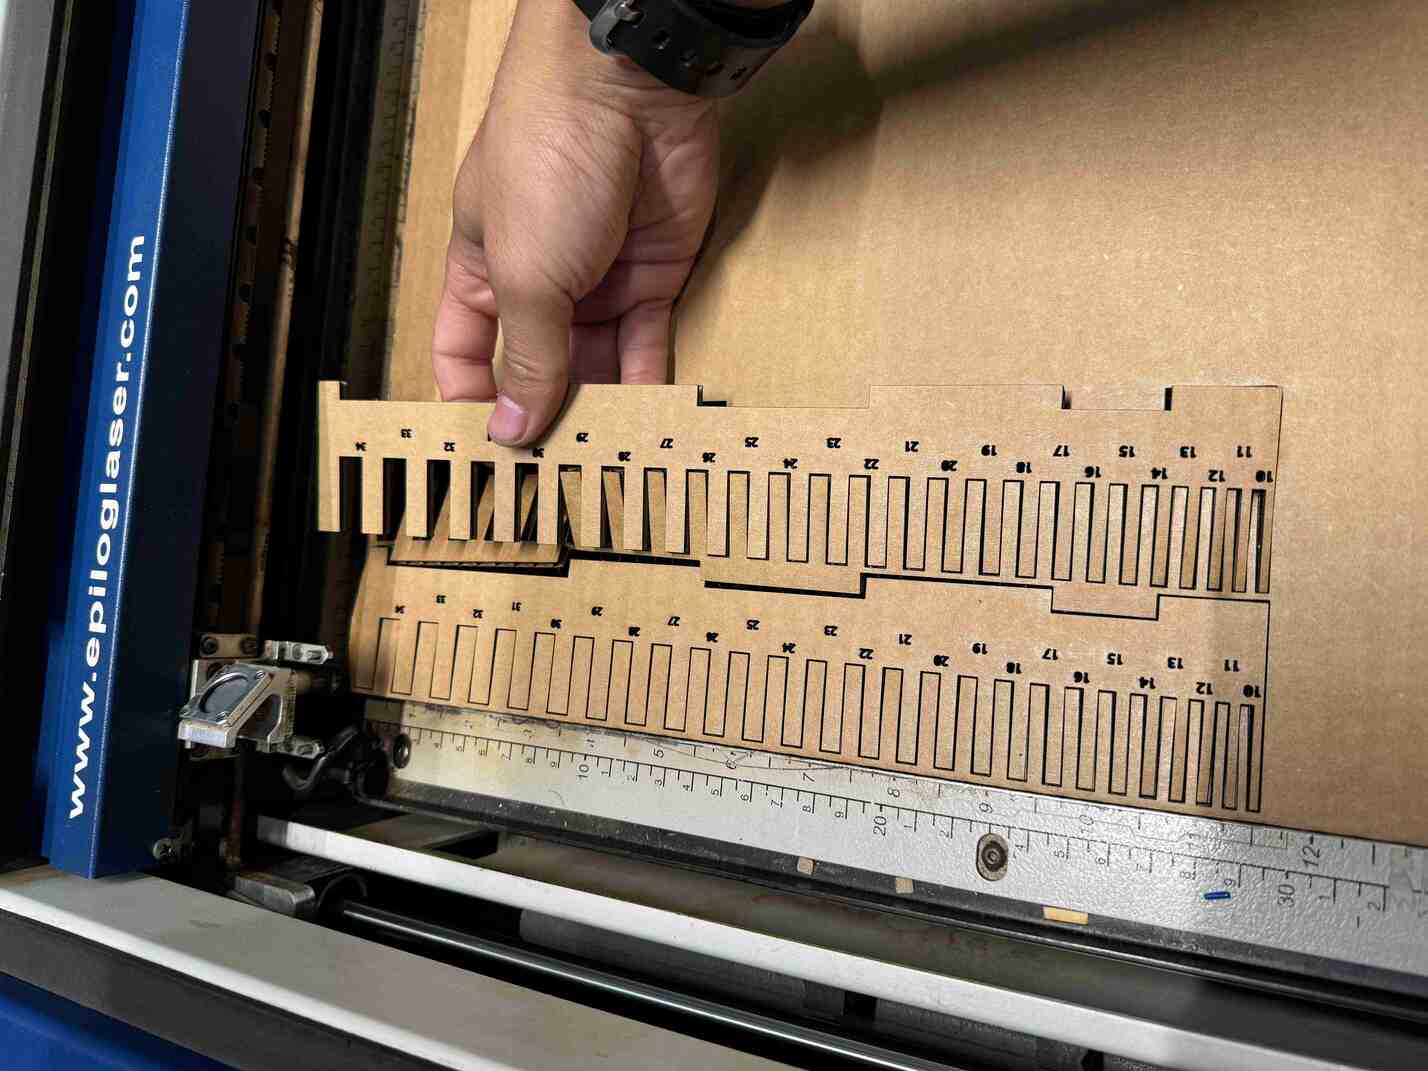
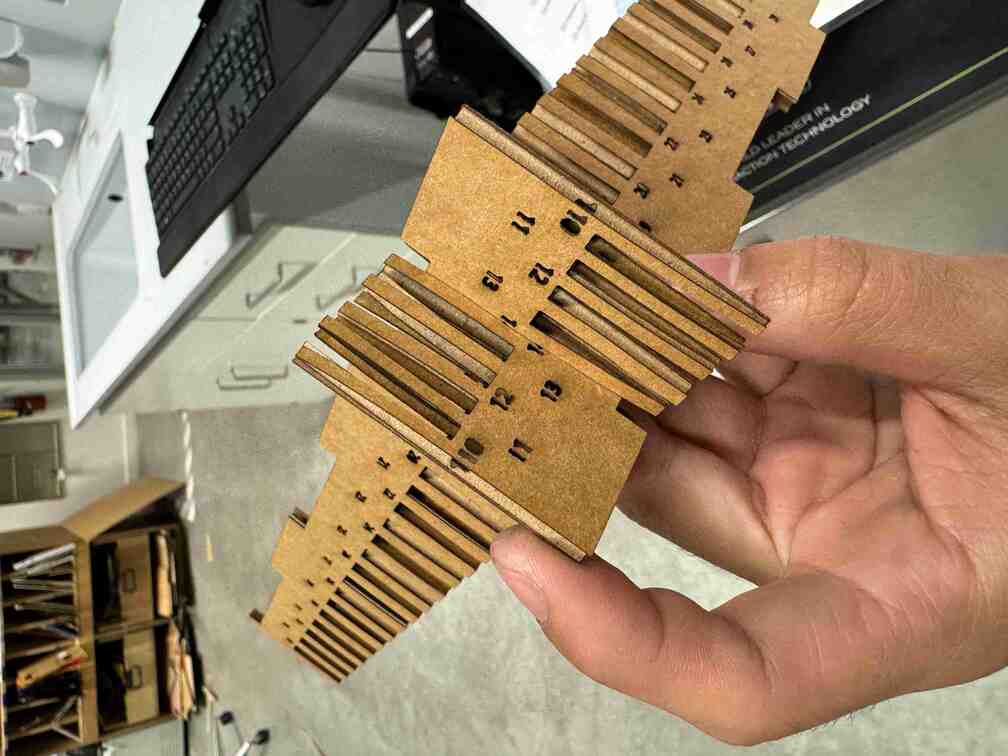
The comb came out completely fine! I was able to get the two I printed out to mesh at "14" or 0.14", indicating that when I model a finger, I should model it to have .14" fingers for it to mesh perpendicularly.
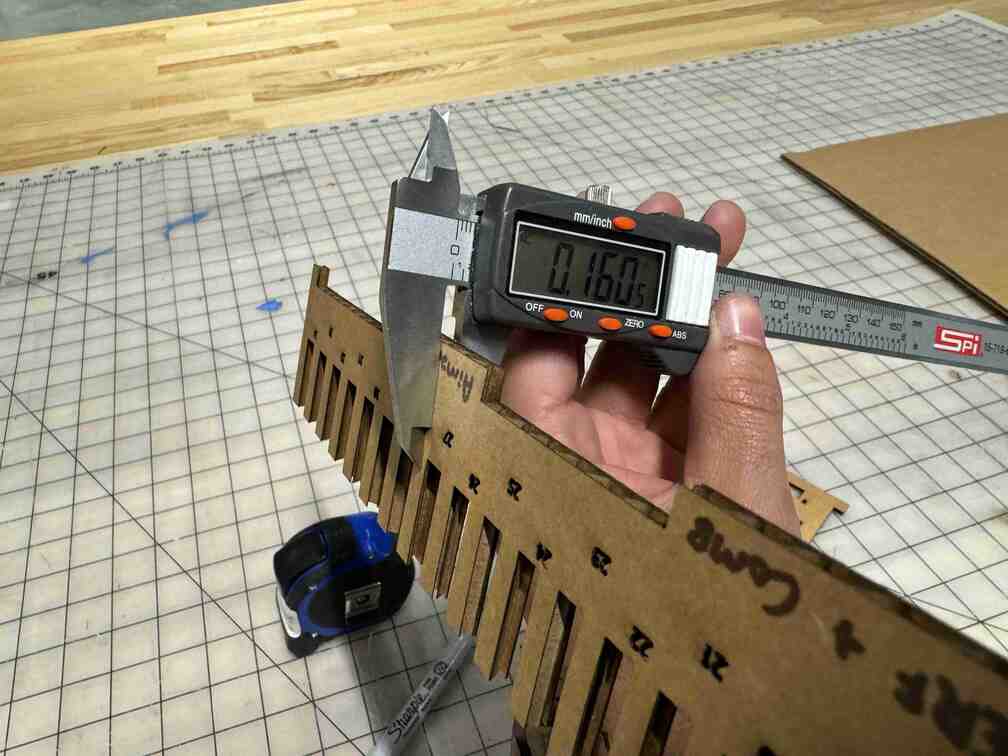
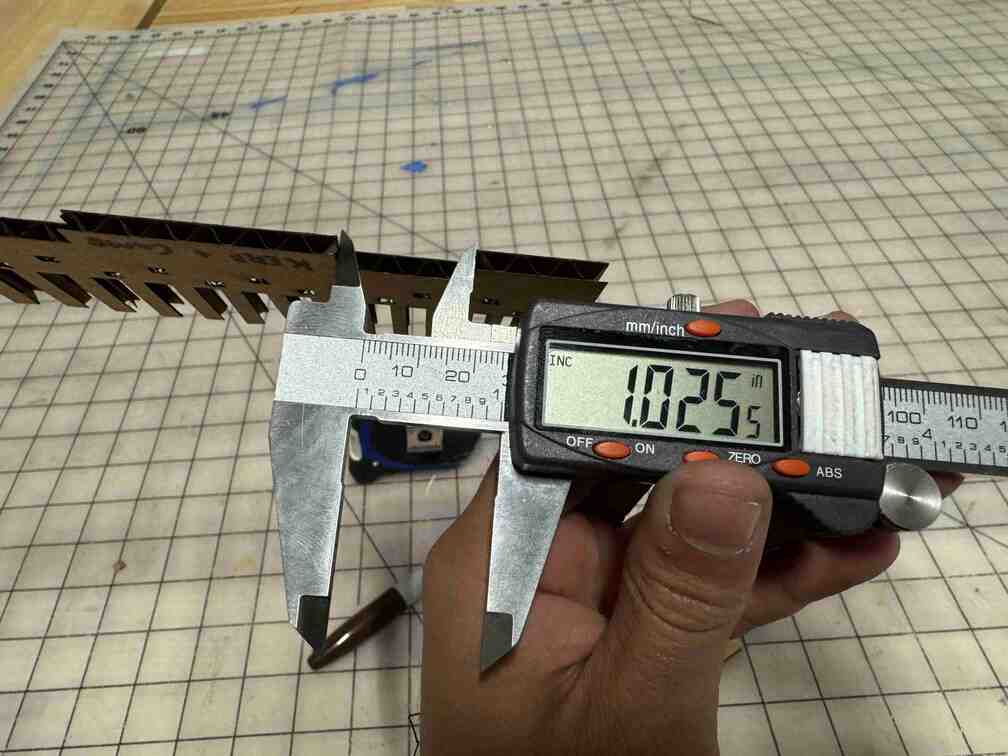
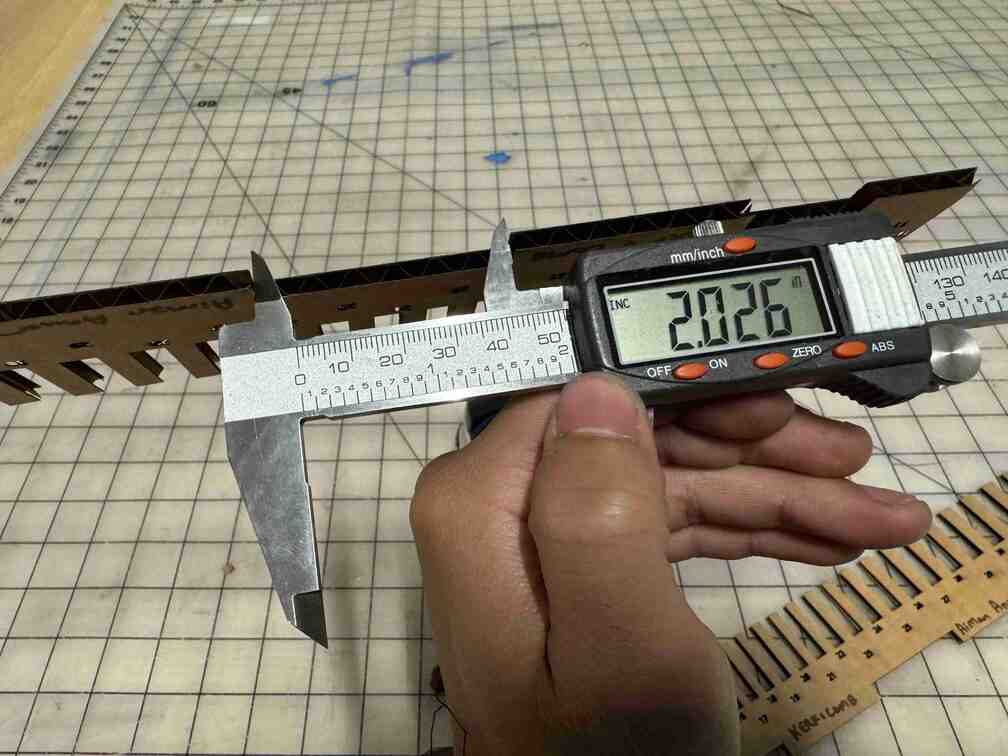
I measured the comb and found out that my cardboard was ~0.16" thick and that the 1" fingers measured out to 0.98", indicating a kerf of 0.01" on both sides.
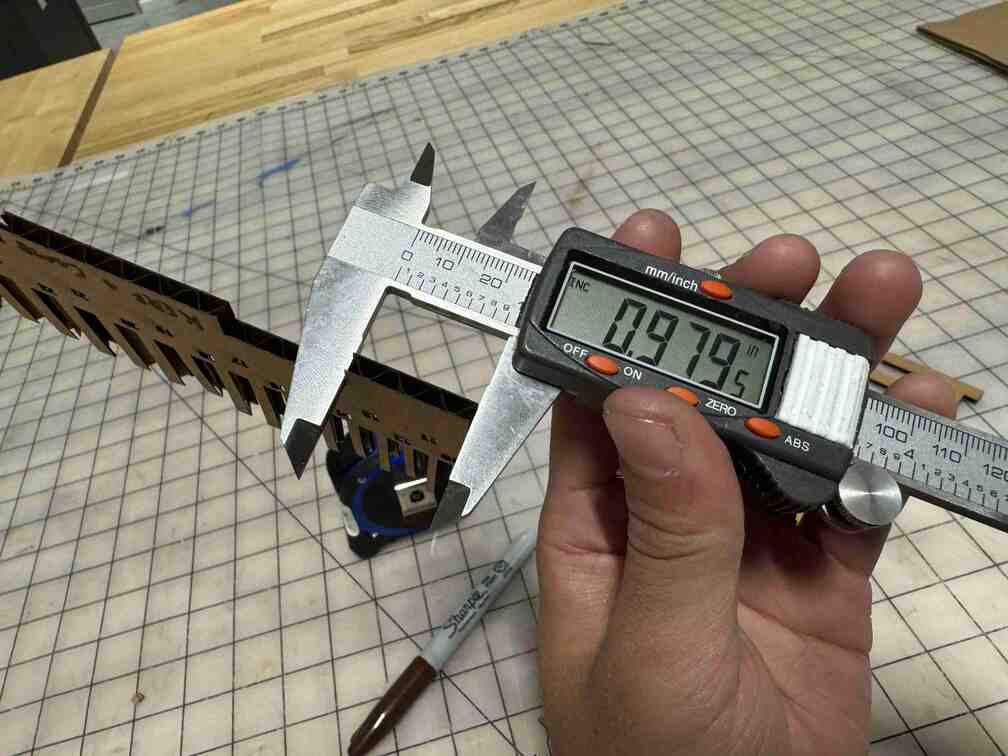
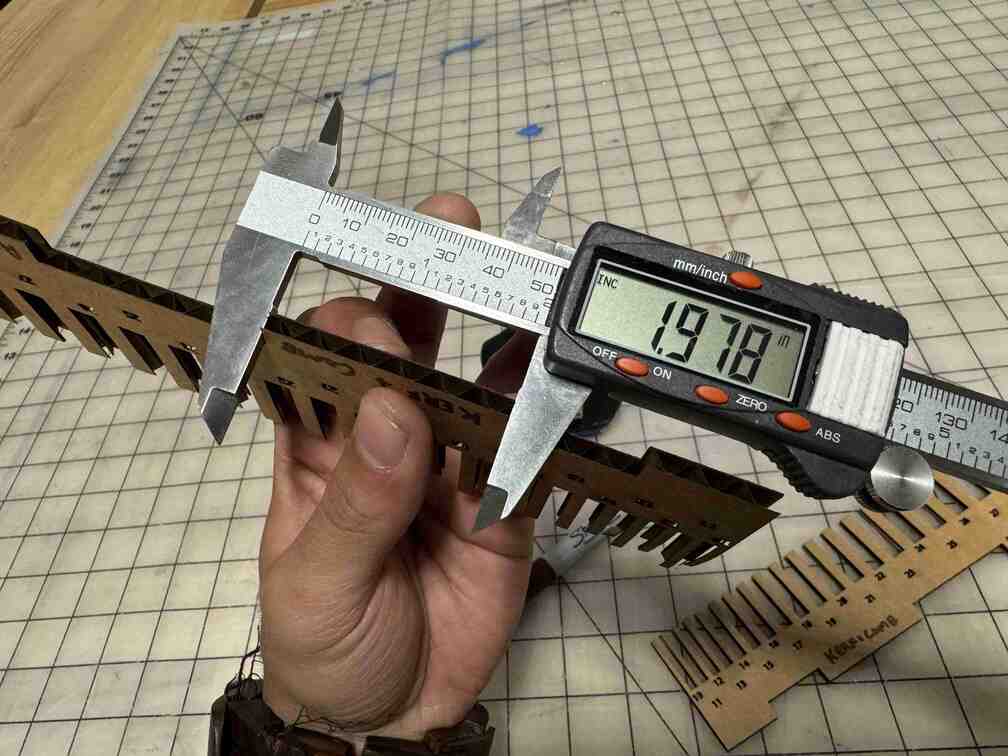
This was confirmed by the 2" fingers measuring to 1.98", the 1" gap measuring to 1.02", and the 2" gap measuring to 2.02".
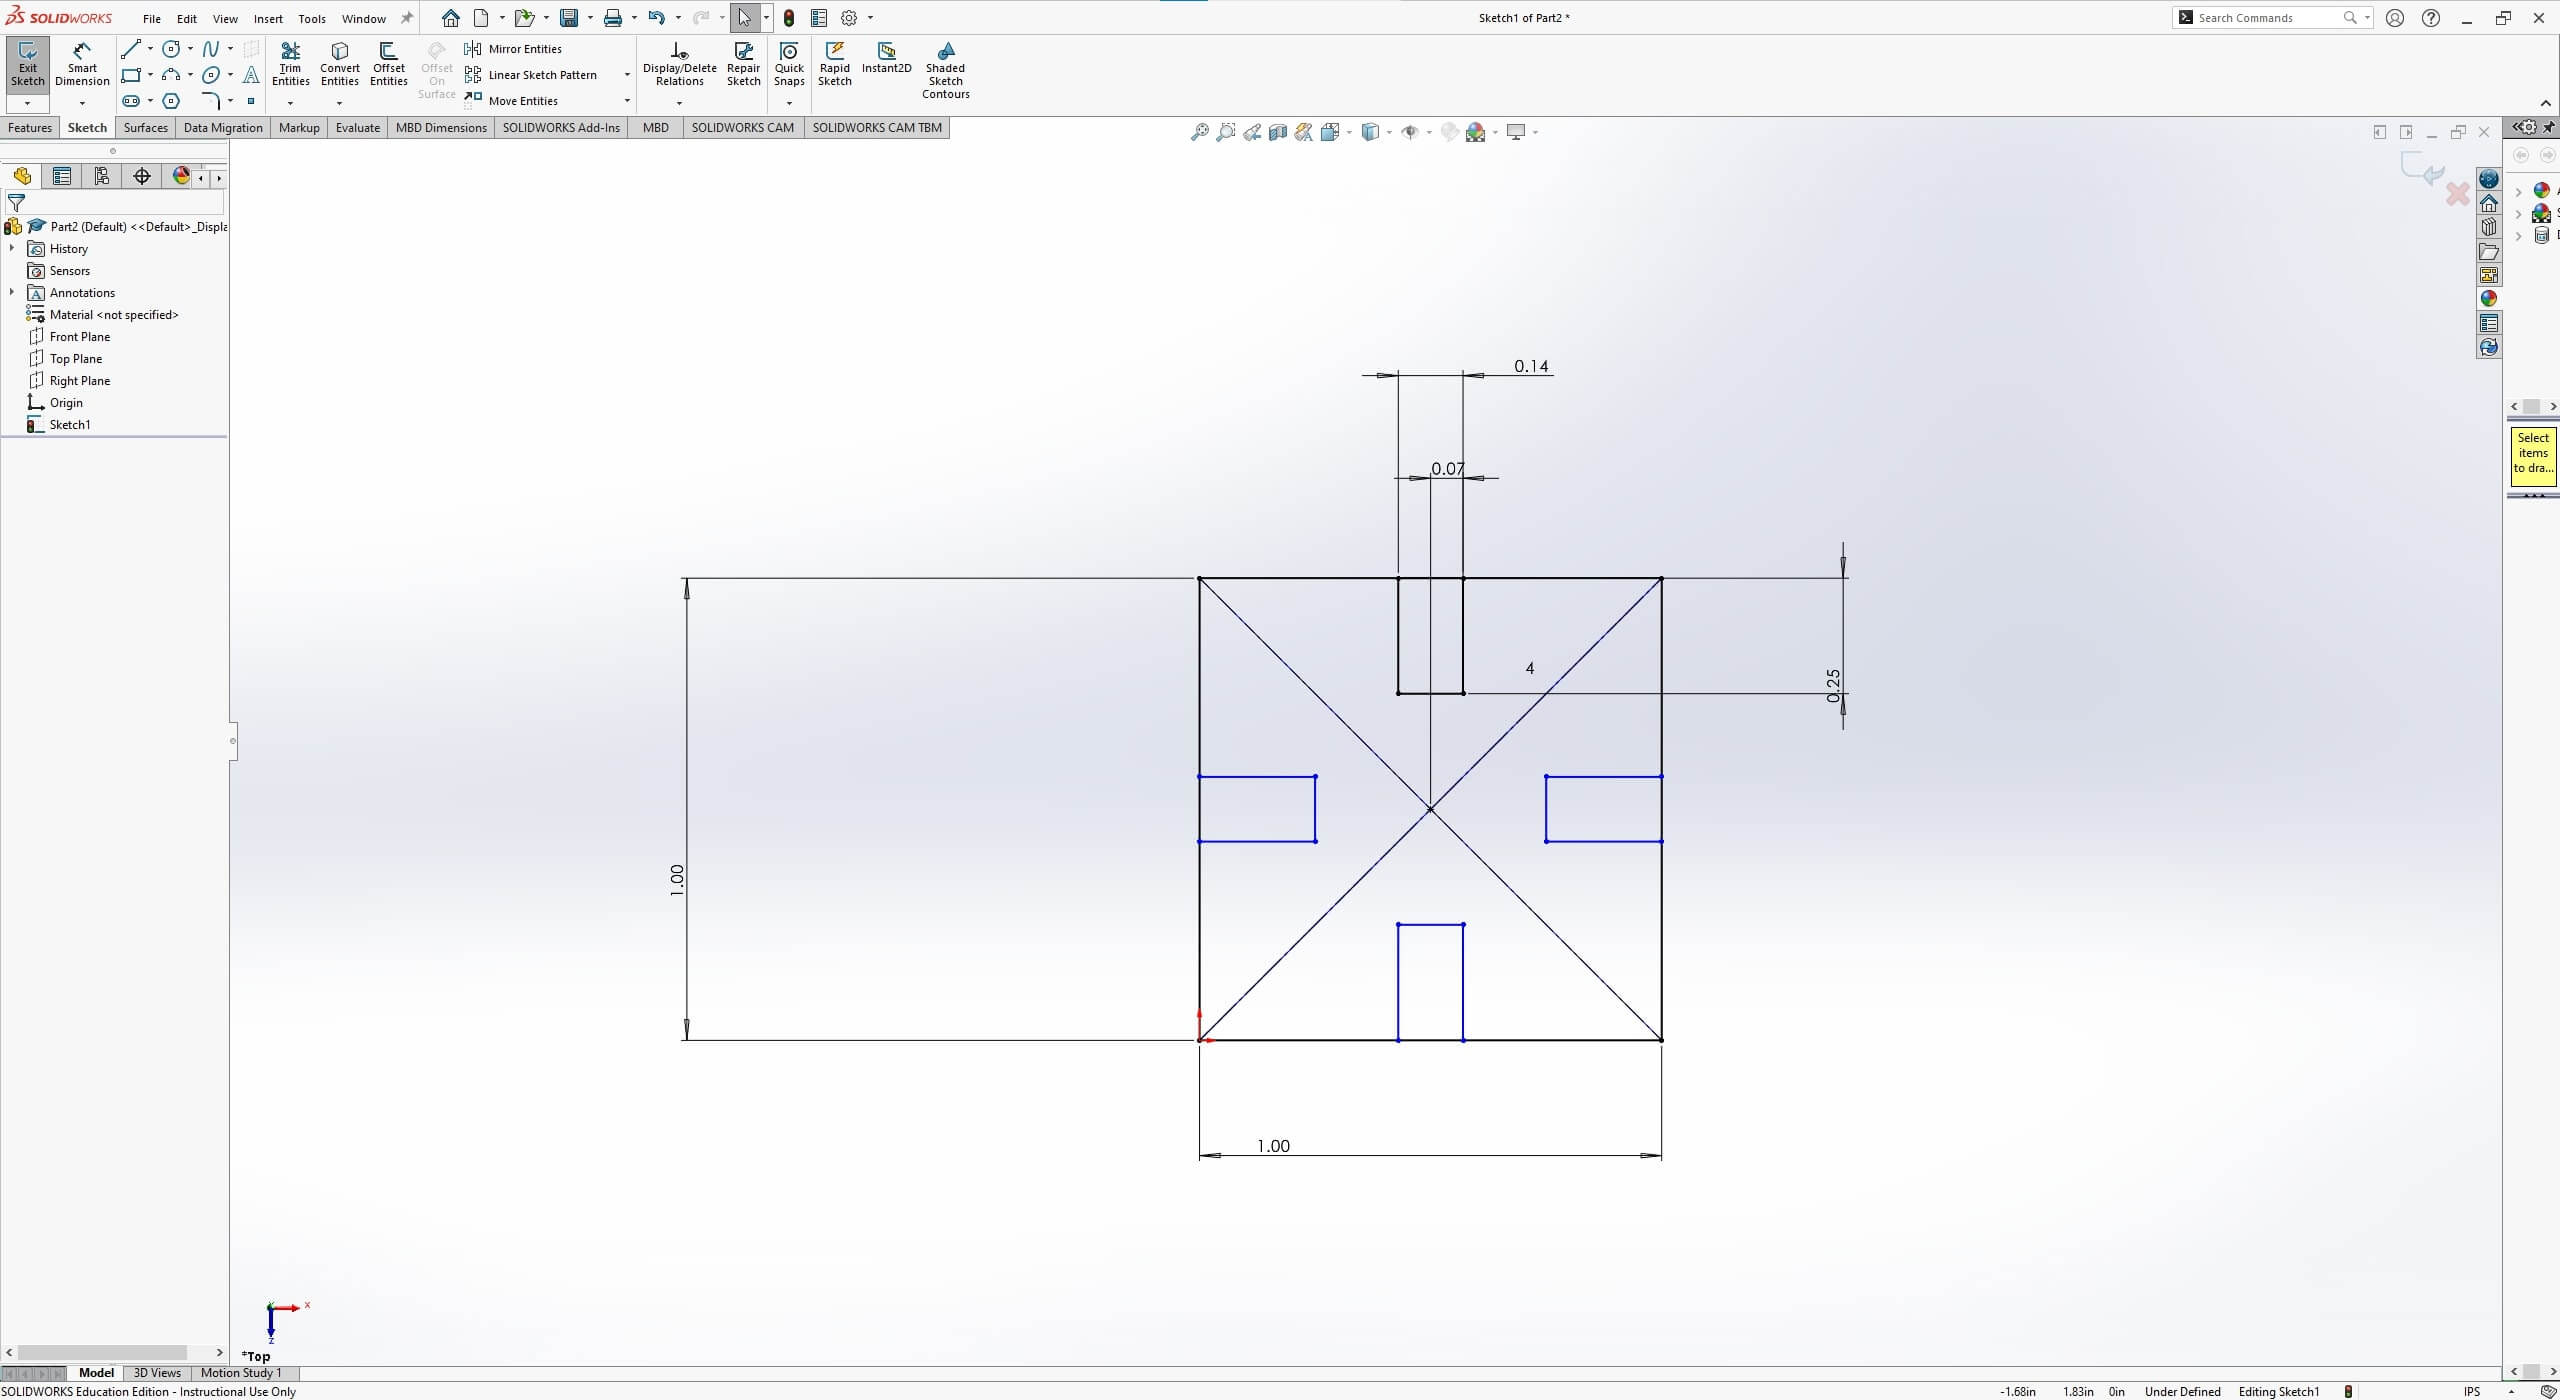
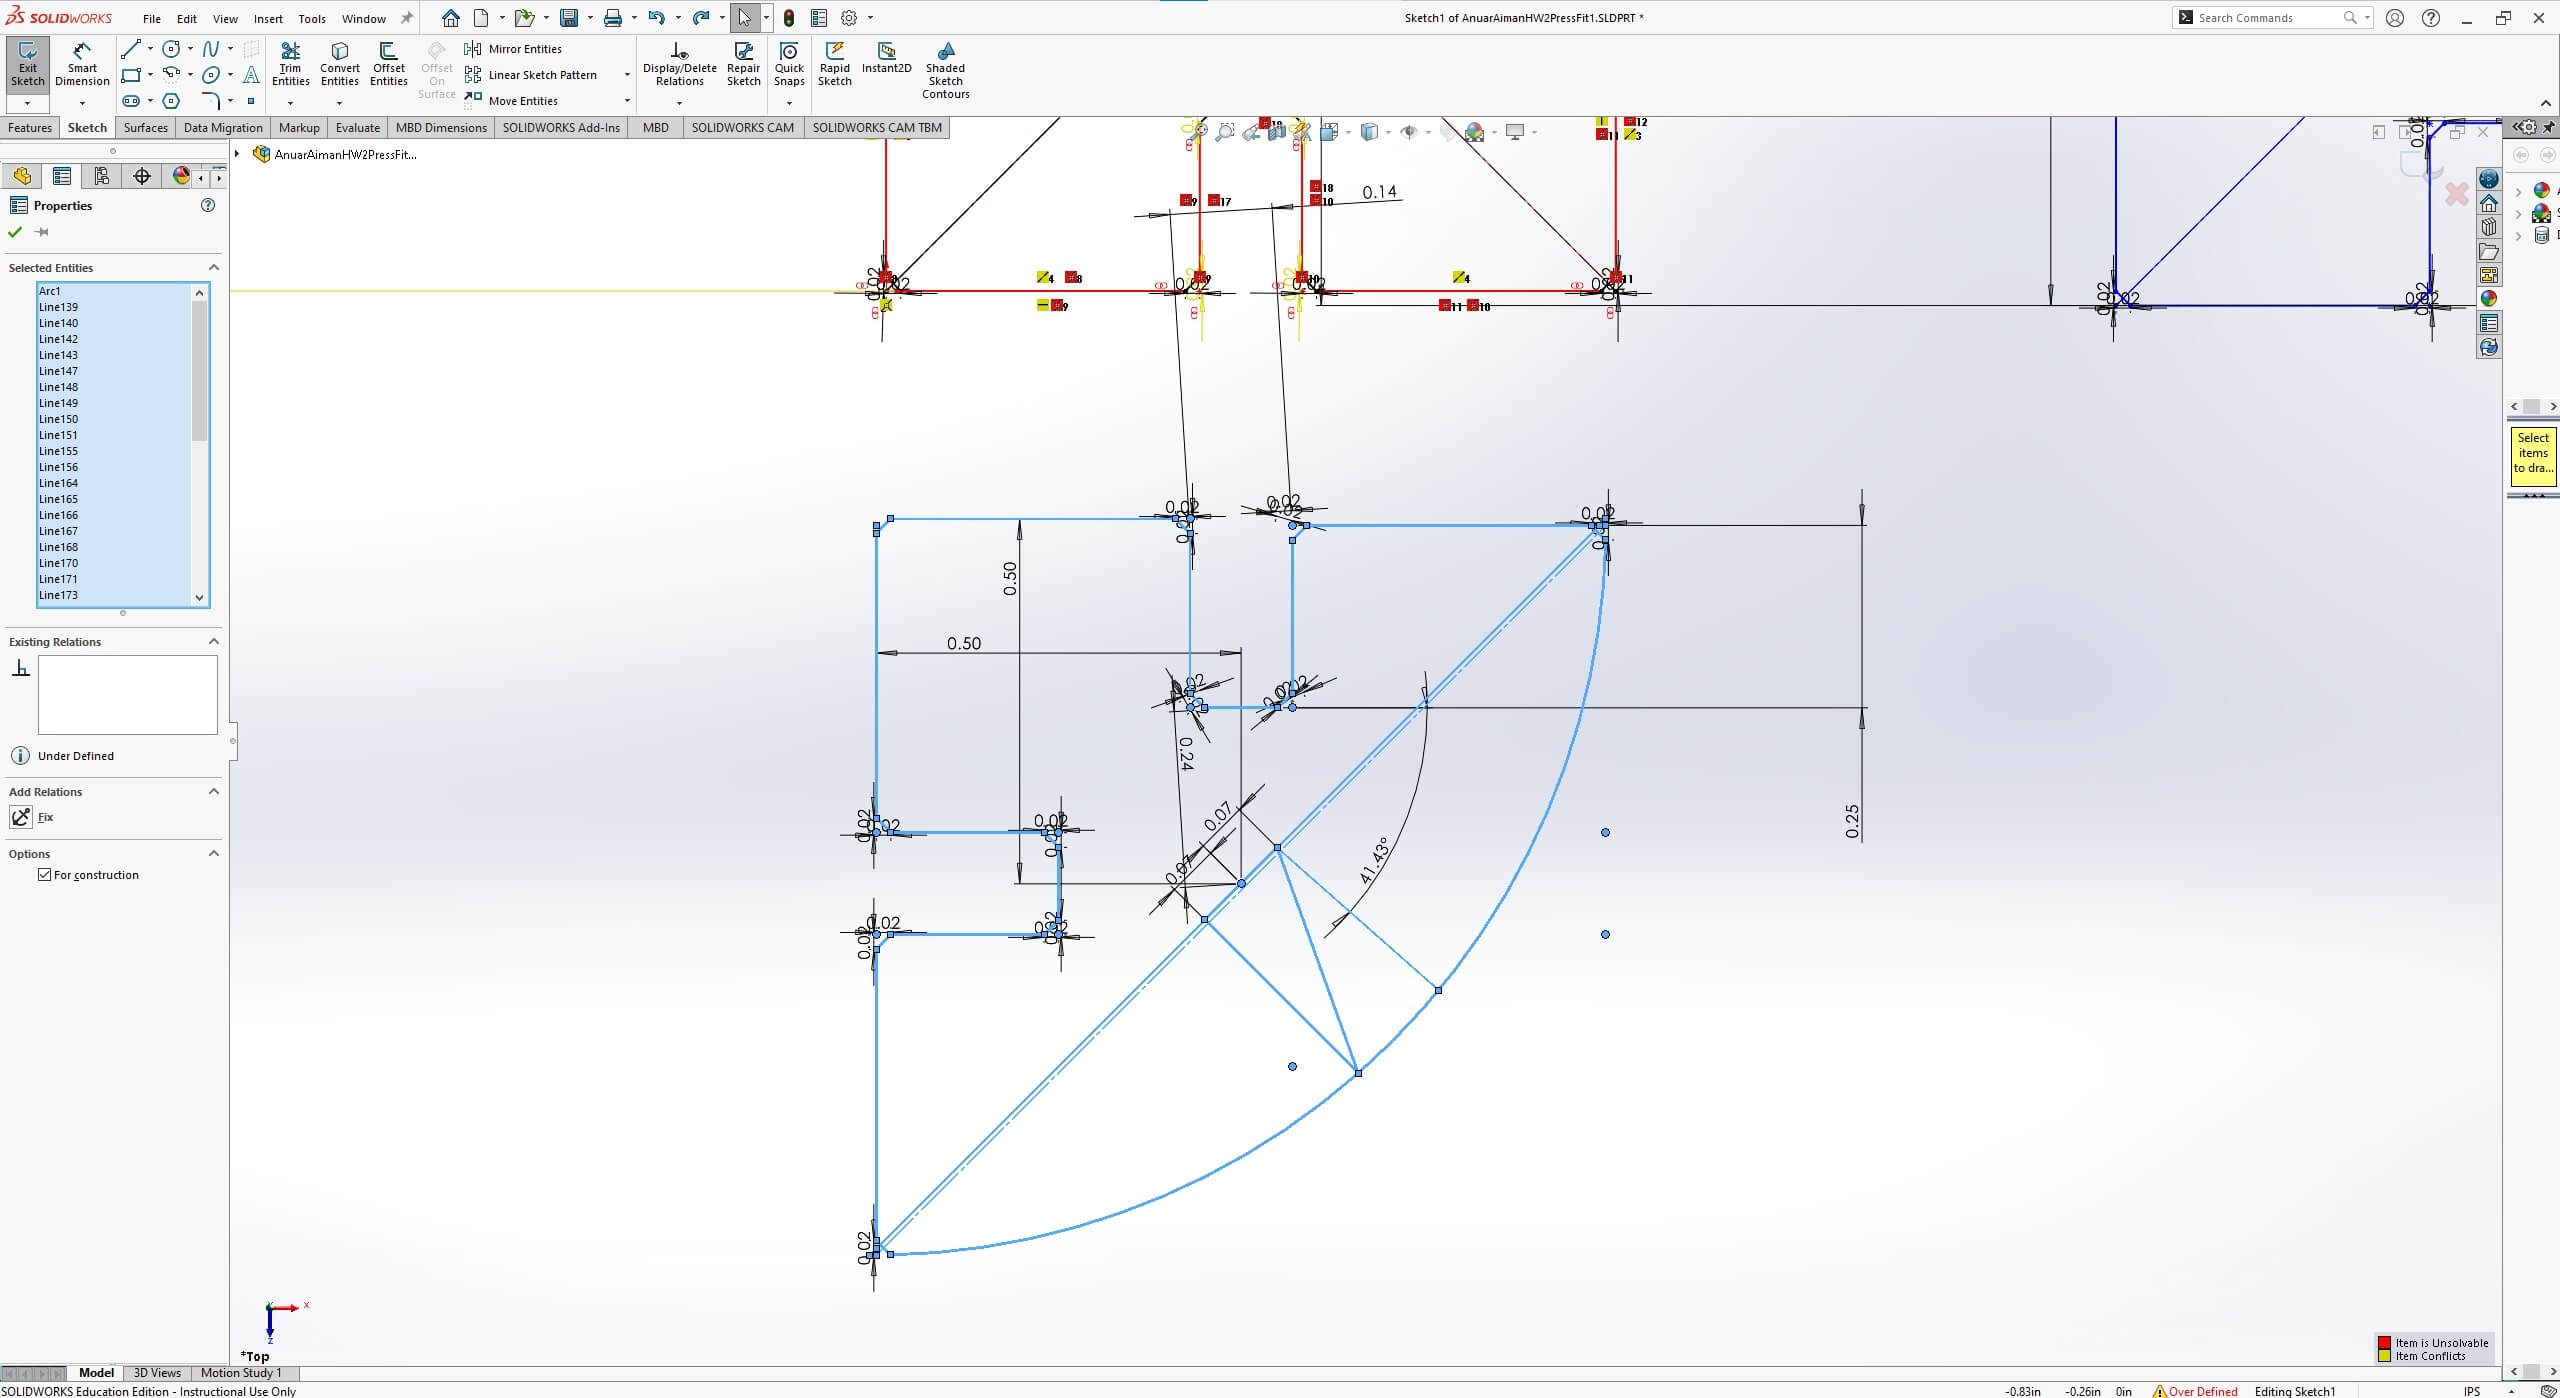
Once I figured out the kerf, I designed a simple cardboard building block kit with a standard length of 1", which had connections in the center 0.14" wide to mesh together and about a quarter inch deep so that when multiple units were connected, they wouldn't overlap. I realized later that this would result in perpendicular units overlapping still, but figured I would leave it like that as a testament to the tolerance of cardboard.
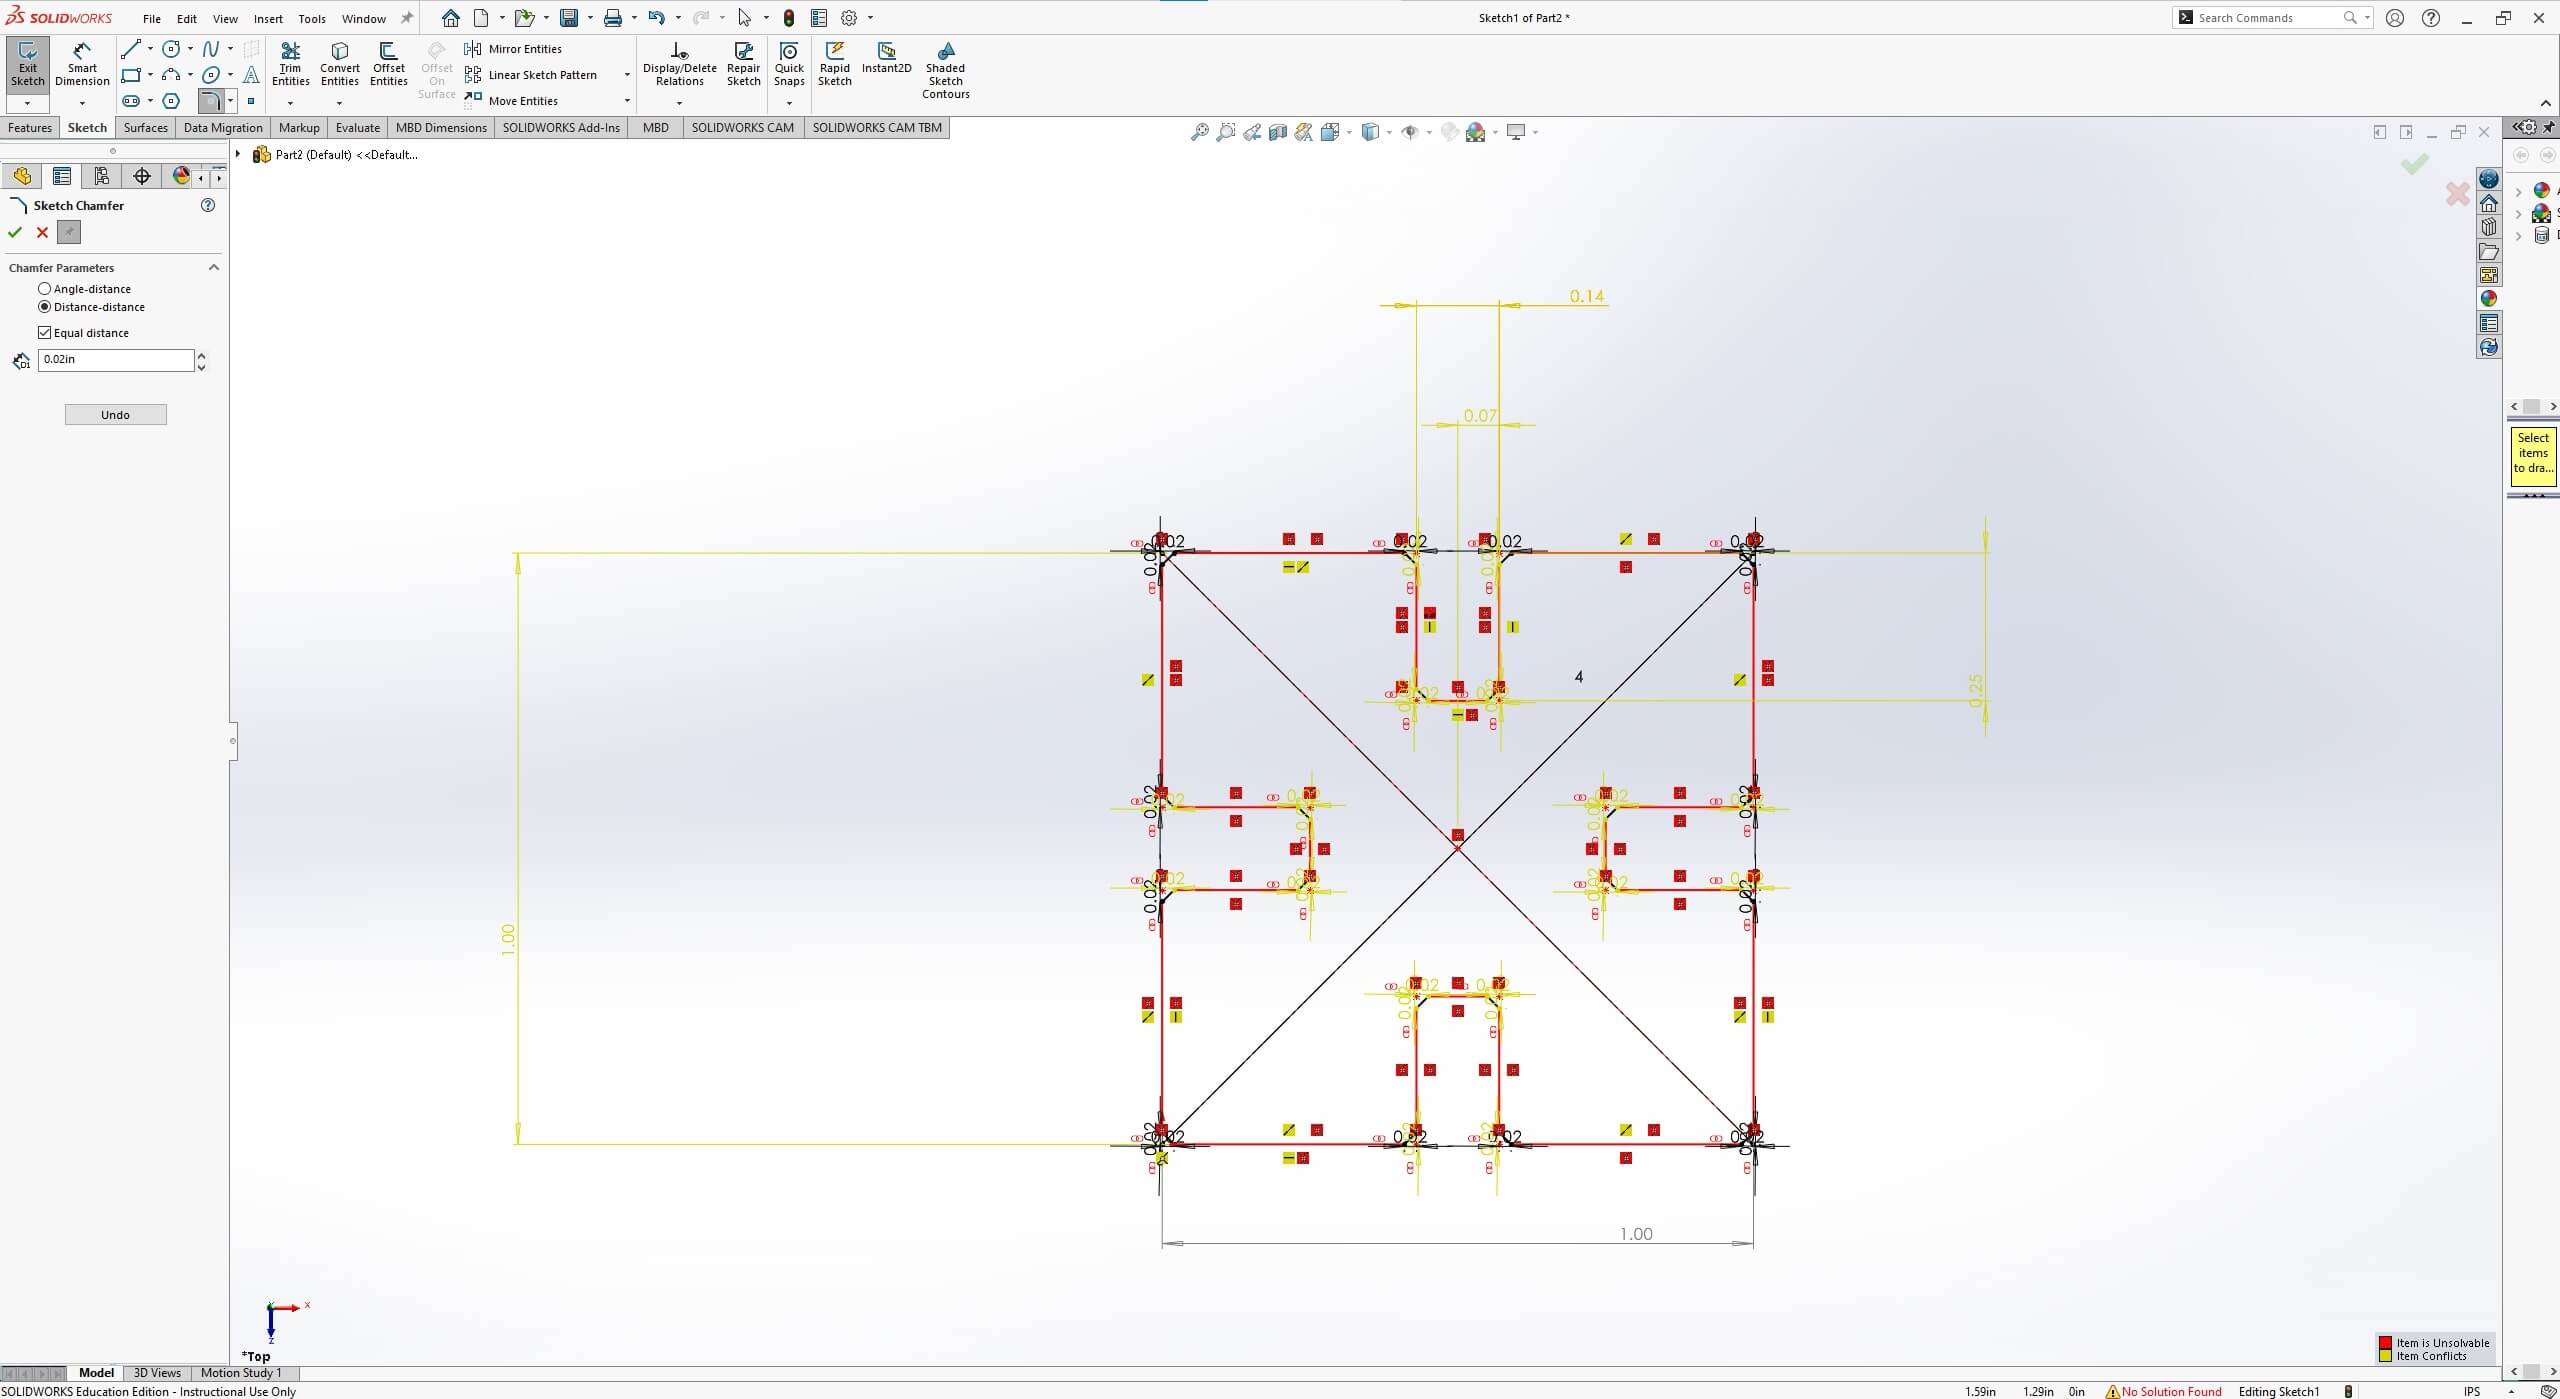
I also made a 2x1 so that builders would have more flexibility and less tedium in building bigger structures..
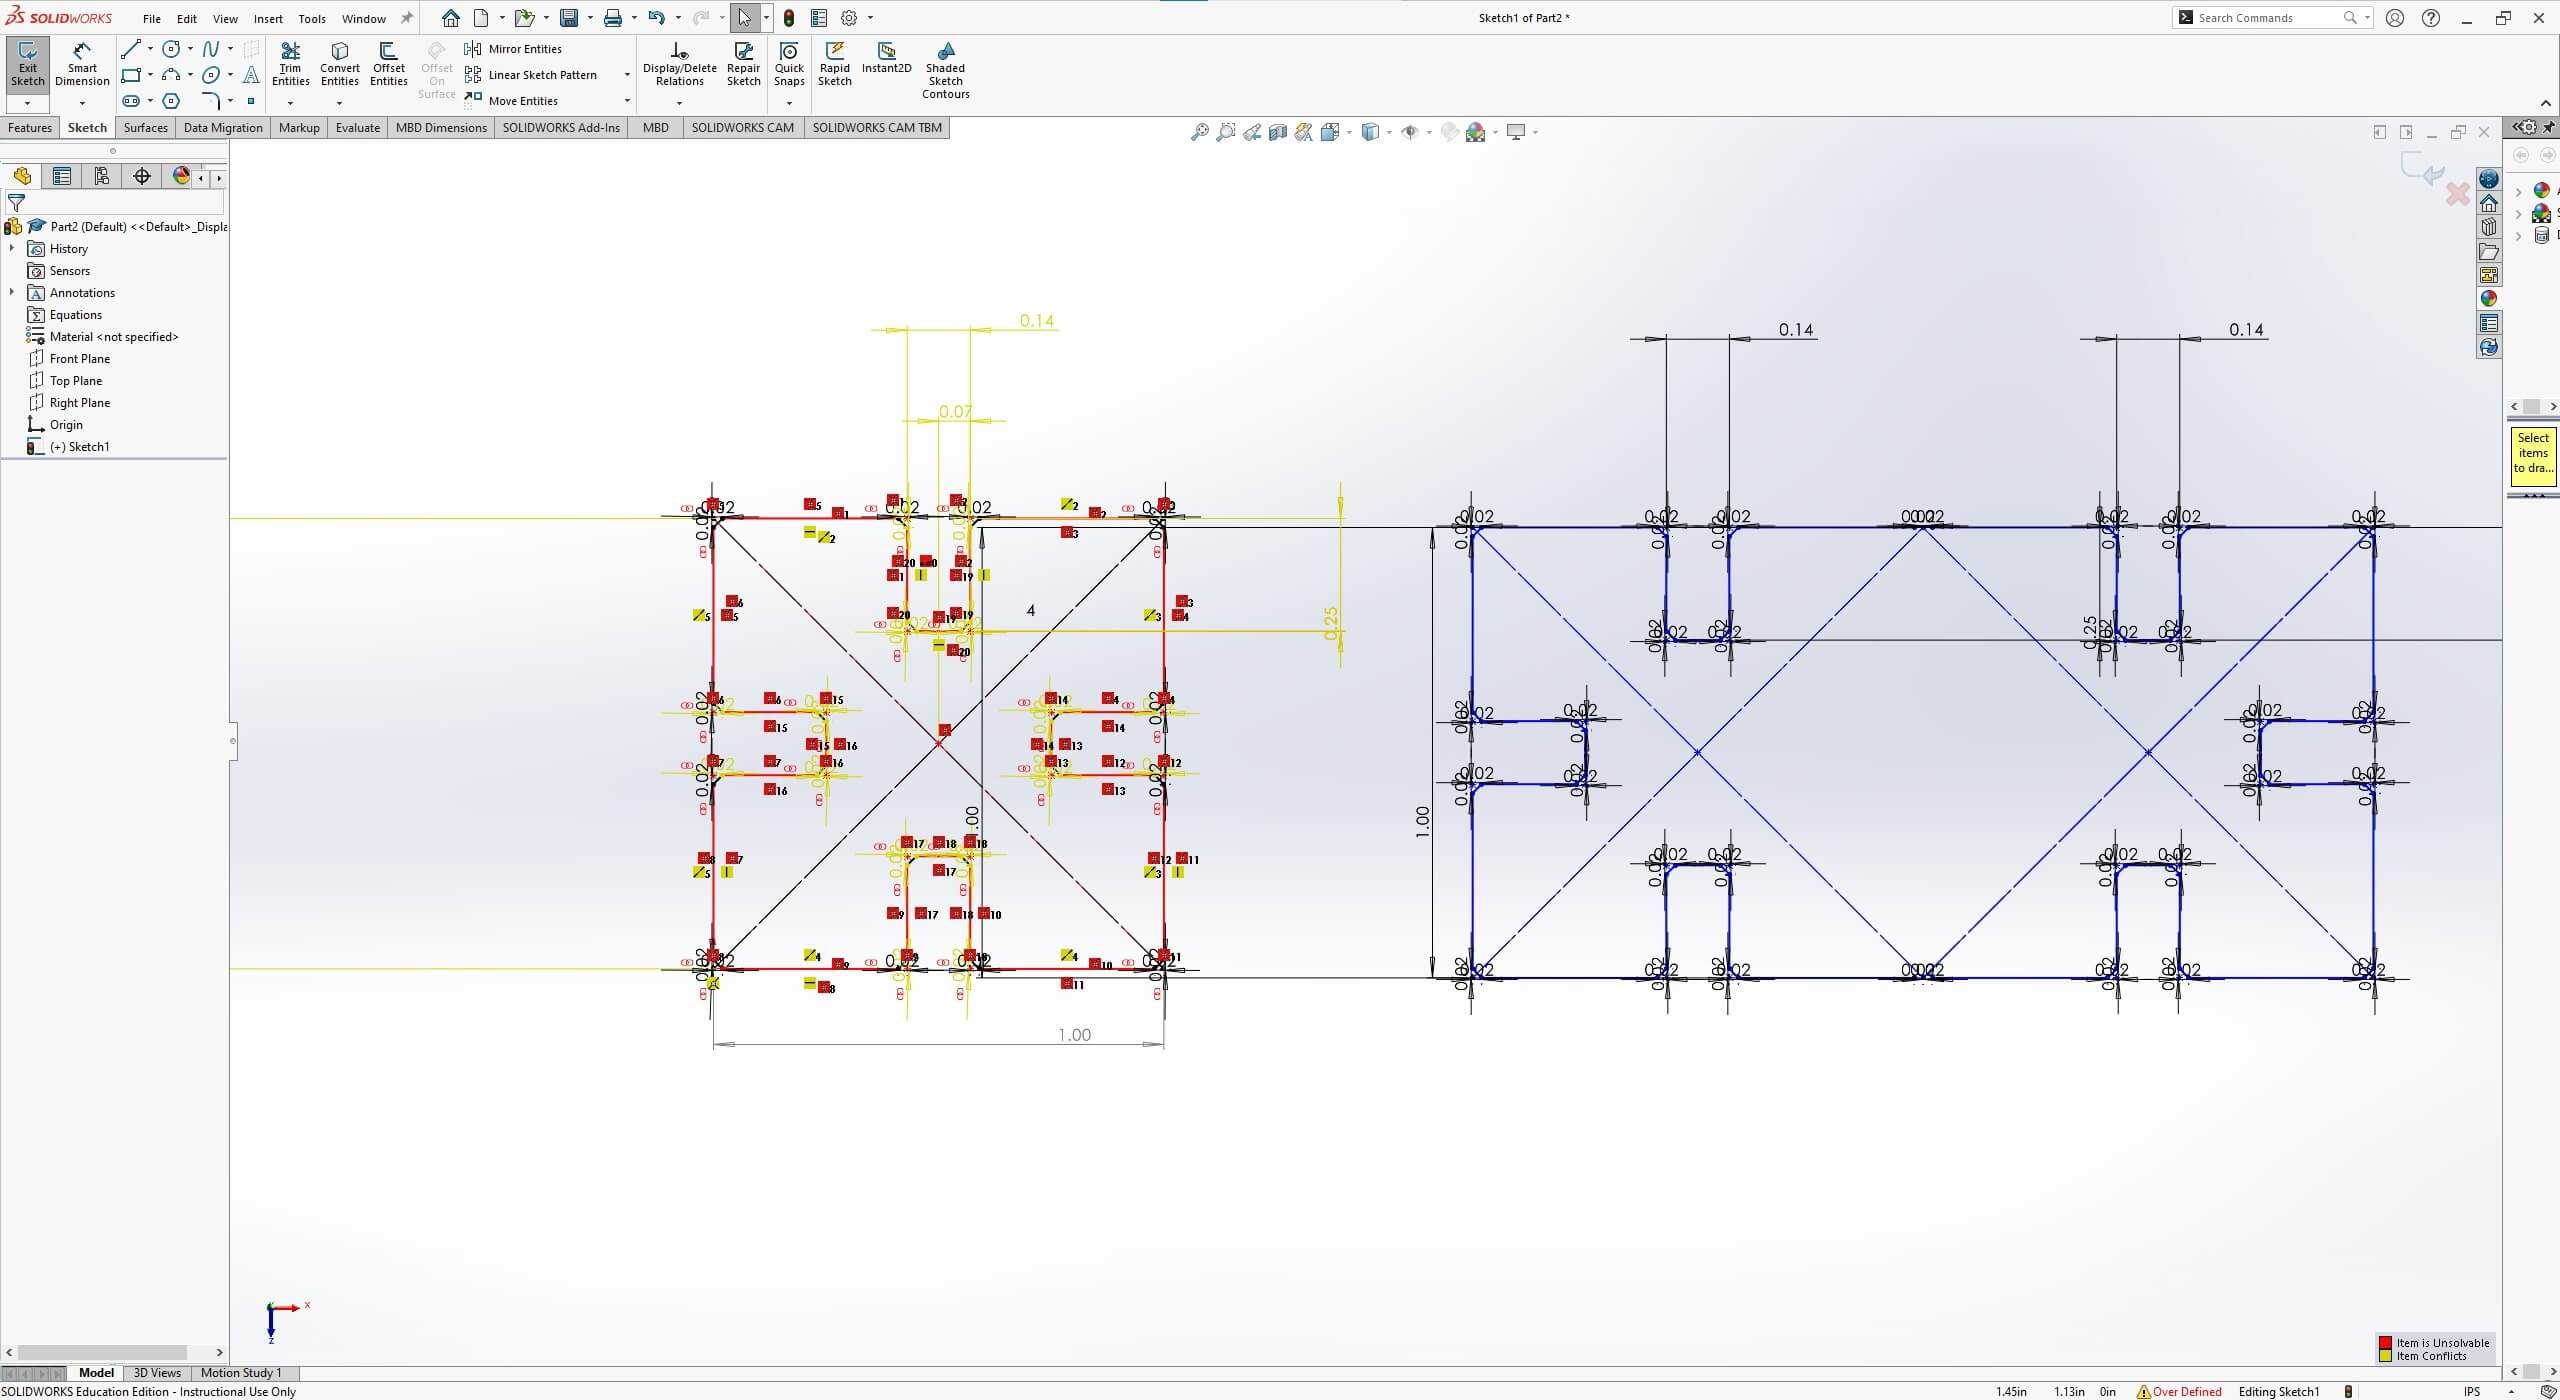
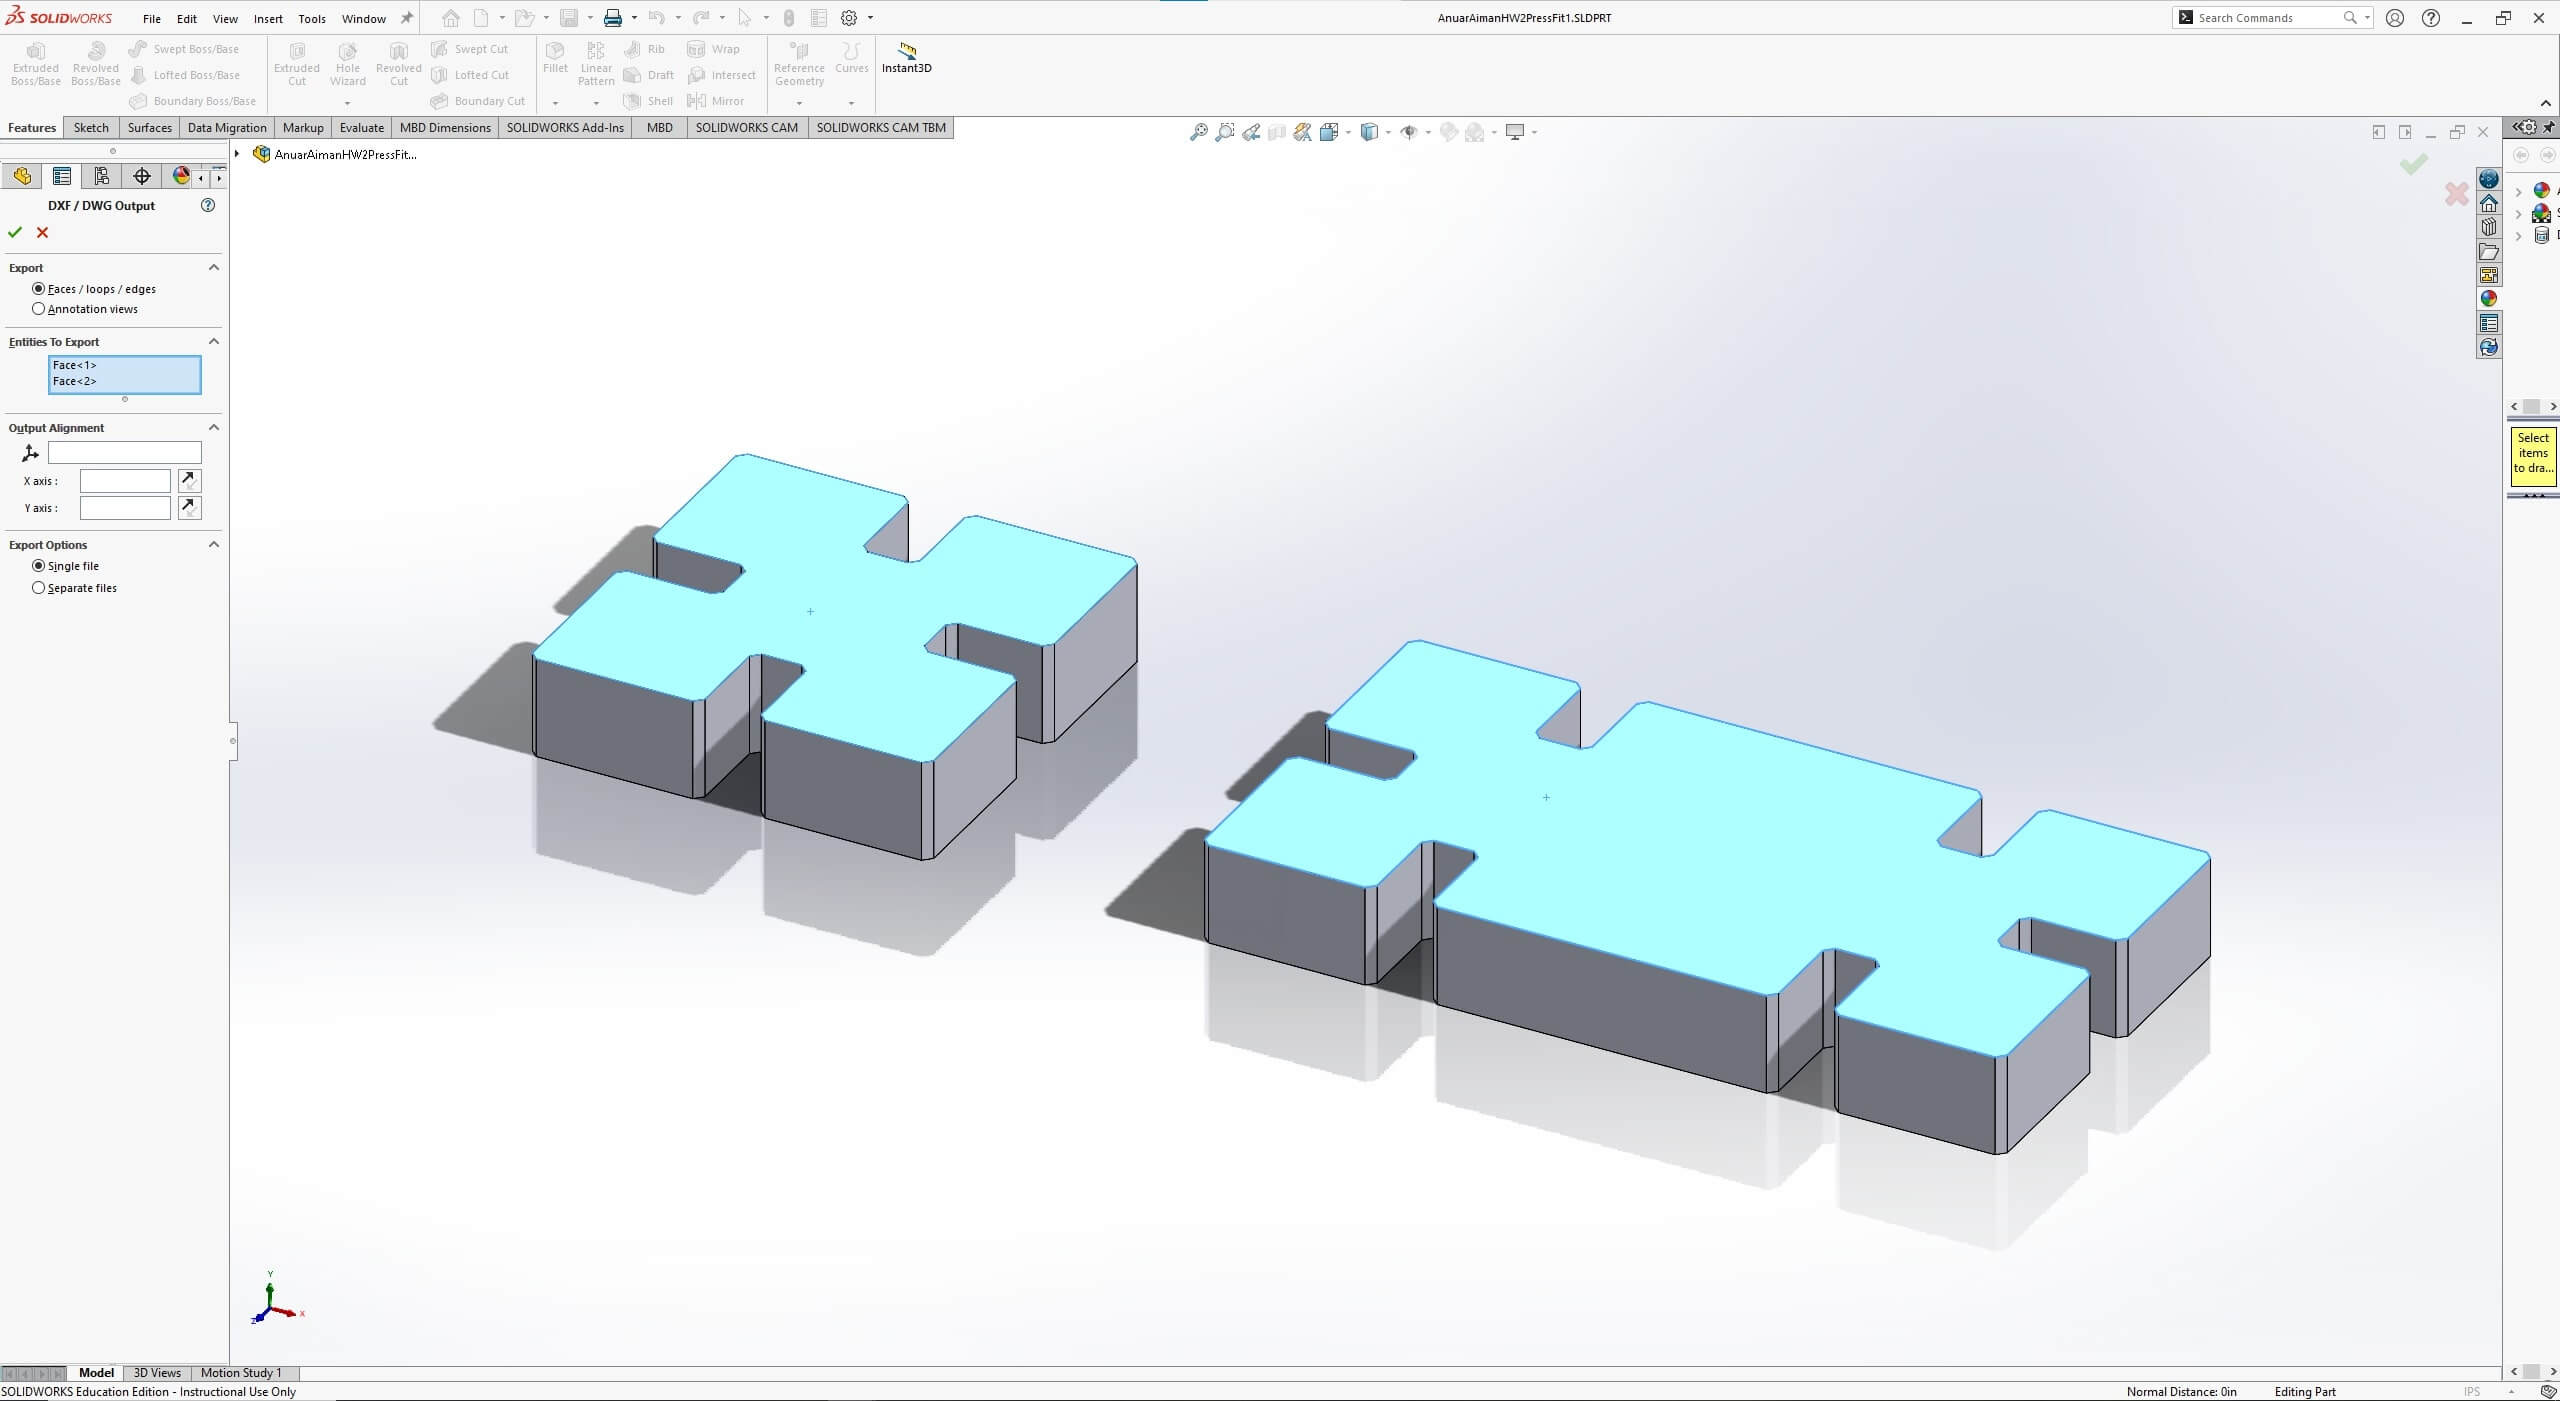
I loaded the .dxf file of the faces into Illustrator and then cut them out!
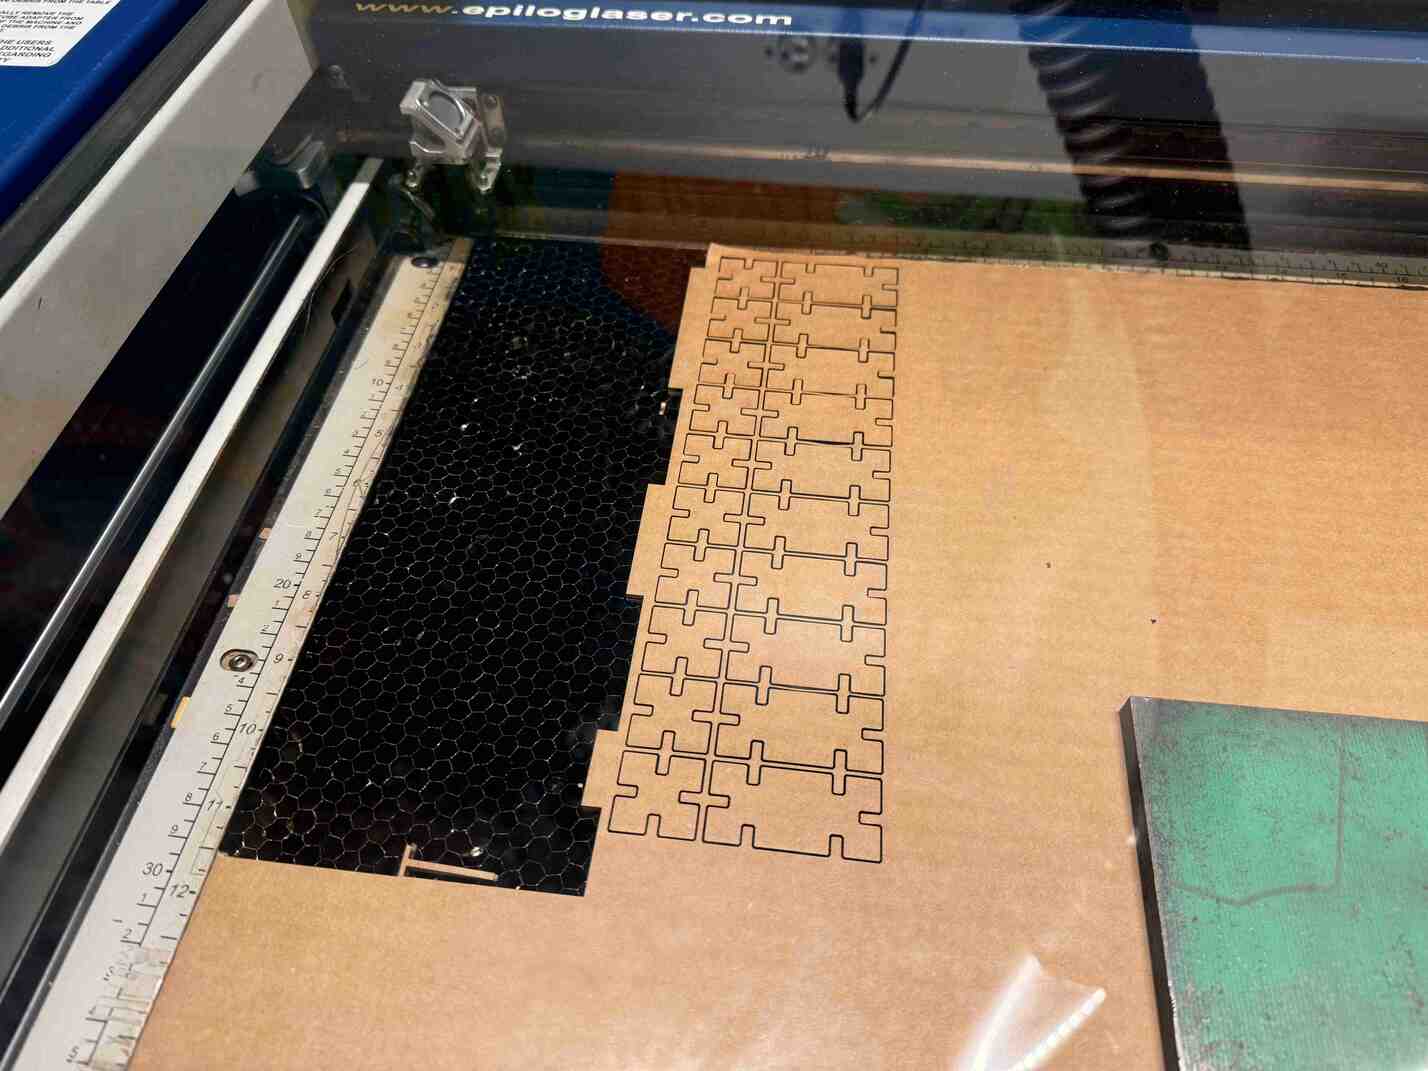
They all seemed like they meshed pretty well for a first attempt!
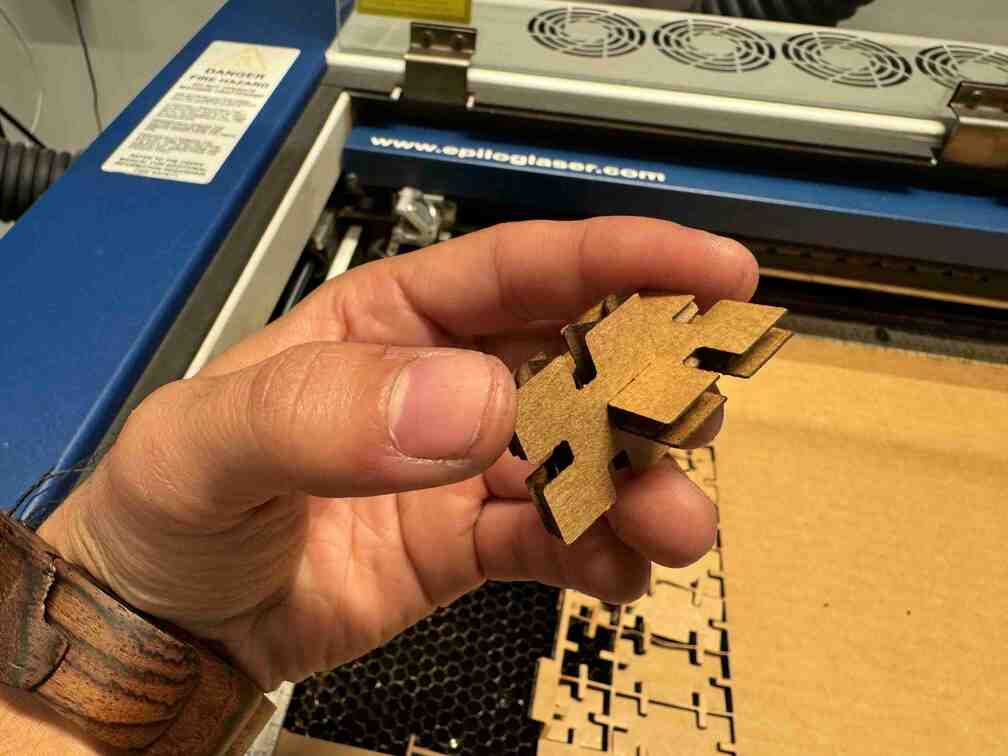
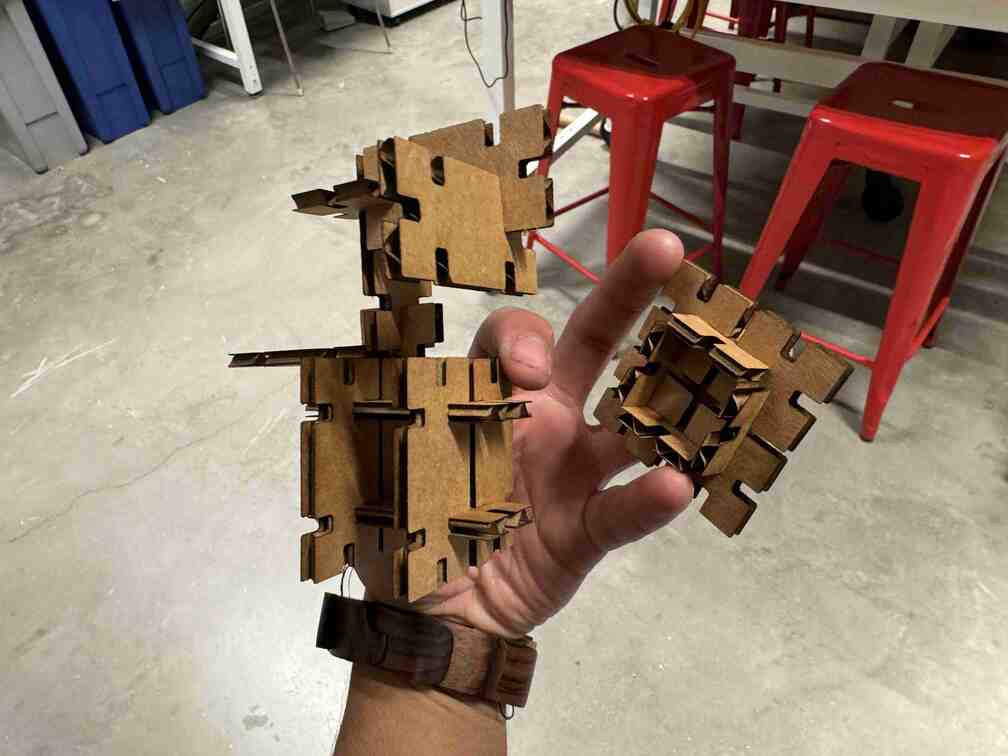
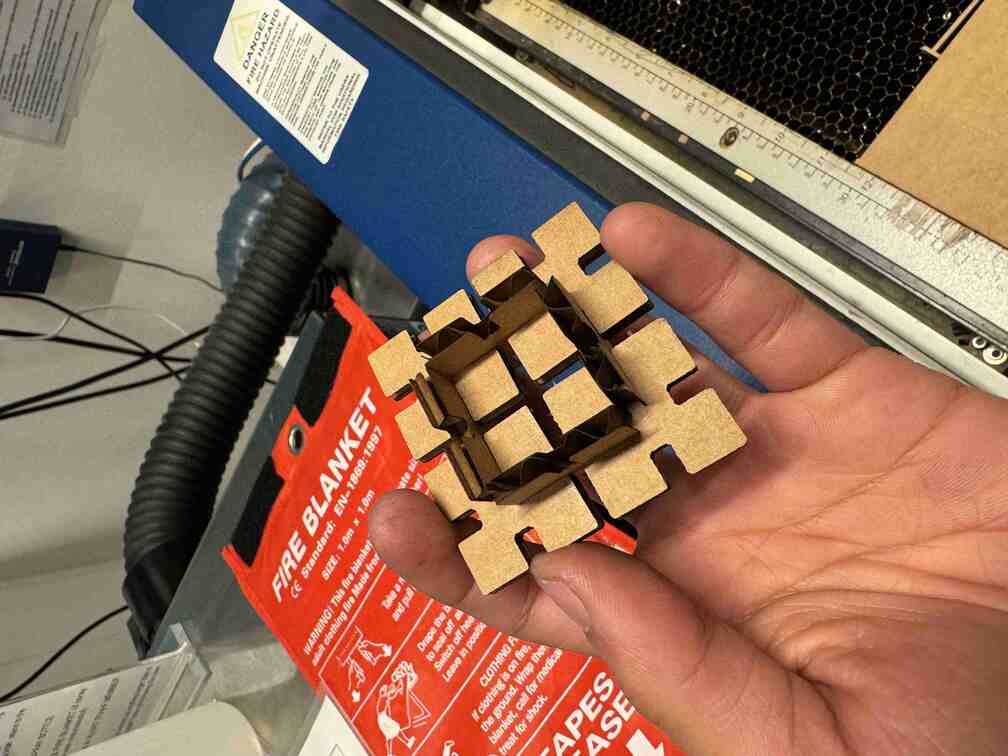
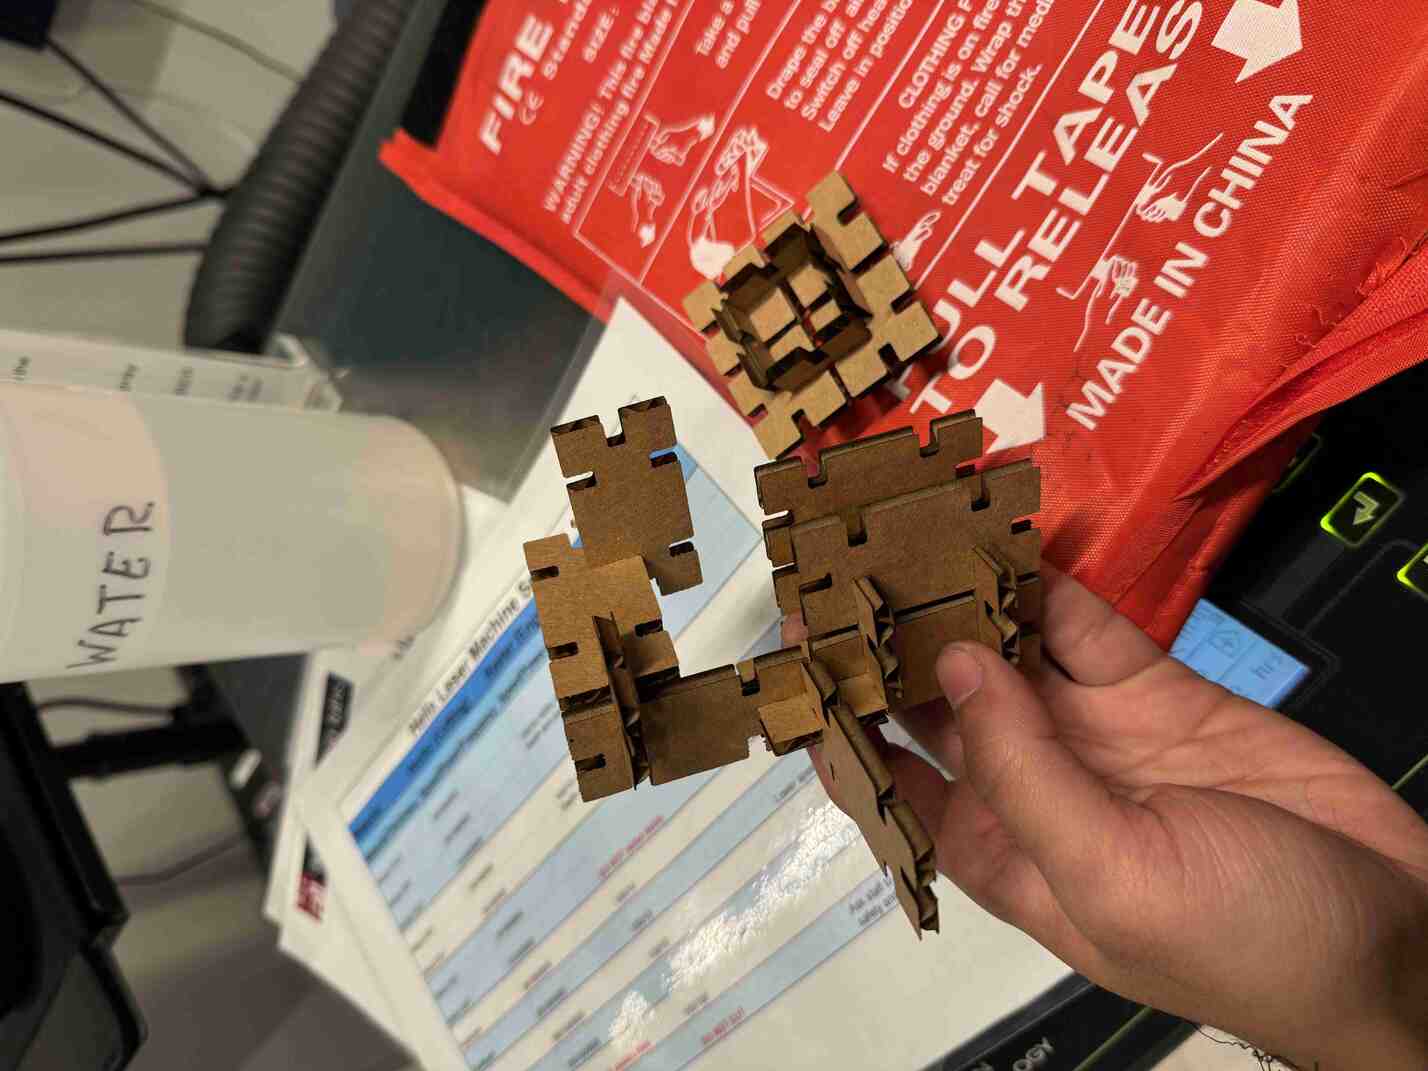
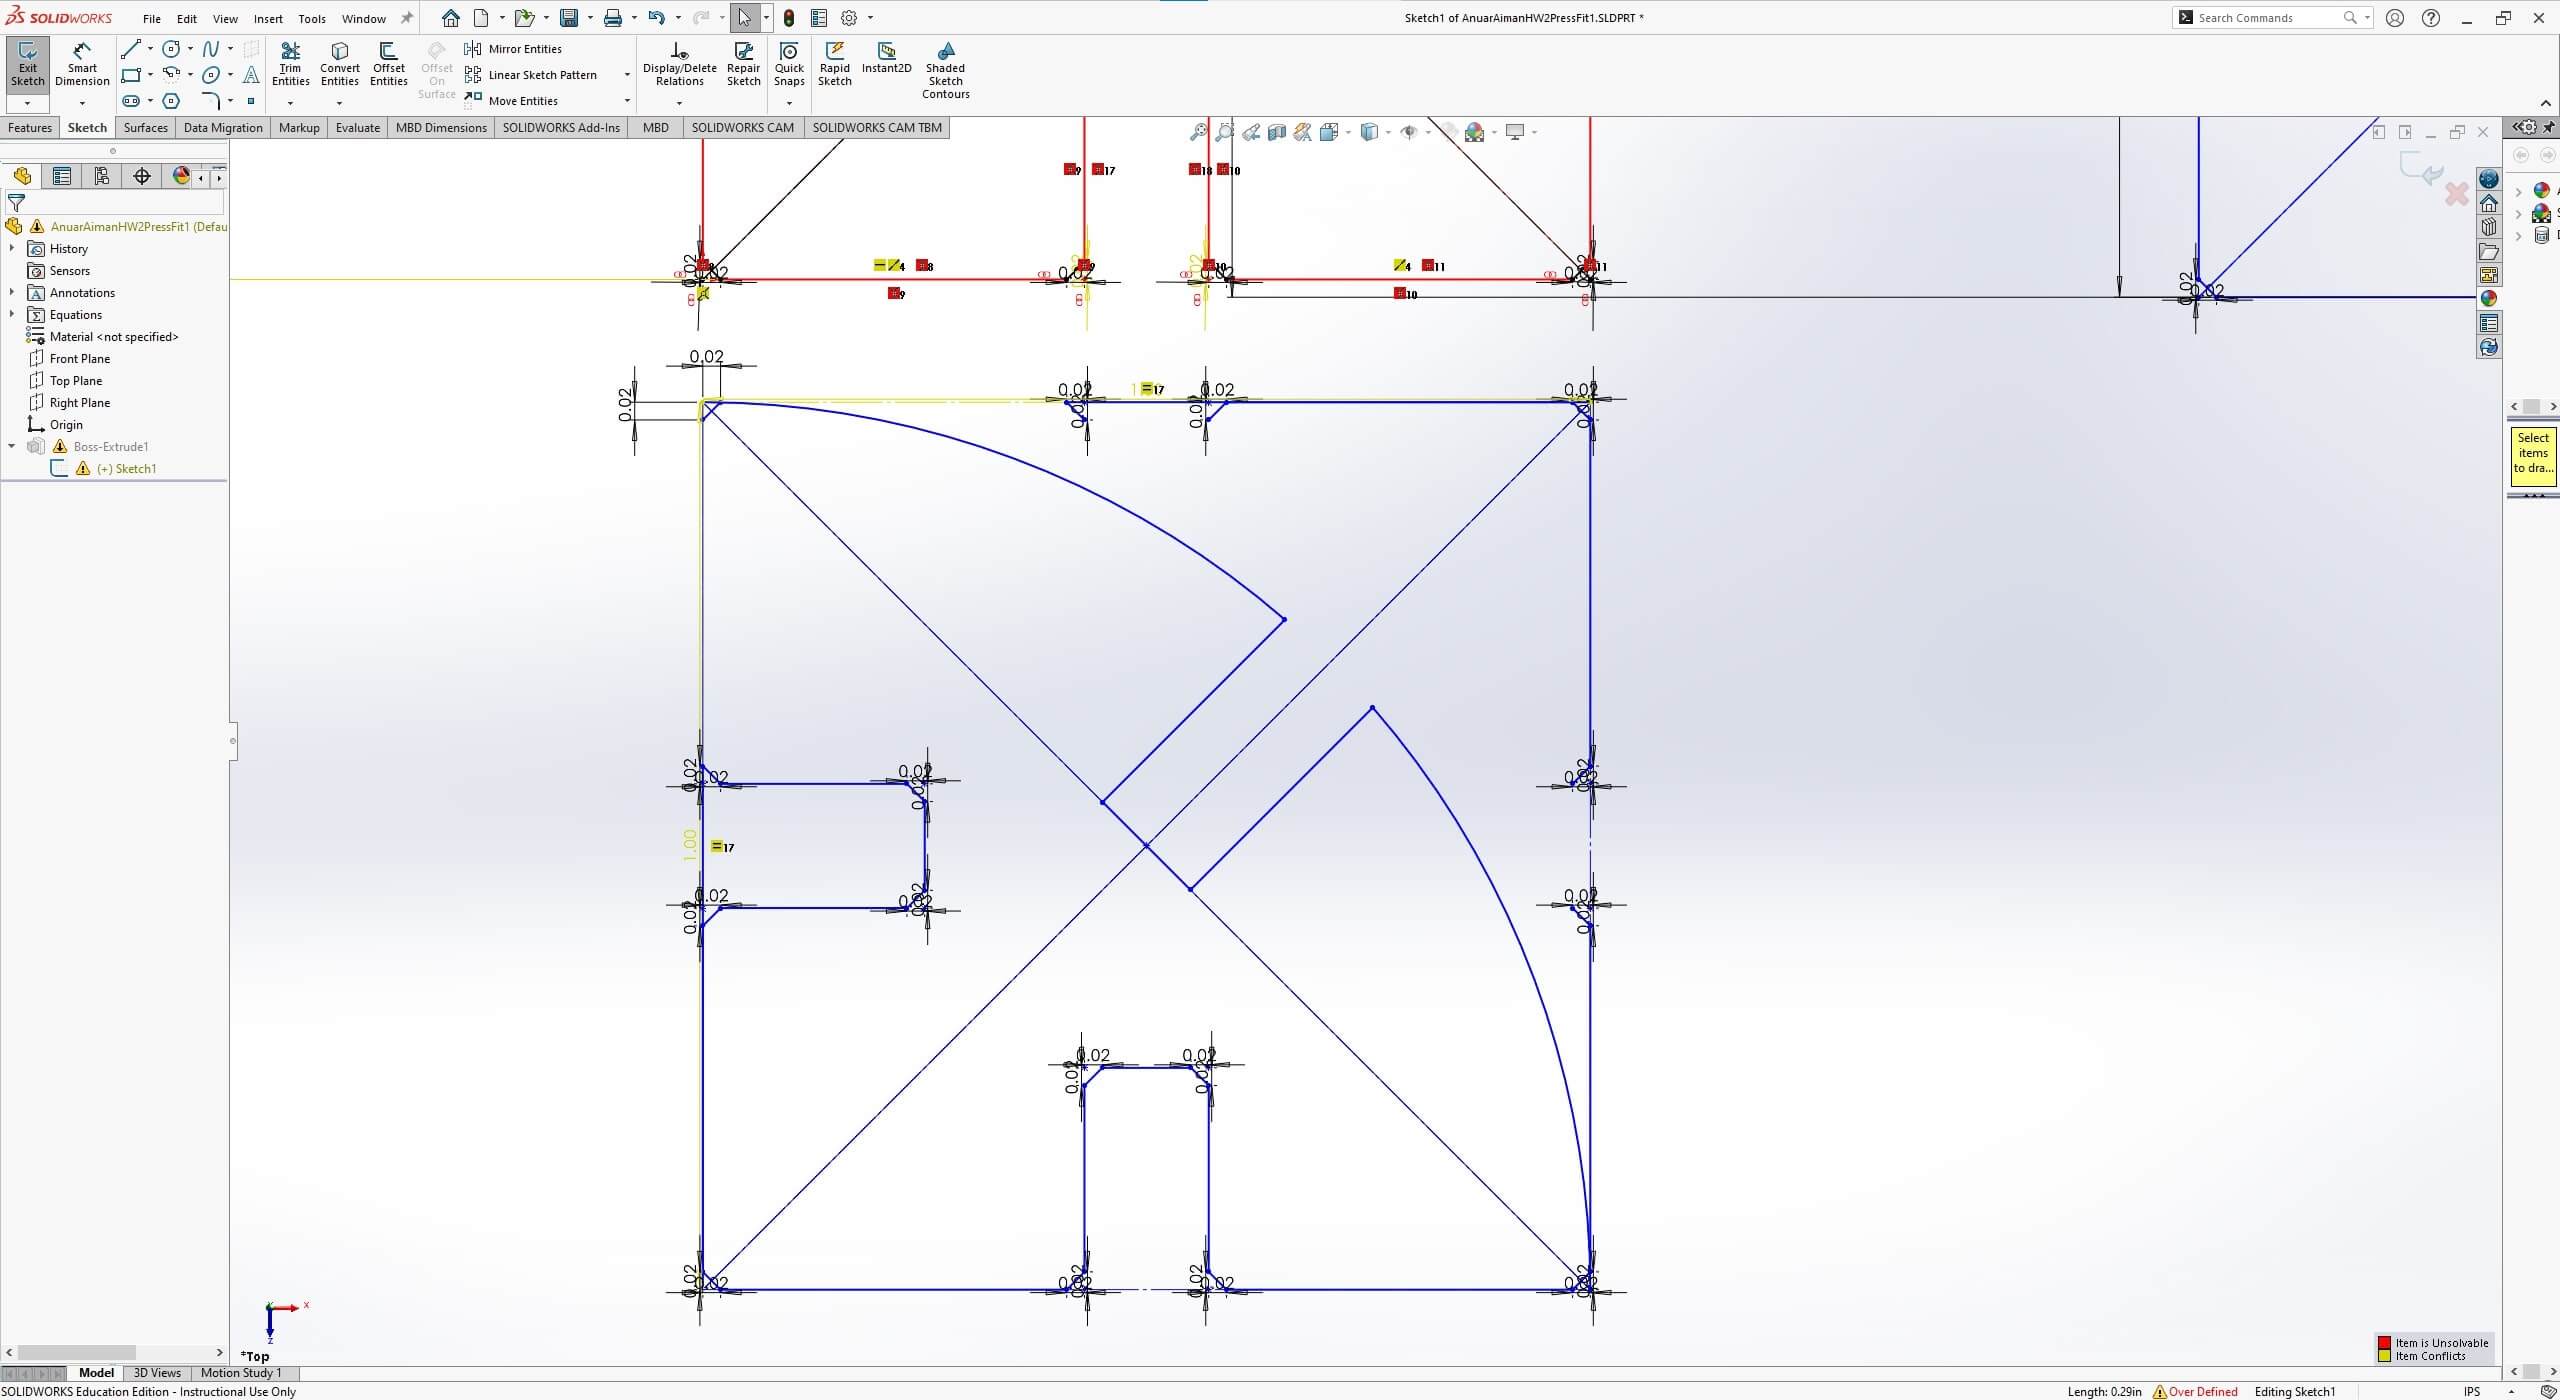
I decided to go back and create one more piece— the curved piece, with a diagonal slot. This element would open up the possibilities for 45 degree connections as well as aesthetic finishing. Ultimately, this meant the kits could form a complete set, each piece having their own important function in the set.
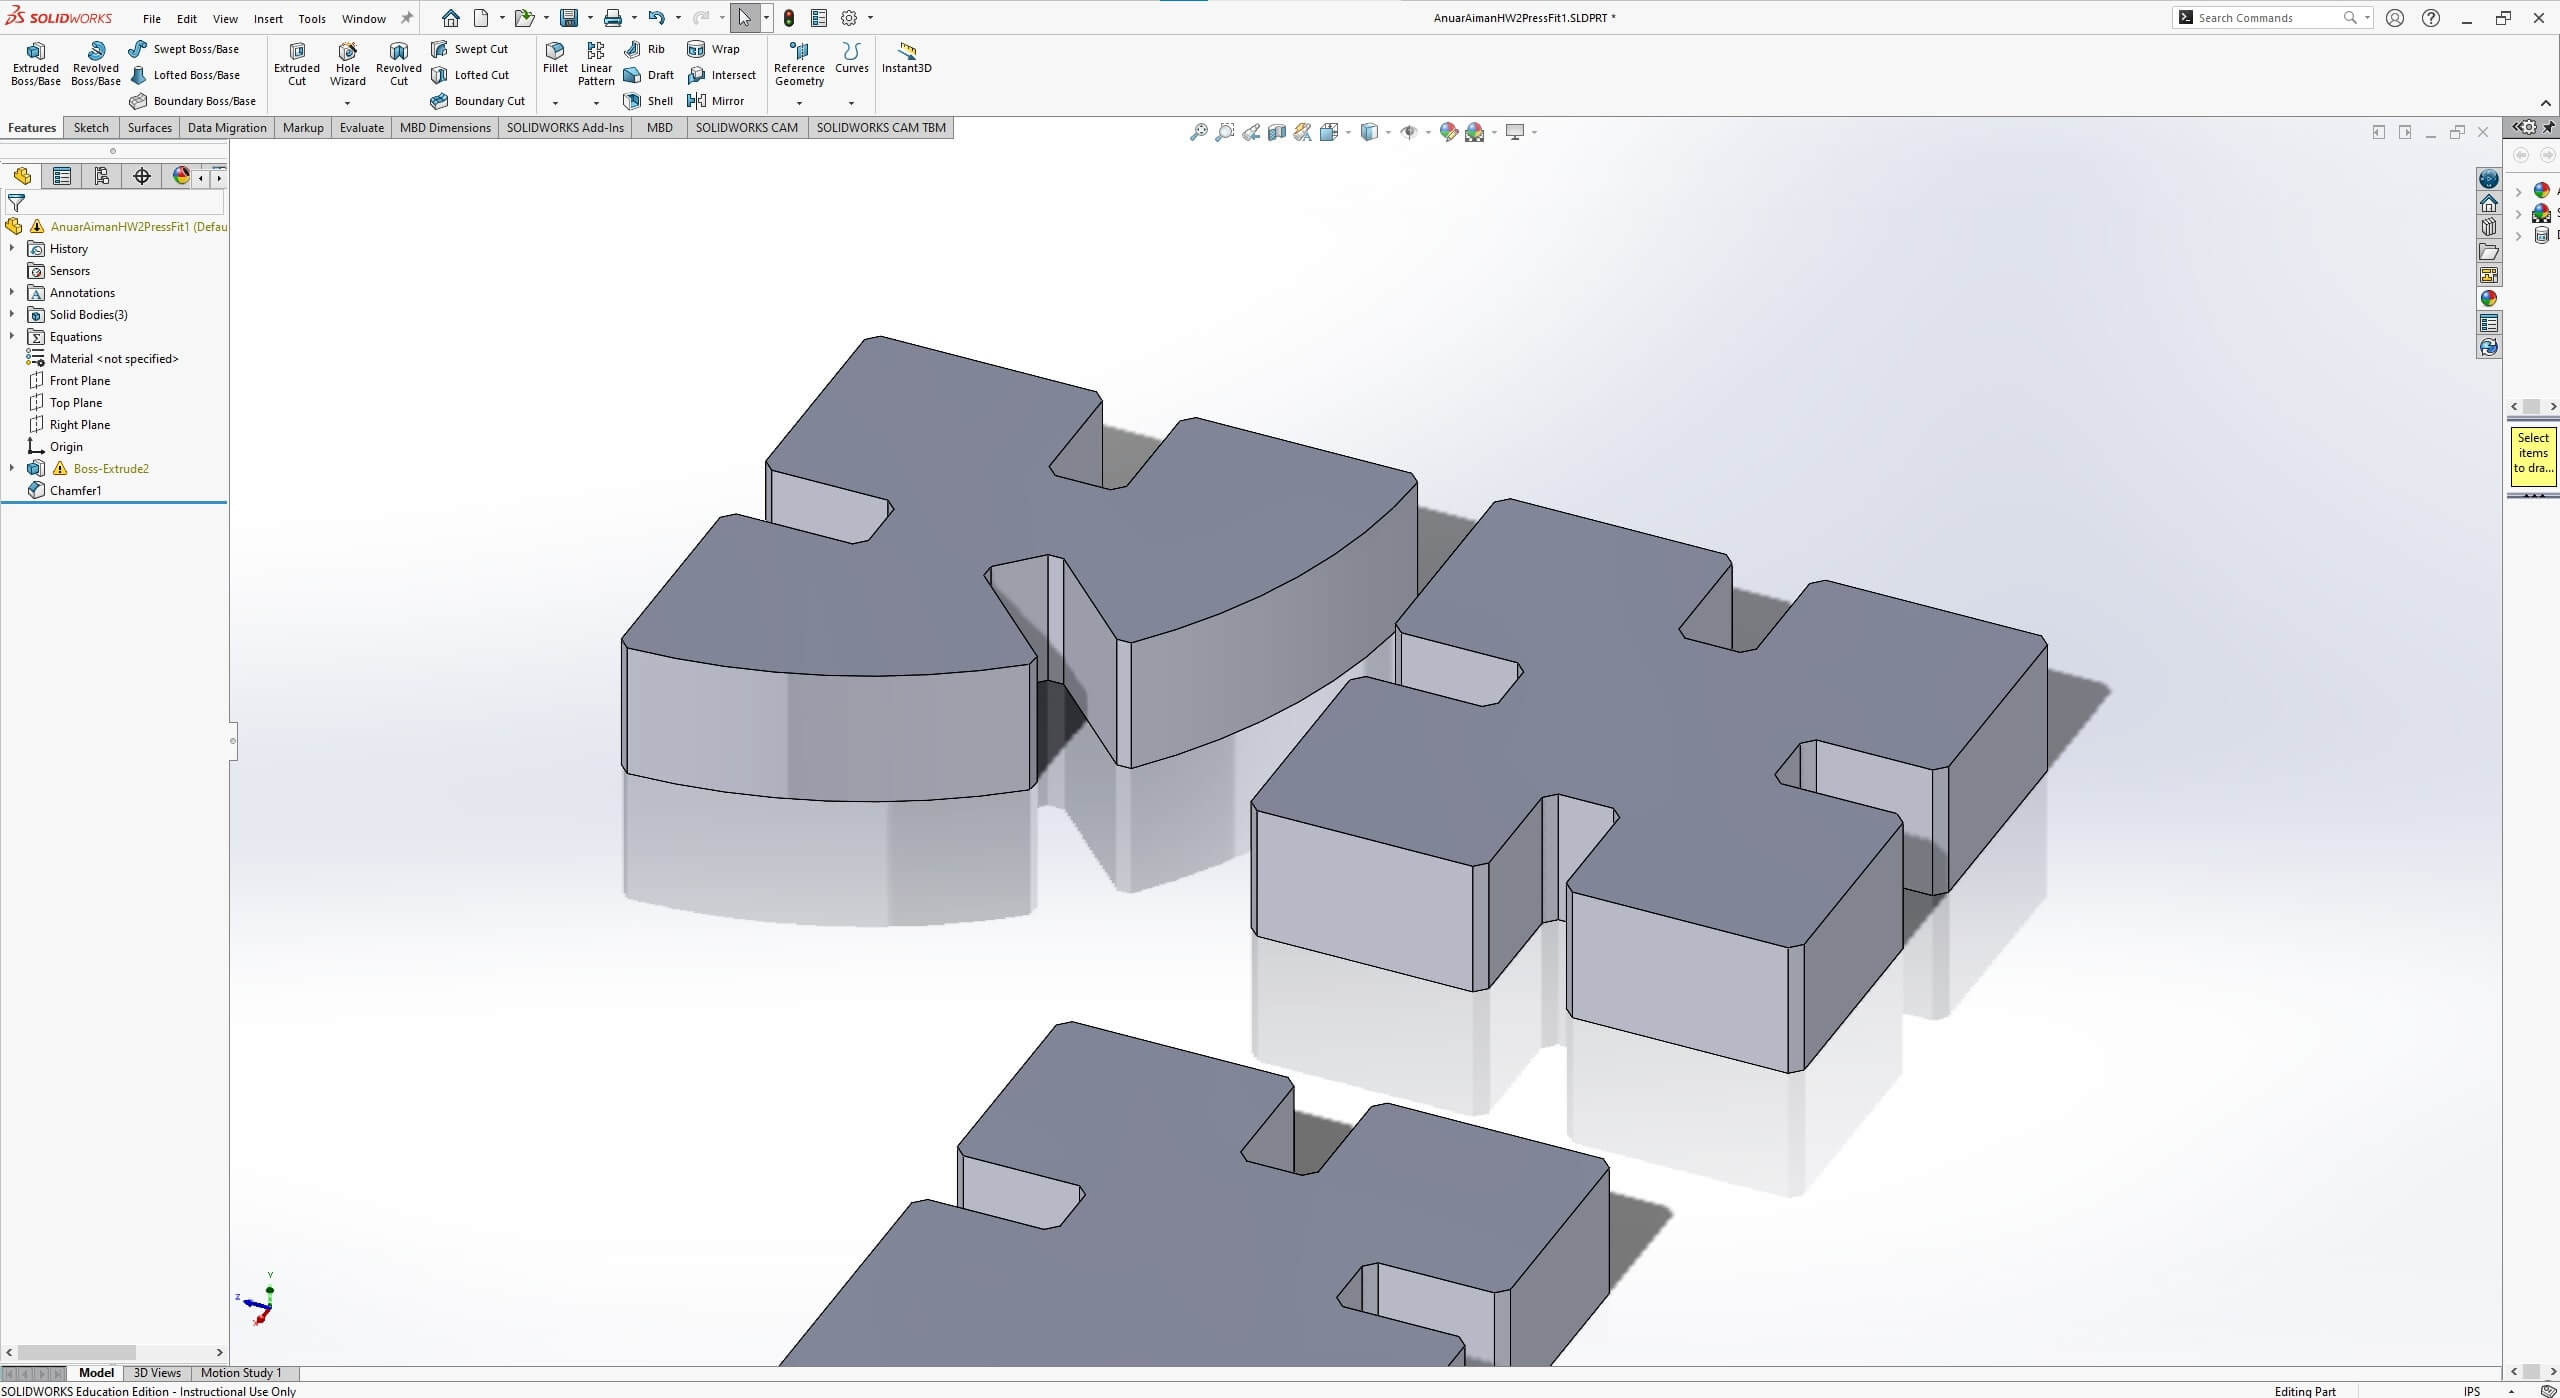
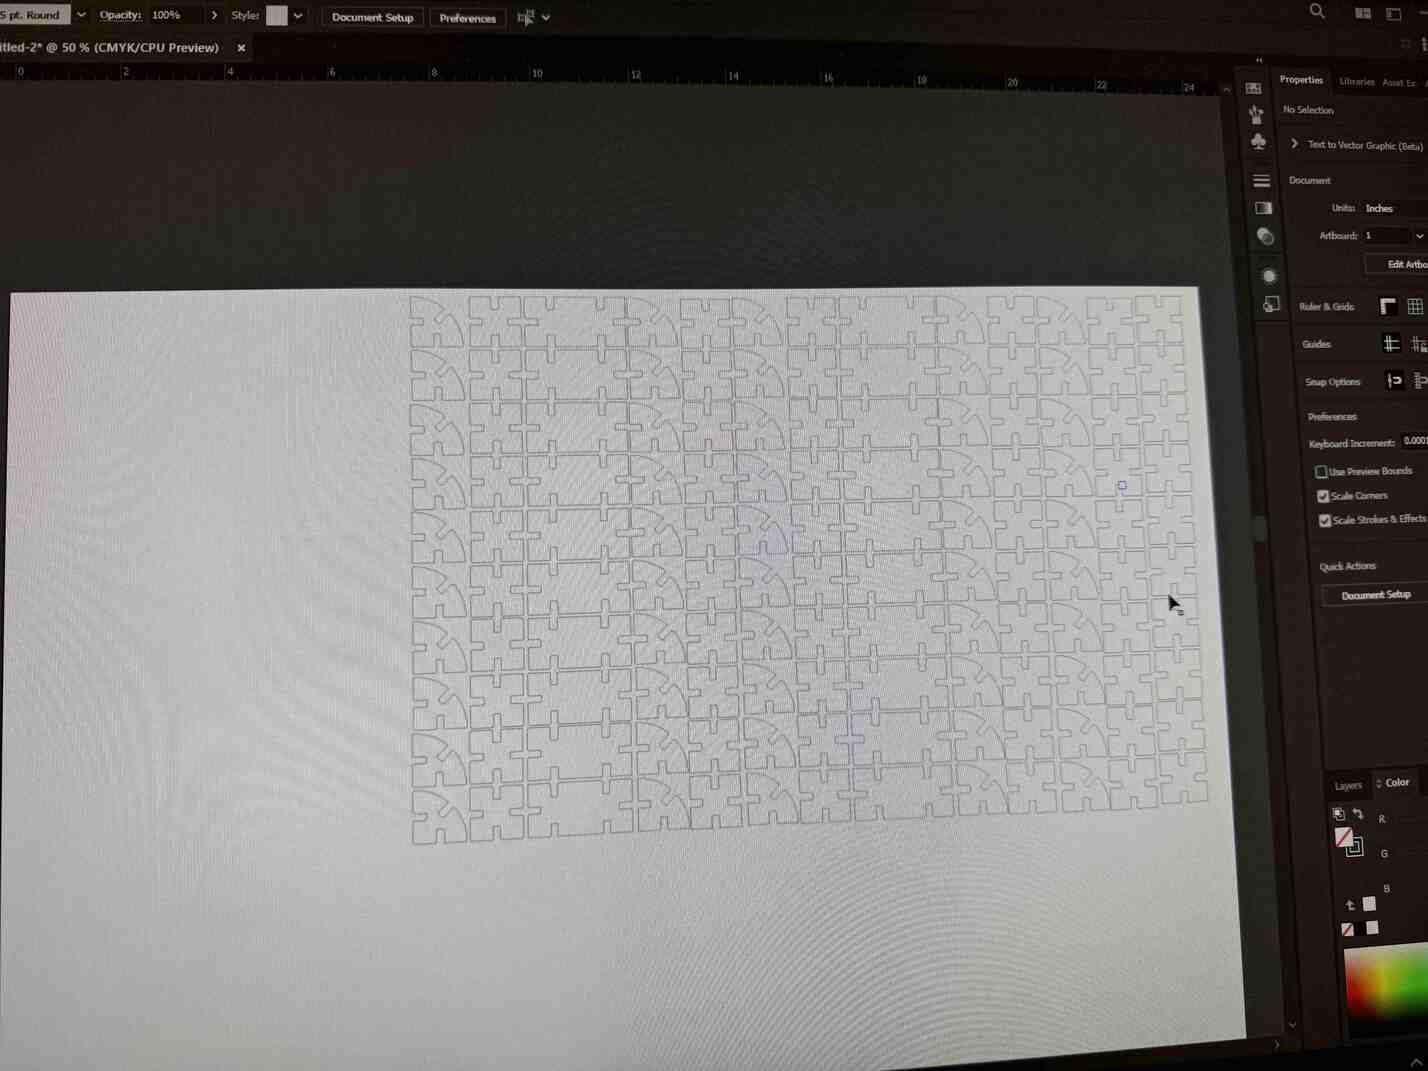
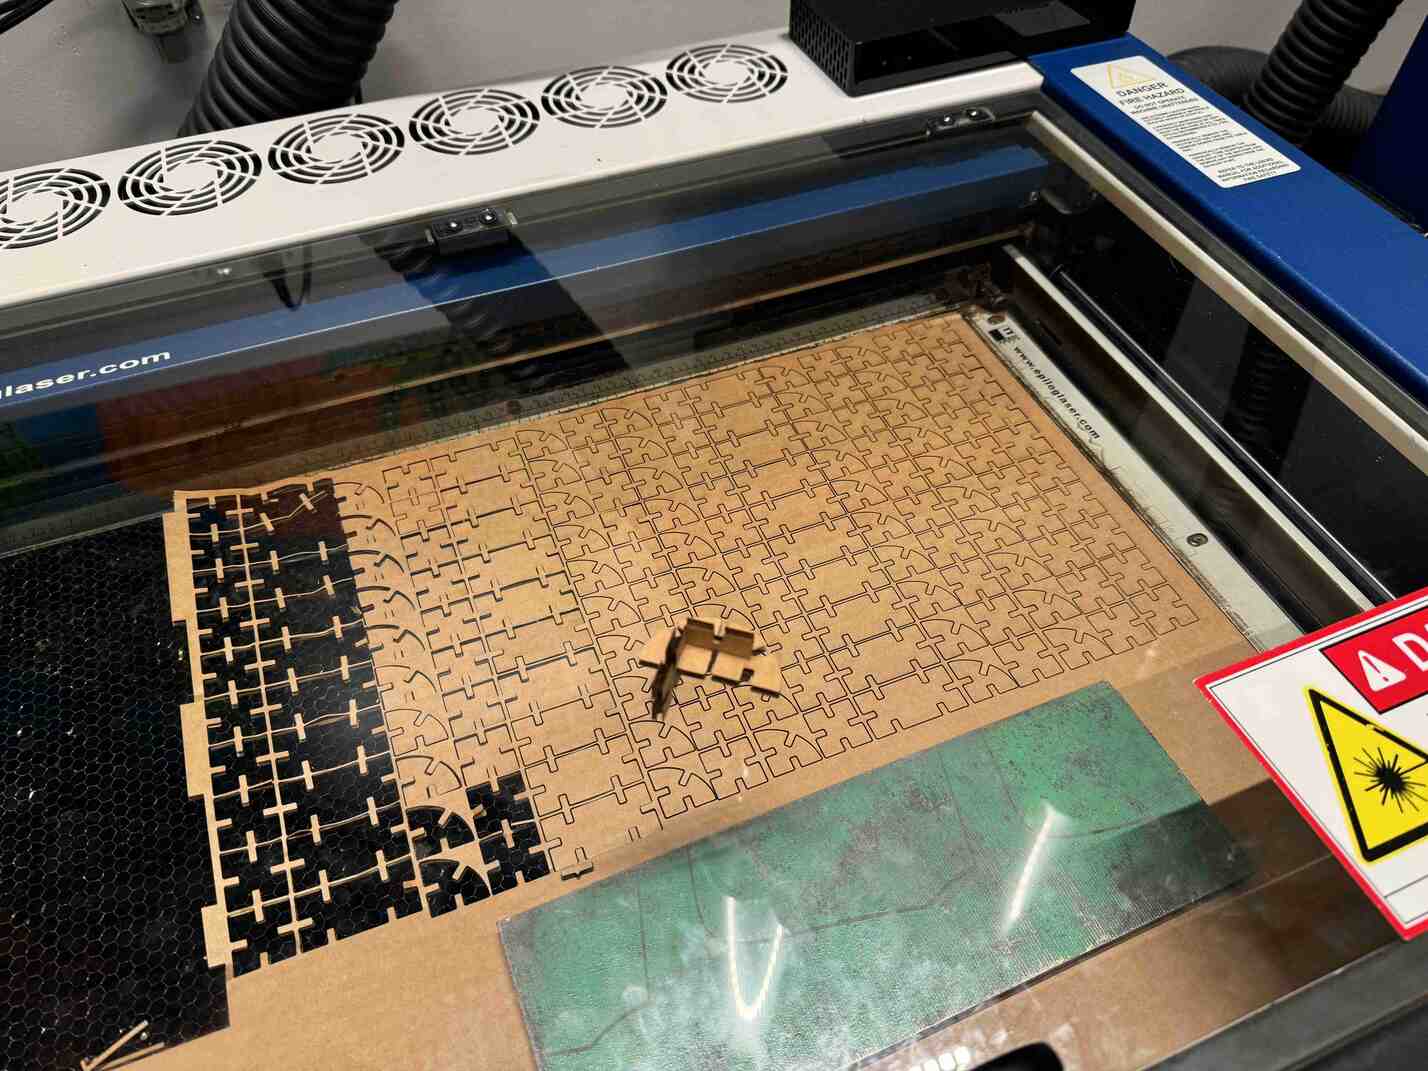
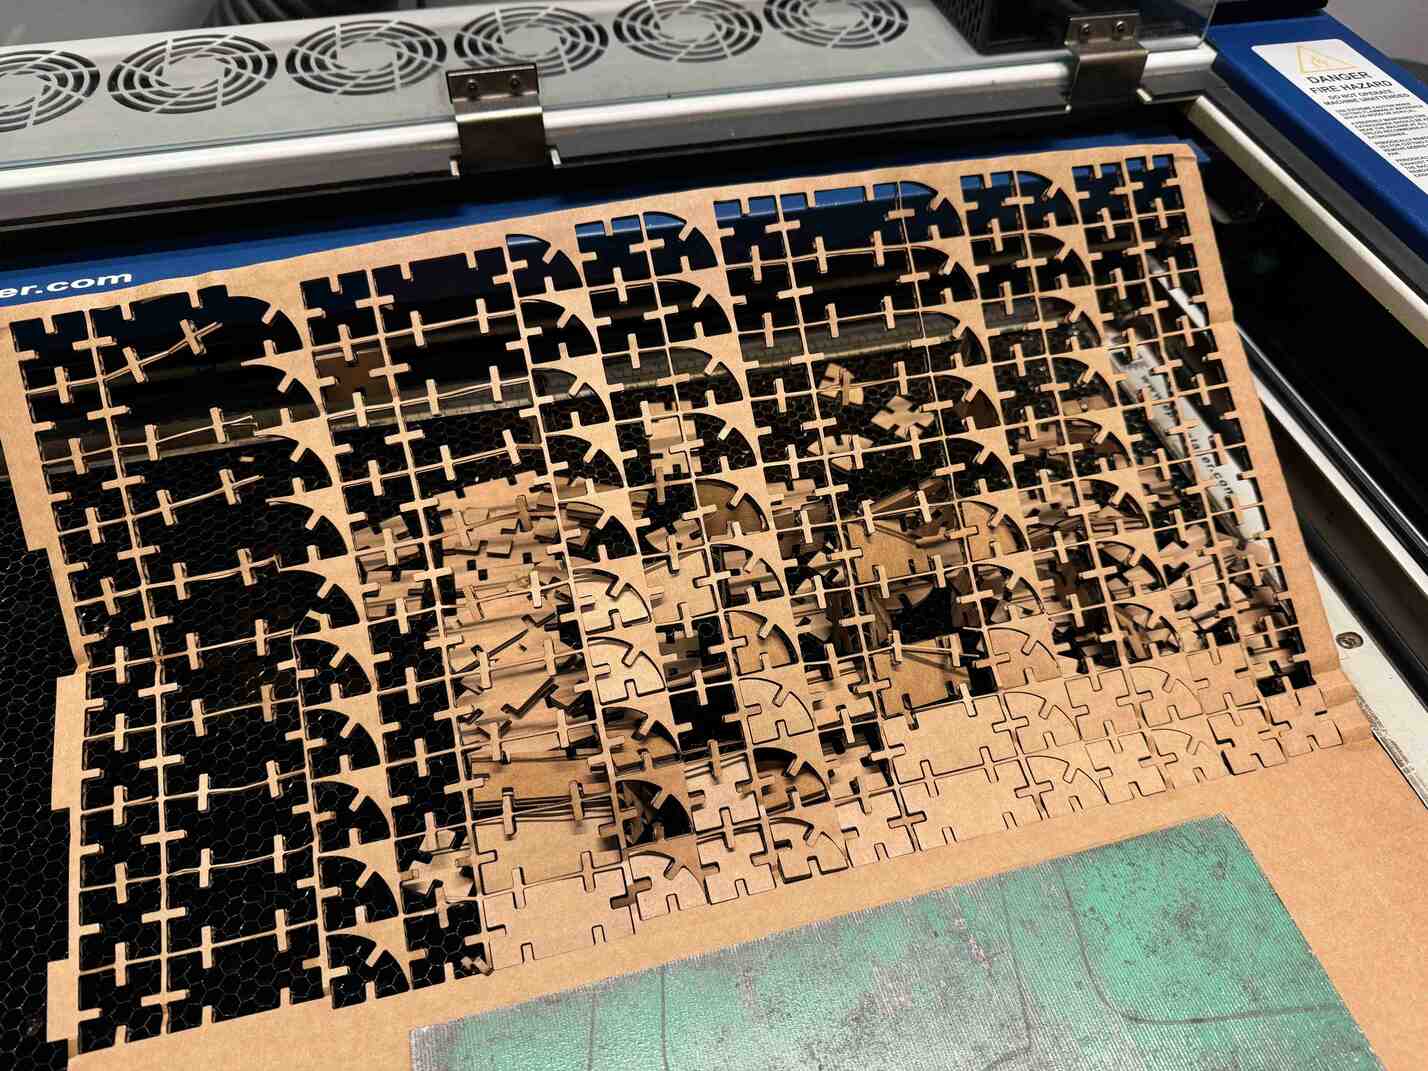
I decided to cut out a ton of each piece now that I had it all figured out. Here they are, cut out!
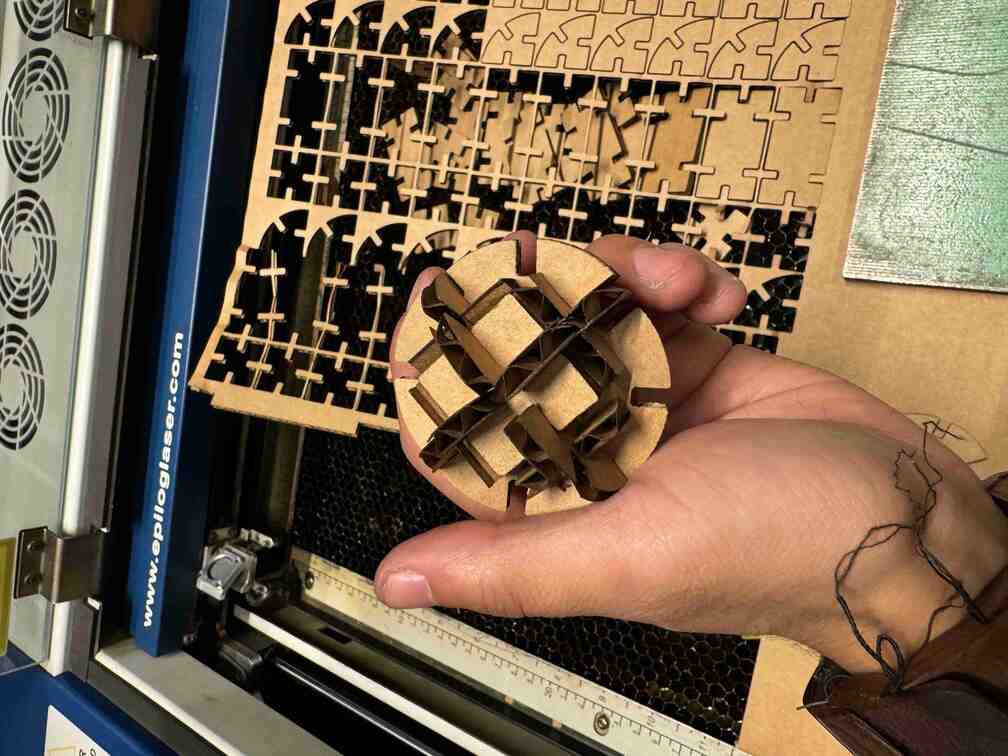
They can also be used to make cute little spheres!
I moved onto the Cricut and watched Leo teach another student how to use the vinyl cutter. I loaded an image onto it to cut, and found out why Neil detested the Cricut software (hint: it sucks). It's so hard to use and takes a lot of pain to keep shapes together because it automatically arranges shapes before cutting, and to fix this you have to group or combine the shapes.
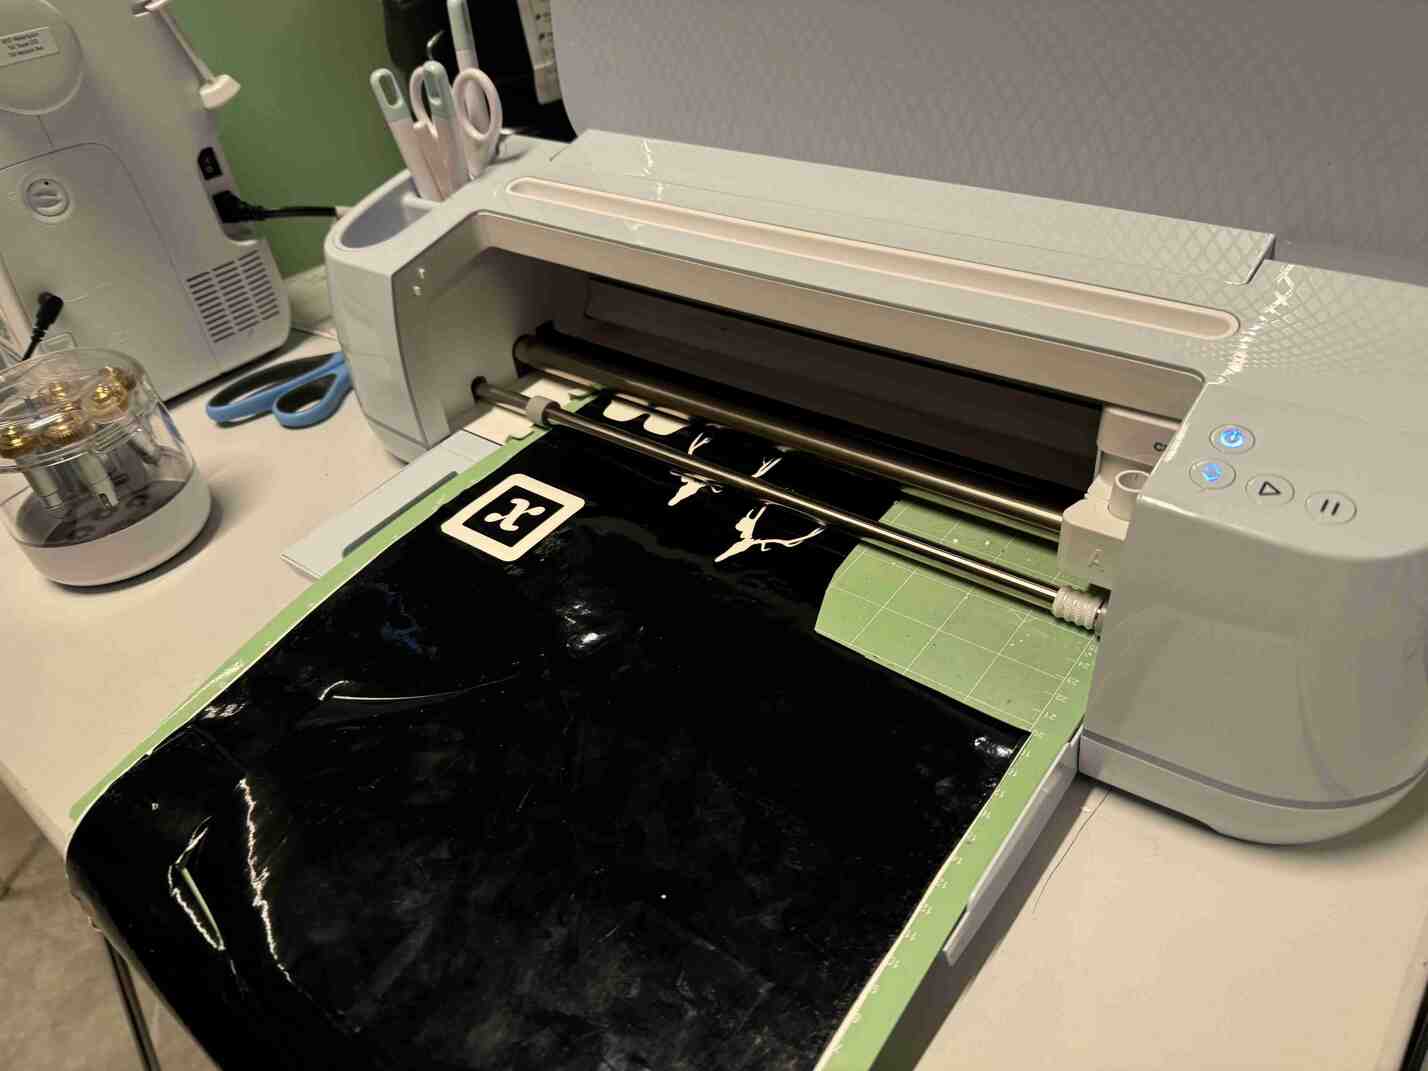
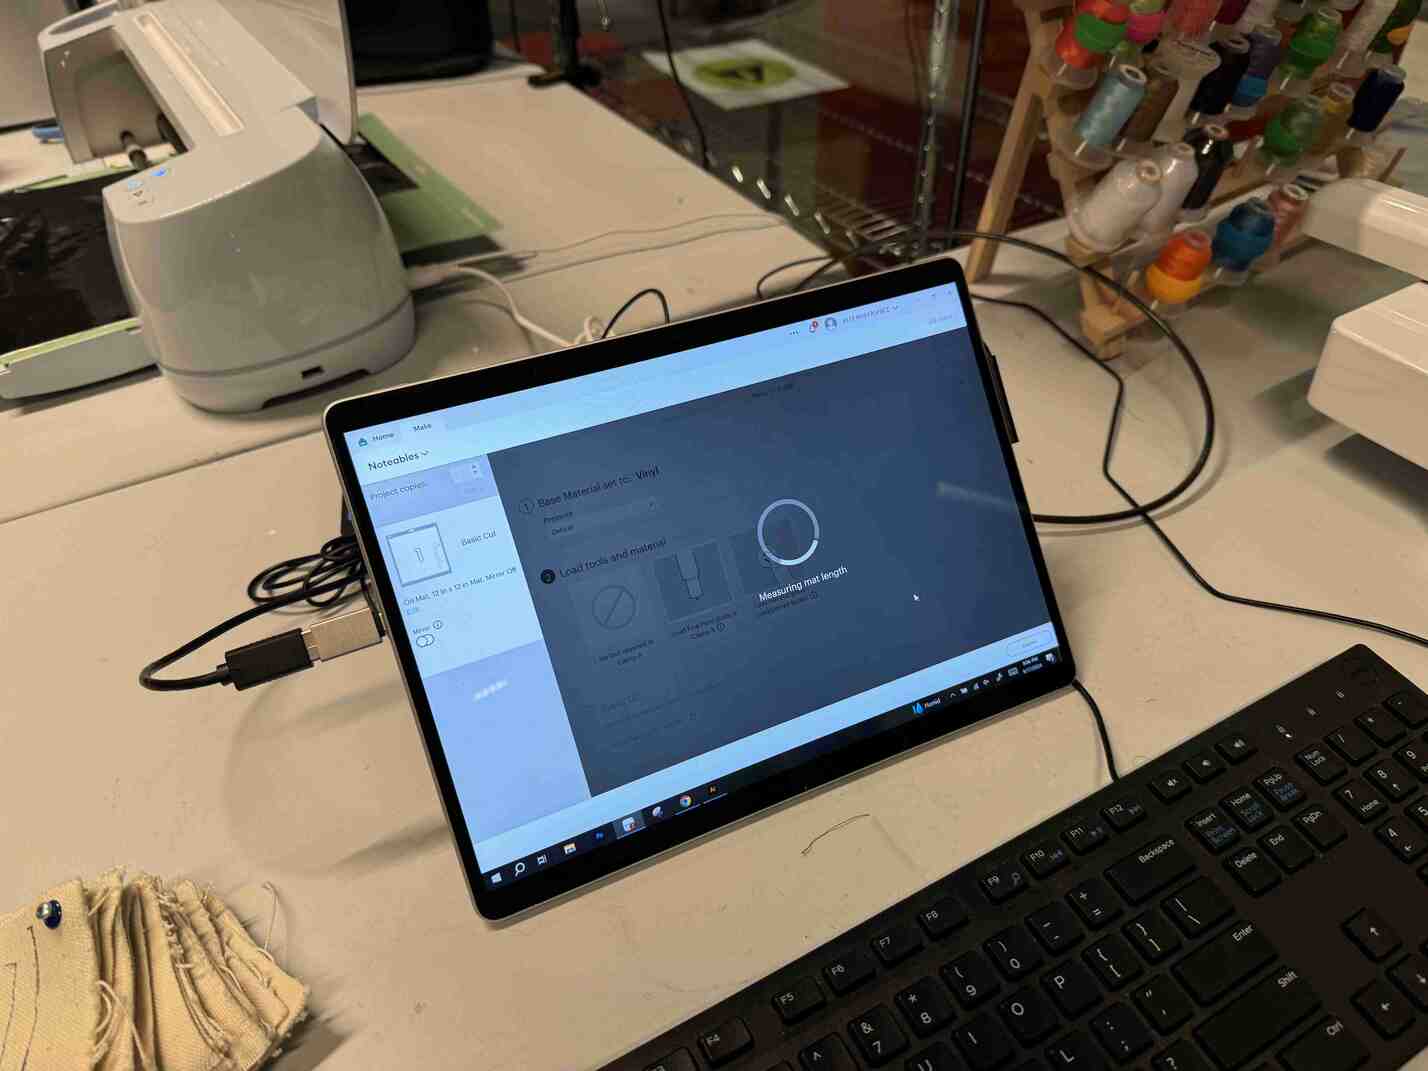
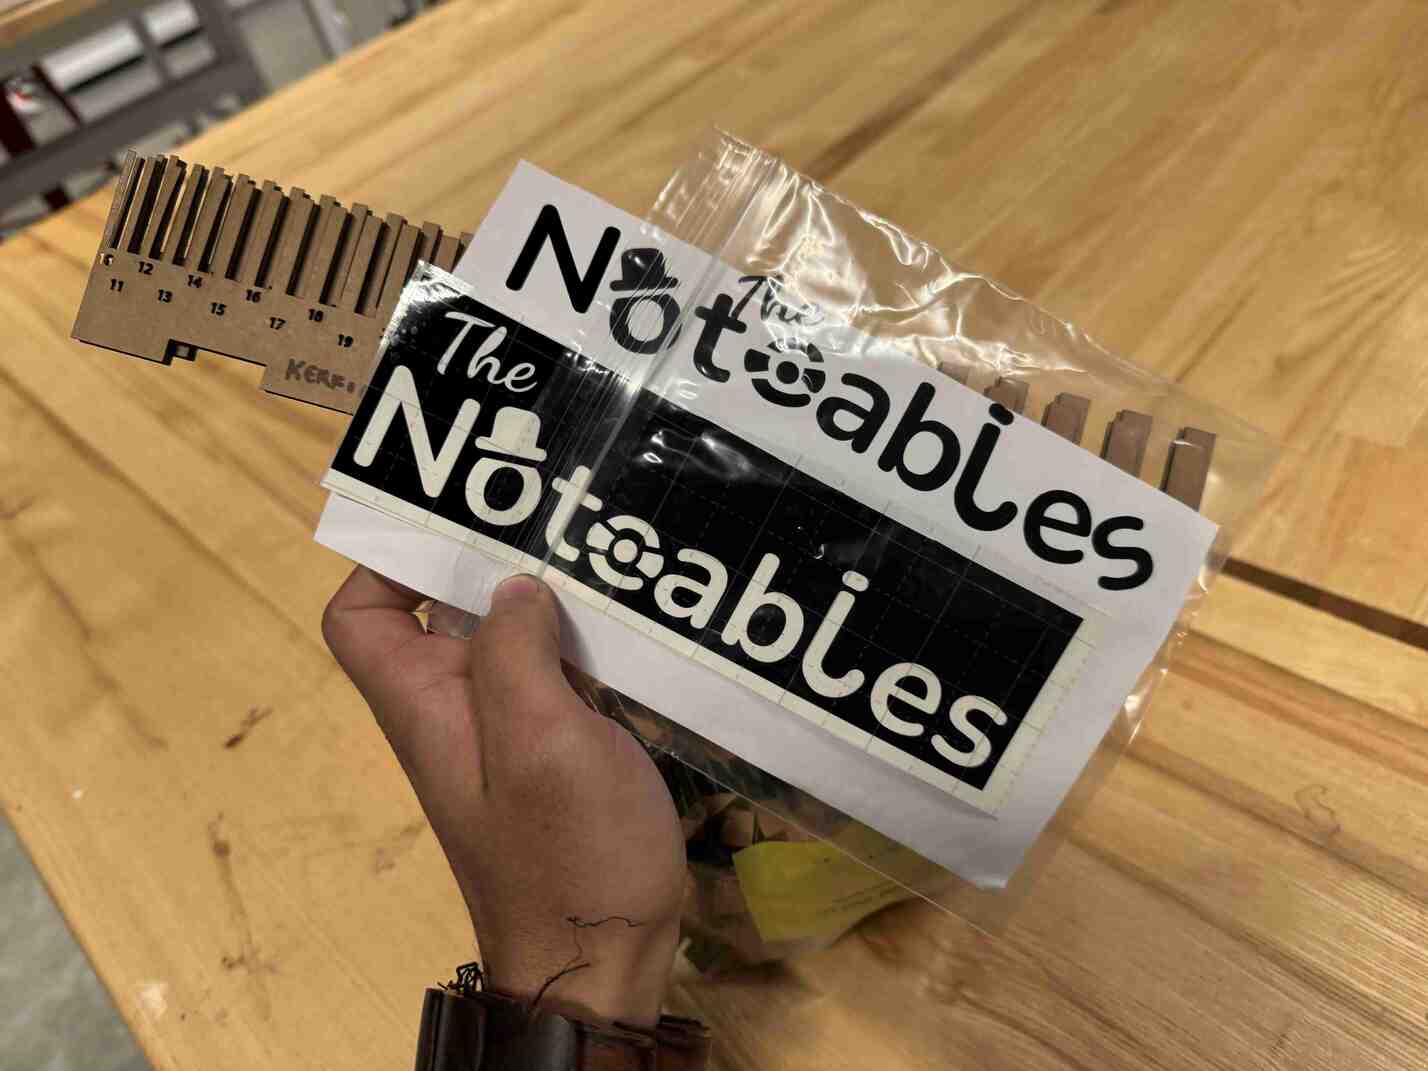
Then came the actual cutting of the Noteables logo onto black vinyl paper and weeding, where I used a pointed hook to peel off the lettering off!
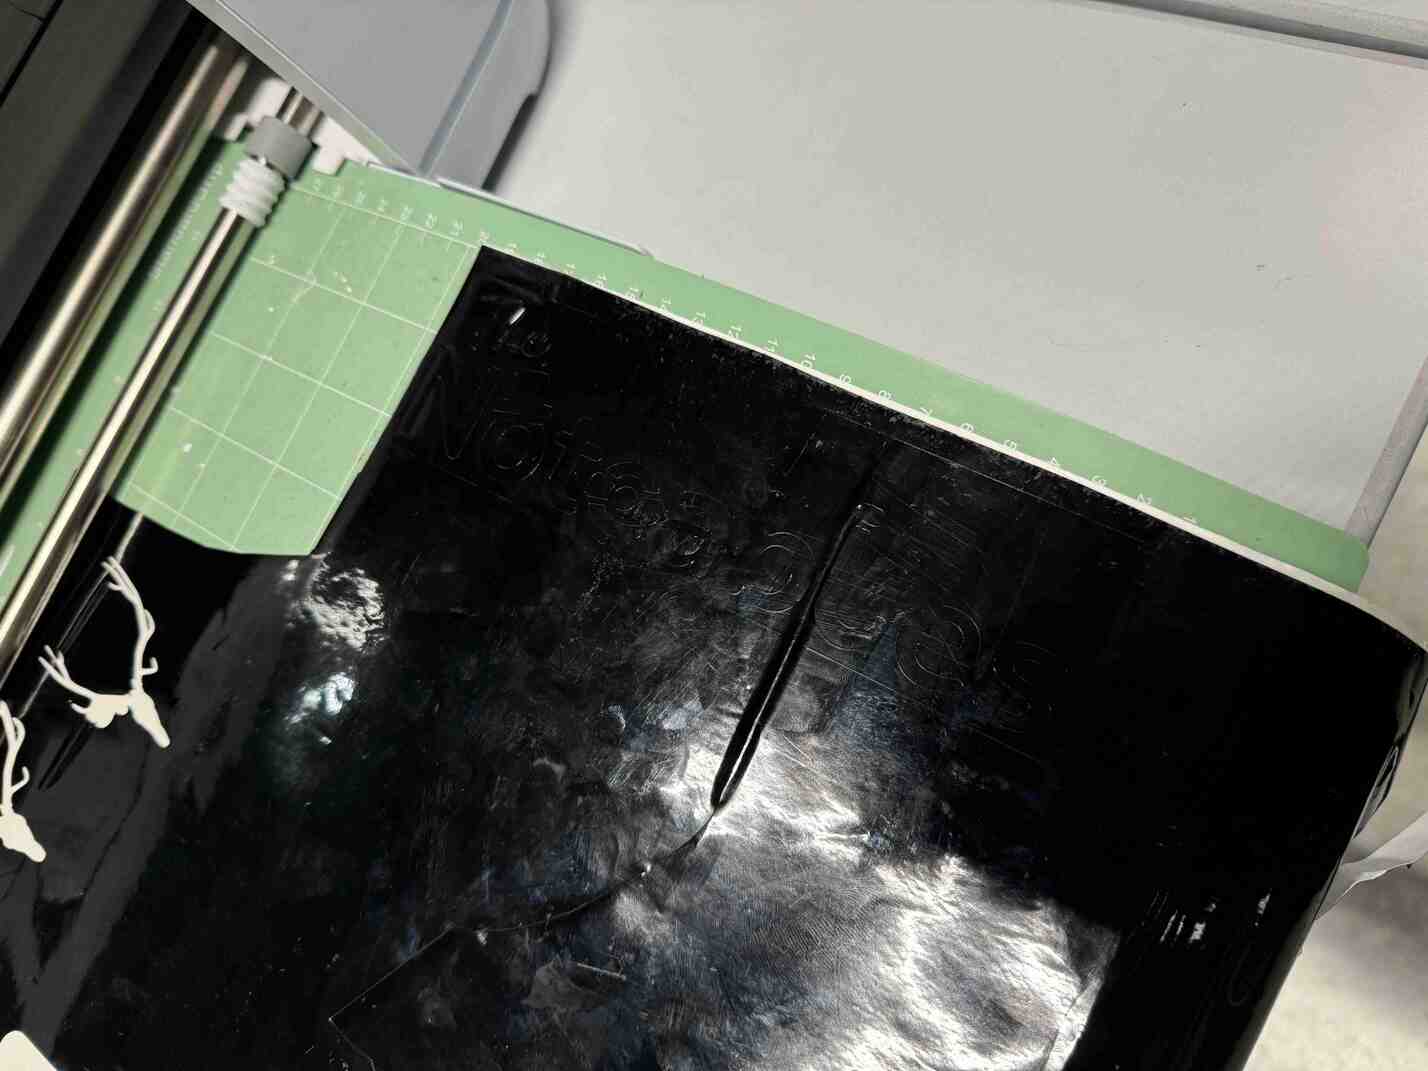
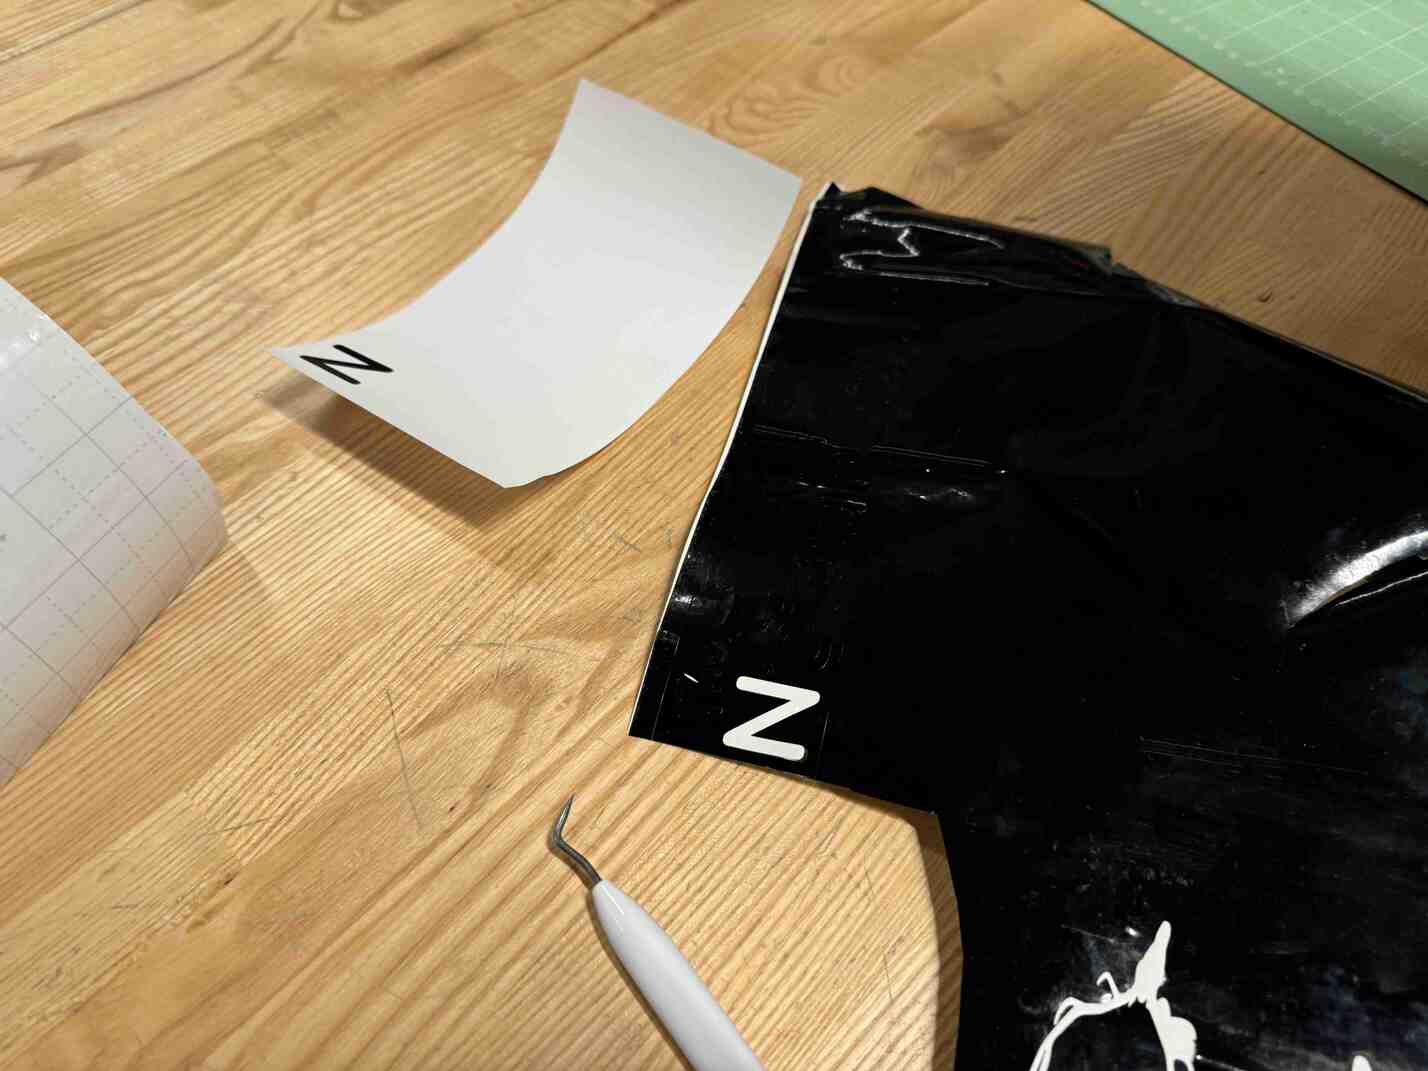
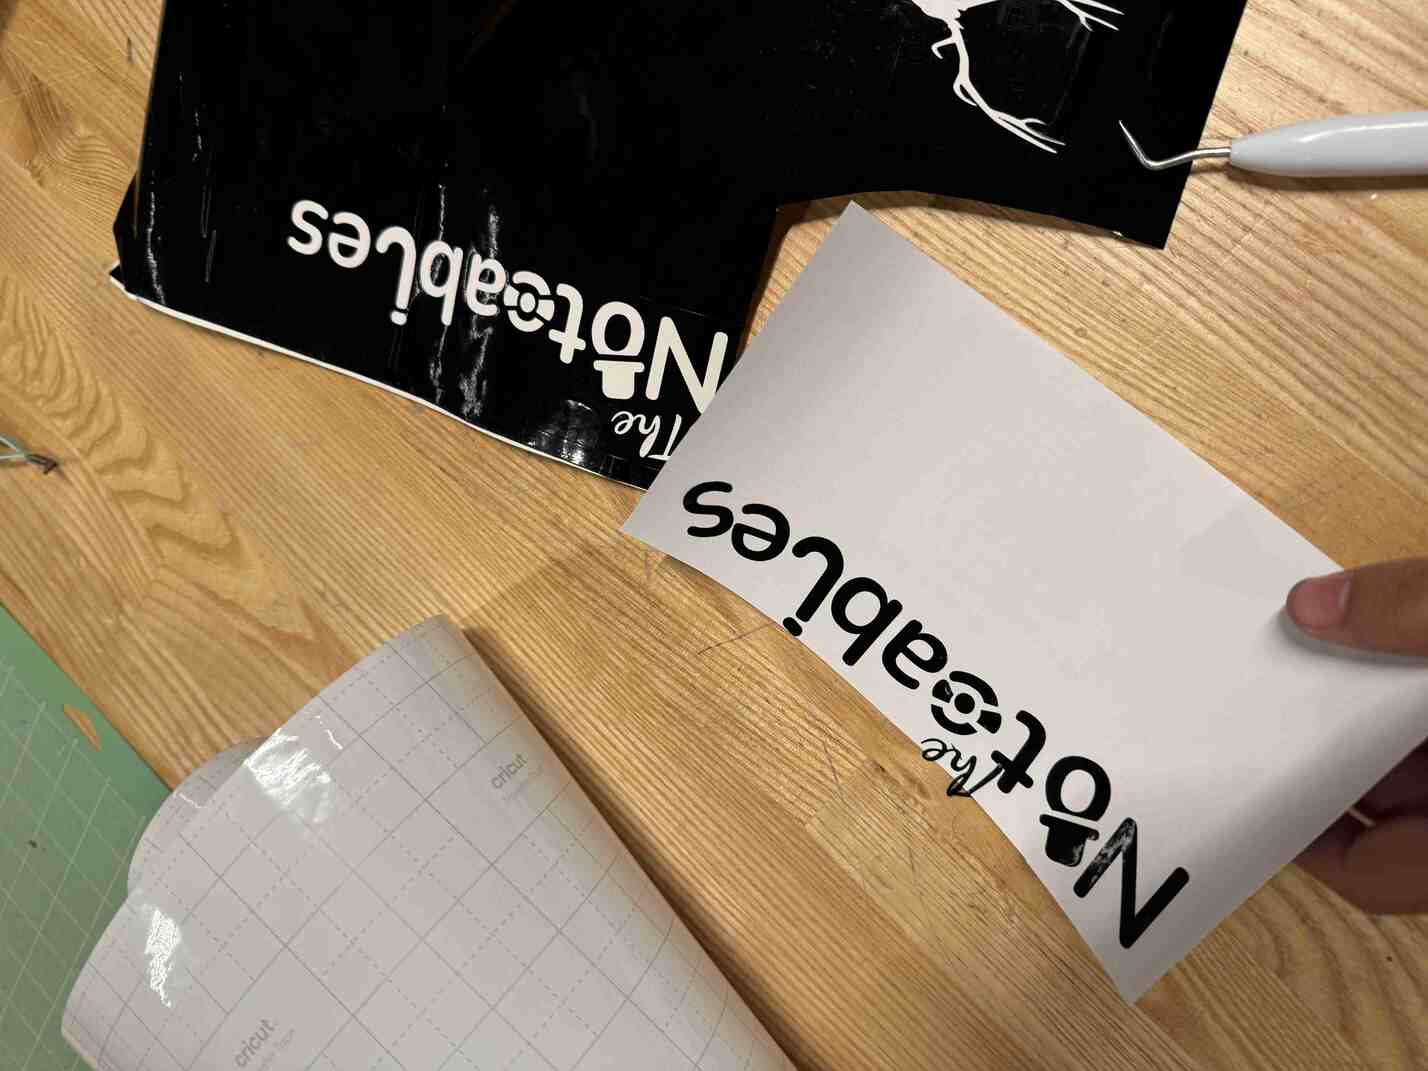
Leo told me that I cropped the logo too hastily and didn't leave enough margins on the side to have a nice border to the sticker. I decided to put it on the backside of my laptop, but didn't actually peel it into sticker form since I don't like stickers. Leo joked that it meant I had commitment issues xD. I will remember this in the future. But hey, it looks great!
My reflection on this week was that the laser cutter that I'd been using up to now could do so much more if I just took a little more effort to consider the smaller things about it like the kerf and burn, and that I didn't have to resort to hot glue to make interesting models! In the future, I will be doing a lot more with finger joints and non-glue assembly! The Cricut was cool too but I didn't really vibe with its design space, although it does present potential interesting fabrication methods for possible future projects!
Home