HTMAA 2024 - Week 3
Embedded Programming
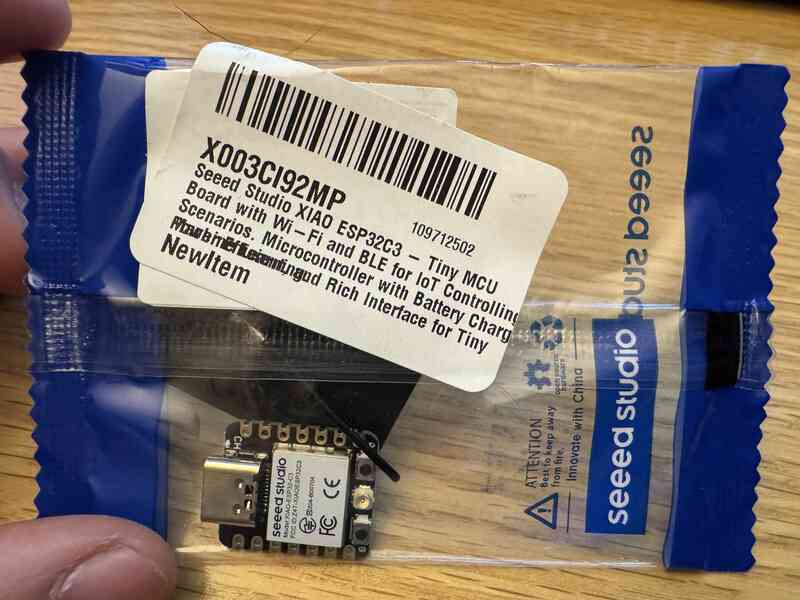
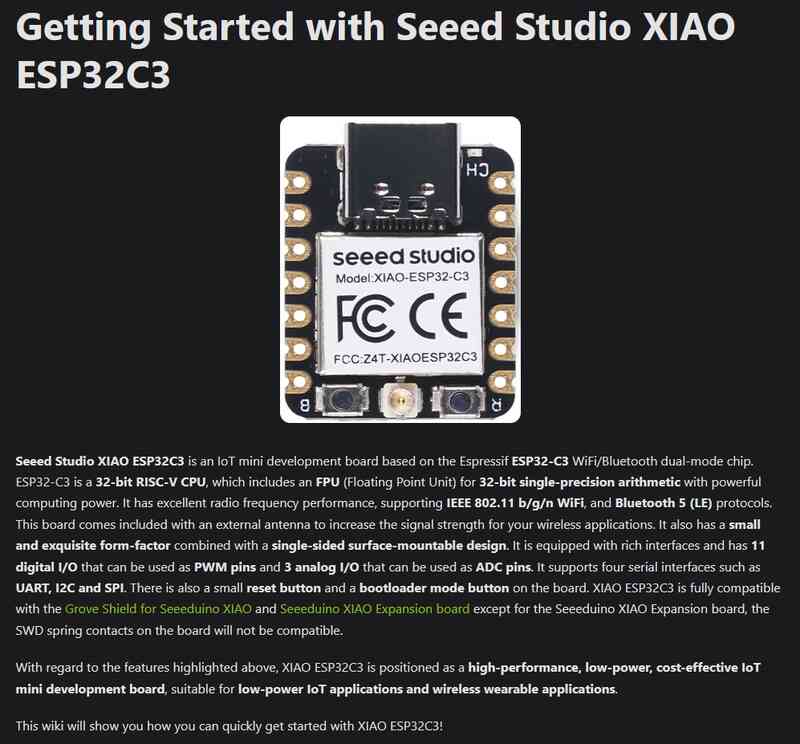
HomeThis week we learned about embedded programming, and I decided to choose the XIAO ESP32C3 as my microcontroller of choice!
Here is the link to its documentation!
Documentation Link
I chose the ESP32C3 mainly because of its wireless functionality, which would be useful for my toolbox final project, since all of the toolboxes are discrete components that need to communicate wirelessly.
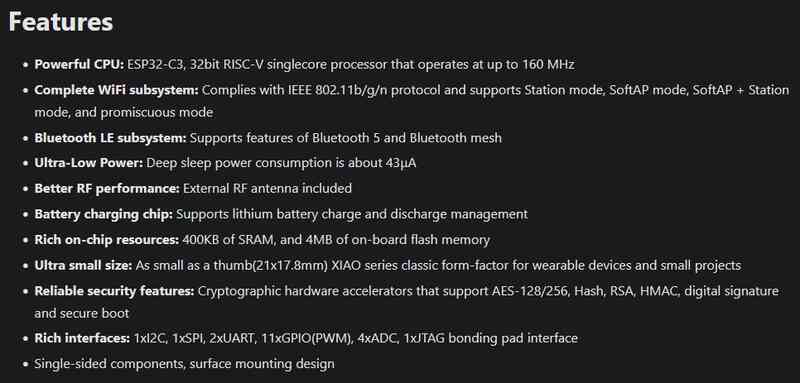
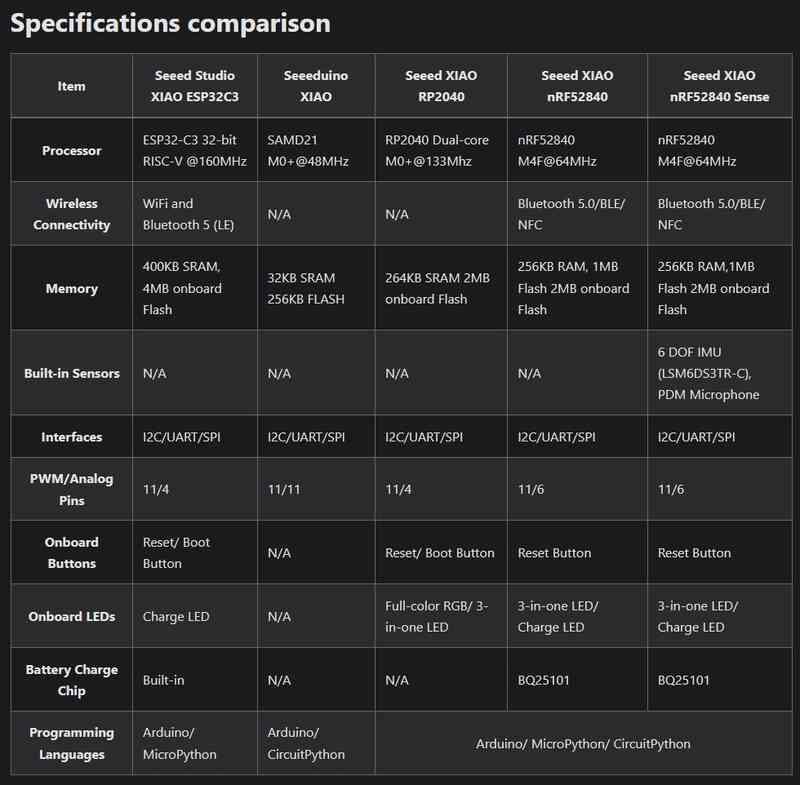
Here's some other features of it I found in the documentation..
Originally I was going to use the RP2040, but after seeing it lacked wireless connectivity, I switched to the ESP.
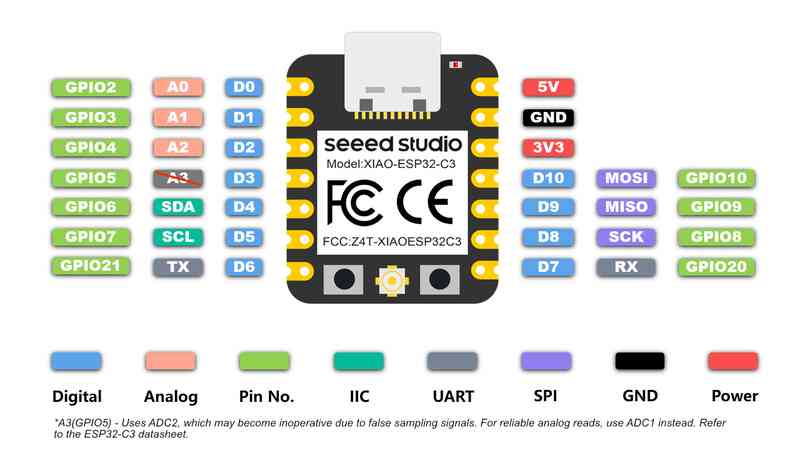
Here's its pinout!
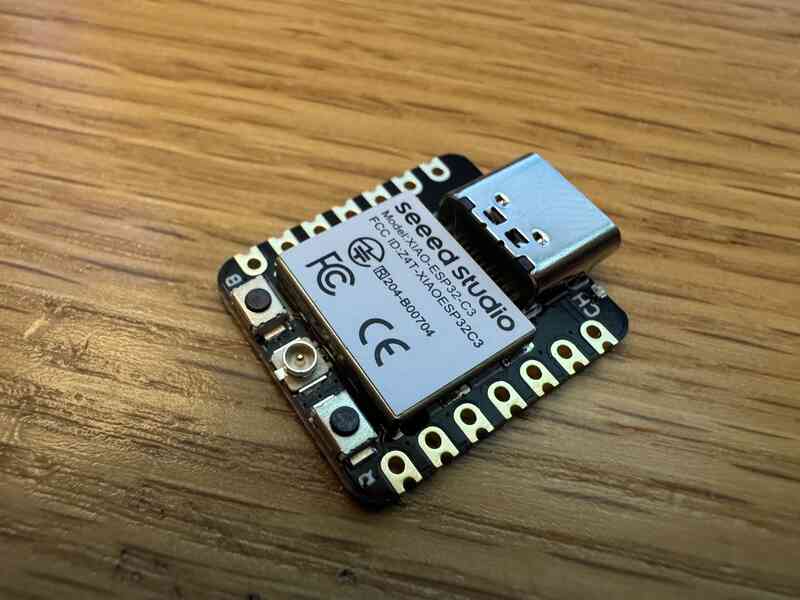
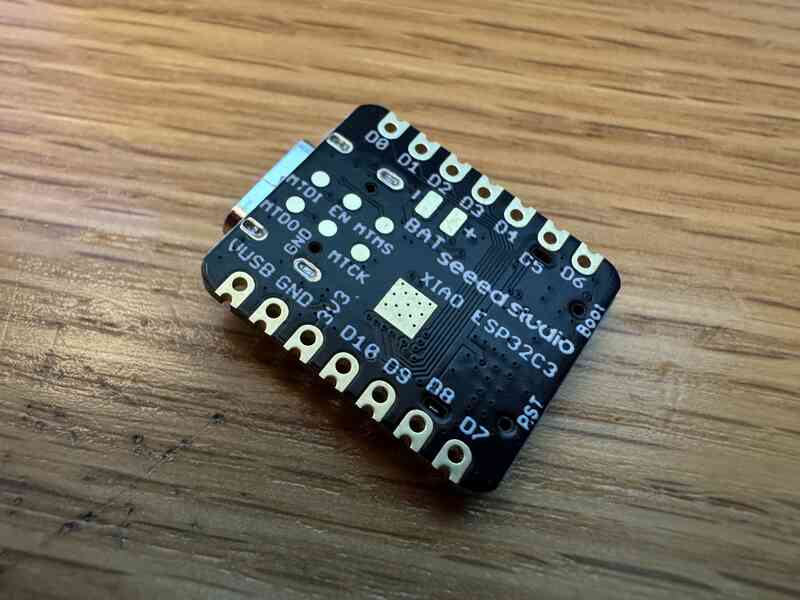
Here's a front and back view of it outside of the packaging. It came with an antenna but I figured the antenna would not be useful for my short range applications (even if it provided a benefit generally).
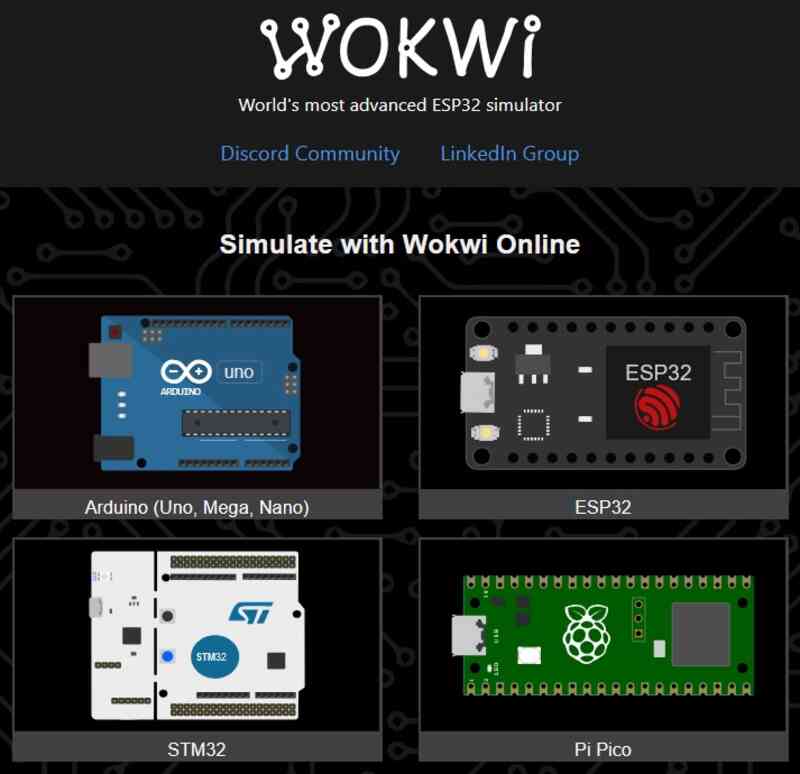
Anyway, with that out of the way, I moved into the simulation part of the homework, using Wokwi.
But first, let me talk about what I wanted to do for this week's project, I decided to continue modelling my toolbox final project!
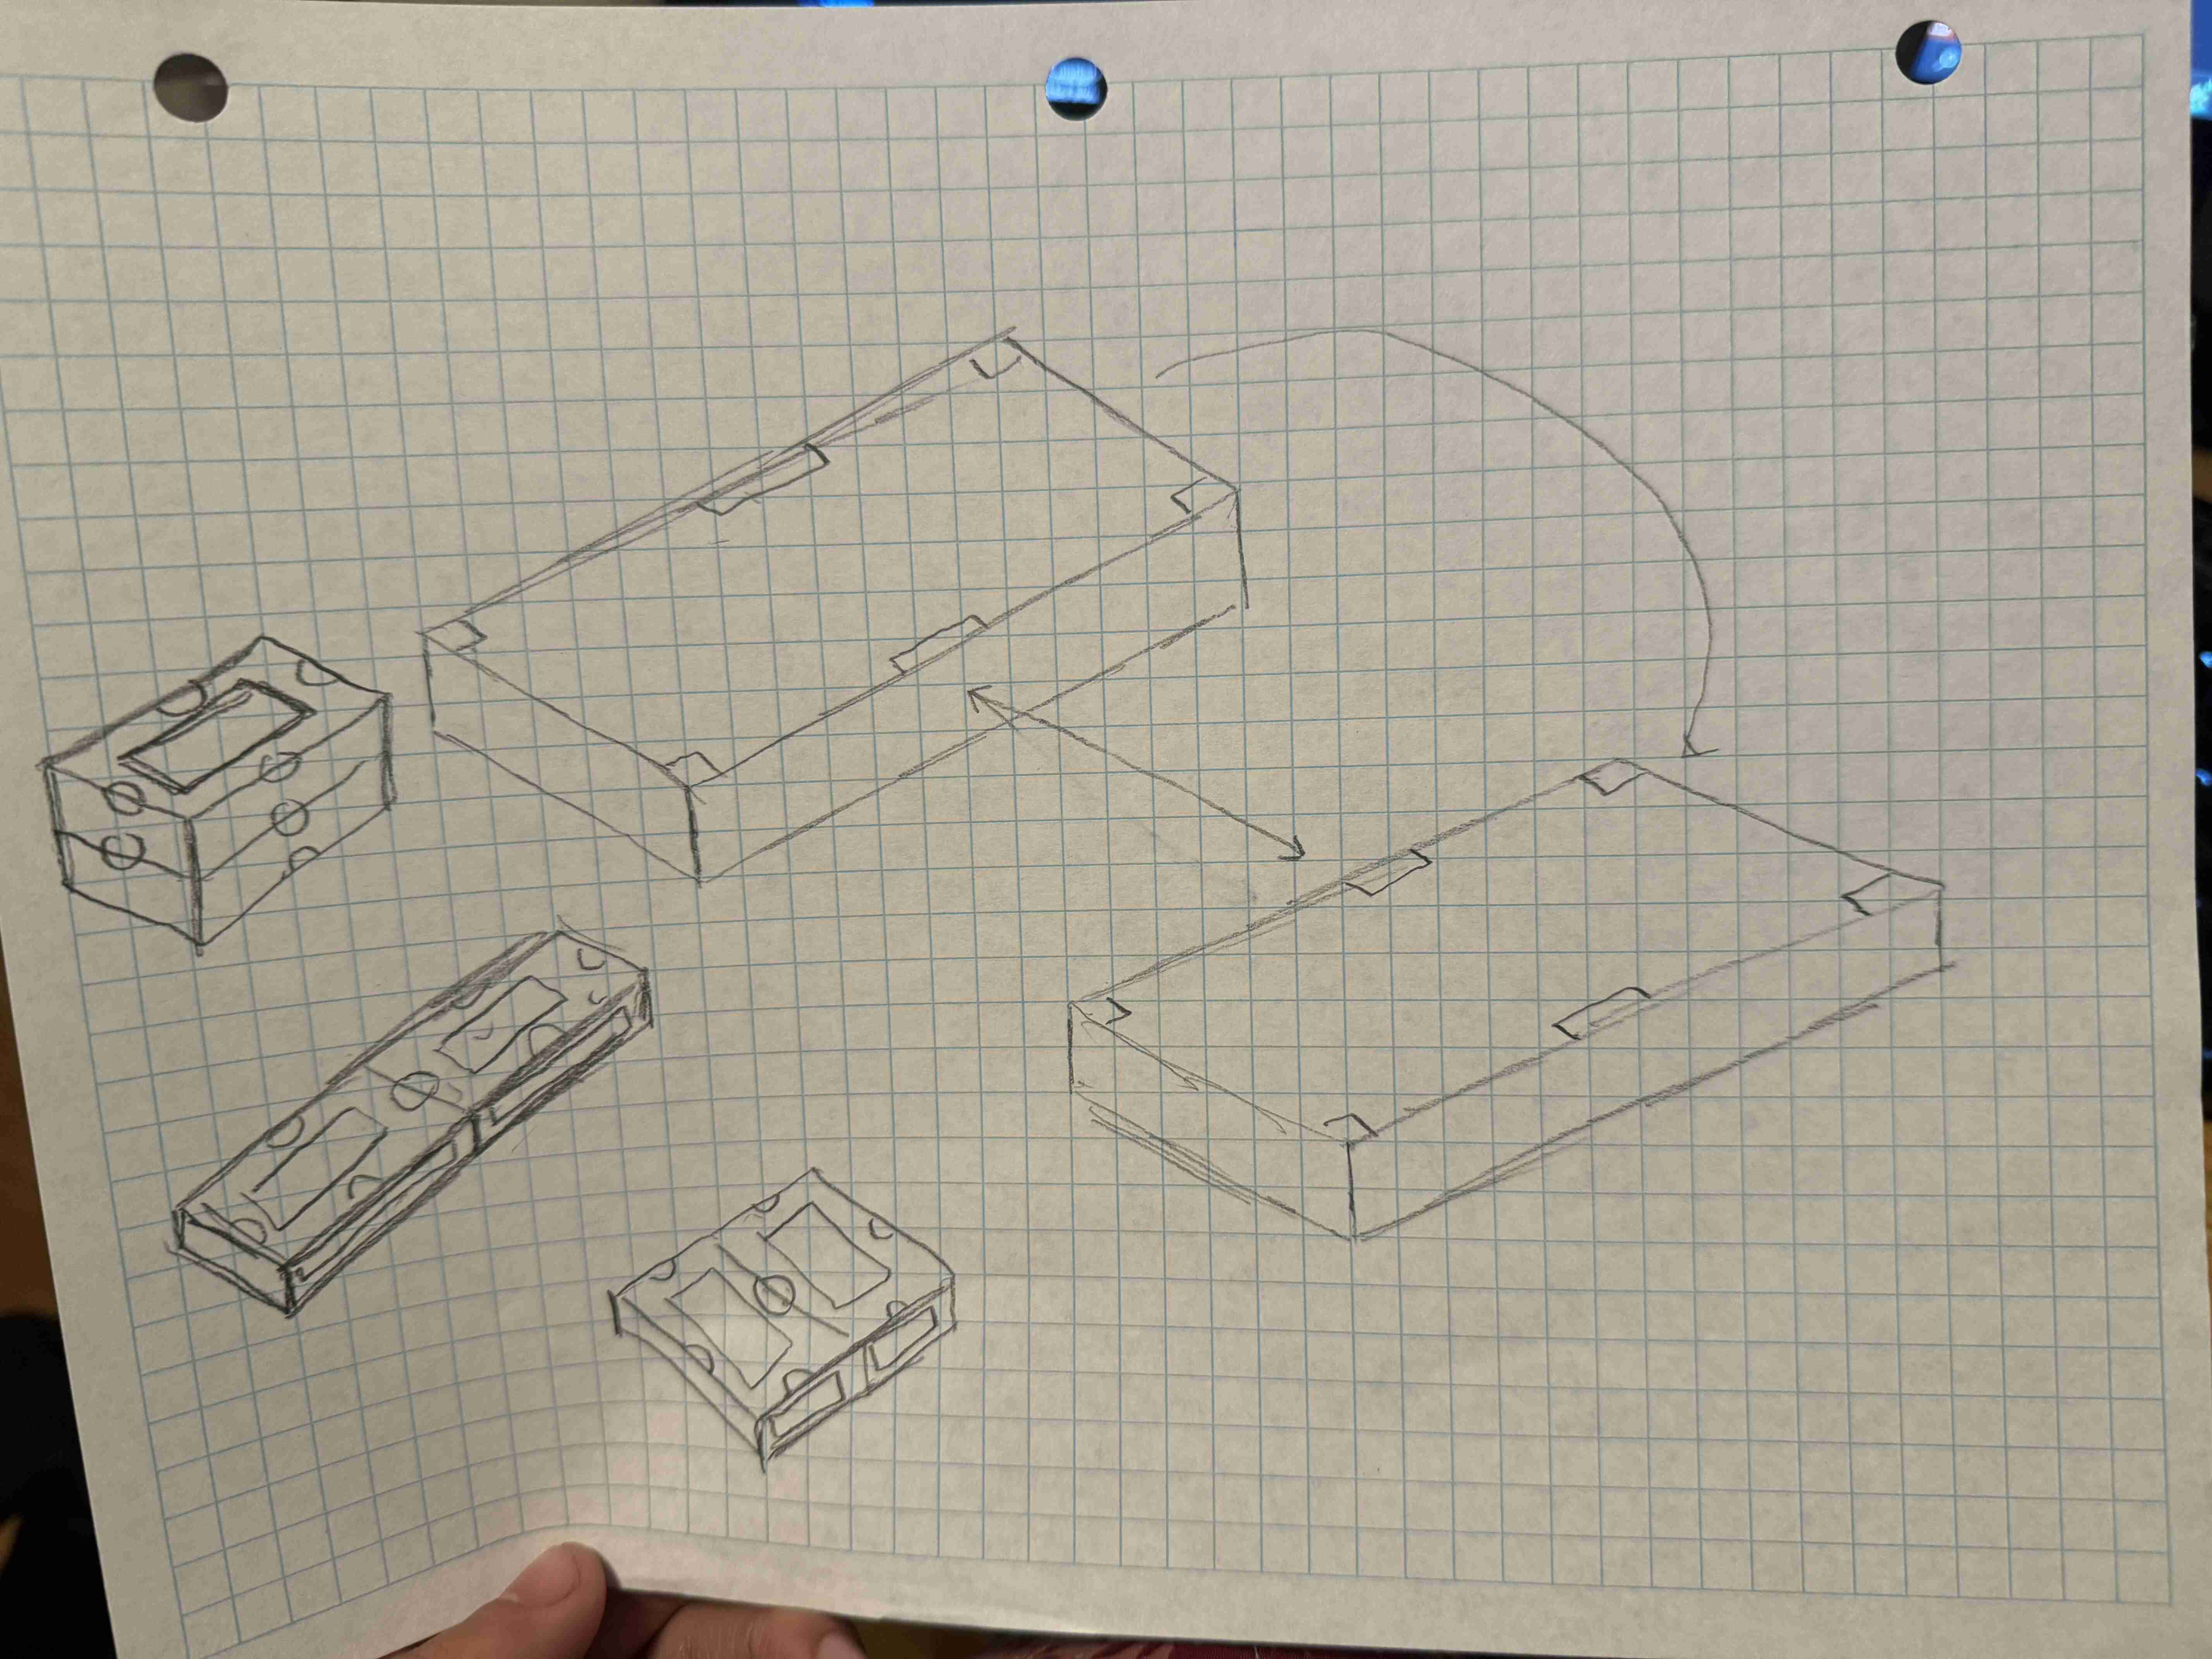
I wanted to program the other-toolbox-detection system on each component of the toolbox. It should be able to detect other toolboxes in its proximity and know when there is a toolbox next to it. If there is a toolbox next to it, when a button is pressed, they should lock together, and the correct wall should unlock.
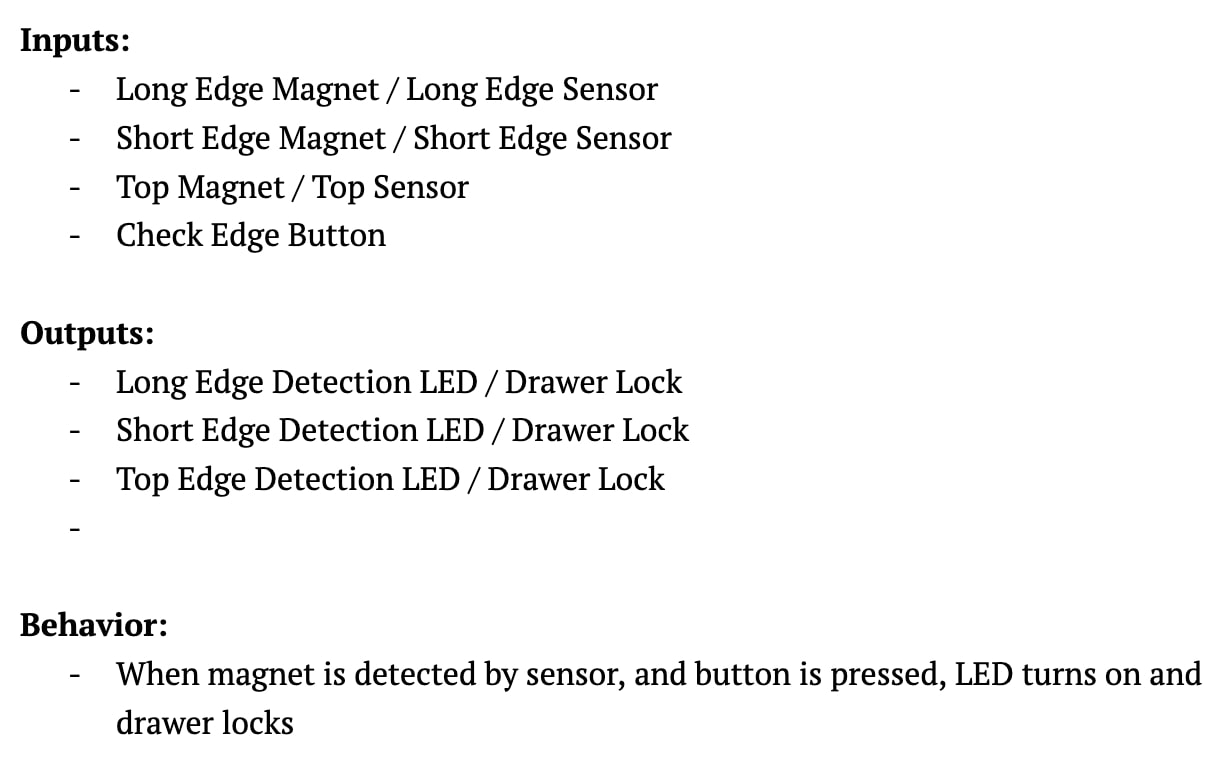
Here is the initial variables I wrote to describe the system I was going for on the toolbox.
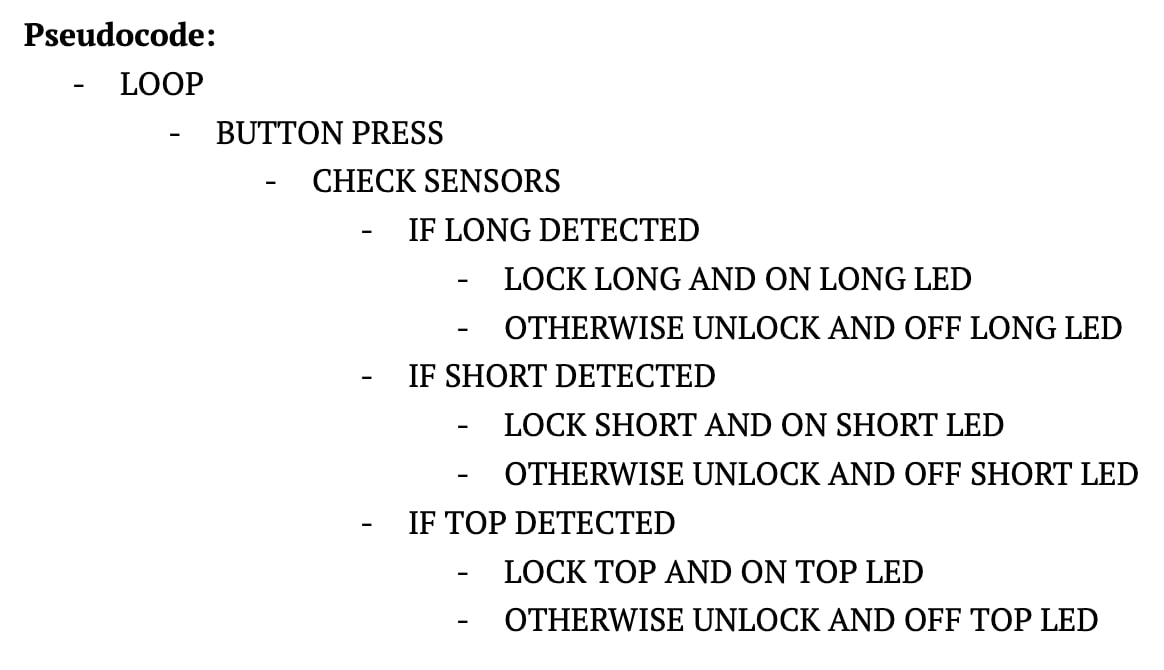
Here is the initial pseudocode I wrote to depict the behavior I was going for on the toolbox.
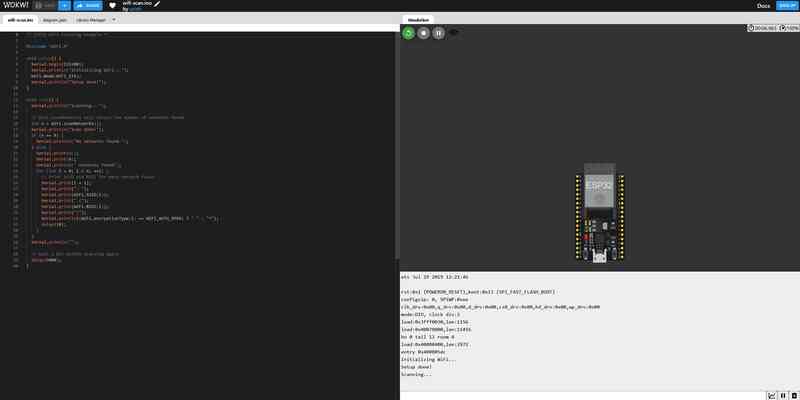
Above is the initial breadboard I built in Wokwi, using an Arduino Uno (since it was familiar to me). I realized that Wokwi did not have hall effect sensors on it at this point AND that it also had ESP32 support. Wokwi had tons of examples for the ESP32.
On a whim I decided to try a Wifi example, which worked. I decided I would keep that in mind for the networking week.
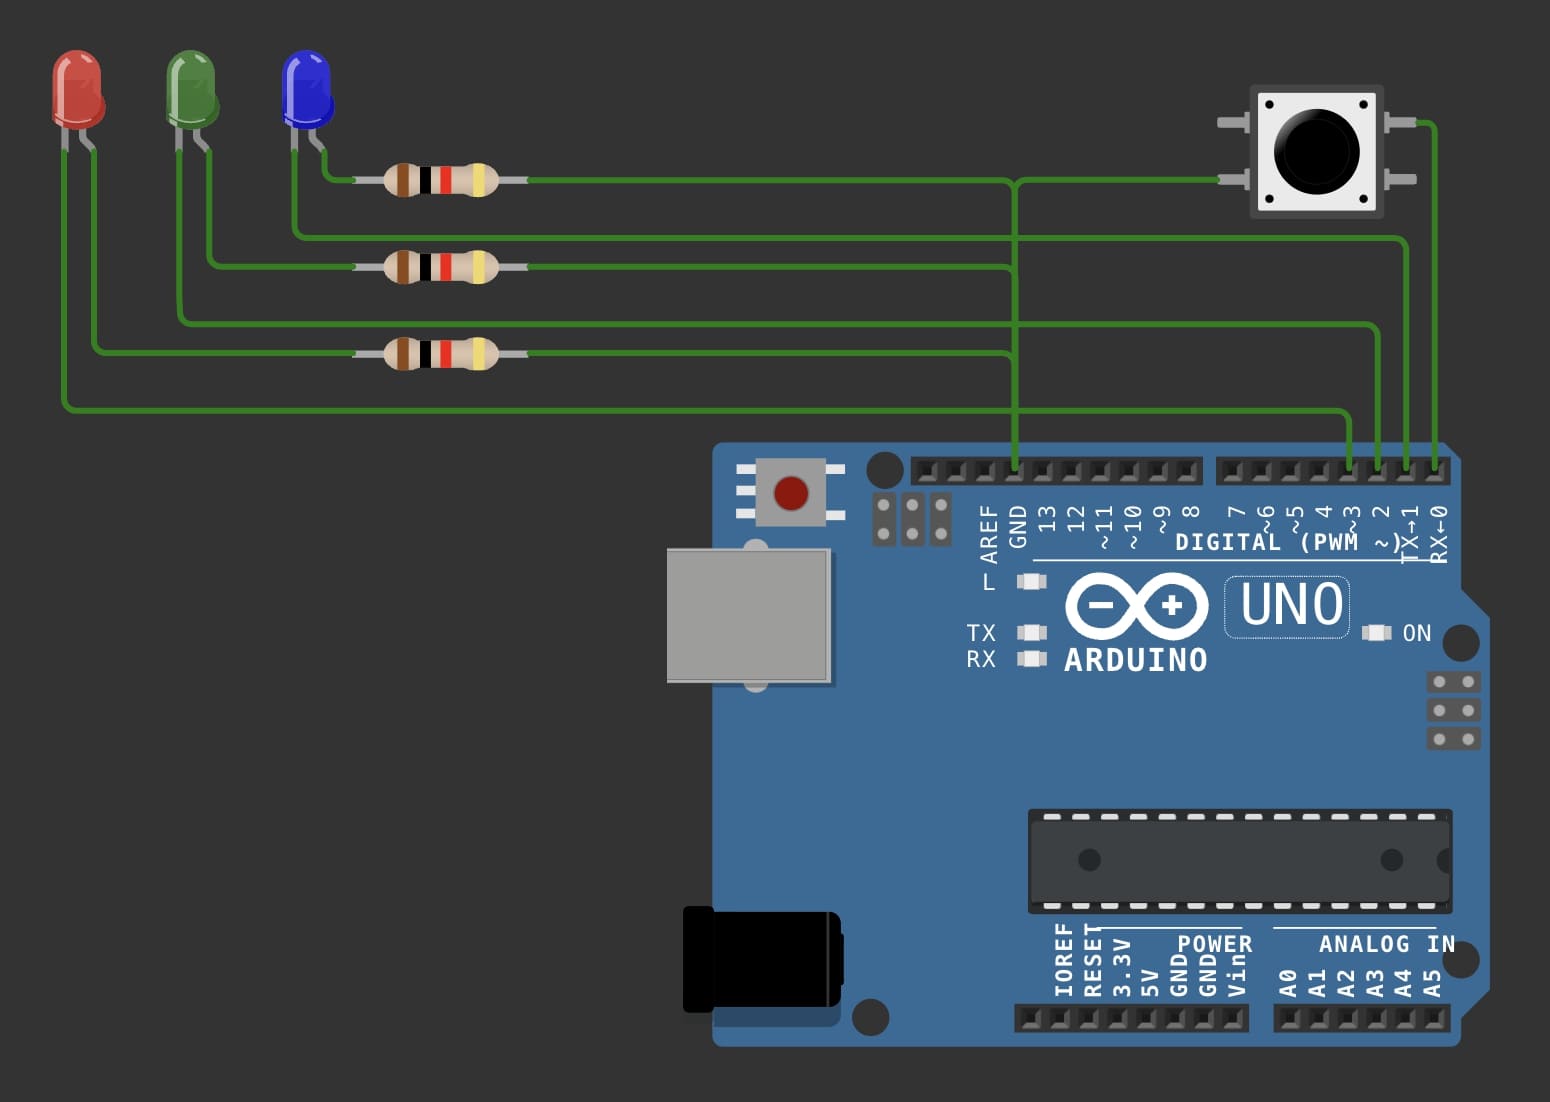
Anyway, I decided to simplify my pseudocode to just take in a simple input— a button press— and put out a simple output— an LED.
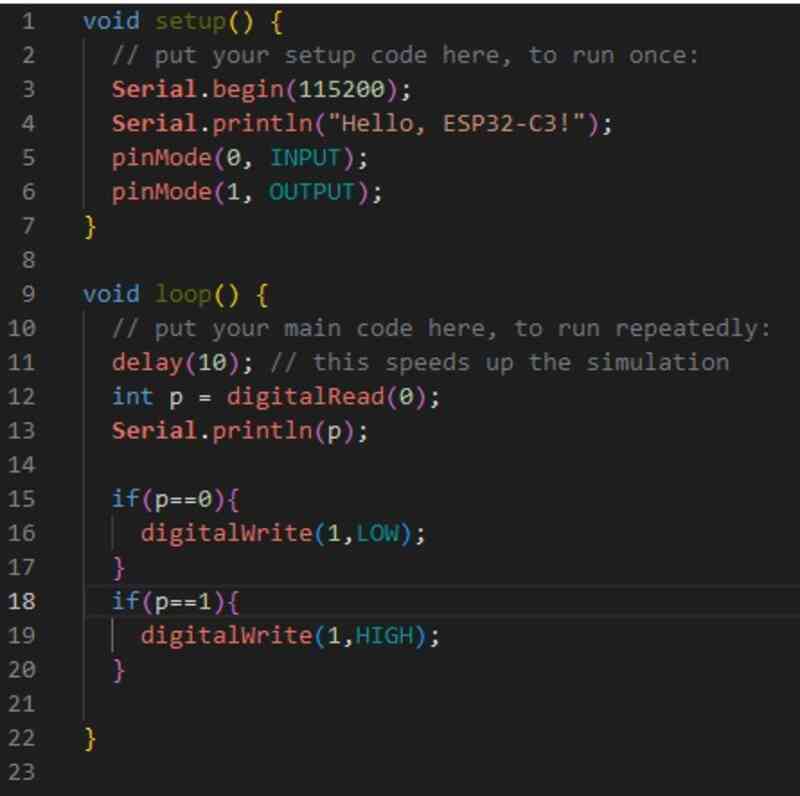
Here's the circuit. An LED is followed by a resistor to prevent burning it out, and the button is connected to a resistor to prevent a short circuit from VCC to GND.
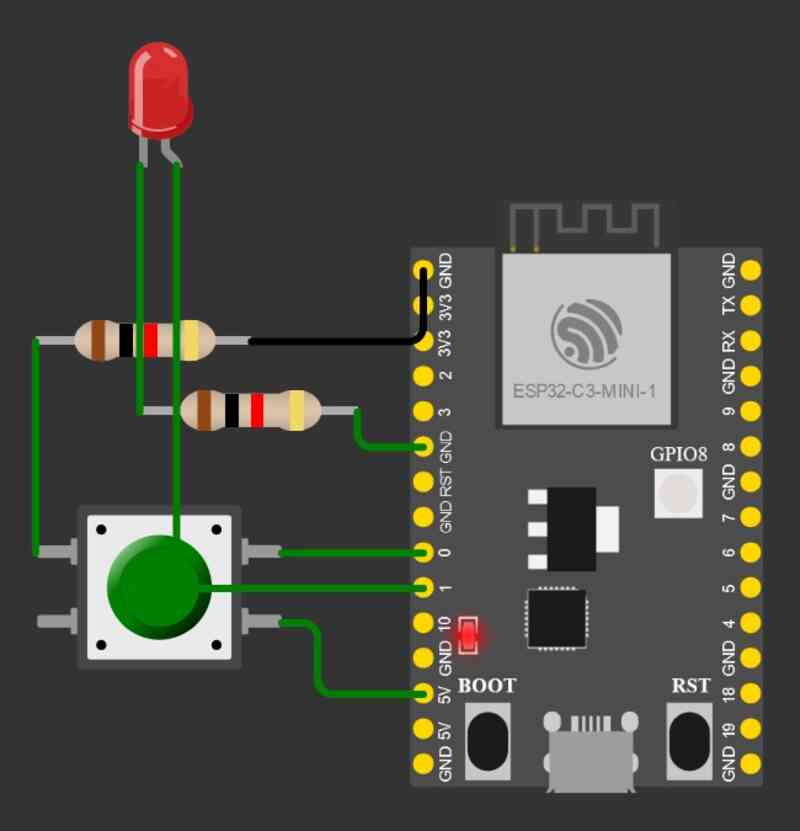
It worked!
At this point I wanted to operate a locking mechanism by using a servo, I looked into how to do so using PWM on the ESP32.
Tutorial Link
Looks like I just have to import some libaries and copy some code!
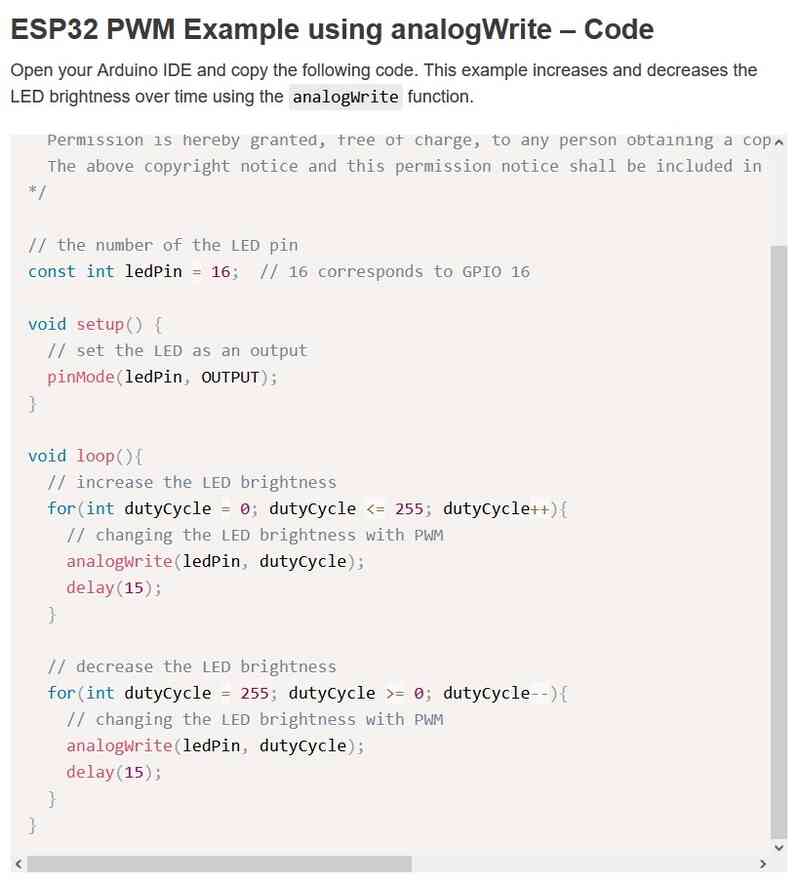
Yes, it's going a bit ahead, but I figured why not try it out?

So I tried to install a Servo library for the ESP32 to use.
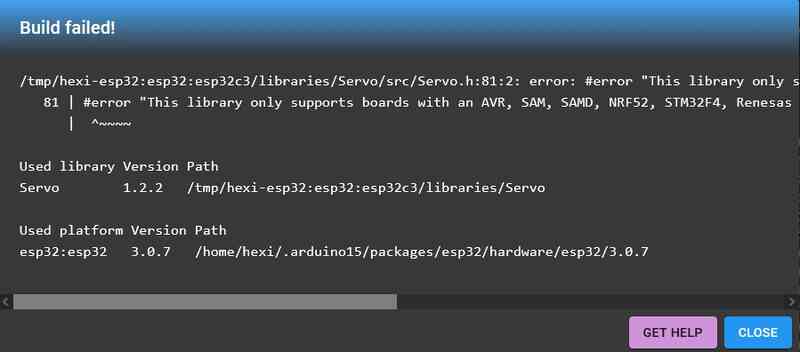
It failed!
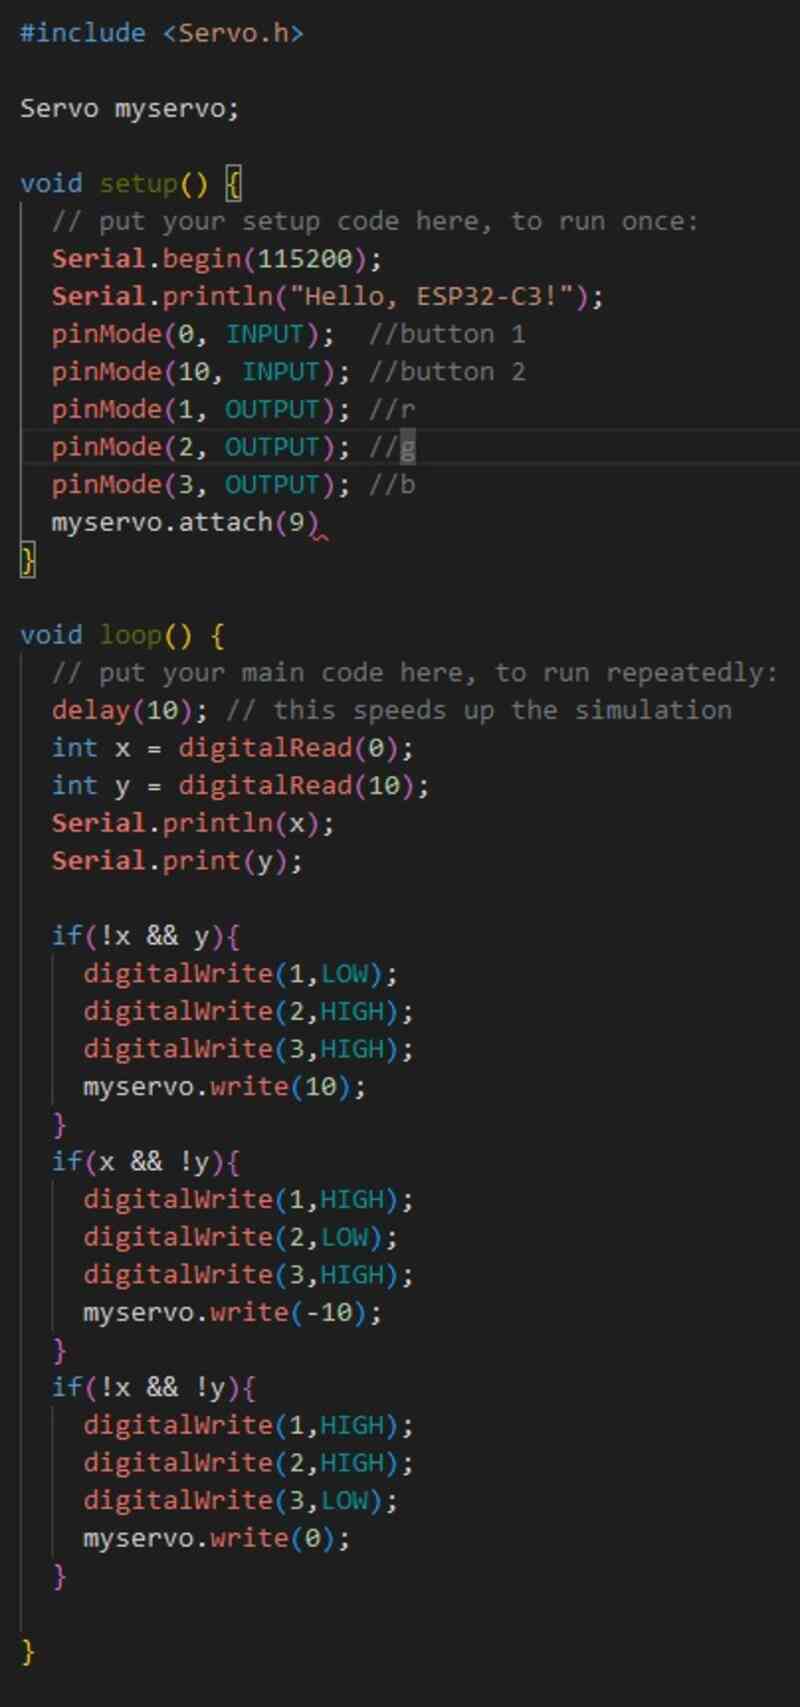
Here's the code for your reference. Based on which button was pressed, it would move the servo left or right, and depending on the state, would light an RGB LED a different color.
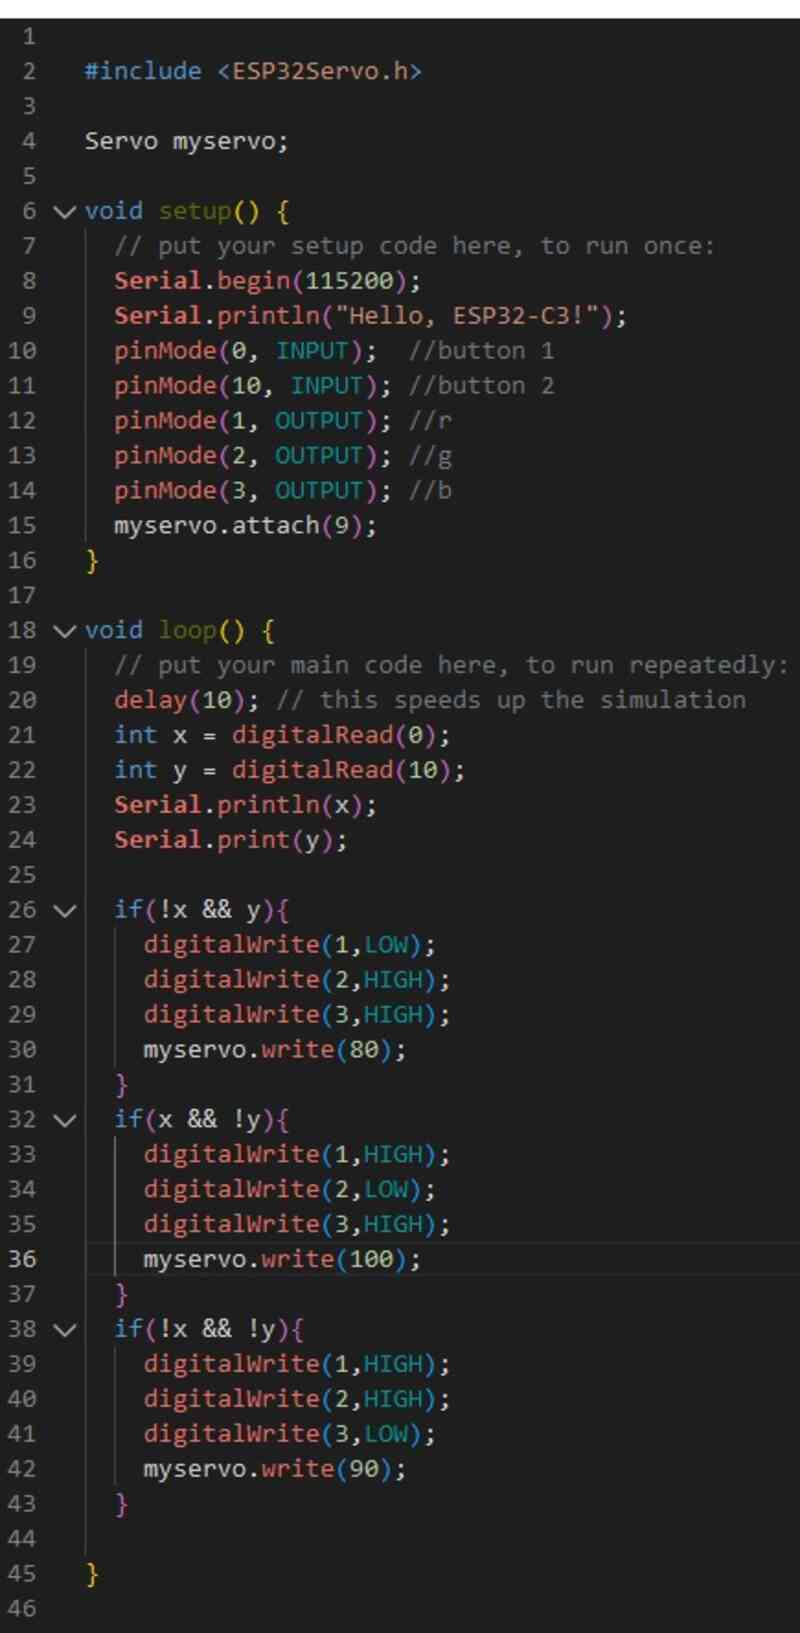
From dronebotworkshop.com I found out that ESP32s have their own library specifically for them to use servos.
Now it worked! Although it's worth mentioning that I did install the Arduino IDE for later...
My reflection on this week was that the online simulations for circuit simulations are very robust and that the Arduino boards I'd been using up to now are so much more inferior compared to the capabilities of the RP2040 and the ESP32. If I leave the course with any takeaway, it has to be that Arduino boards are severely overrated and from now on I think I'll default to the ESP32 from now on.
Link to my Wokwi Project
Home