HTMAA 2024 - Week 4
3D Scanning and Printing
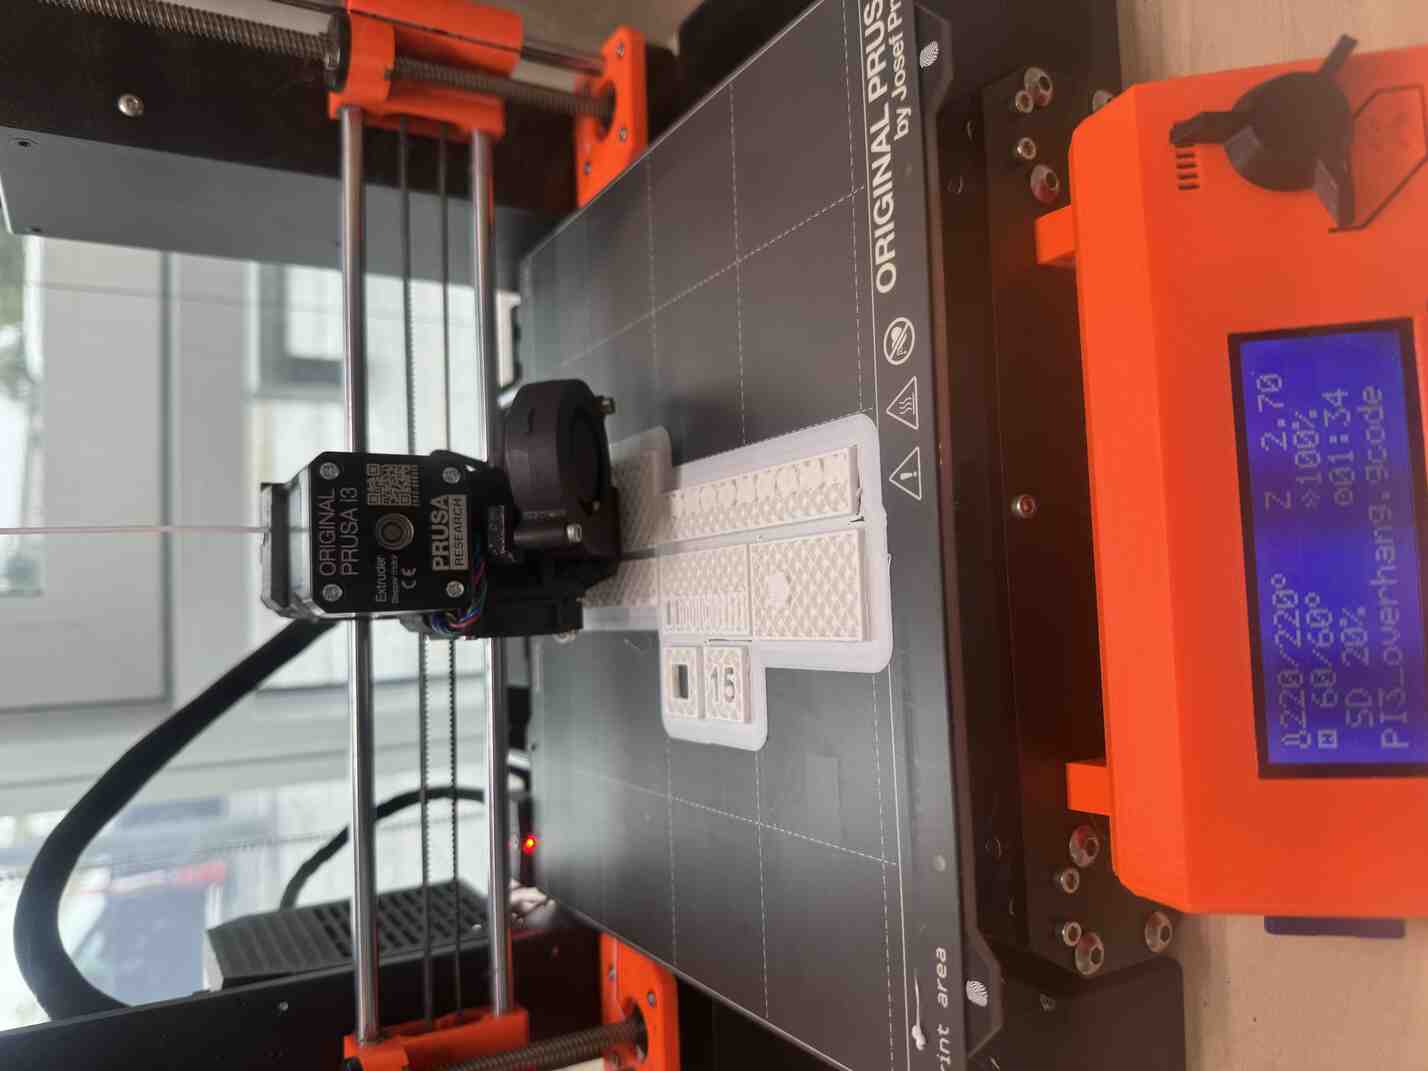
HomeFor this week's group project, I printed the test models from the HTMAA website!
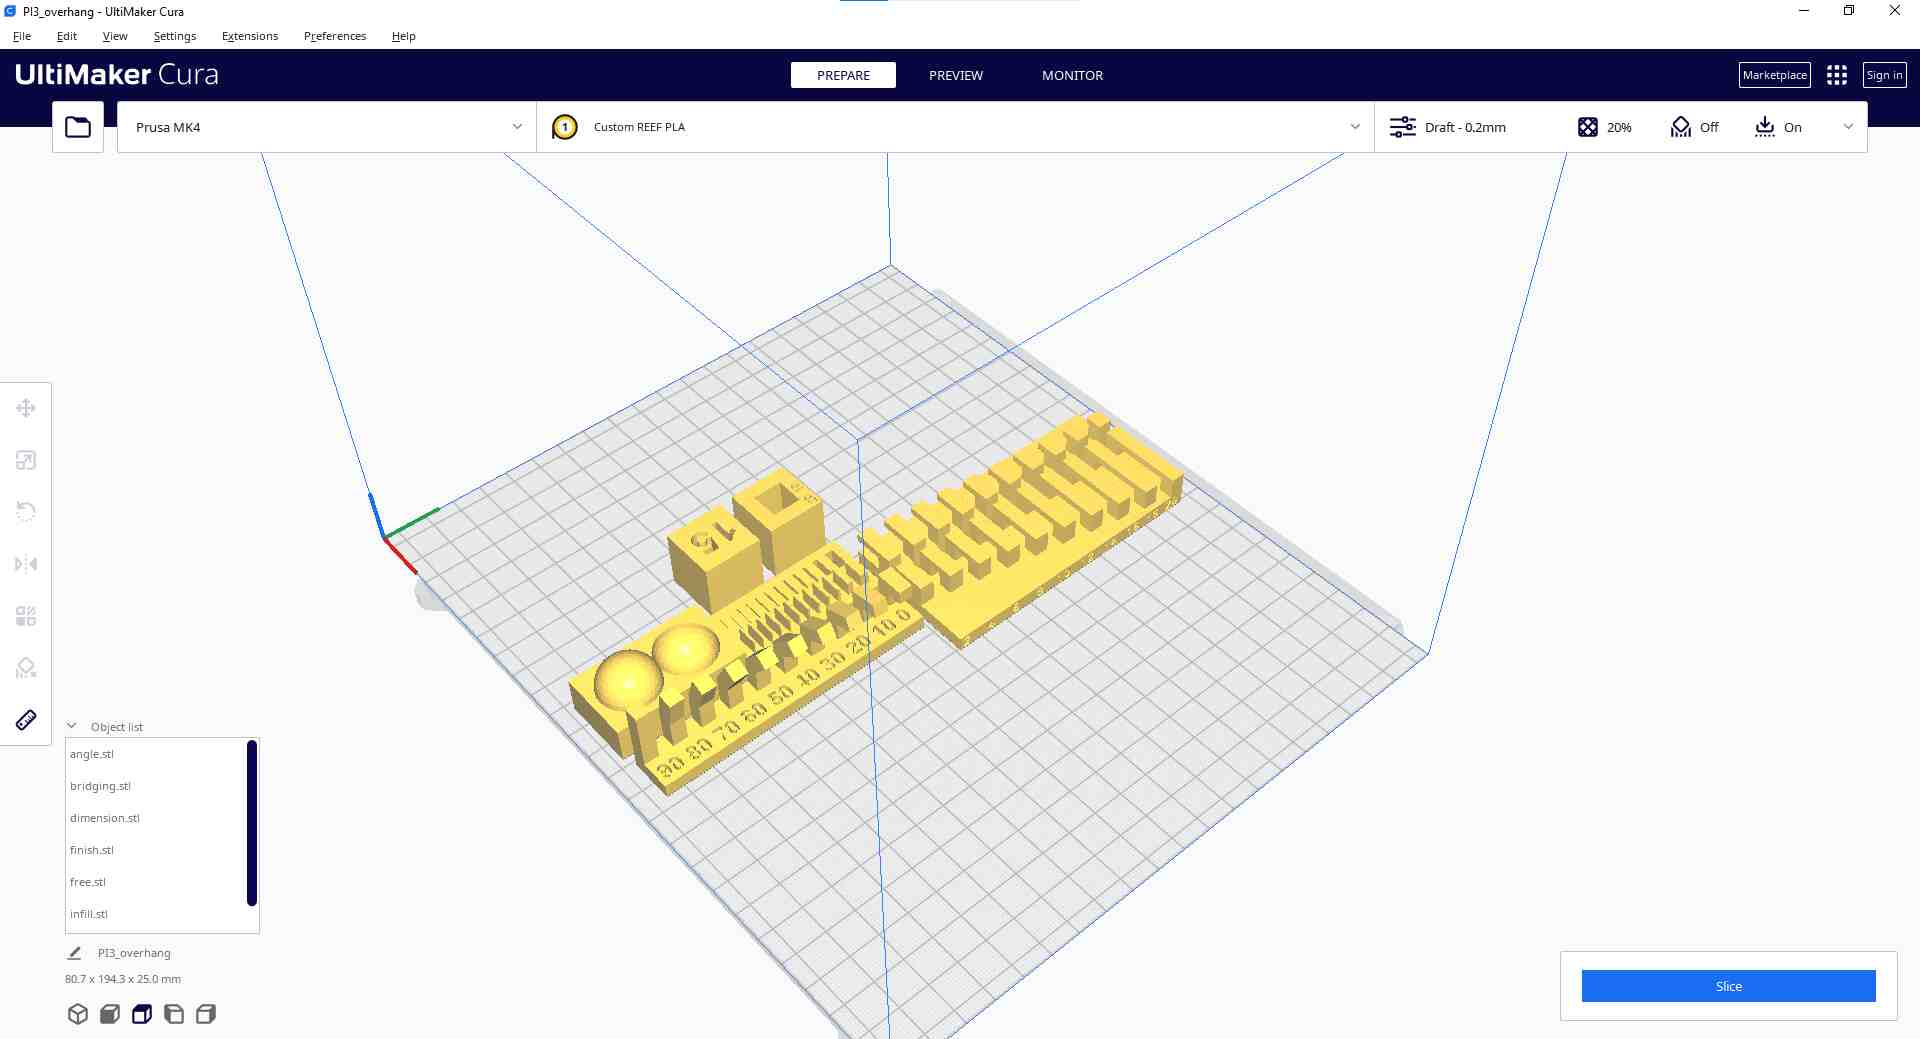
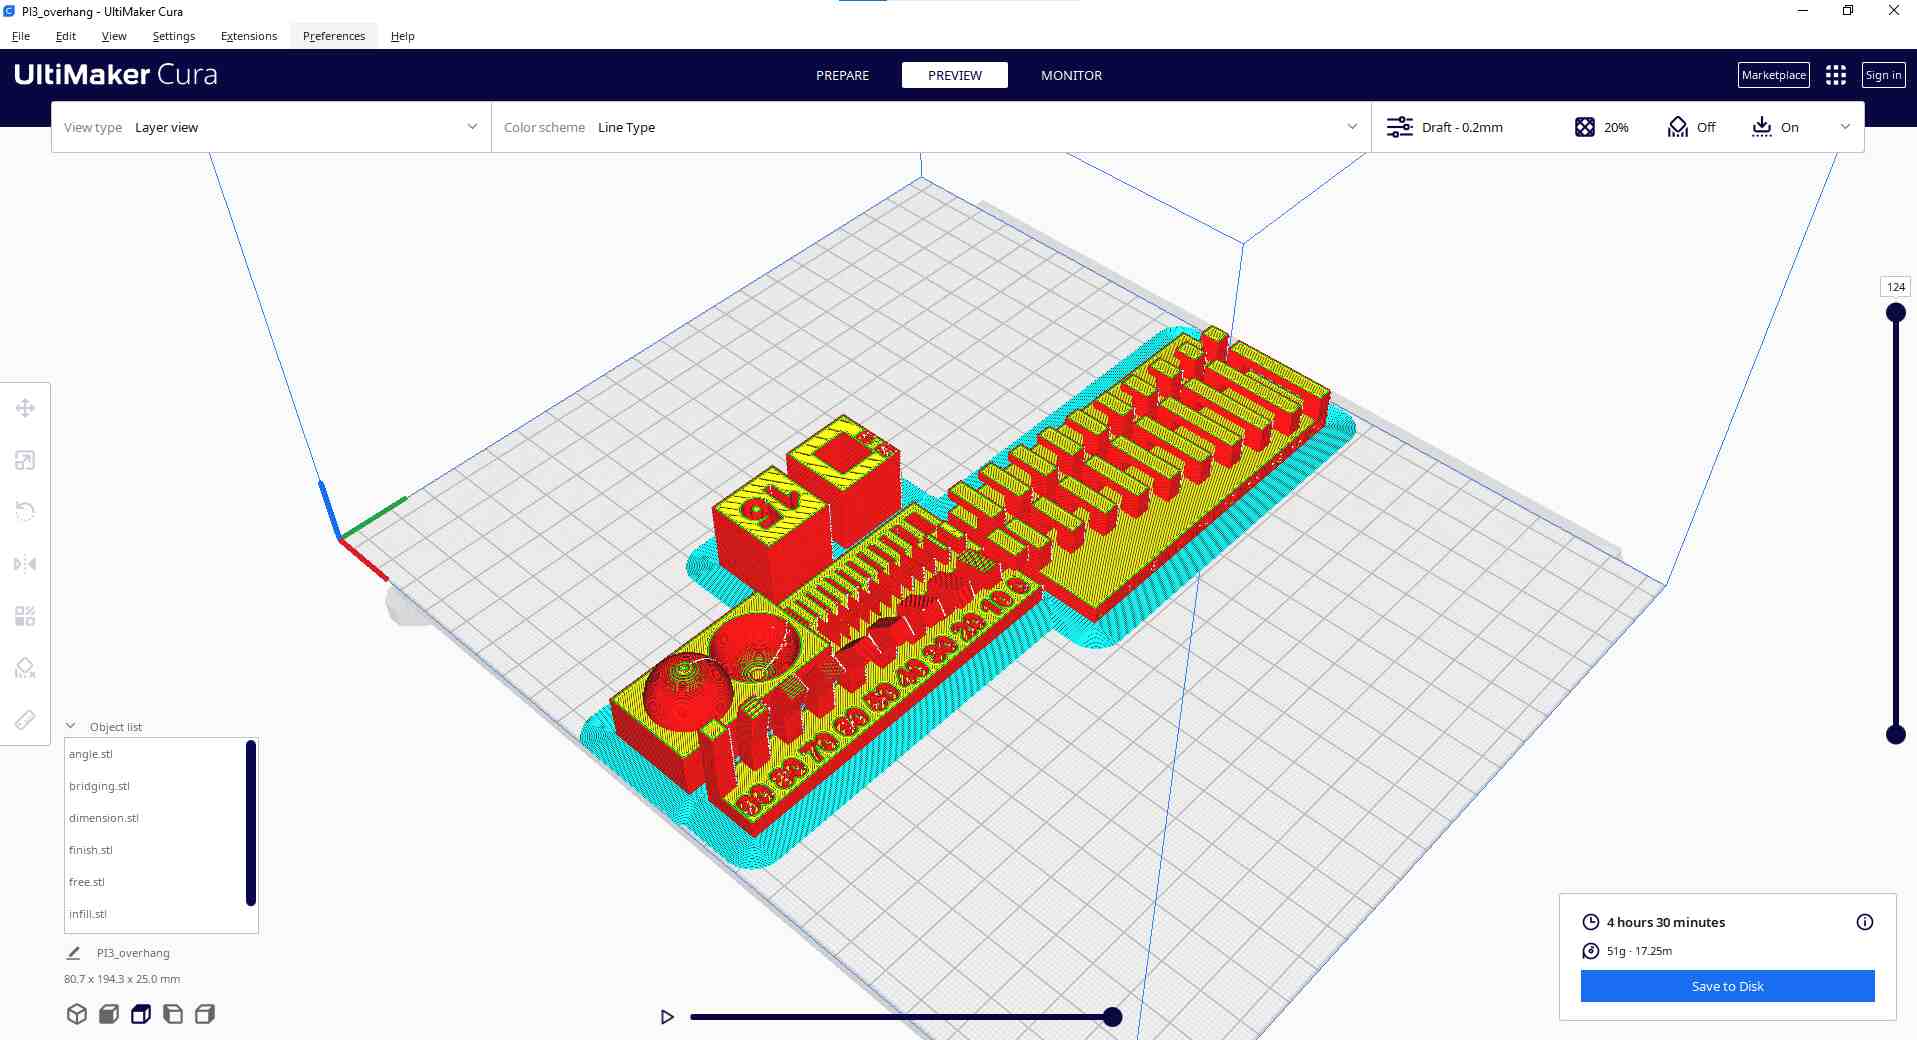
I separated the prints with and without supports so as not to interfere with their printing.
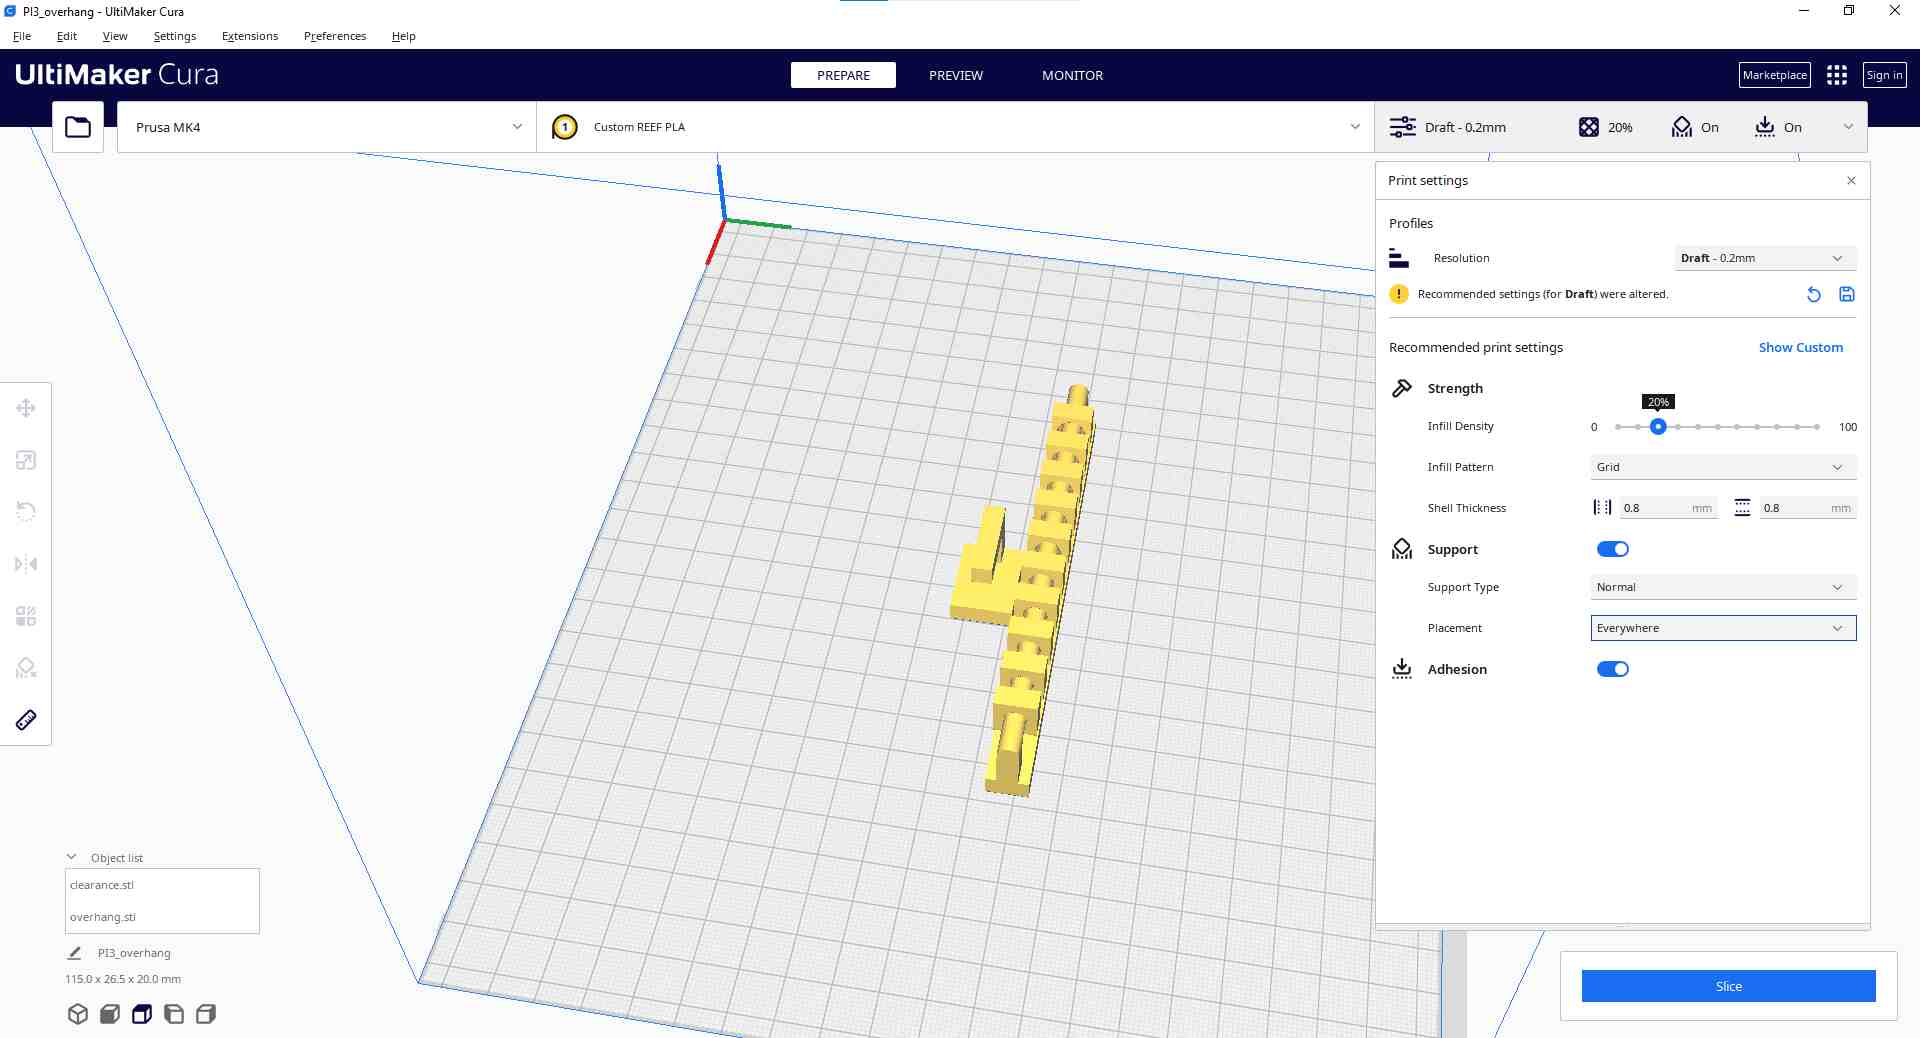
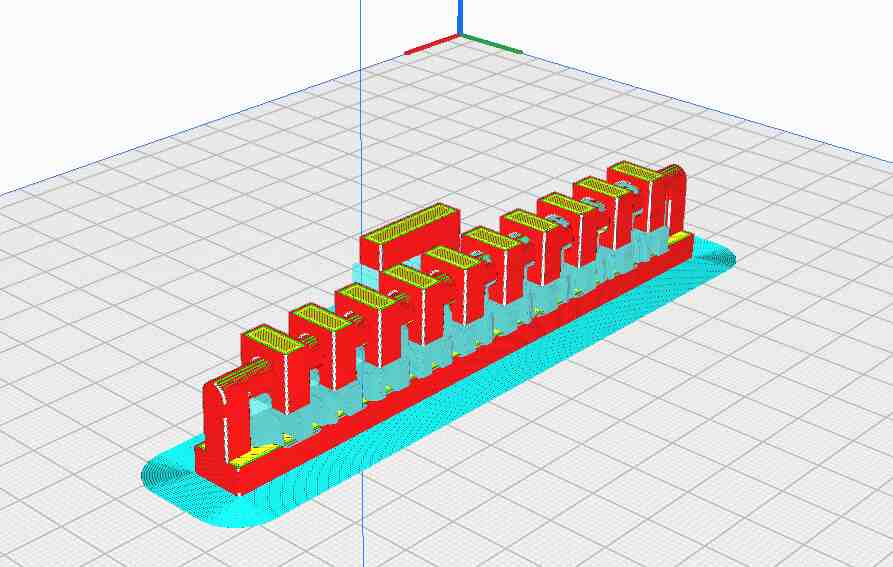
These are the parameters I used for printing!
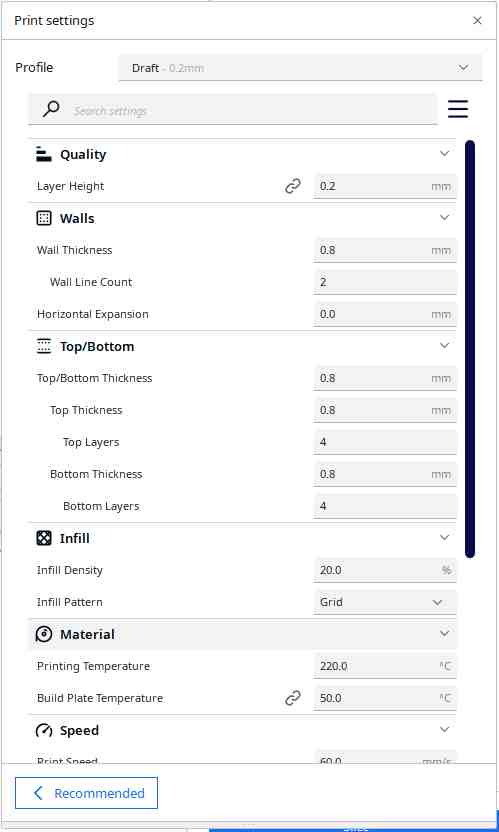
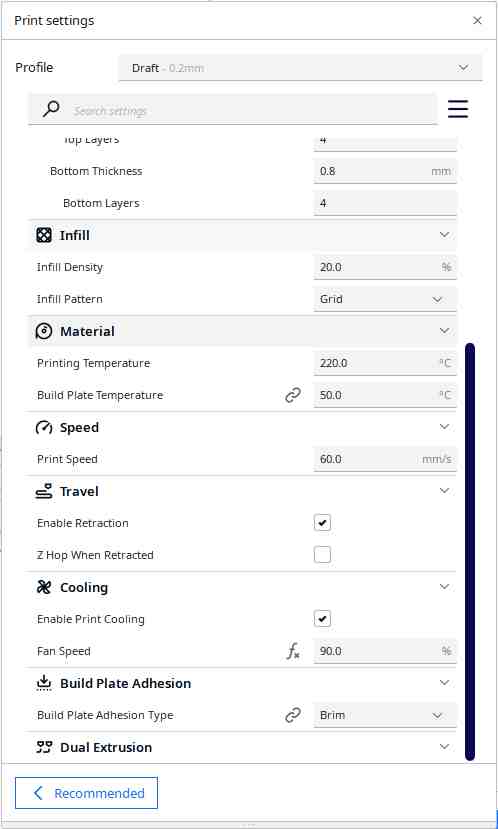
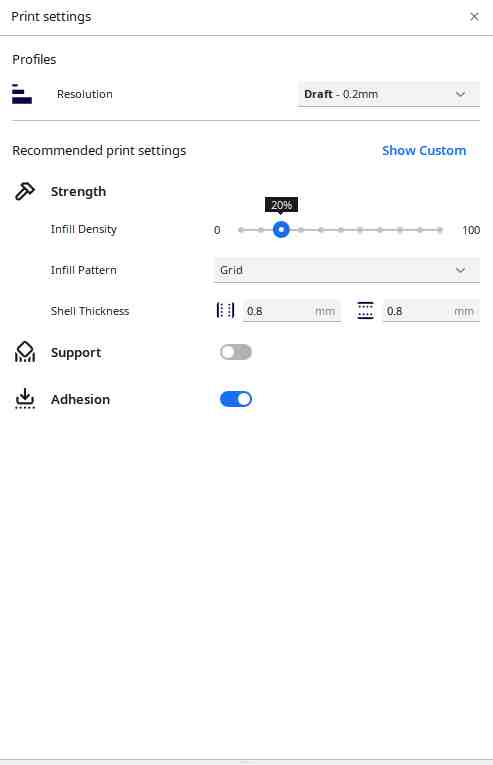
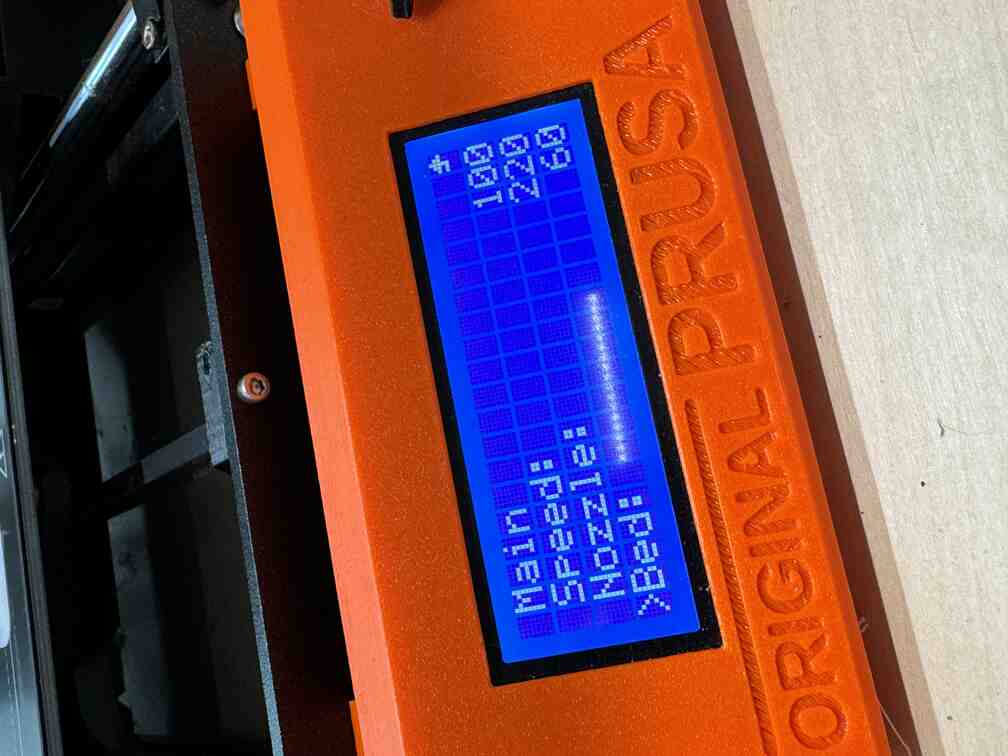
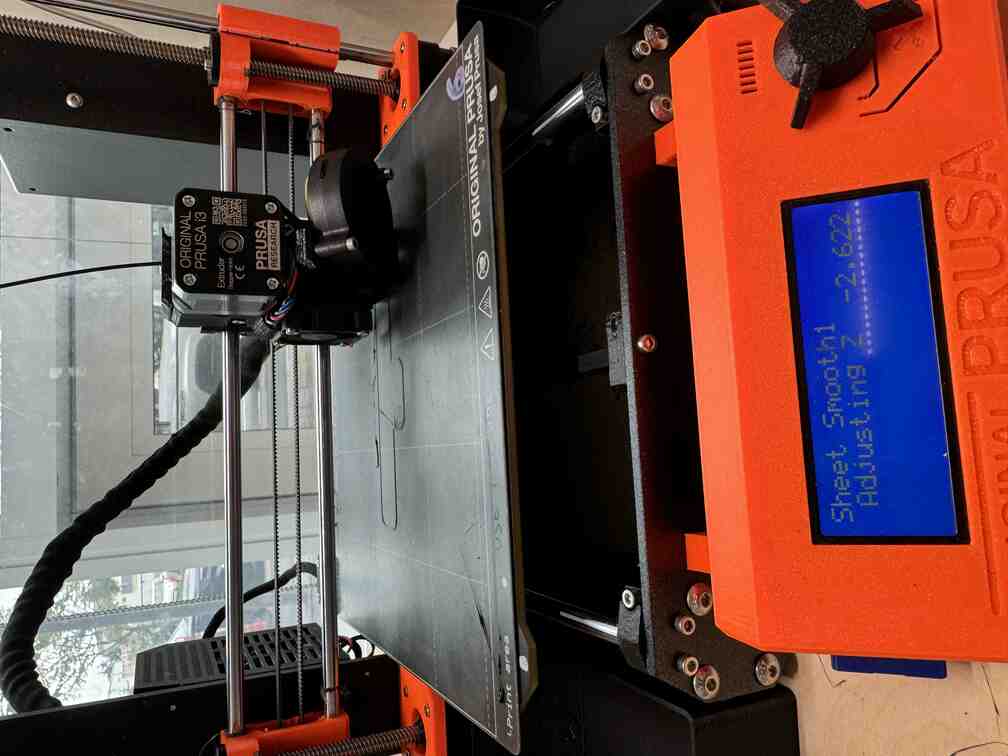
When I tried printing, however, the print wouldn't stick!
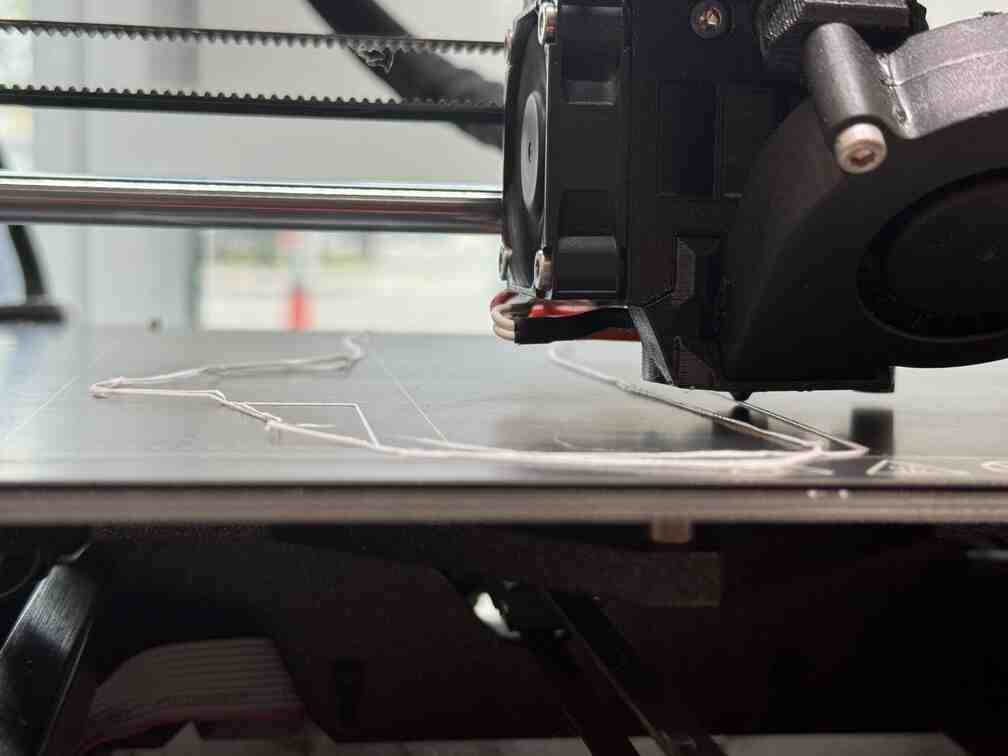
Joe helped me figure out that I had to live adjust the Z (height) that the printer was printing at!
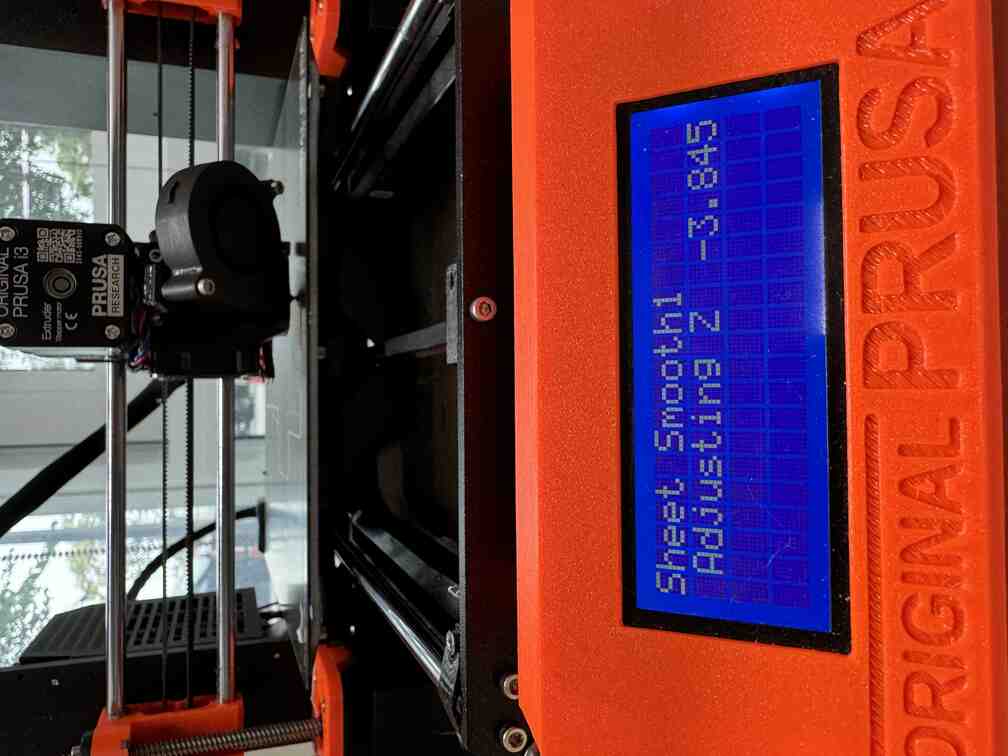
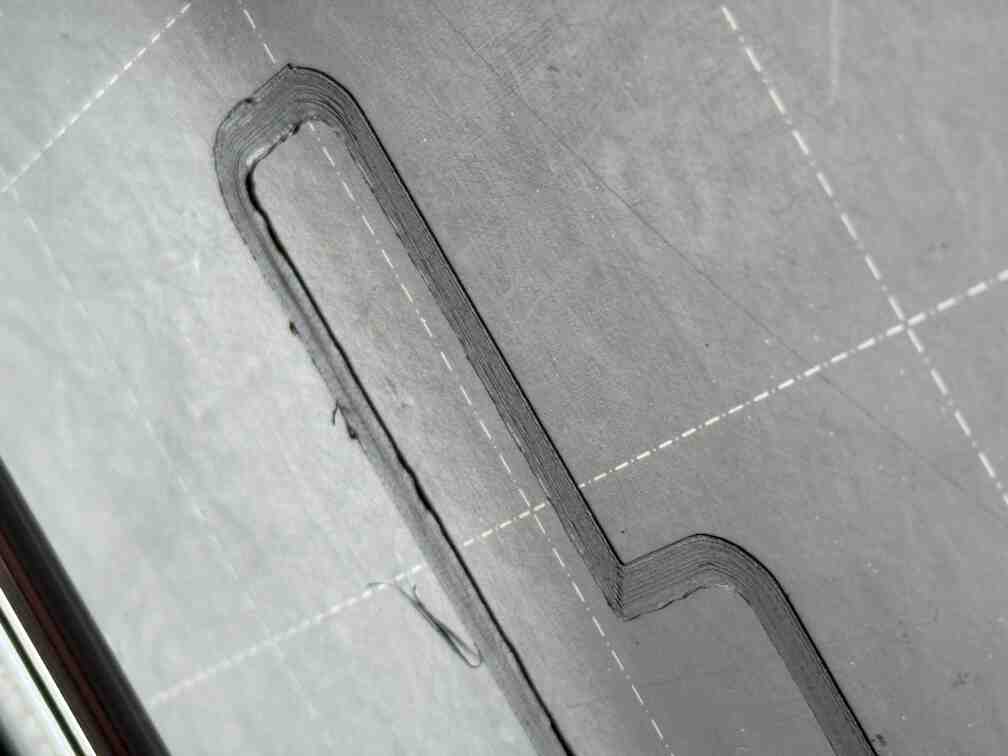
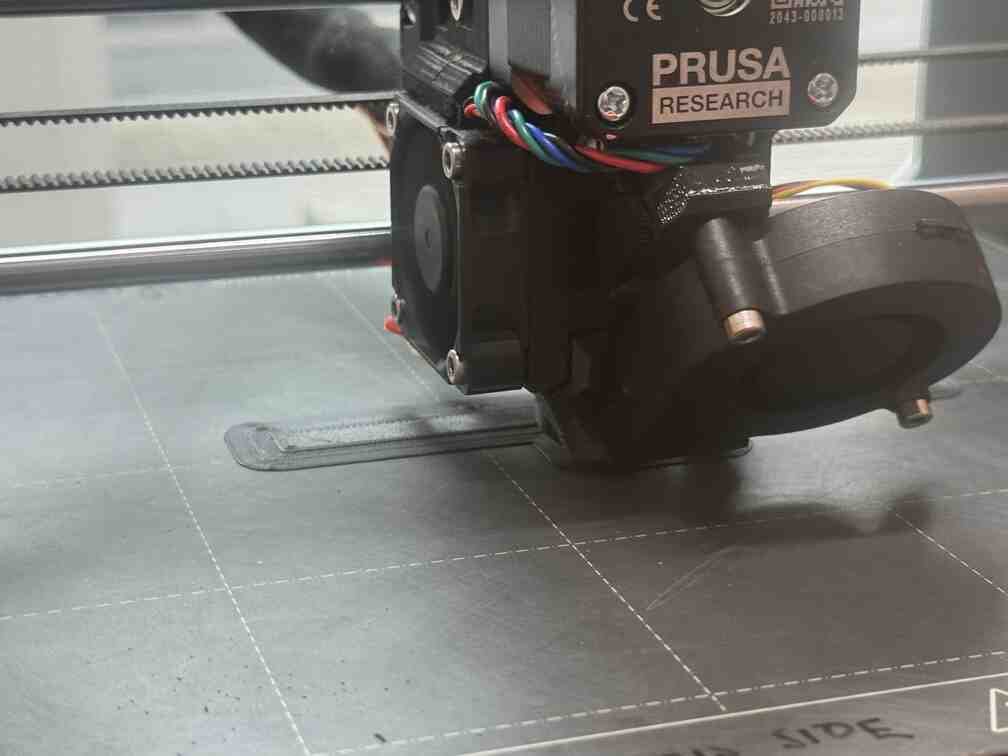
After that, the print seemed to stick just fine!
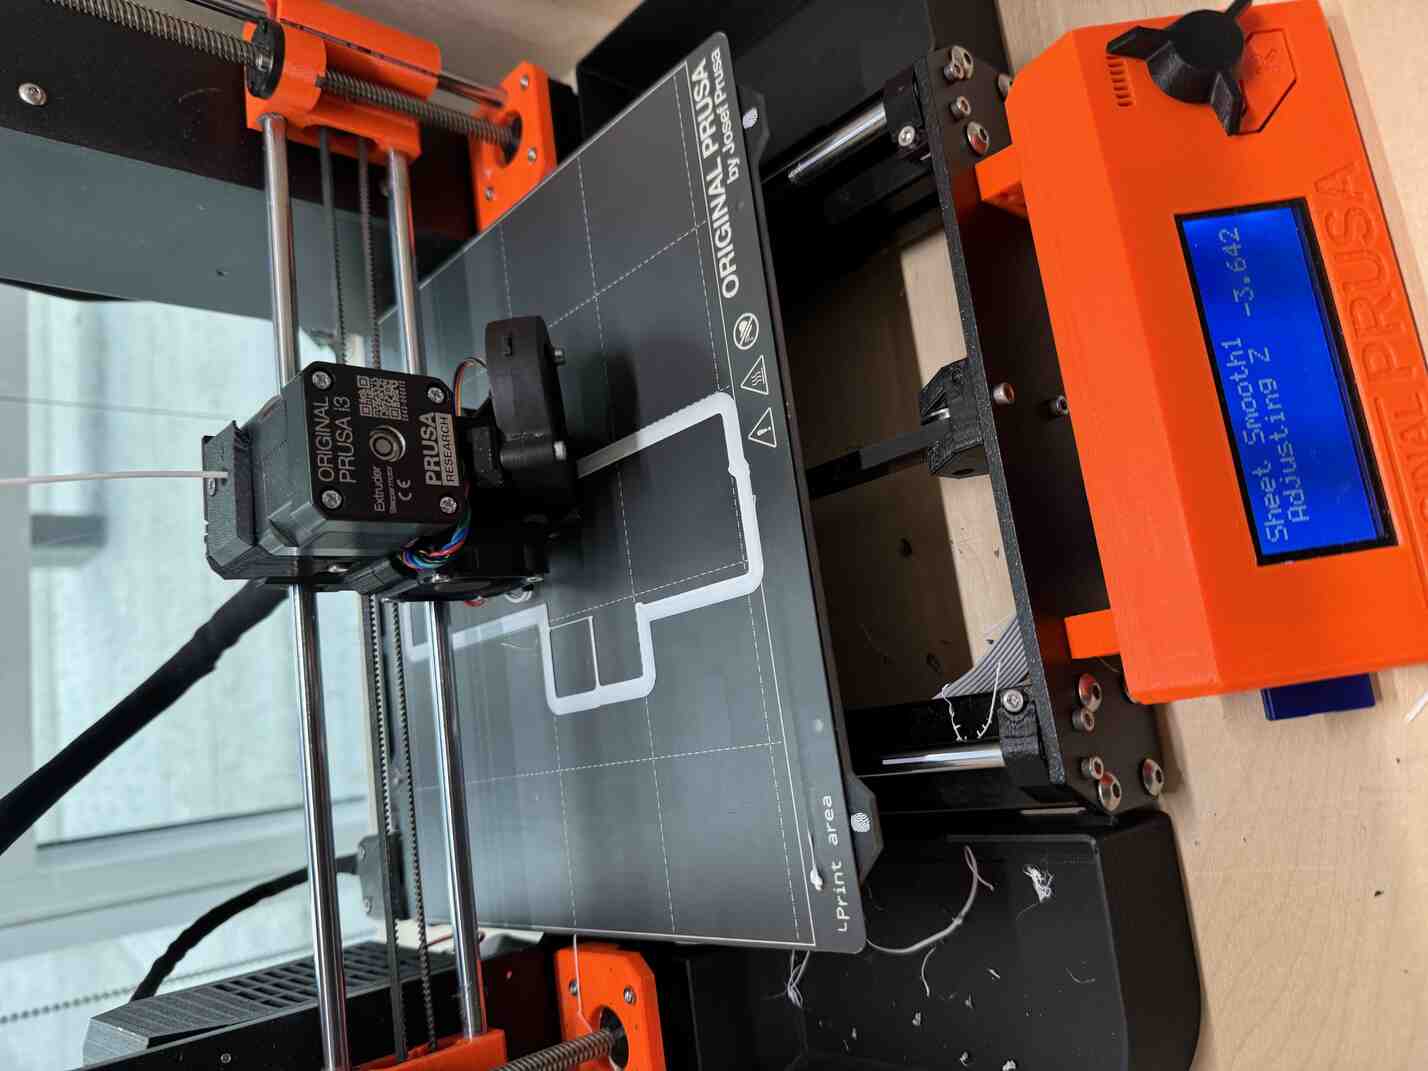
Well, except for some places, although these dots seemed to correct themselves as the print progressed.
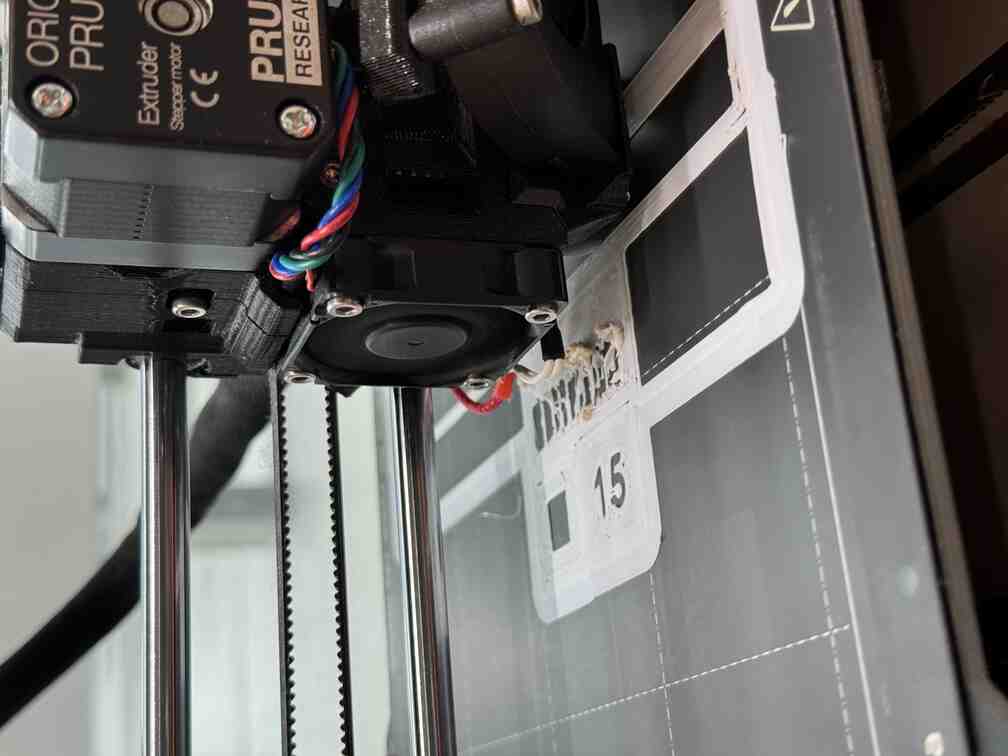
The other print progressed well because of what I learned with the first print.
These are what the prints looked like fresh out of the printer!
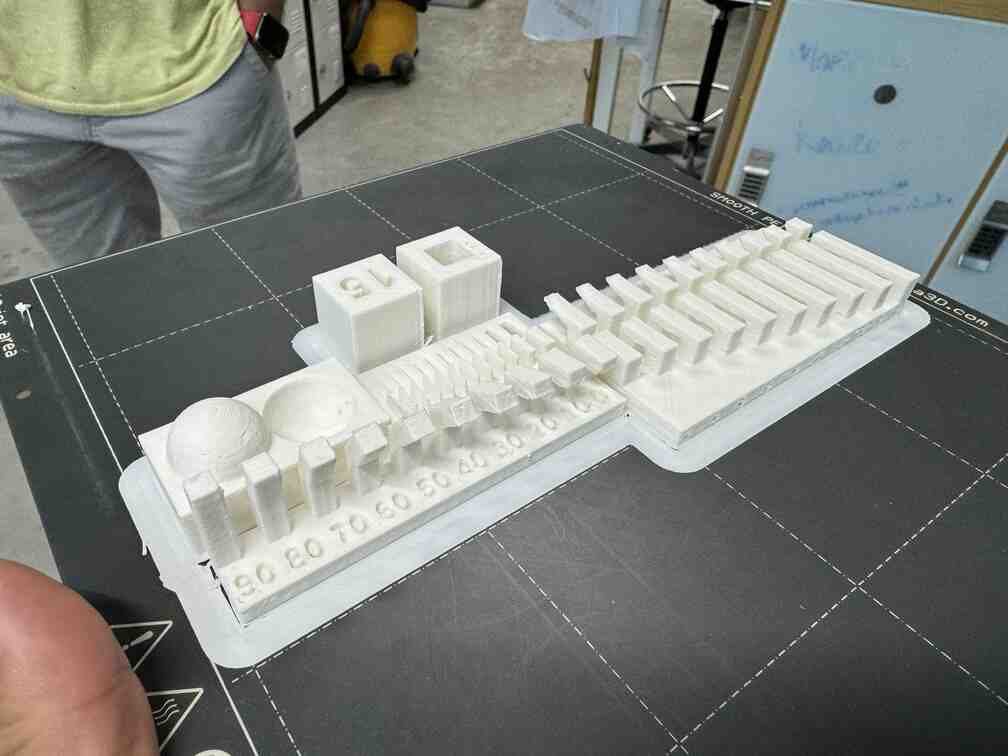
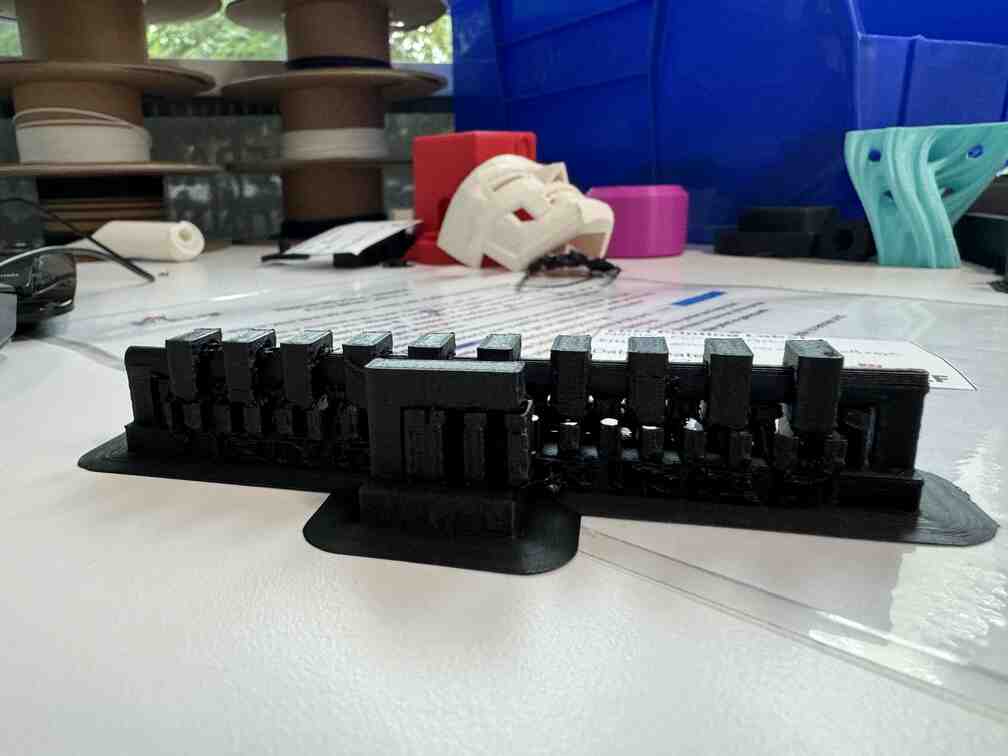
For the prints that come with supports, I got to work on them with a pair of pliers.
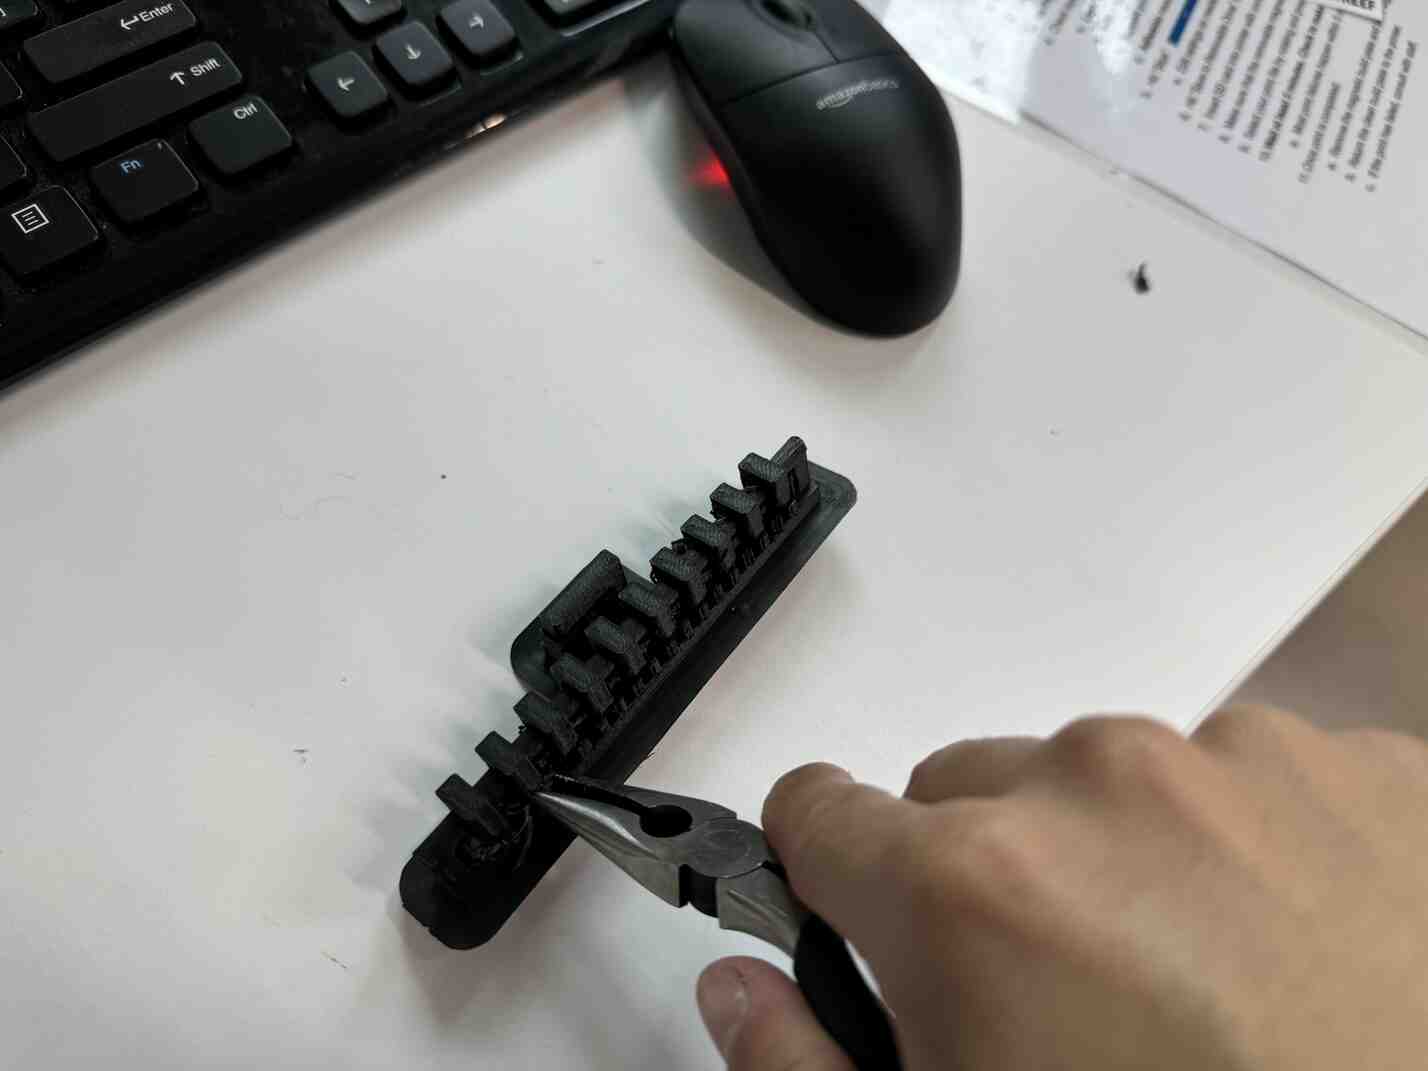
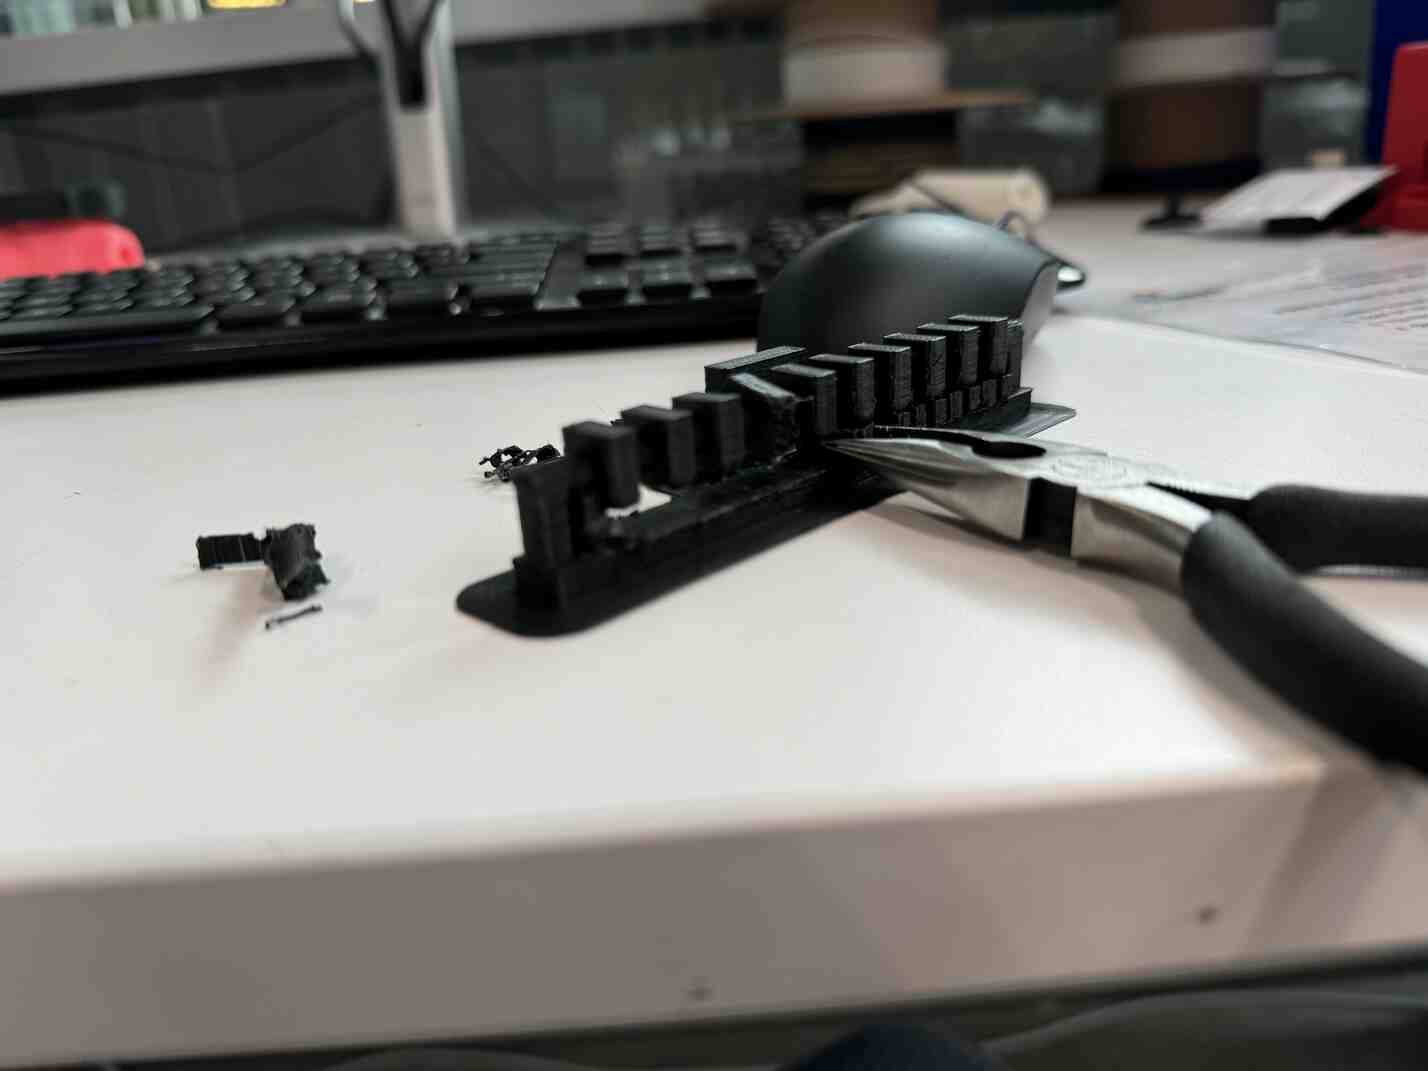
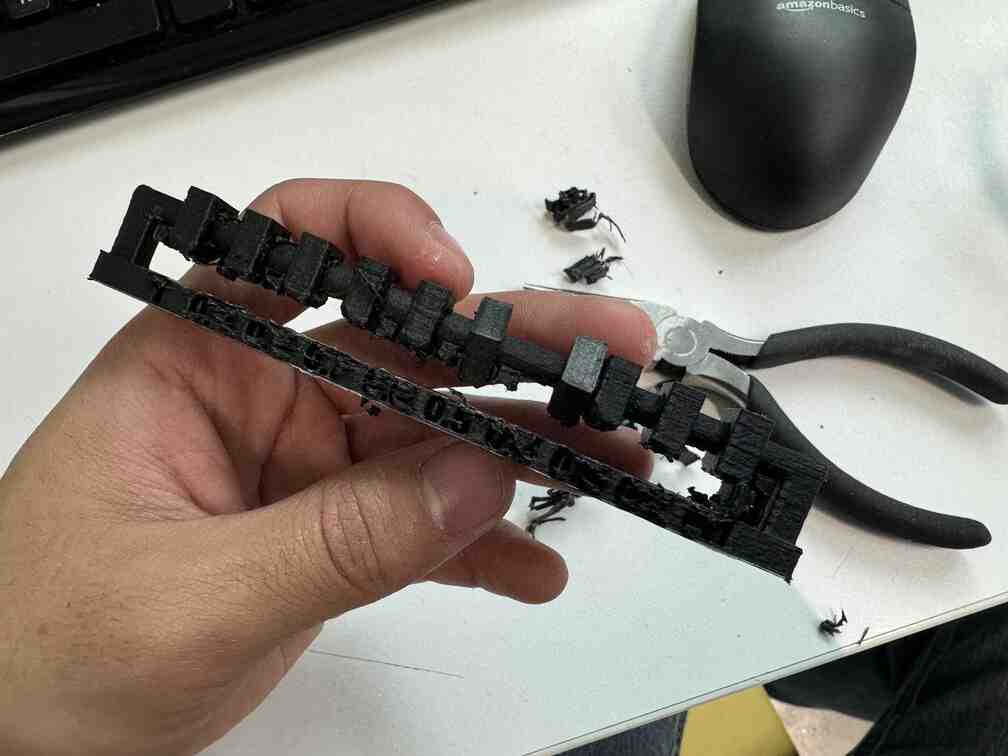
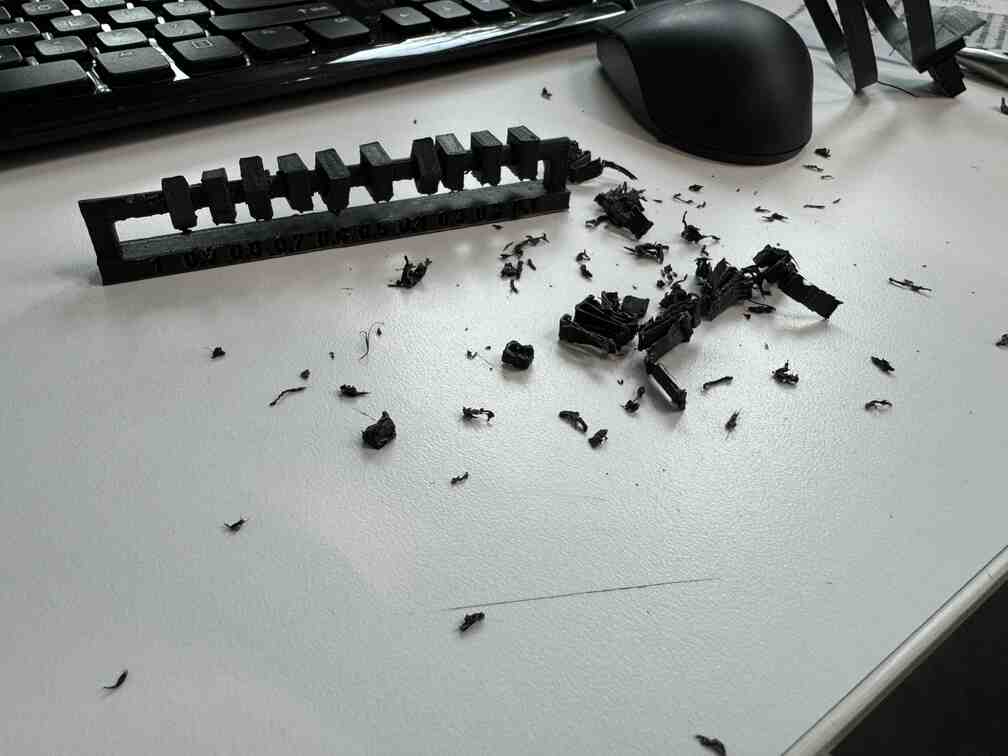
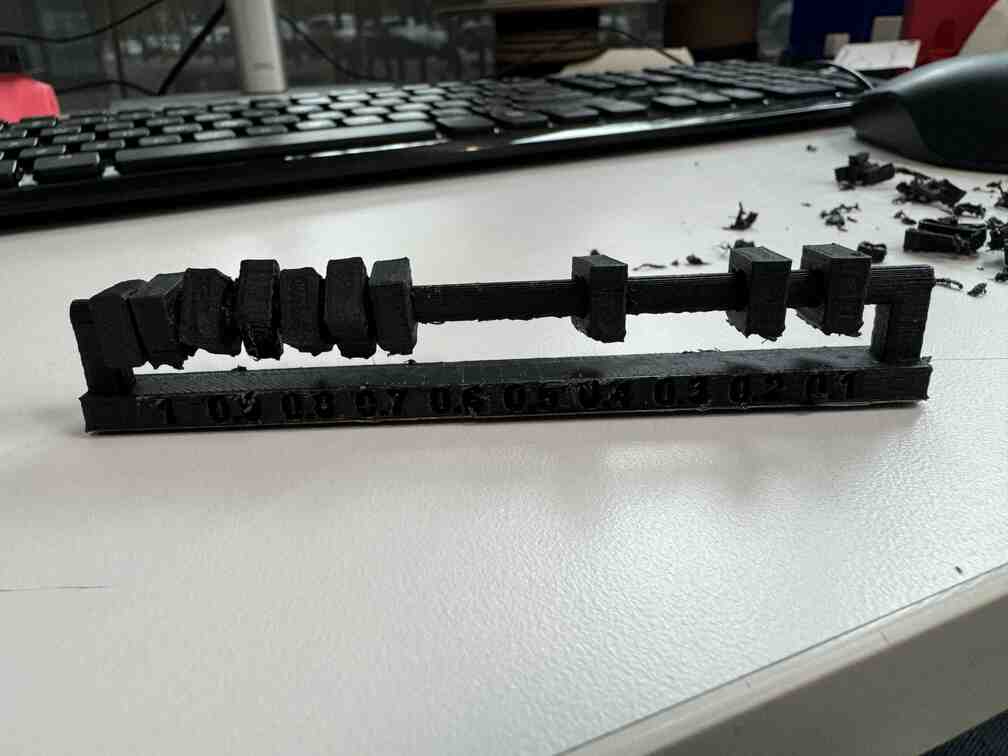
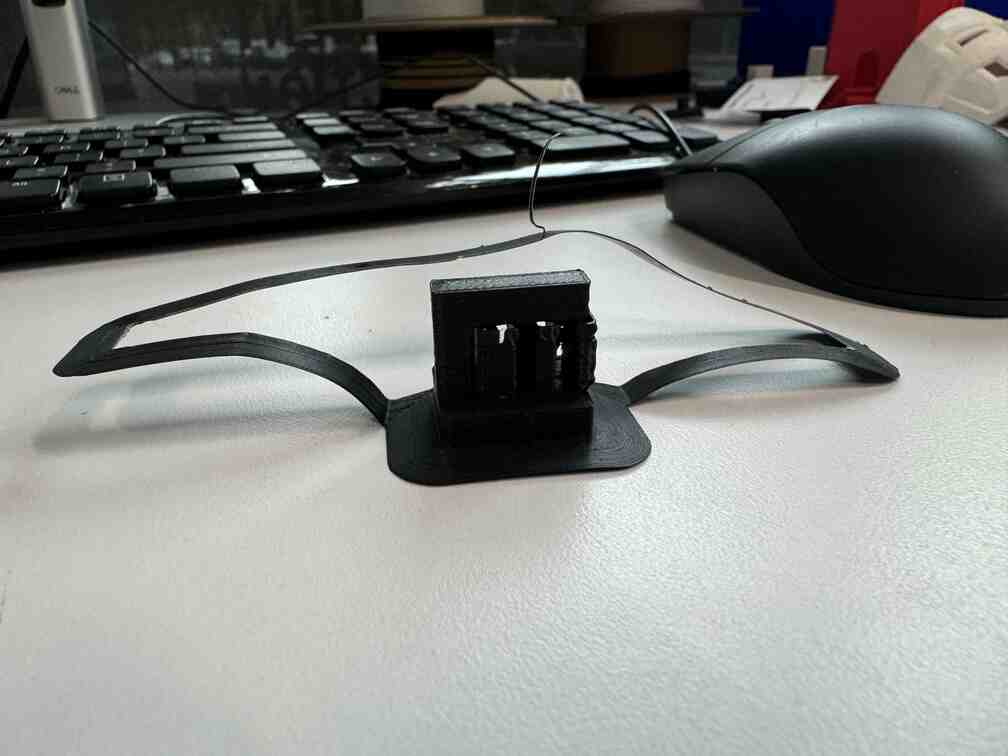
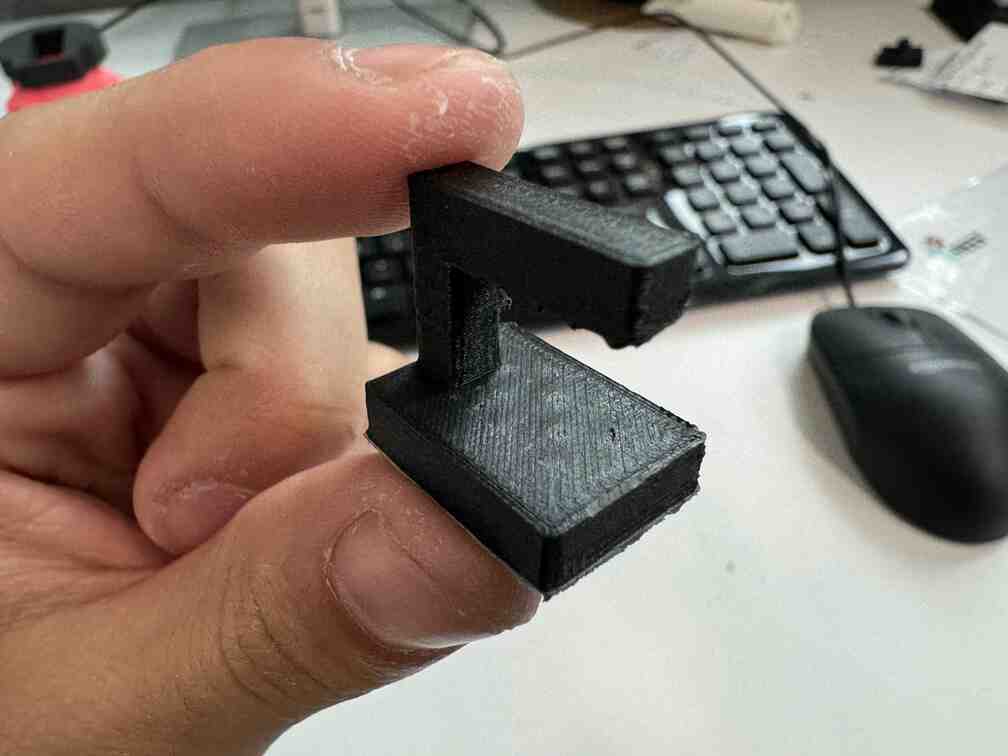
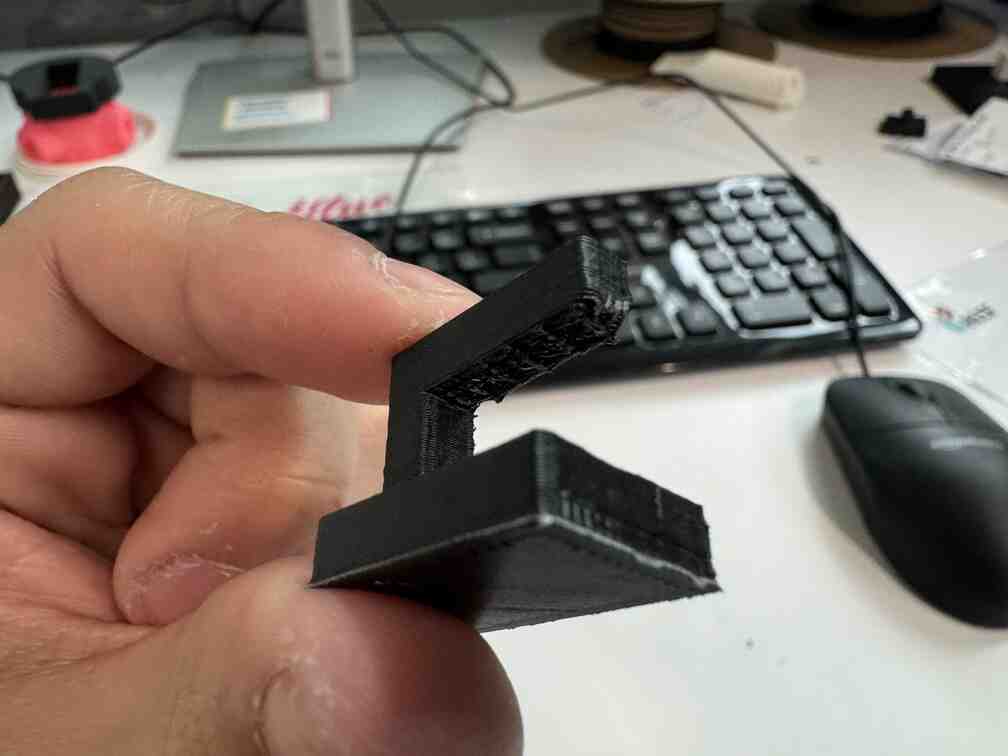
This is all the prints that came out!
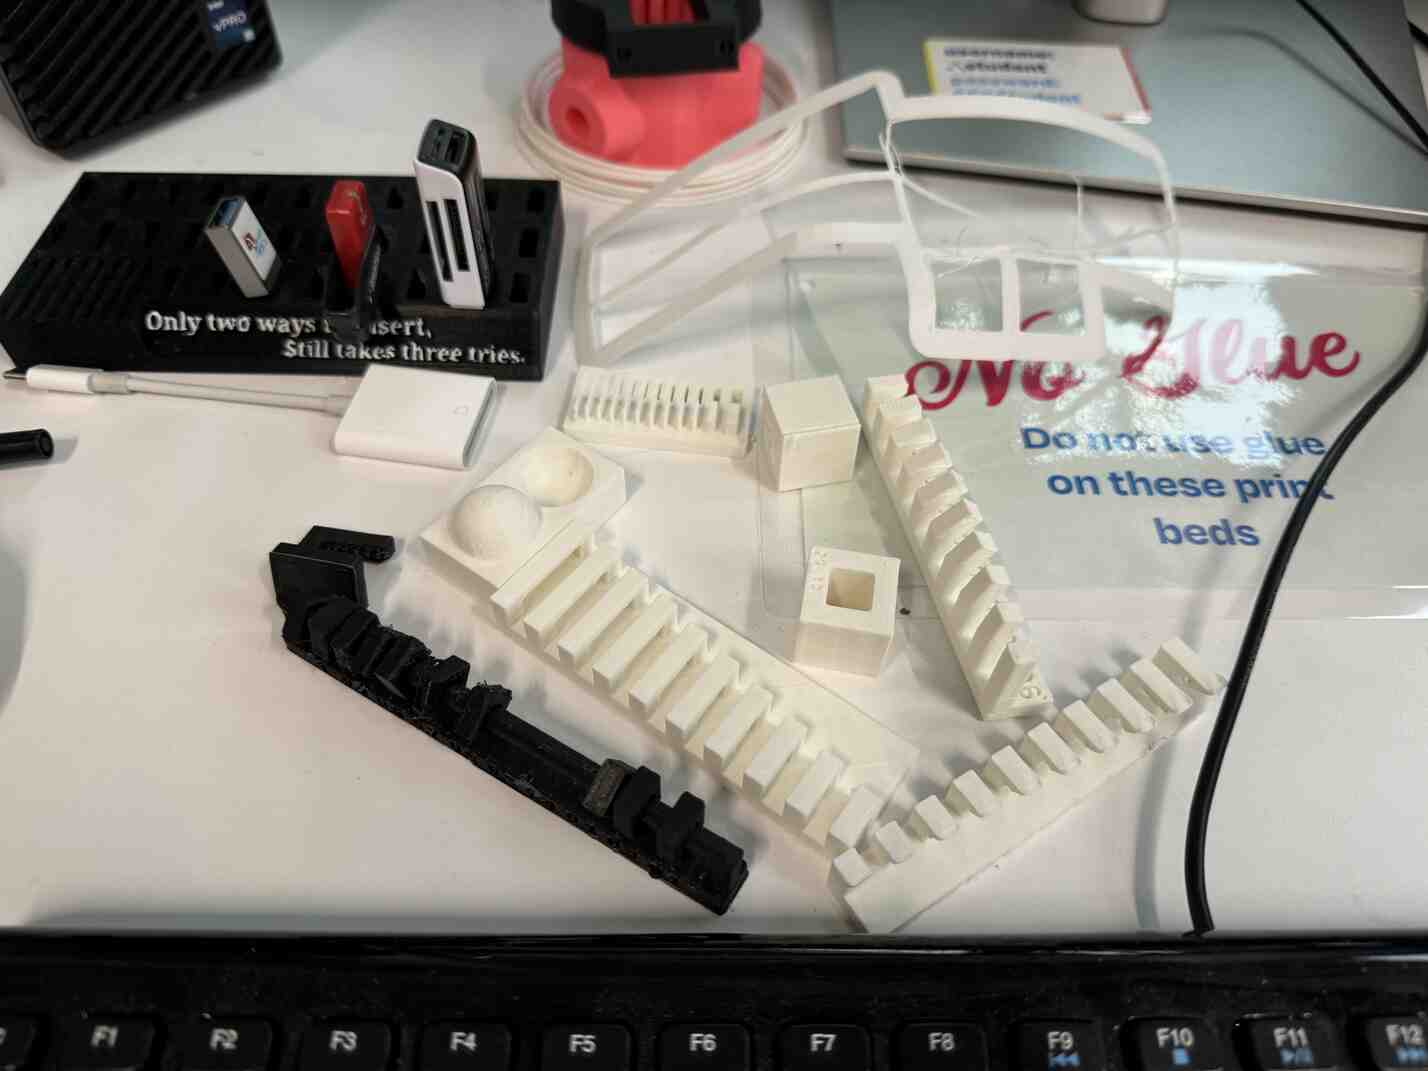
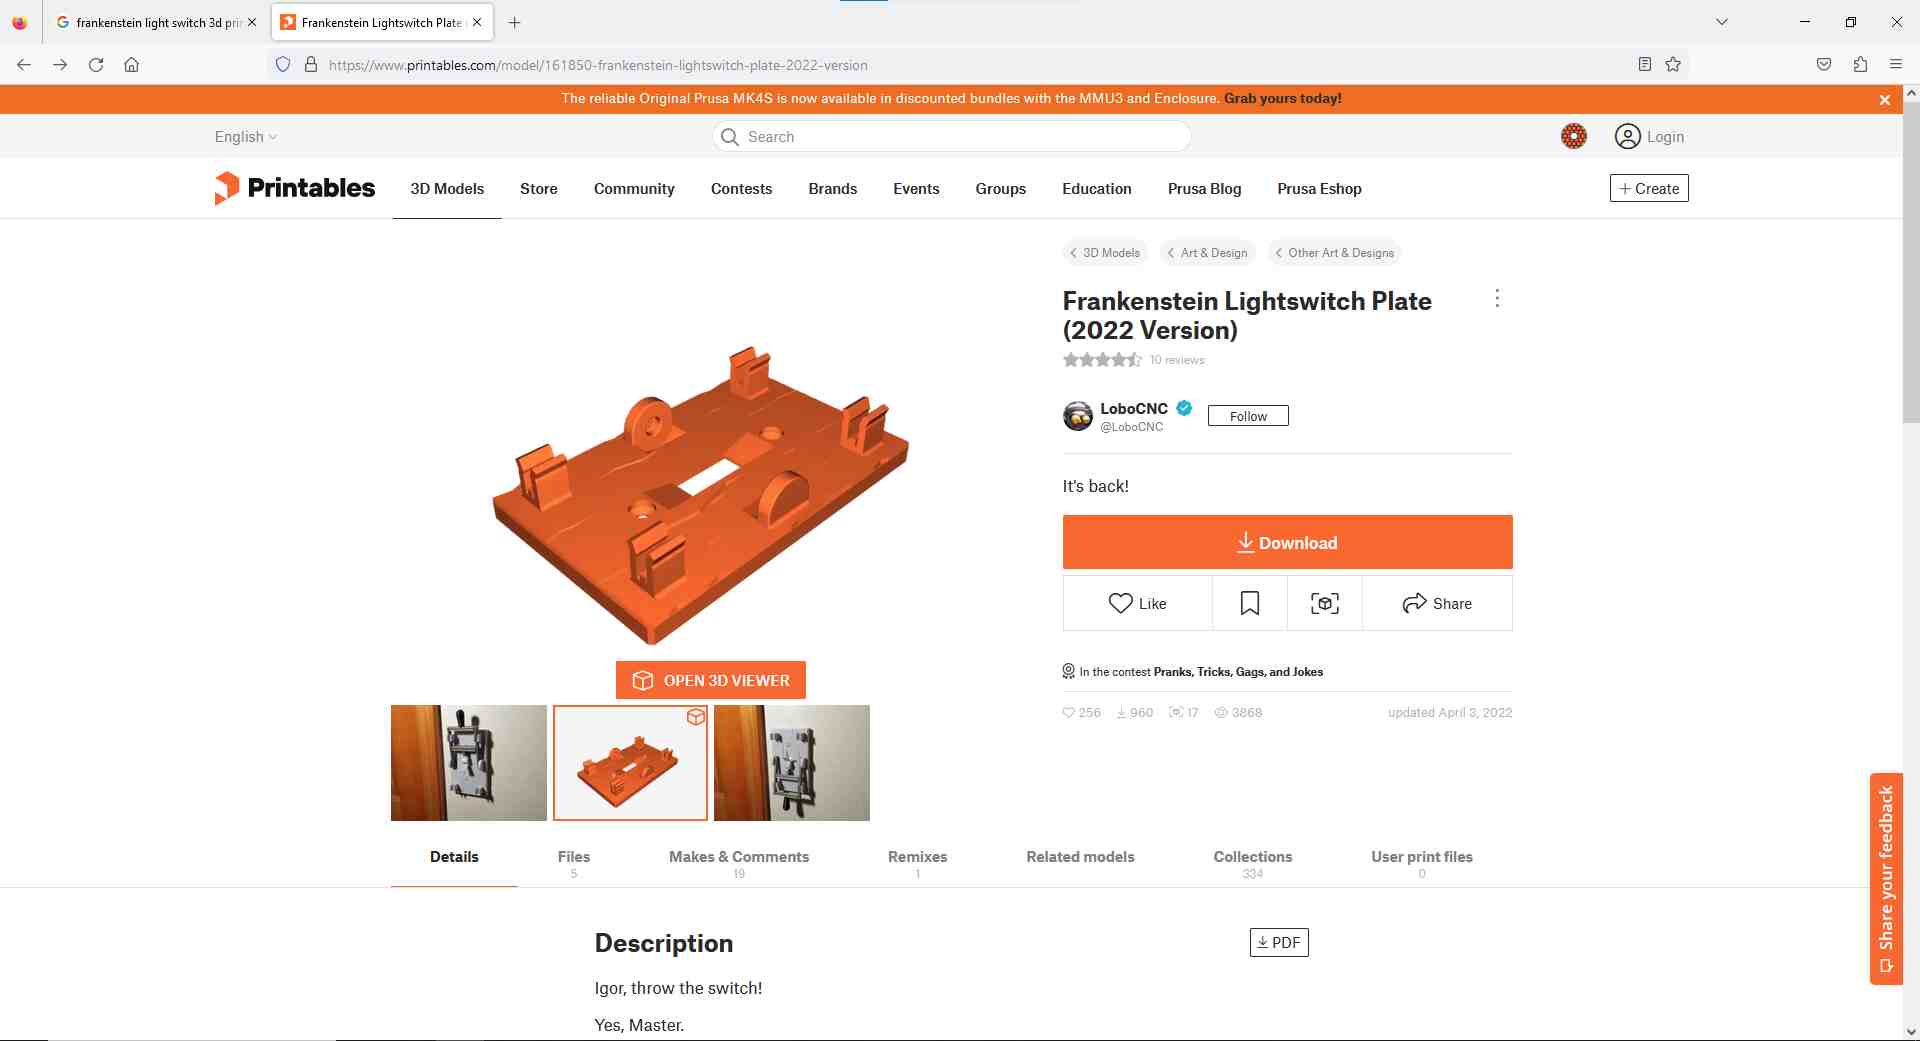
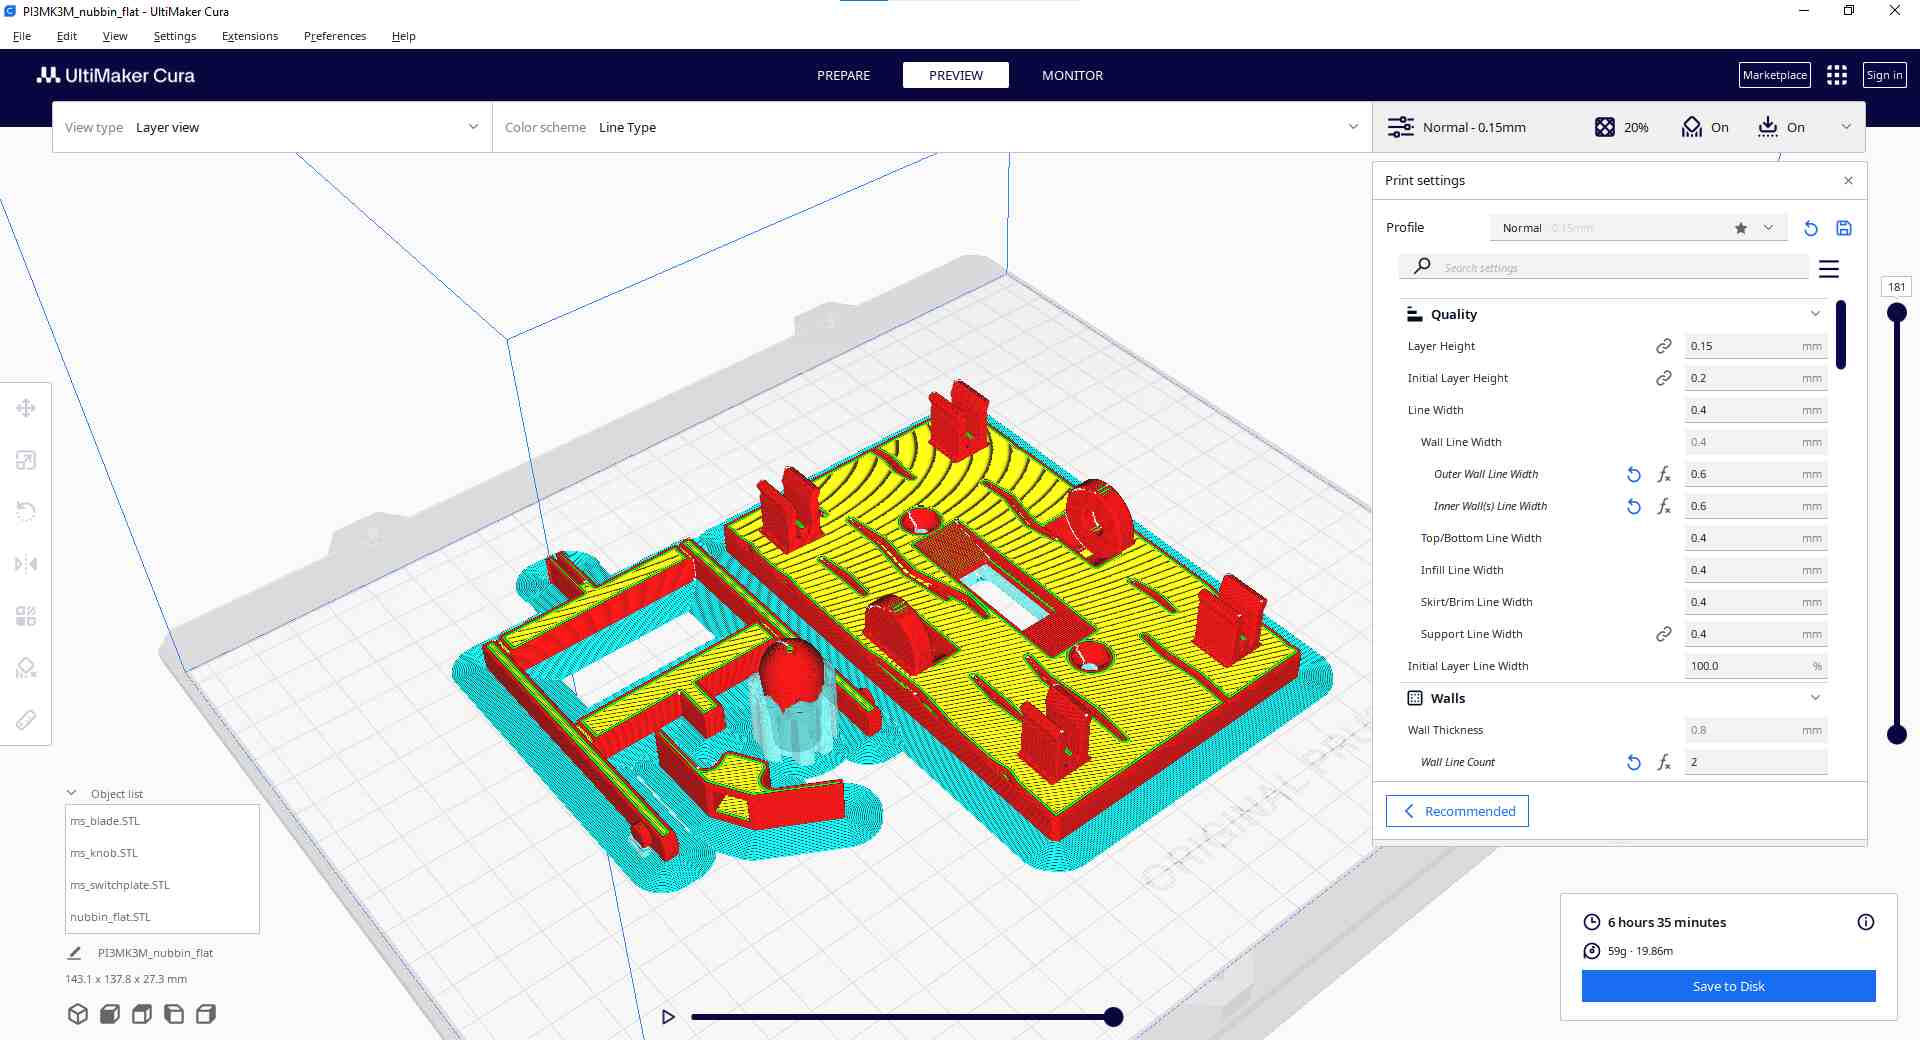
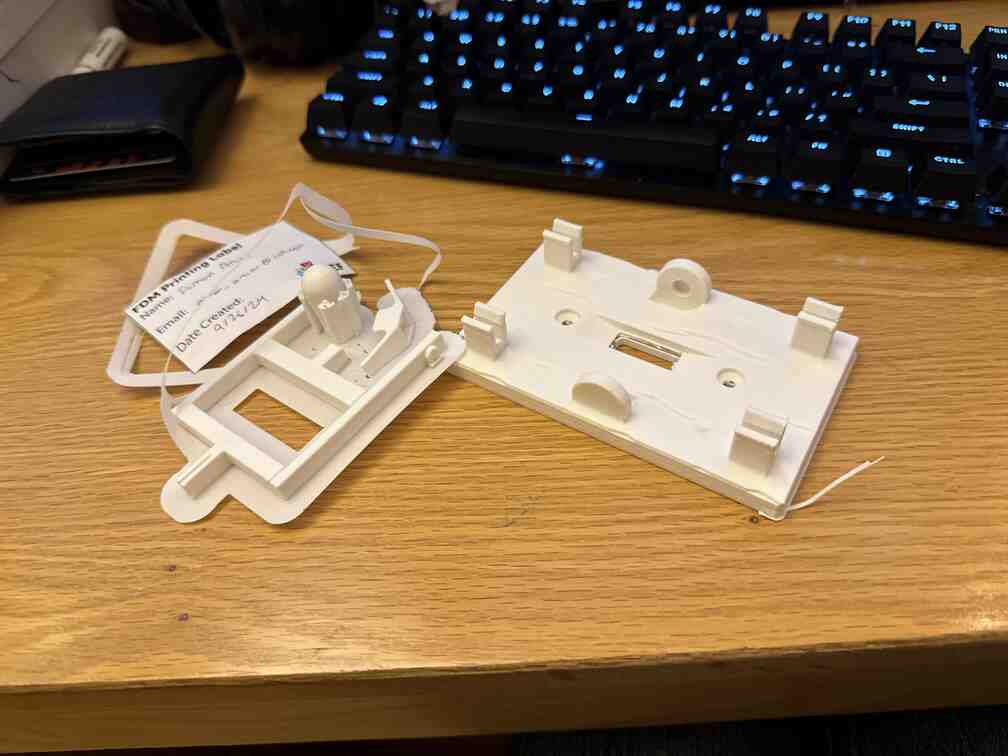
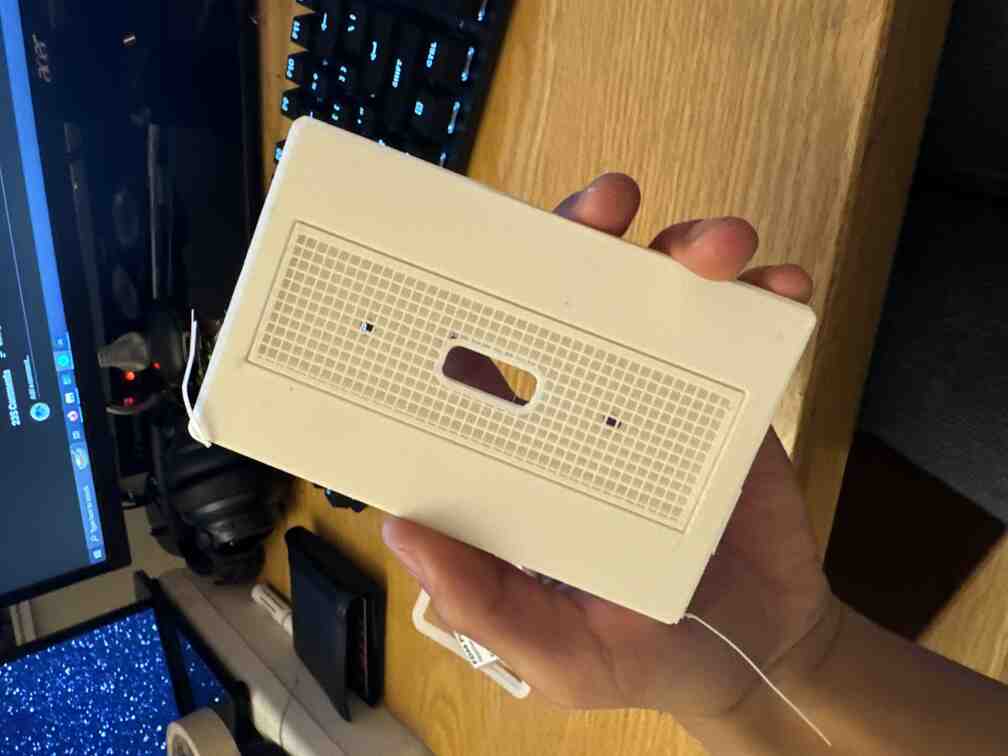
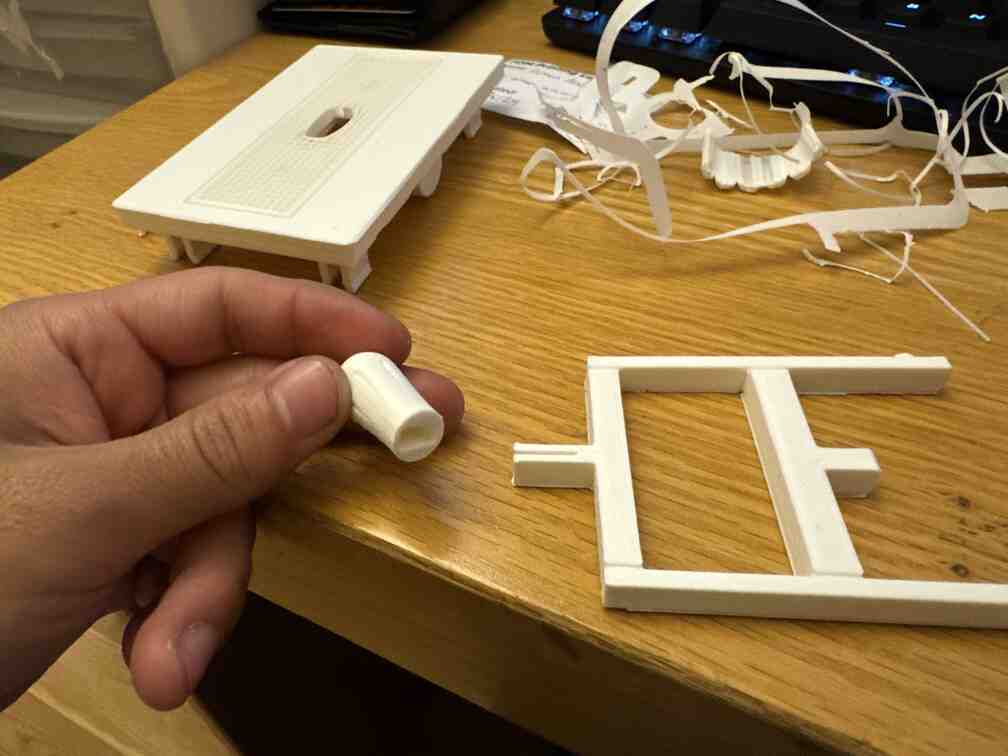
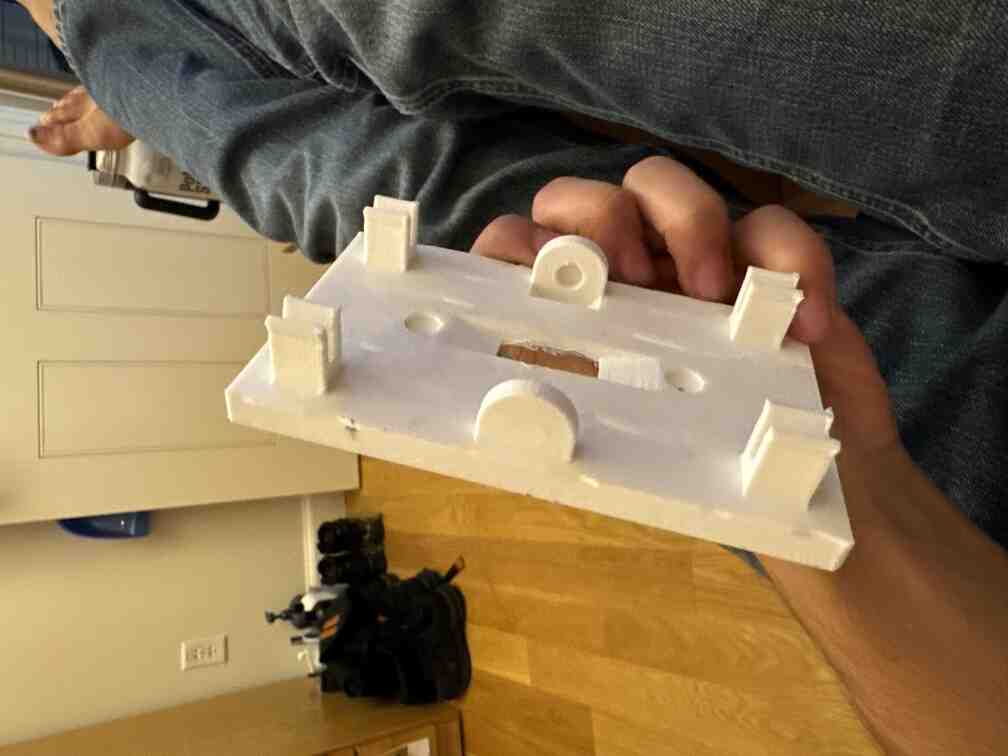
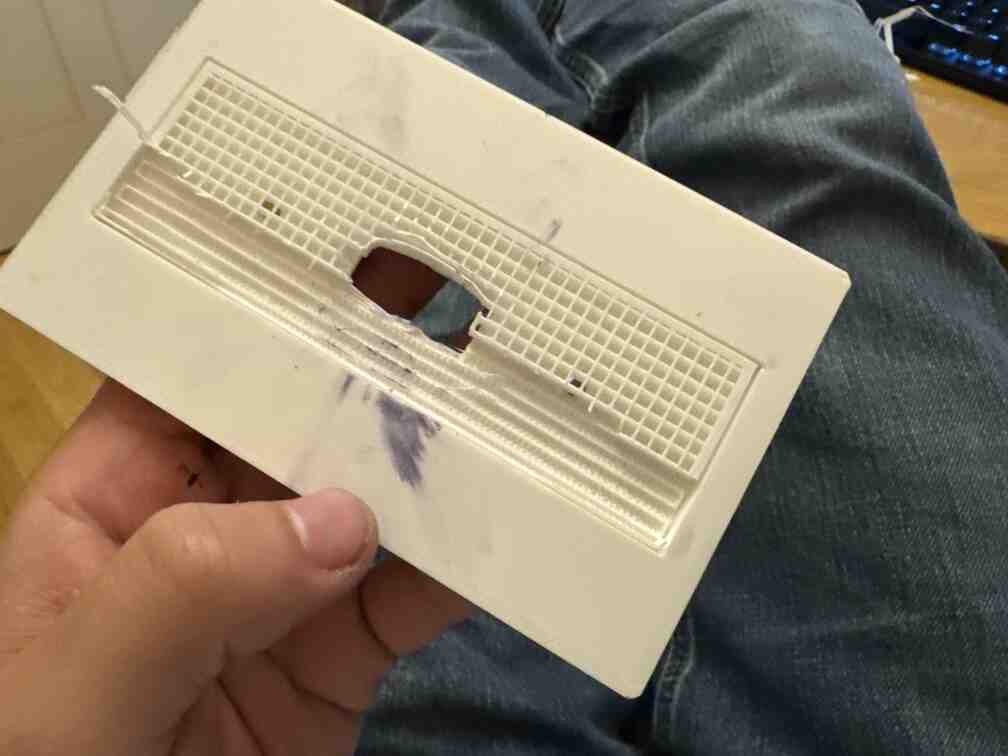
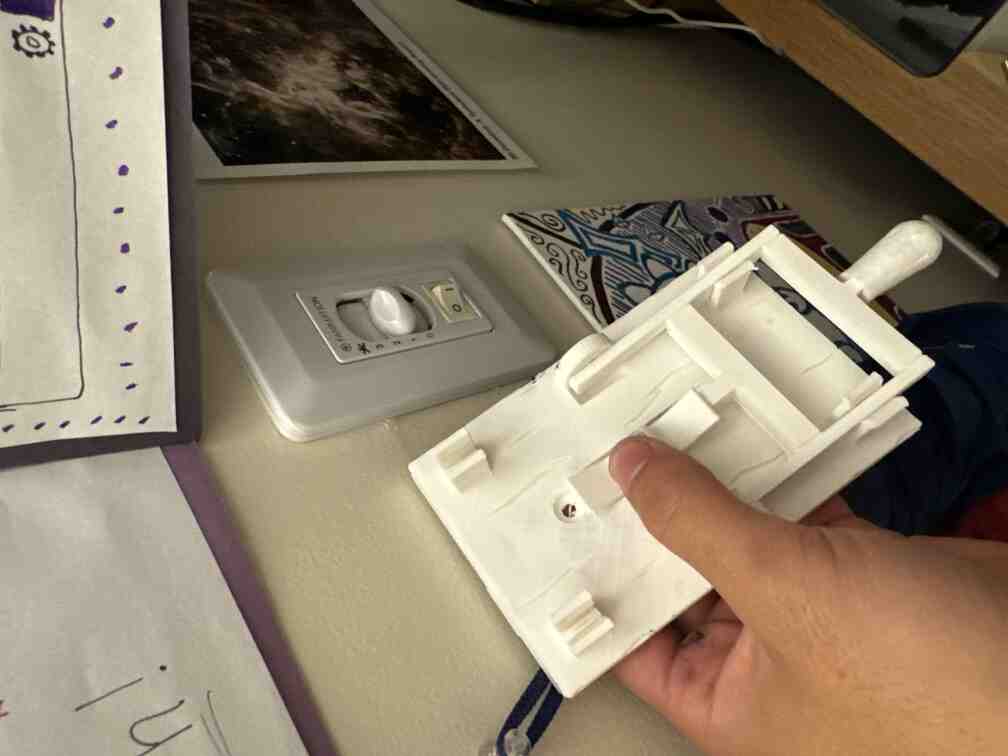
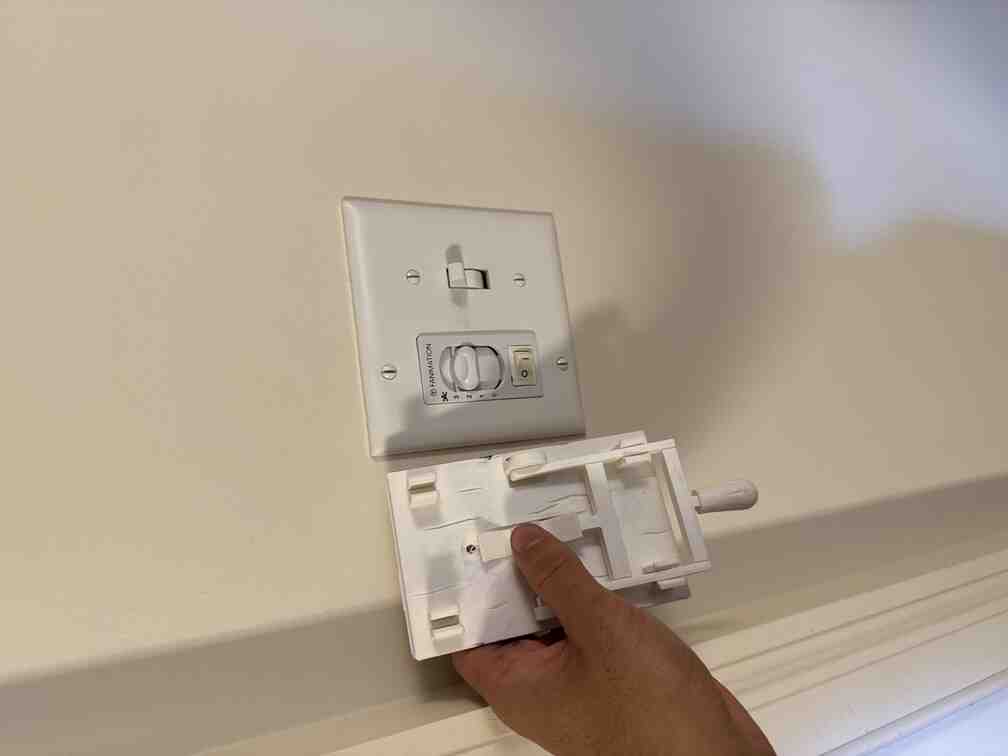
I decided to print a few other things! I went on Printables and Thingiverse and printed a Frankenstein-style lightswitch plate, some NASA chainmail, and a spin cube.
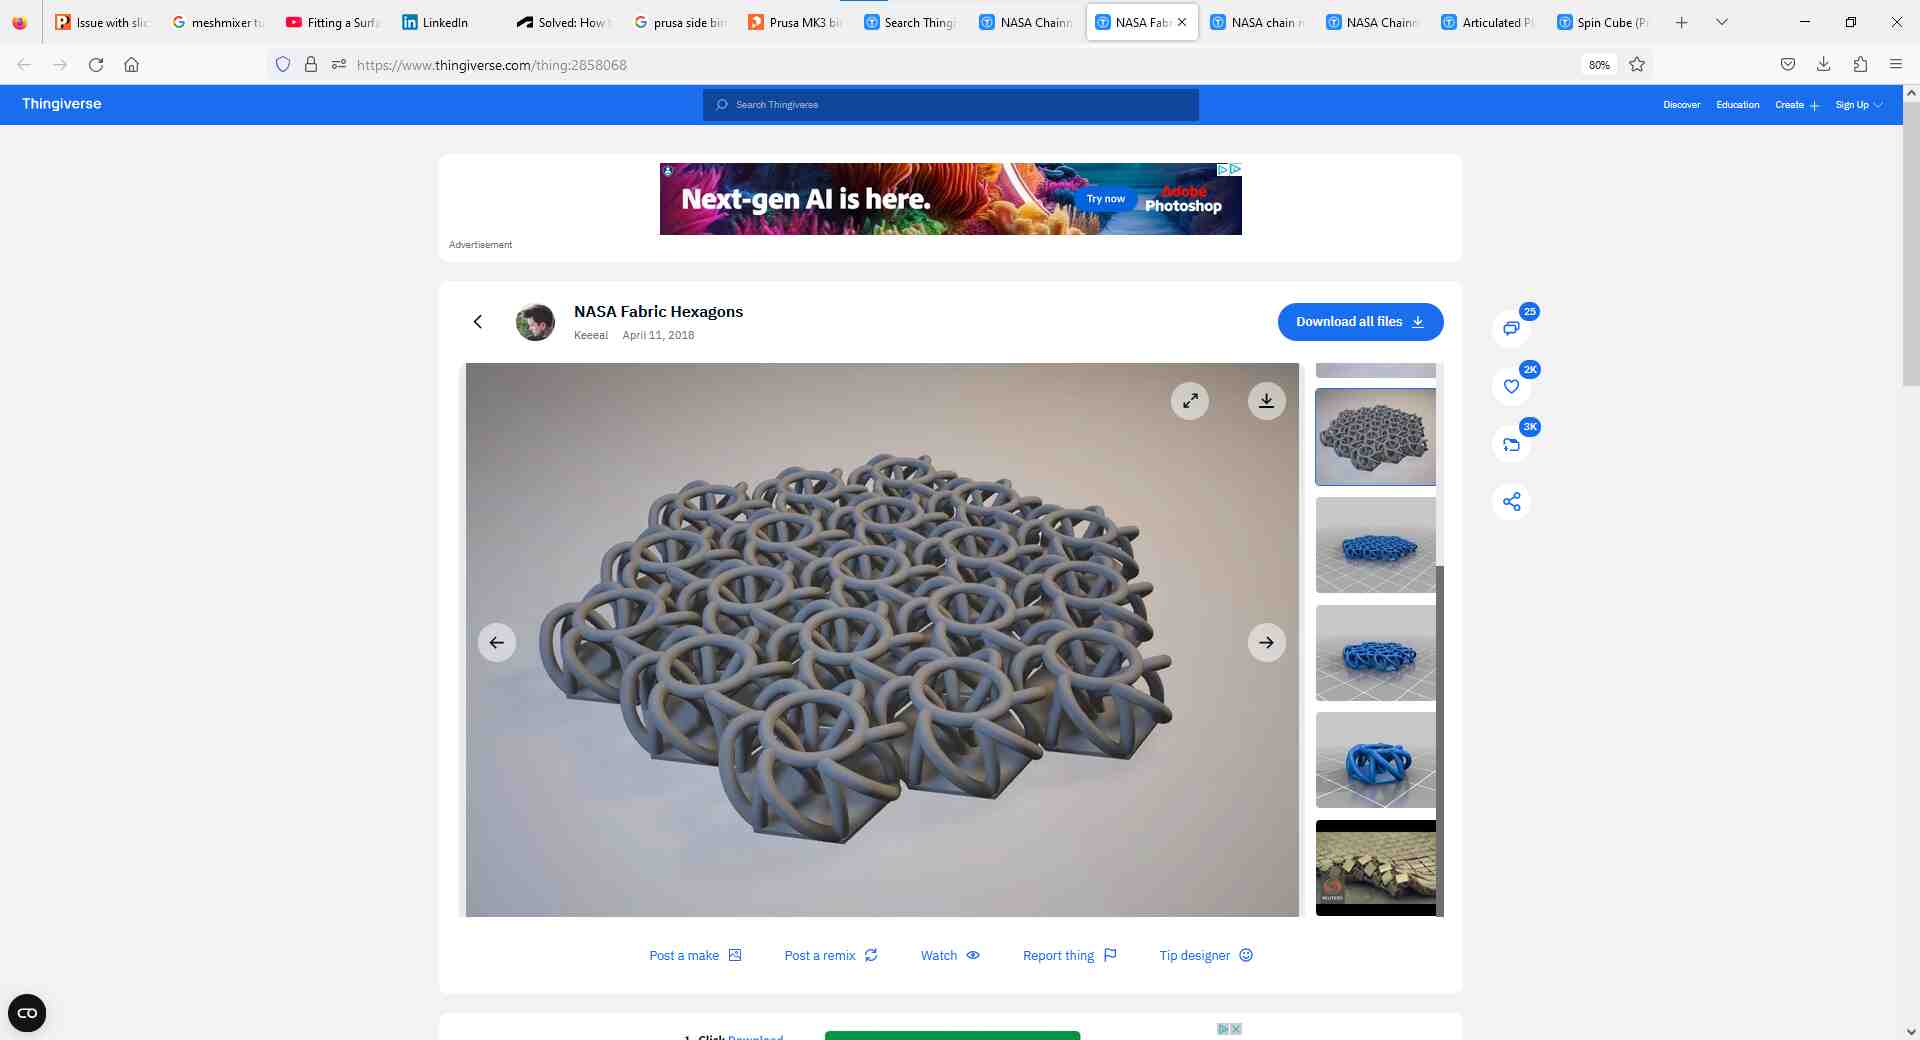
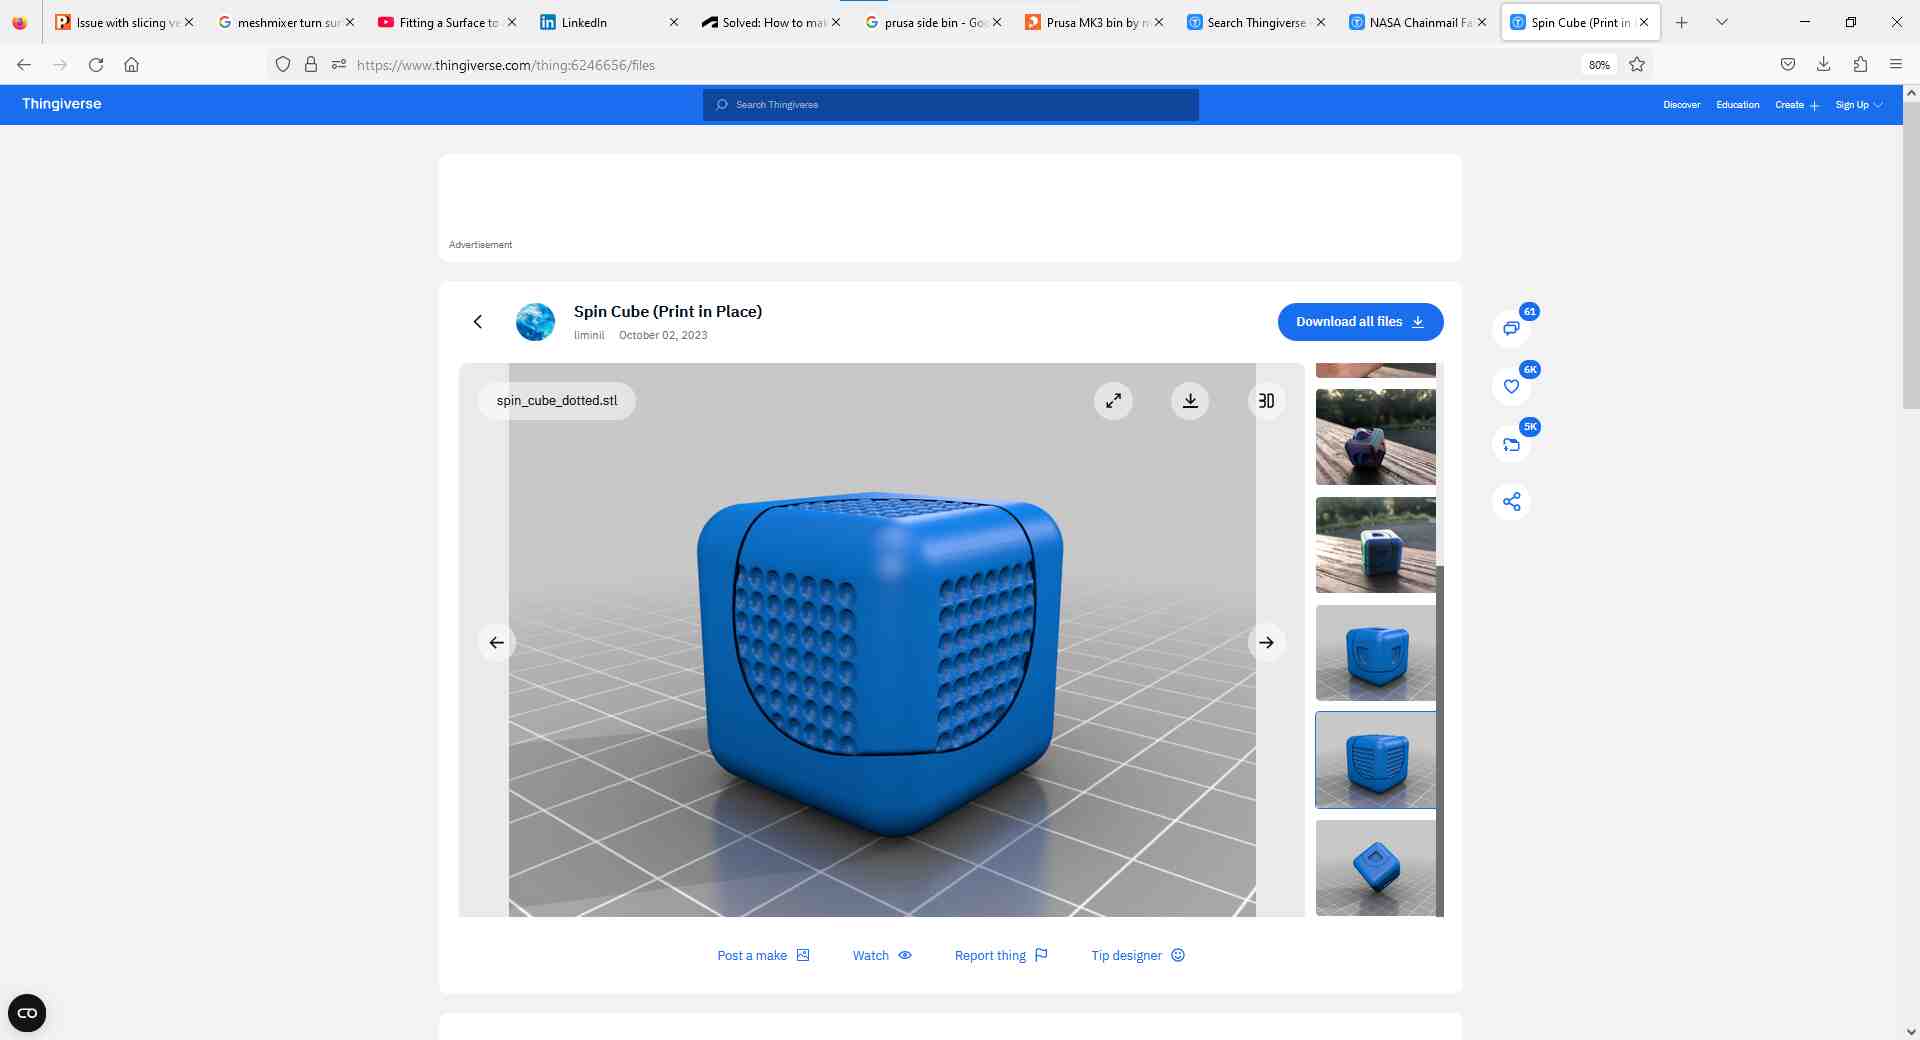
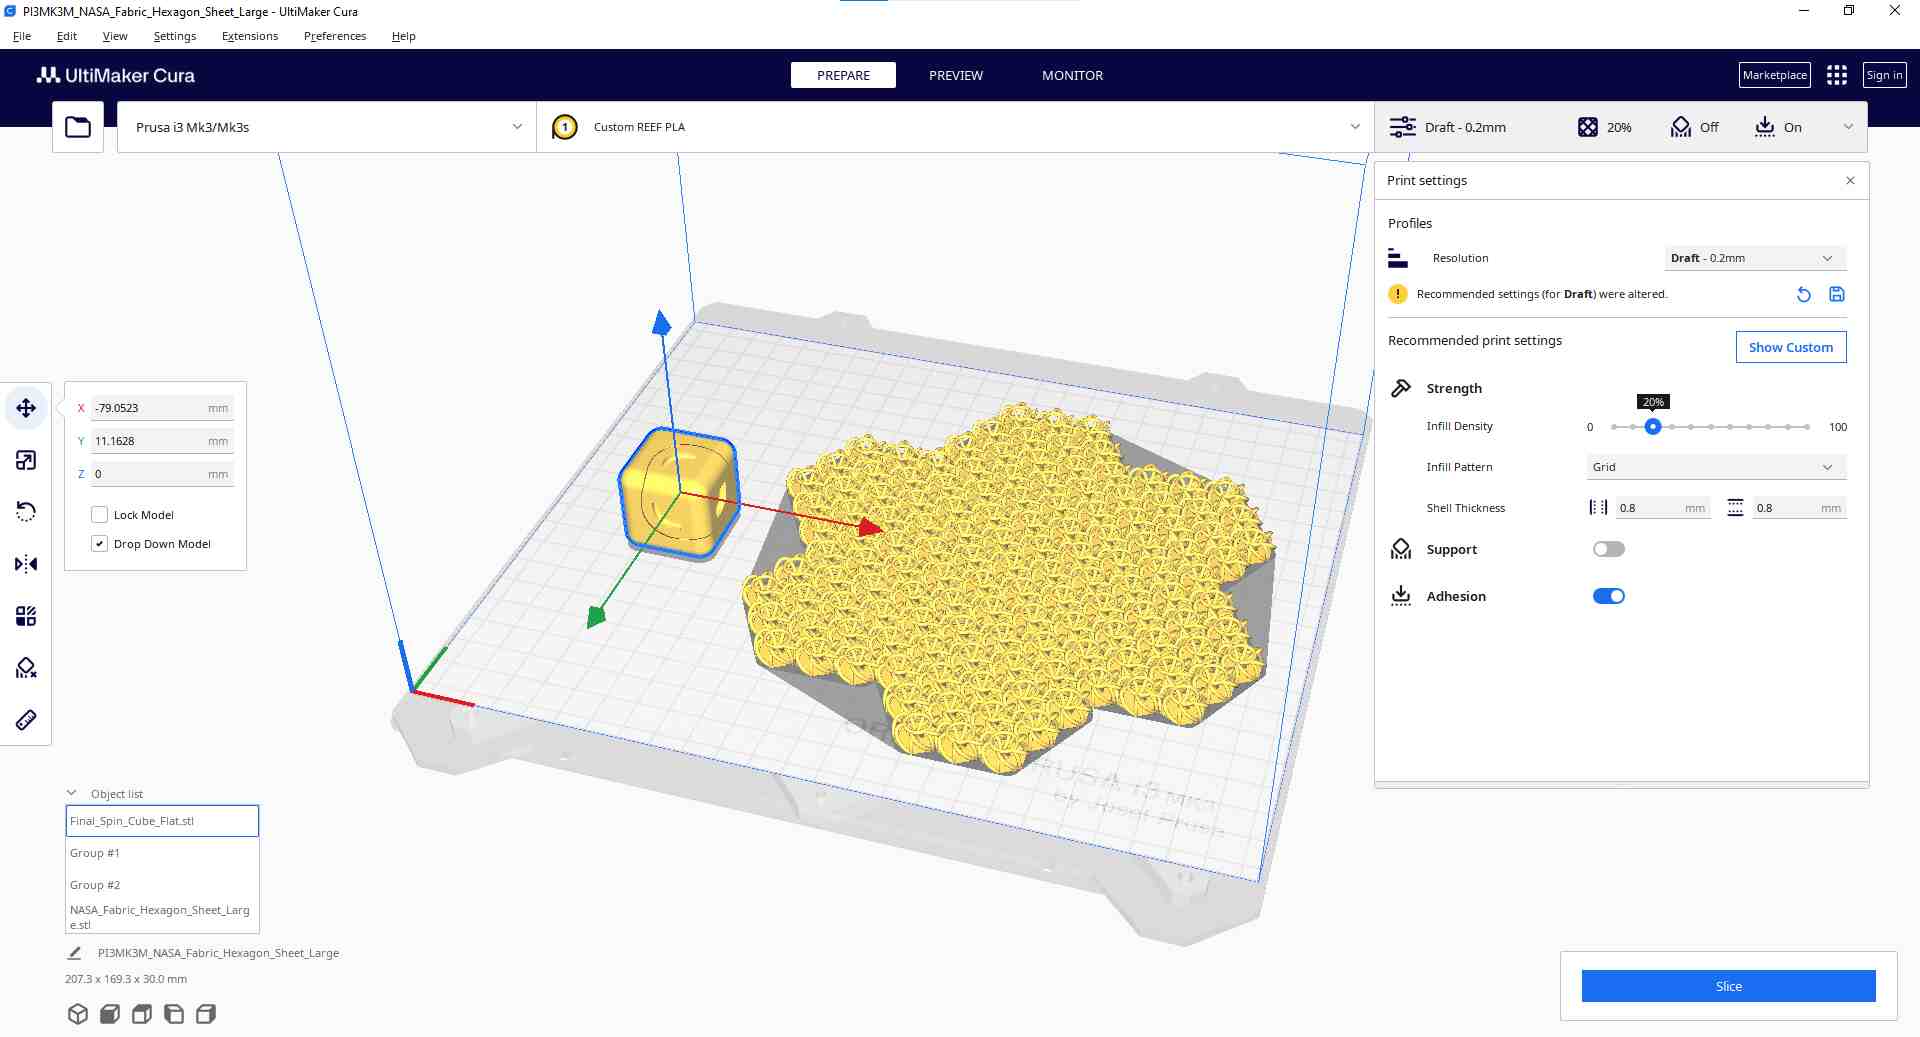
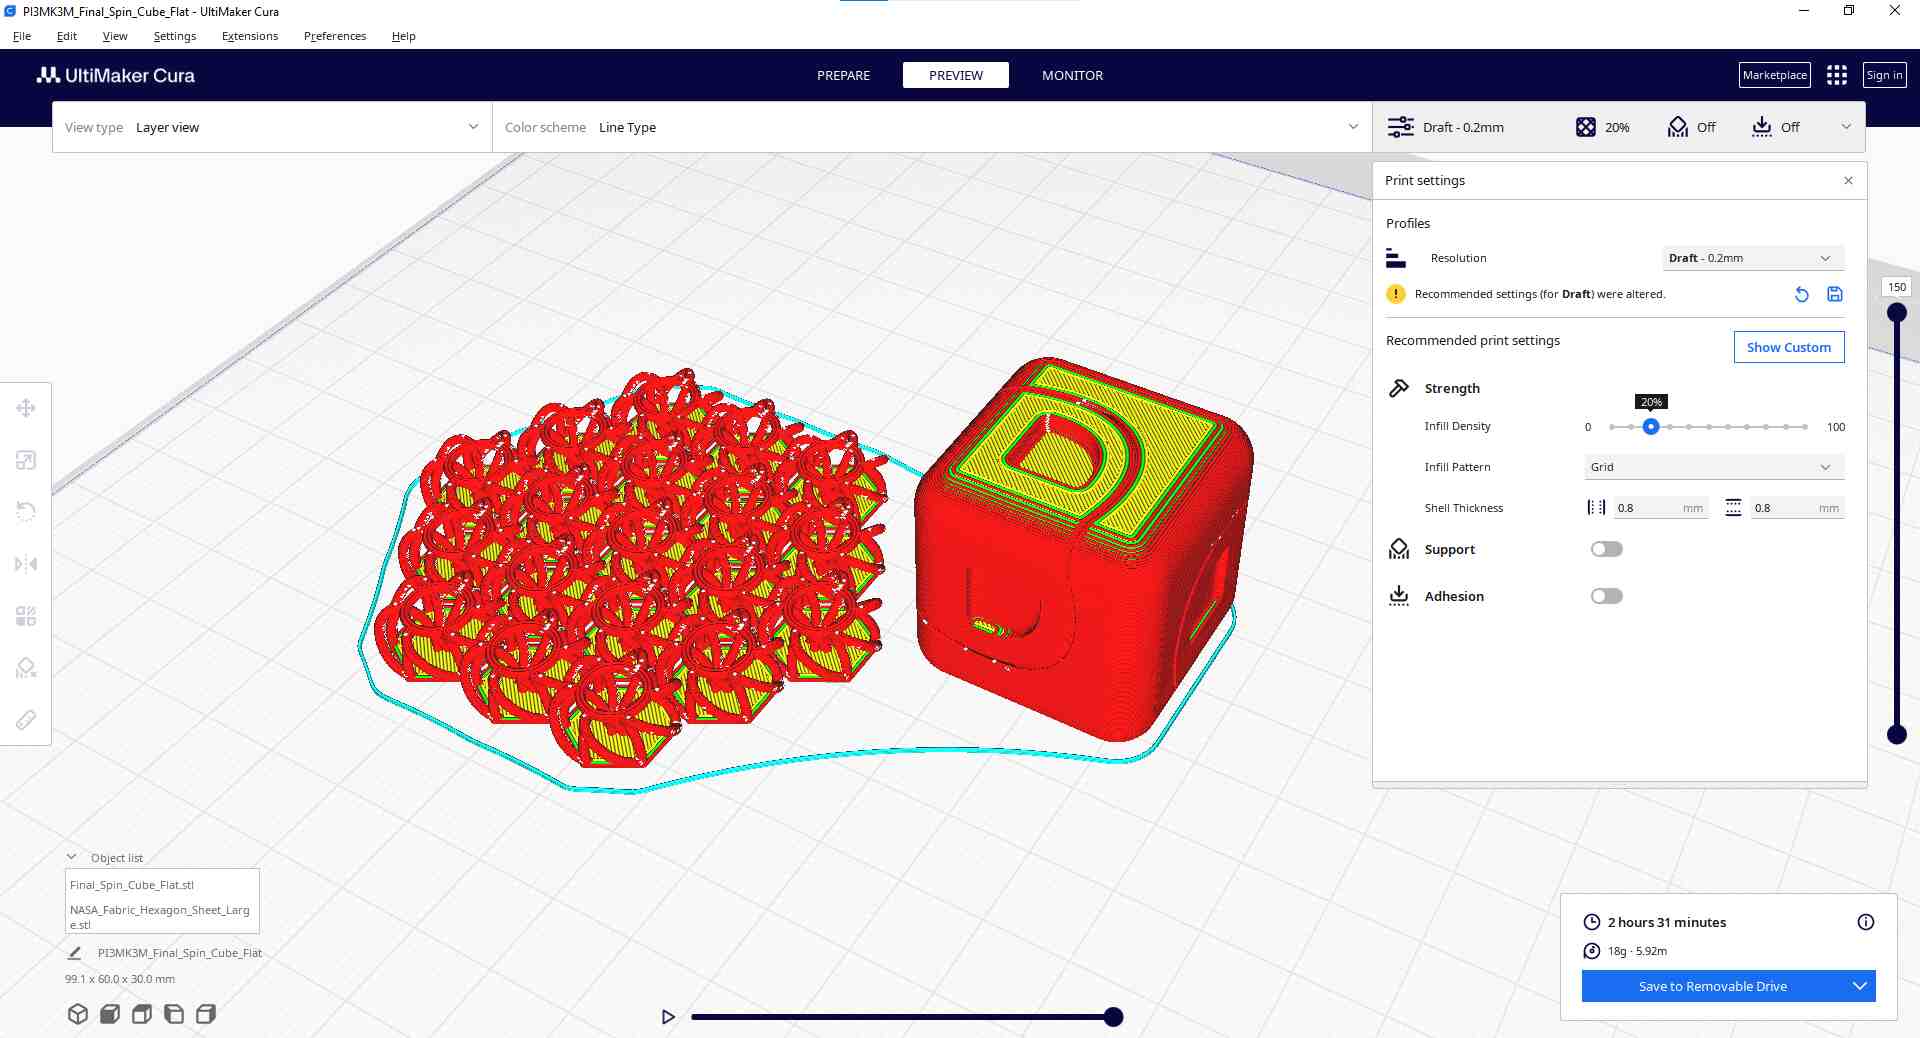
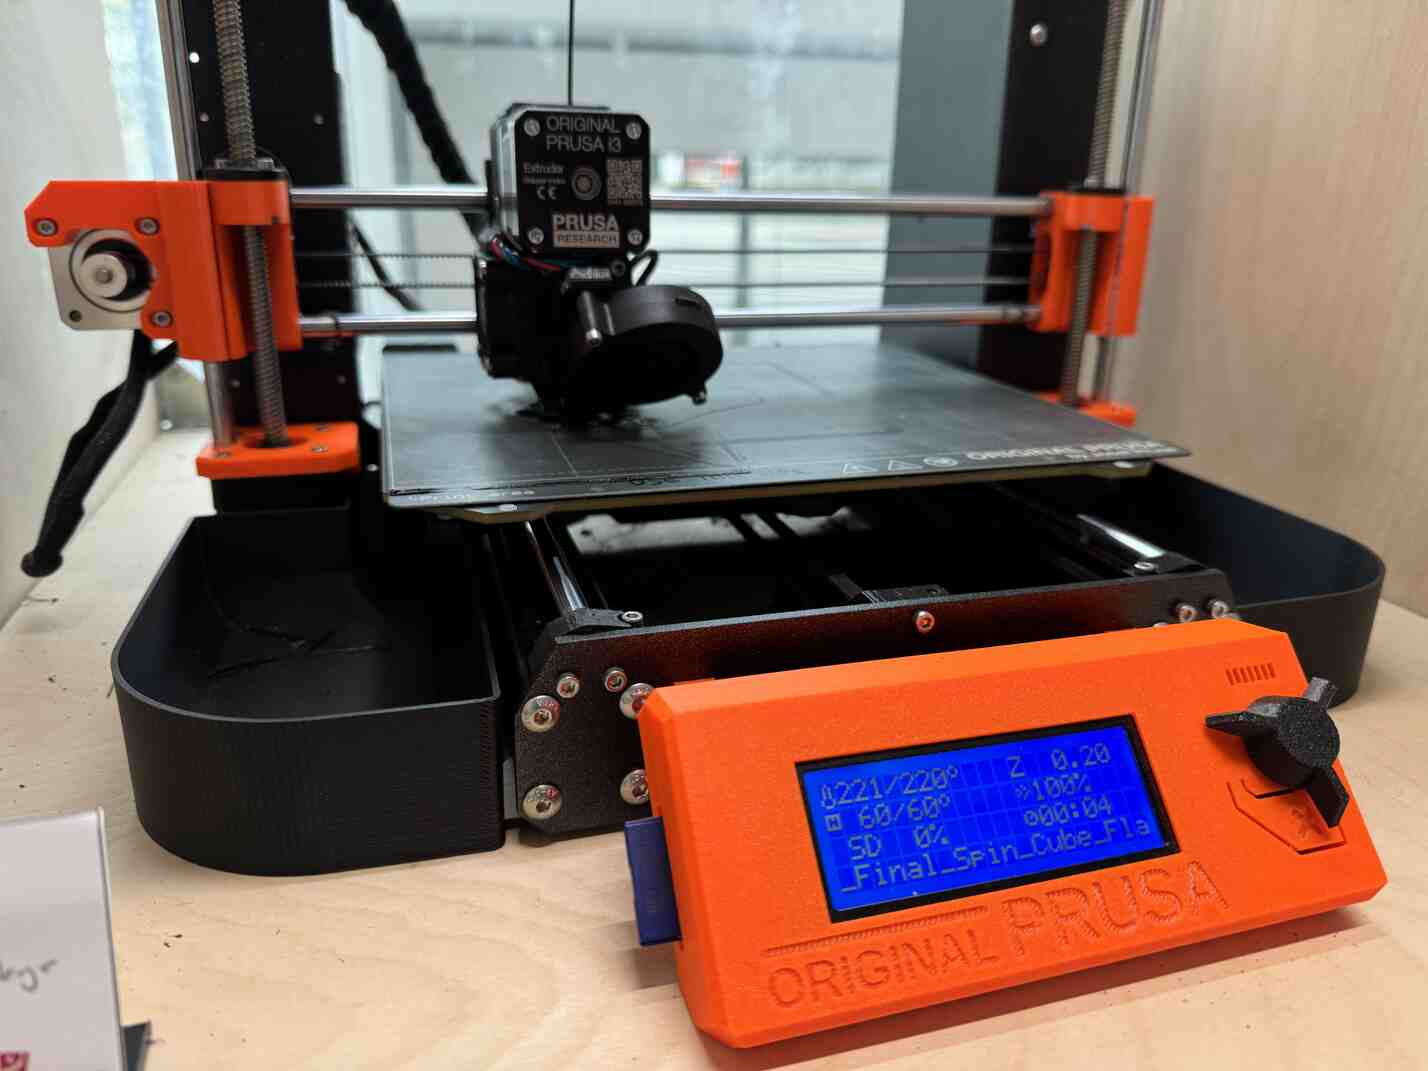
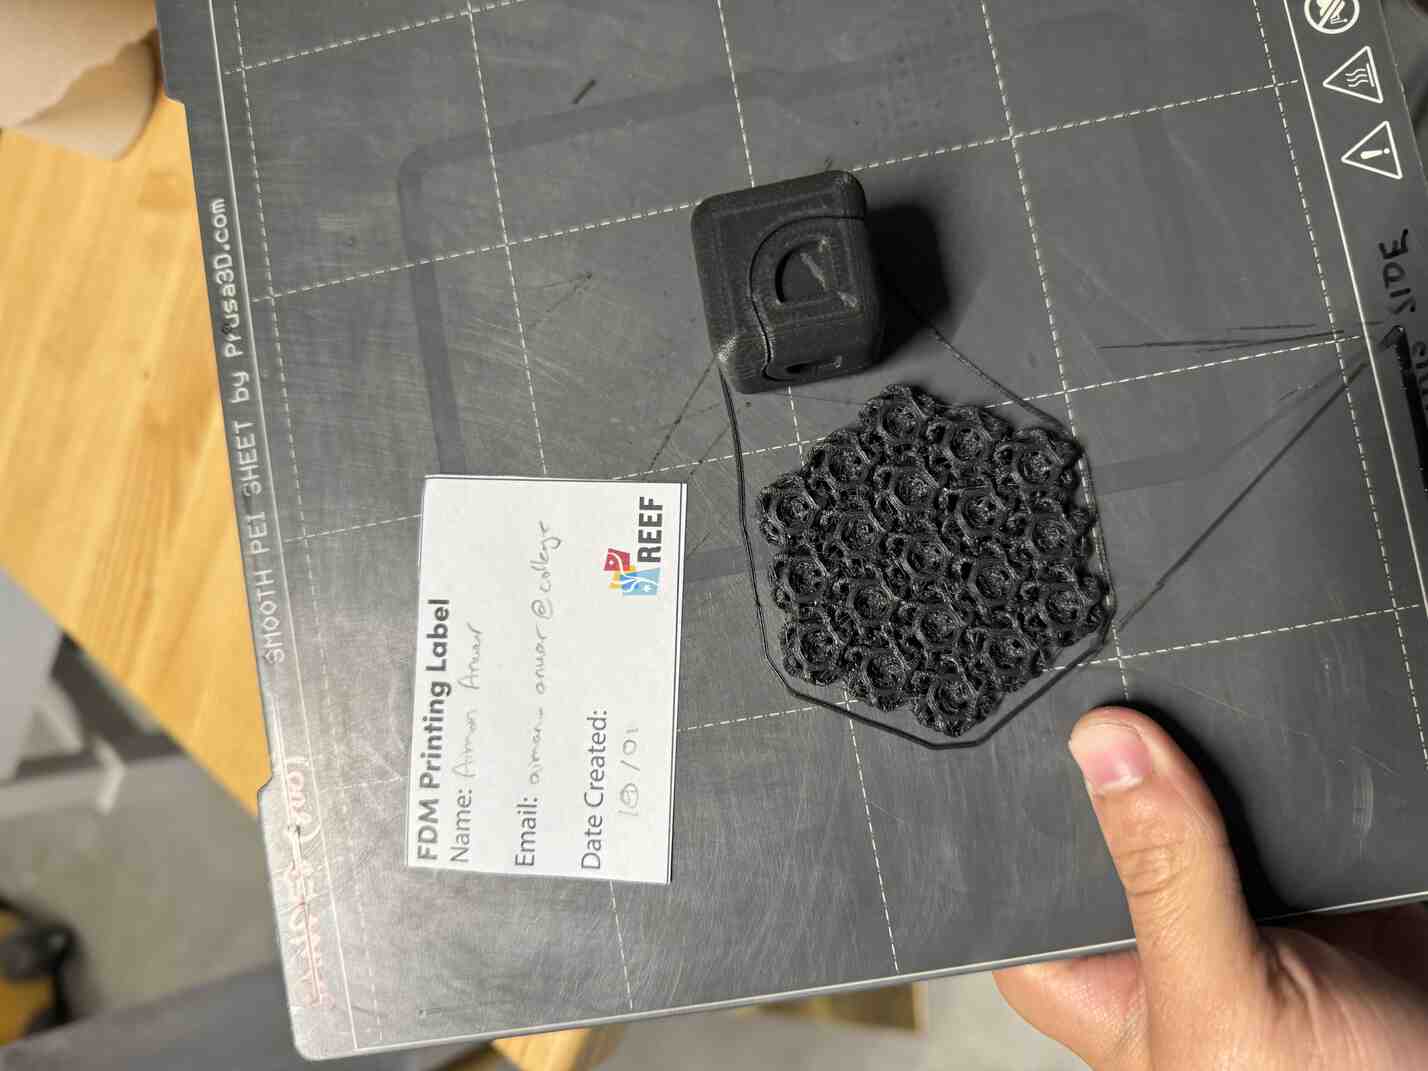
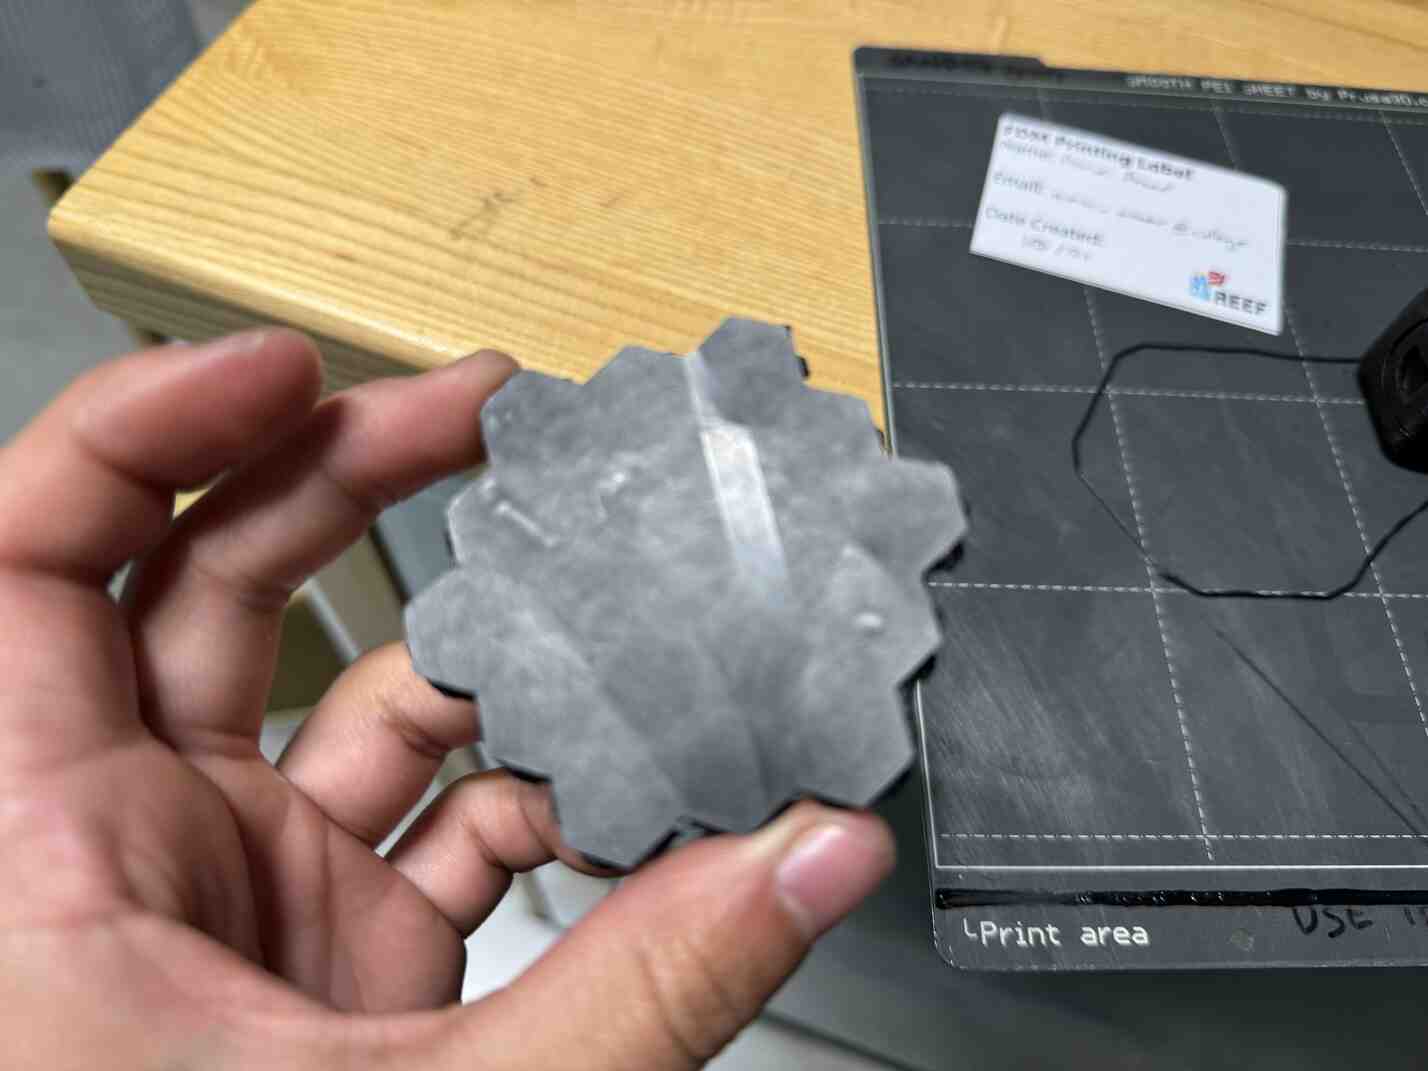
Unfortunately both the chainmail and the spin cube did not print with enough gap to make each piece separate, so they fused together.
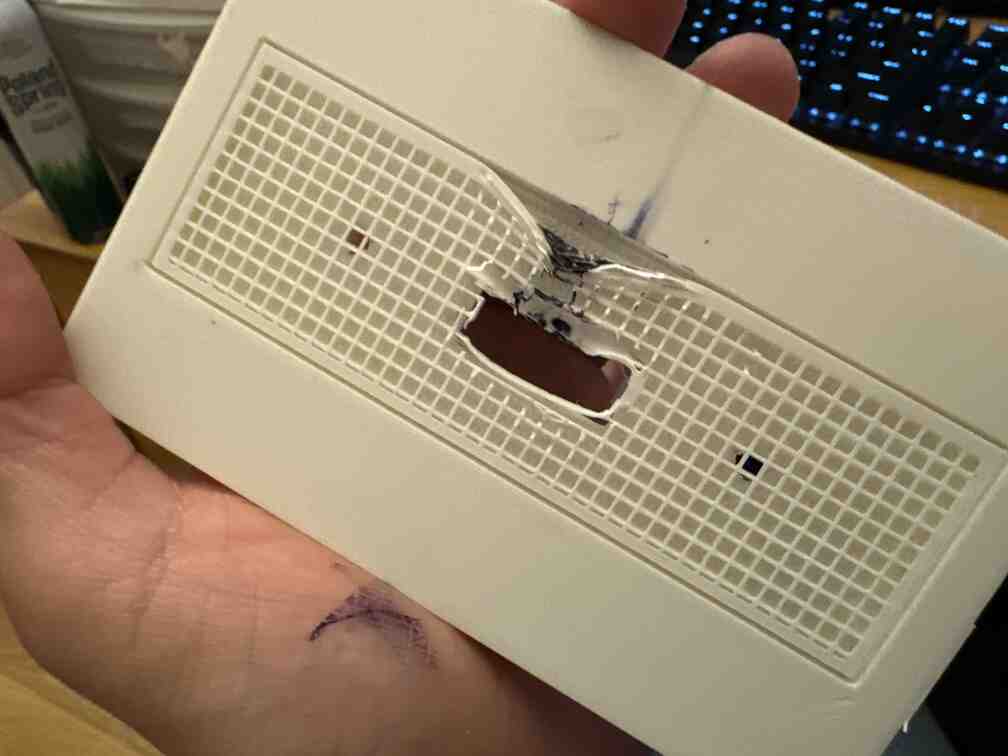
The Frankenstein lightswitch turned out okay! But even after struggling with trying to take out really baked in supports, I then realized that it wouldn't fit on my light switch plate because it had its own proprietary plate design.
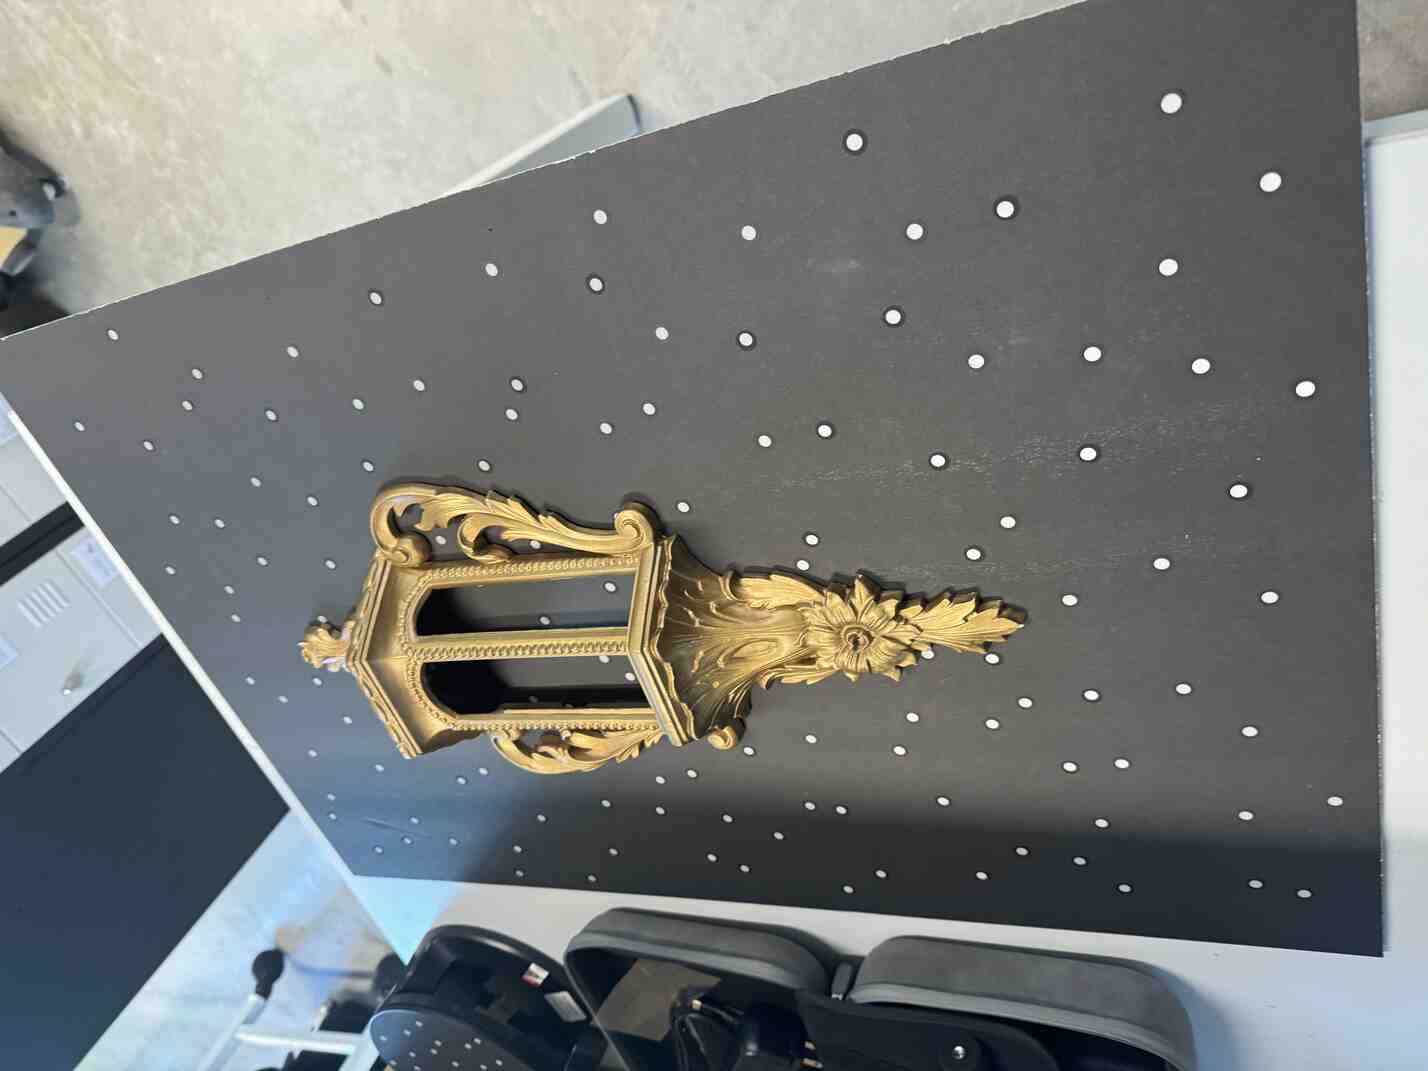
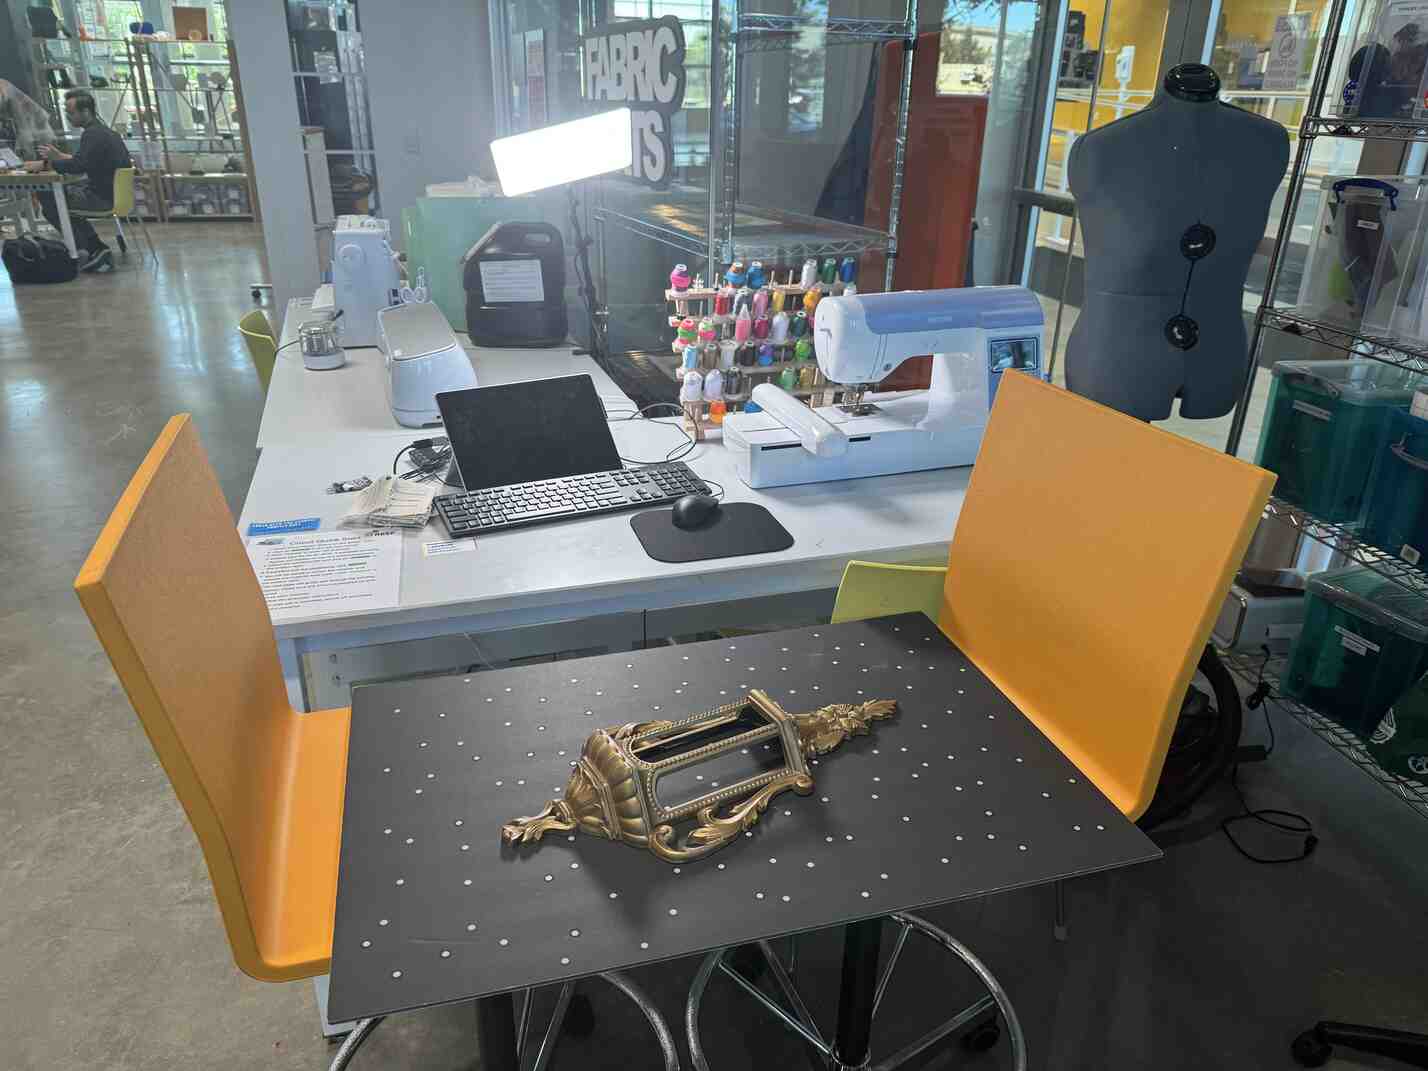
For my 3D scanning, I scanned this wall sconce that I bought from a thrift store! I thought it would be a good element to scan because of its contours and complex shape (as opposed to something like a perfect cube or sphere.
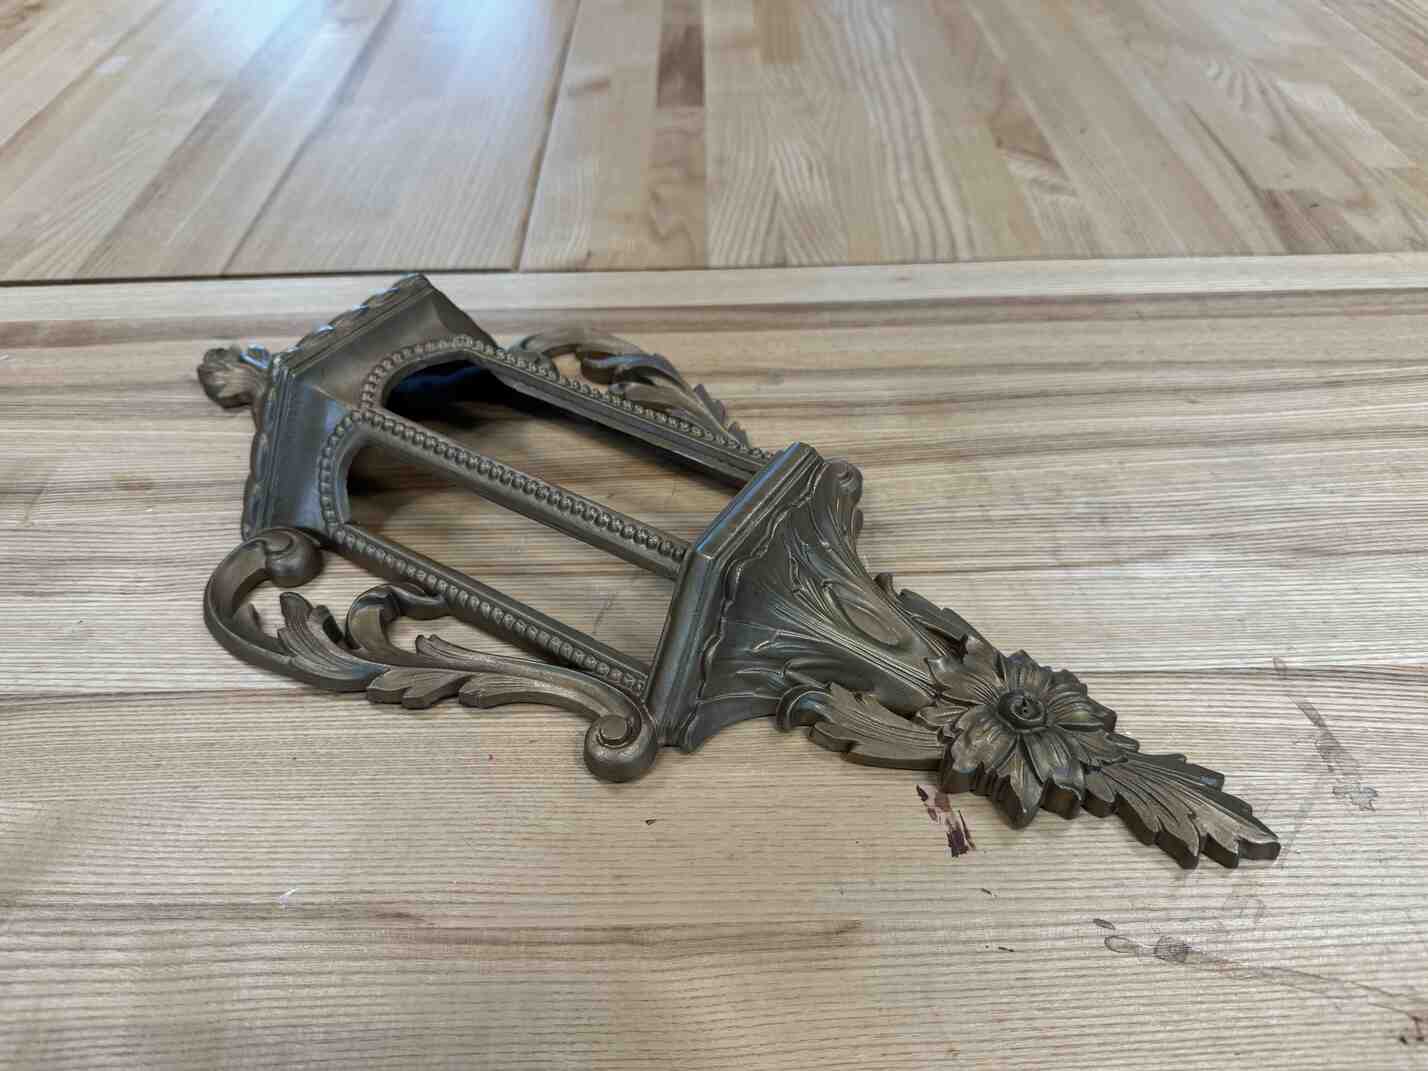
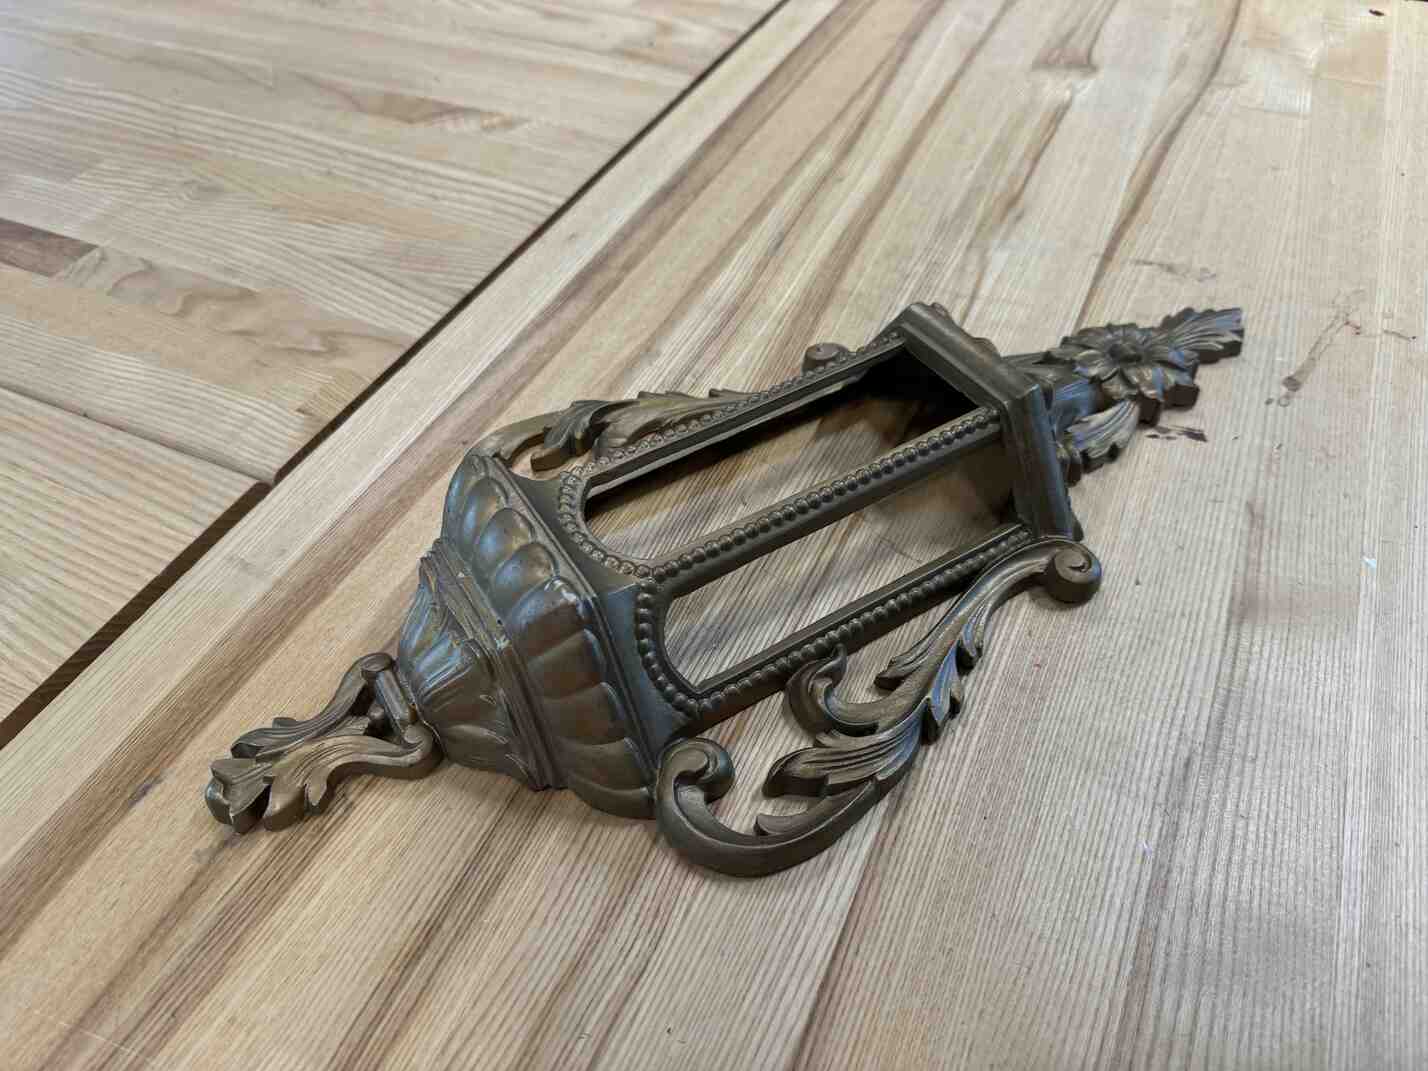
I used a REVOPOINT 3D scanner.
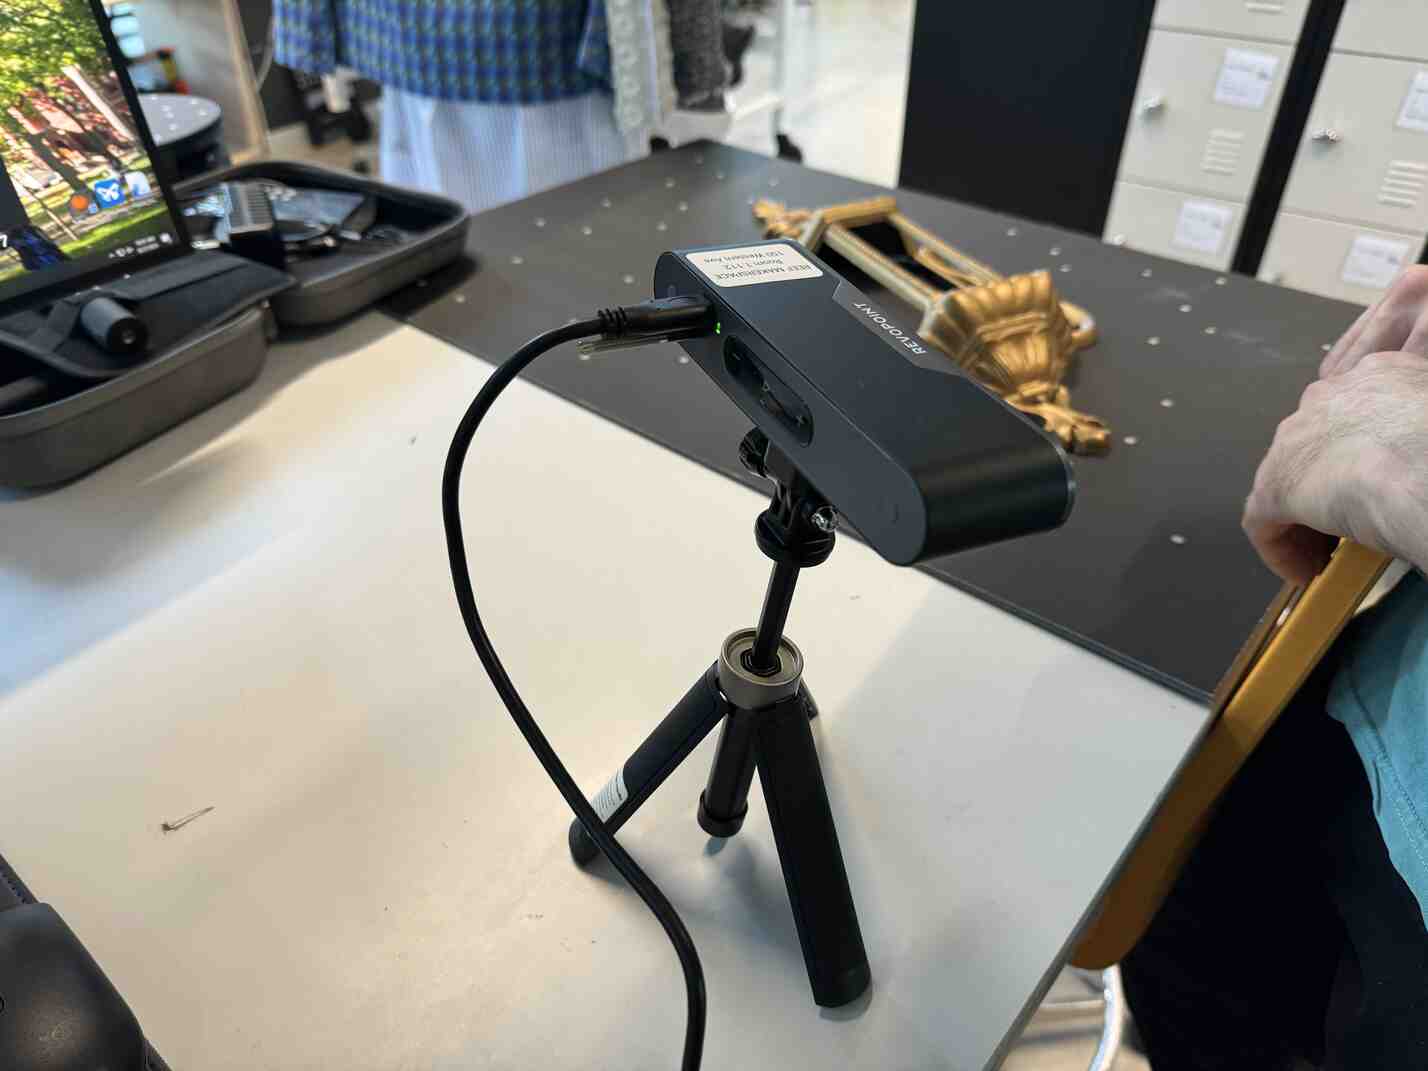
I set the sconce on a marker mat and prepared it for scanning.
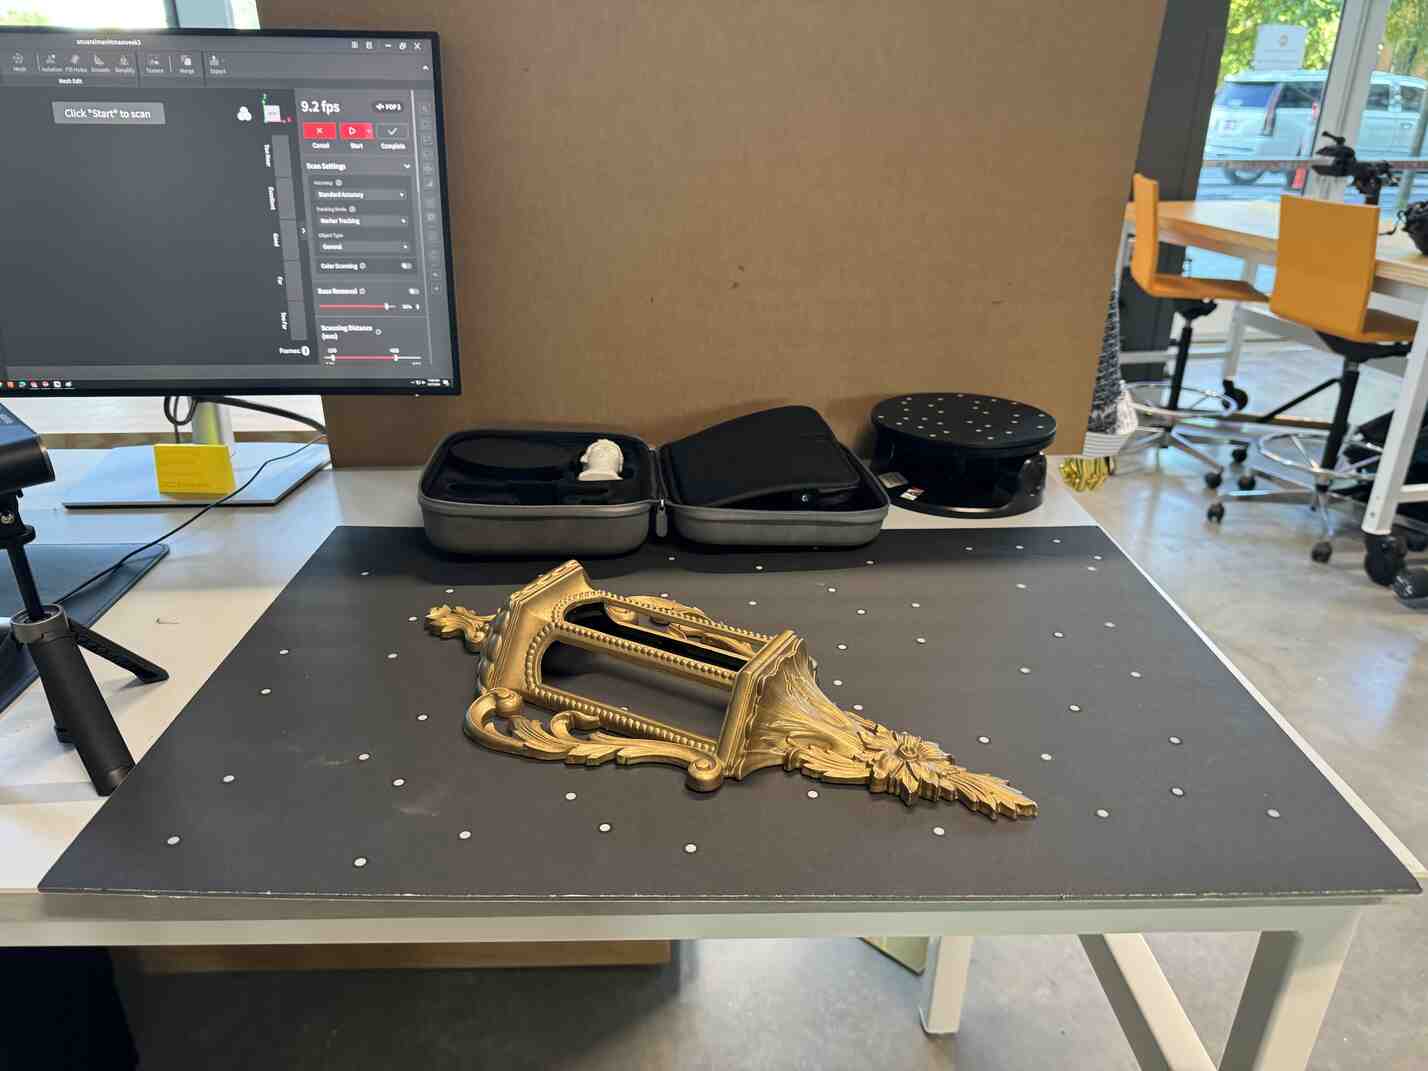
I was recommended by Jeff to add markers to the mat, so I did.
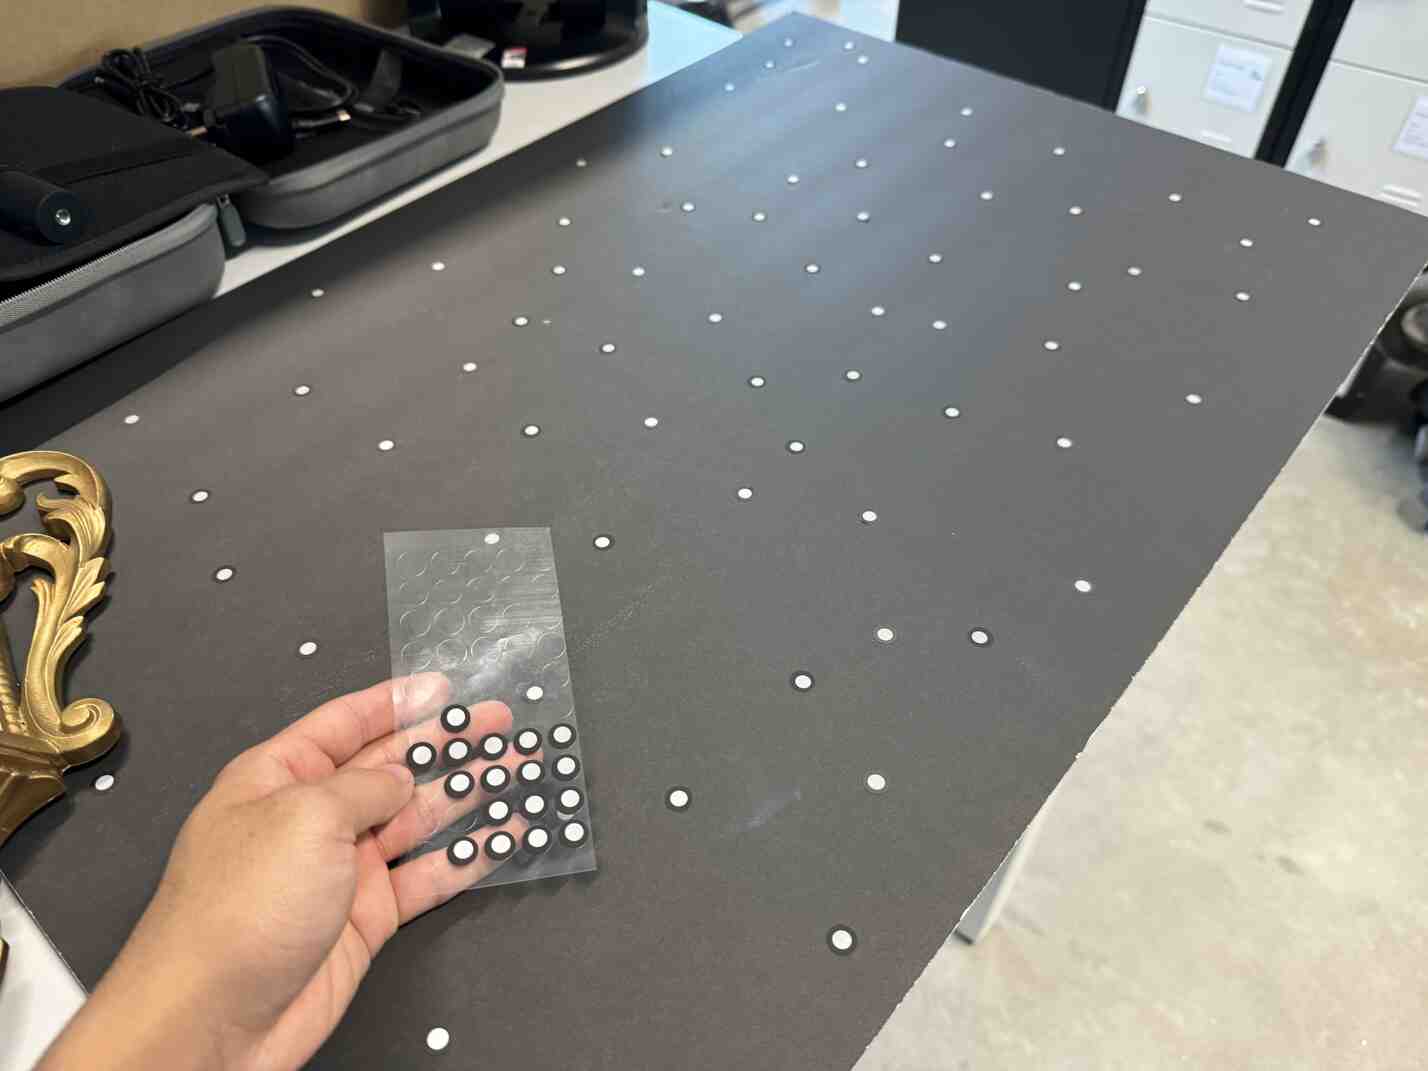
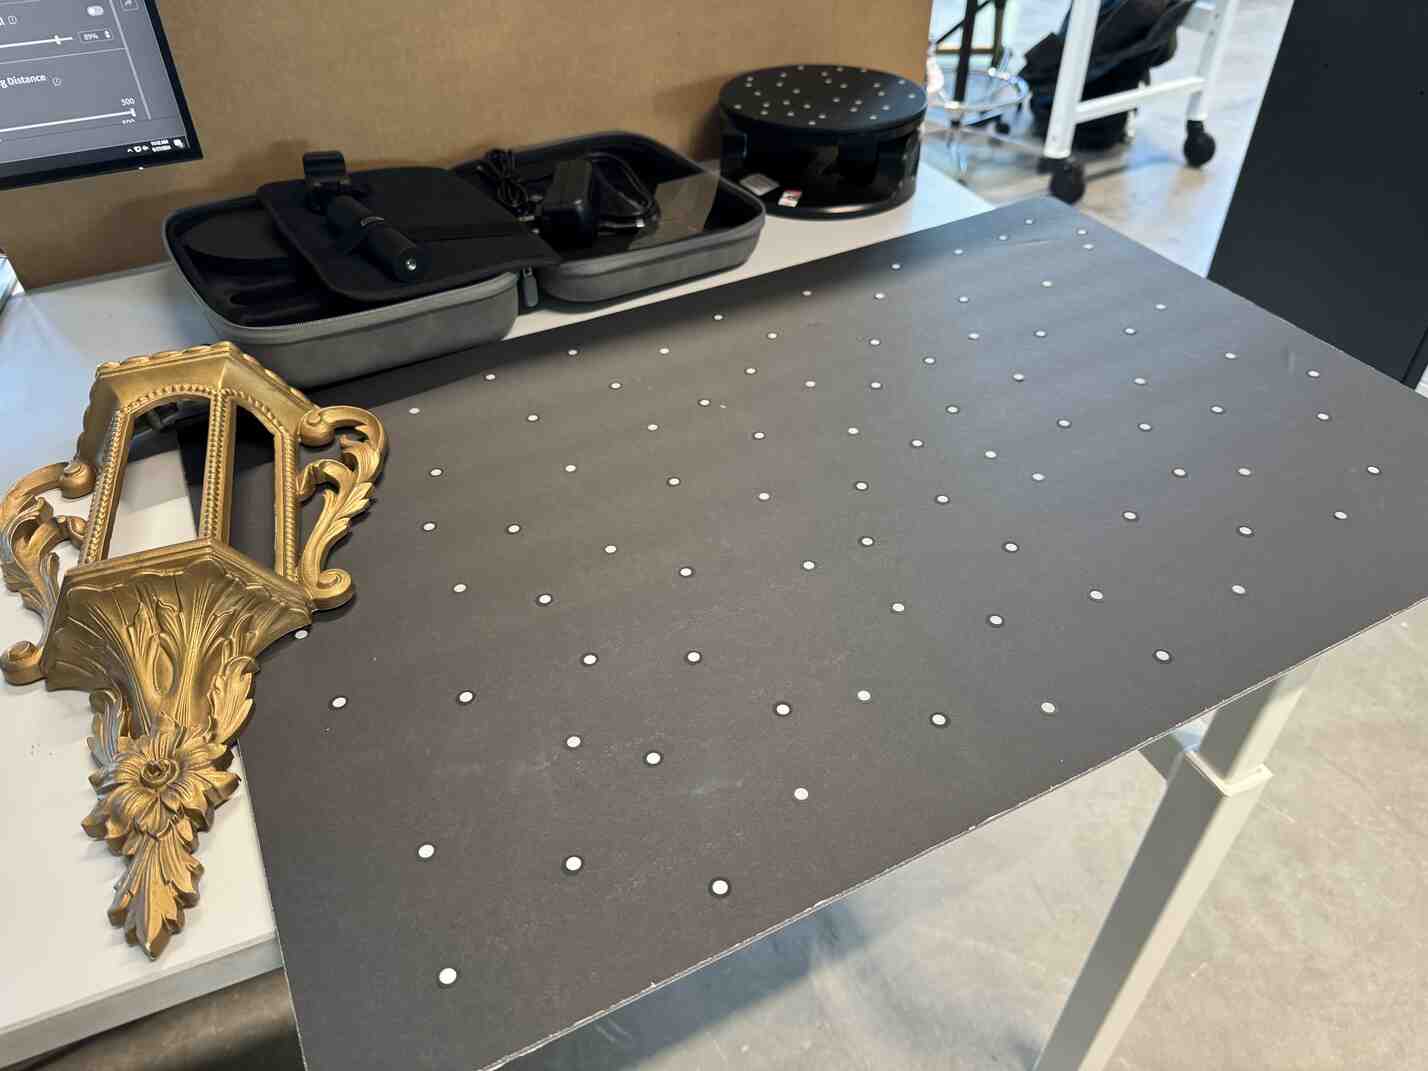
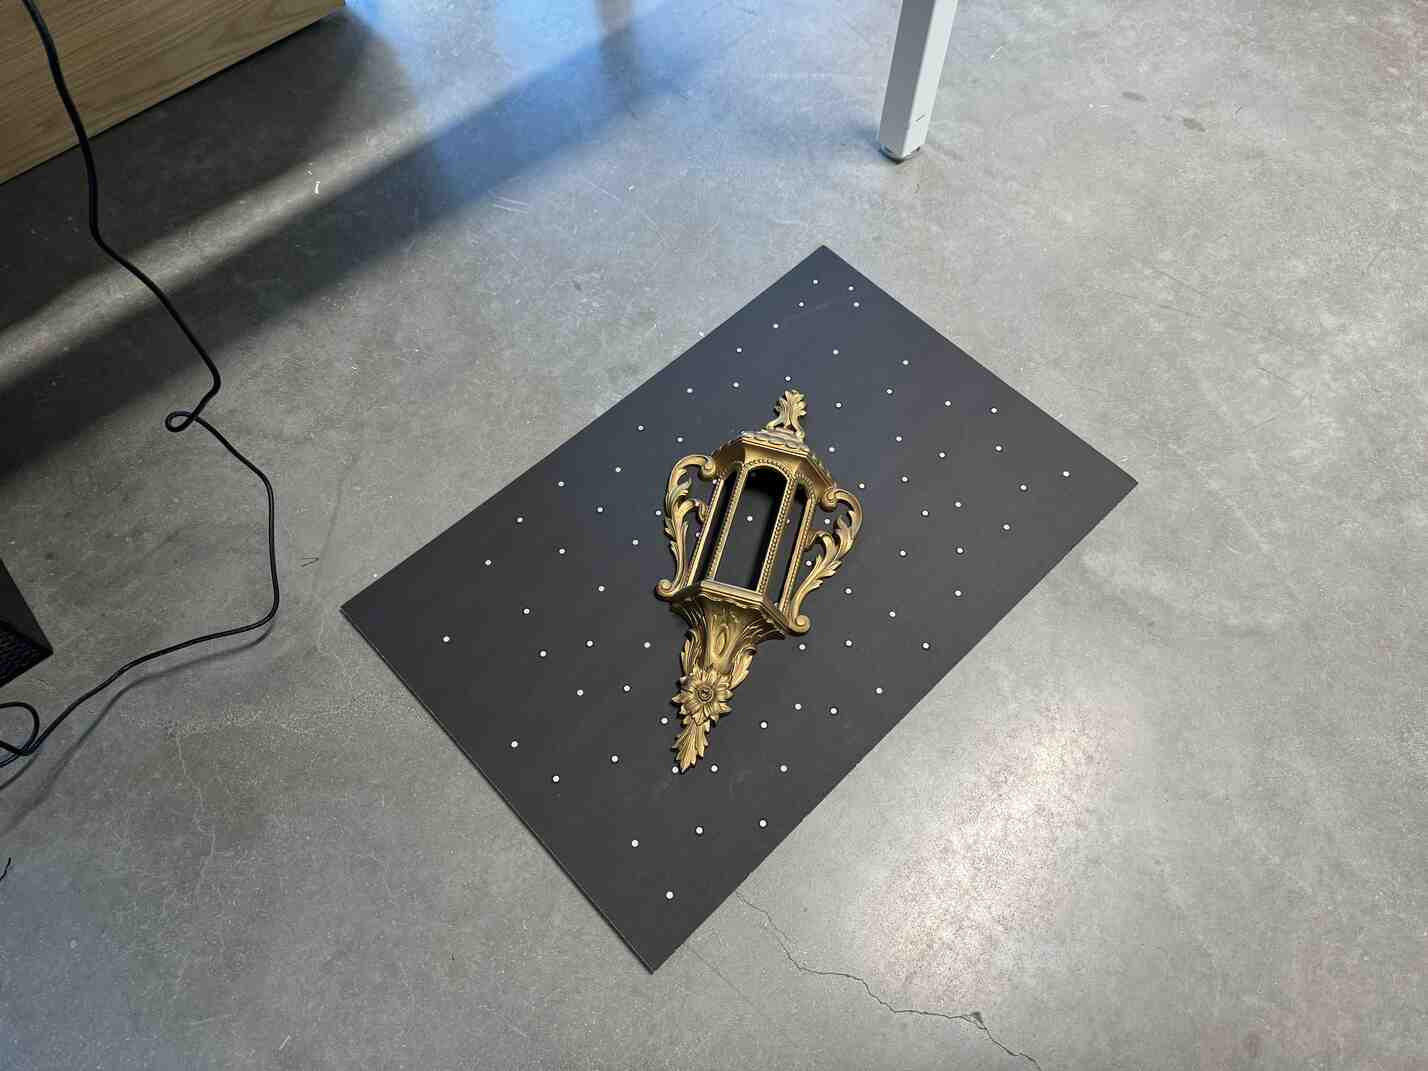
Here's the sconce on the floor so it would be easier to move the scanner around (than on the table!).
The software was rather intuitive to get onboarded onto with Jeff. There were a few parameters to play around with, like exposure and depth (Jeff recommended setting the scan distance to its minimum and maximum and cropping things out later), and as I scanned, I had to make sure that the histogram on the right stayed in the "excellent" range. However, I couldn't always do this, as sometimes the software wouldn't be able to calculate its position without enough markers in the field of view.
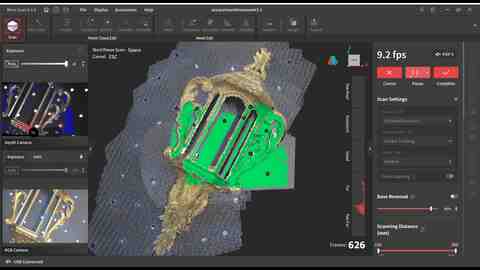
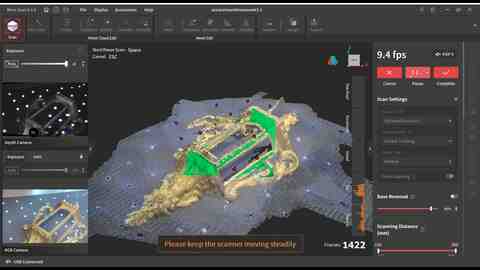
I had a lot of trouble with certain scans causing the whole entire model to become disfigured, which would lead me to restart the scan, until Jeff told me I could just CTRL + Z the bad frames. That was fun to find out.
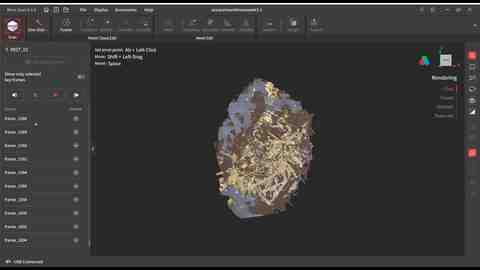
We added a lot more markers to the mat to help out and also focused a light on it to reduce glare. Jeff recommended painting it with a matte coating to get rid of the glare but I didn't want to destroy the sconce just yet.
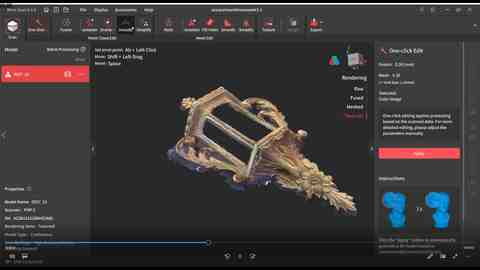
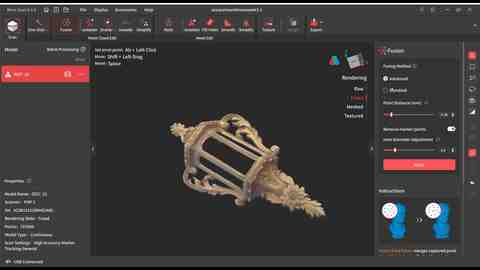
Once the point cloud was developed, all I had to do to develop the model was click "one-click edit" and it automatically applied the point cloud fusion, meshing, and texturing. However, this led to some artifacts on the left of the sconce, which I wasn't sure how to remove since I was able to do so on the point cloud, but the changes wouldn't carry over to the mesh, even after I tried multiple times to get it to apply. I figured I would just fix it in the slicer.
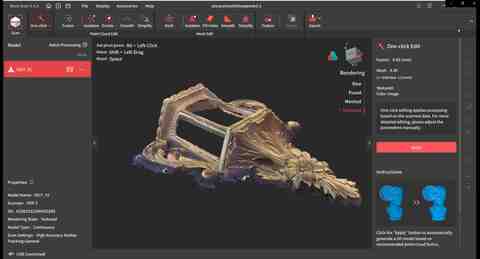
To my credit, at first it looked like it would print properly!
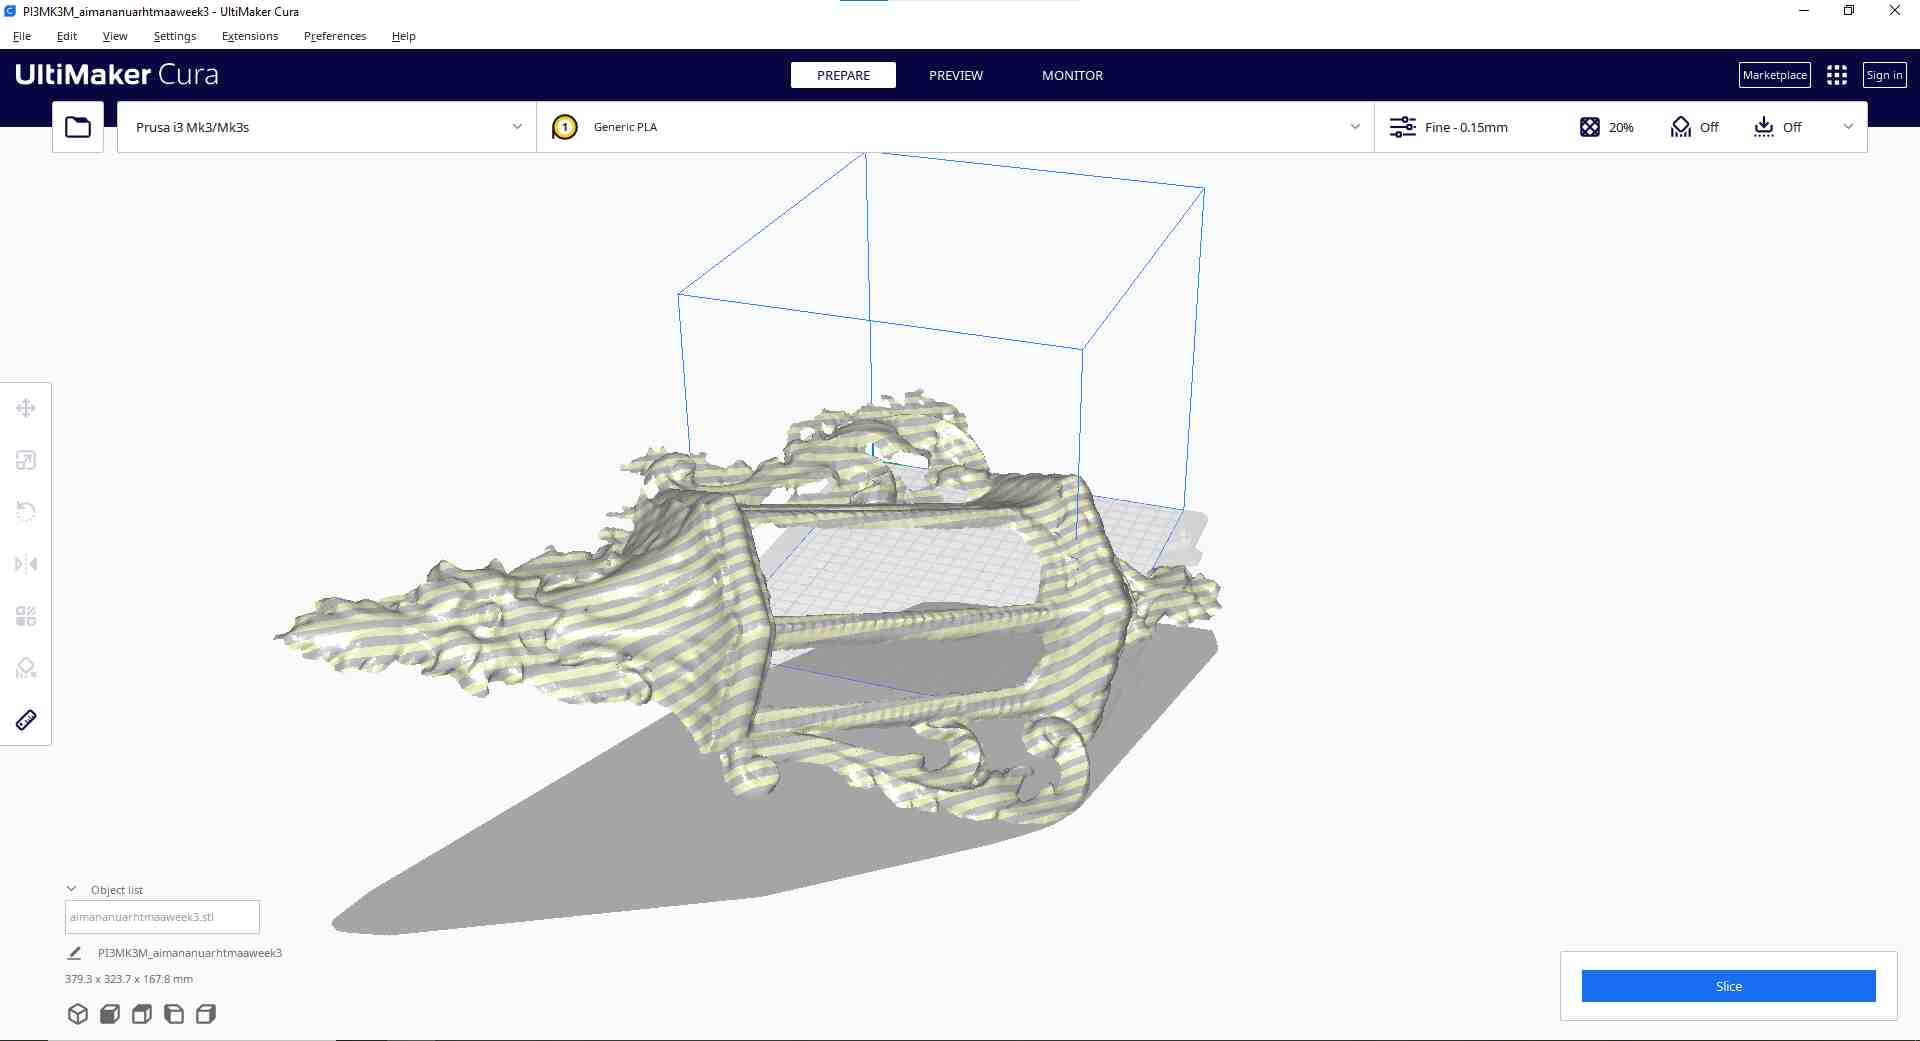
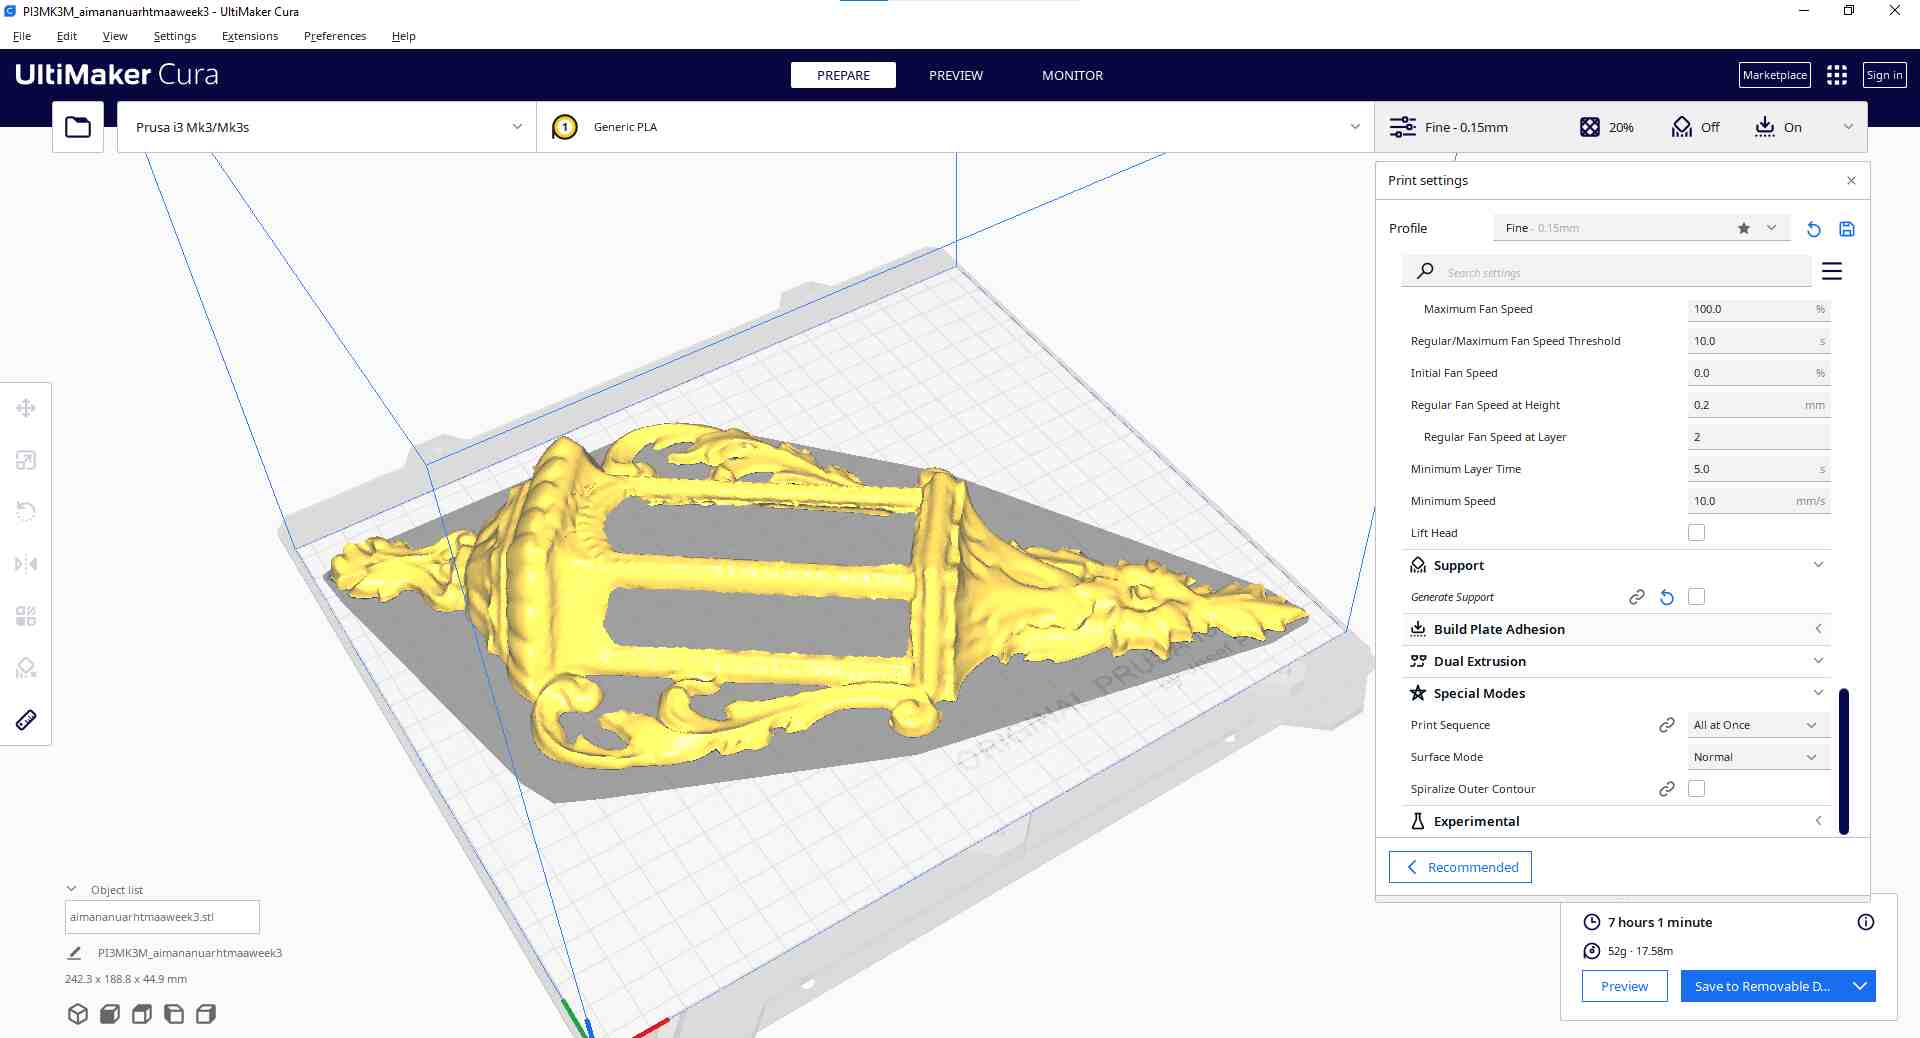
But because the model was a surface and not just a manifold, it couldn't properly ascribe a thickness to print to certain parts of the sconce! Jeff had suggested doing multiple scans of the inside and outside of the sconce but I didn't want to spend more time on it, although this would have fixed my issue most likely.
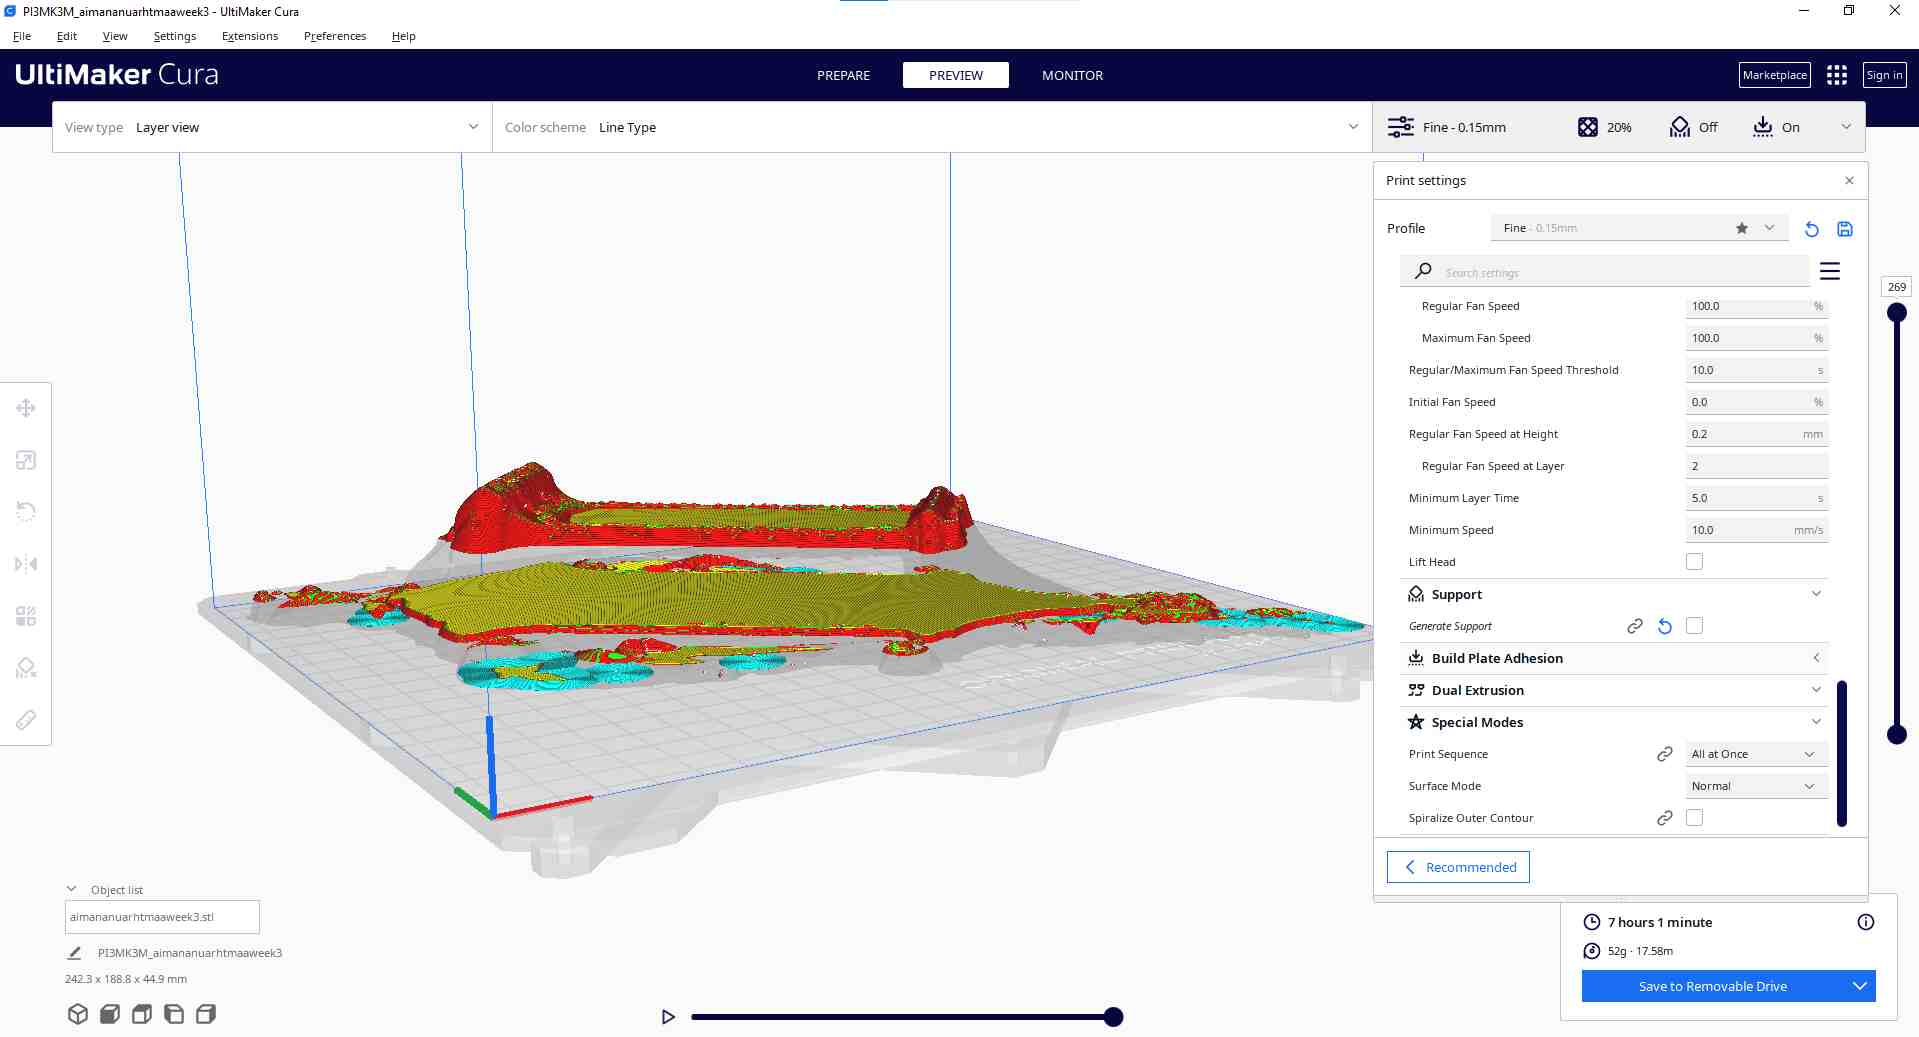
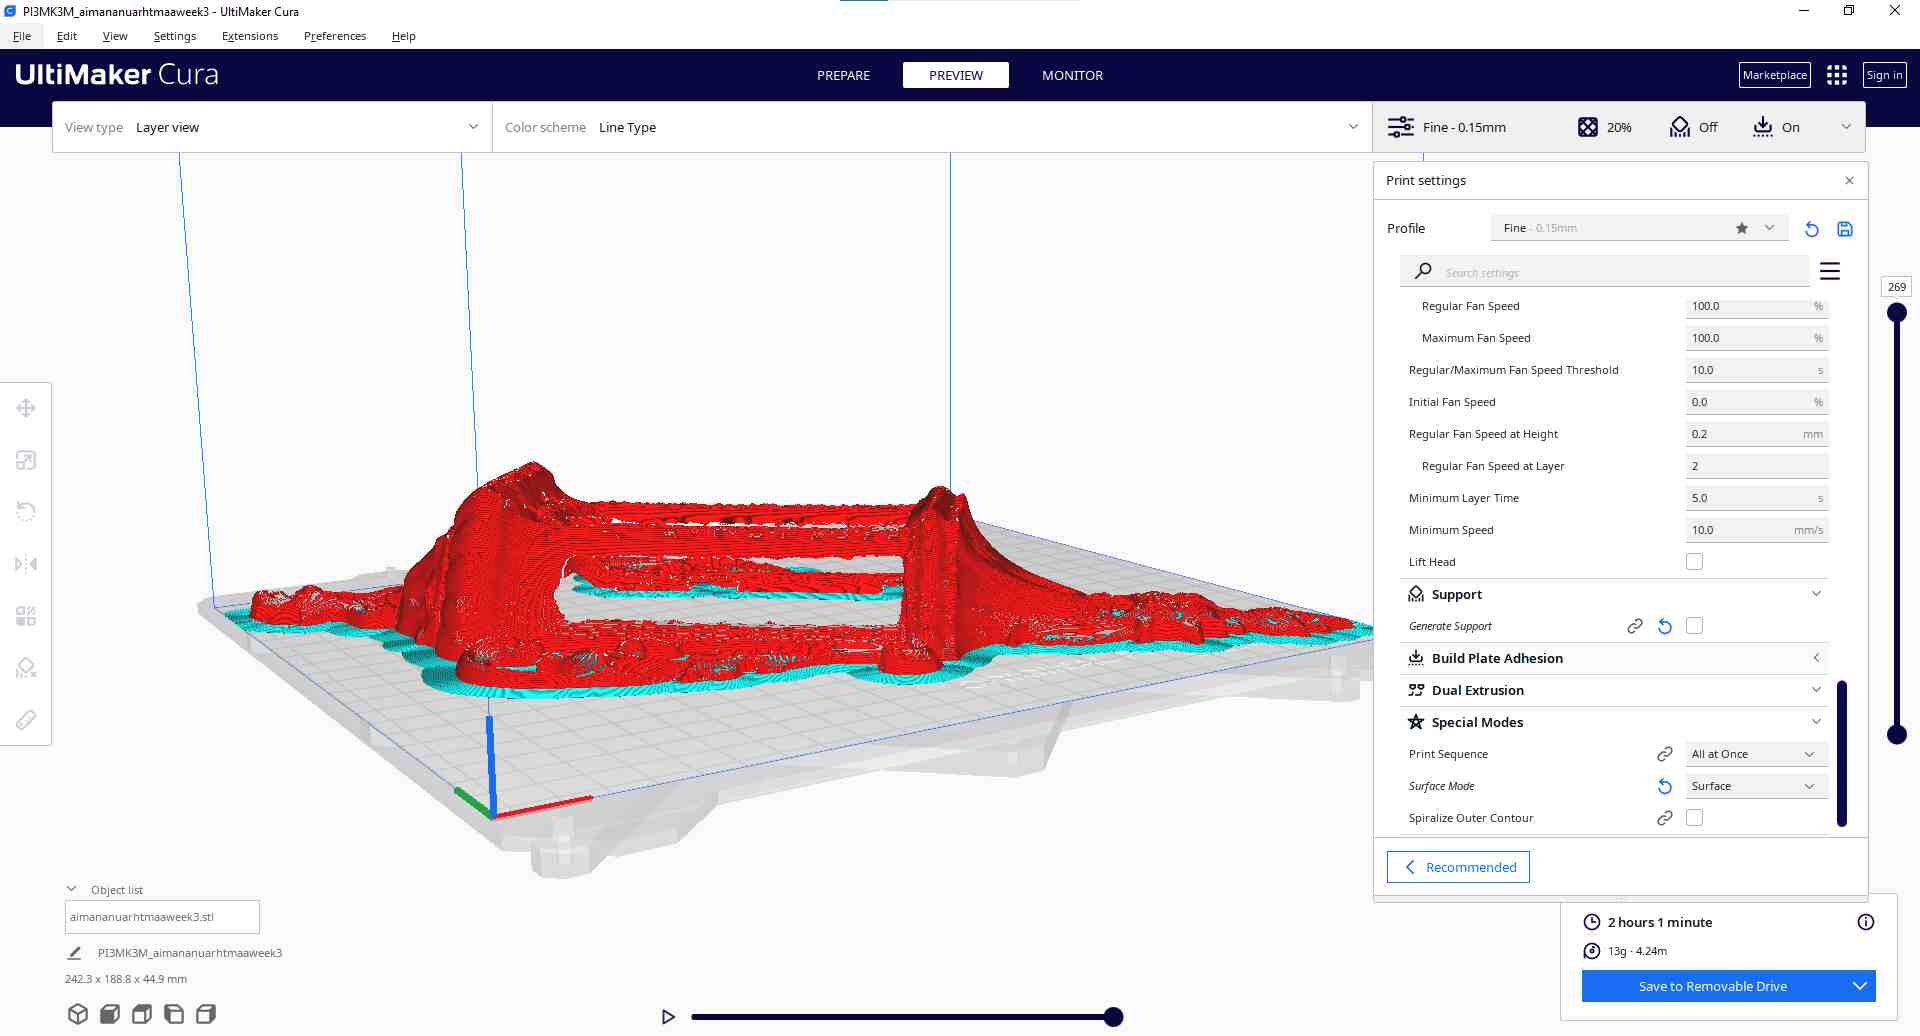
I tried slicing it in PrusaSlicer instead of Ultimaker Cura but it had the same effect. In fact, it froze when trying to "repair" the model.
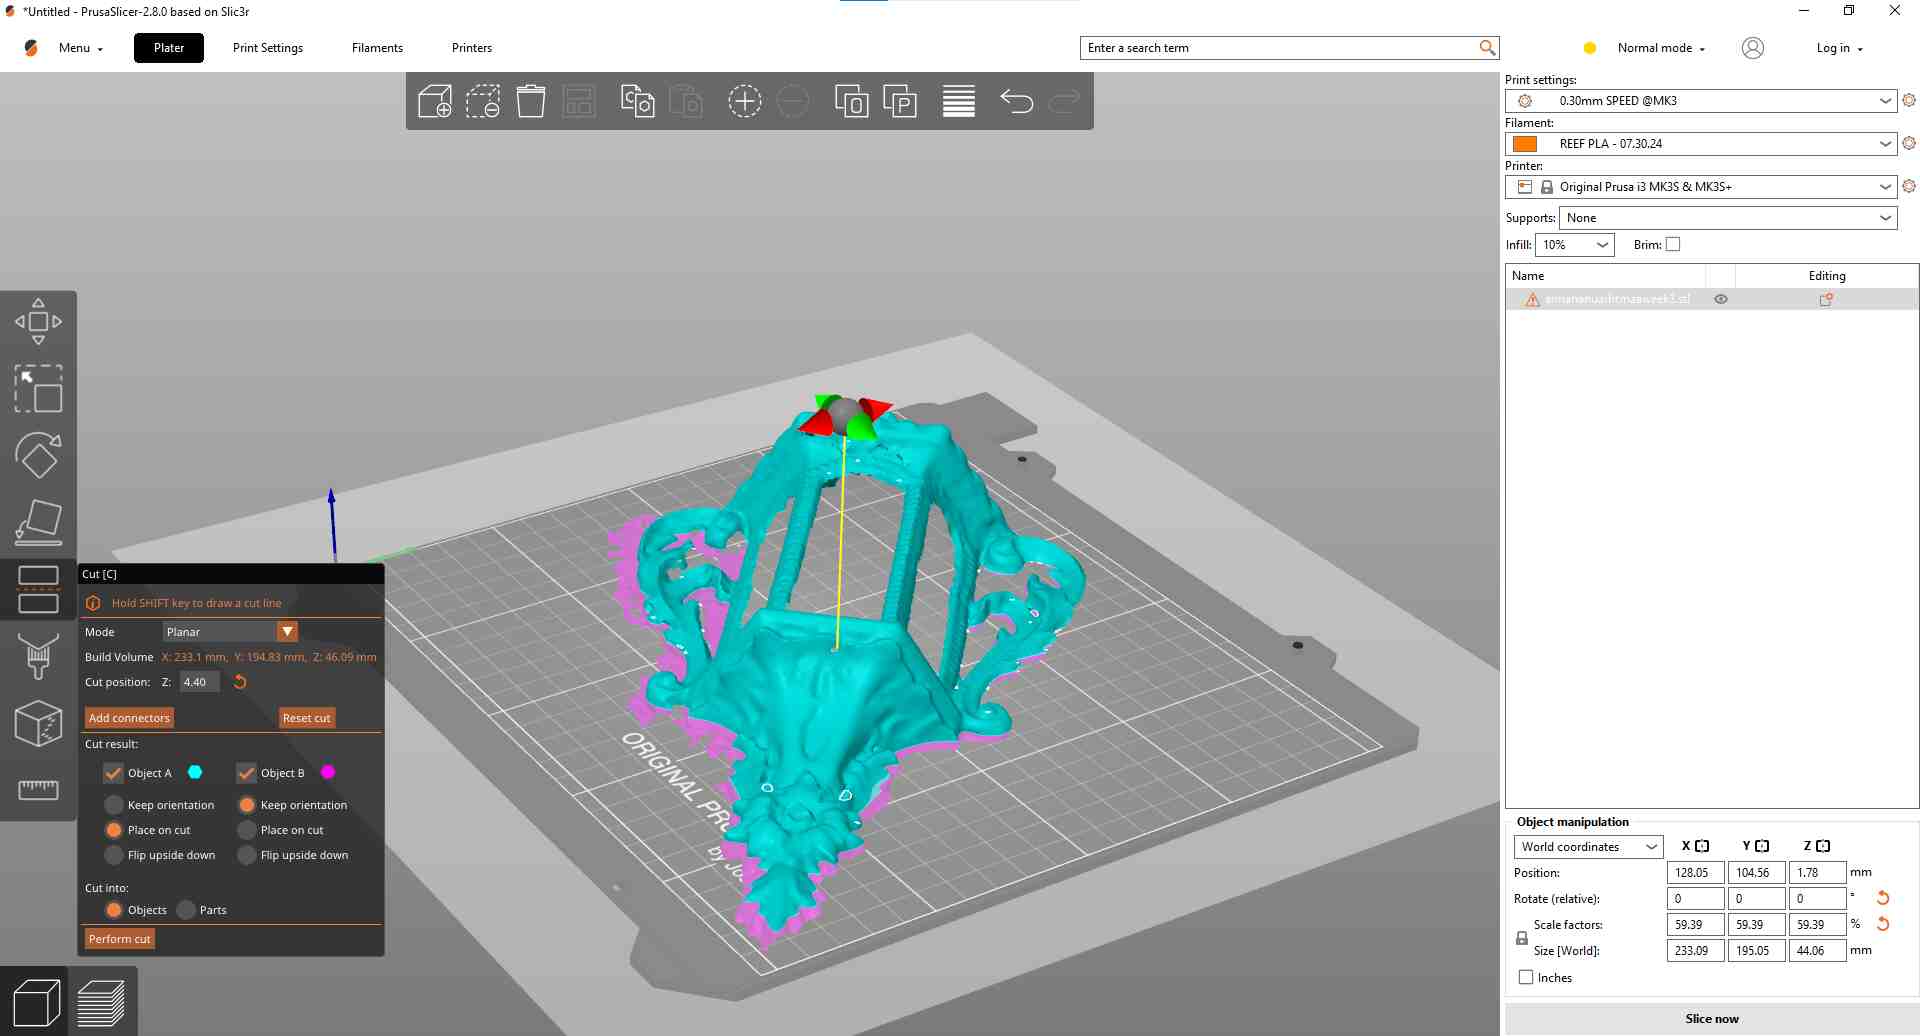
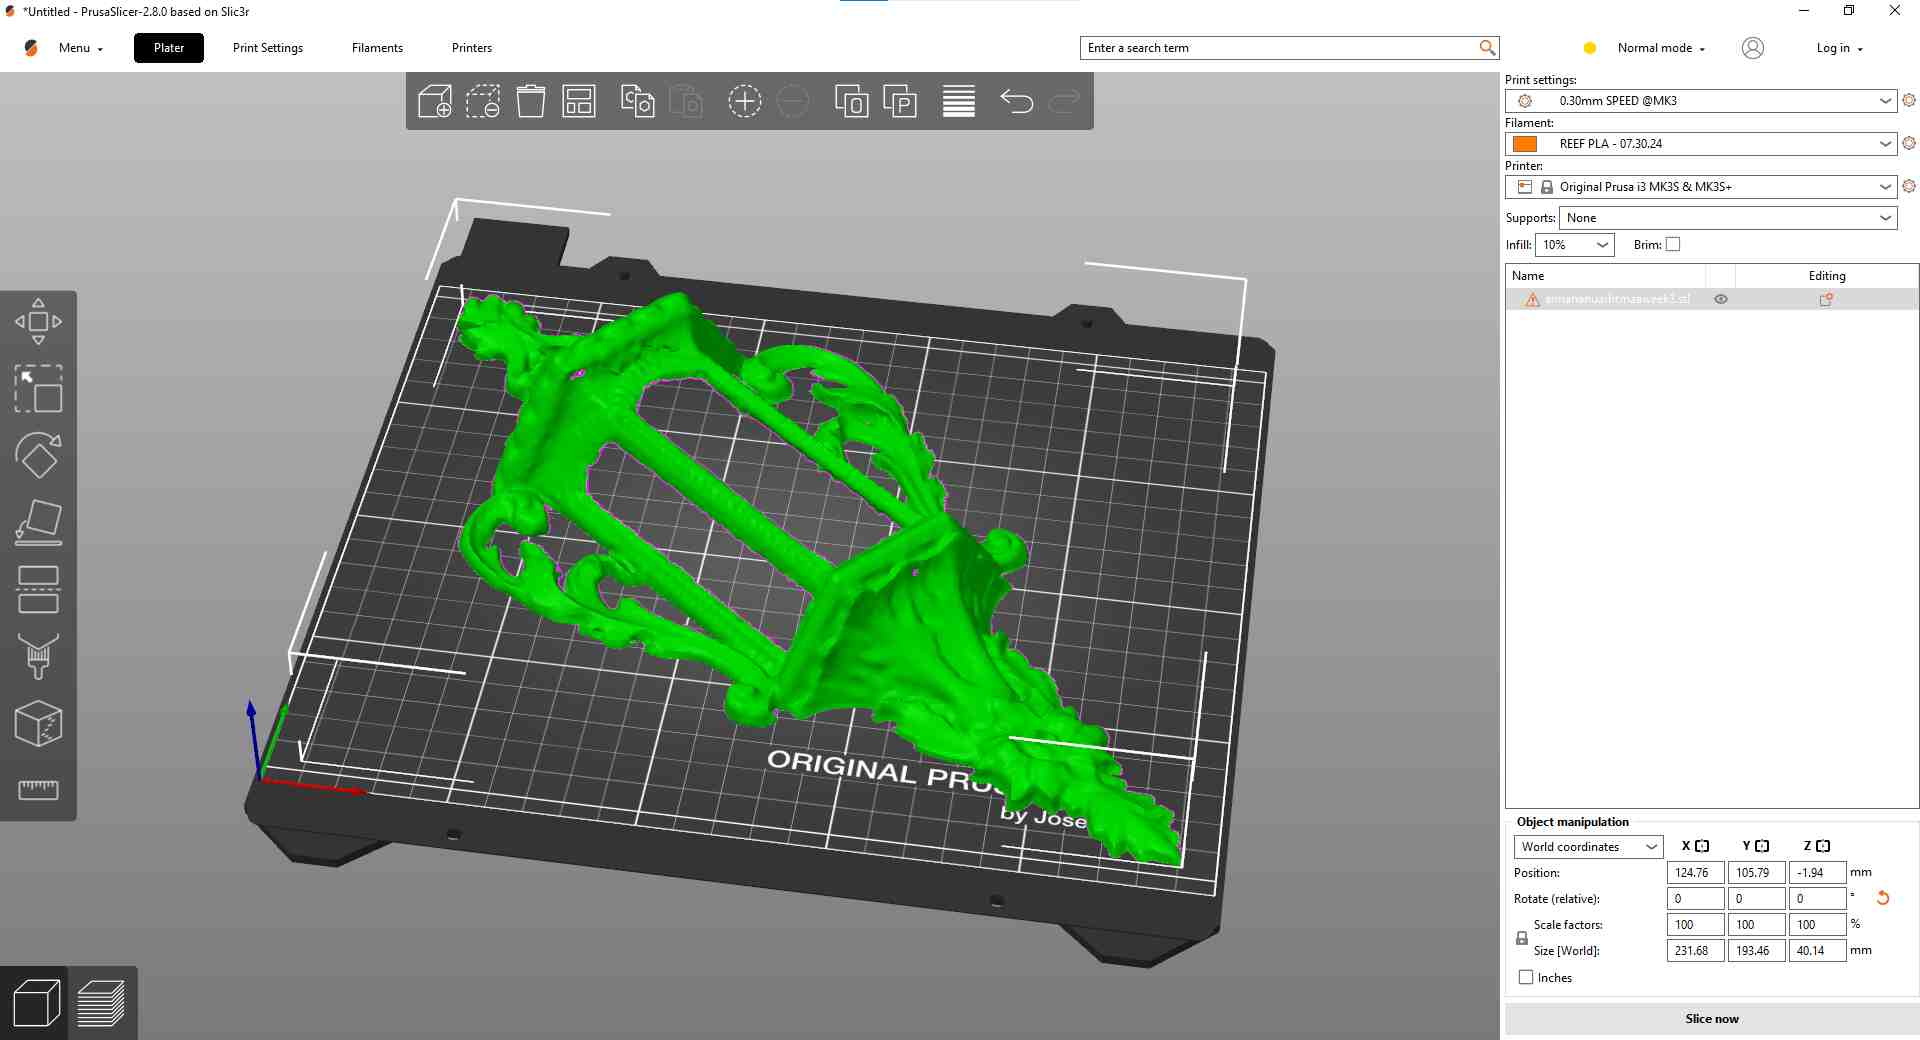
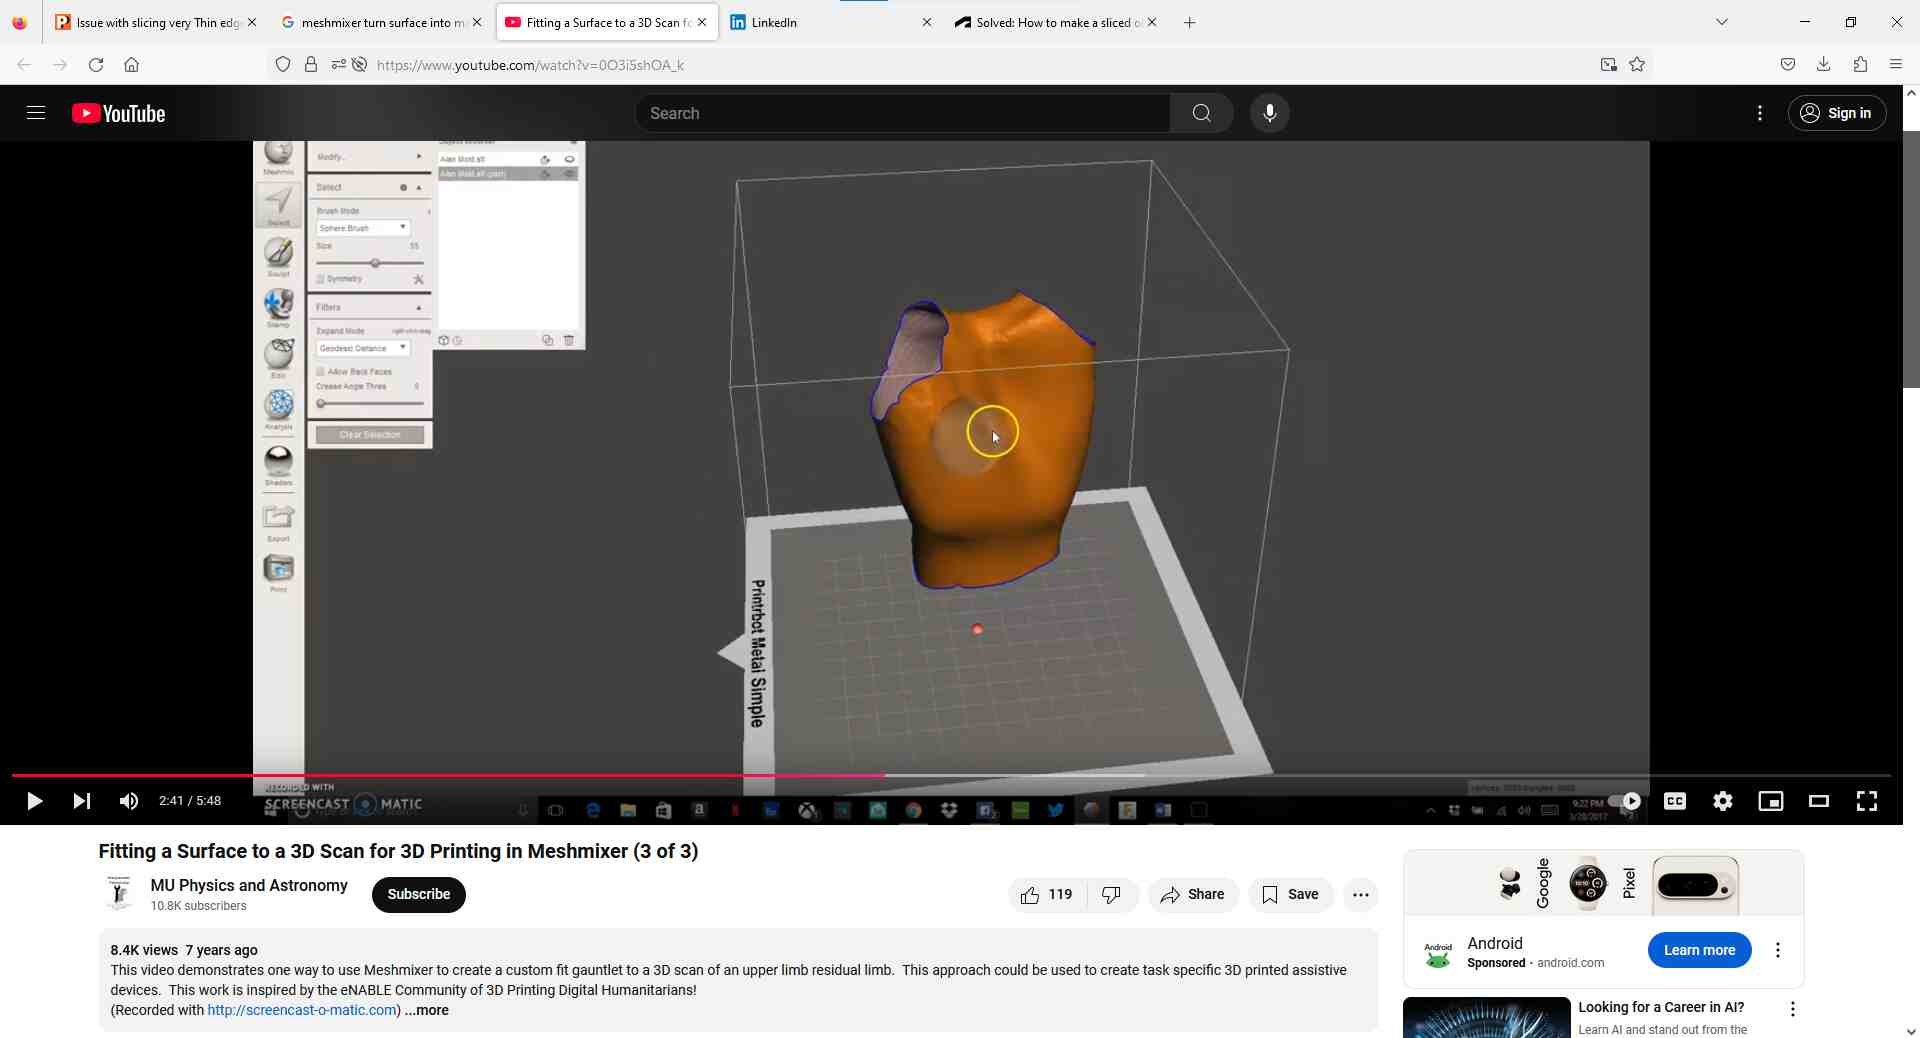
So I tried another method. The computers in the REEF didn't have Blender, so instead I searched high and low for links that could help me easily convert the surface into a mesh. That's when, due to a YouTube video and it already being open on the computer, I stumbled upon "MeshMixer", which could the exact thing I wanted.
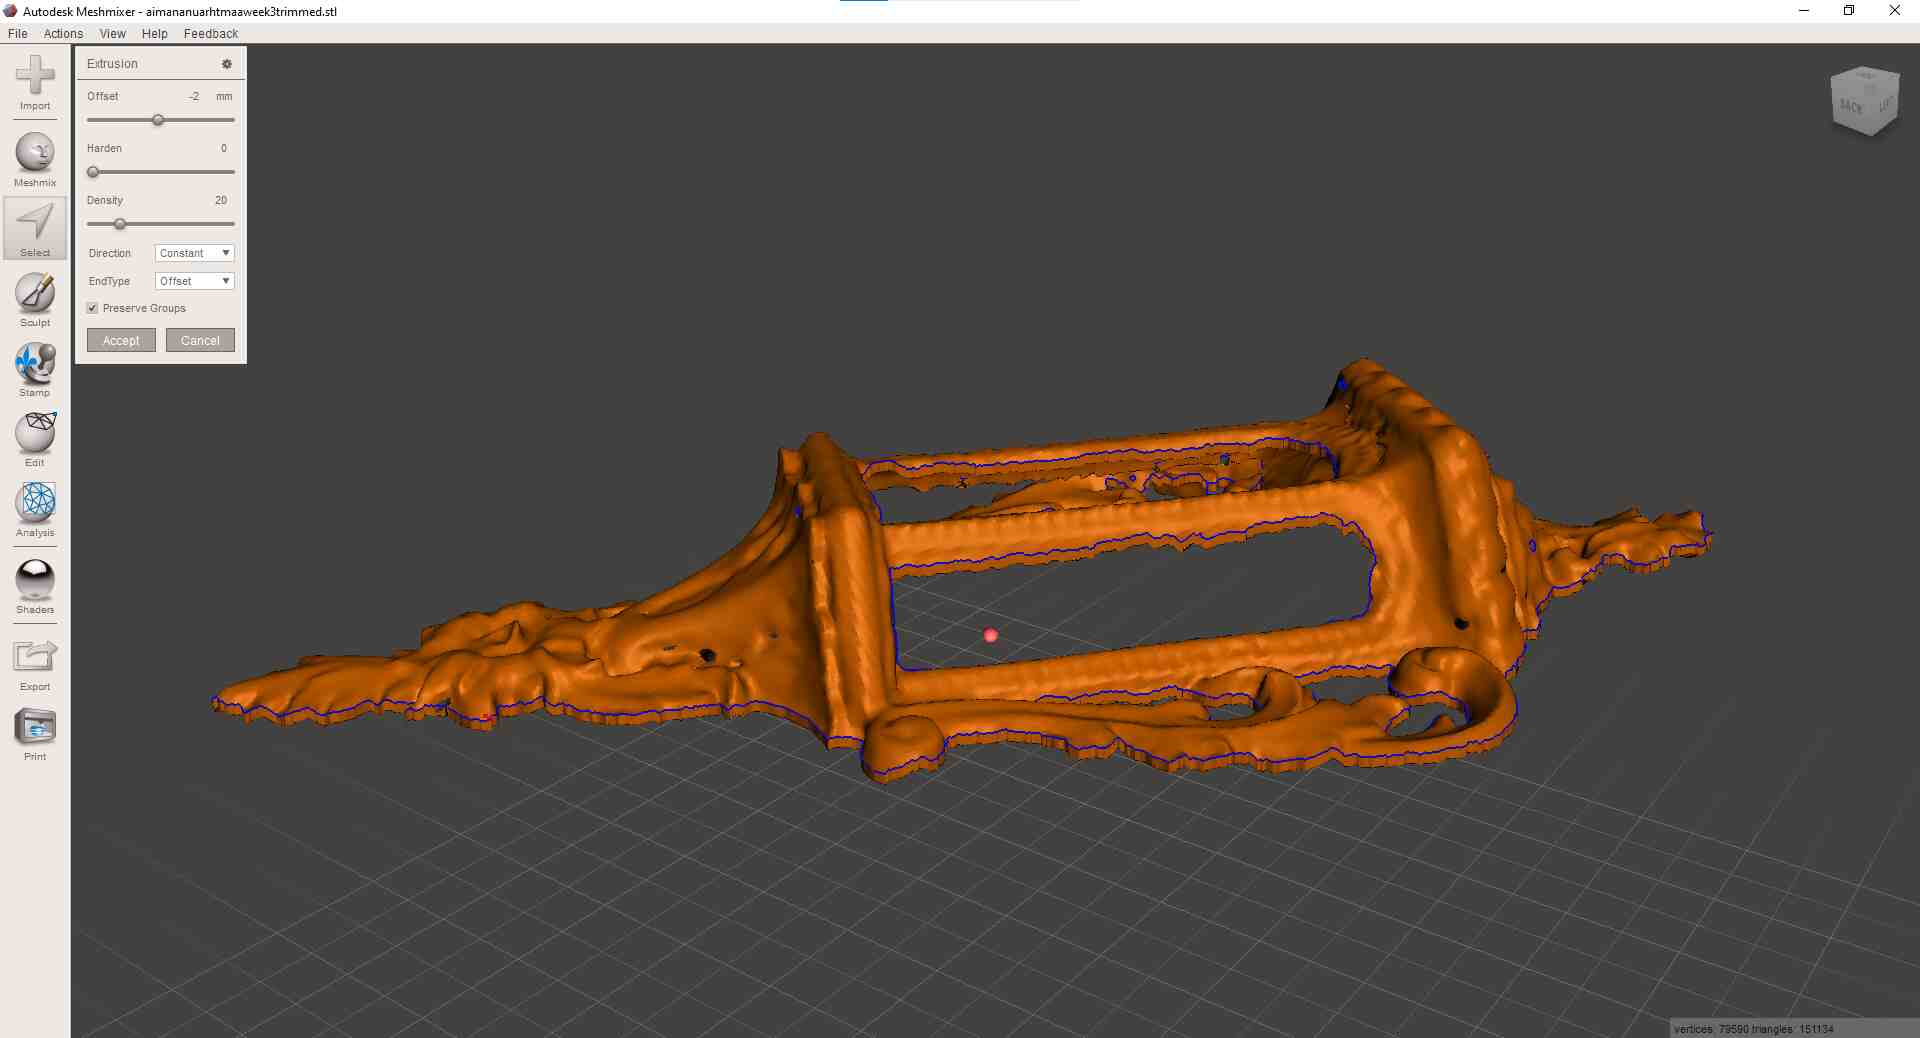
I extruded the entire model (all of its points) 2mm down, and while this did add some thickness that the slicer could use, it still resulted in holes along some parts of the sconce. I solved this by selecting the holes on the model in MeshMixer and selecting "Erase & Fill" to smooth out the holes. I also extruded the model out by 5 mm to further thicken the model for better slicing.
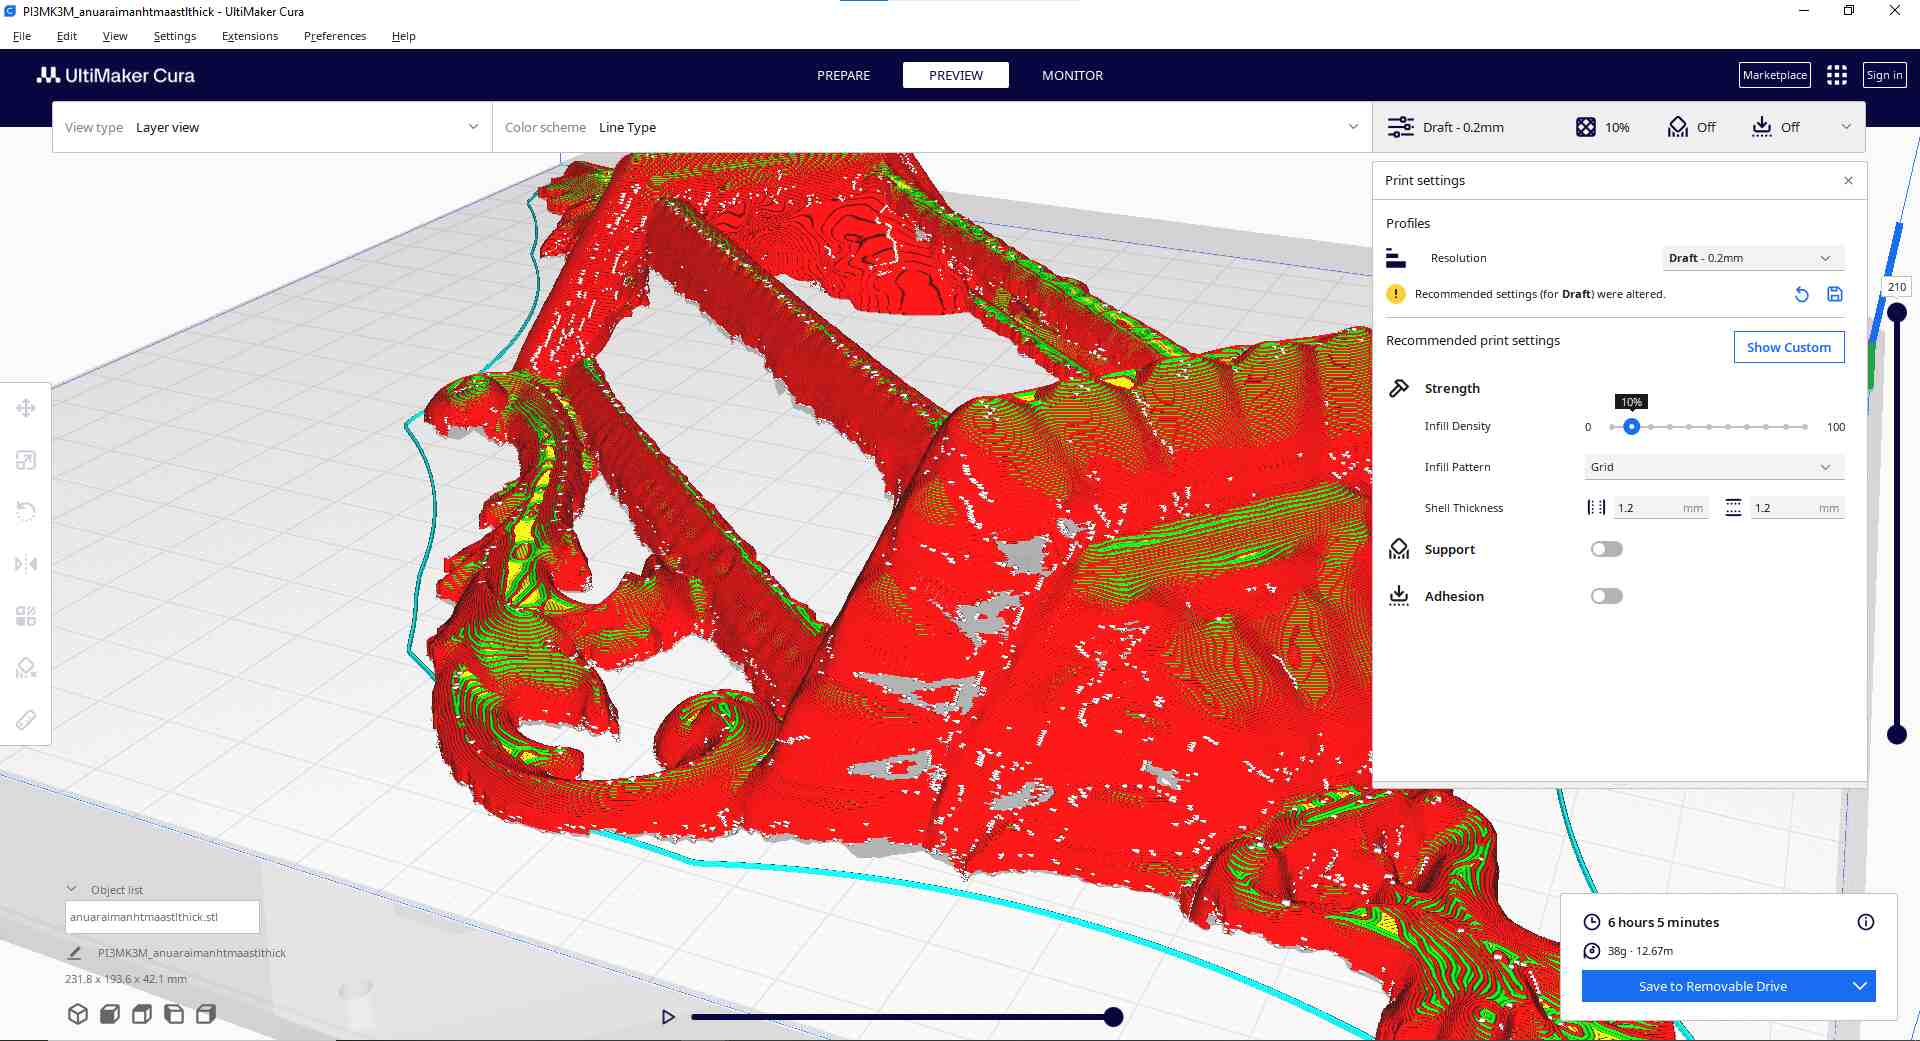
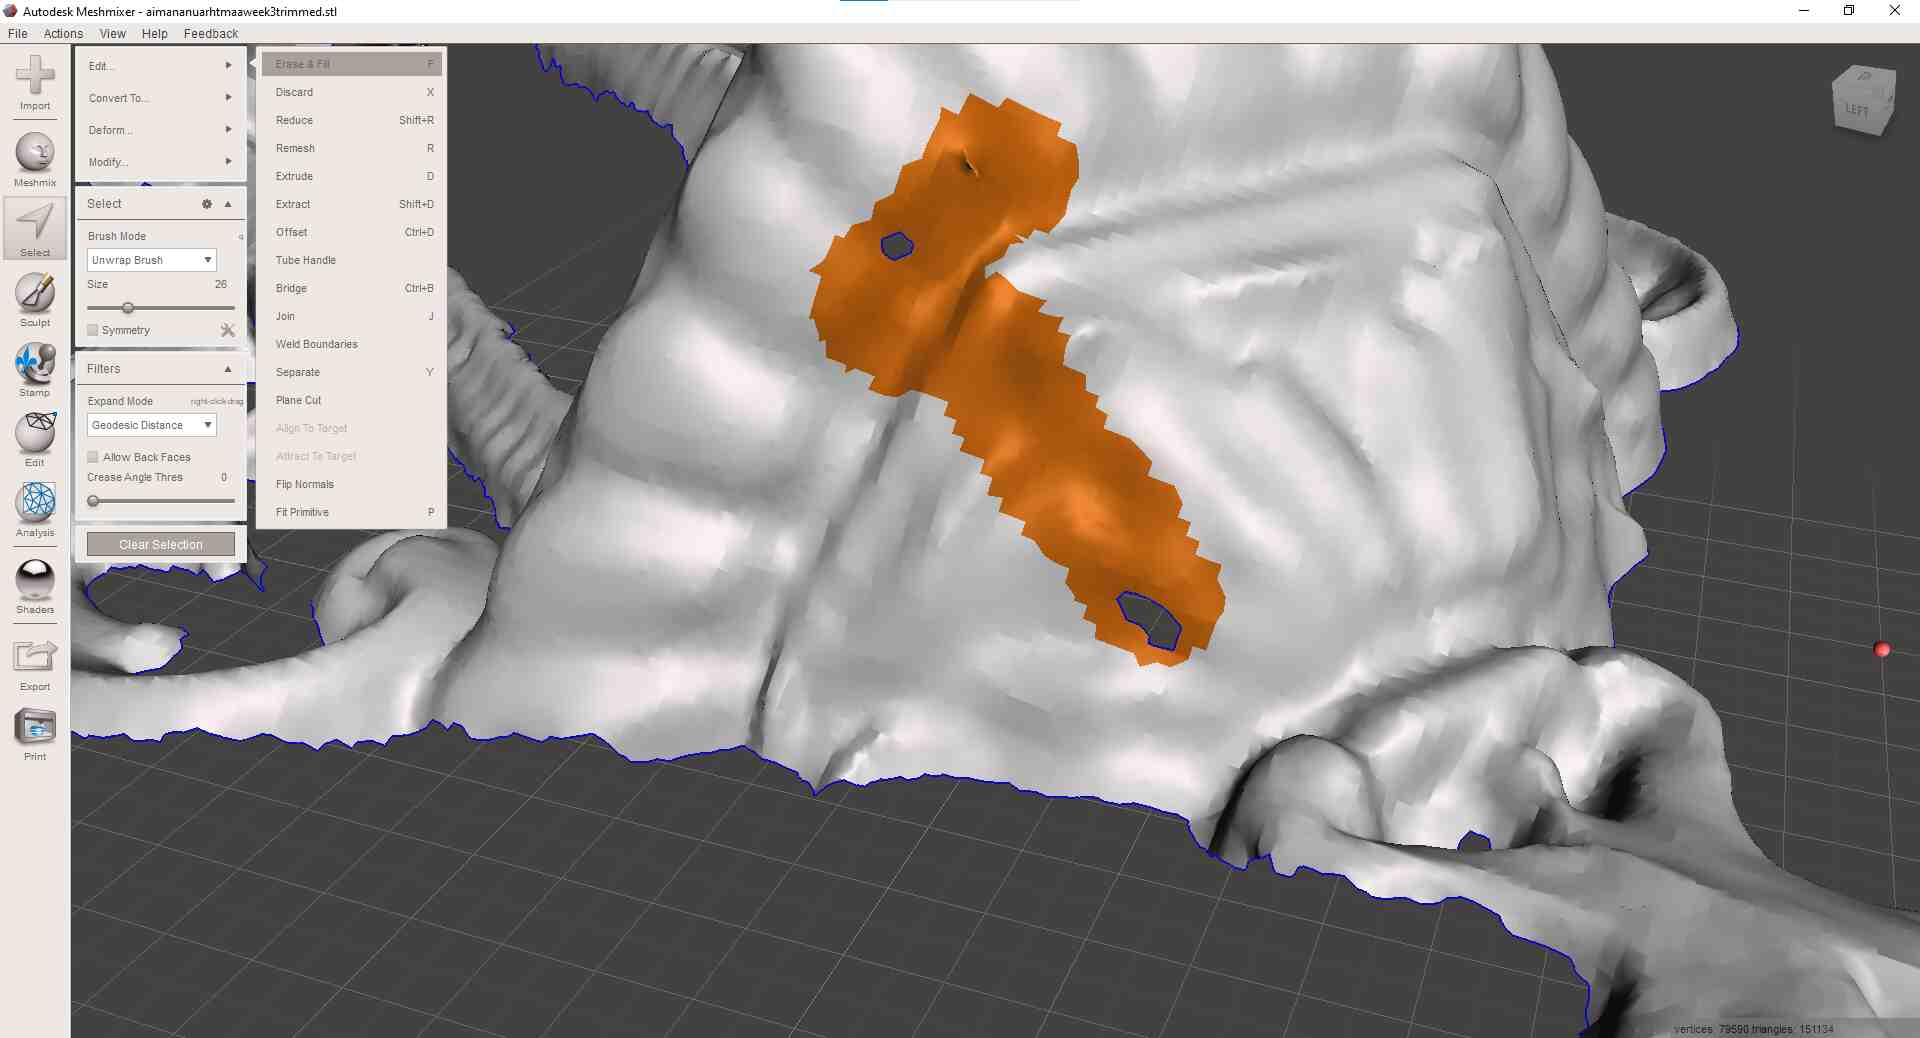
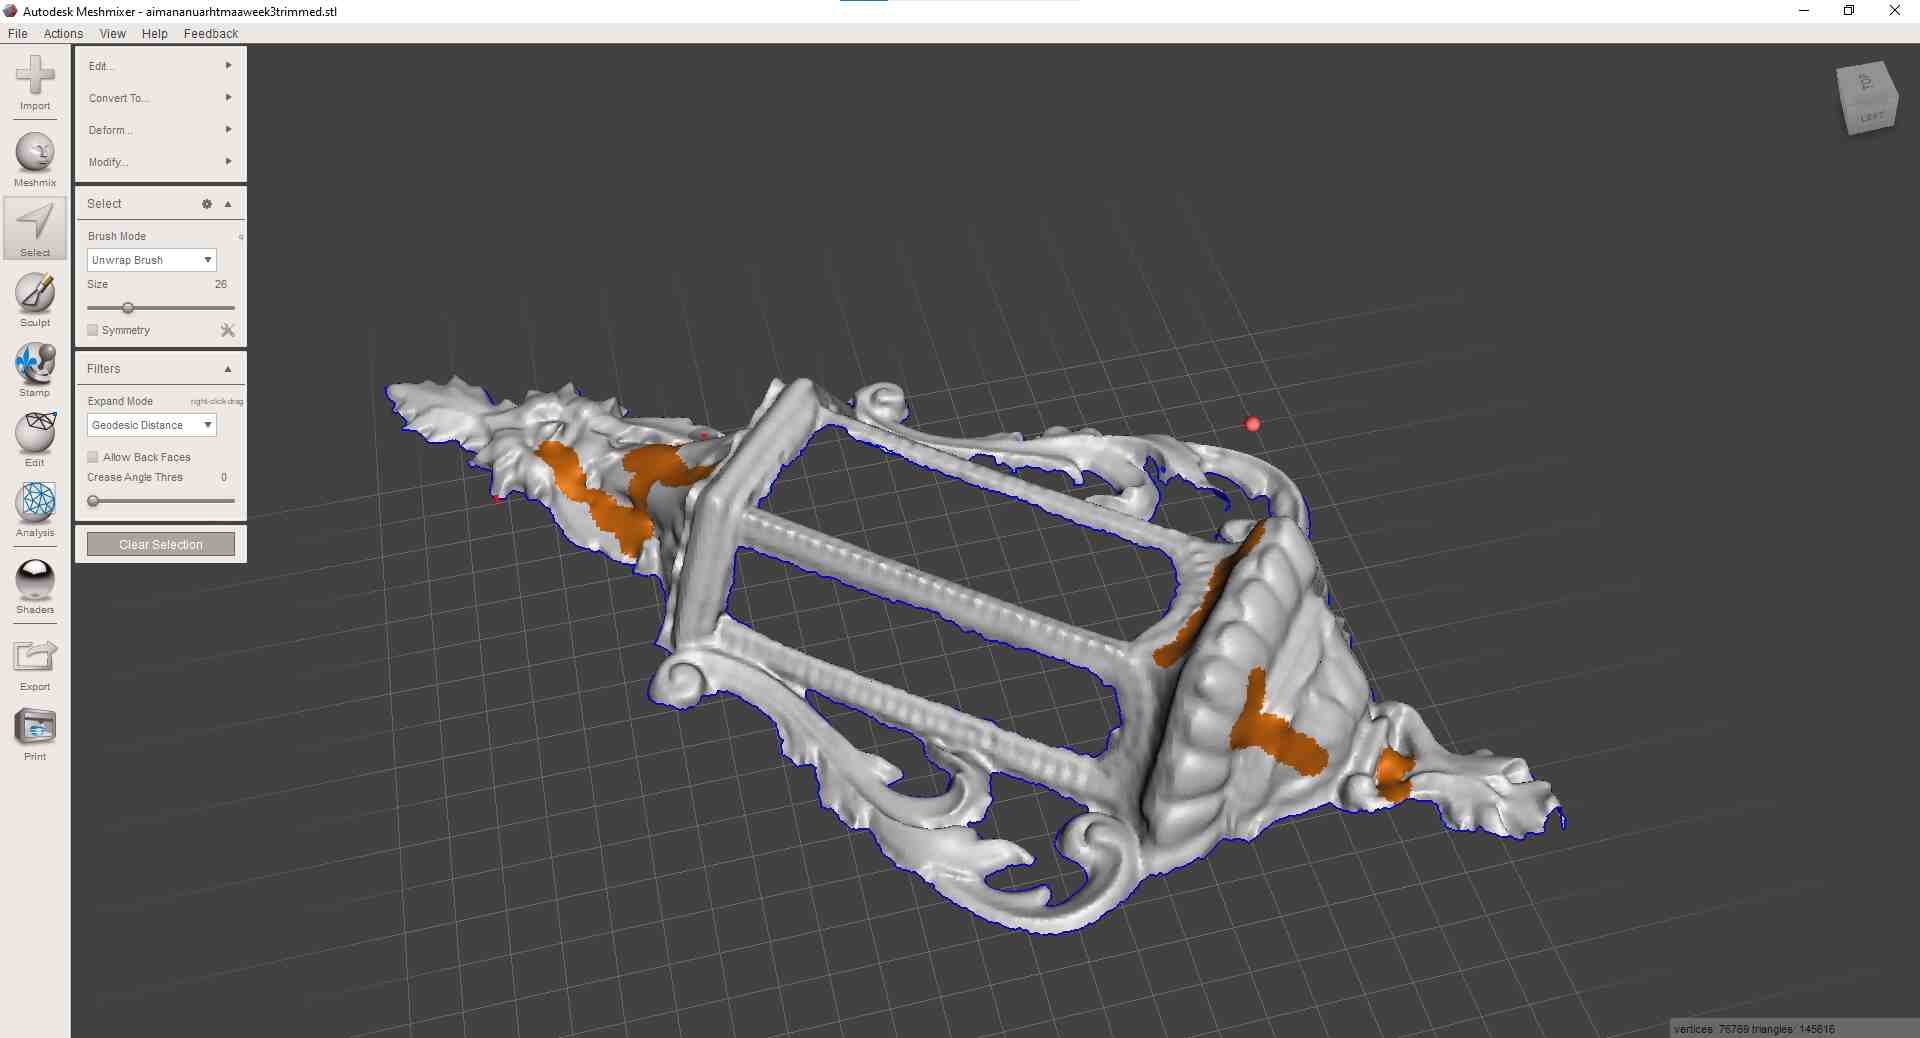
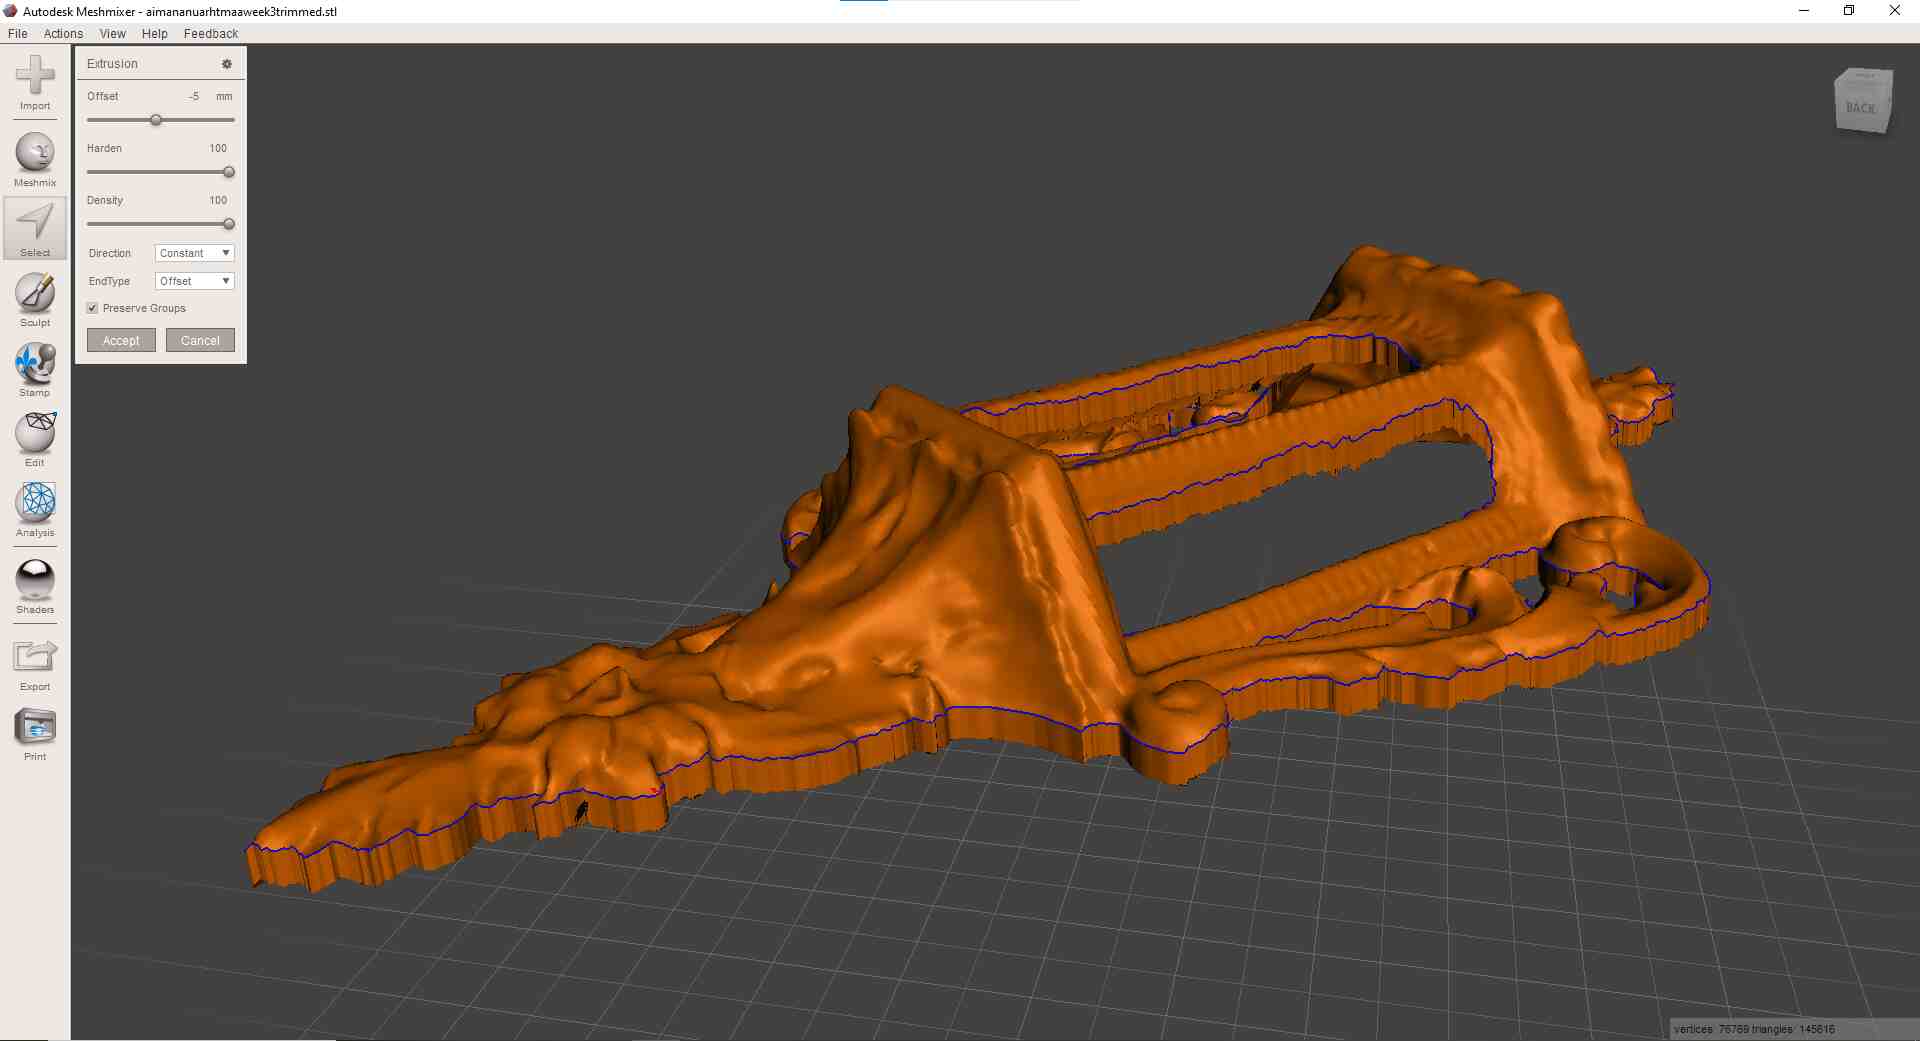
Once this was accomplished, I exported the file as an STL and put it into Ultimaker, and to my joy, it worked! I was able to slice the model! Now all I needed to do was print it.
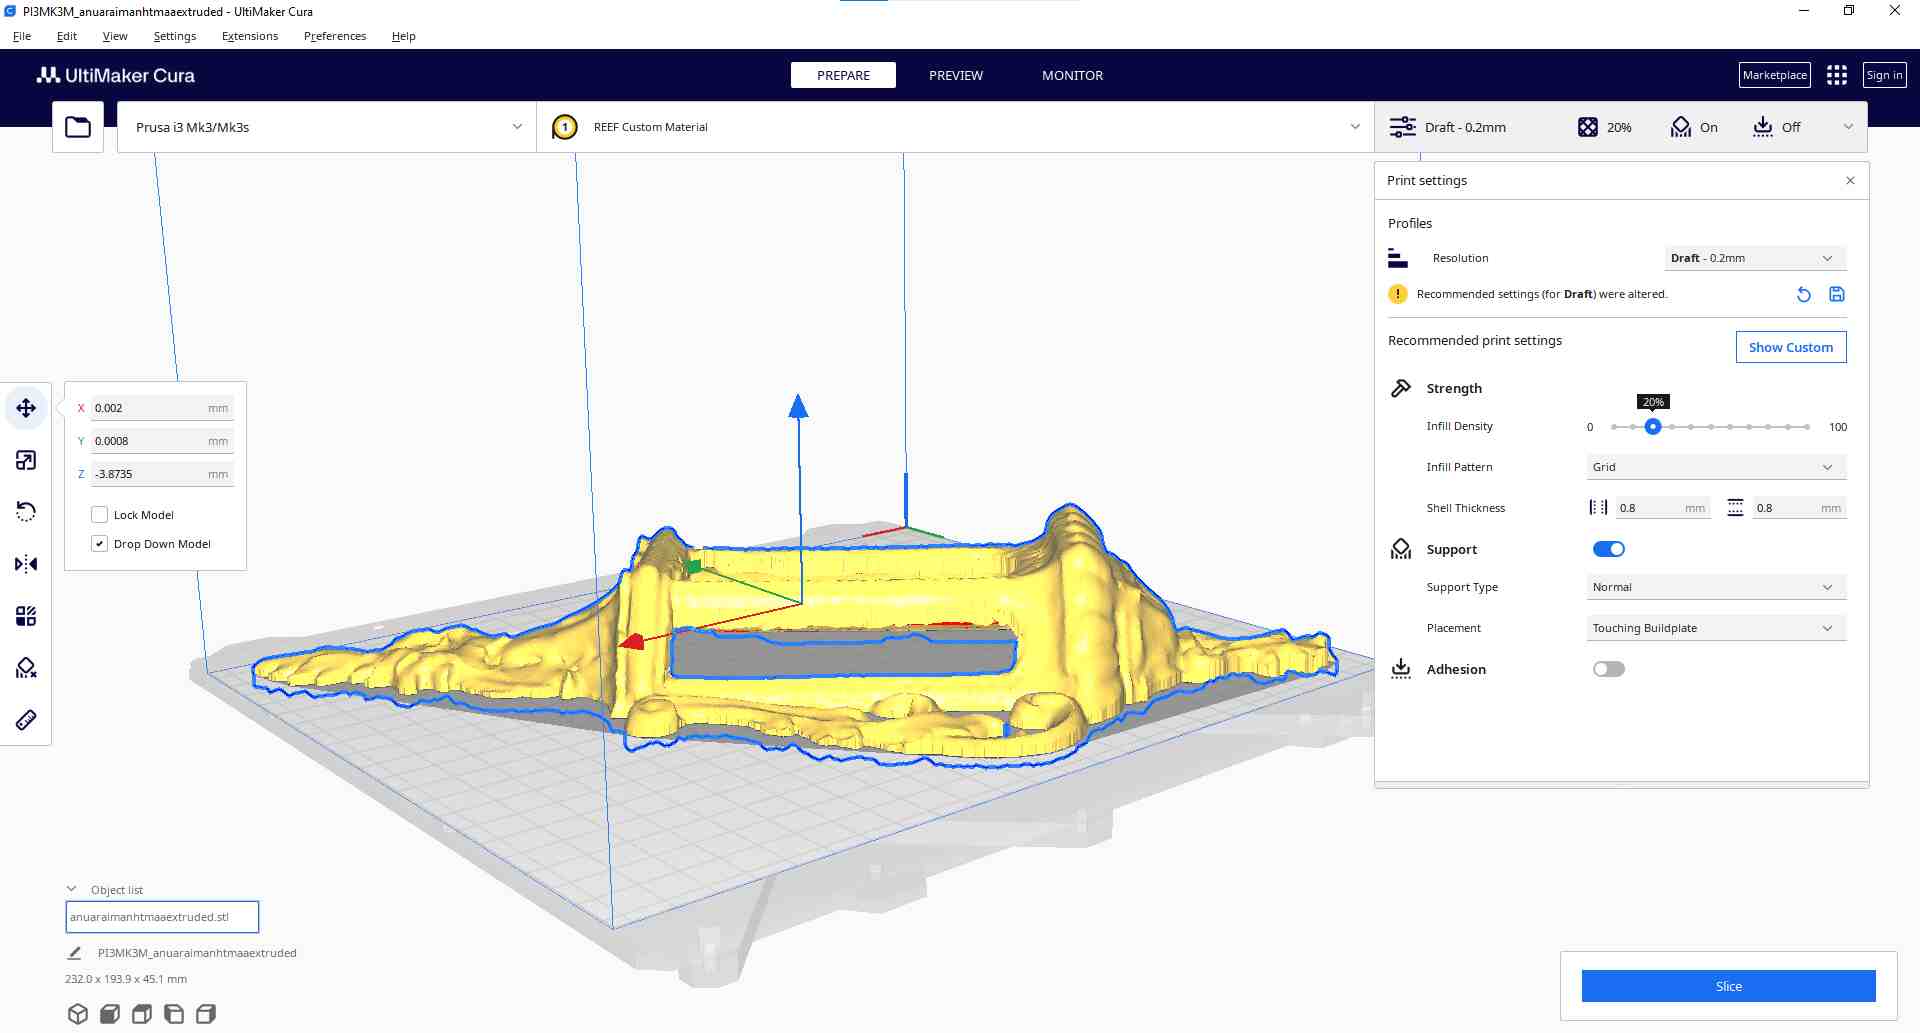
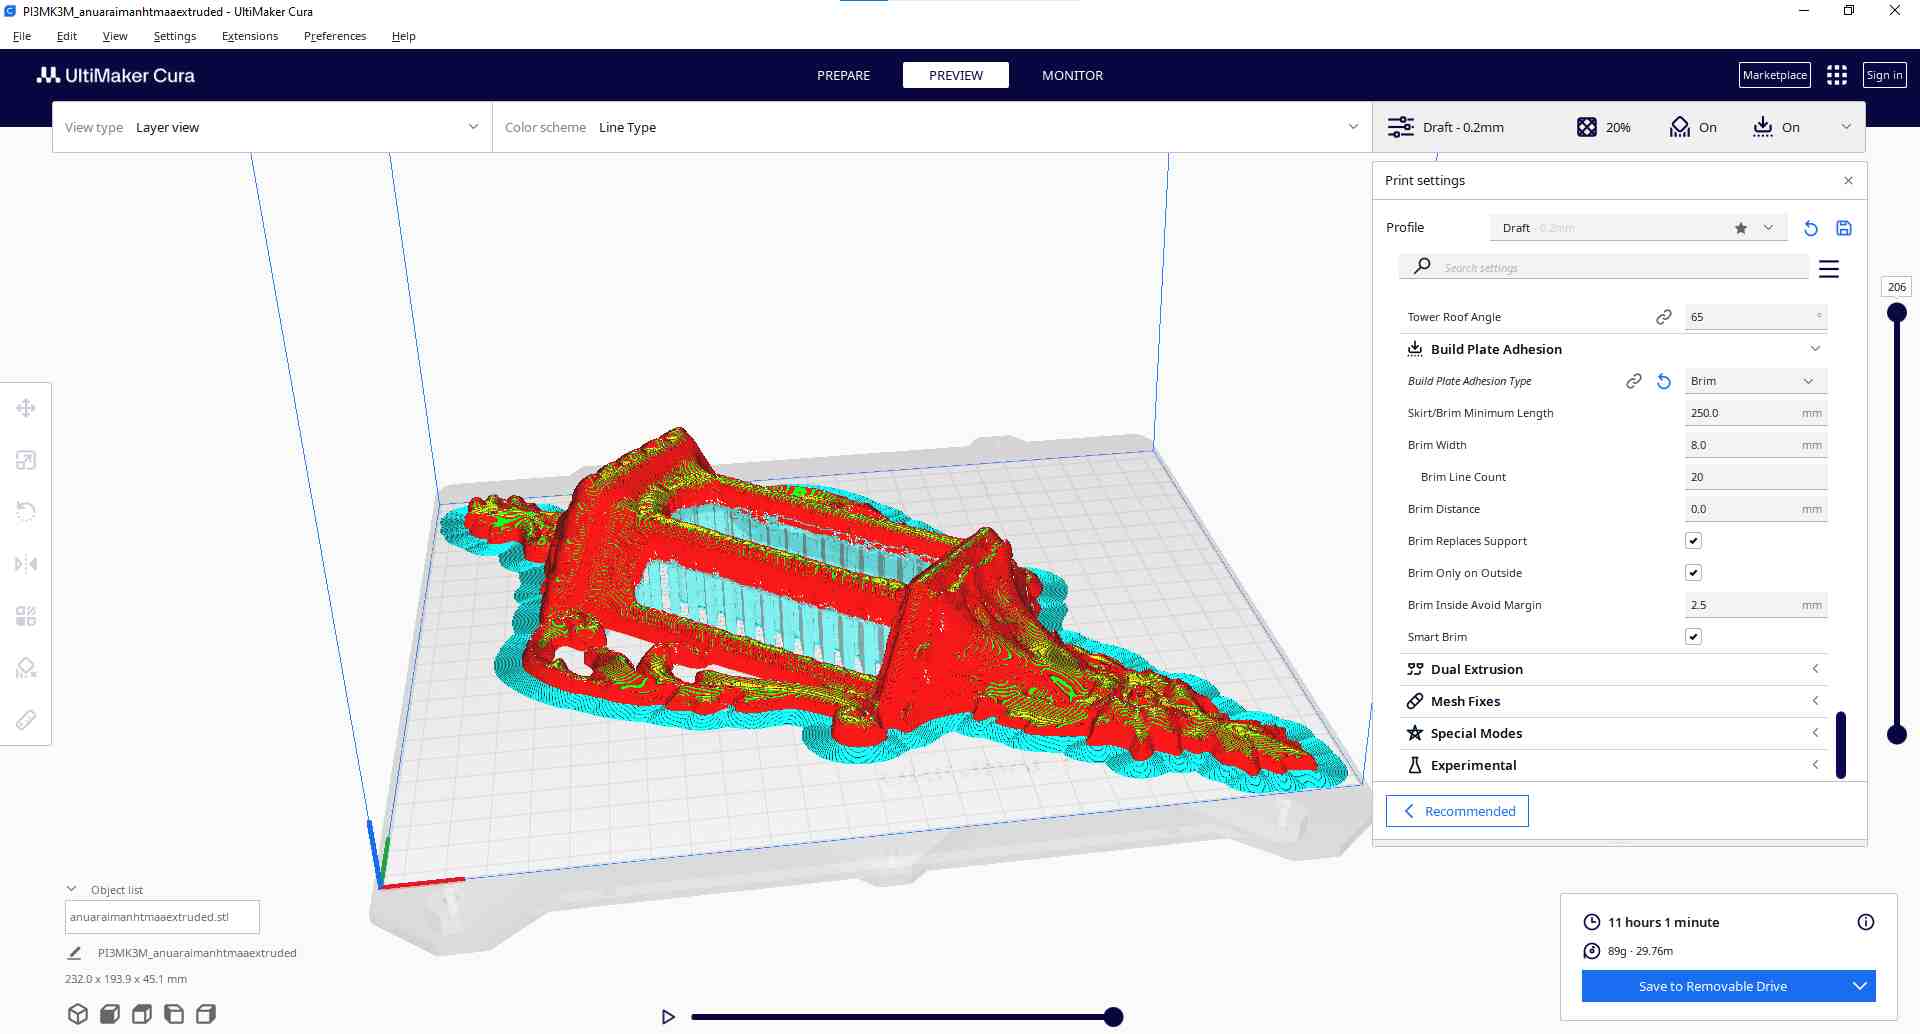
I came back to find that my print had failed halfway through.
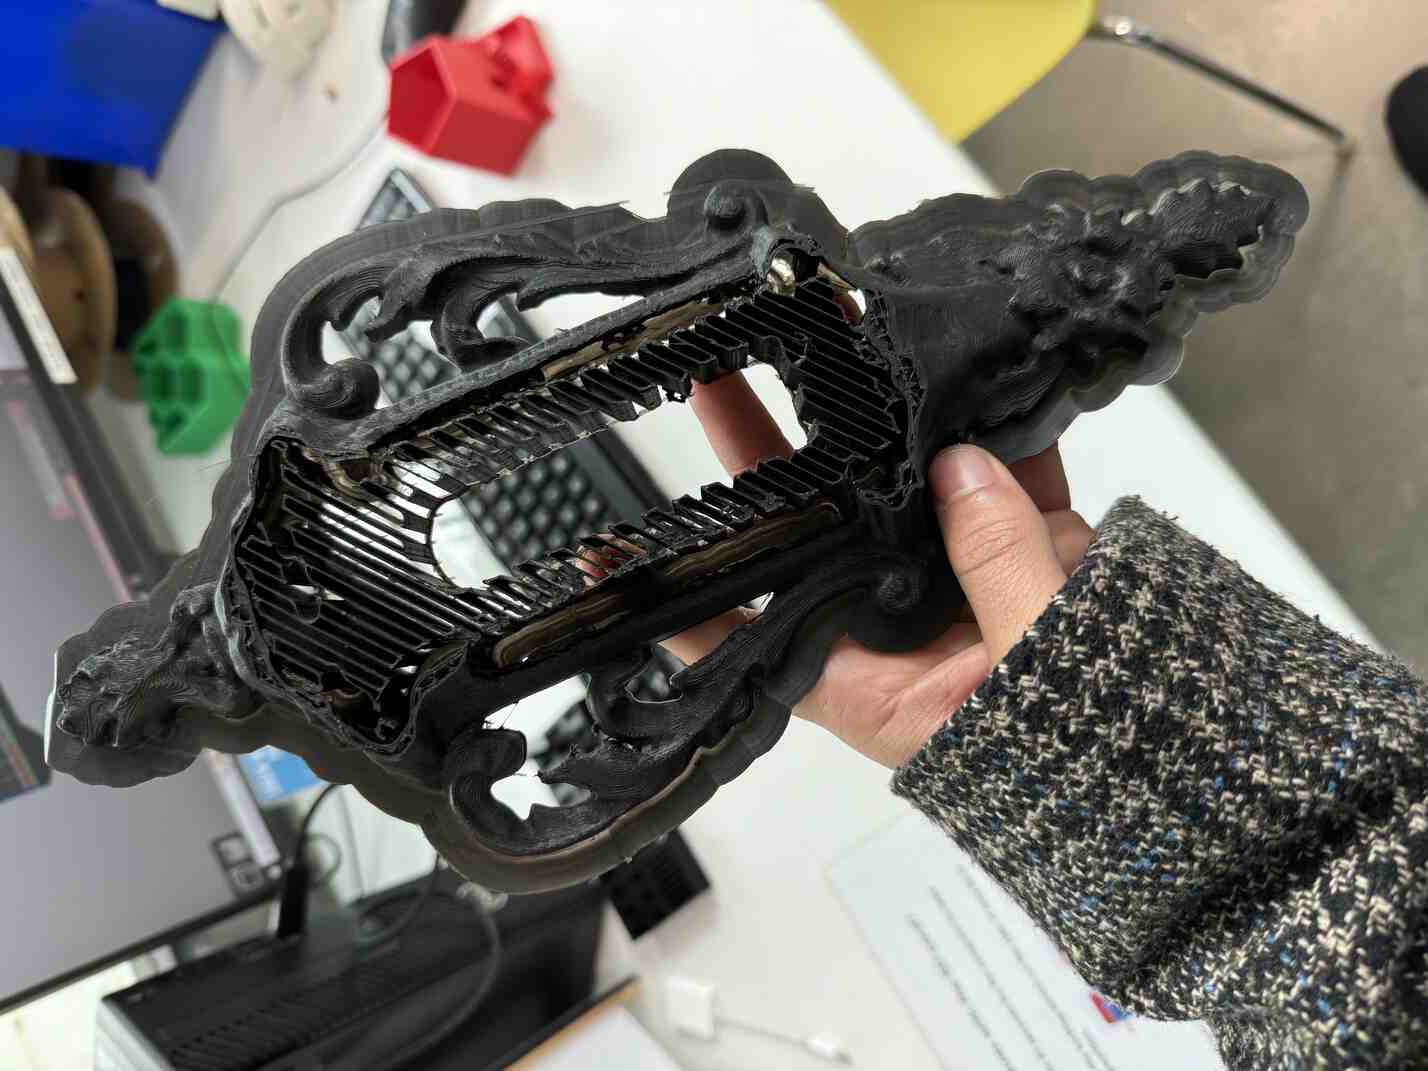
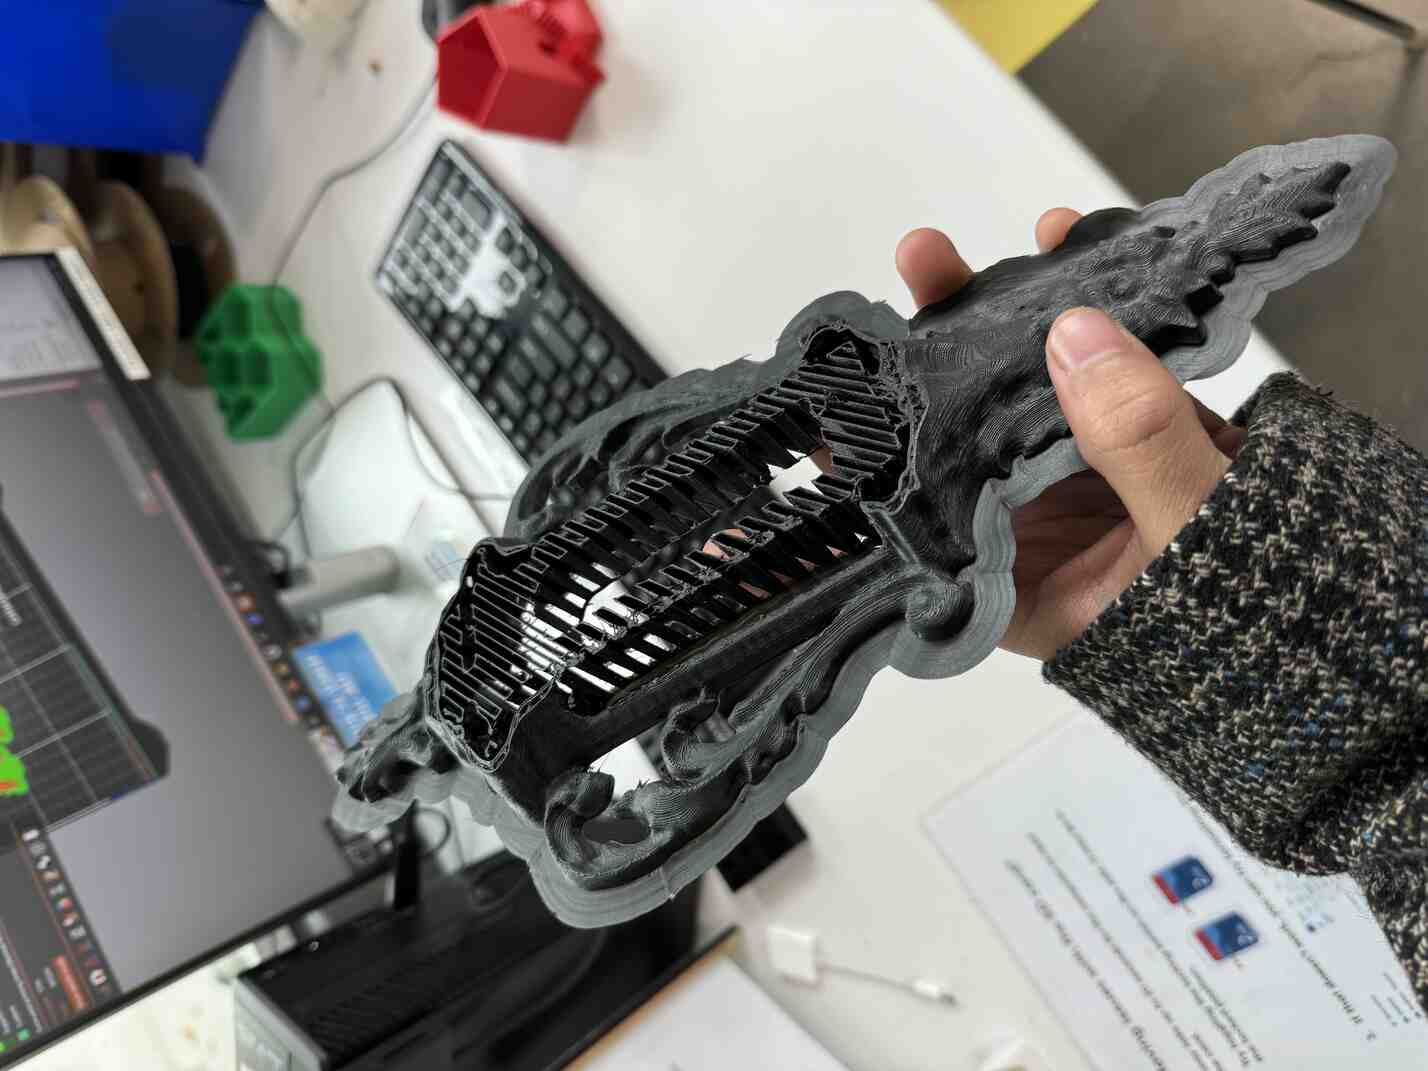
And not only that, the print that had been restarted by Joe had also failed in the same way, with the error code "MINTEMP BED" which indicated too low of a temperature reading on the bed.
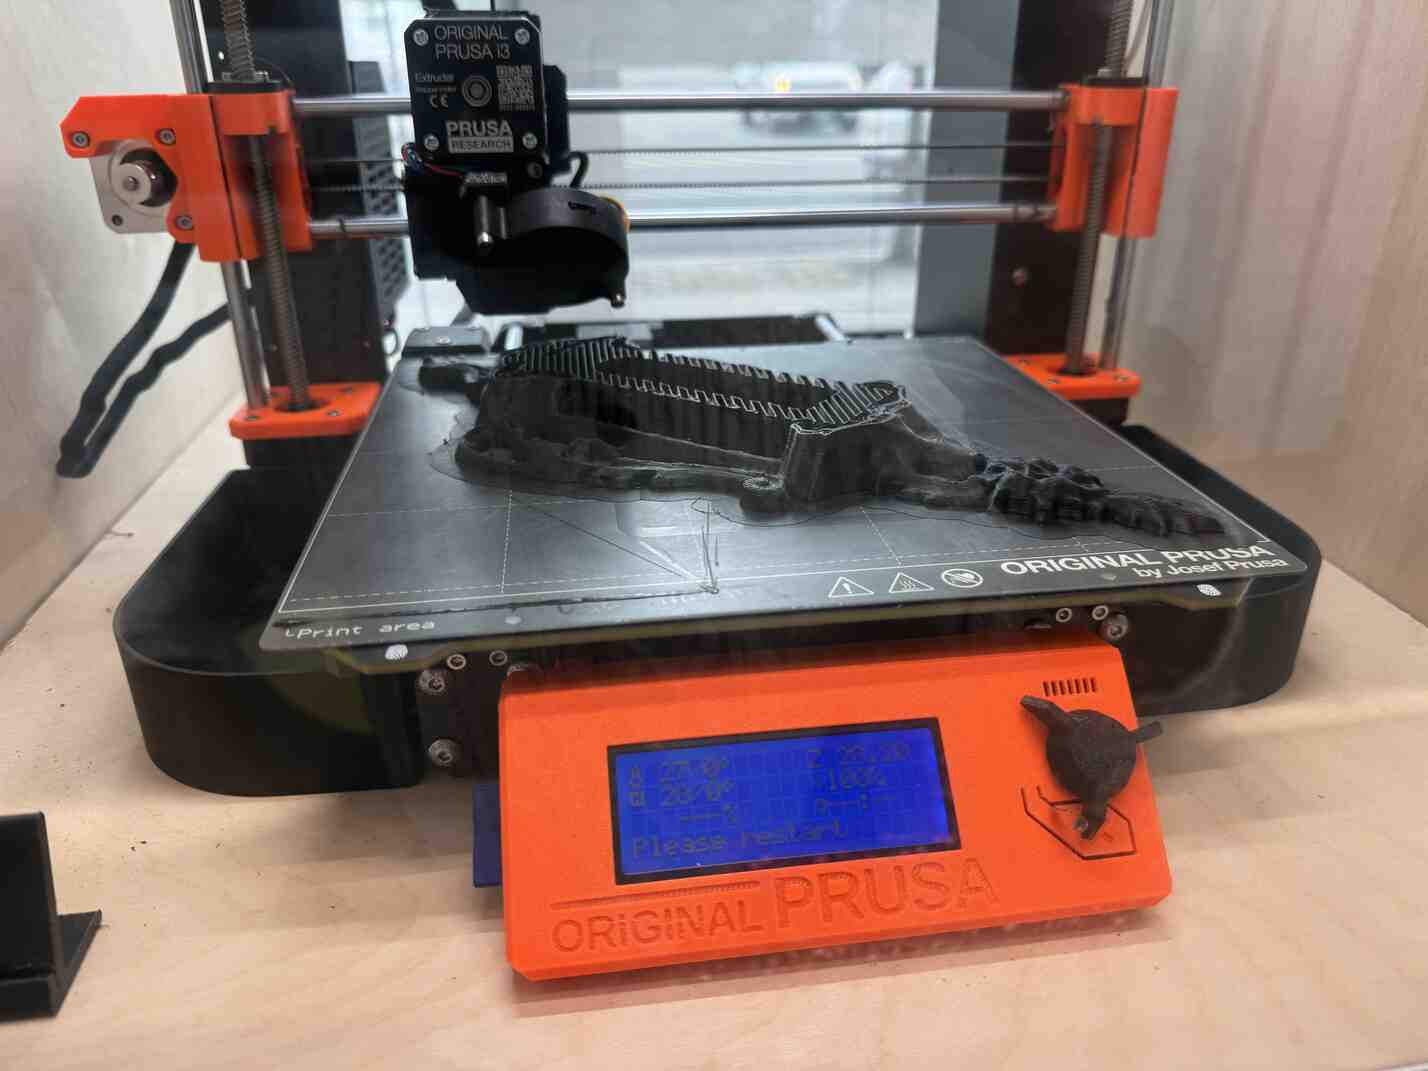
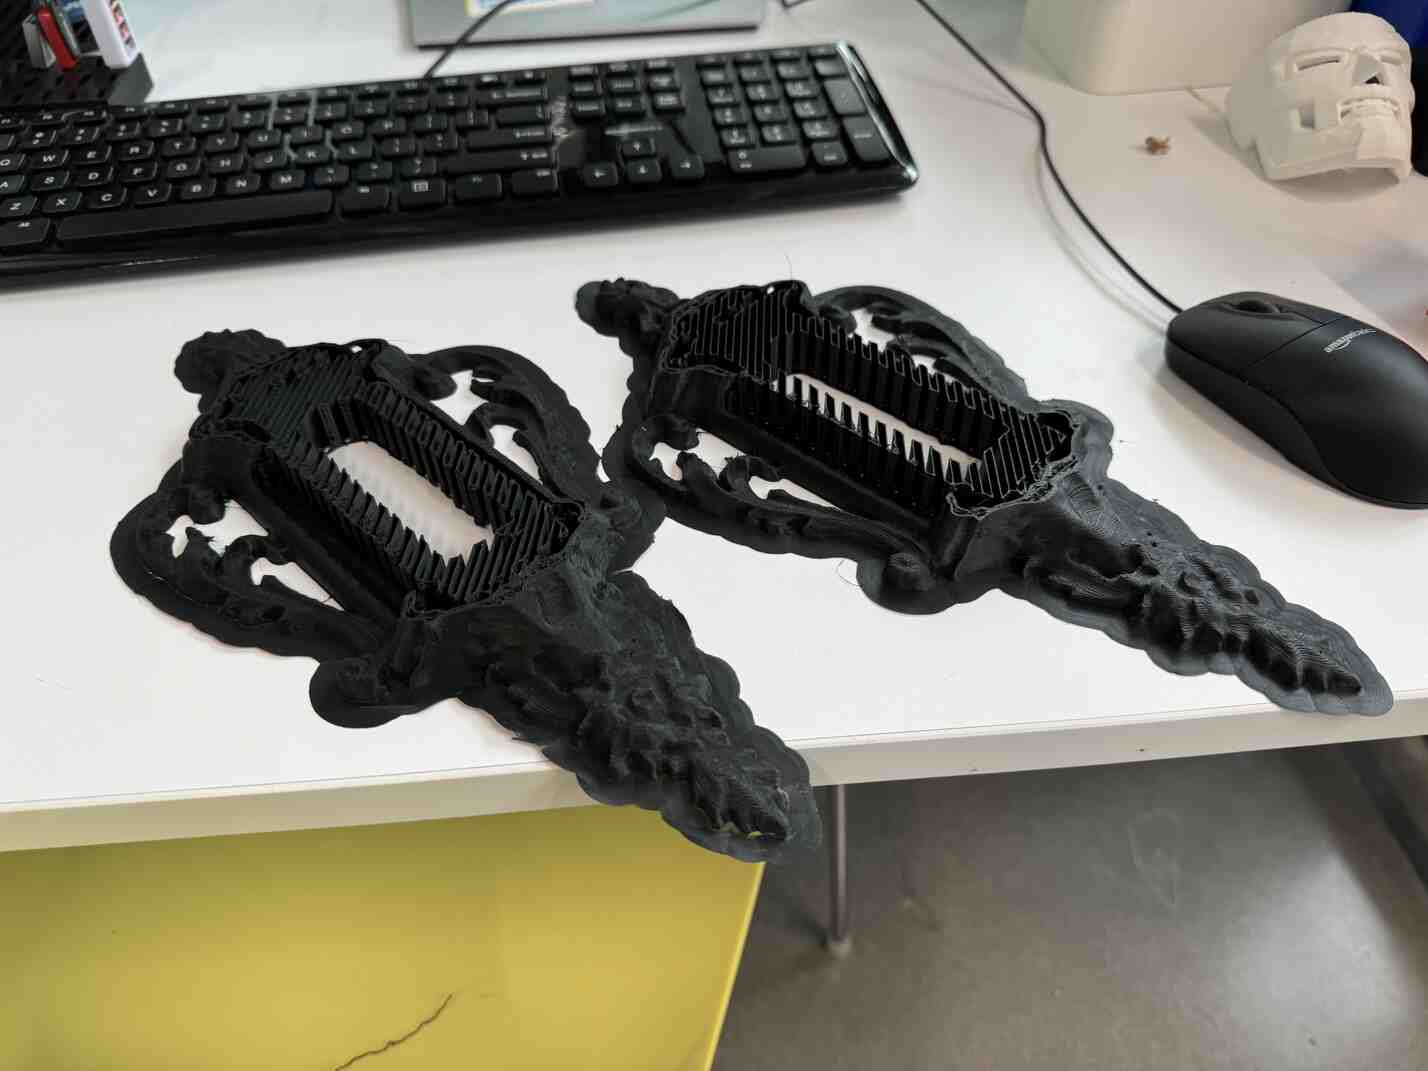
So I restarted the print on another printer in case the issue was with the printer and not the print!
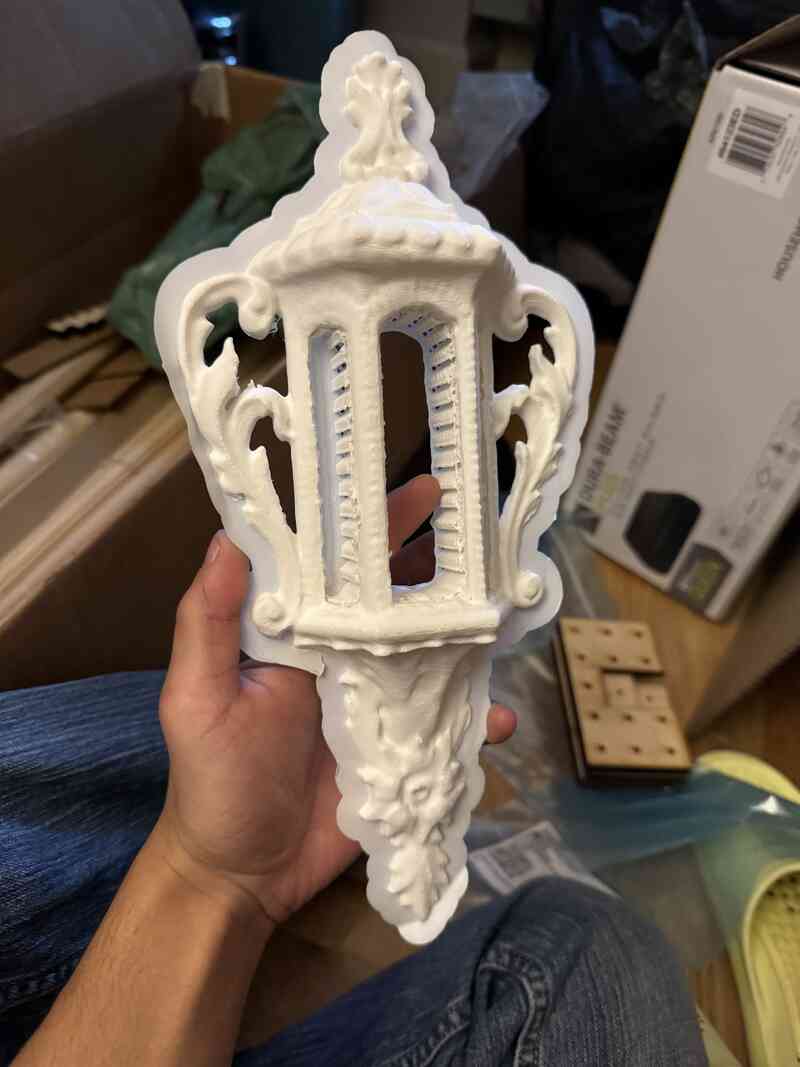
AND IT WORKED! Still not sure what the issue was with the original printer, but now I had my very own sconce!
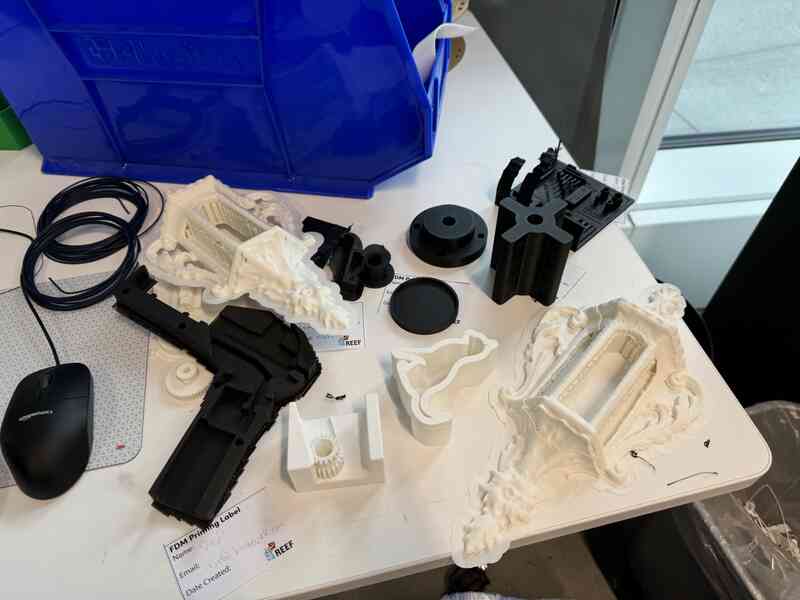
My reflection on this week is that 3D printing is a GAME CHANGER. Literally any manufacturing method pales in comparison to 3D printing in terms of versatility. It's way behind in time and efficiency, but man, literally any component you can make in the other weeks can be 3D printed. Actually, because of this, I think 3D printing is a bit overused. For example, how many people 3D print a rectangular box when they could just laser cut it? For shame! Anyway, 3D scanning is just as powerful and I can definitely see myself using it for more detailed reproduction of complex models in the future.
Home