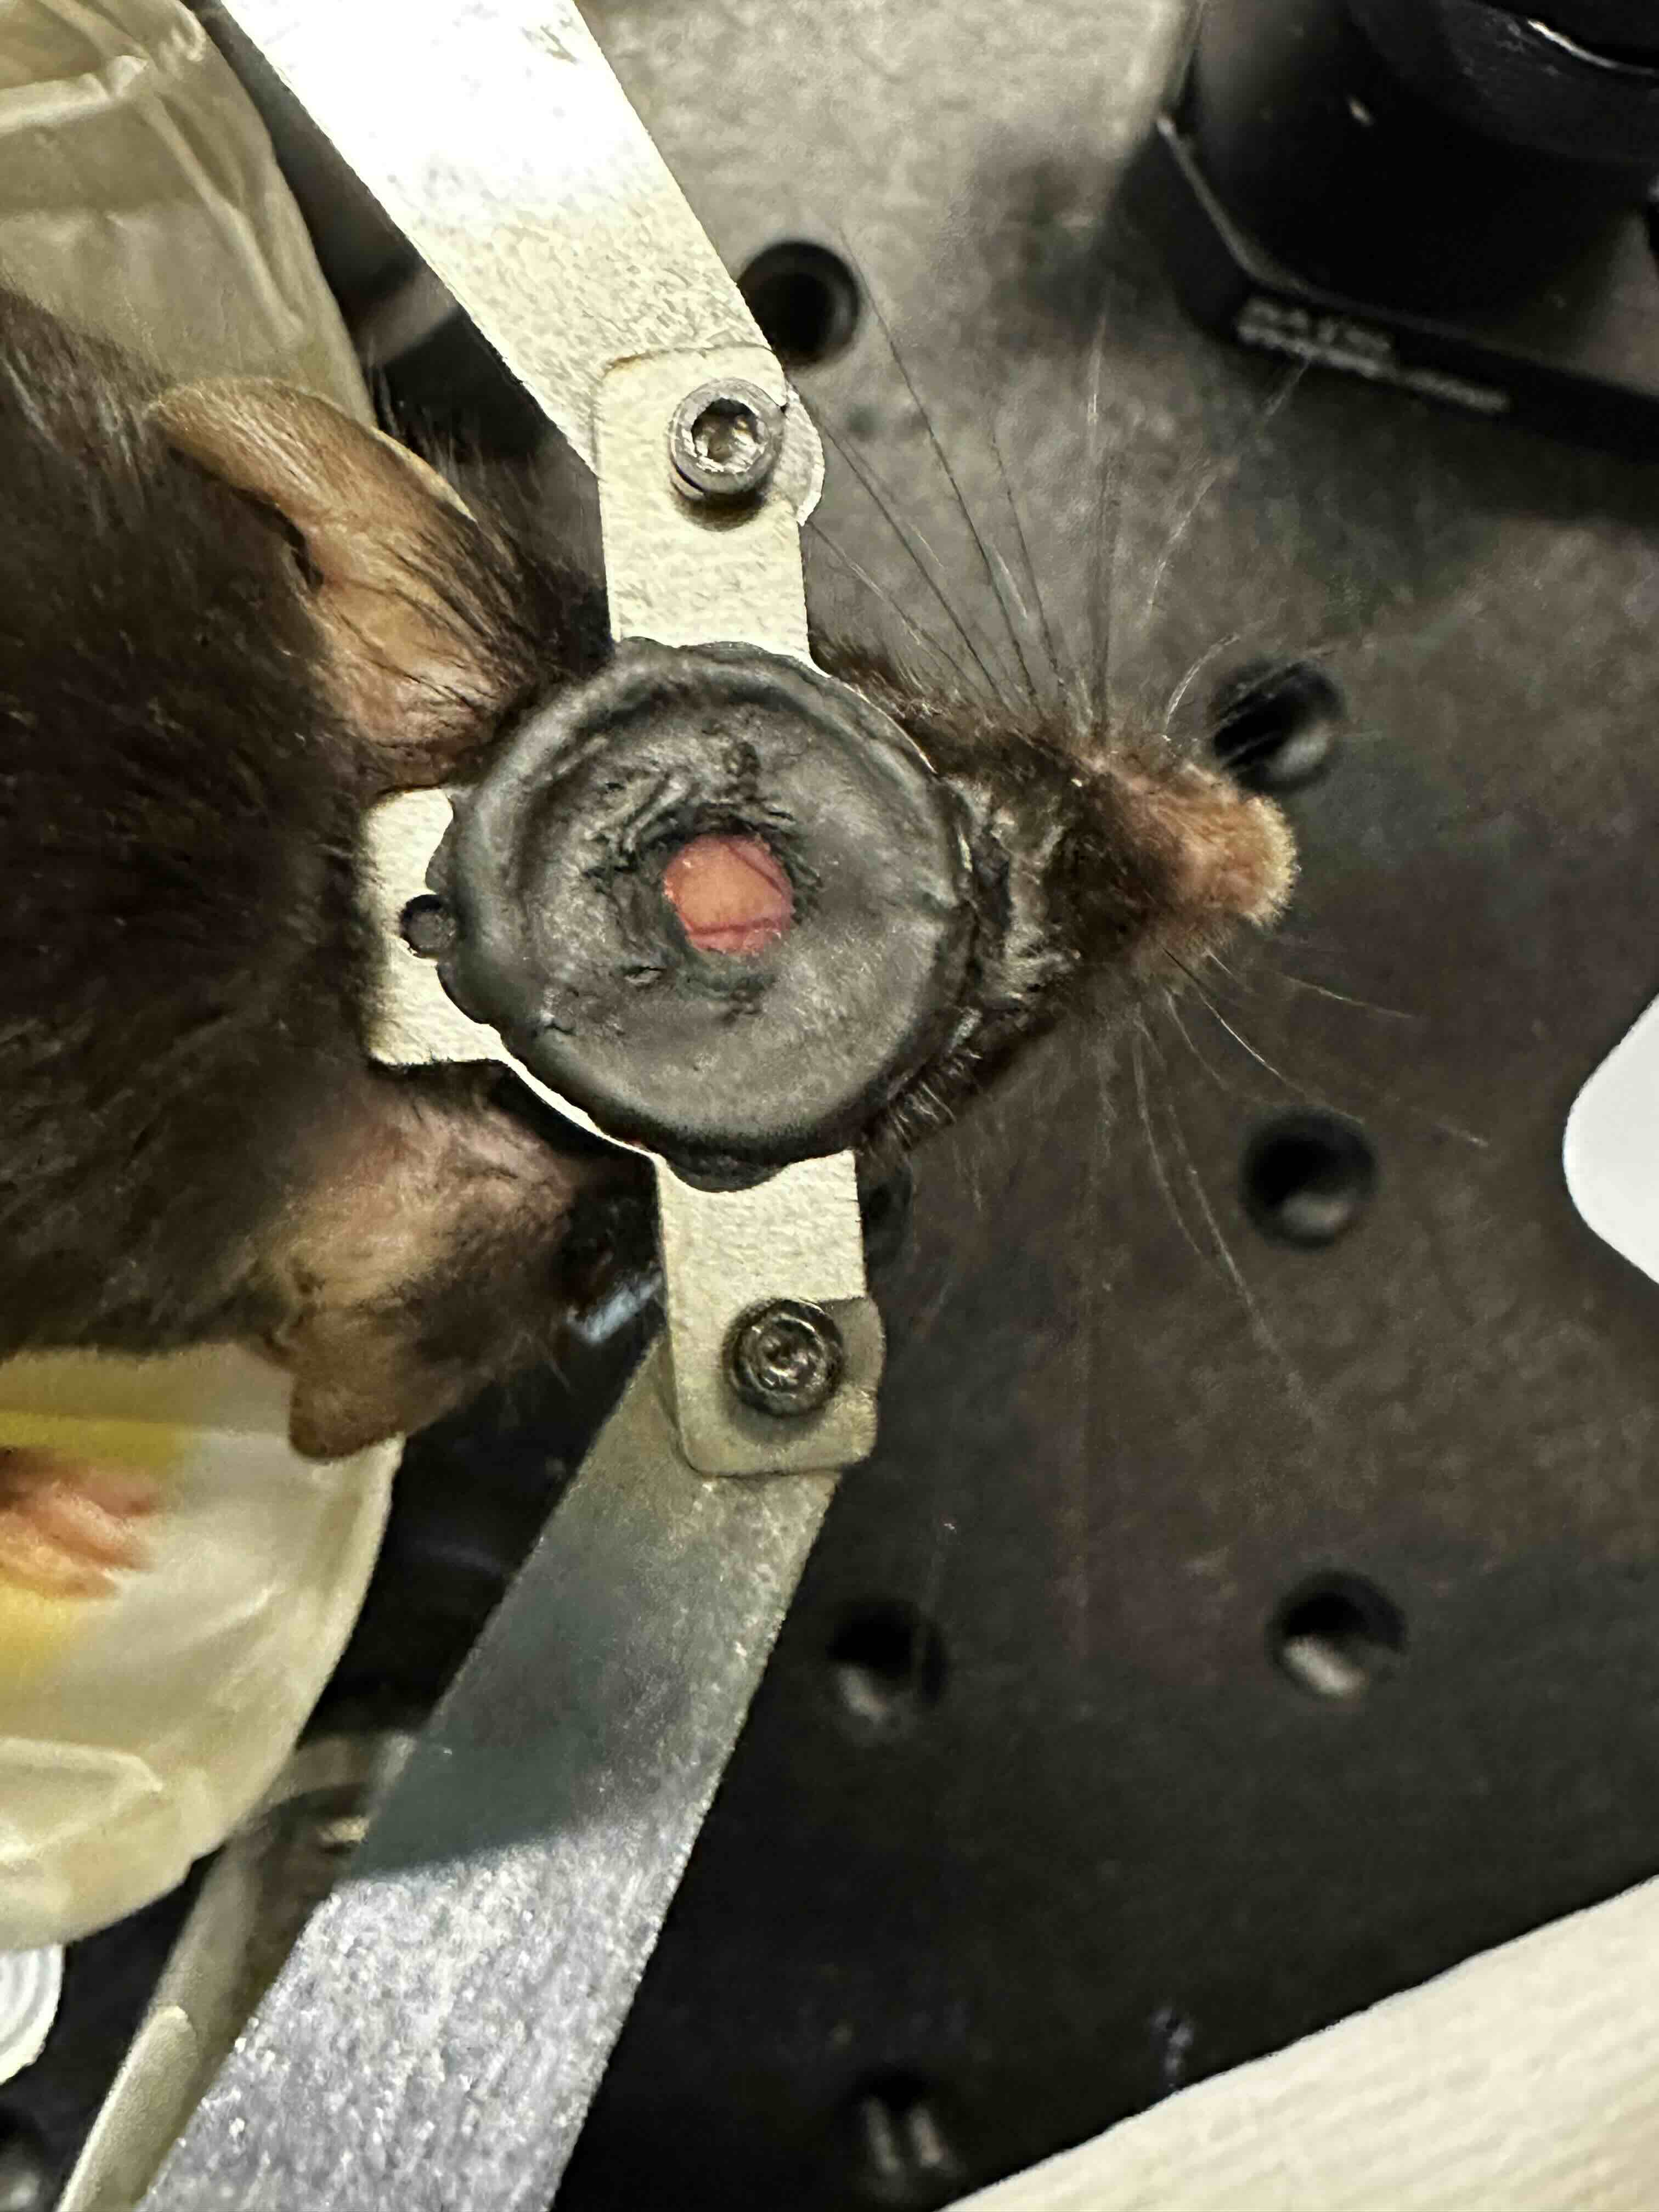
My name is Emma Odom and I am a third year PhD student in Brain and Cognitive Sciences here at MIT. I study how neural connectivity gives rise to a physical representation of motor information in the brain and how it evolves over time. That has led me to want to build a BCI where we train mice to control the activity of a single neuron in order to receive a water reward. Imaging neural activity with this BCI offers me precise knowledge of the information contribution of each input to the single neuron and an ability to manipulate each individual component to see how it affects neural circuit dynamics. Today I heard many with interests in BCI, and what I can offer is access to neural activity in living, behaving mice via a cranial window into their brain!
Have done: Built behavioral rig for water reaching task in mice. Task: Mouse holds bar for 1.5 seconds to trigger solenoid to open and deliver water to spout. Mouse needs to reach for water.
- Simple circuit for capacitance sensing and solenoid control
- Live data acquisition and buffered saving
- Centralized control via Jupyter notebook within VSCode
- Code repo: https://github.com/surlab/Behavior_Code_Emma.git
Future: Single neuron BCI
- Real time processing of in-vivo 2-photon imaging data
- Closed loop control of a linear actuator and solenoid valve to deliver water reward
- Alignment of data from capacitance sensors, motorized components, behavioral camera, and 2-photon microscope.
- Safety controls for mouse (it’s alive), microscope (it’s sensitive) + electronics (there’s water involved)
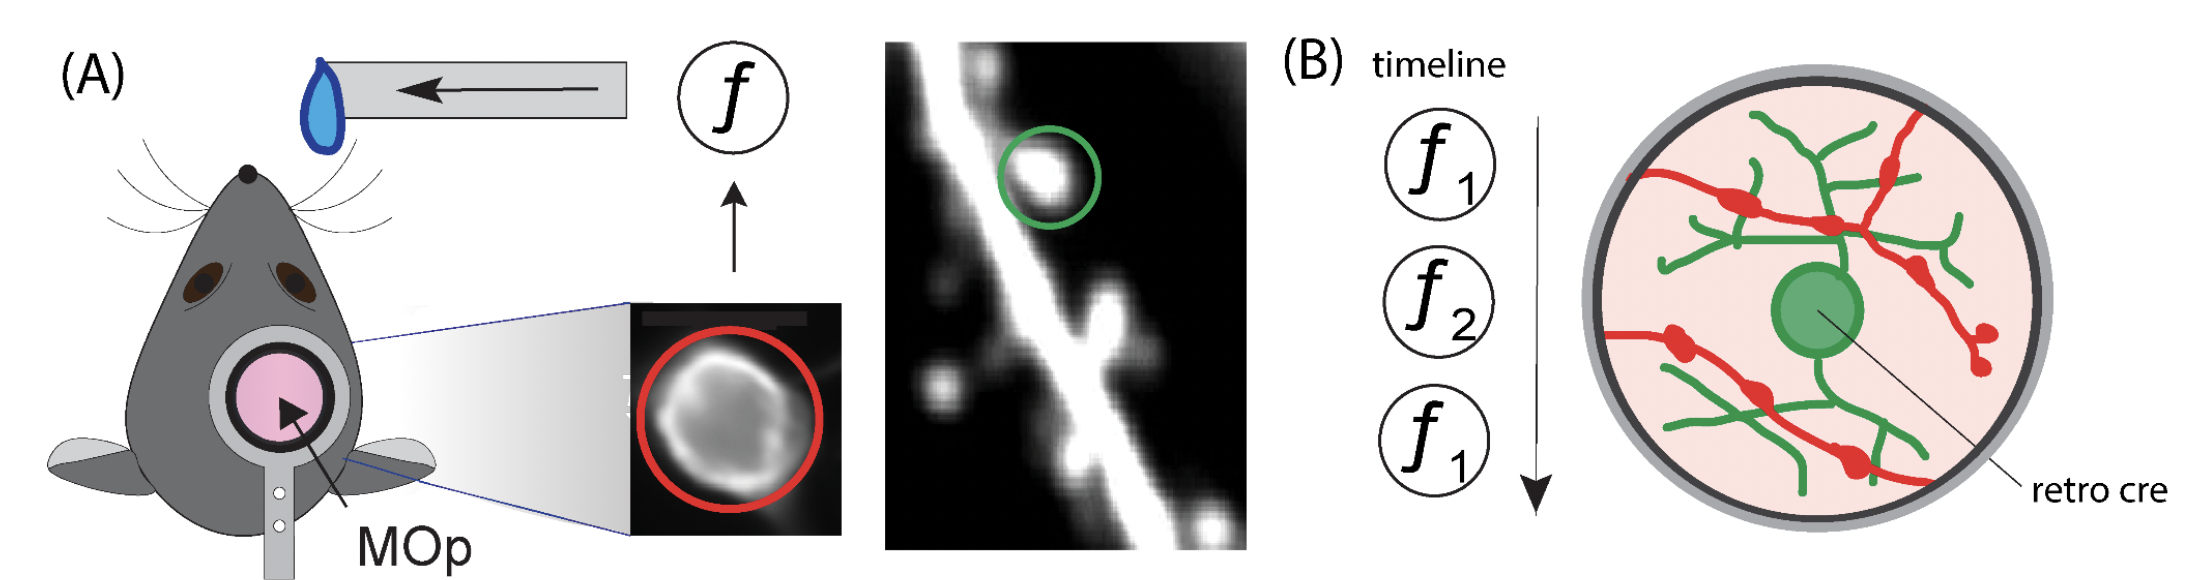
Figure 1 Single Neuron BCI Task (A) The activity of a single neuron in the primary forelimb motor cortex (MOp) is coupled to the lick spout via a transfer function f. The single neuron’s output activity will be reported in red, and the inputs from other neurons will be reported in green. (B) The presynaptic inputs to the BCI neuron will be imaged as the brain learns and transitions between different BCI transfer functions. The single neuron BCI is crucial to linking synaptic mechanisms to information encoding in neural circuits.
Very relevant inspo here and resources (below) for my project.
- Directional Reaching for Water as a Cortex-Dependent Behavioral Framework for Mice
- Skilled reaching tasks for head-fixed mice using a robotic manipulandum
Progress:
- live screen recording
- networking between behavior PC, imaging PC, and microcontroller/mouse rig.
- central python script on behav pc triggers camera, microscope and rig
- onboard MC code waits for trigger signal from behav PC and
- thread the script to have dual recoridng and sending of signals from python script
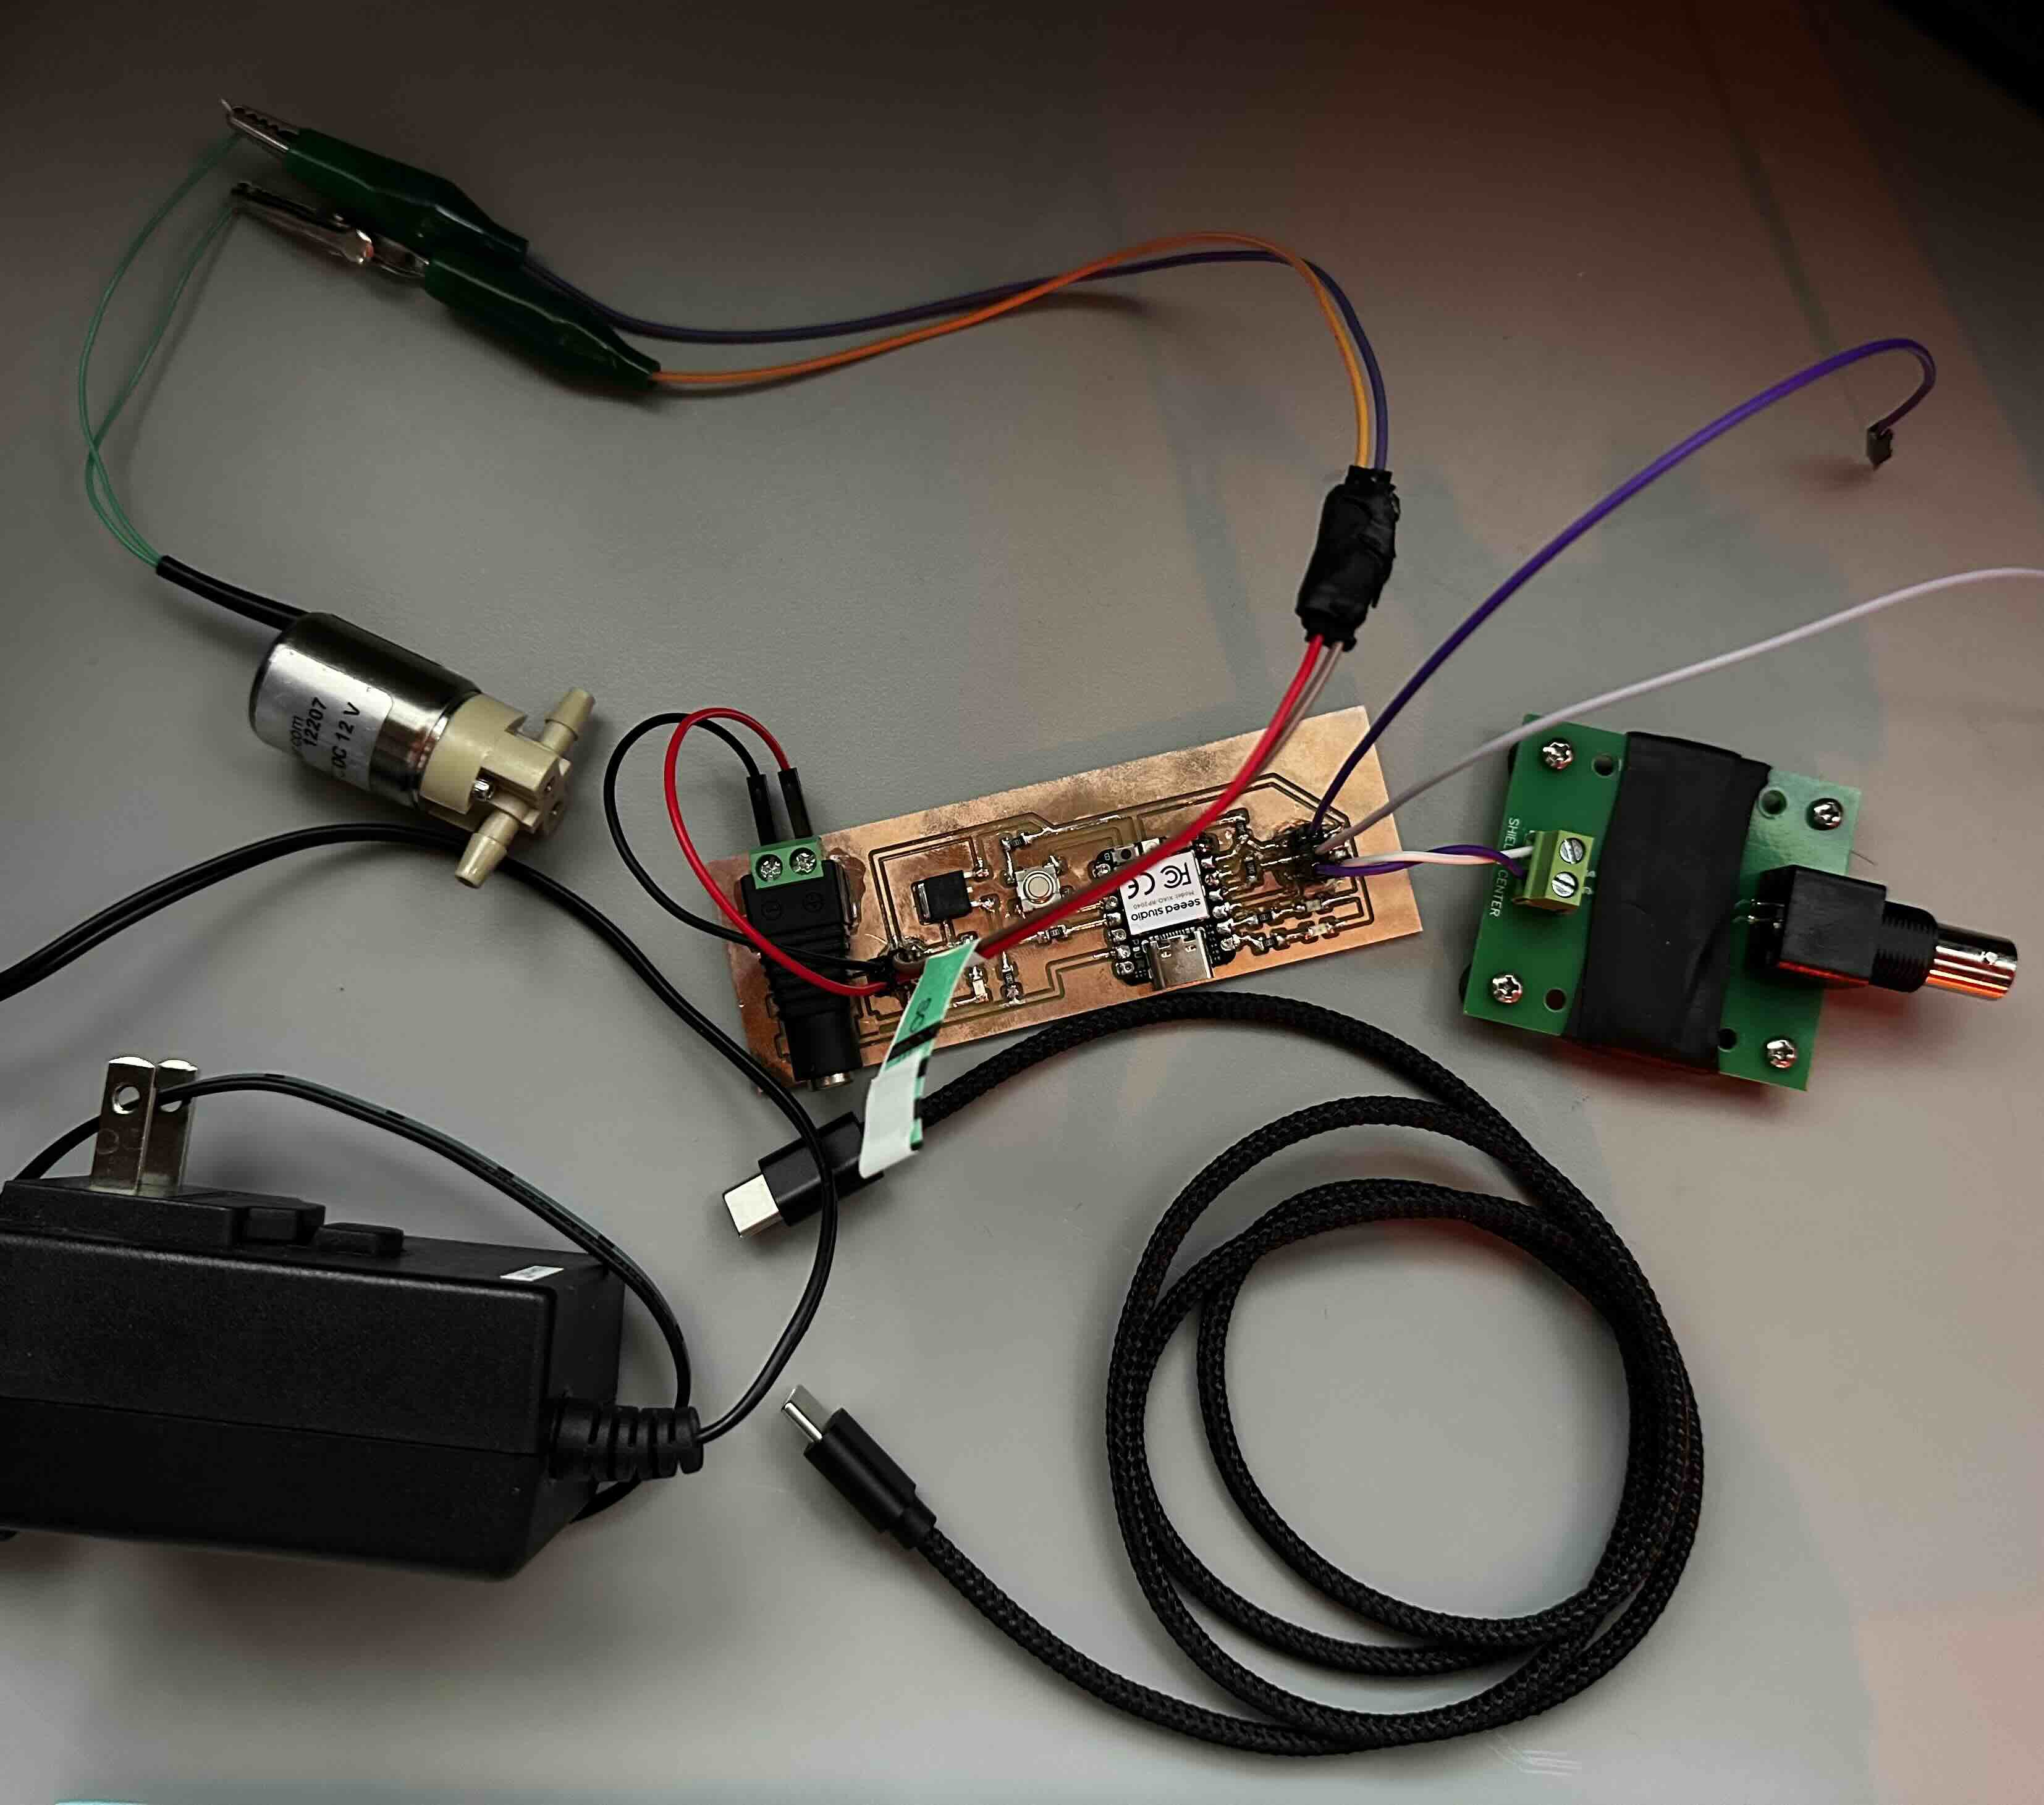
Electronics
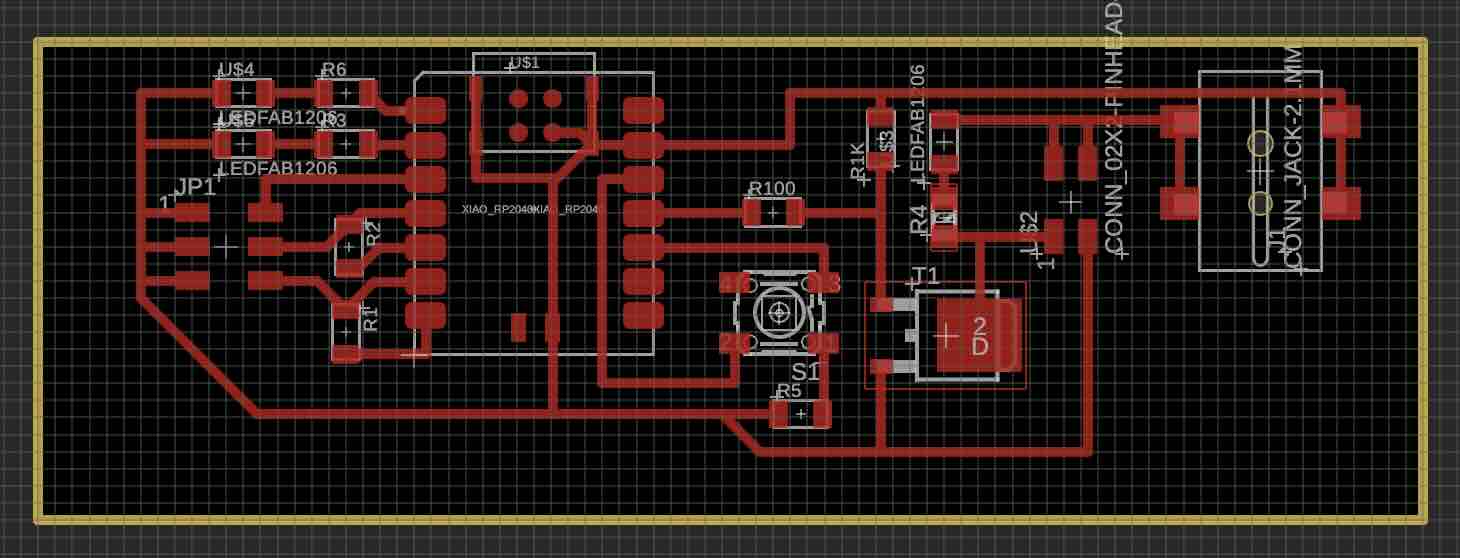
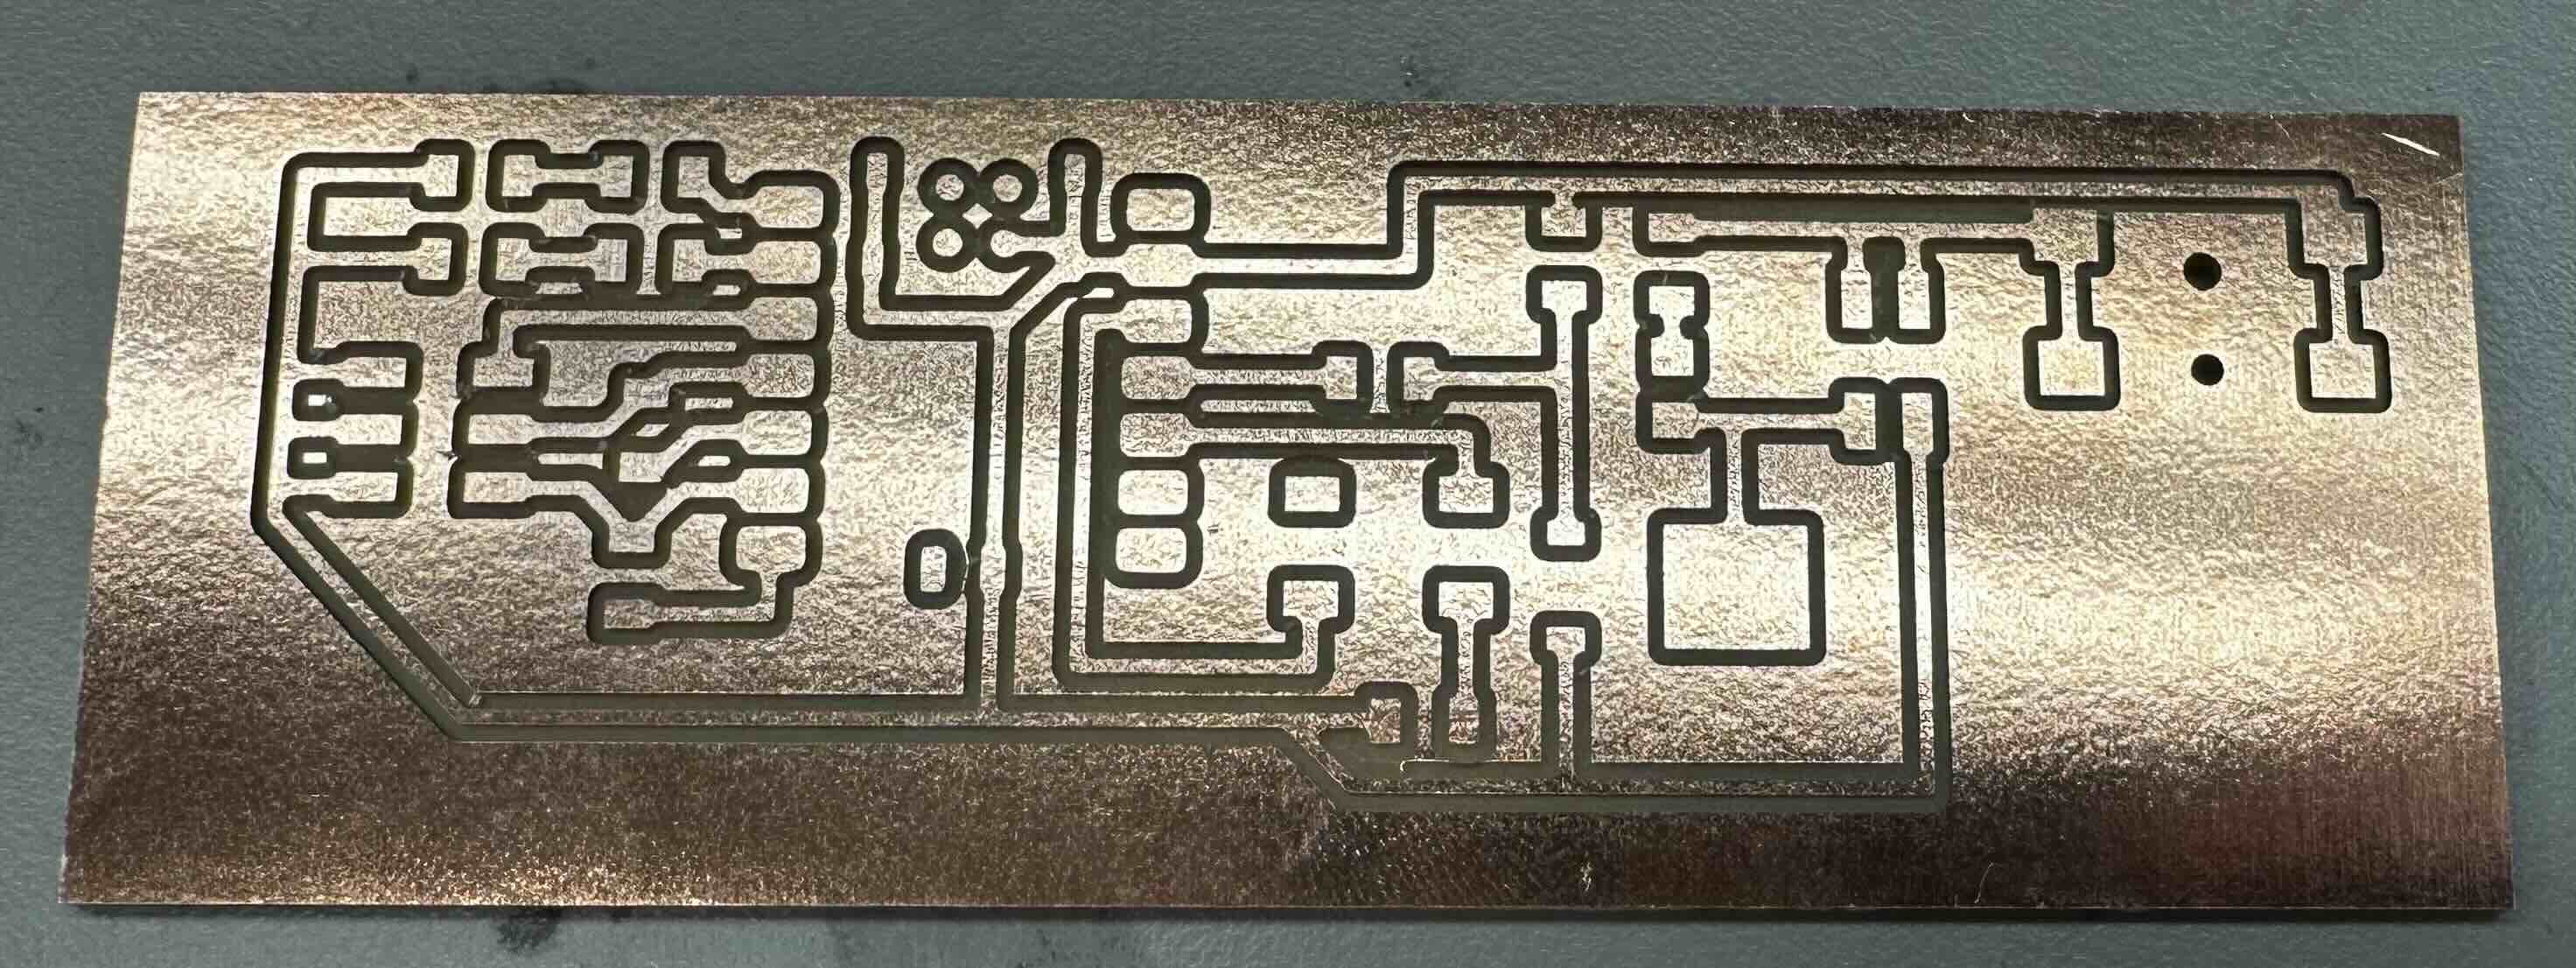
My PCB requirements are fairly simple. I just need to listen for a trigger signal and open a solenoid.
On-Board Components:
- xaio rp2040
- resistors (10, 100, 1K, 10K) & LEDs (red)
- various surface mount headers
- jumper wires
- 6 mm button
- N-type MOSFET
- male bnc with screw terminals (comms with NIDAQ)
- barrel jack with screw terminals (replace surface mount barrel jack)
Off-Board Components:
- solenoid valve (Lee company)
- 12 V power supply
- usb c to usb a/c cable
- bnc to bnc
- NIDAQ (national instruments data aquisition system)
xiao rp2040 .ino script
/*
This script reads for button press or digital nidaq signal to open solenoid.
future update will read capacitive sensor data and report via serial communication.
*/
const long BAUD = 115200;

const int BUTTON = 4; //D9
const int NIDAQ = 28; //D2
const int LED_1 = 26; //D0 //would be for cap sensor if working
const int LED_2 = 27; //D1

const int SOLENOID_PIN = 3; //D10
int sol_duration = 30; //msec. dur for solenoid valve to open
bool sol_open = false;
unsigned long sol_start_time = 0;

void setup() {
  pinMode(LED_1, OUTPUT);
  pinMode(LED_2, OUTPUT);
  pinMode(BUTTON,INPUT_PULLDOWN);
  pinMode(NIDAQ, INPUT_PULLDOWN);

  pinMode(SOLENOID_PIN, OUTPUT);
  digitalWrite(SOLENOID_PIN, LOW);

  Serial.begin(BAUD);
}

void loop() {
  //start with if pin (connected to bnc == HIGH) then the button becomes an else if (){}
  if (digitalRead(NIDAQ)==HIGH && !sol_open){
    //open solenoid and turn on LED_1
    digitalWrite(LED_1, HIGH);
    digitalWrite(SOLENOID_PIN, HIGH);
    sol_start_time = millis();
    sol_open = true;
    Serial.println("Solenoid Activated");
  }
  else if (digitalRead(BUTTON)==HIGH && !sol_open){
    //open solenoid and turn on LED_1
    digitalWrite(LED_1, HIGH);
    digitalWrite(SOLENOID_PIN, HIGH);
    sol_start_time = millis();
    sol_open = true;
    Serial.println("Solenoid Activated");
  }
  if (sol_open) {
    // Check if solenoid should be closed
    if (millis() - sol_start_time > sol_duration) {
      // Turn off solenoid
      digitalWrite(SOLENOID_PIN, LOW);
      digitalWrite(LED_1, LOW);
      sol_open = false;
      Serial.println("Solenoid Deactivated");
    }
  }
}
There are two mutual capacitance sensors. Each takes two pins of the xiao, with a 10 ohm resistor between the transmit and recieve pin. One of the sensors will be used to report the mouse licking from water spout.
The CapacitiveSensor.h library I was using previously on arduino uno is not compatible with xiao rp2040. So far, I attempted to use this example from the class website, but it doesnt seem to work. Will return.
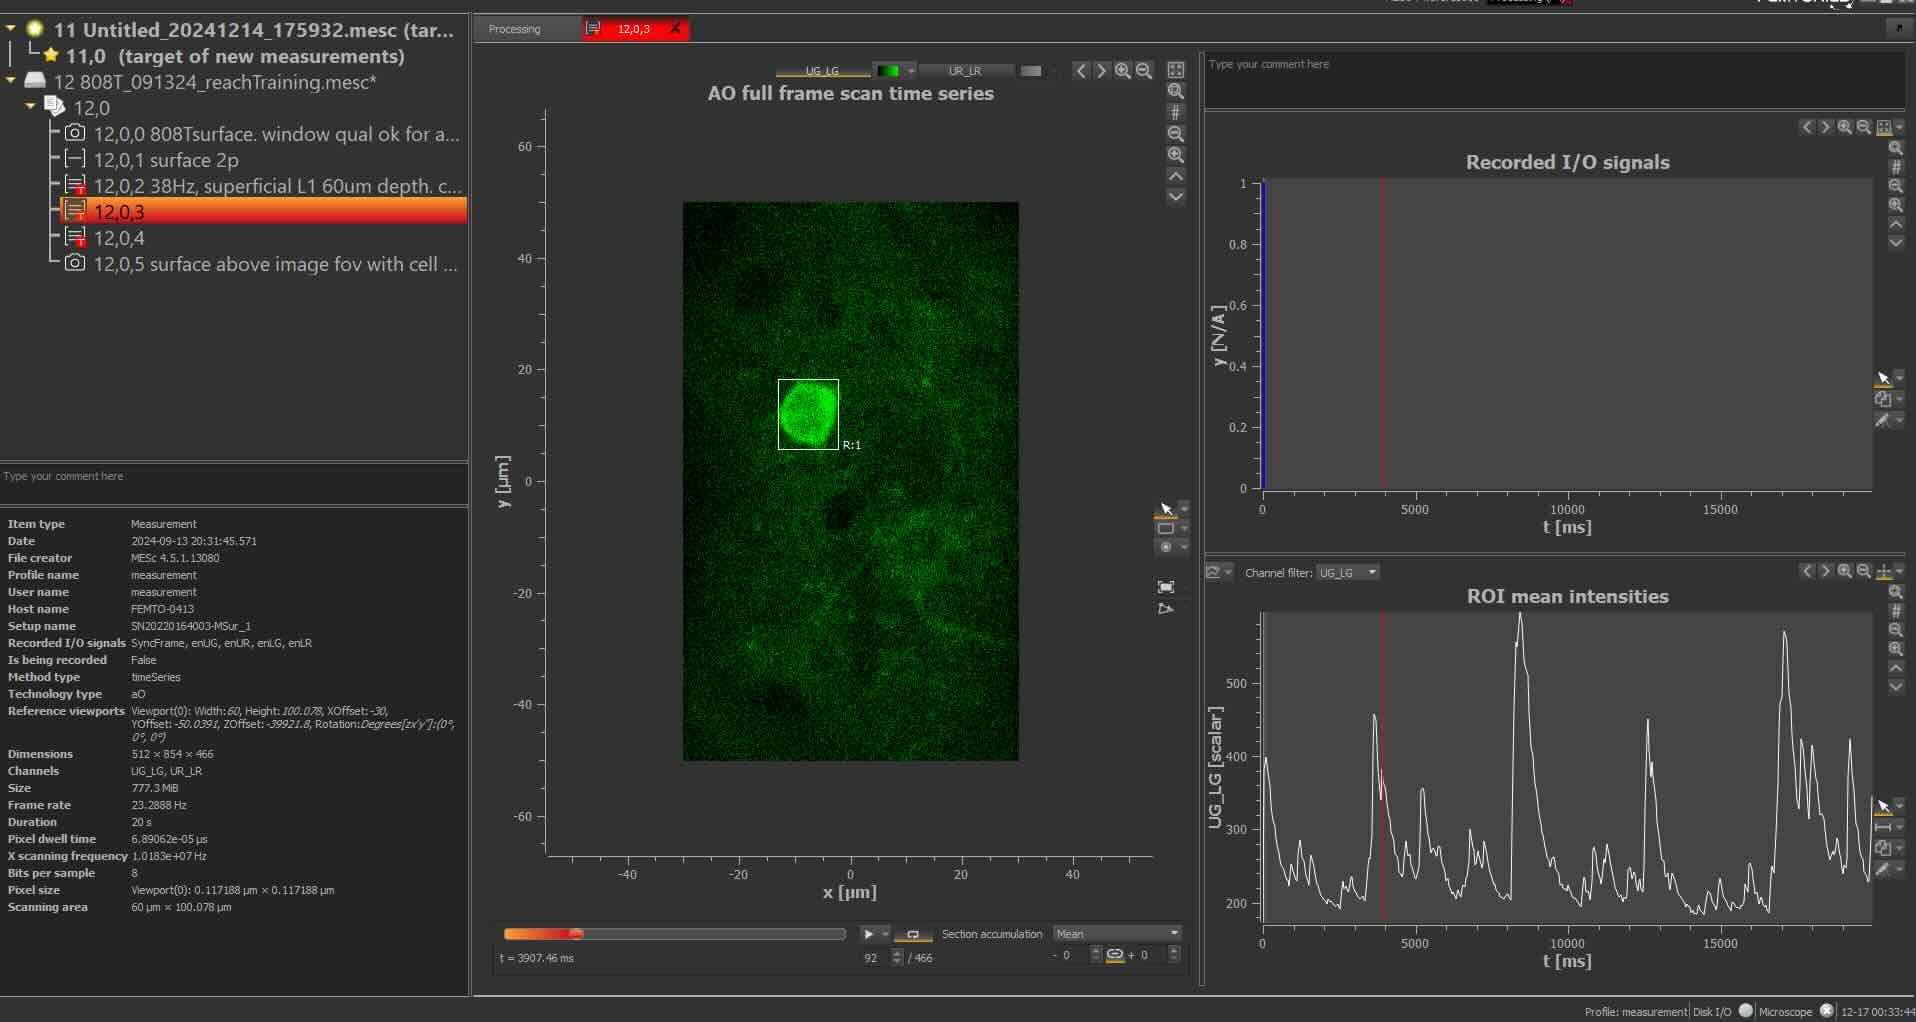
Live recording of neural activity and pseudo-real-time analysis
Things to install:
- arduino IDE
- anaconda
- visual studio code
- jupyter notebook
- can install python/jupyter notebook/github copilot/etc in visual studio code
- thorCam (optional)
- to watch mice when two-photon imaging which requires closed environment
- custom conda environment (snapshot.yml)
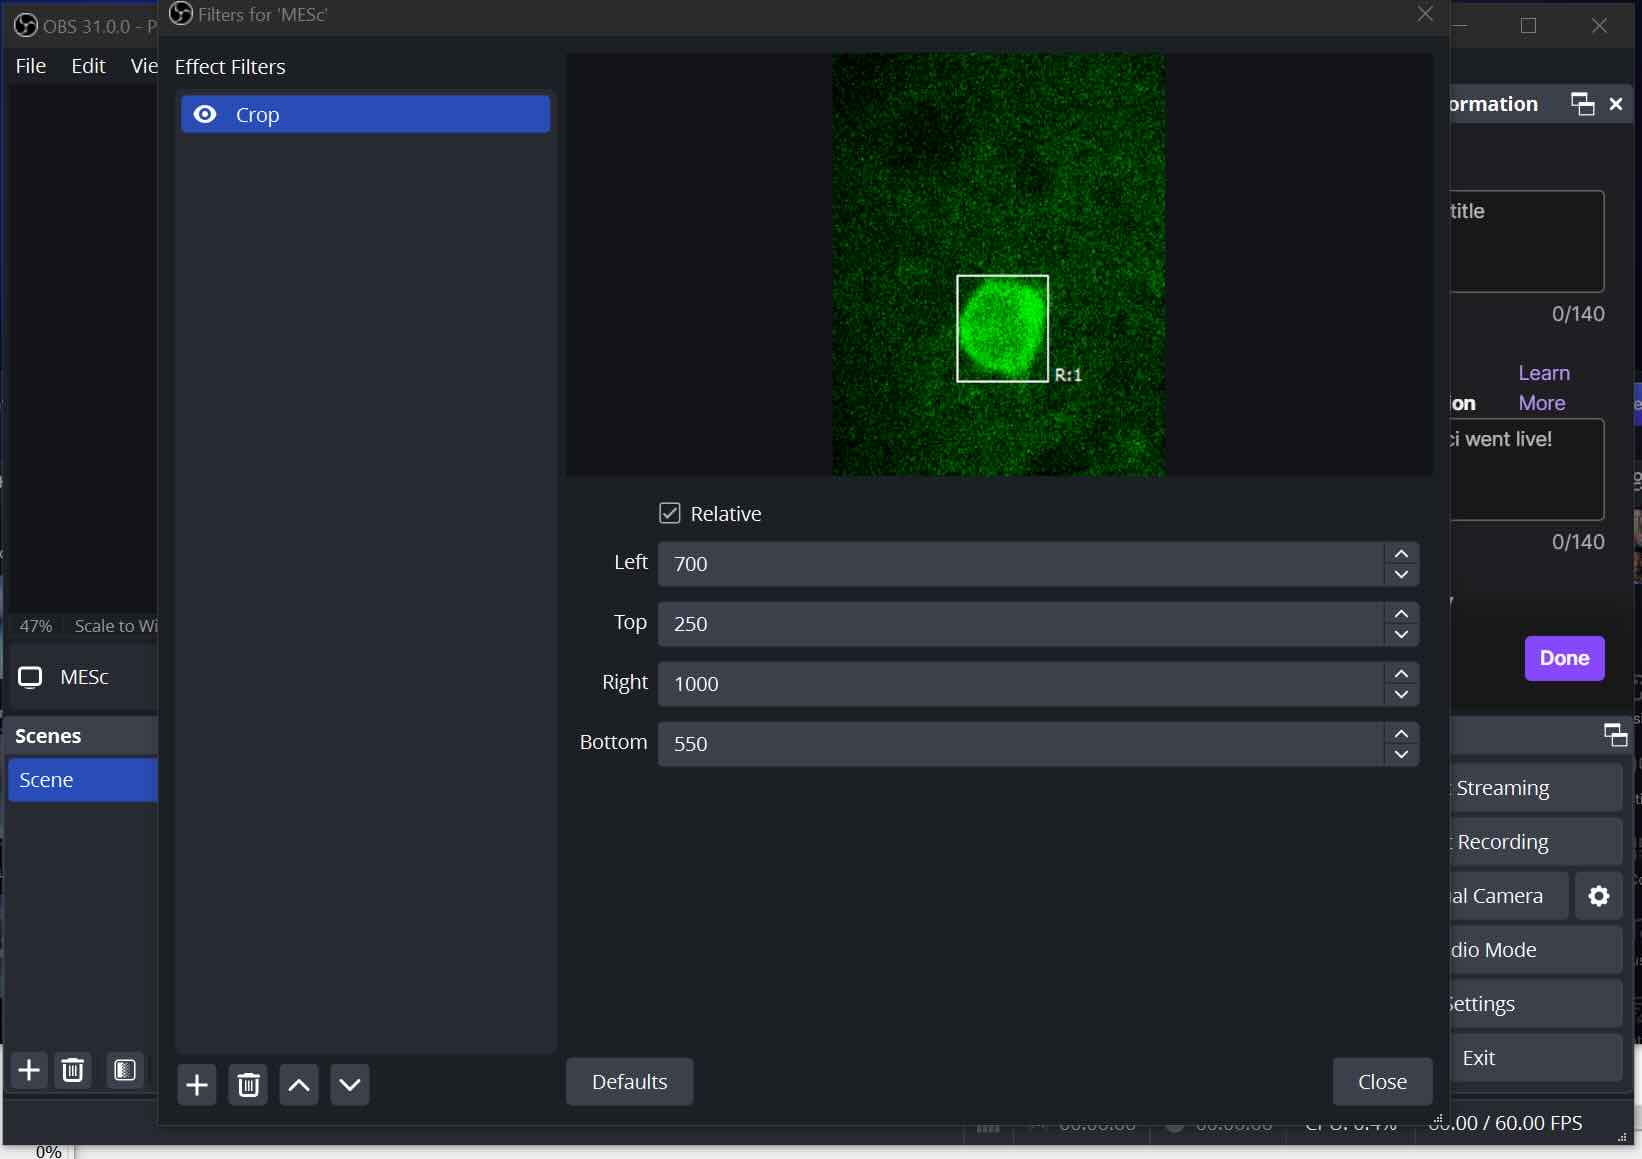
- OBS
- for streaming and recieving the imaging data in real-time (platform for communication)
- NDI
- use NDI software to send video data (actual compression and communication protocols)
2P software:
- MES/MESc Femtonics (for our ferrari scope with unintuitive sparse nested software)
- FEMTO3D Atlas Software
- I primarily used this microscope
- PrarieView Burker (most two photons use this)
- But I also used this microscope as I was developing, to make sure things were cross compatible.
networking components:
- NIDAQ
- ethernet
python threads:
- thread for live screen recording (so that it is possible to work with the imaging data in real time)
- thread for real-time analysis
- rolling mean/baseline
- dF/F calculation
- event detection
- thread for sending digital pulse to Xiao via the NIDAQ
- Xiao listens for digital pulse which triggers solenoid valve to open and deliver water reward
- thread for listening for stop command
- listen for ‘q’ keyboard press
- cannot be done without delays hence the separate thread
- not having an exit strategy or predefined runtime leads to crashing the kernel, so this thread is important!
python features:
- gui to select fov for live screen recording
- future versions can use object recognition/detection for the soma (neuron cell body)
- visual confirmation of the selected fov
- report of event detection
demo video here!
This is the most complicated part of my final project but I still have tons of things to put together.
I have gone throught the most ridiculous loopholes.
- screen record the display of live neural imaging data
- stream the screen recording from imaging pc to behavior pc where codebase is
- we arent really supposed to install or do anything on the imaging pc, but moving all python code/networking components to imaging pc would allow us to avoid streaming/unecessary lags
- write python code to screen record on the screen recording (layers :eye roll)
- generally, I am a fan of opencv (cv2)
- debug python code differences between macos and windows ( I eventually gave up and went full windows)
- remove some unecessary steps that cause failure
- for example initially we screenshotted a reference image and set the live screen recording fov to always follow that ref image on the screen (cant do it for the display itself since pyautogui locateonscreen requires png with perfect pixel matching). this occasionally caused bugs.
- spent a lot of time figuring out how to but live screen recording and listenToKeyboard in seperate threads so you can properly end the screen recording without crashing the kernel every time
- xiao rp2040 didnt want to show up as a port on my mac, but long pressing the B (reboot) button while plugging in usb worked, suprisingly.
Add figures showing dff/event detection parameter sweep. Figure showing fft to test update frequency of display/screen recording
- at least a lot of the framework exists but the live processing has had many more small challenges than expected!!
- I never did threading before so this was a new experience
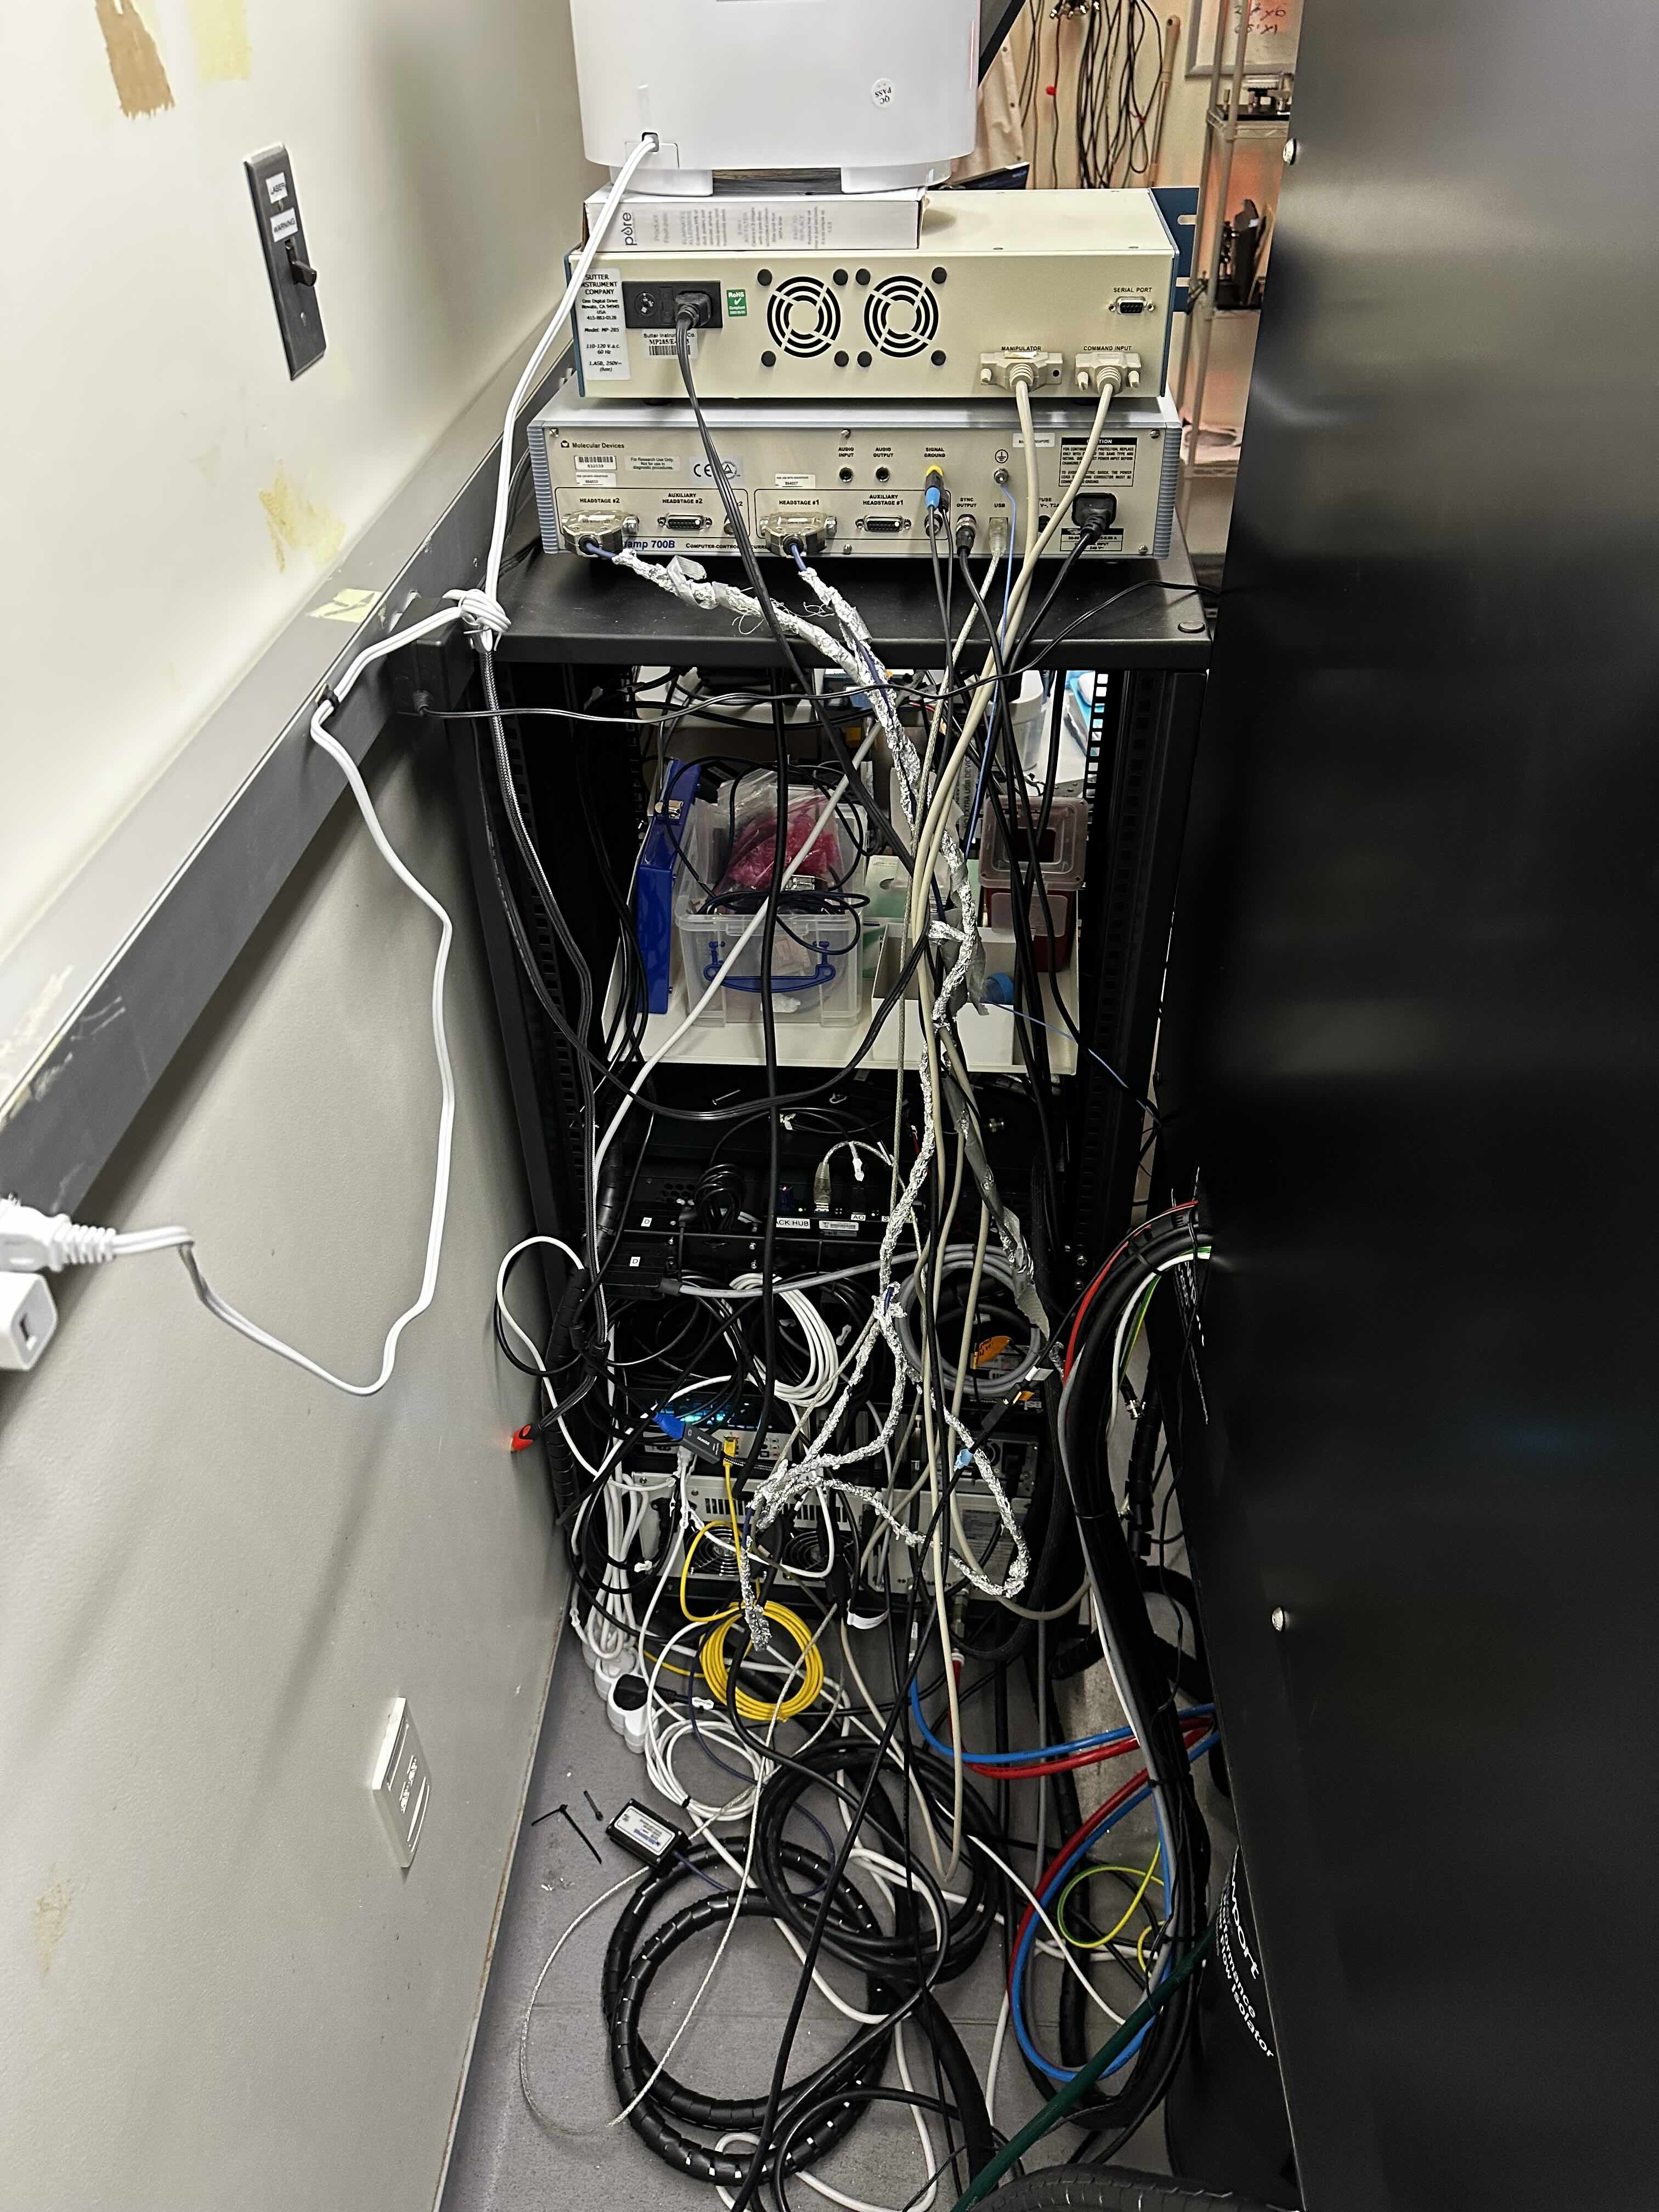
In case you were wondering why networking has been such a confusing mess, just look at these cables. There are many more on the front side too!