Week 11: Machine Stir-It-Up
This week I led the stirring module group alongside Sungmoon, Alexander, and Sophia. I was inspired by the metal stir plates used in bio labs where magnets spin underneath and a stir bar magnet is placed in the solution to stir.
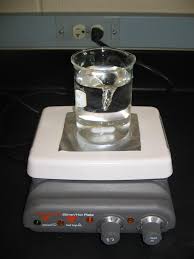
We started off with the cheap small dc motor connected directly to a 5V power supply. We mounted magnets with opposite polarity on right and left with tape and placed a stir bar in a cup with water to see if the motor could spin and handle the torque of the mounted items. This initial test worked, but sometimes the motor required an inital push to start spinning.
Week 12: Networking & Comms
For my final project I need to interface between 2 PCs and a microcontroller (MC). I send a synchronized trigger pulse from the behavior PC to the imaging PC and MC.
Devices:
- behavior PC
- imaging PC
- microcontroller (arduino)
-
python script on behavior PC
- send start and stop signal to MC and imaging PC
- prompt user to input session parameters
- file handling
- collect and save behavioral data
-
NIDAQ
- send trigger signal from behav PC to imaging PC
- record and port digital signal from arduino to behav and imaging PC
-
Arduino (MC)
Week 13: Interface and Application Programming
see screen recording app in action [here] (https://youtu.be/WNsNw1bQbrM)
credit to marcello tania who co-created this!
import numpy as np
import cv2
import pyautogui
from PIL import Image

# take screenshot using pyautogui
image = pyautogui.screenshot()
# this will return the image as PIL and
# store in `image`

# if you need to save the image as a
# file, pass the path of the file as
# an argument like this
image1 = pyautogui.screenshot(region=(0,0, 300, 400))
image1.save(r"C:\Users\..")

# Find the location of the title on the screen
titleLocation = pyautogui.locateOnScreen('title2.PNG')

image1 = pyautogui.screenshot(region=(int(titleLocation[0])-100,int(titleLocation[1])+60, 395, 390))
path =r"C:\Users\emma_odom\Dropbox (MIT)\Emma\Behavior_Code_Emma\snapshot_env\image.png"
image1.save(path)

live=True
# Find the location of the title on the screen
titleLocation = pyautogui.locateOnScreen('title2.PNG')
while live:
    image1 = pyautogui.screenshot(region=(int(titleLocation[0])-100,int(titleLocation[1])+60, 395, 390))
    np_img = np.array(image1)
    np_img.shape

    # Display the captured frame
    cv2.imshow('Ema', np_img)


    # Press 'q' to exit the loop
    if cv2.waitKey(1) == ord('q'):
        live = False
        break

# waits for user to press any key
# (this is necessary to avoid Python kernel form crashing)
cv2.waitKey(0)

# closing all open windows
cv2.destroyAllWindows()
Week 14: Wildcard Week
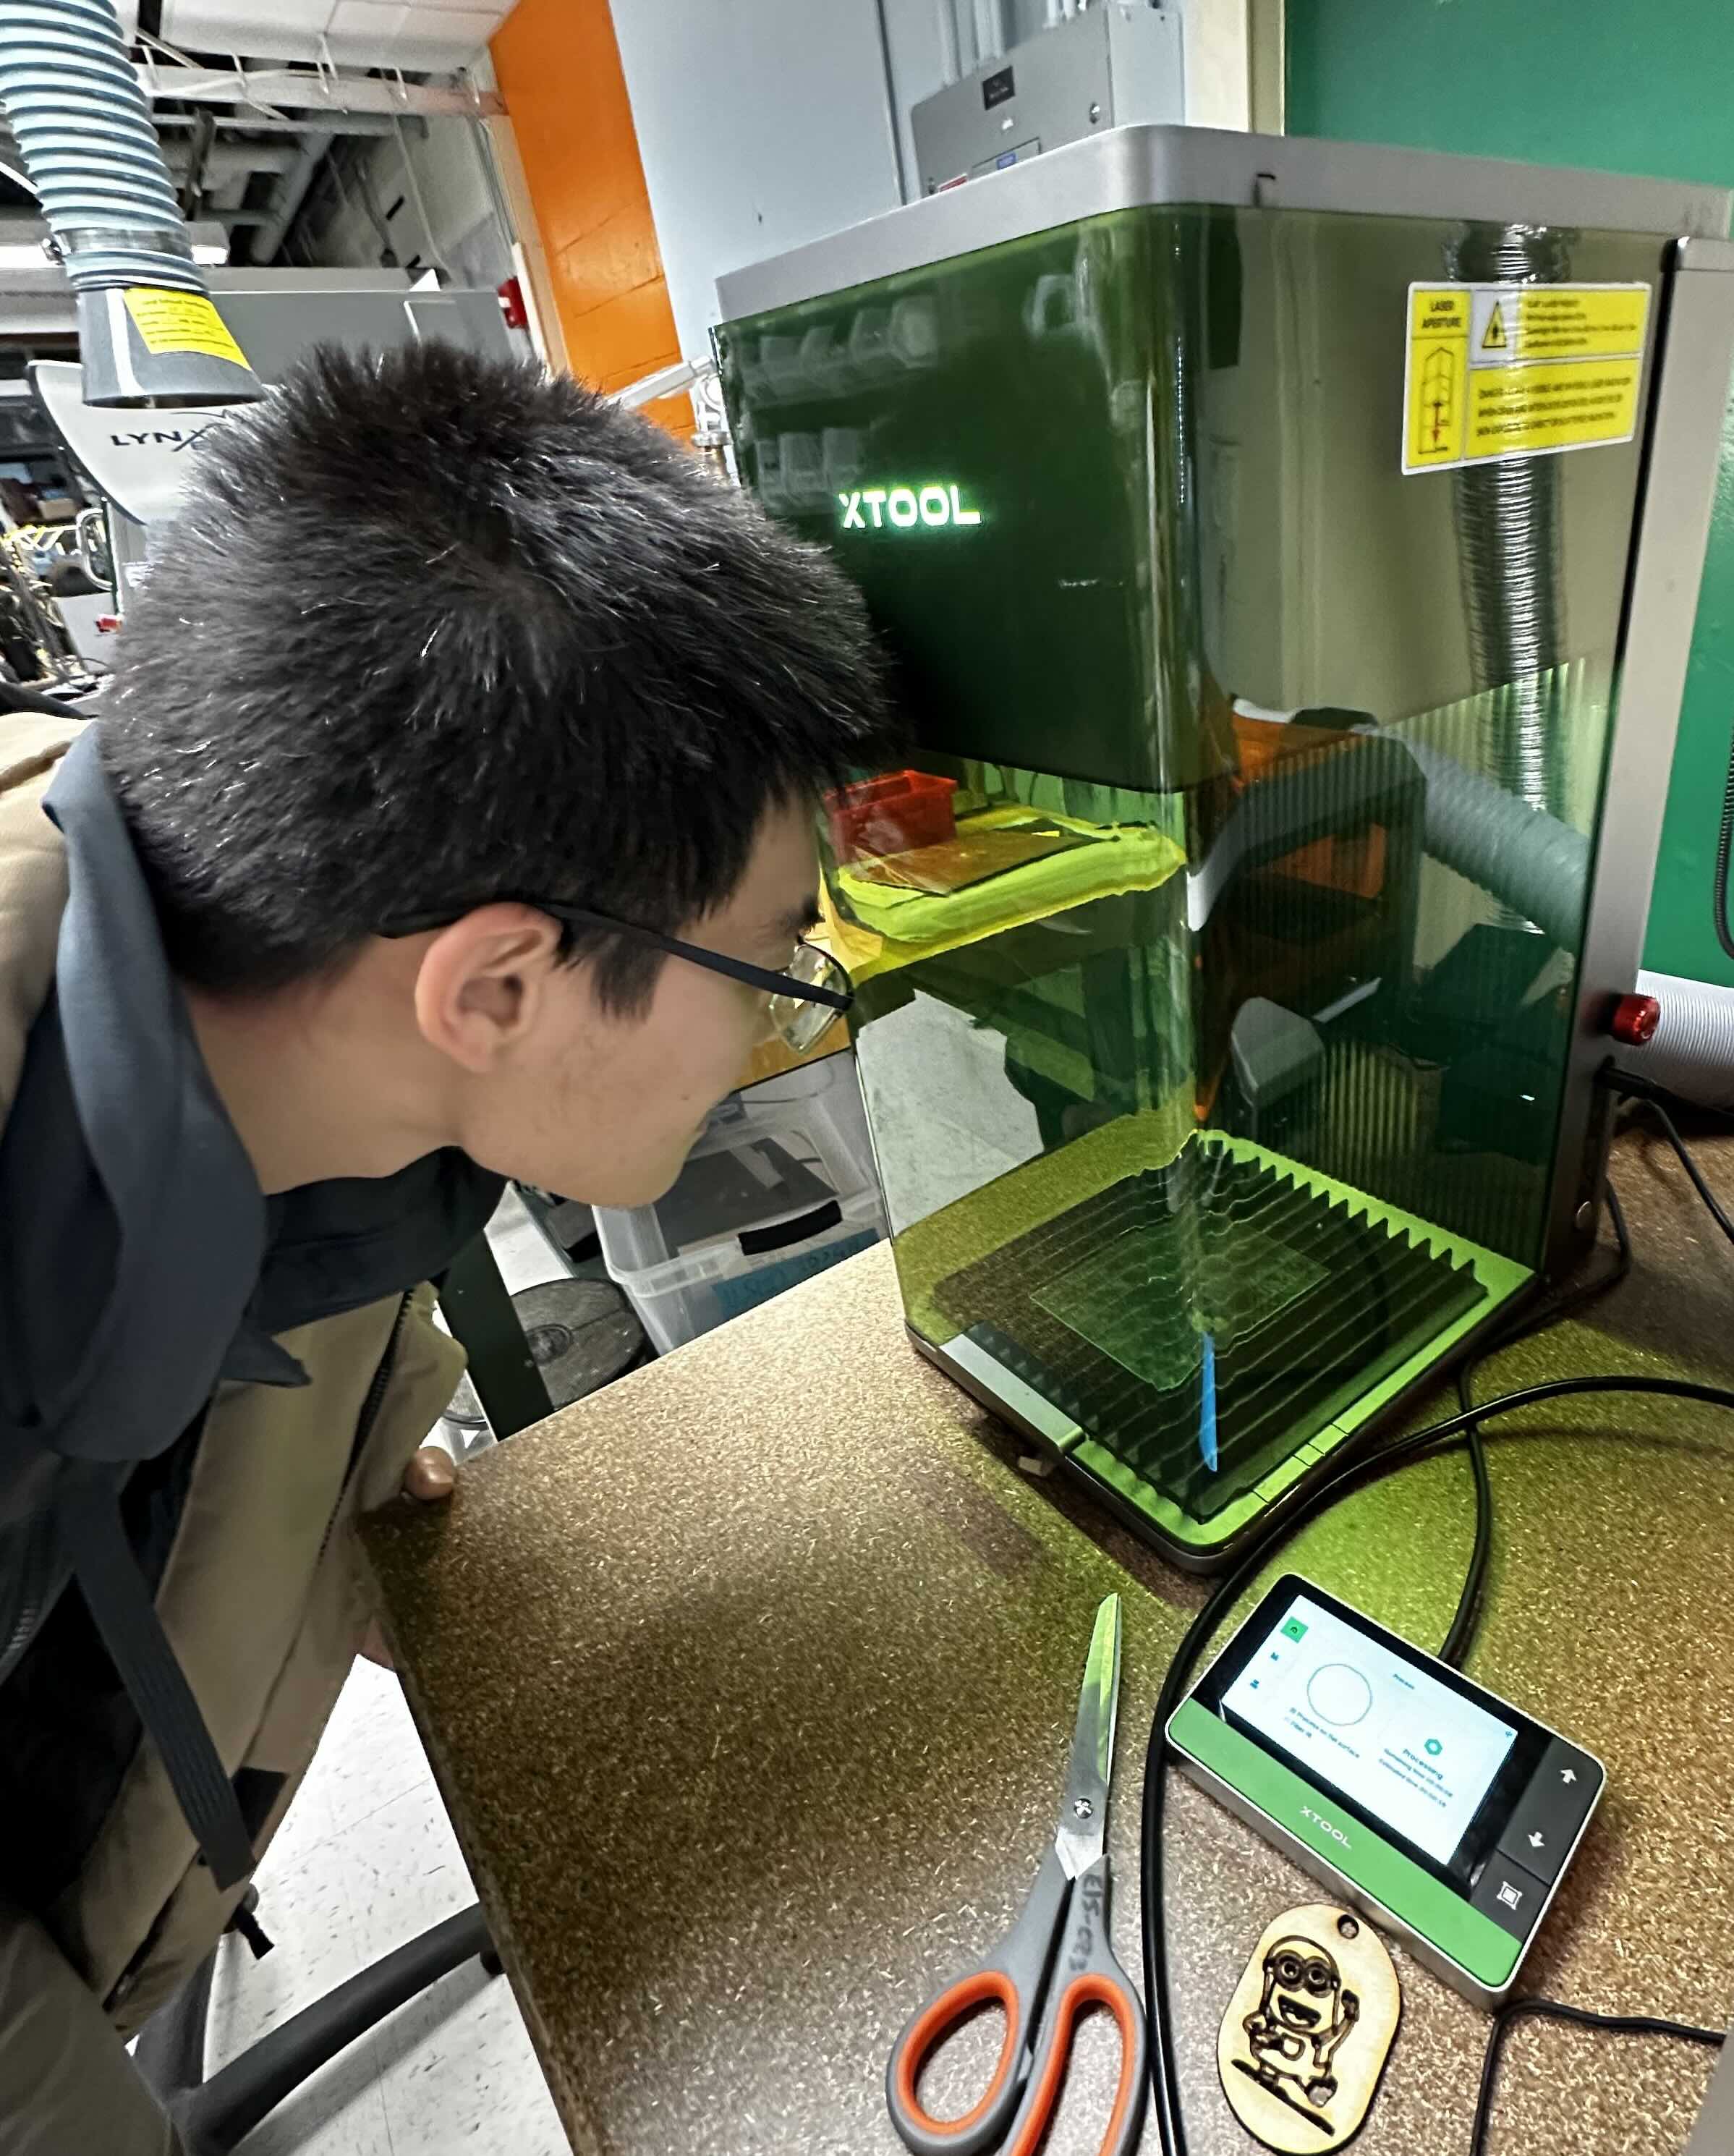
I used the xtool f1 to engrave an image on the aluminum block.
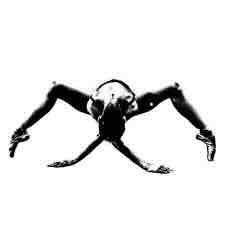
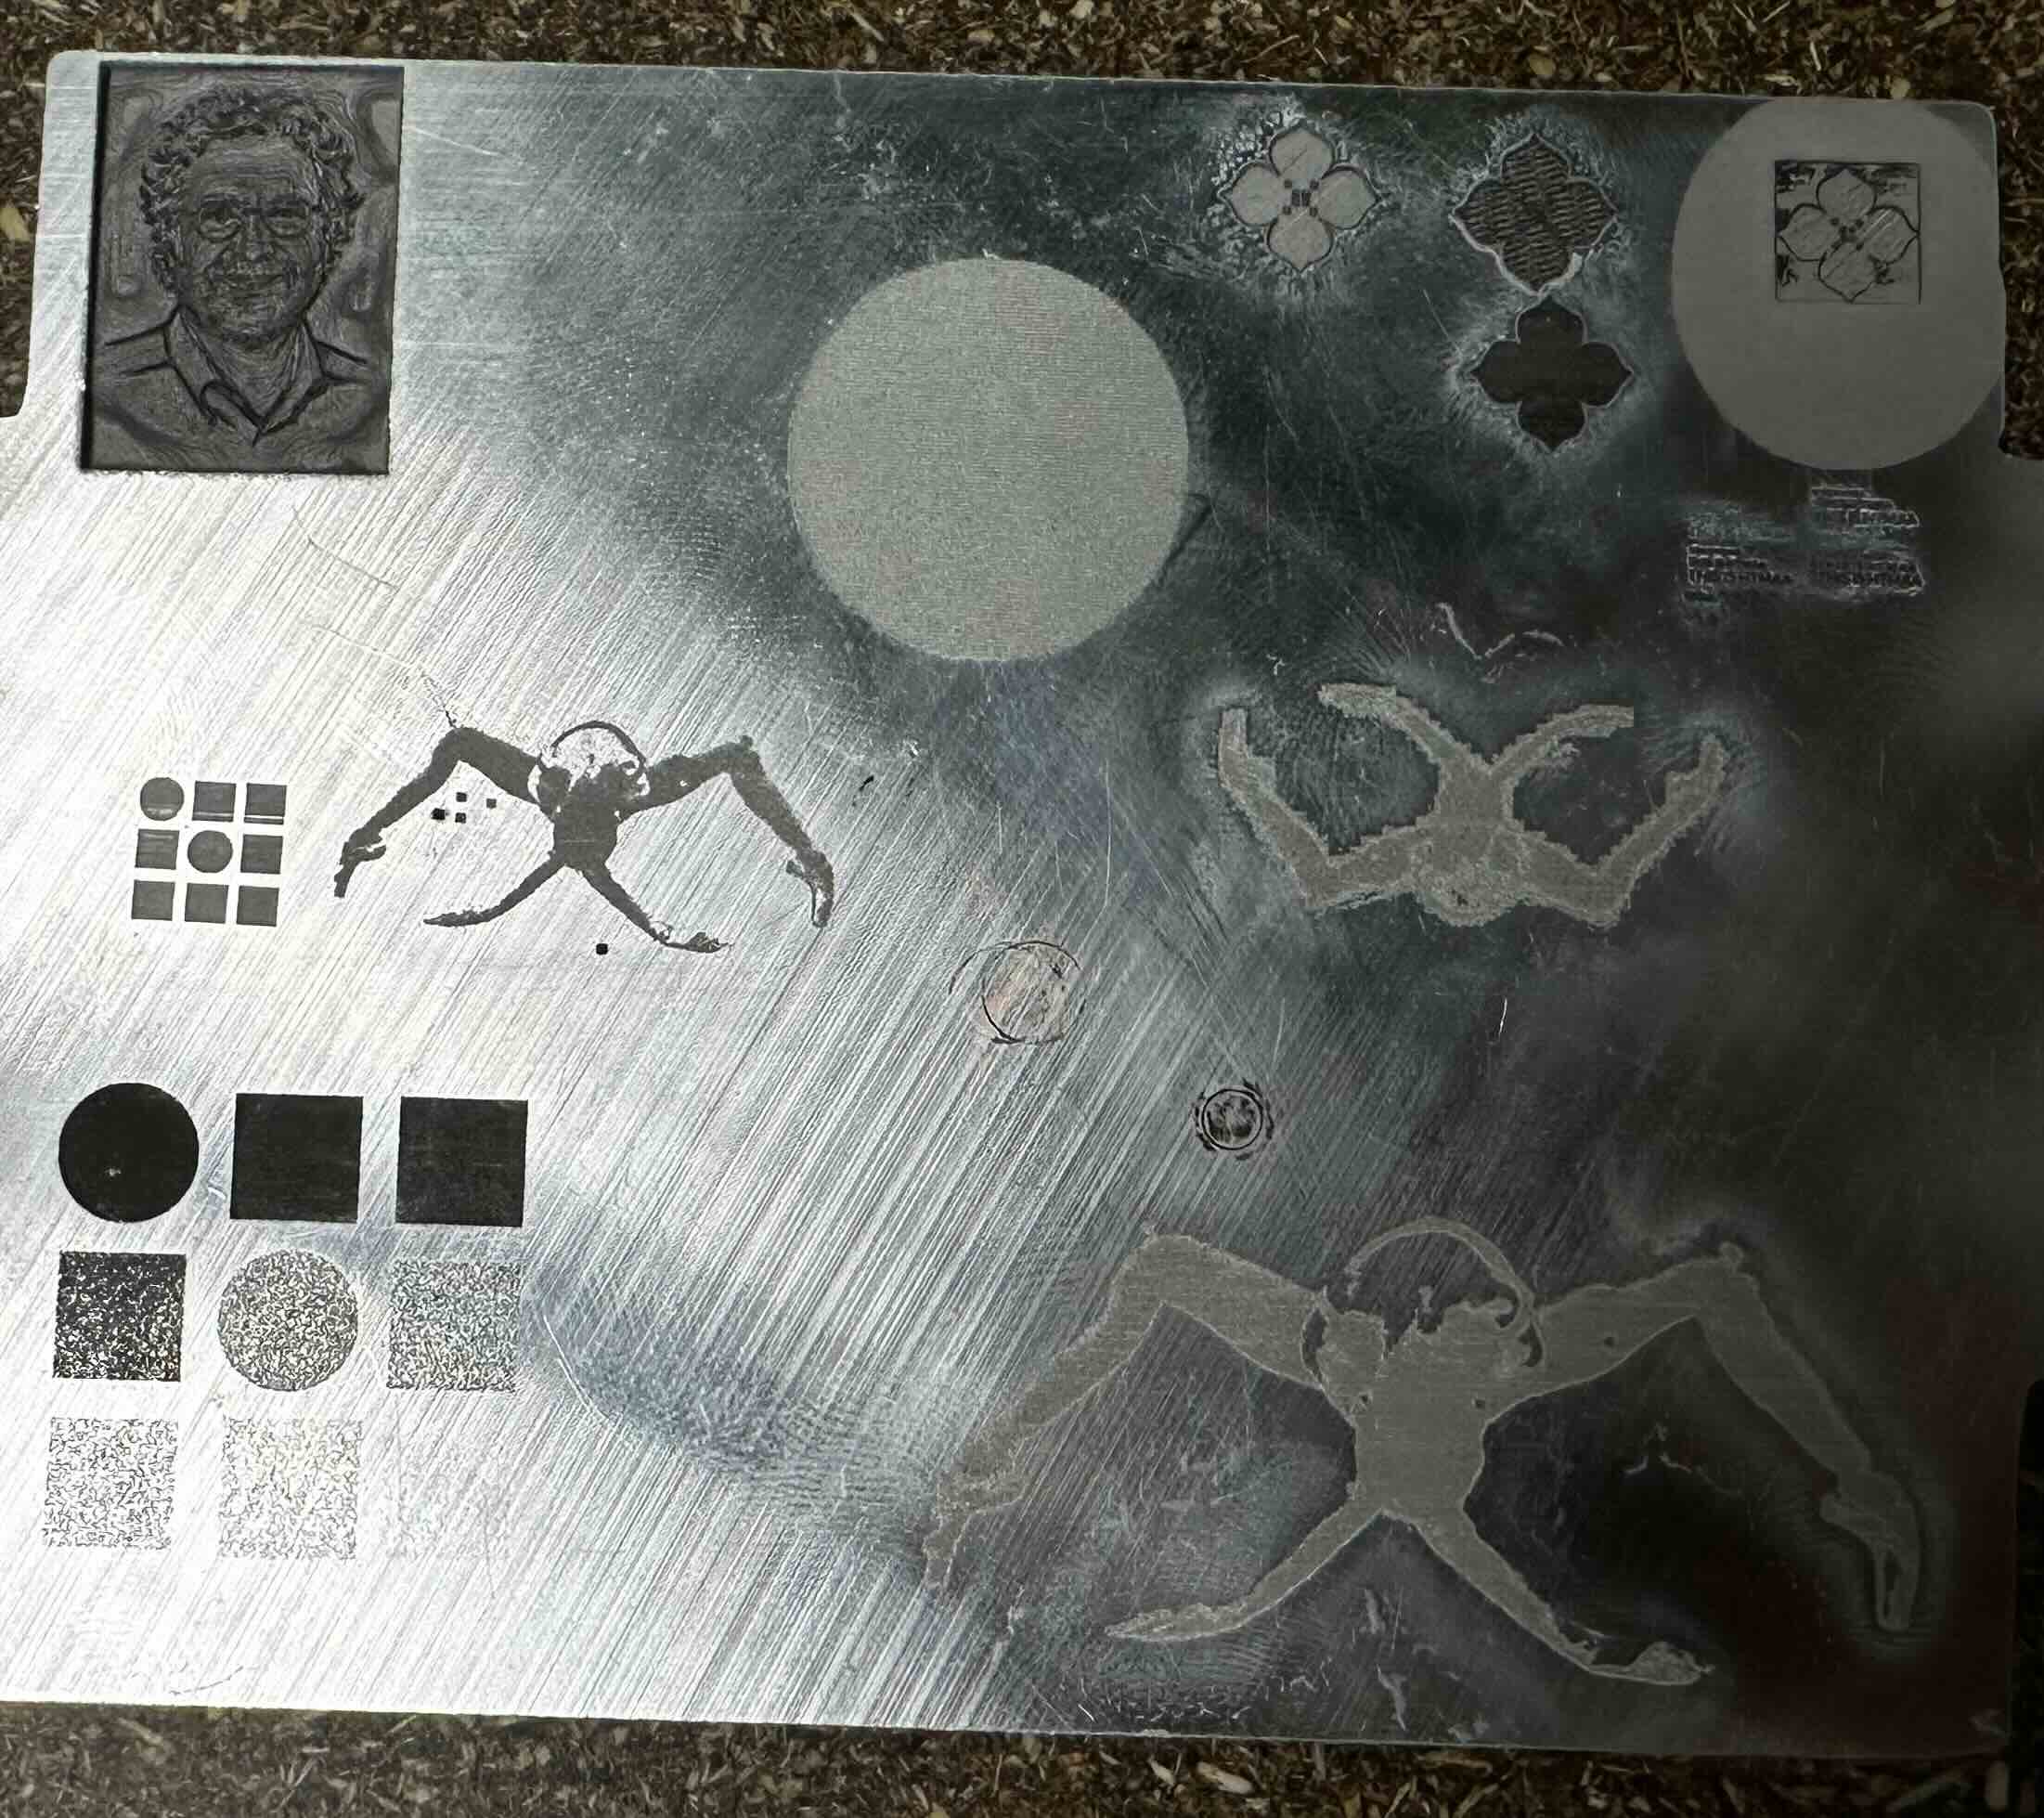
The aluminum block was 26 mm thick. Quentin kindly brought me to the water jet where we cut a rectangle around my engraving.
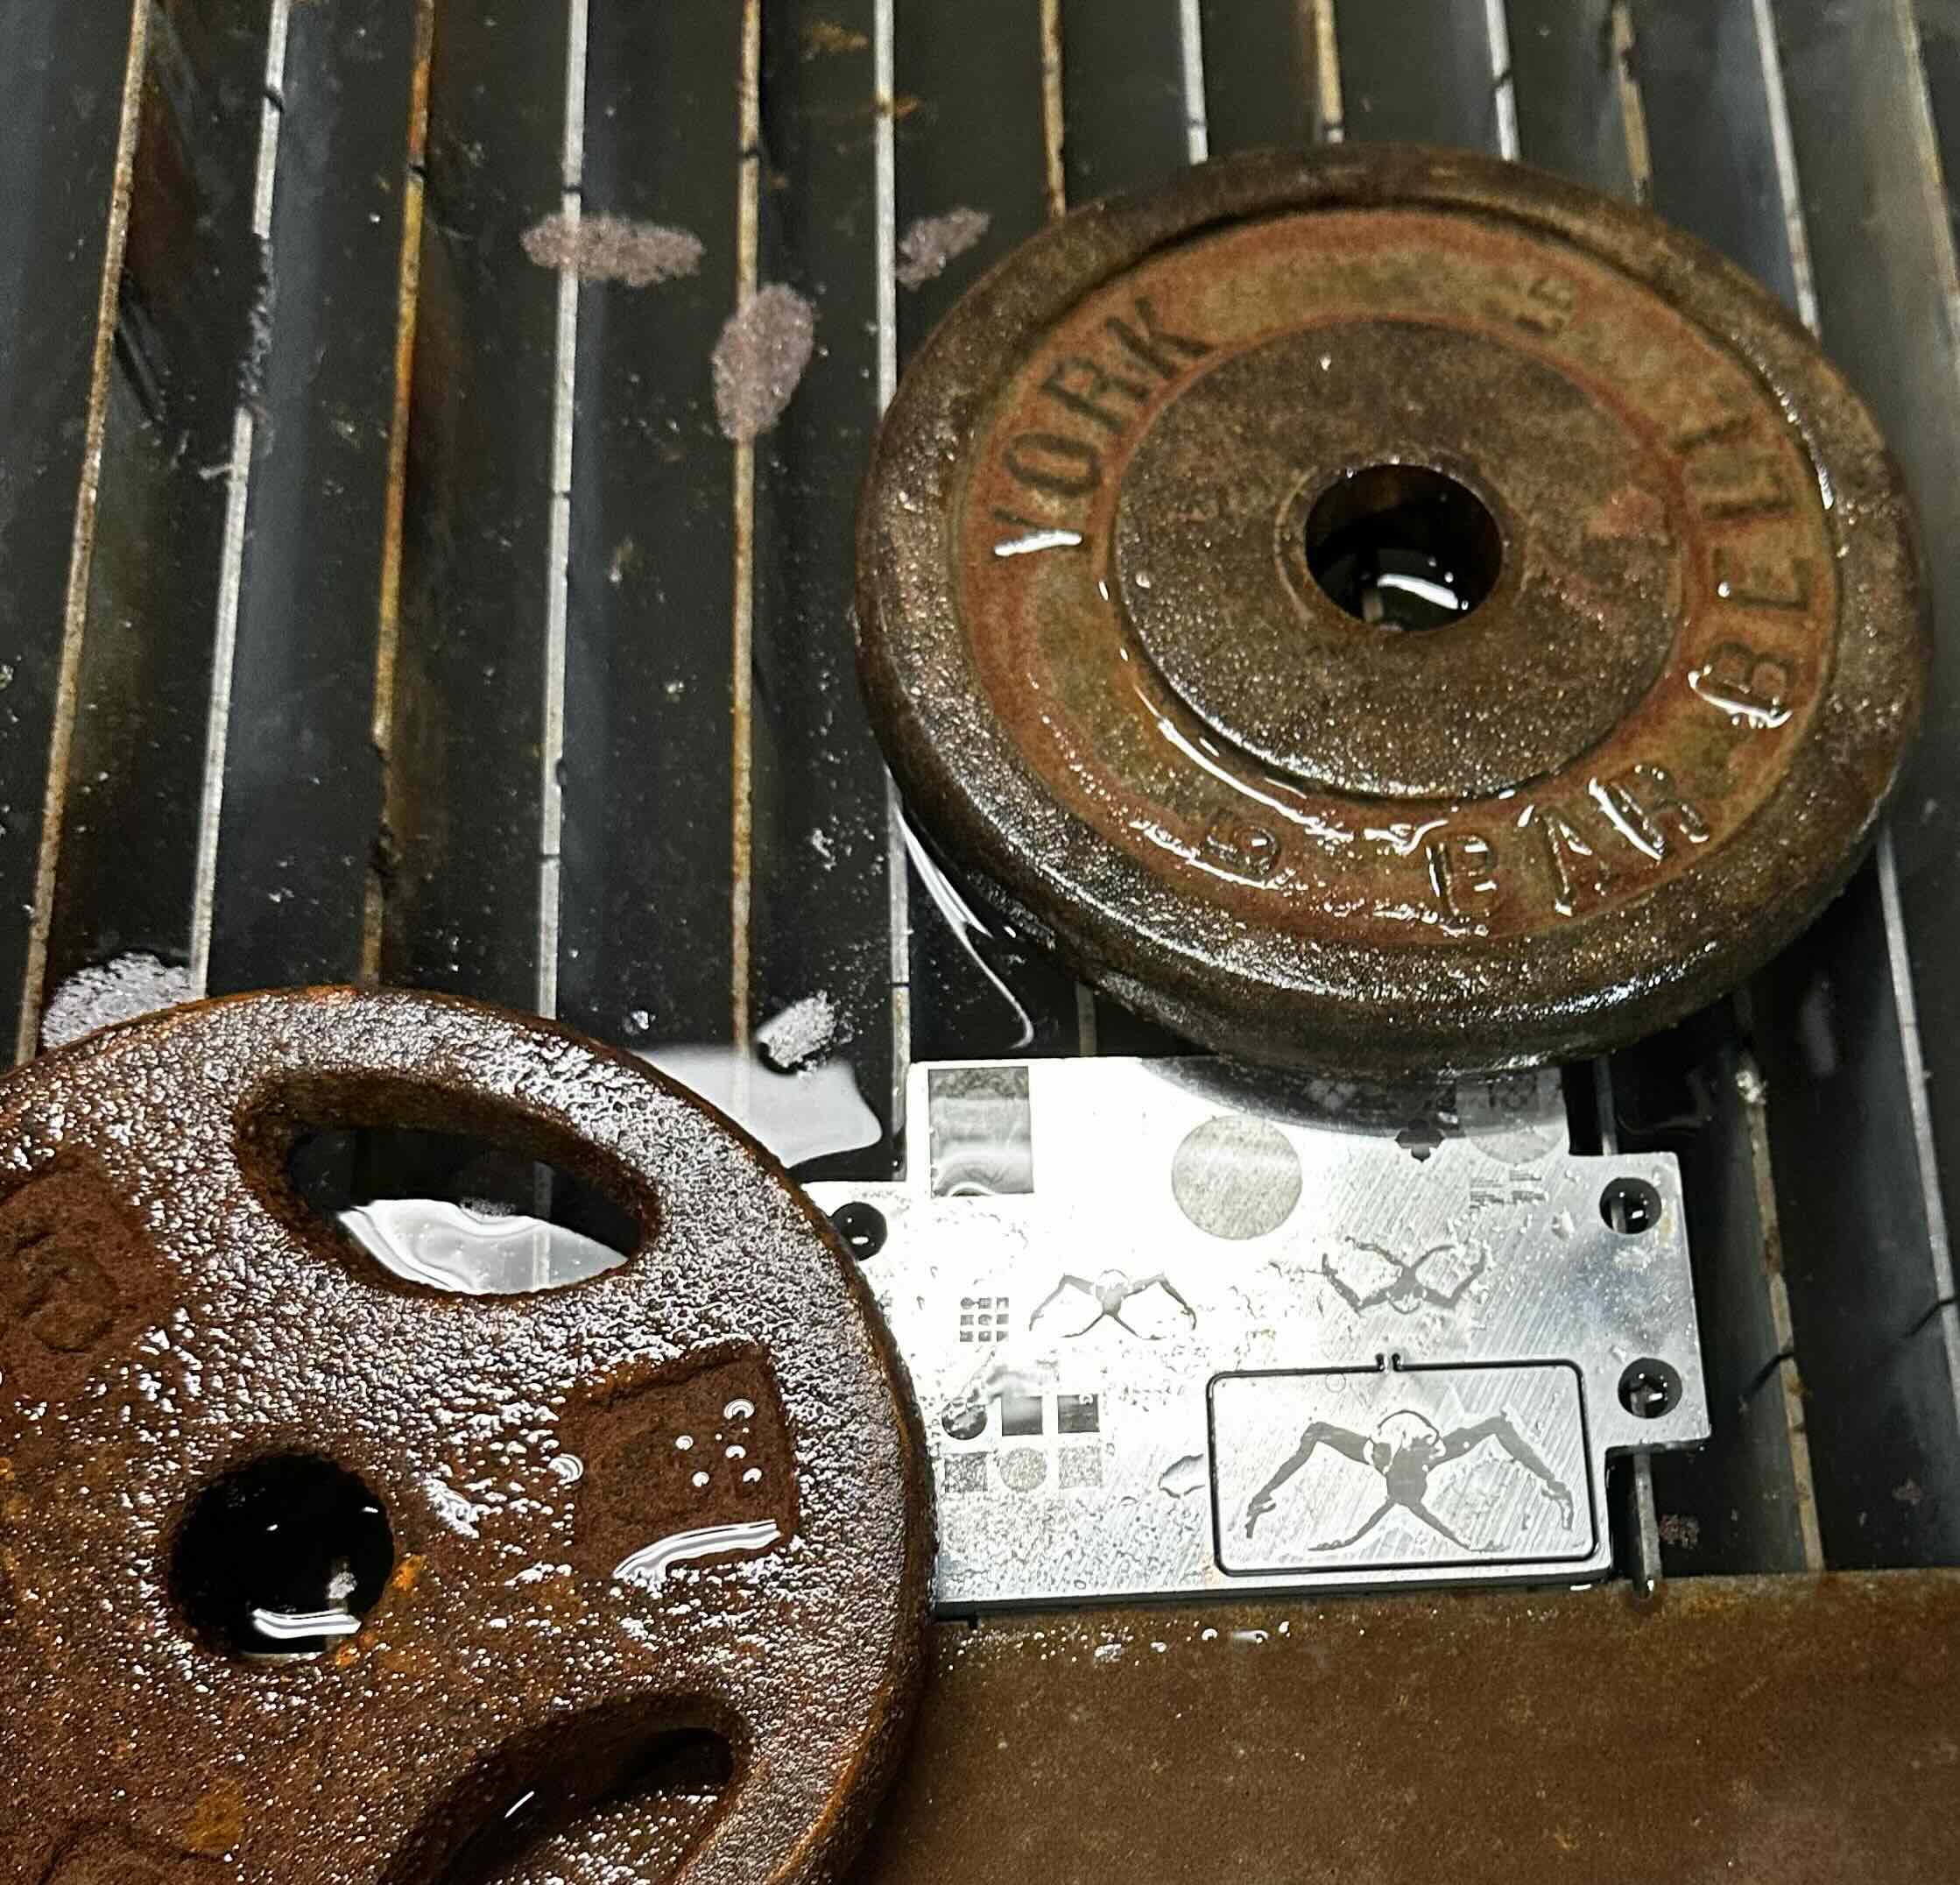
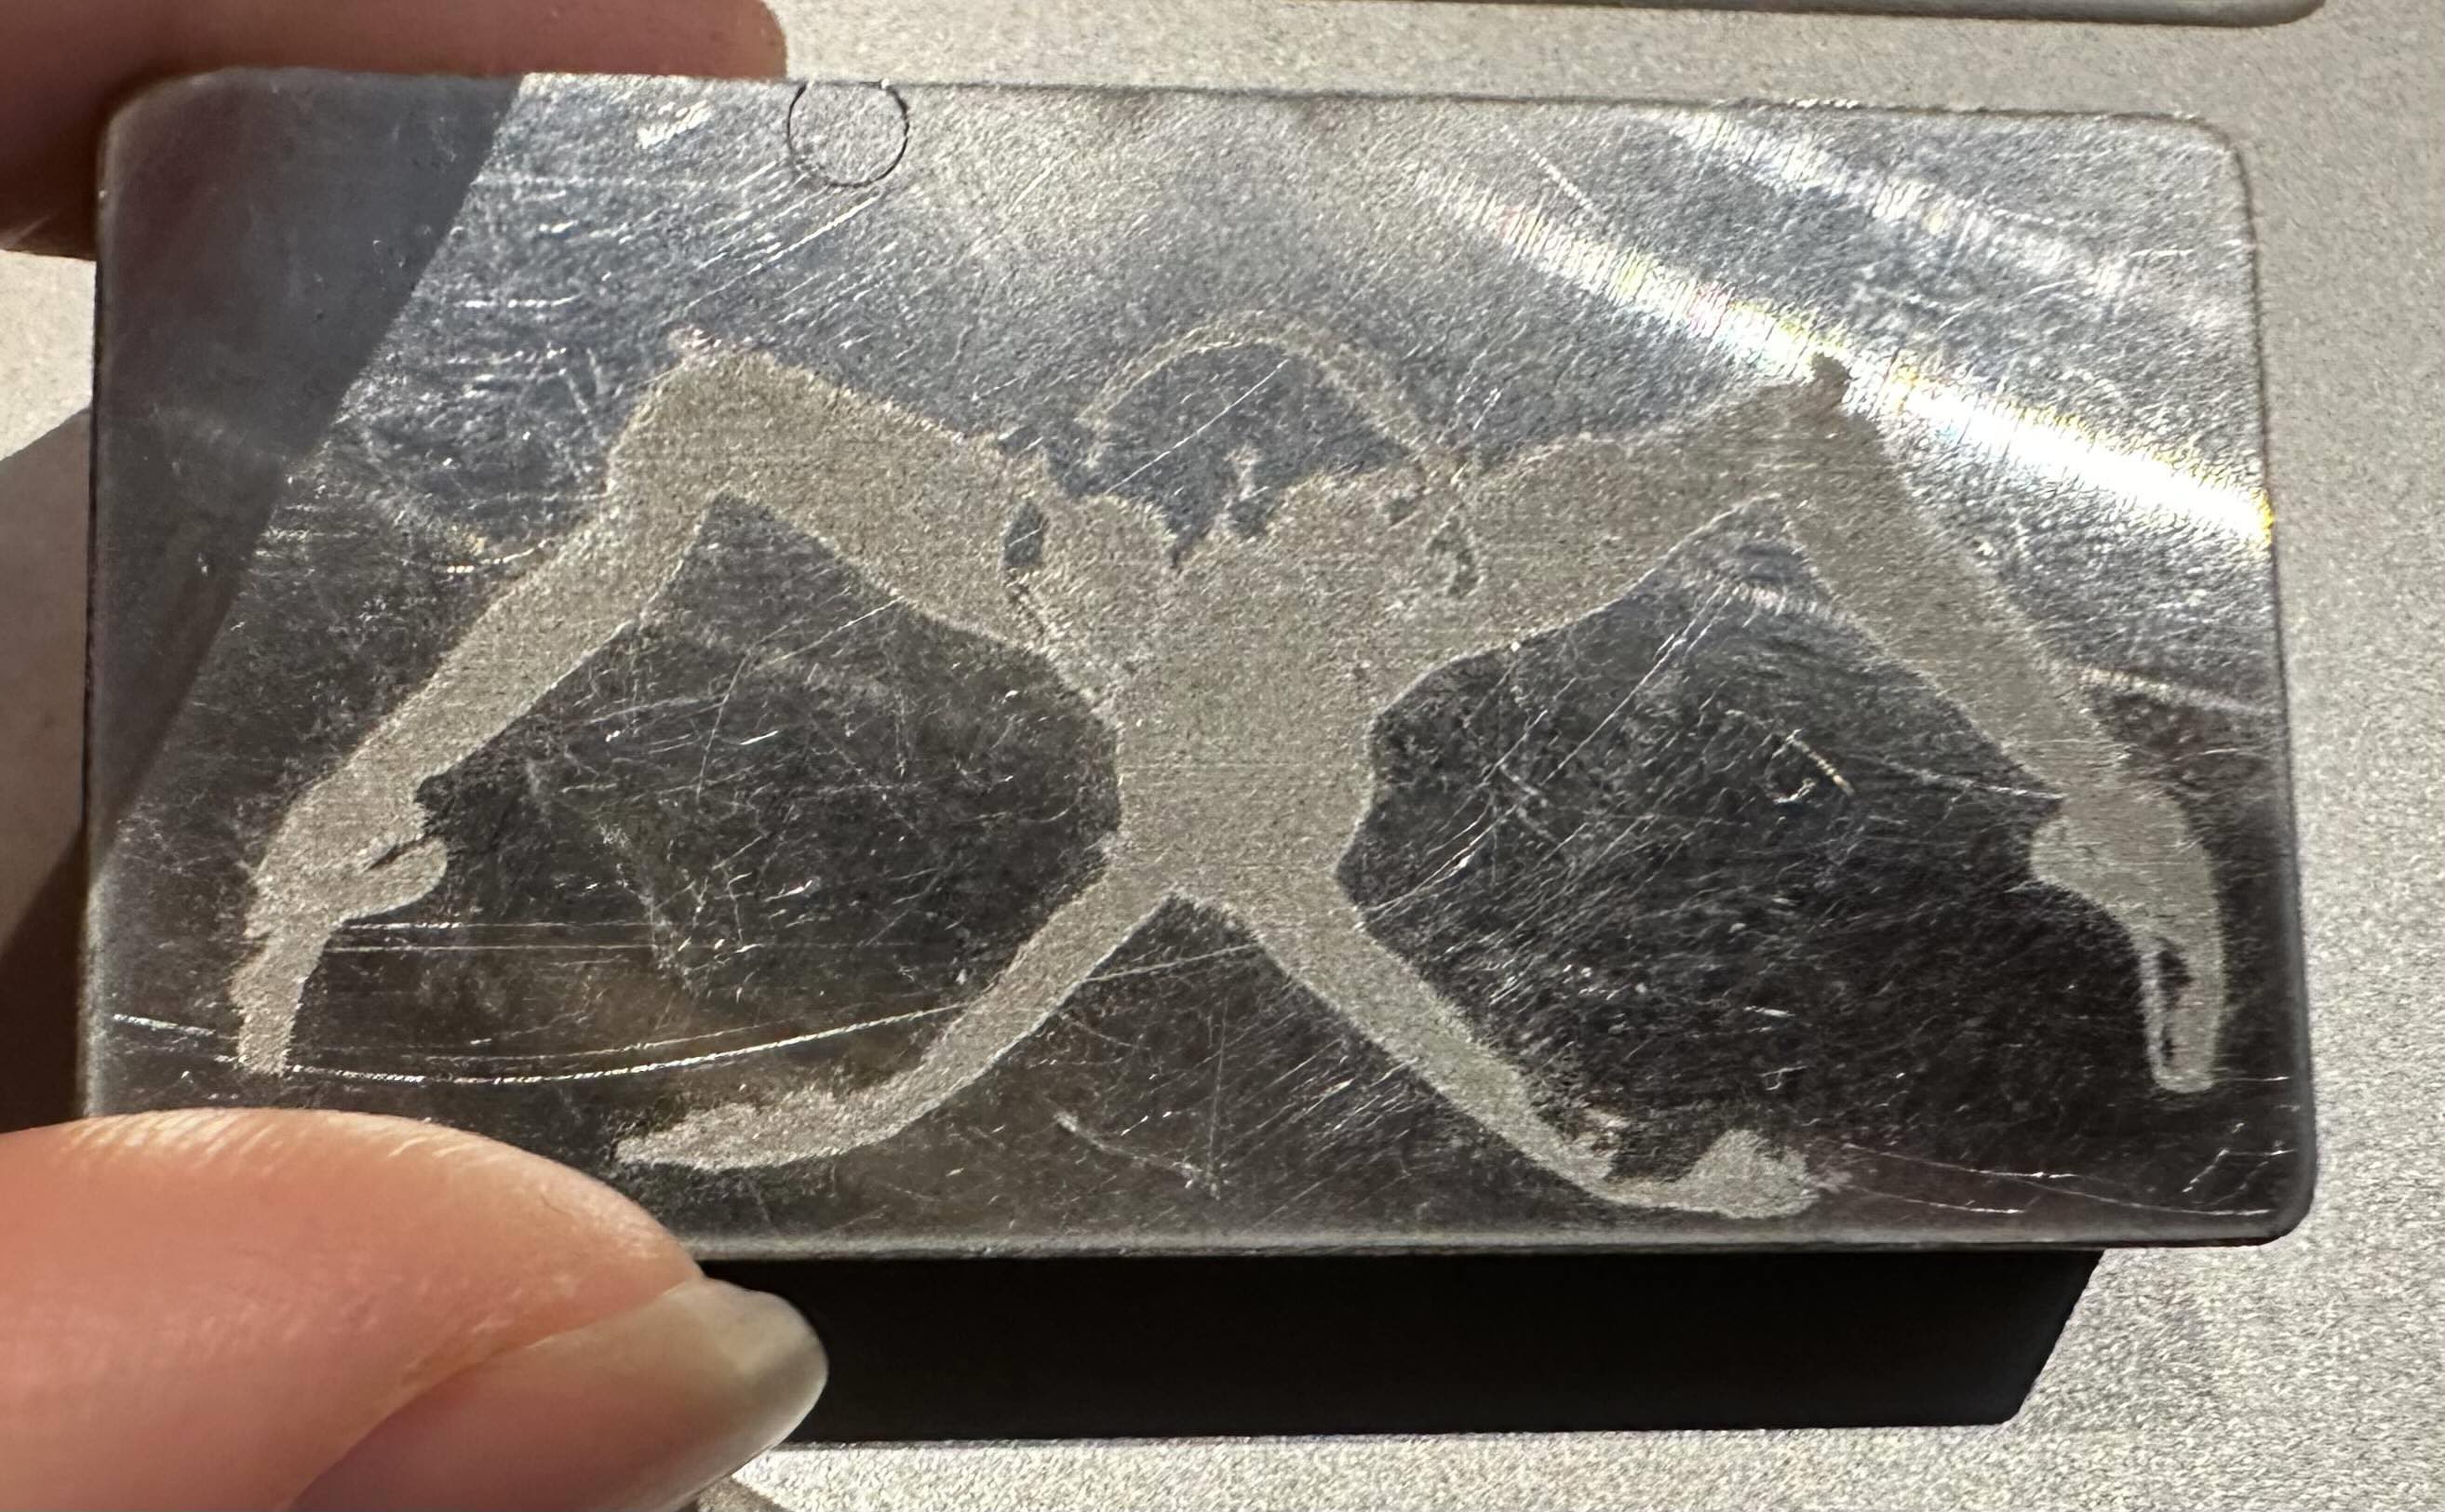
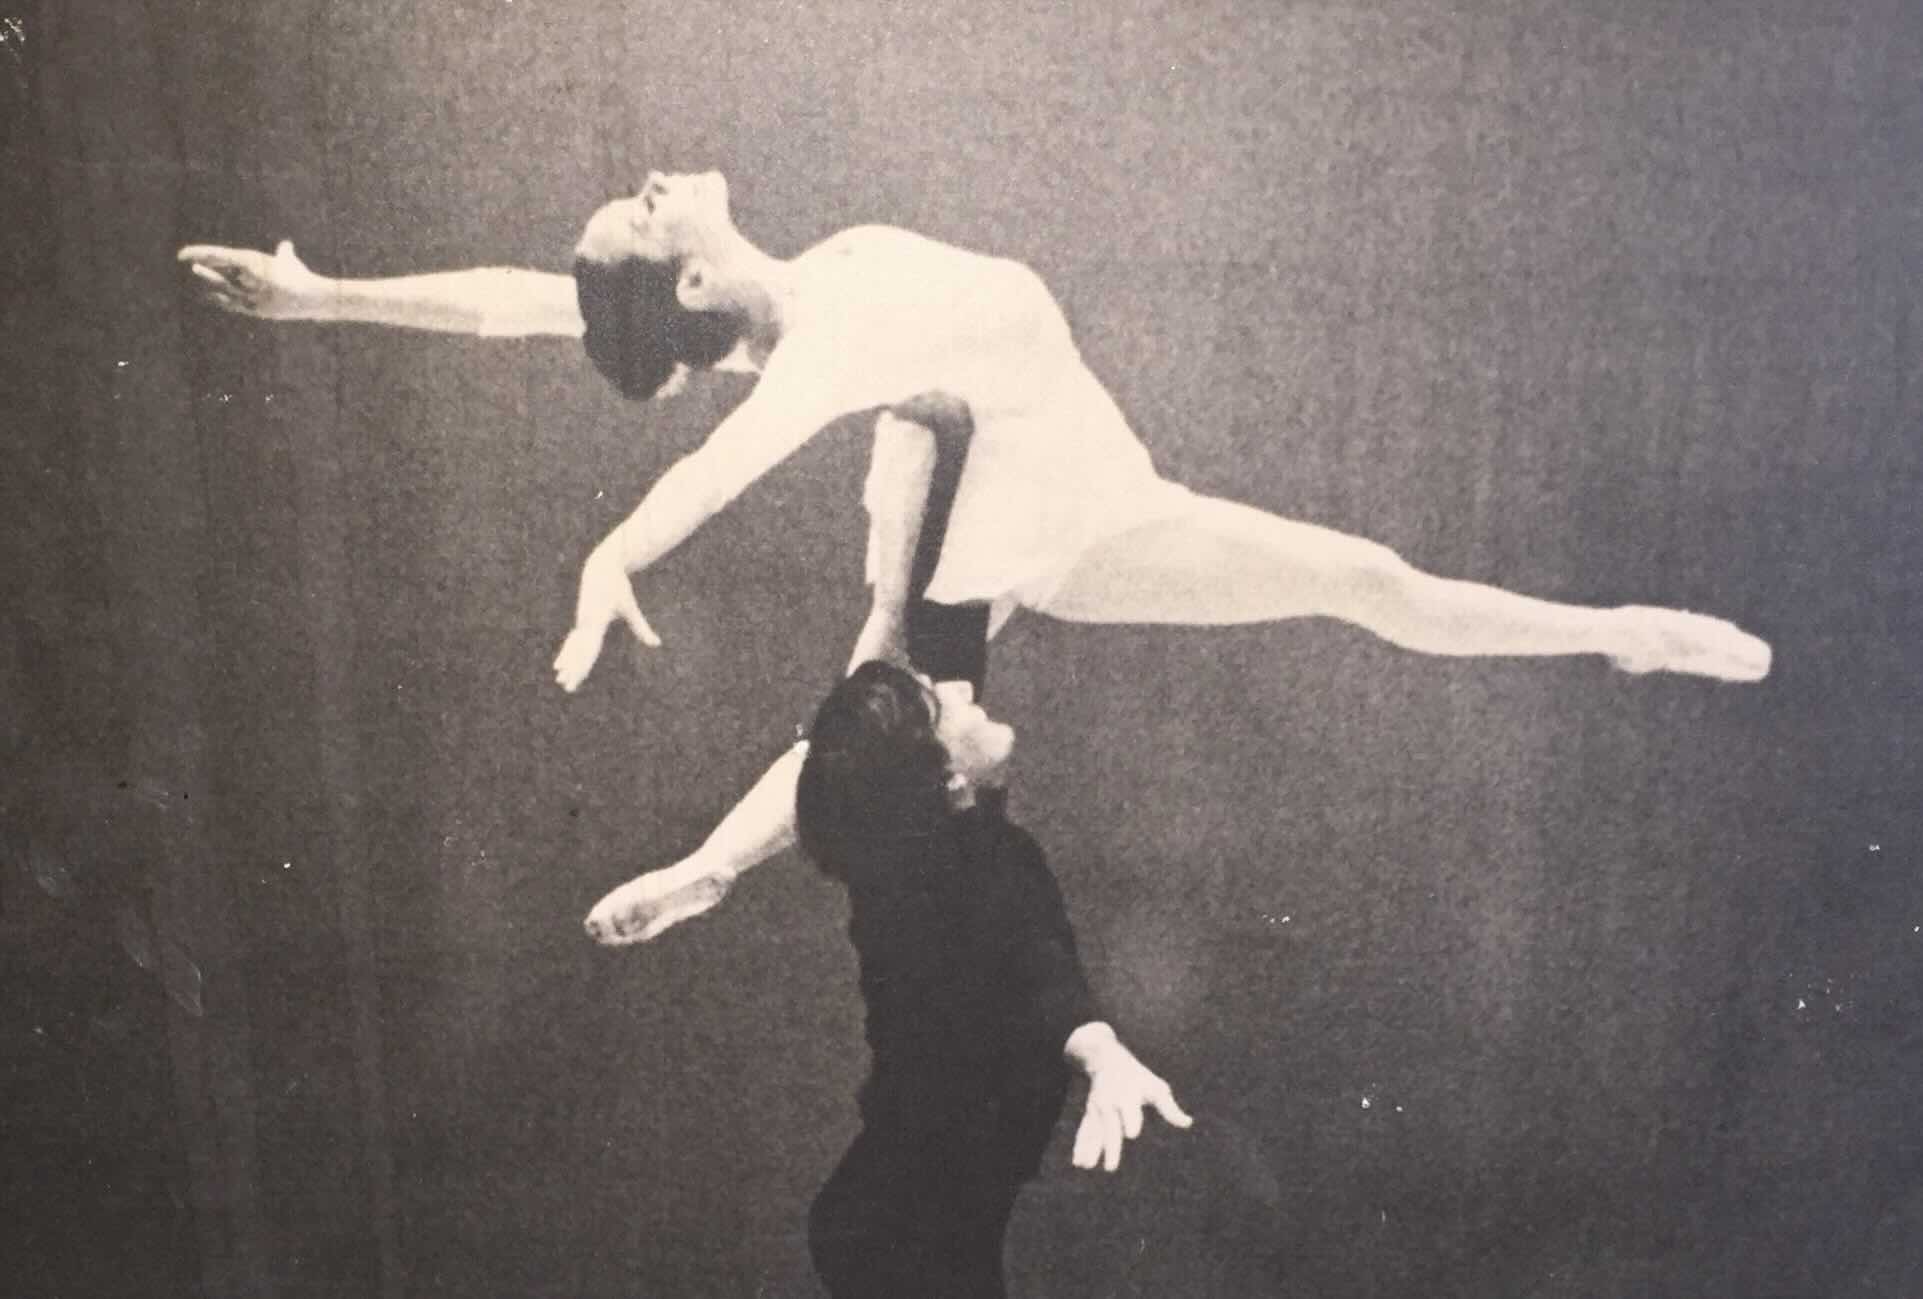
I attempted both engravement of the full image and of the silhuoette. The detail looked more interesting on the full image, but since I added several passes on the actual run (and did it on a side I had sanded) I lost a lot on contrast.