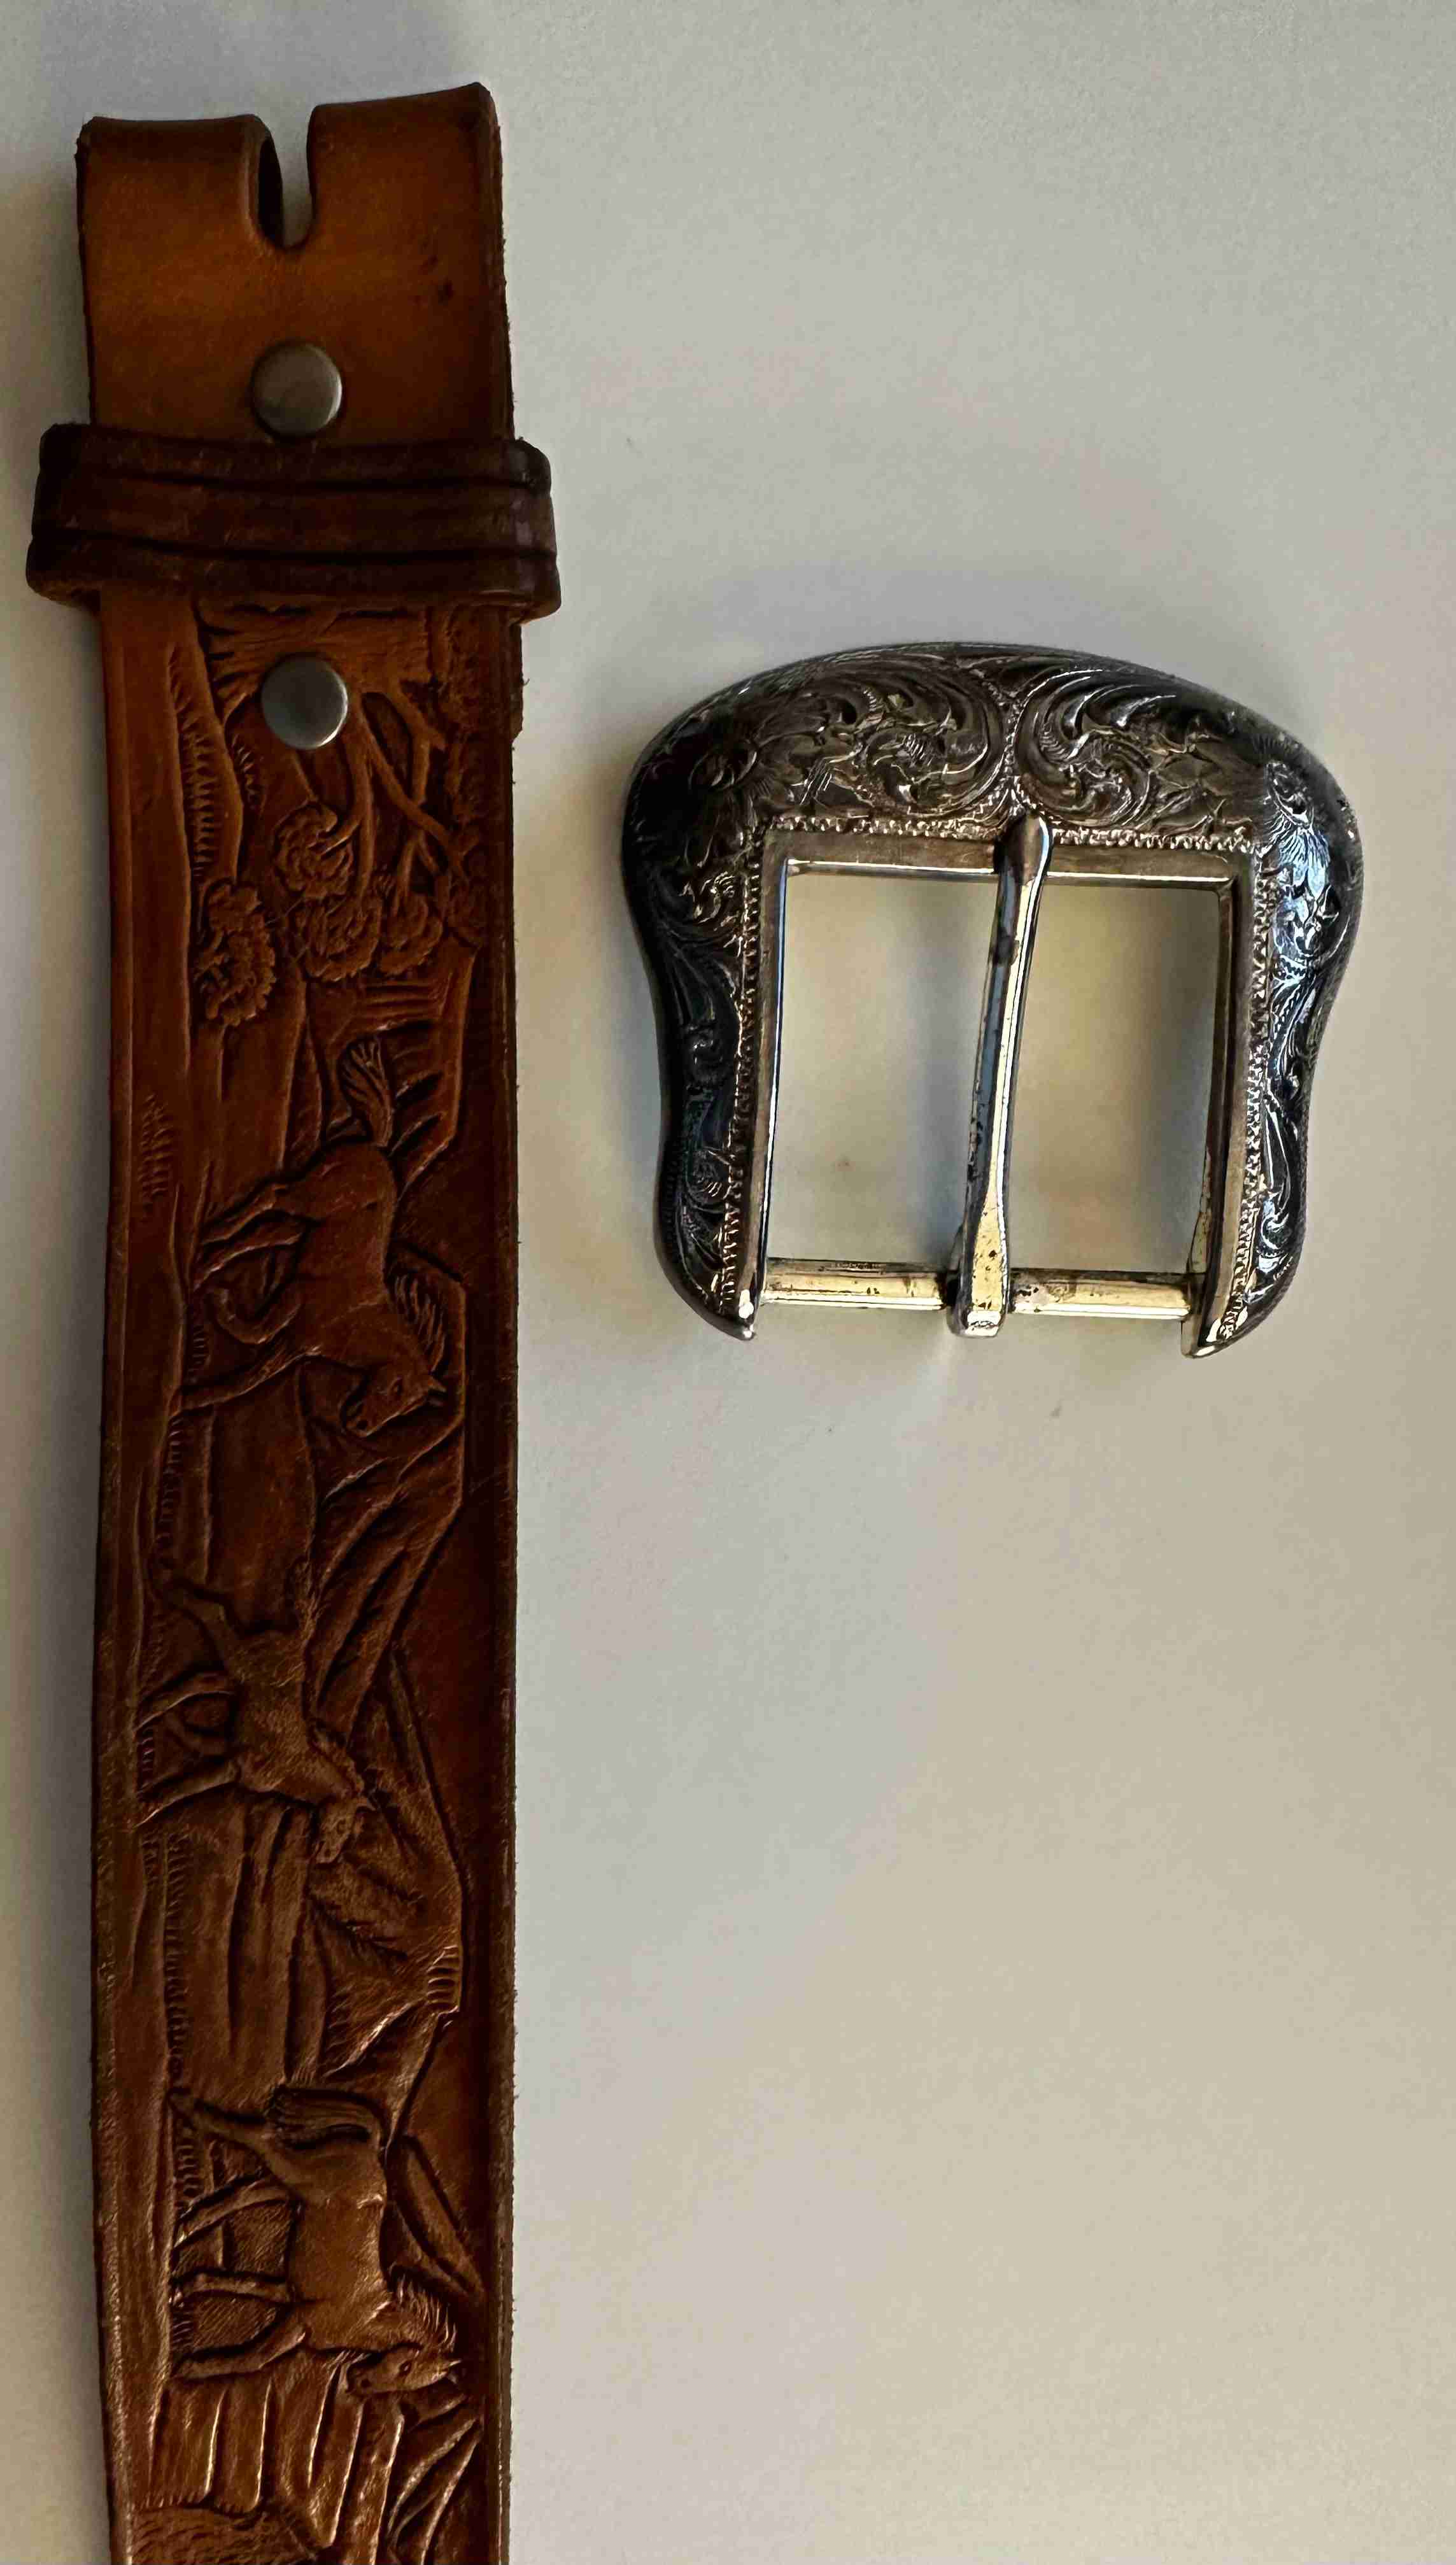
This week I wanted to replace a belt buckle that I hate.
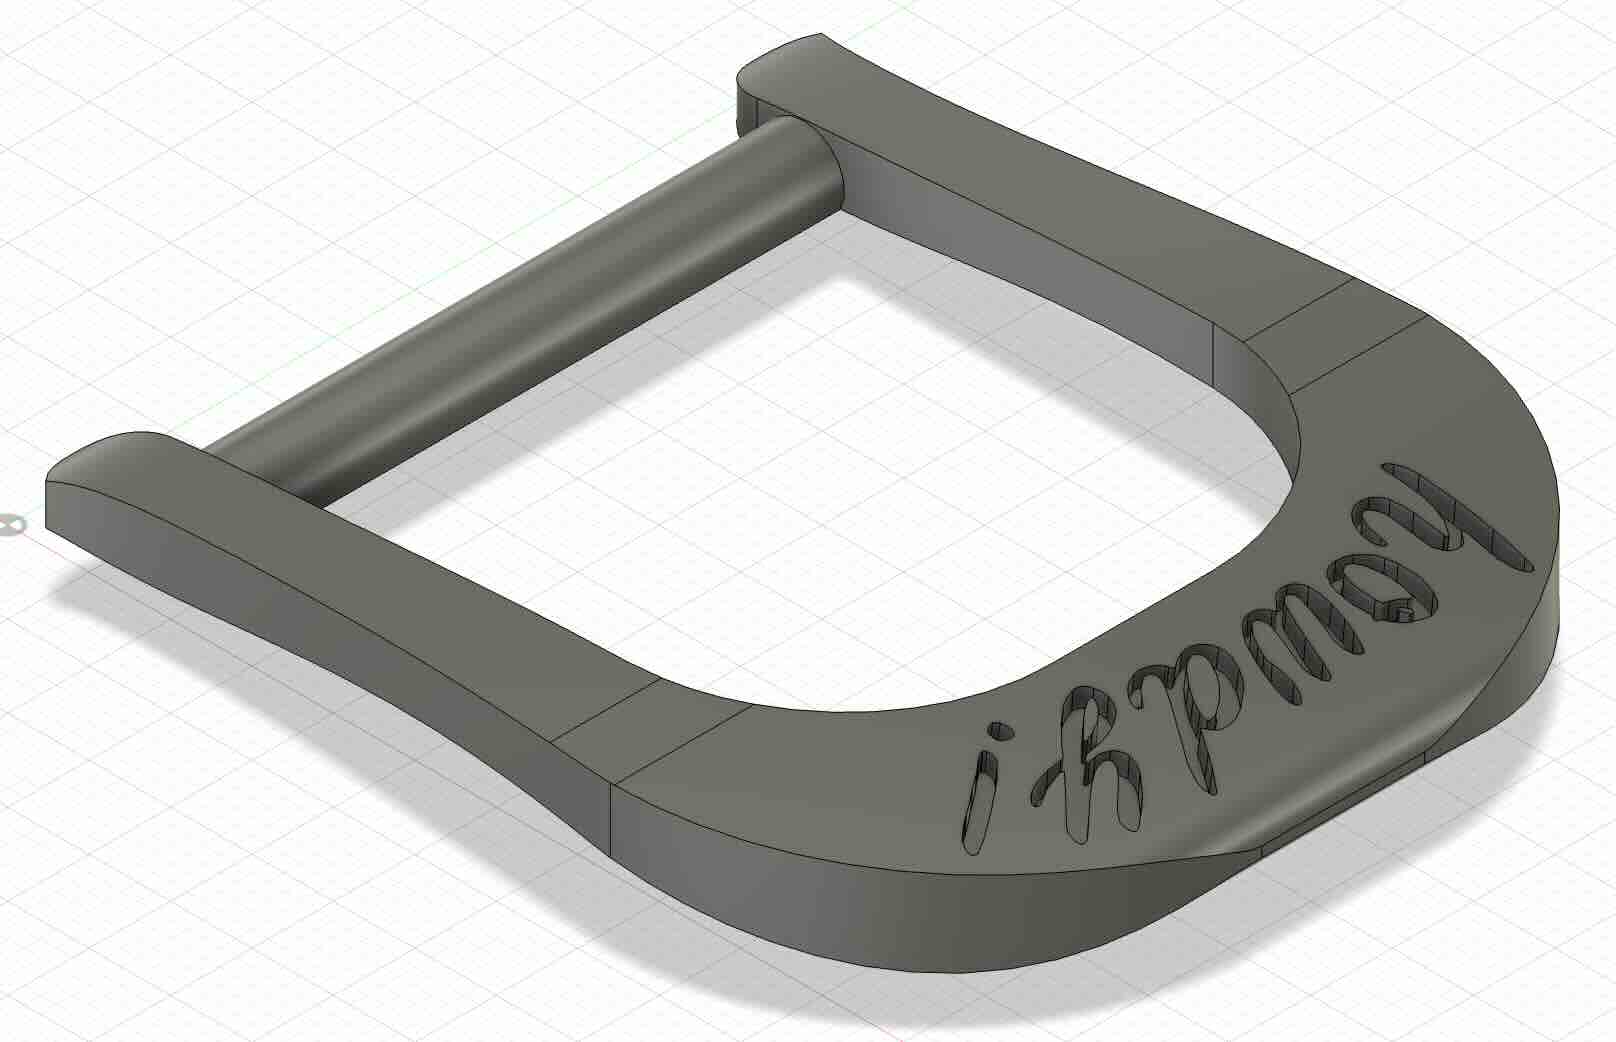
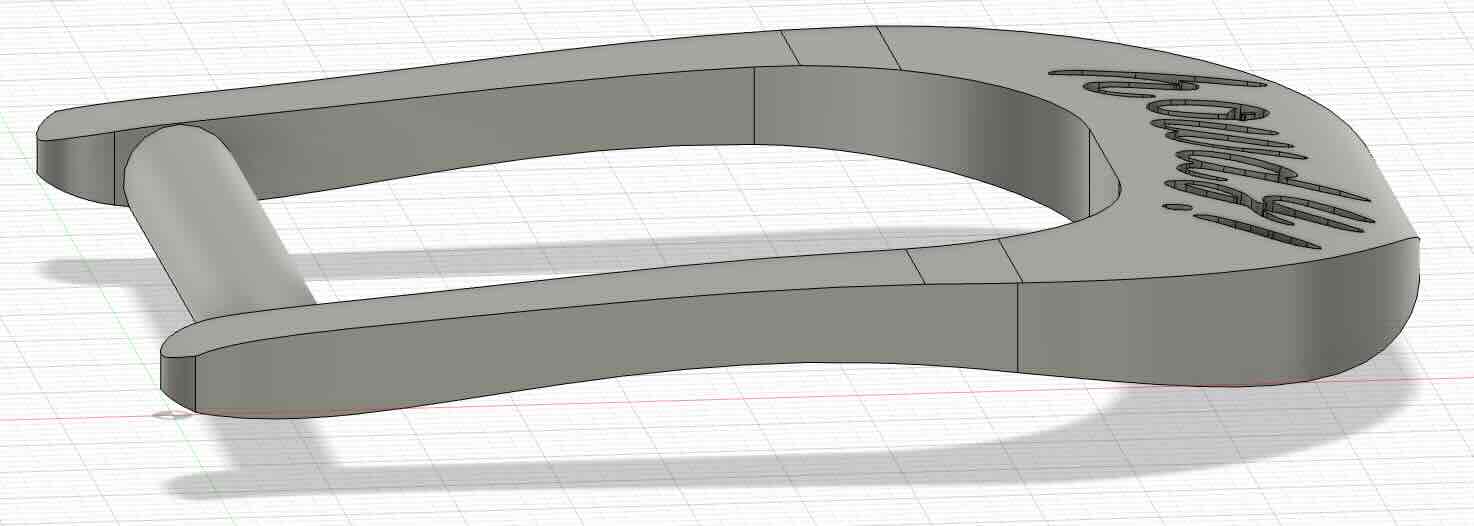
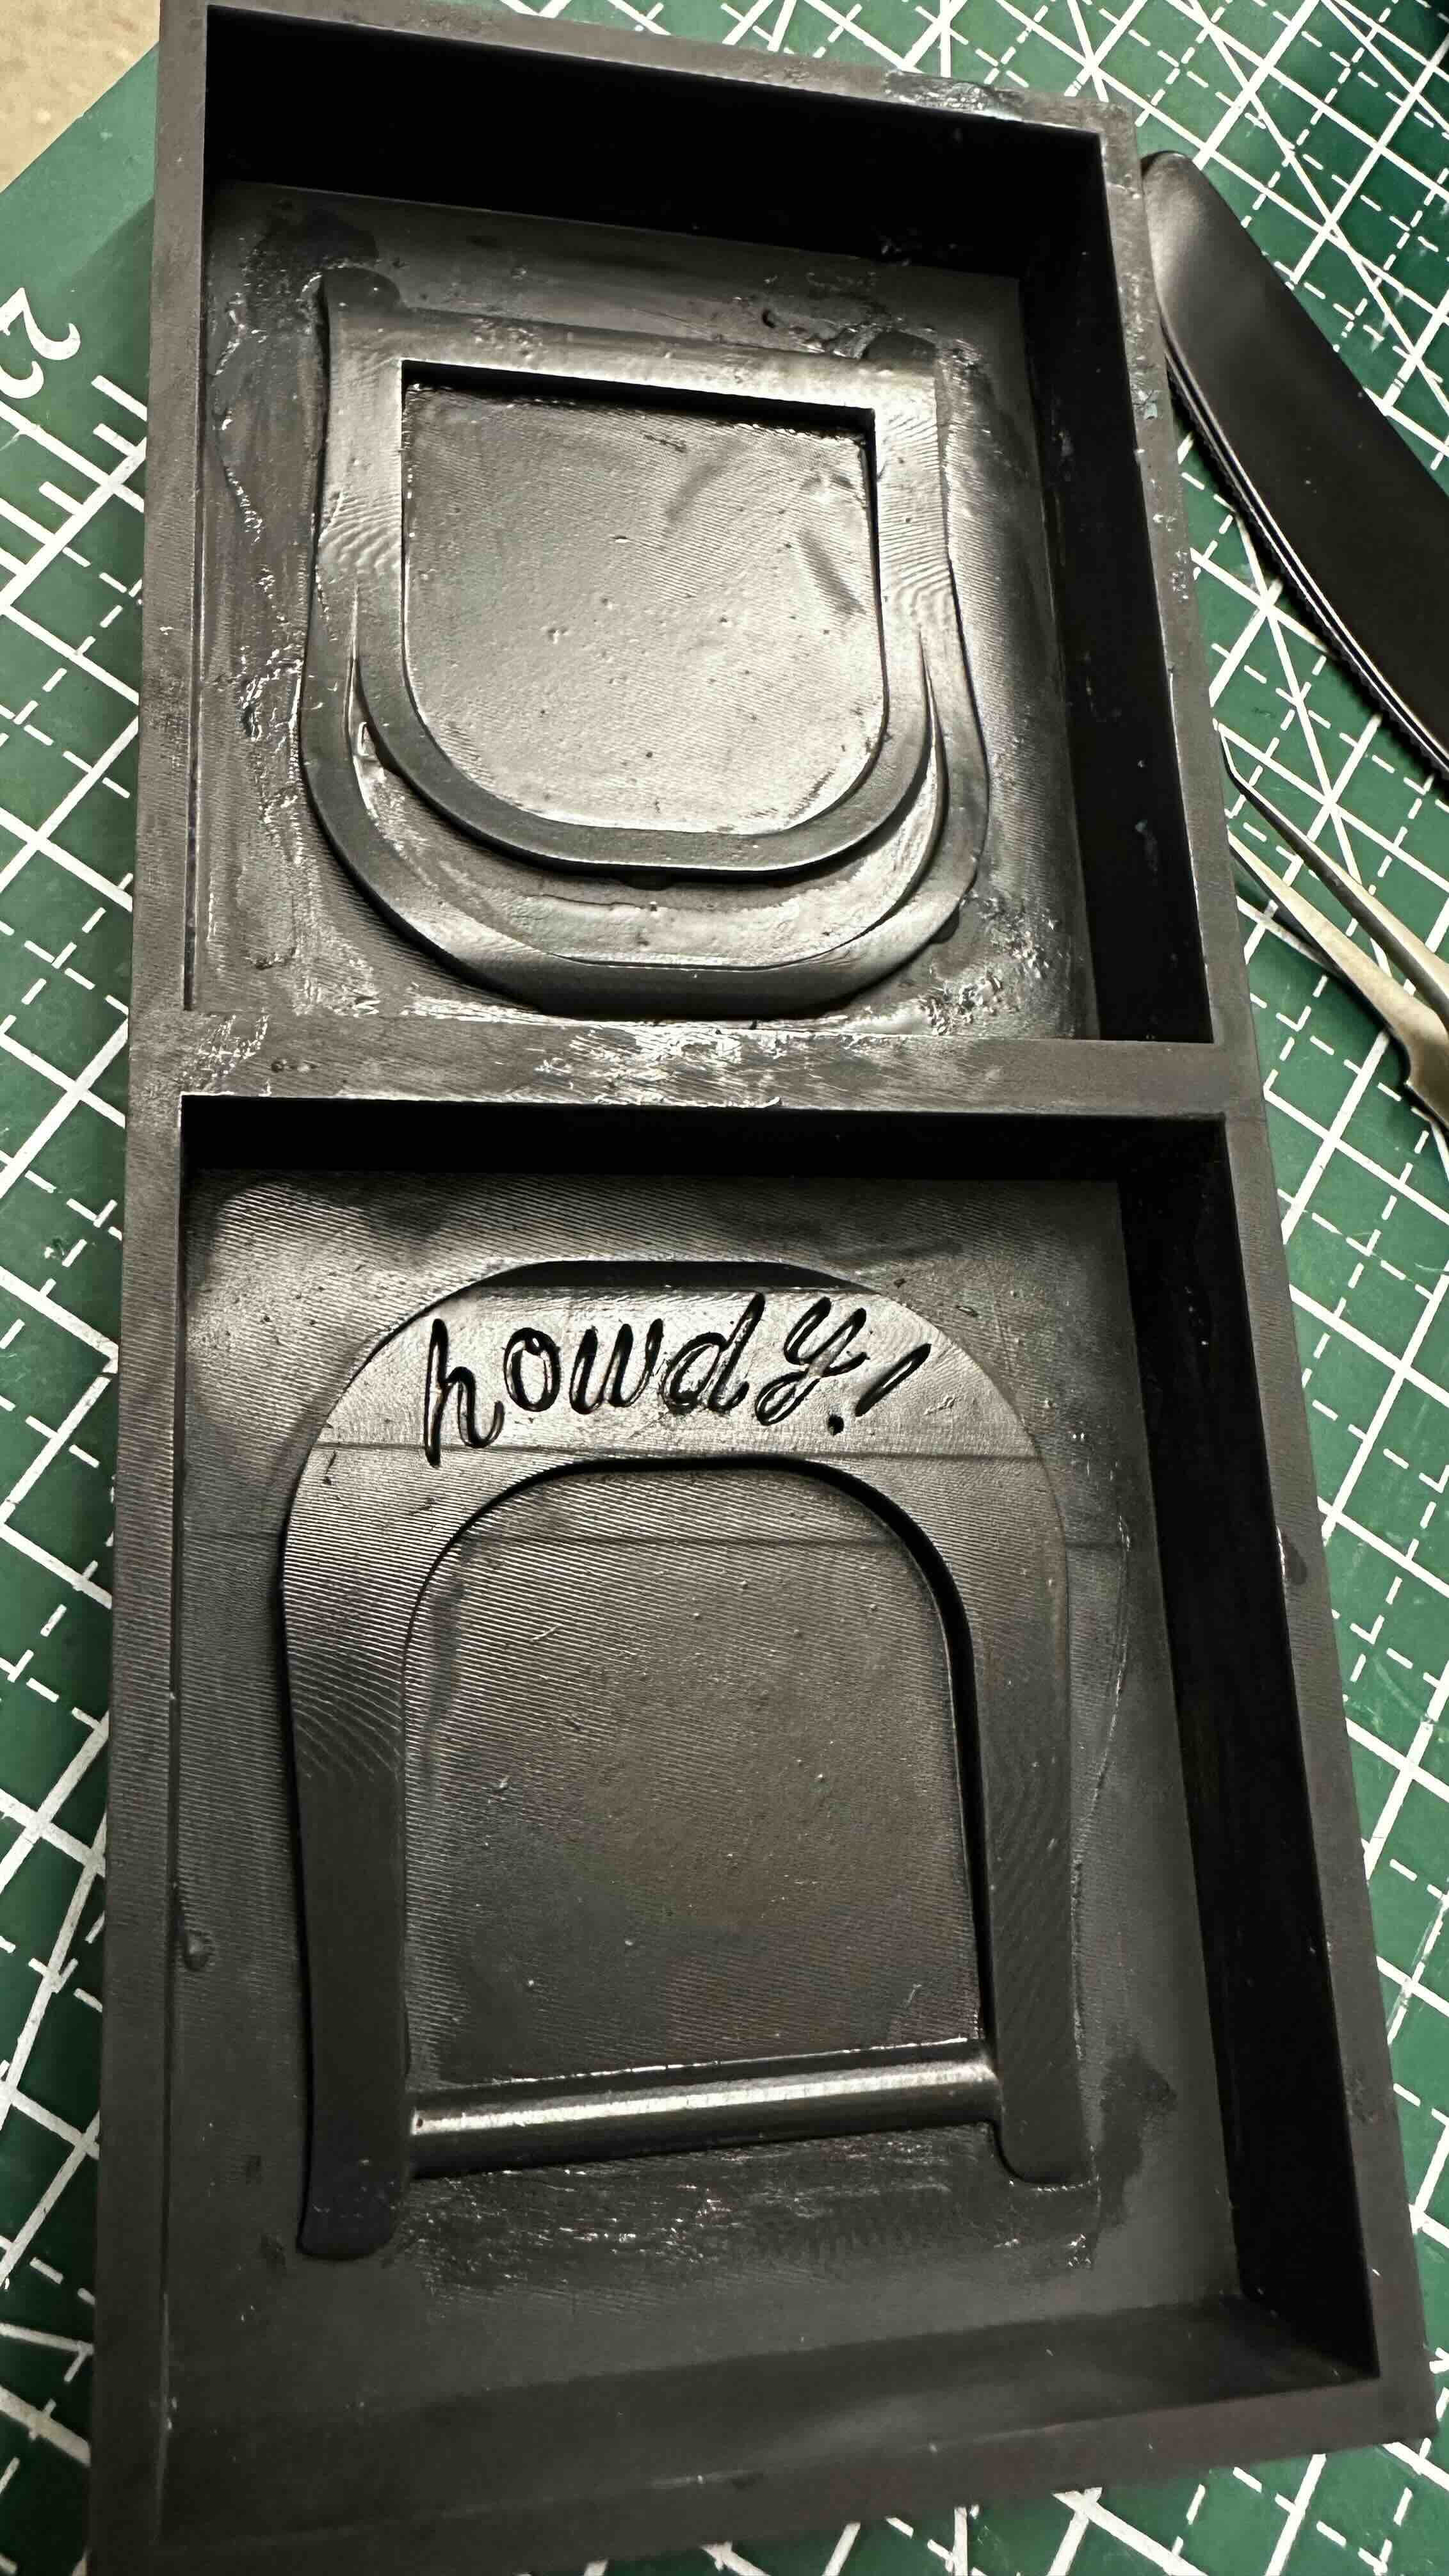
During class, I learned that it is really undesirable to just make the mold around the part. So I prepared a printable cast.
insert screenshot of cad file
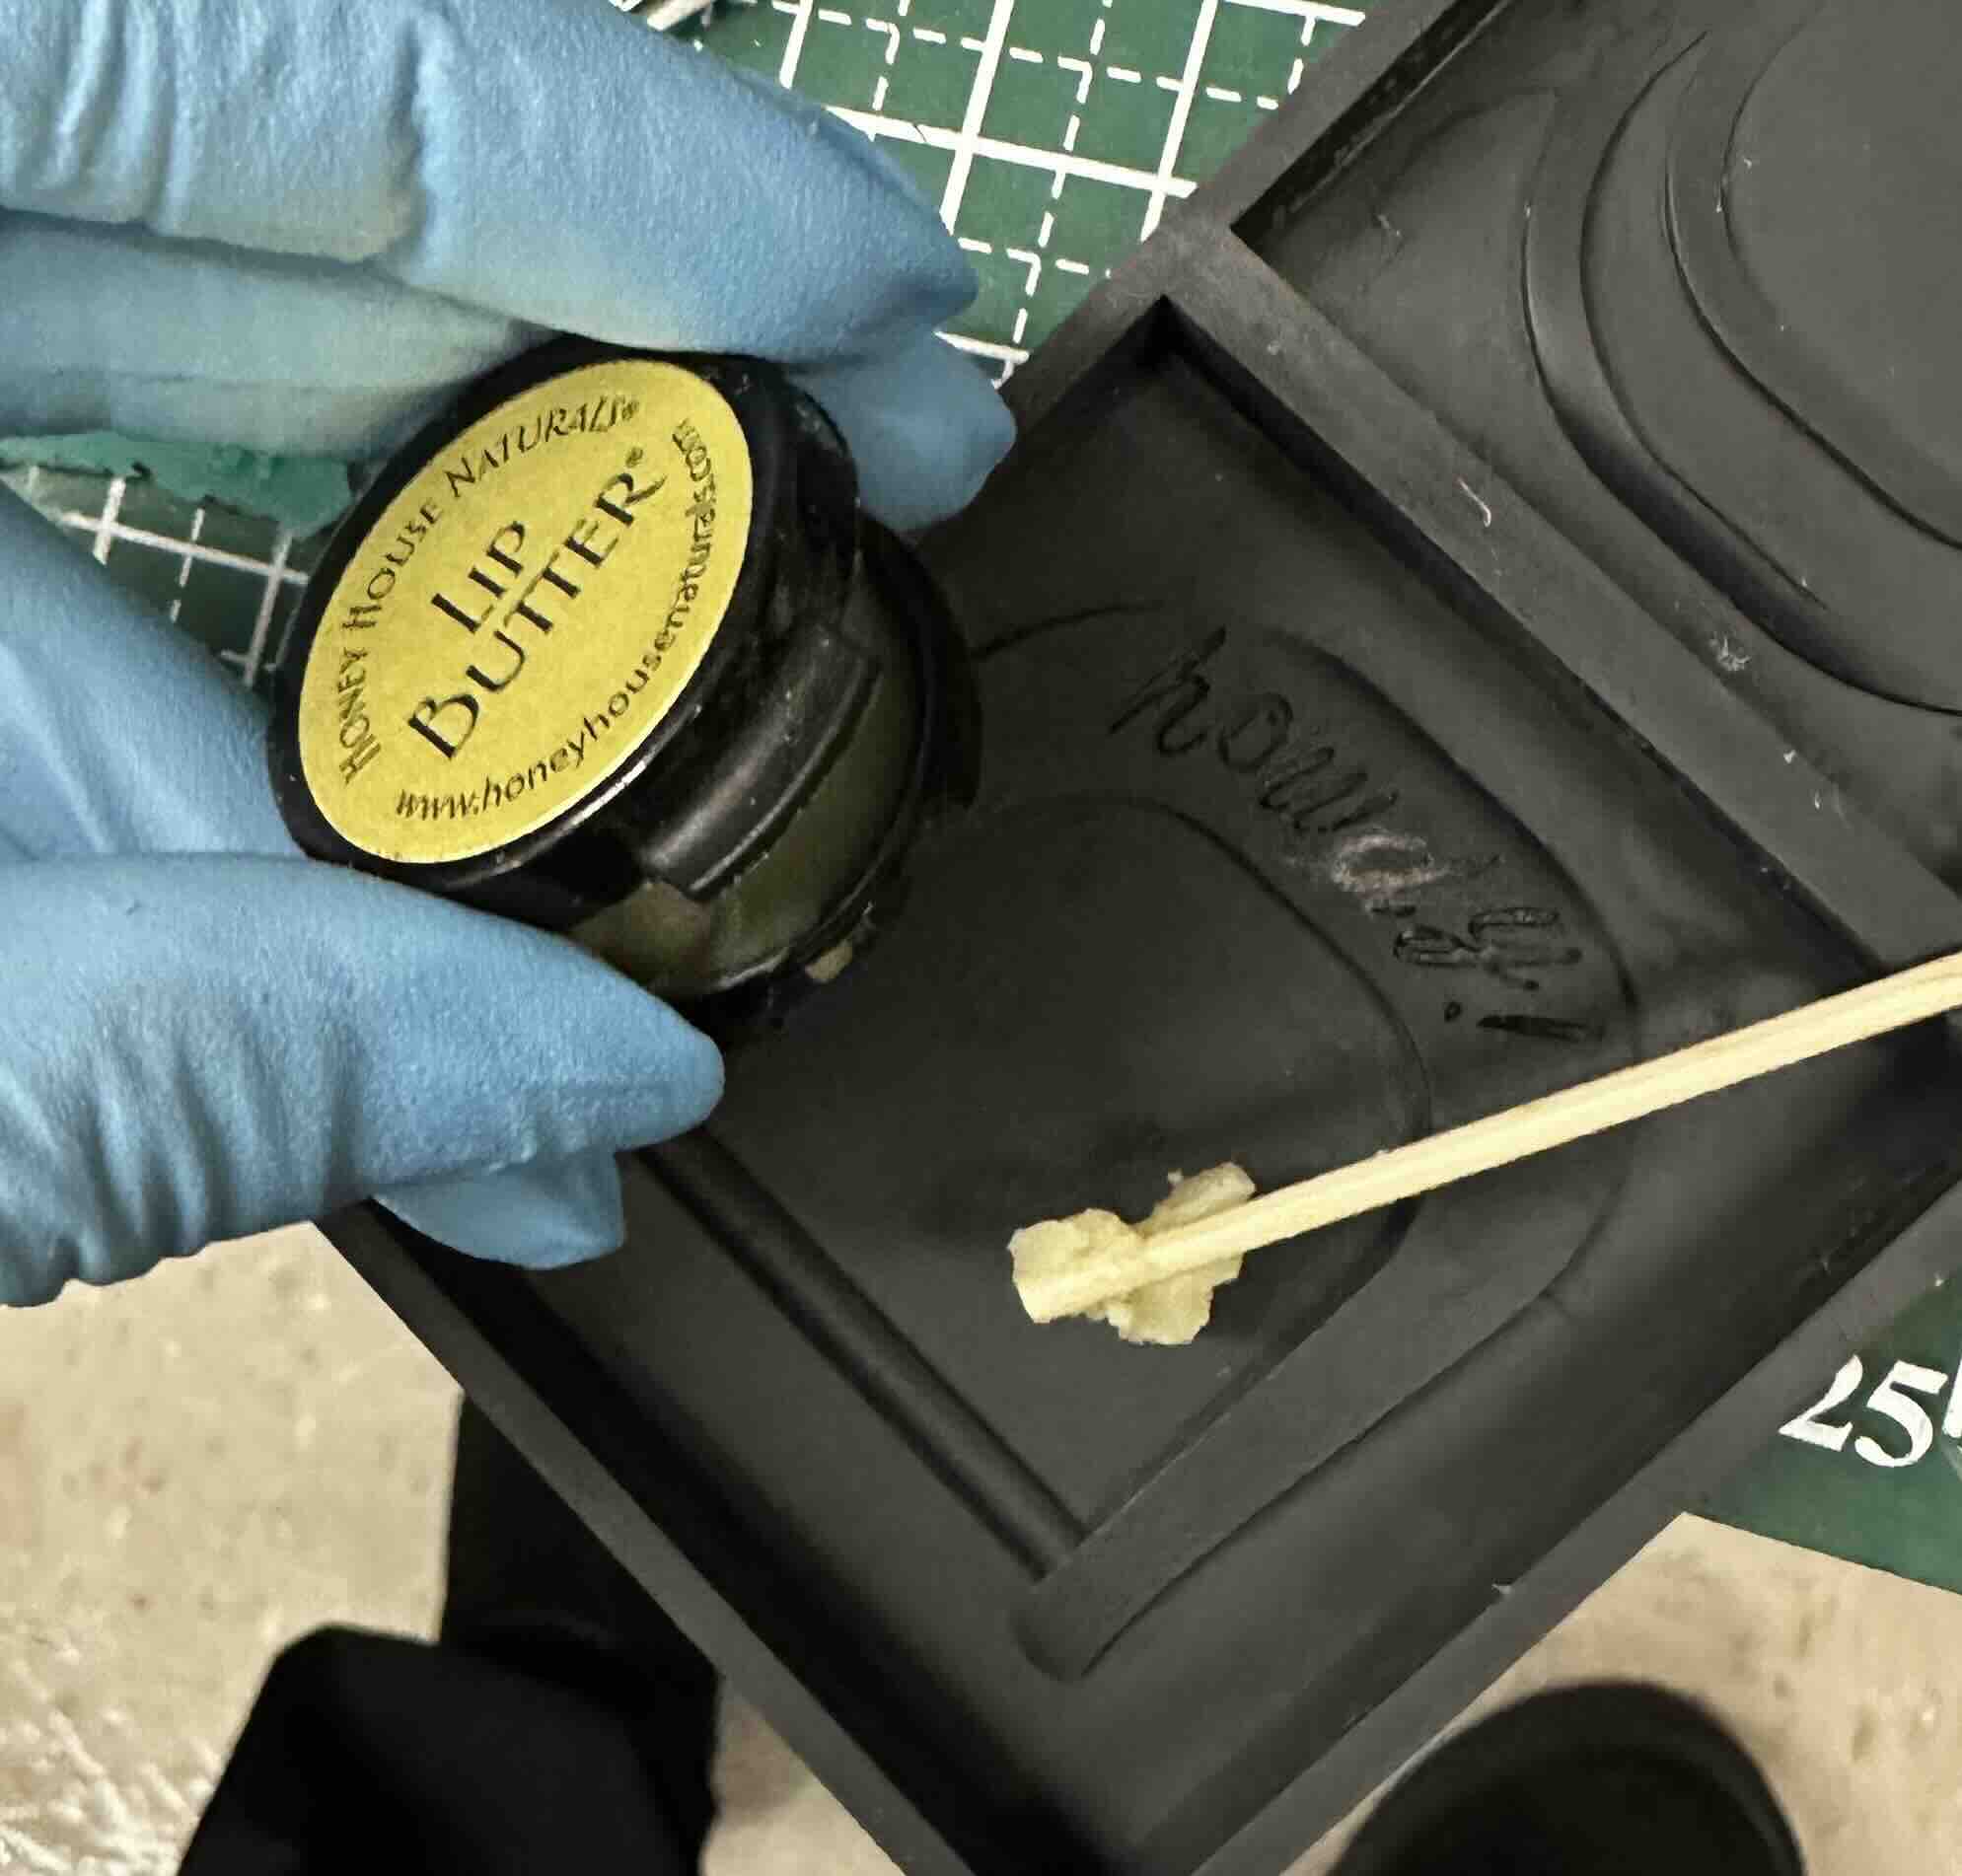

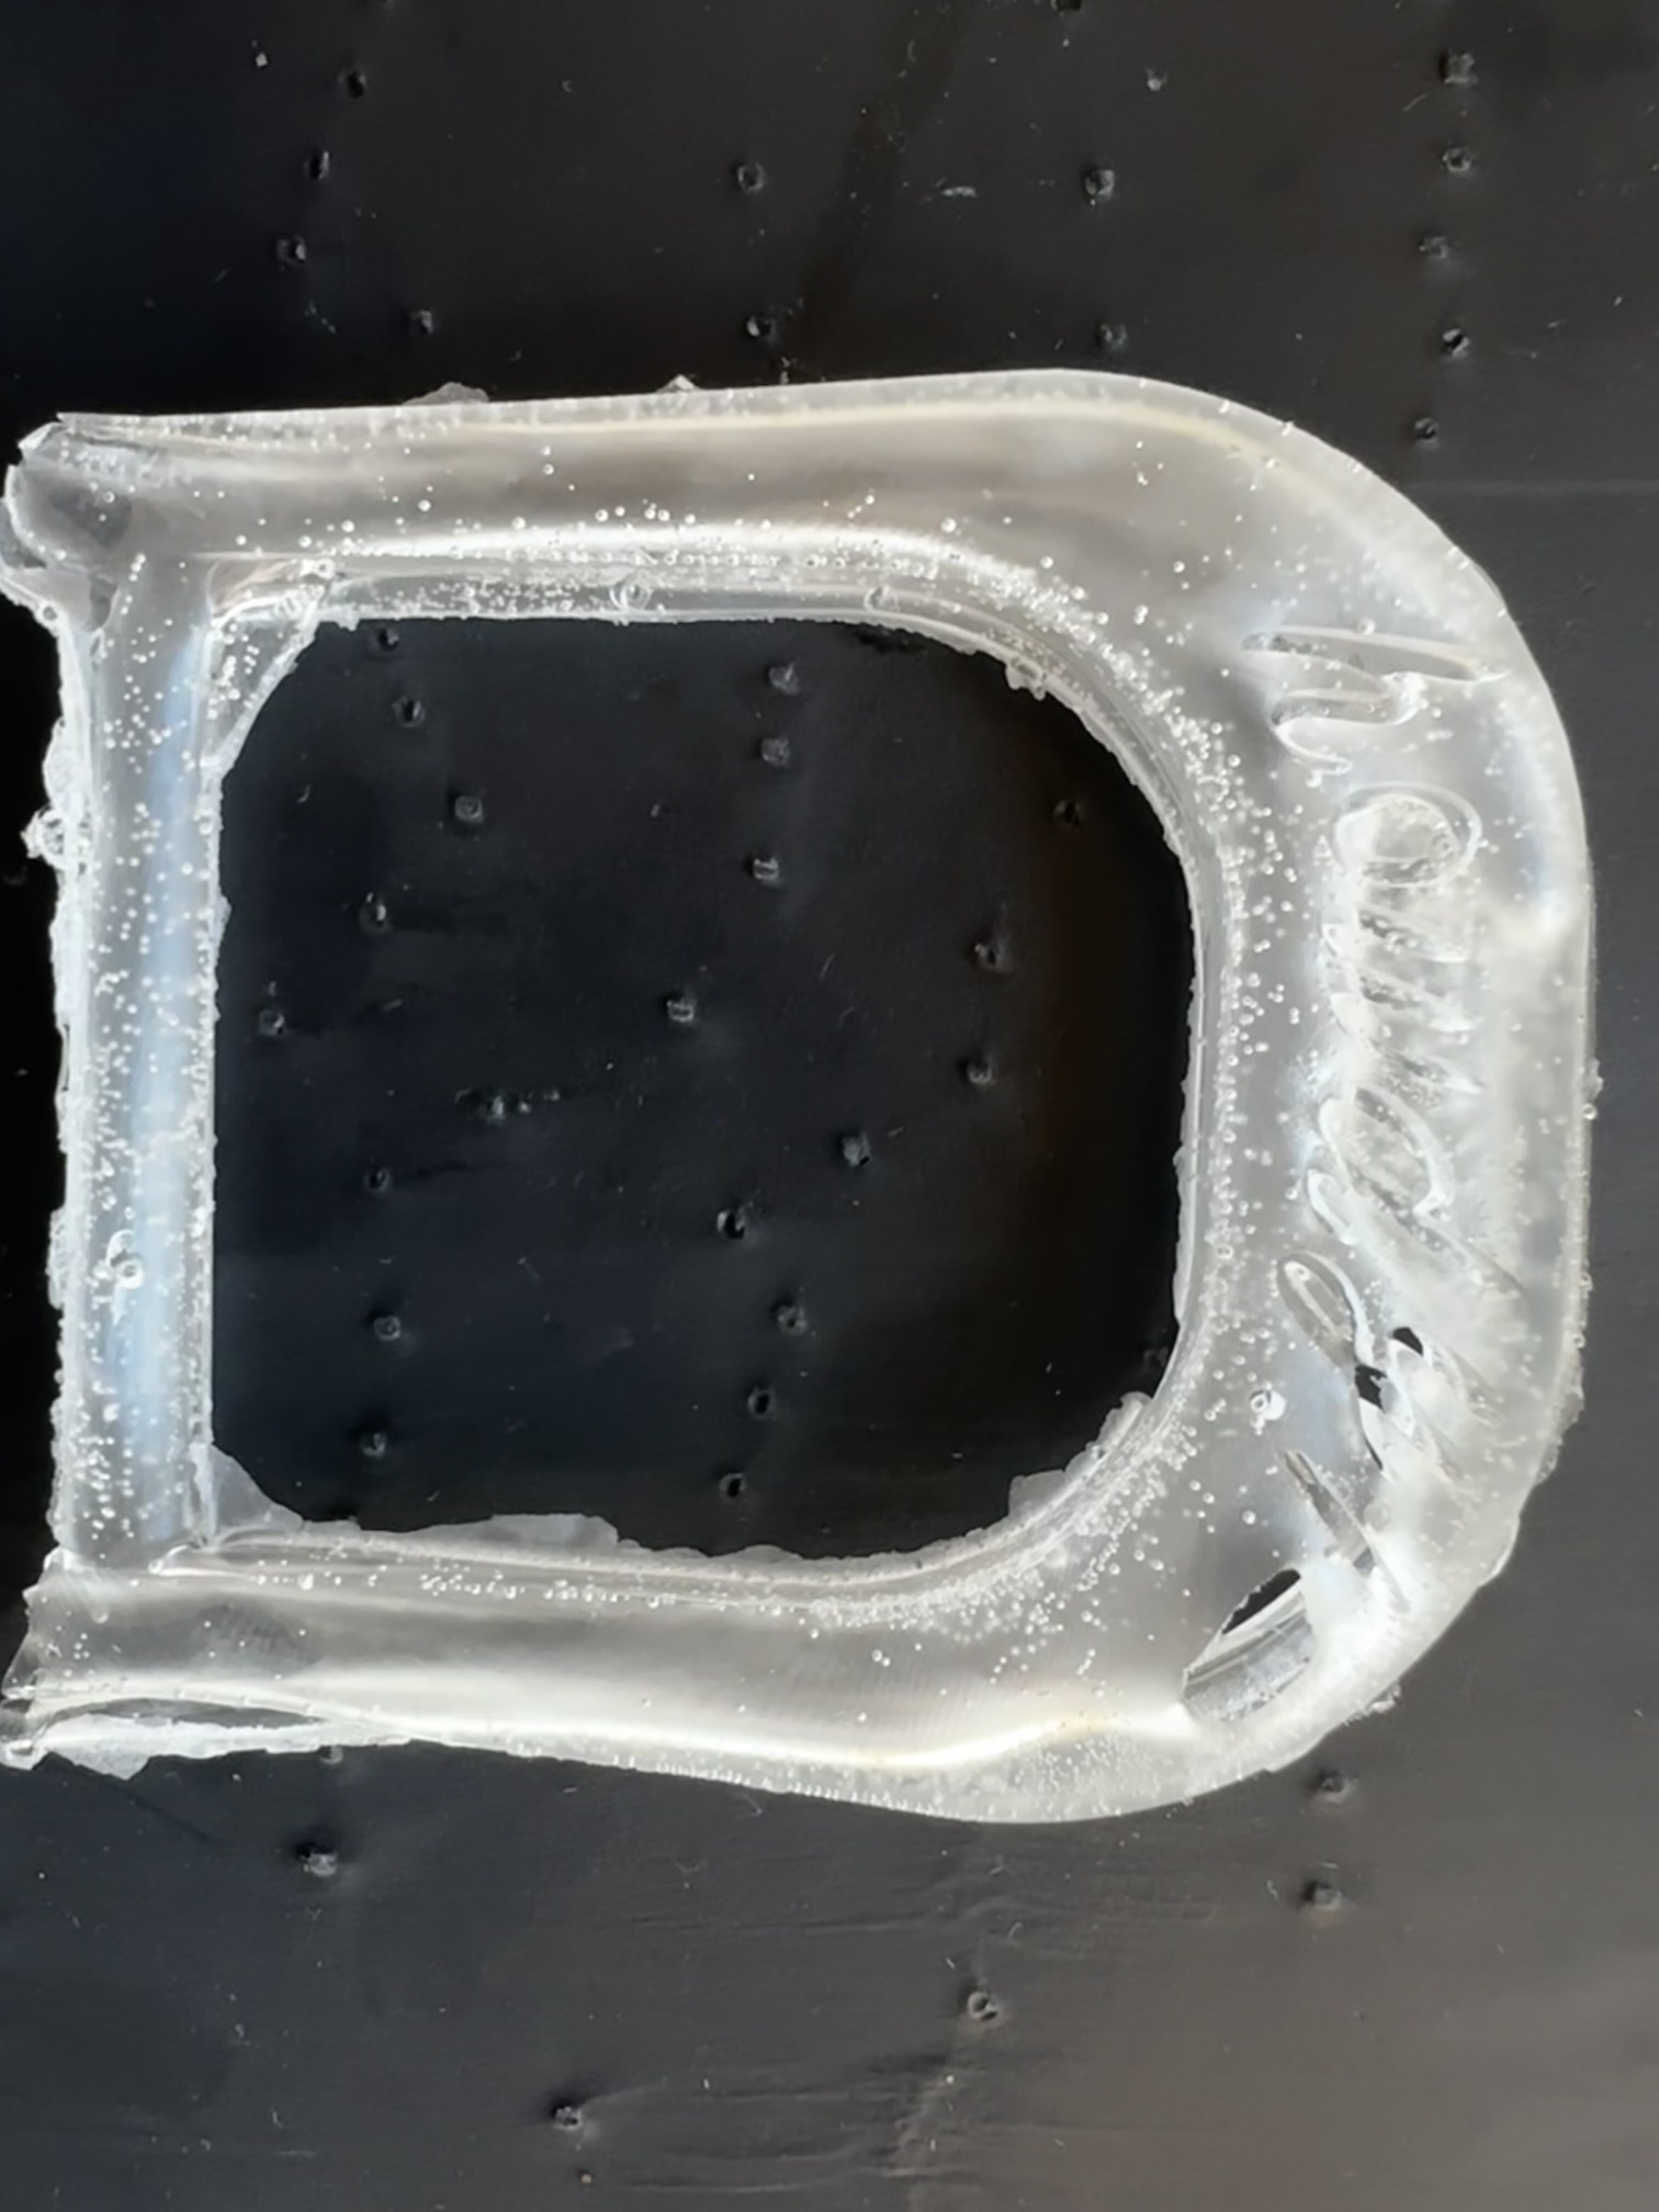
I used smooth-on liquid plastic to cast the belt buckle. I accidentally opened the mold before it was done polymerizing, but it suprisingly turned out okay once it finished curing. There are some air bubbles so its hard to see in the photo, but the embossed text worked very well. I think the mold would work well for metal in the future.
Notes:
I wanted to emboss text, but since I curved the text and wanted it to lie on a surface that curves in more than one direction - fusion would not give in.
I saw other people had taken a detour to adobe illustrator, so I did the same. I turned off the grid in fusion, took a screenshot of the text in fusion, and saved it as a jpg. I imported the jpg to illustrator > Image Trace > dropdown select “silhouettes” > press “expand”. Then right click on the outlined text, export selection> choose format svg. Back in fusion > Insert > insert svg.
Instead of using emboss feature (unless it works for you), extrude each letter individually and at place at exactly the position you want to join or cut with the larger target body (belt buckle). Then use combine to create one body that has all the features and can be exported as .stl to prepare for a print.
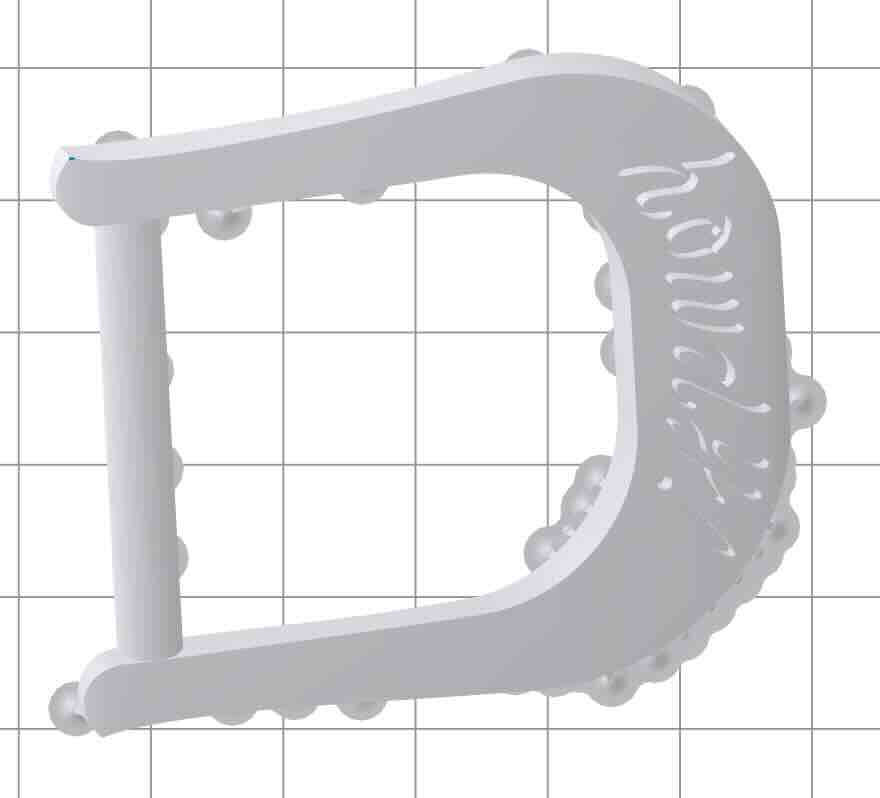
- If i get a chance to cnc a wax part for the mold, I will add positive and negative spheres in corners to register the molds together.