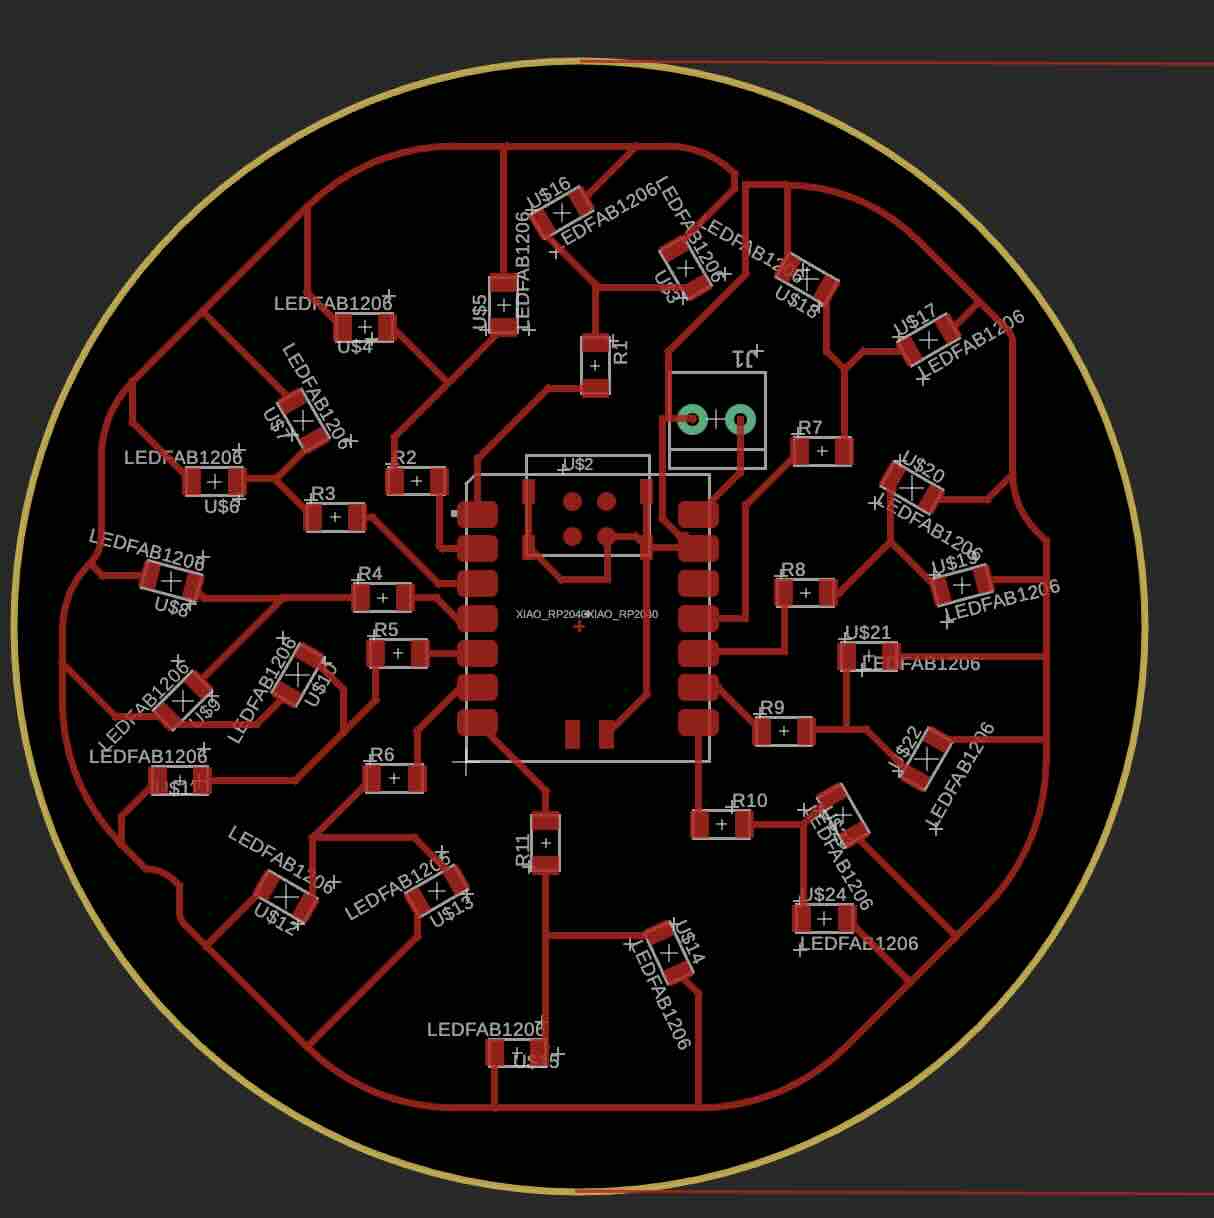
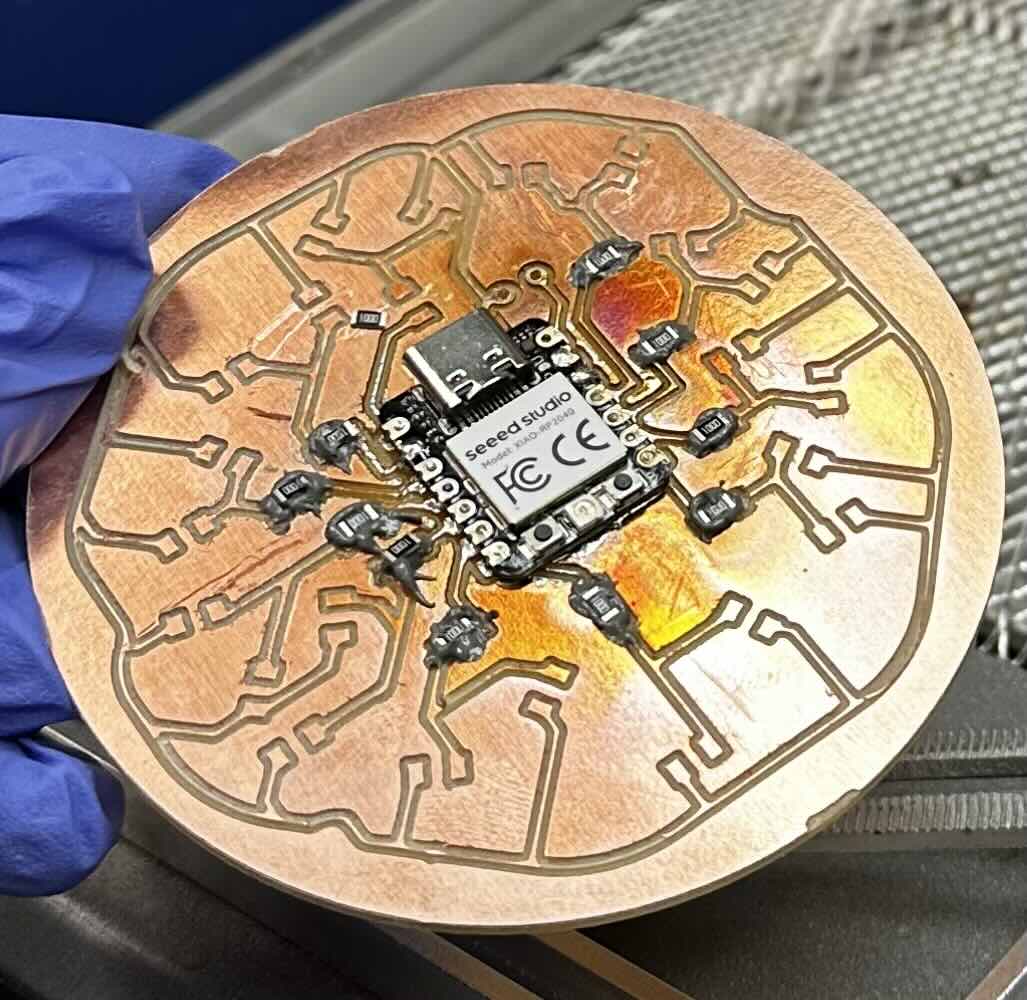
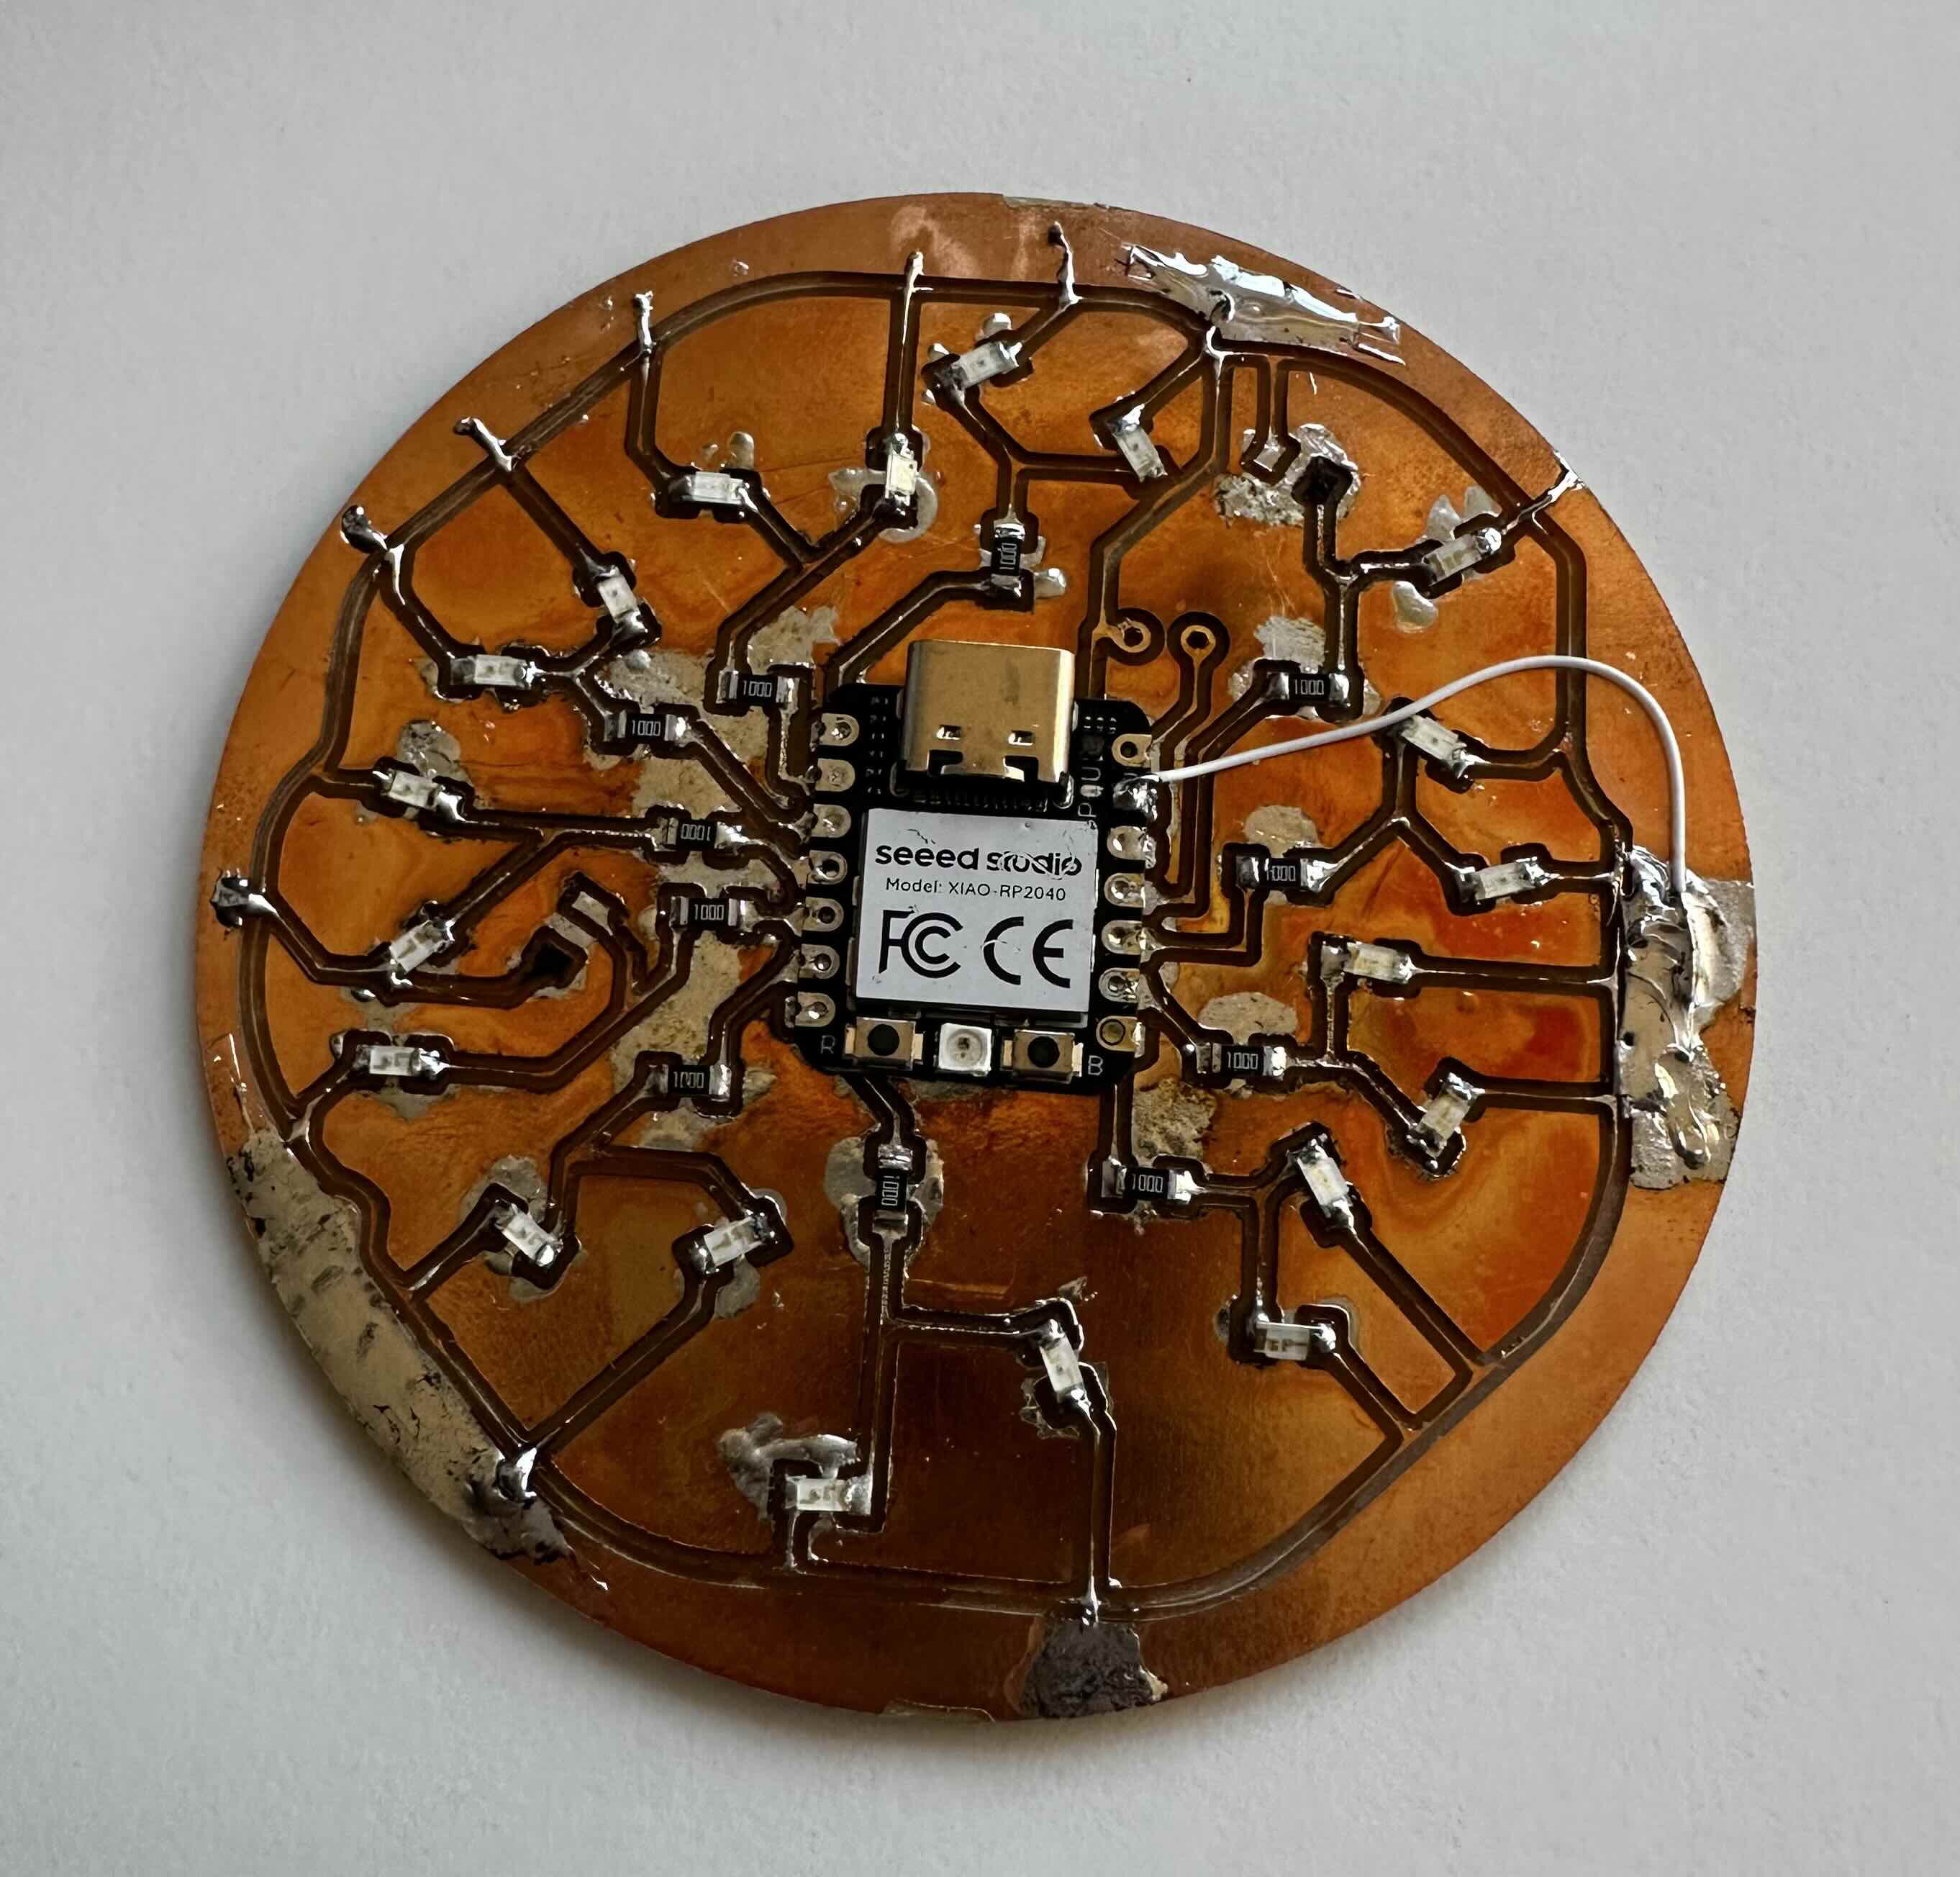
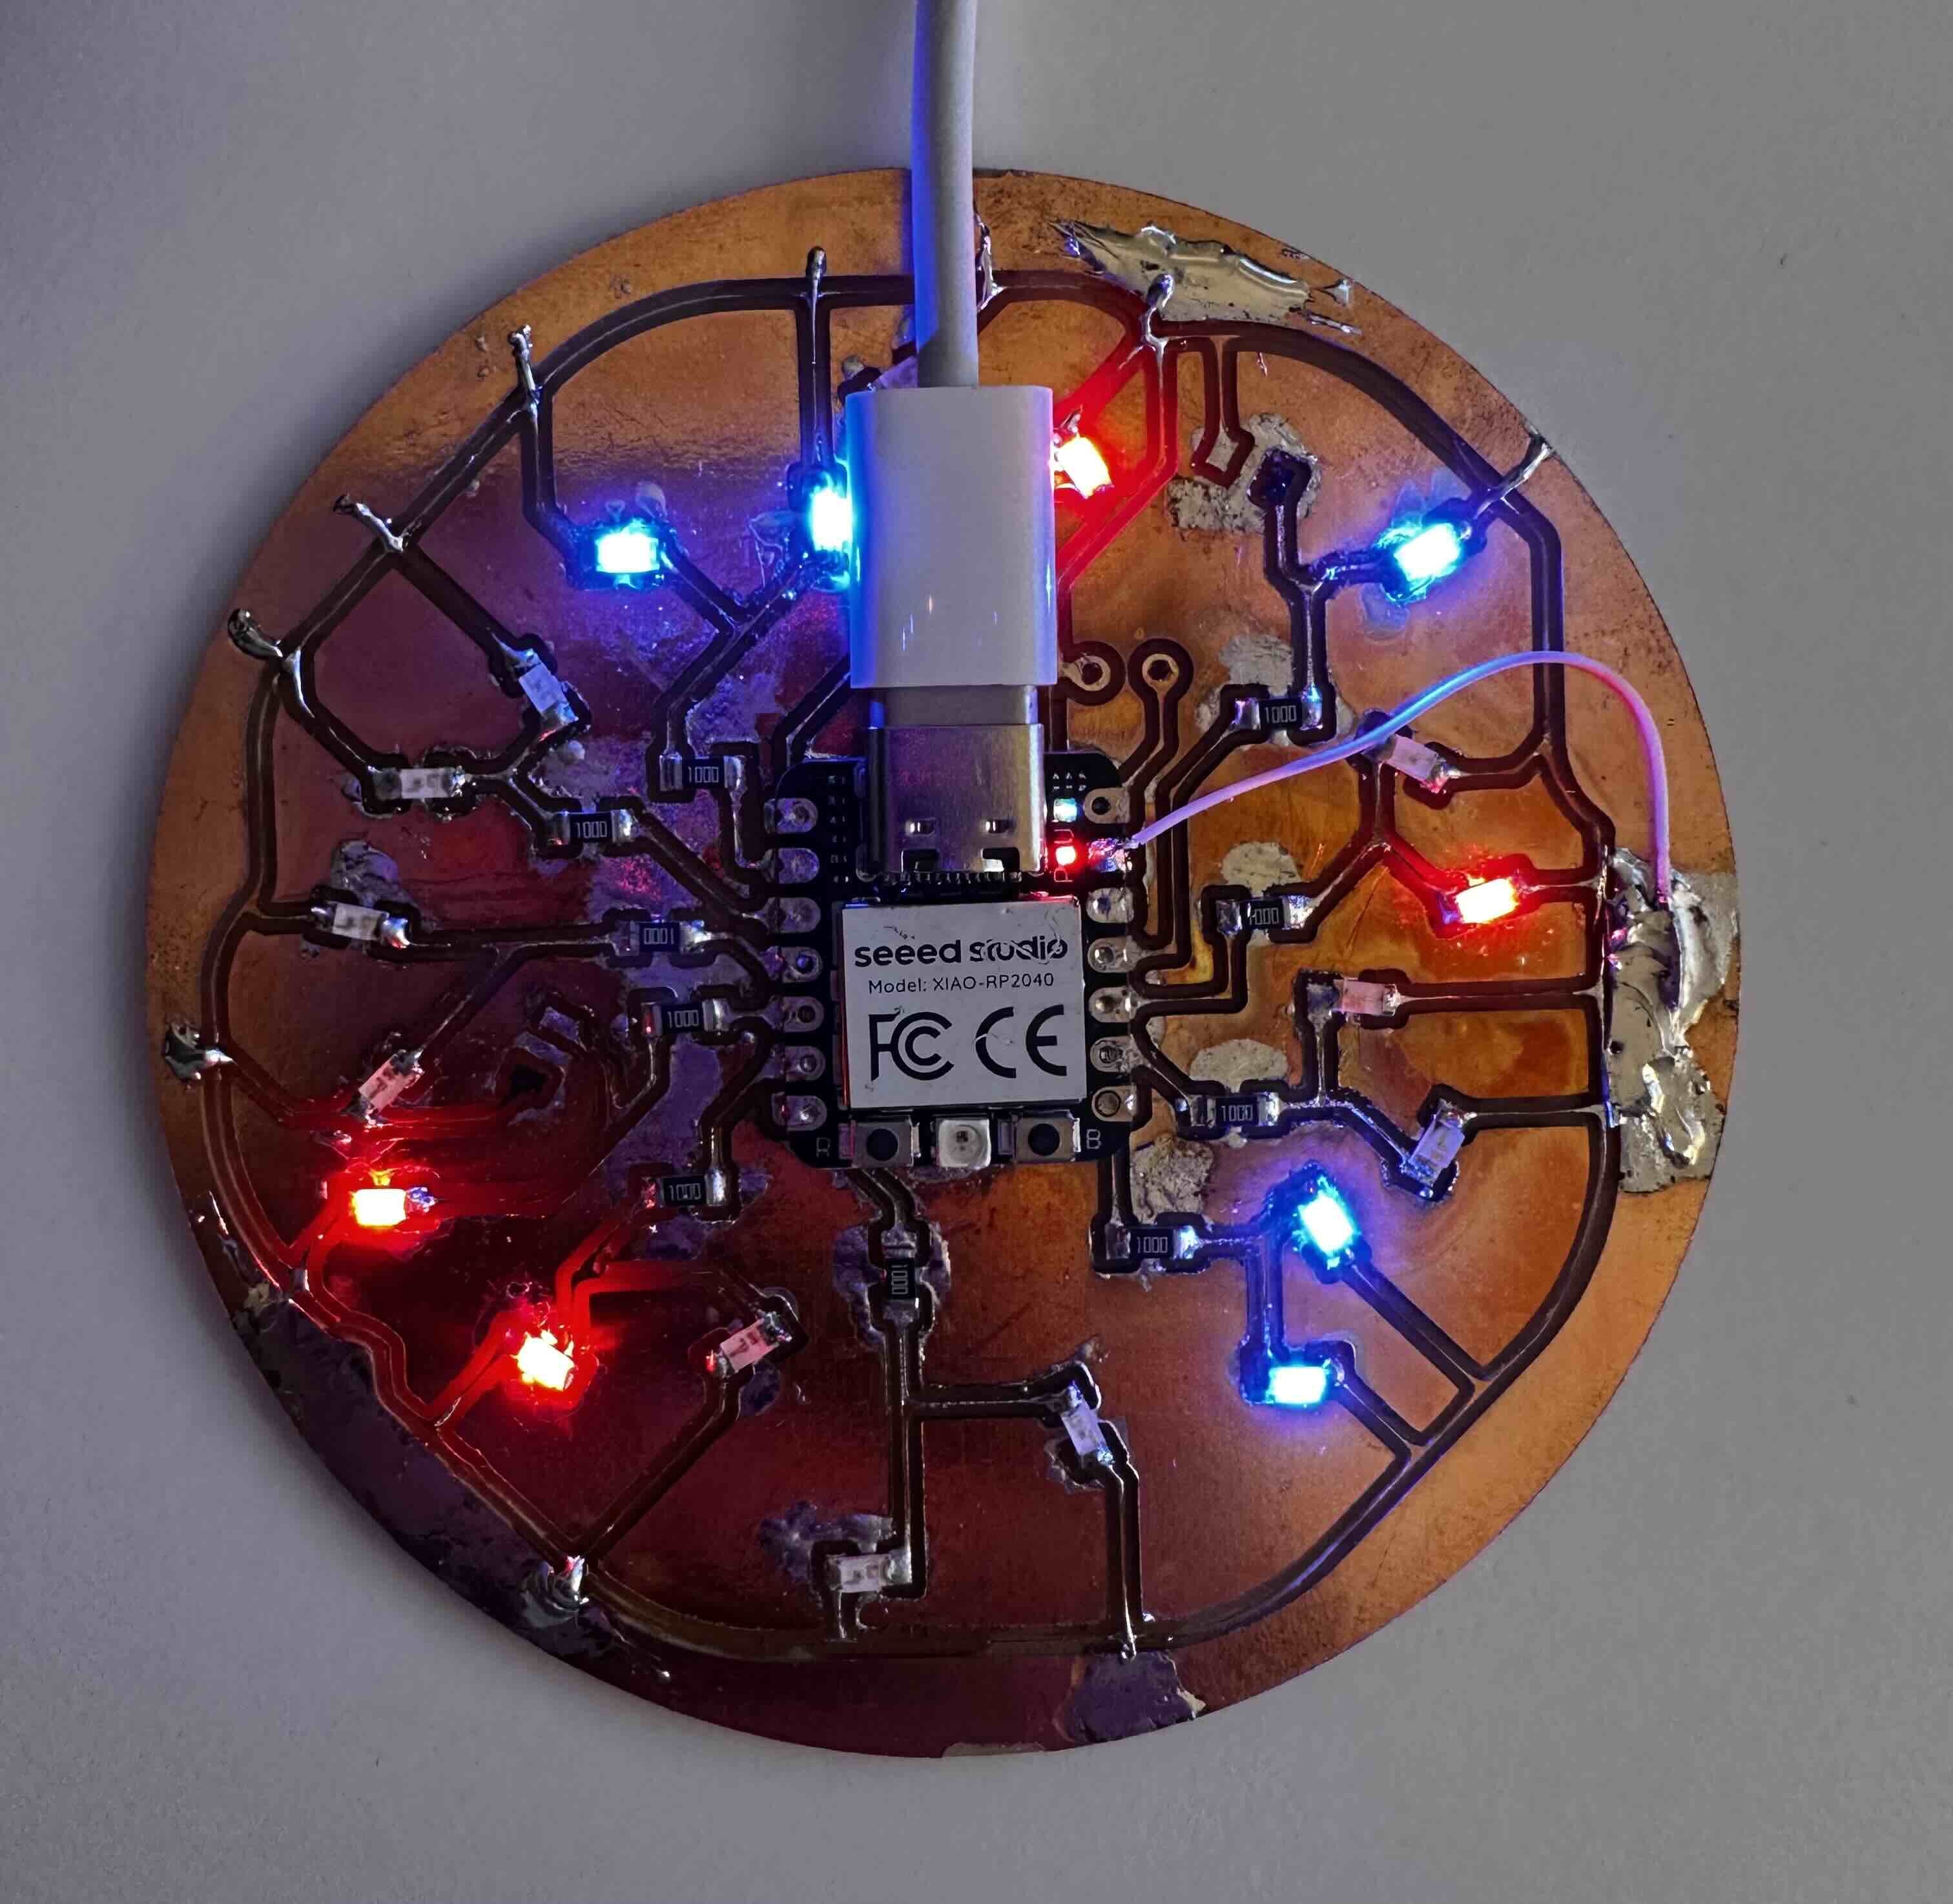
This week I made an ornament and tested out the solder paste with hot air method. I learned that I really perfer manual soldering, but I do think the hot air method allows you to scale your projects if done well. I also used the multimeter diode and connectivity testing extensively on this board after some thin traces ripped.


See ornament blinking here
The ground trace was thin and broken in several places so I routed ground to the outer perimeter of the board (with a thin wire) and connected all LED out traces to the grounded board perimenter.
flashing lights .ino script
int LEDs[] = {26, 27, 28, 29, 6, 7, 0, 1, 2, 4, 3};

void setup() {
  // Loop through the array and set each pin as OUTPUT
  for (int i = 0; i < sizeof(LEDs) / sizeof(LEDs[0]); i++) {
    pinMode(LEDs[i], OUTPUT);
  }
}

void loop() {
  for (int i = 0; i < sizeof(LEDs) / sizeof(LEDs[0]); i++){
    digitalWrite(LEDs[i], HIGH);
    delay(1);
  }
  delay(500);
  for (int i = 0; i < sizeof(LEDs) / sizeof(LEDs[0]); i++){
    digitalWrite(LEDs[i], LOW);
  }
  delay(500);
}
Find the PCB files here
I plan to power the ornament with a small battery via headers (see holes) to the 5V and ground pins.
Notes:
- just make the trace width thicker (~20 mil) especially if you plan to leave the pcb free floating in your backpack. many of my traces were too thin and ripped off the board
- when selecting tools use ‘conservative pcb setting’ on Othermill for better quality milling
- you can export a gerber within fusion, just navigate to the manufacturing tab. a gerber file was necessary to transfer the slightly complex traces on this board. the .brd file would not include them.
- when uploading gerber to othermill, you need to select top traces, board outline, and holes if you have any.
- I’m still curious whether you can assign states to multiple pins at once, rather than using a for loop in the .ino script