Week 2: Build a personal site and computer control cutting.
I was initially placed on the waiting list and missed my class last Wednesday. Friday’s recitation covered Git, which I have some experience with, though I’m not an expert. I’ll start by documenting how I used Git to create this website.
In week 2, the second part of the class was about computer-controlled cutting, which I had no prior knowledge of. But bingo! FAB Academy has a recorded version on YouTube from their international class. I watched it from this link.
Building a Website
This is the documentation on my progress for a MIT's How to make (Almost) Anythings class website. I have some experience building websites and hosted that on GitHub, for personal projects, though those were far from perfect. This project is a new challenge and an opportunity to learn how to create a website that looks good and effectively documents my weekly progress.
I had two choices for building this website: starting from scratch or using a preexisting template. There are thousands of free, high-quality templates available online, built by the community and ready to use. I chose a template designed by TemplateMo, which is freely available as an HTML file.
To make this website simple and easy to document future tasks, I removed many of the template's capabilities, tweaking it to match my needs.
I'm familiar with VSCode , so I decided to use it, but other quality text editors could also be used. Here's a screenshot of how my VSCode looks while I'm documenting this:
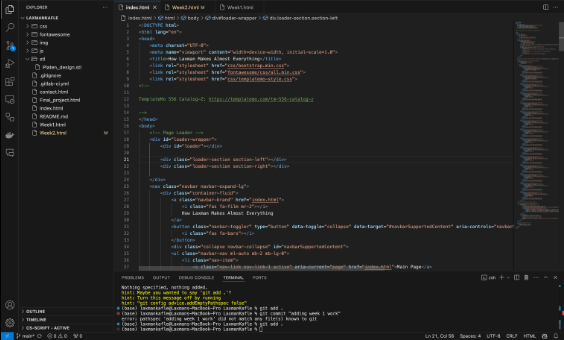
This website will be updated and optimized over the next few months with new projects and assignments. I wanted to add a few more functionalities, like an STL file viewer and a more interactive interface, but I haven't had the time or success yet. I'll try to implement these features in the coming weeks.
Parametric construction kit
In this project I am going to make a Rhombicosidodecahedron cube that is inspired by this project done in 2022.
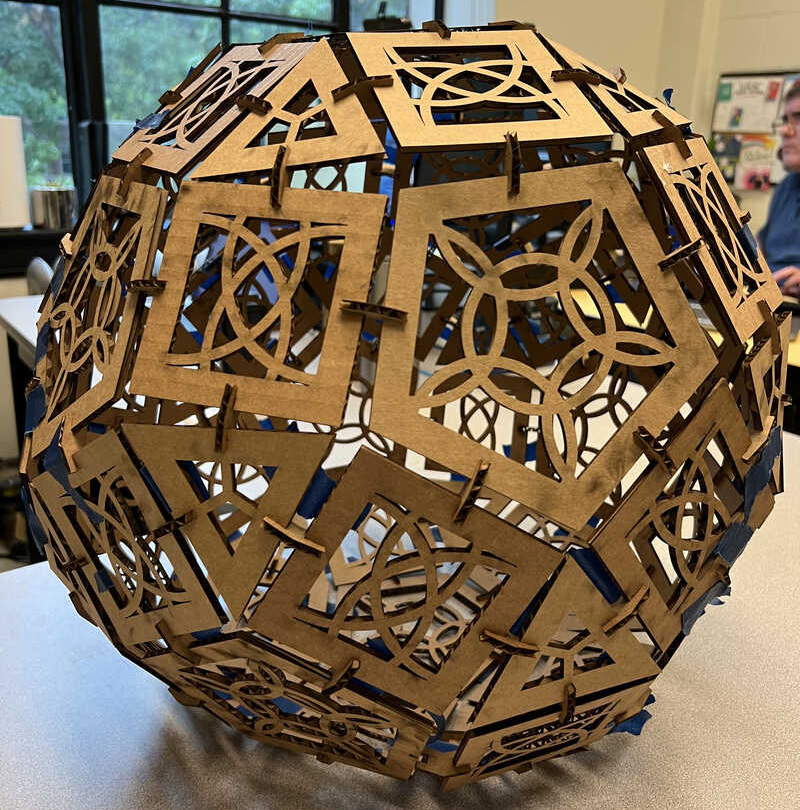
The shape will have three polygon faces, 20 triangular, 30 square, and 12 pentagonal faces. To connect them we need 60 connections for pentagon-to-square connection and 60 square-to-triangle connection. The Fusion360 file is shown below.
It took me an entire day to cut the board. At first, I thought it would be easy, but it turned out to be quite challenging. Additionally, assembling 62 major components and making 120 connections required a lot of time and effort.
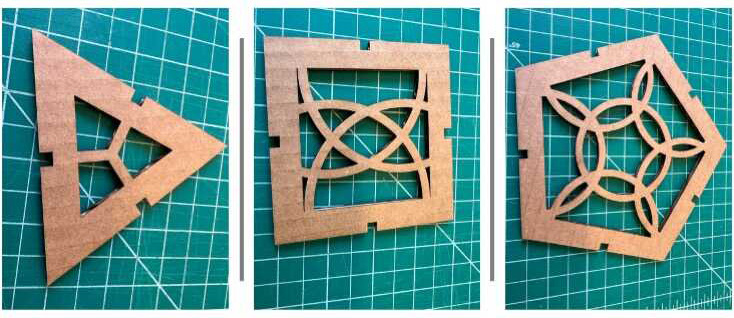
“After finishing the cutting of all the components, it now looks like this.
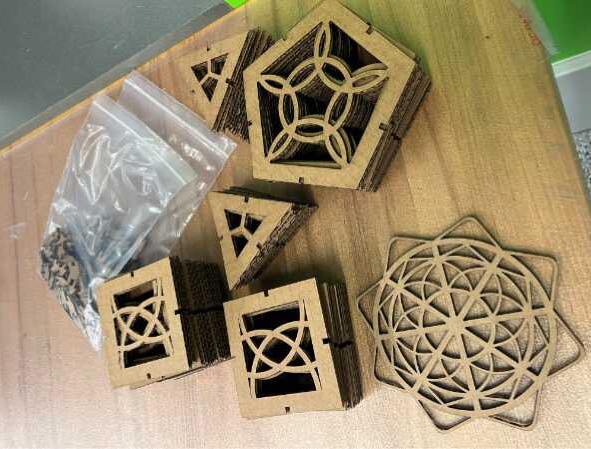
I enjoyed the process of laser cutting which was satisfying to watch.
Early on Wednesday morning, I started assembling the components for my Rhombicosidodecahedron (hard to pronounce). I then realized that the size of the Rhombicosidodecahedron would be much larger than I anticipated. Each building block in my current design is 10 cm.
As I assembled up to two layers, I noticed that some joints started detaching by themselves. This made me realize that these joints are not designed to withstand tensile forces. They are finger joints, which can handle some tensile force through friction, but it was not sufficient to hold together my large Rhombicosidodecahedron. Another issue might be the variable thickness of the cardboard. We are using high-quality cardboard, but there is still slight variability in the thickness. Before deciding the width of the finger joints, I measured the thickness several times in different places, which varied between 3.8 to 4.2 mm. I decided to use the 3.8 mm thickness, which was the lowest I measured. Still, this was not sufficient to resist the tensile force. So, I decided to use paper tape temporarily until the whole assembly was done. In the following picture, you can see the blue tape holding the joints.
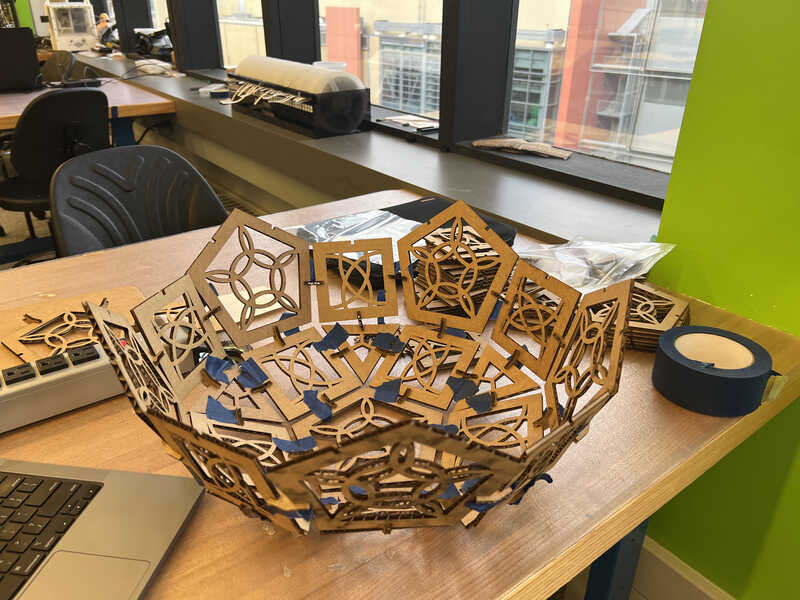
The paper tape worked pretty well because the tensile force was not very high, and the tape provided enough resistance.
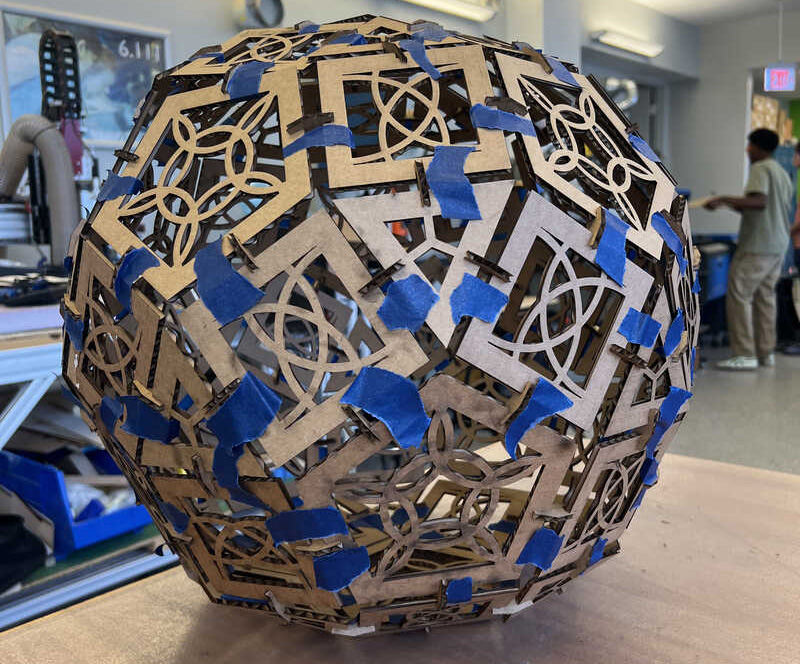
After the full assembly, it looked beautiful. I took it to my office in Building 1. Now, it is on my desk. I removed some of the tapes that I had put during the assembly, but there are still some tapes remaining. I am afraid to remove them, fearing that my Rhombicosidodecahedron would fall apart.
Mandala Design and cutting using laser
First, I started designing something that I enjoyed growing up: the mandala. Mandalas are rich in symbolism and hold deep spiritual significance across various cultures and religions, especially within the Newari and Tibetan communities. They symbolize religious harmony between Hinduism and Buddhism. Growing up around them always mesmerized me with their beauty. So, I wanted to create a laser-cut design that looks like a mandala. Let's see how much I can do.
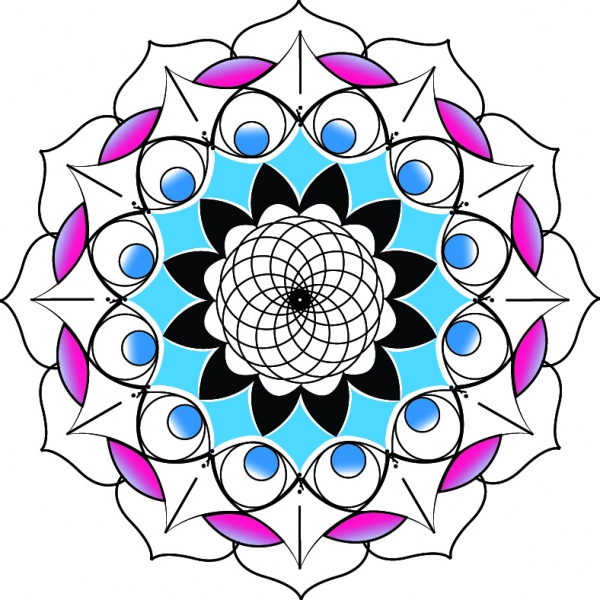
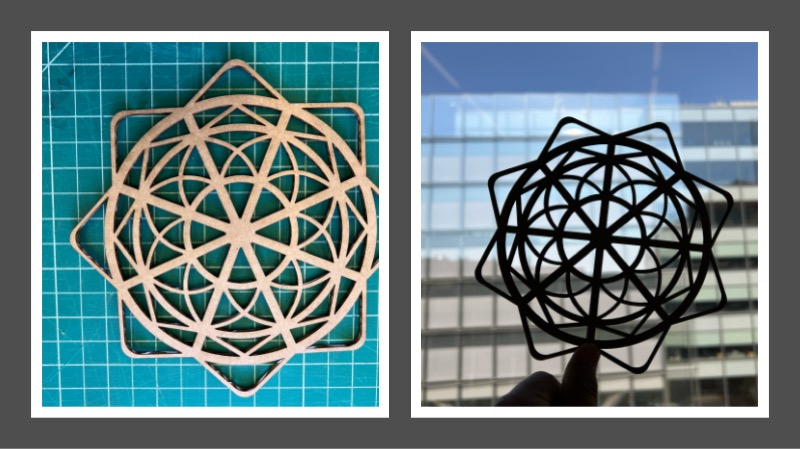
I never realized how powerful the parametric design controls in Fusion 360 are! After several hours of learning and implementing parametric design, here’s what I was able to create. (STL file)
The art after the laser cutting:
Pen Holder
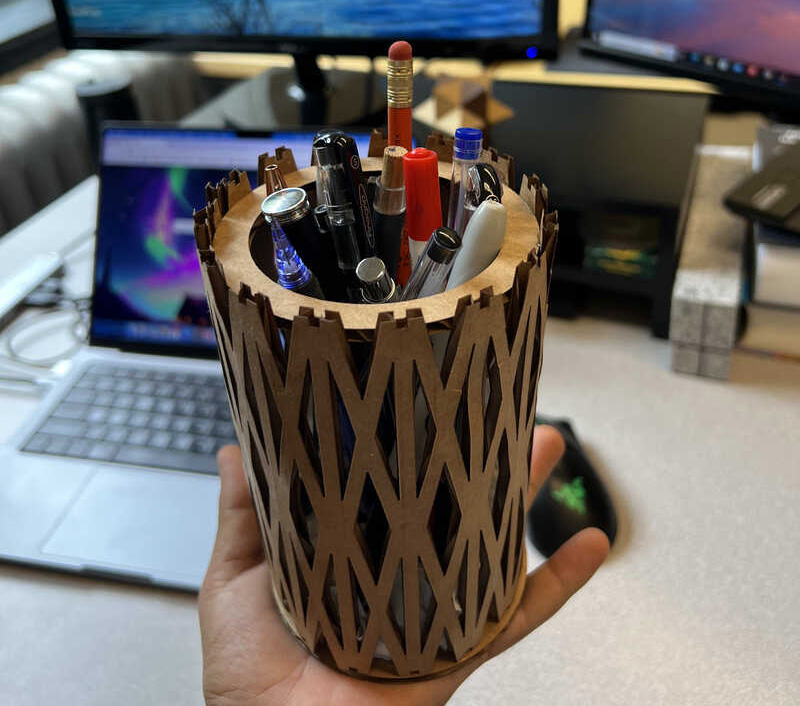
I wanted to make something useful for myself. I did not have a pen holder in my office, so I decided to make one using laser-cut cardboard. The design is simple and not very complex. In the 3D rendering below, you can see the design. The components are joined together using superglue. STL file
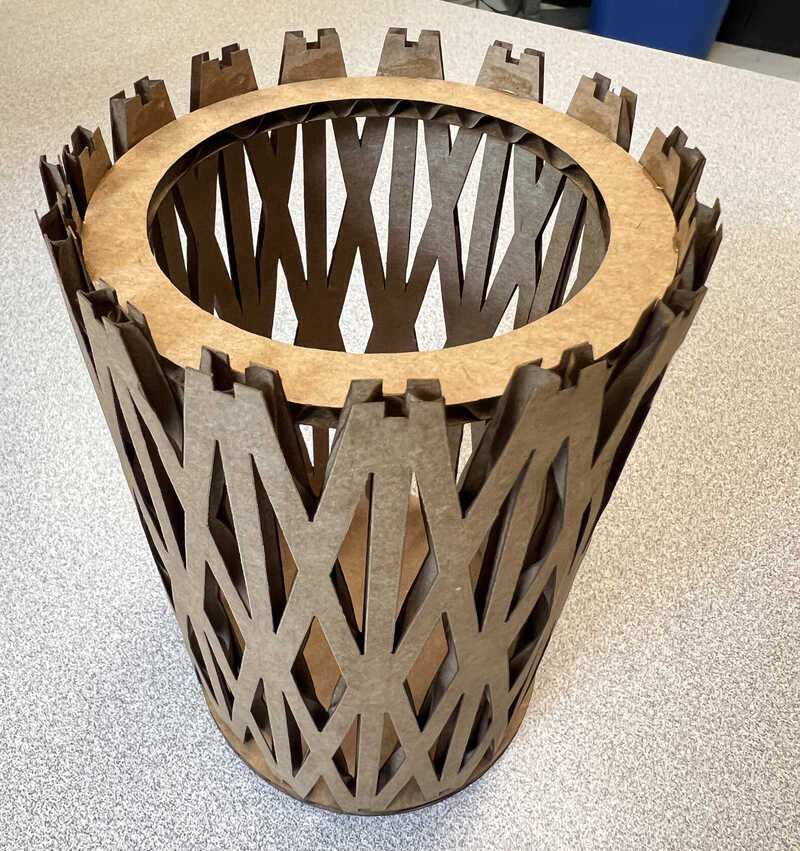
I am placing this on my desk at the office. I am quite happy with how it turned out.
Vinylcutter
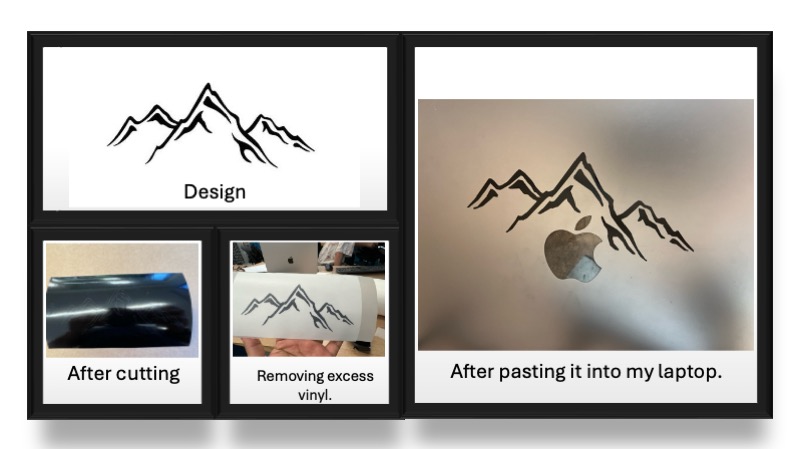
Another task for this week is to cut something on the vinyl cutter. I wanted to be creative with a design for my laptop. After experimenting with different ideas, I settled on a mountain design, which turned out to be very impressive.
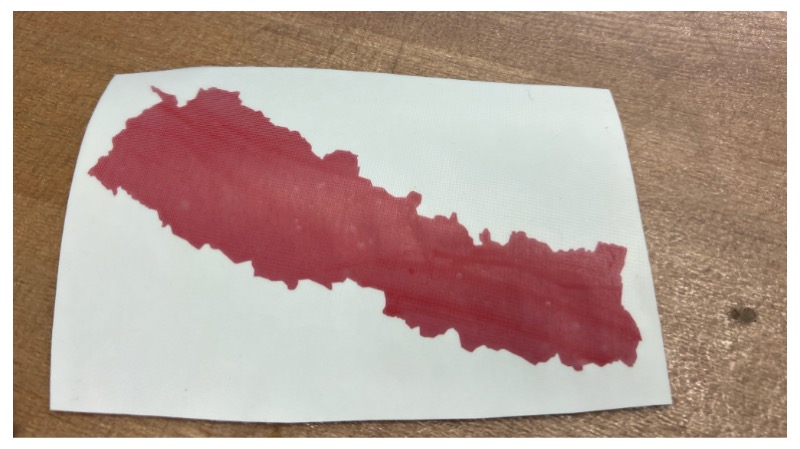
I wanted to be more creative with the vinyl cutter and make something that represents my country, Nepal, beyond just mountains. So, I decided to create a map of Nepal, which I had always struggled to draw correctly during my school years.
