

After the basic training for safety and operating the machine, a group of us got together to cut a test design and spec out the machine. Surprisingly, when looking at the runout, we found that the size of the cuts actually ran
smaller than our 0.25" bit. We think it may have something to do with the wood swelling from the heat of the tool.
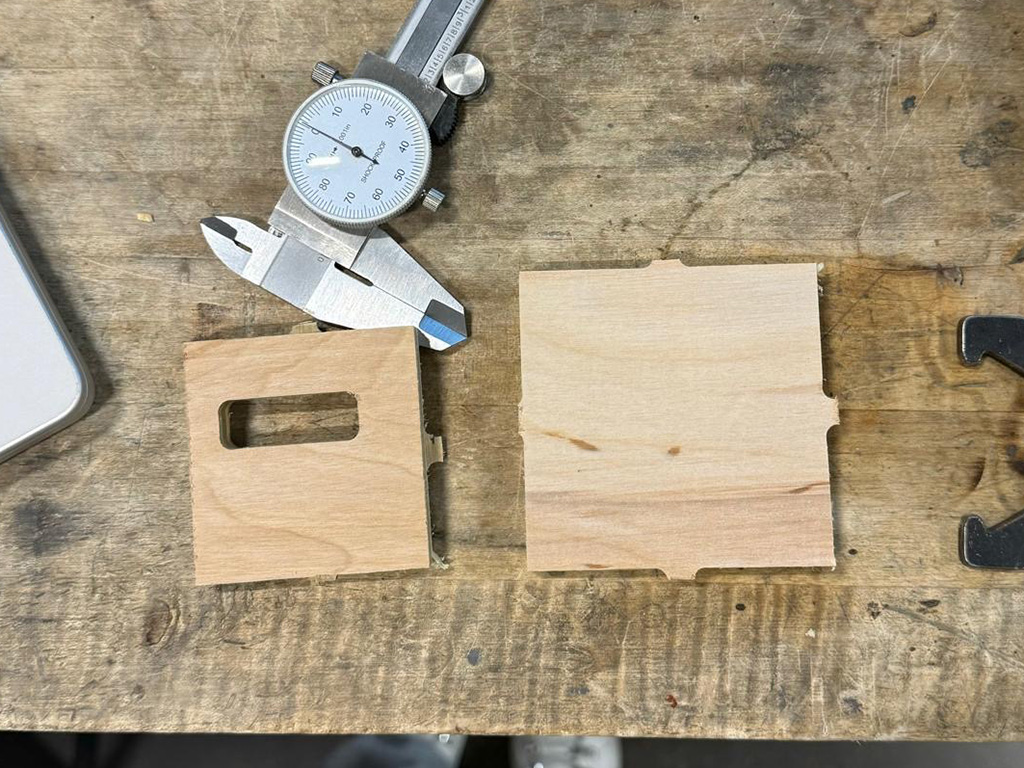
We cut out a 3x3" test square to see if there was variation between x and y axes--
there was a slight bit of variation (+0.024 x +0.015") but not enough to necessitate changing our designs to account for it (at least, not for the scale and purpose of our projects.) Overall, parts came out true enought to size that we determined
designing to size would be sufficient for our own projects. For the settings:
Spindle speed: 10,000 RPM
Cutting feedrate (for the plywood we are using): 150 in/min
Since this week isn't really relevant to my final project, I wanted to make something fun and simple. This year we were lucky to get some nice plywood stock so I decided
to put it to good use and make a spice rack for my kitchen because my housemates and I have a lot of spices (unorganized and stored in several places) and a well-suited wall space for storing them--
all that's missing is a shelf.
I was out of town when I made the original design in fusion so I made a point to parametrize everything! Which was super super helpful because when I got home and decided I wanted to
adjust a bunch of the dimensions to better account for the varying spice sizes and the number of bottles we had, it was super easy to adjust everything.
Unfortunately though, parametrics didn't save me from everything. For one, I realized after going in to cut that I had shaped my dogbones incorrectly
and needed to redesign on the spot-- and some of the adjustments required me to actually reshape some things (particularly the finger joints on the corners which I pretty much had to redo).
And then there was the issue with thickness but I will break that down later. Here are the 3 main iterations my design went through:
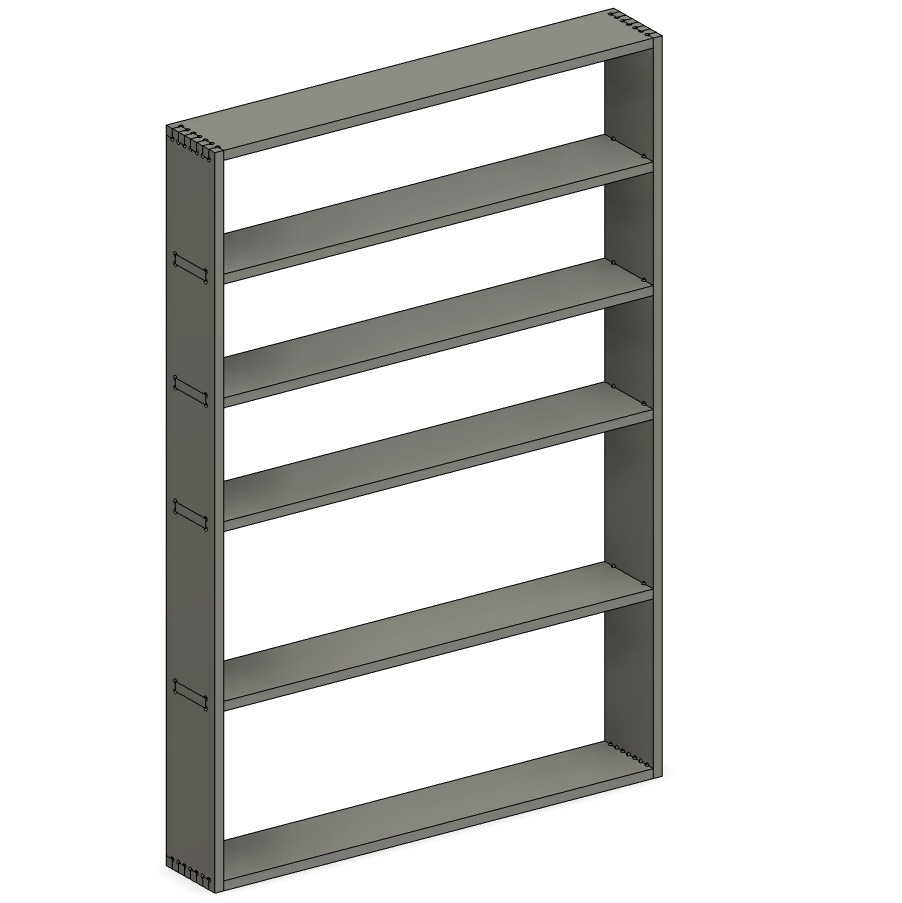
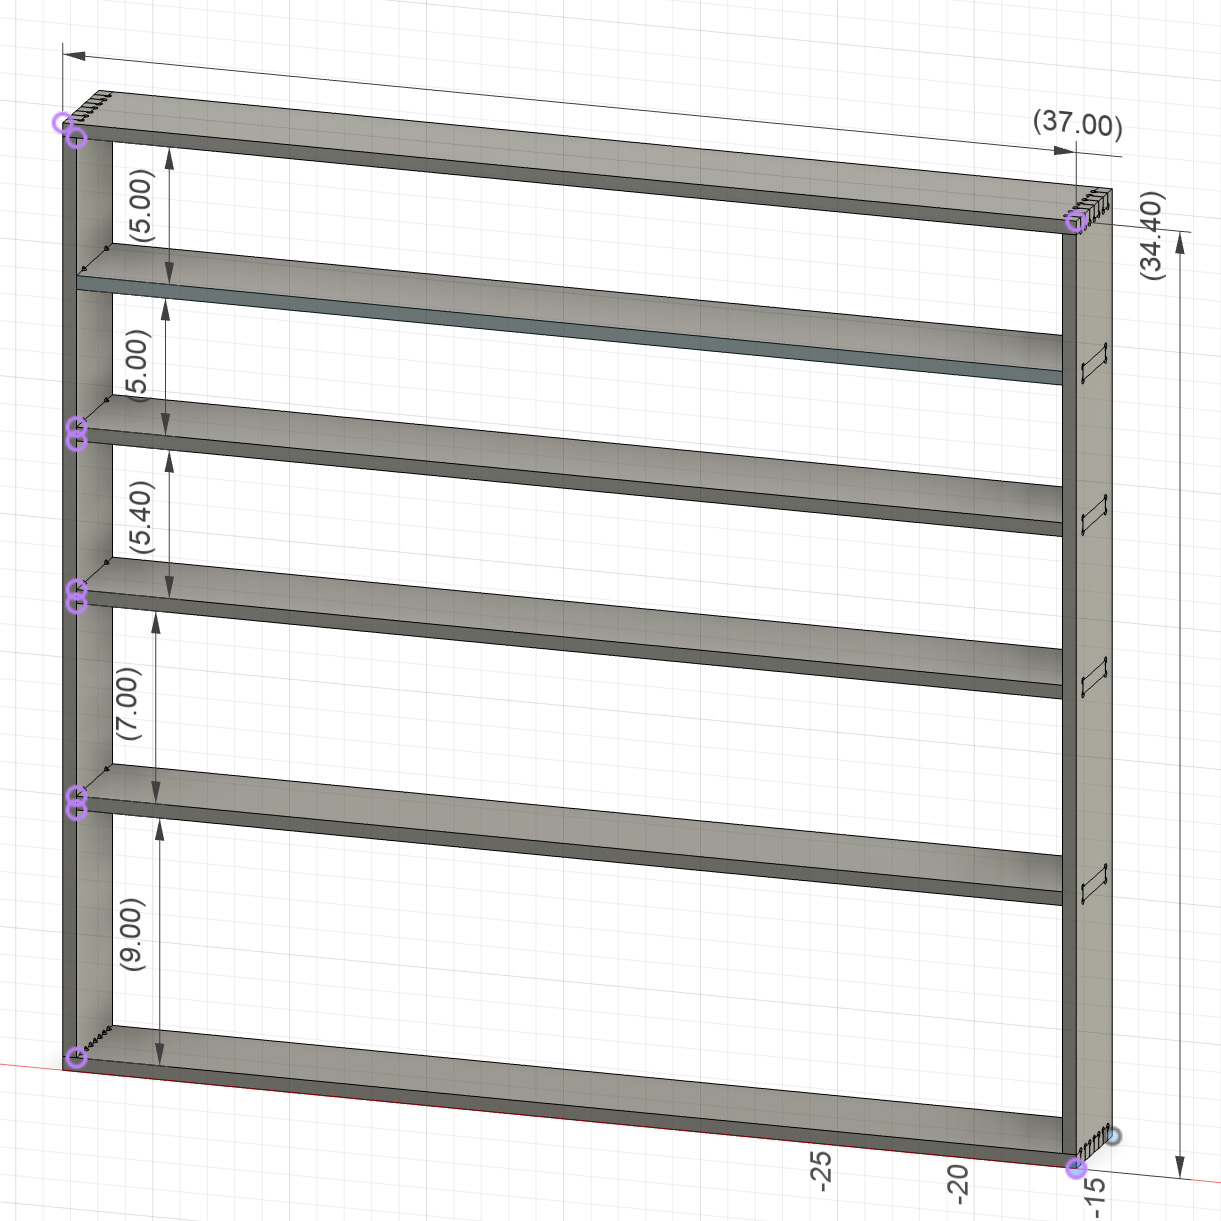
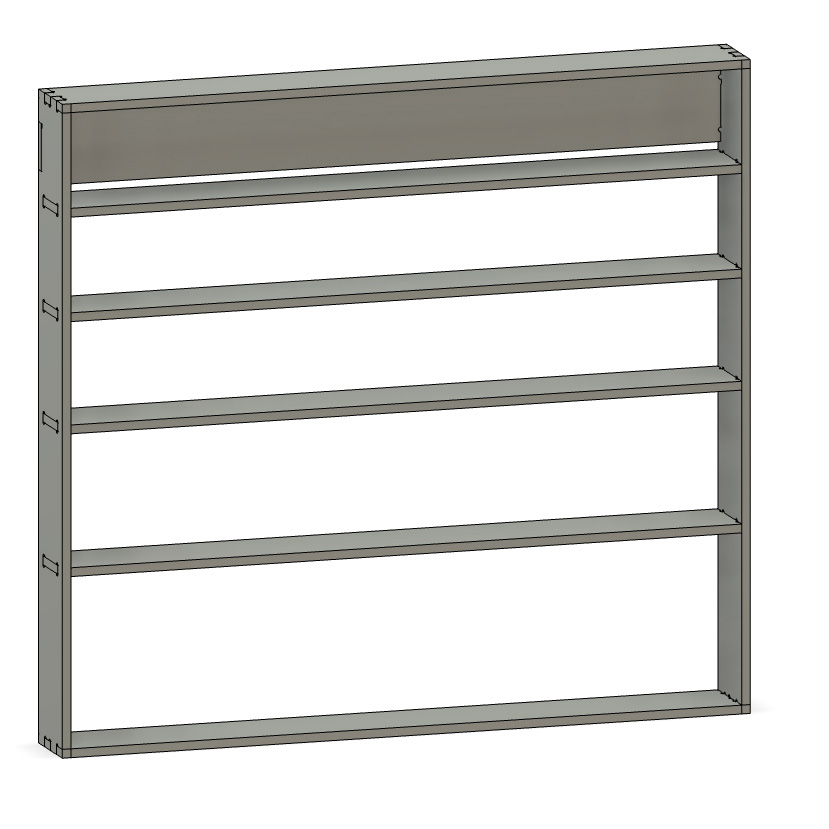
I didn't want it to have a back but I added a back piece on the top shelf to make mounting super quick and easy. It's actually the same basic piece as the shelves, so I didn't need to design an additional piece,
just modify the sides slightly.
Ideally, I would've done the thing with the shelves where the slot holding them only goes partway into the depth of the sides so that the outside is just a uniorm piece of wood. It just looks a lot nicer that way.
And while I'm sad I didn't do that, I didn't really have the time to figure out how or change my design to accomodate that. I'd love to make something like this again though, and will try that next time if I do.
Using the shopbot was pretty straightforward-- I don't have too much to say about it besides expressing great appreciation to the TA's for putting together such easy to follow documentation!
When I was finalizing my design, I measured my wood to set my final thickness parameter. The wood seemed to vary quite a bit (from 0.46-0.472" or so). I decided to go with 0.465" since that seemed slightly
above average on the edge that I measured several points along. The joints fit- very tightly, but it worked well. What I didnt realize though was that I used the same thickness variable to set my model and stock thickness
and because of that, there were several places where the machine didn't cut all the way through the wood. Not the end of the world, of course, but I think the assembly process and final product would've been a bit cleaner.
Again, good things to know for next time.

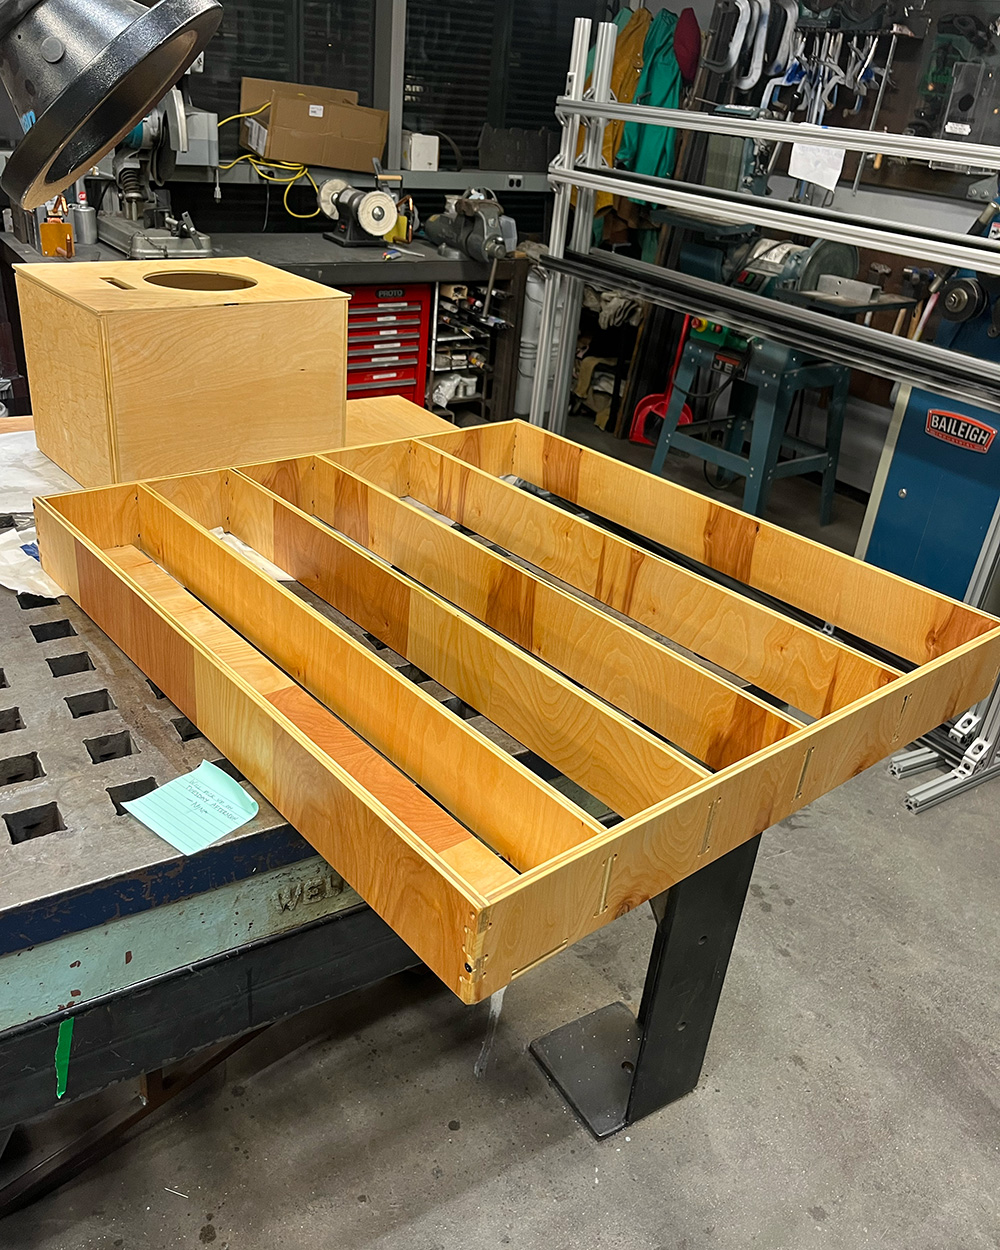
I had to clean up all of the edges of my pieces with the belt sander because they were pretty rough where the shopbot didn't cut all the way through. I then started assembly by putting the shelves in and it took a LOT of hammering. For the shelves, the press-fit was more than sufficient. For the top, bottom, and back/mounting piece, I used glue and screws for added stability. Honestly the fit was so tight it may have actually been fine, but there was no point in risking that since none of the screws will be easily visible when it is hanging.


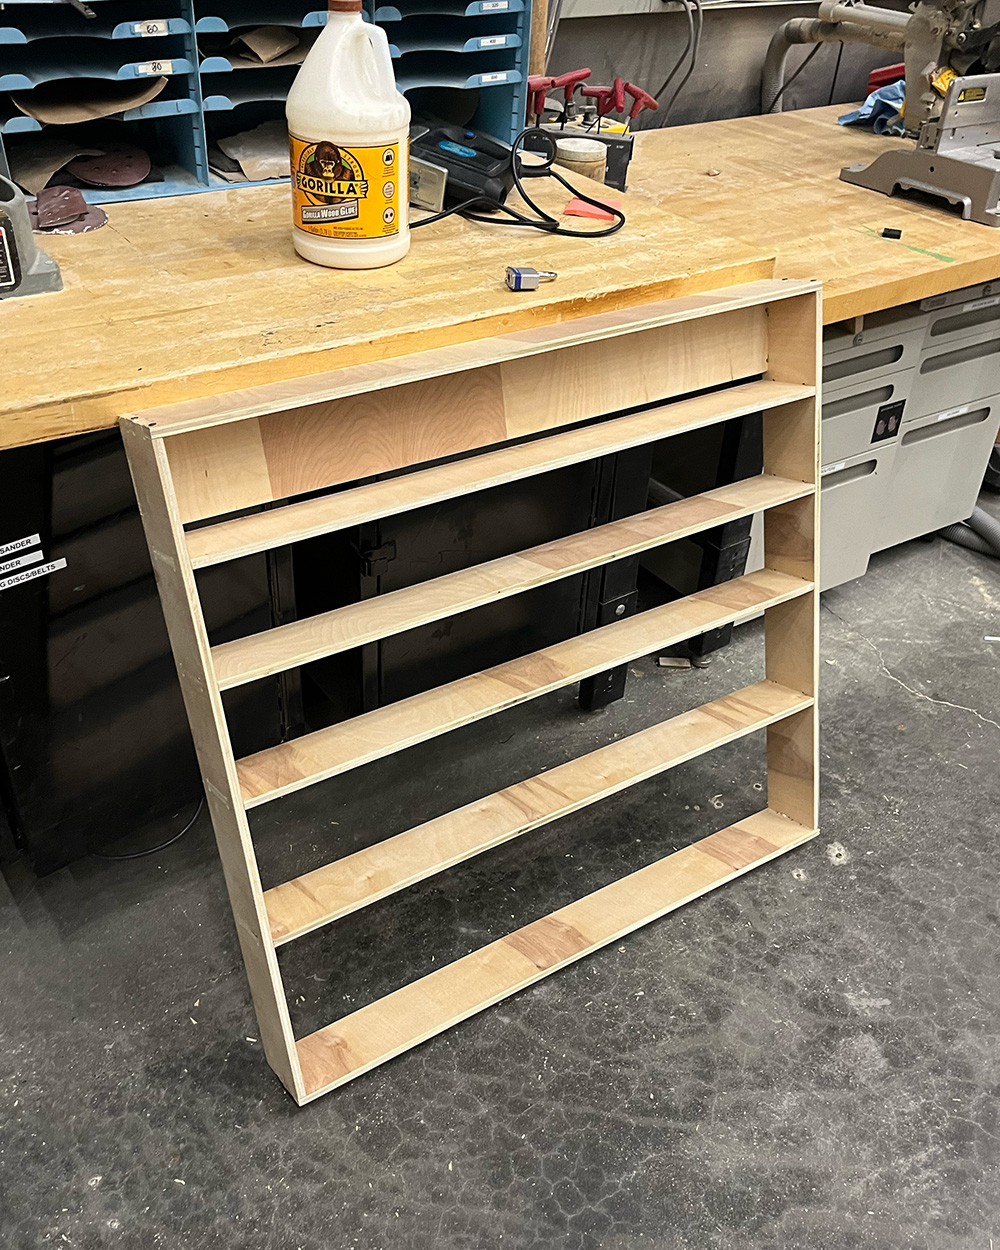
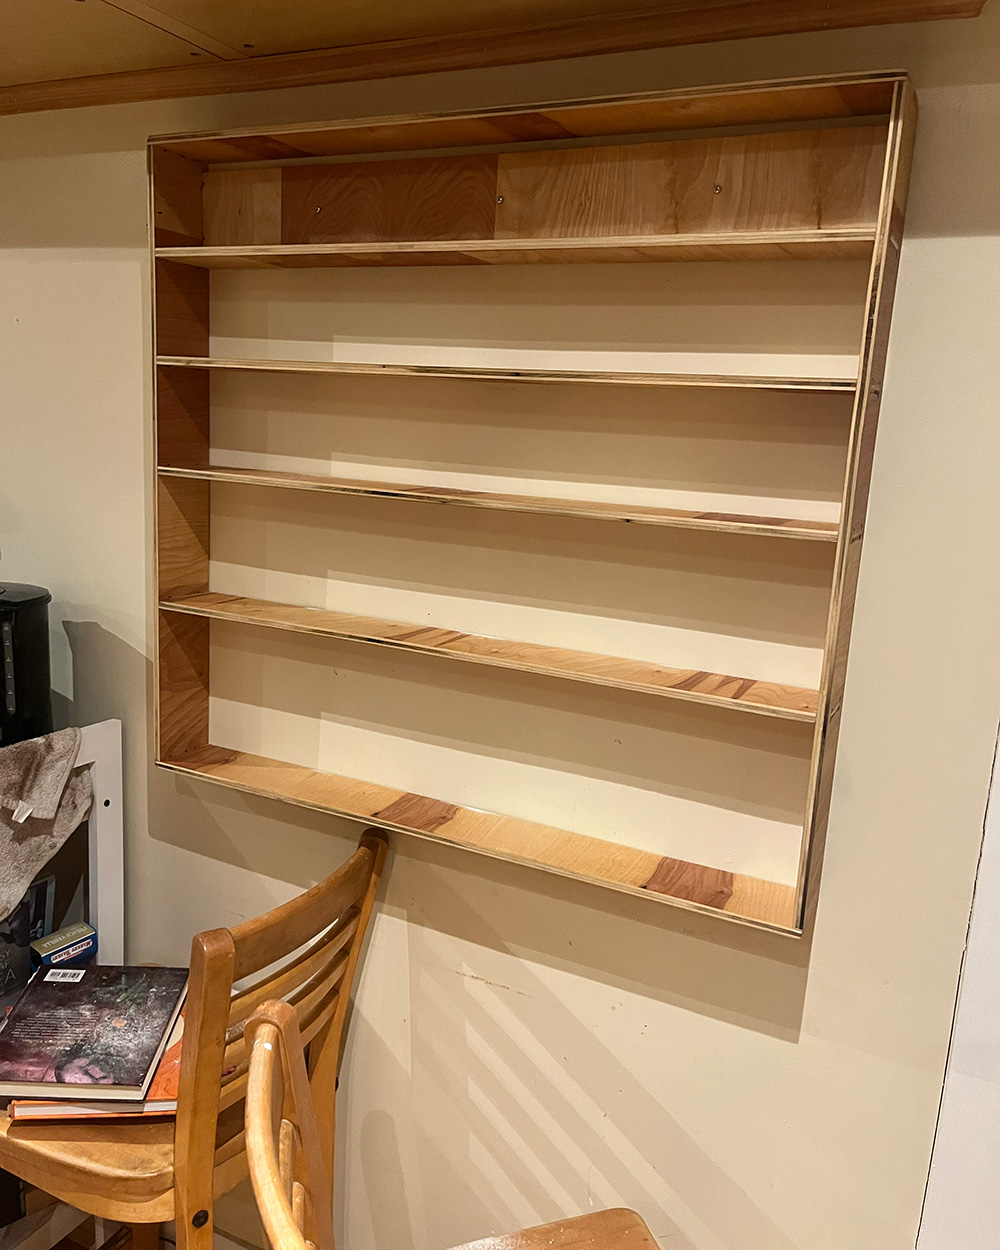
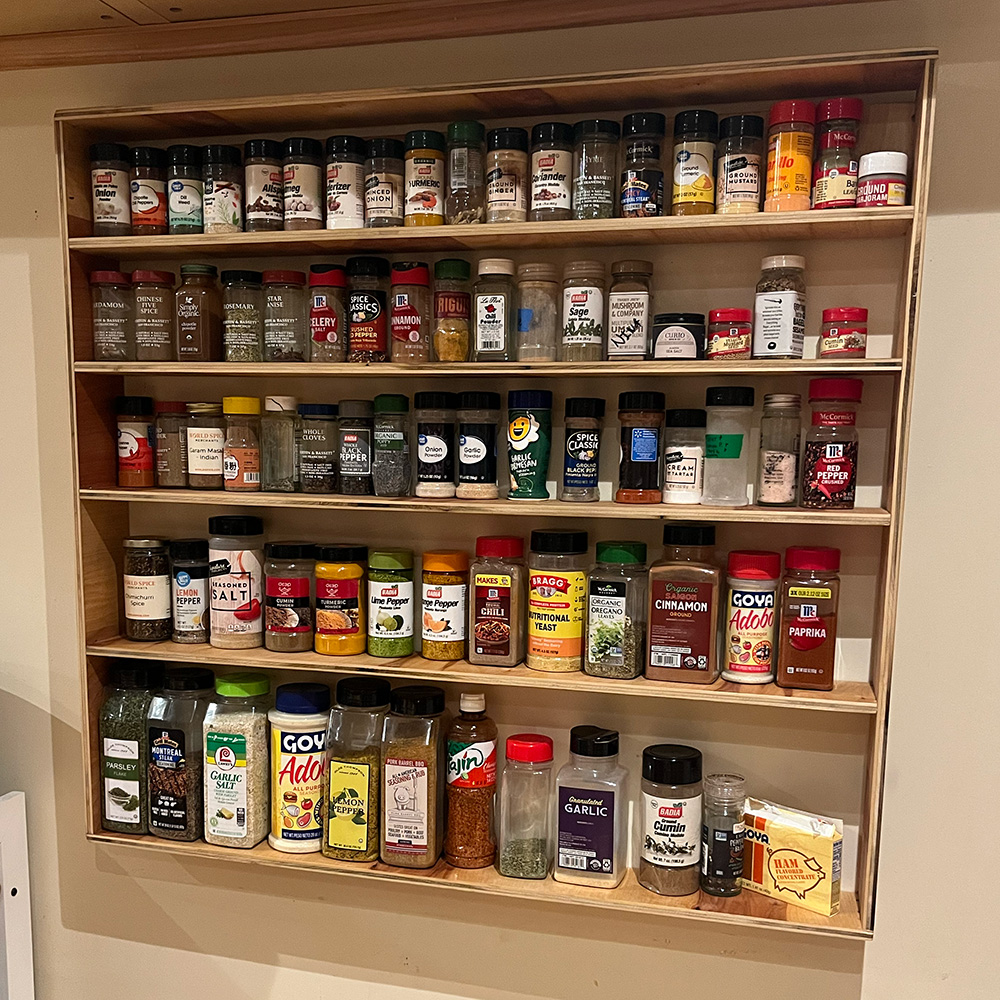
Once assembled, I sanded everything again and finished it with danish oil. I brought it home the next day (carrying it on the T, thankfully I made it just before rush hour...) and hung it up with some drywall anchors, using chairs and some cookbooks to get the height right. I'm pretty happy with how it turned out! It definitely could've been a bit nicer if I had taken my time and been a bit more patient, but hey, it looks fine and gets the job done!
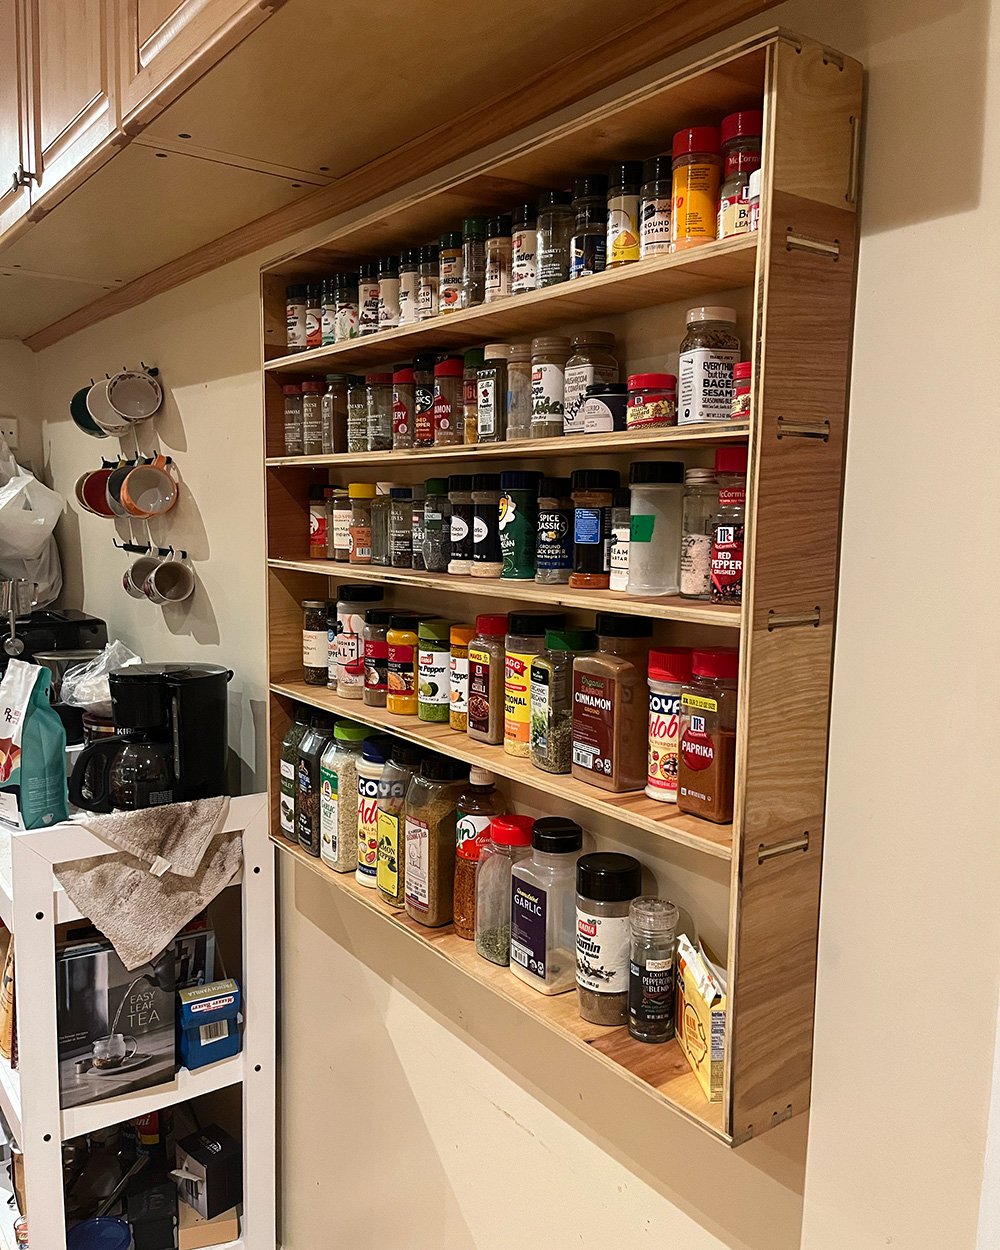
And conveniently it fits all of our spices perfectly :)
-- Gcode