

This week's assignment is: "Design and produce something with a digital process (incorporating computer-aided design and manufacturing) not covered in another assignment, documenting the requirements that your assignment meets, and including everything necessary to reproduce it."
There were several options made available to us this week by the wonderful TAs. It was a tough choice, but due to a mix of time constraints and whatnot I ended up choosing to crochet using a digital pattern making tool with Quentin. I already
know how to crochet so it seemed like a fun way to expand my skills and explore new tools in that area!
And I'm really glad I chose that because it ended up going in a fun and unexpected direction!
We are supposed to define our own assignment for this week so here is mine:
Using a digital tool, design, generate, and follow your own crochet pattern to make an object of your choice.
Extra credit: Incorporate electronics to make it an input device
Extra extra credit: Write a program to interact with your input device
After chatting with Quentin about the crochet lathe, its uses, quirks, and limitations, I decided it would be most interesting to make a composite object out of individually patterned parts since only being able to make radially symmetrical patterns is a big limitation.
Naturally, I wanted to make a sausage dog.
As I began this venture, Quentin brought up balloon dogs and I realized this would be a great source of inspiration. After watching some youtube videos of how they are made, I realized I could use the same pattern for all the pieces adding rows to change the tube length, string them together like little sausage links and twist it into balloon shape. Here is the base pattern I ended up using:
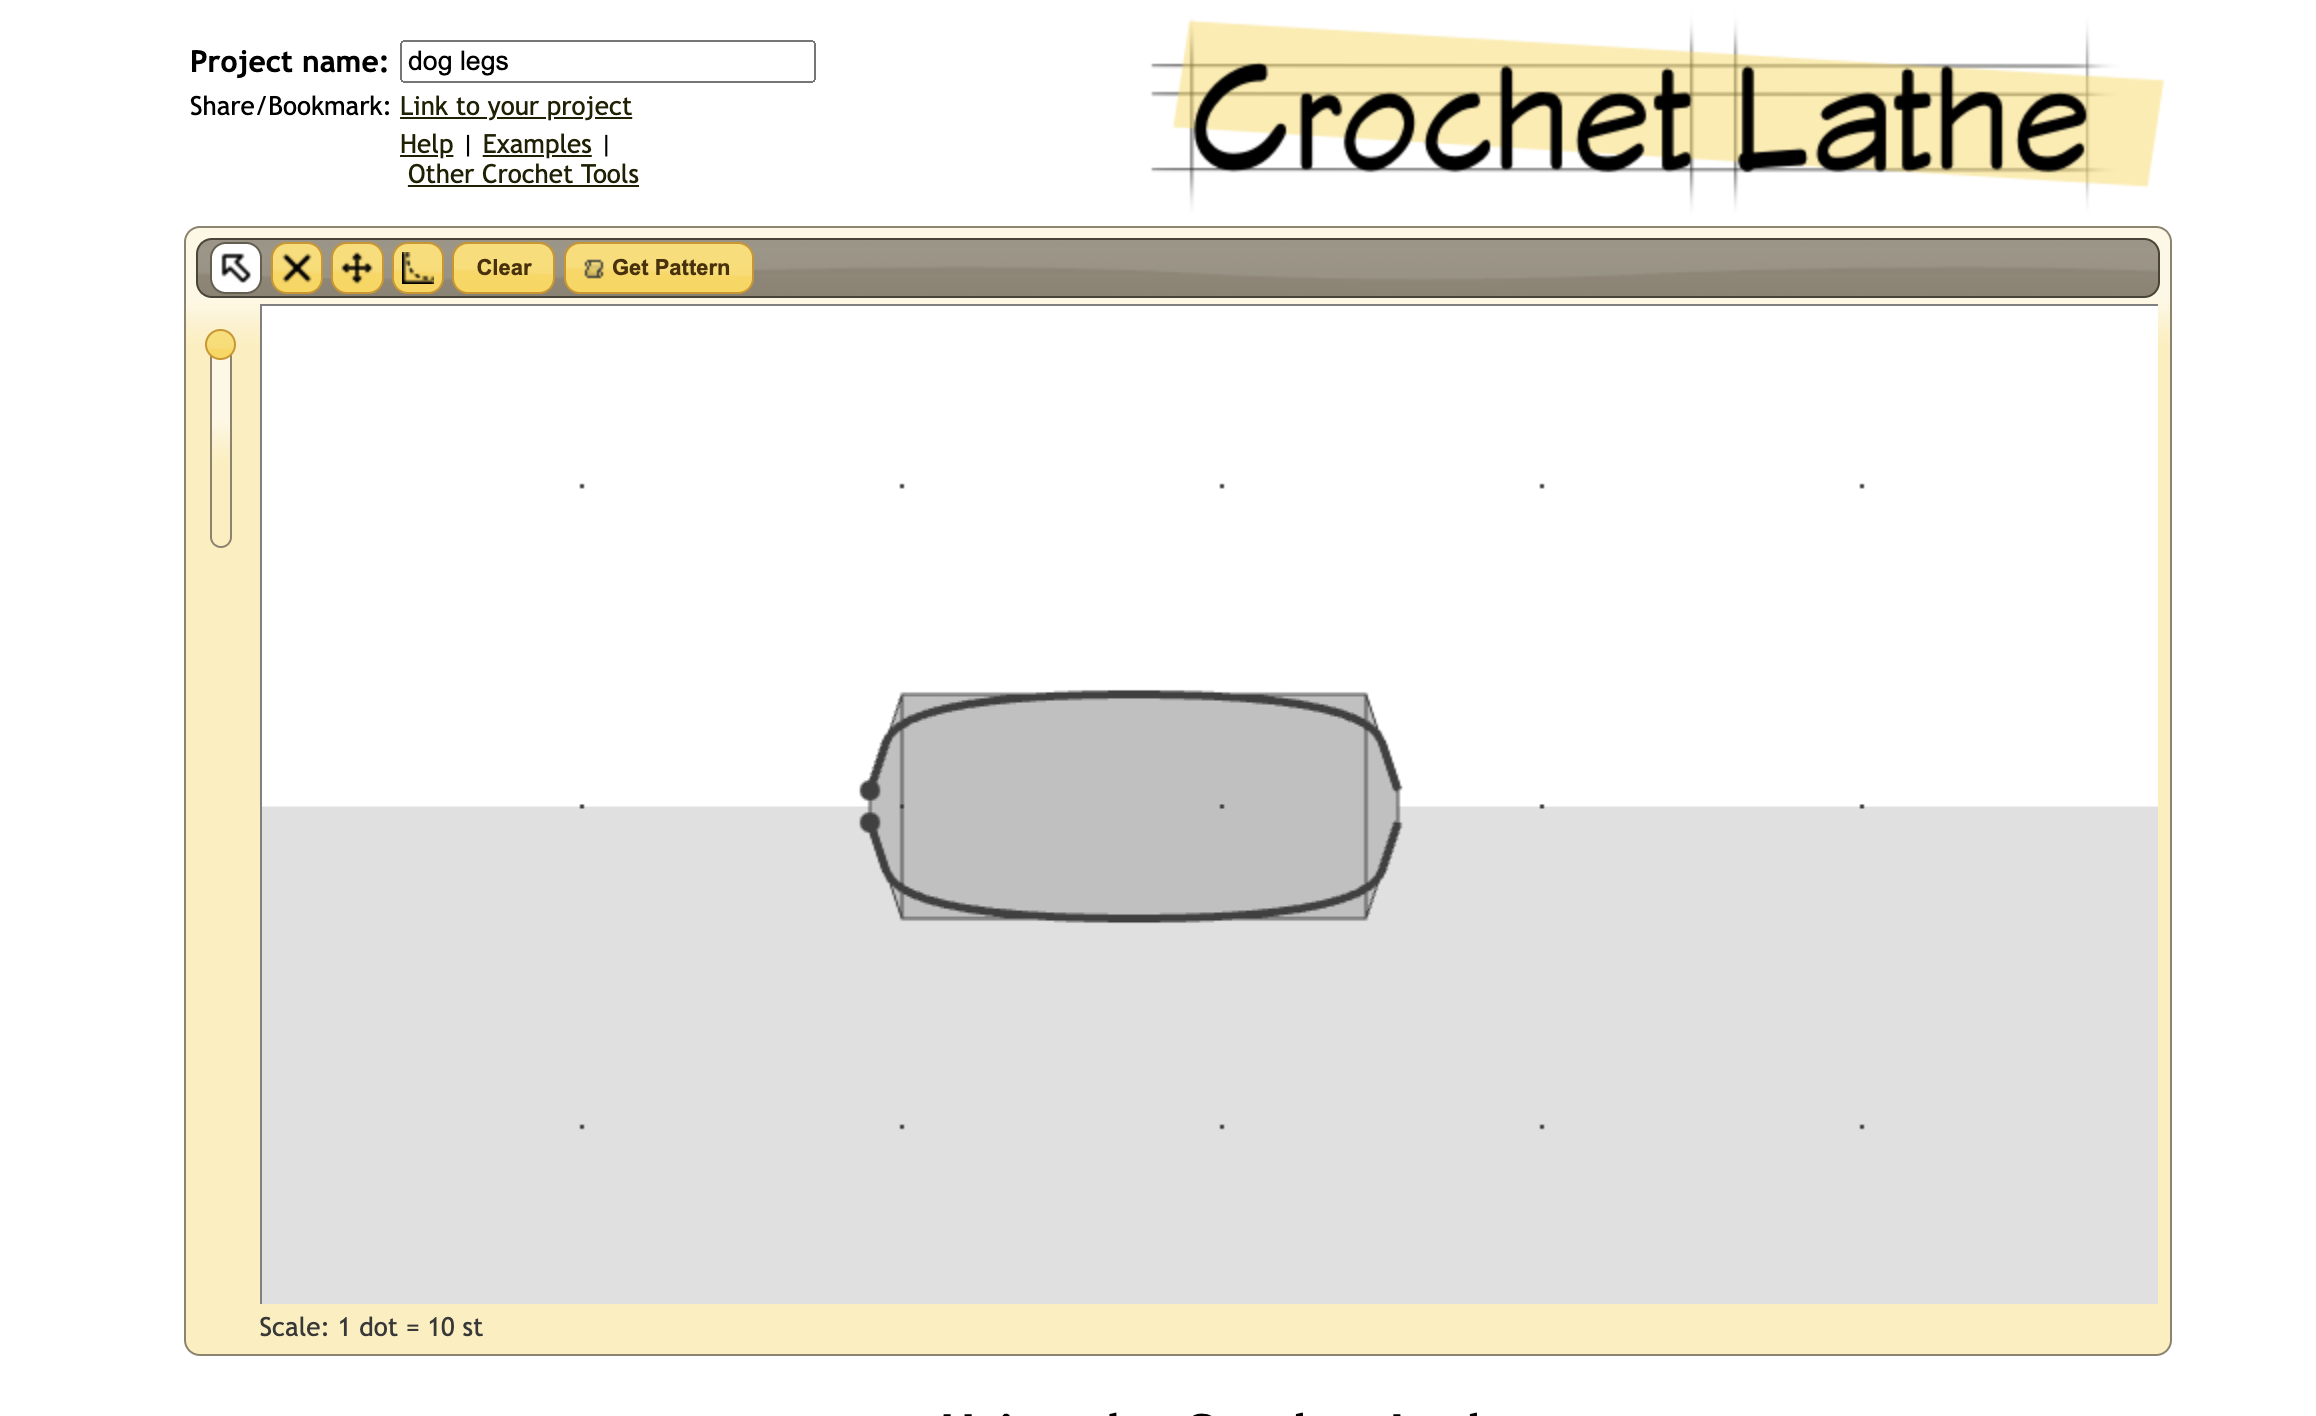
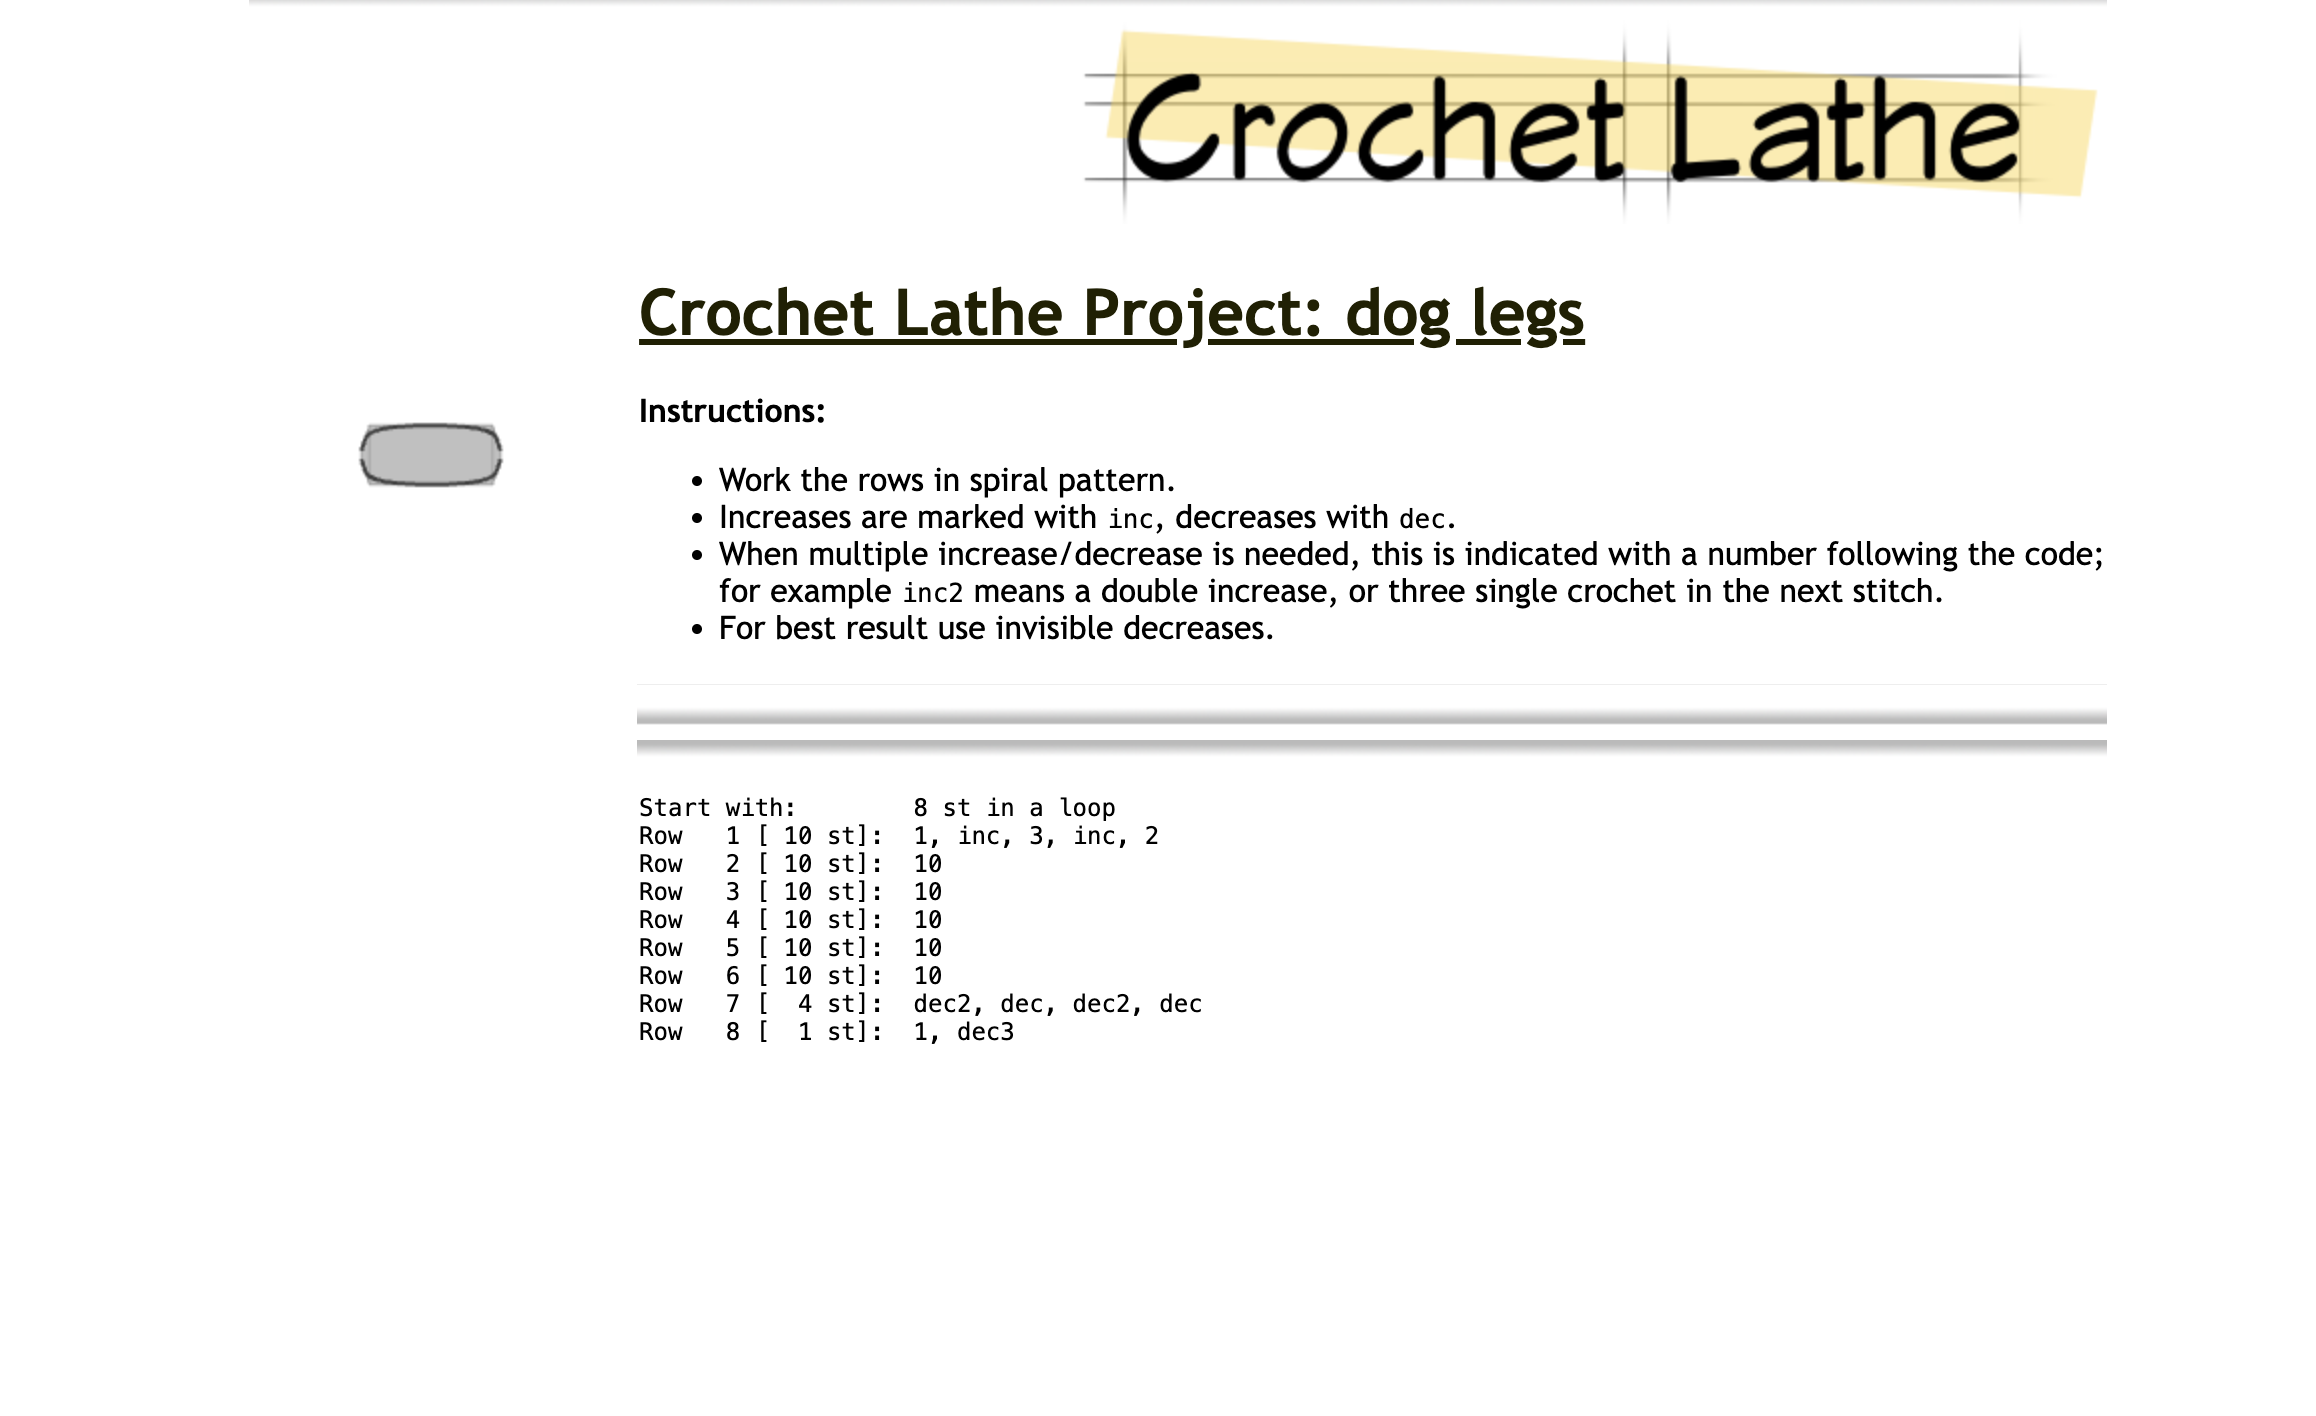
To add length to each segment I would add additional repeats of row 6 (or take out some to shorten them). I made one modification because it looked better: for Row 7: dec (x5), Row 8: dec, then tie off and sew the remaining 4 stitches together.
As I was progressing on my sausage links, I was talking to Quentin about some previous work I'd seen of people using conductive yarn to crochet sensors, and he was not familiar with it, but was very excited by it. We started talking about things to make and he said I should make something but I wasn't
planning on it-- however he went to get some conductive thread from Jack, who ended up bringing thread and joining us to do work and then they were both very excited about the conductive crochet so I got sidetracked and decided I should make something with it after all.
What I chose to make (the first thing that came to mind) was a stress ball that screams when you squeeze it. Quentin, Jack and I brainstormed about how to incorporate the thread into crochet and how to best implement capacitive sensing.
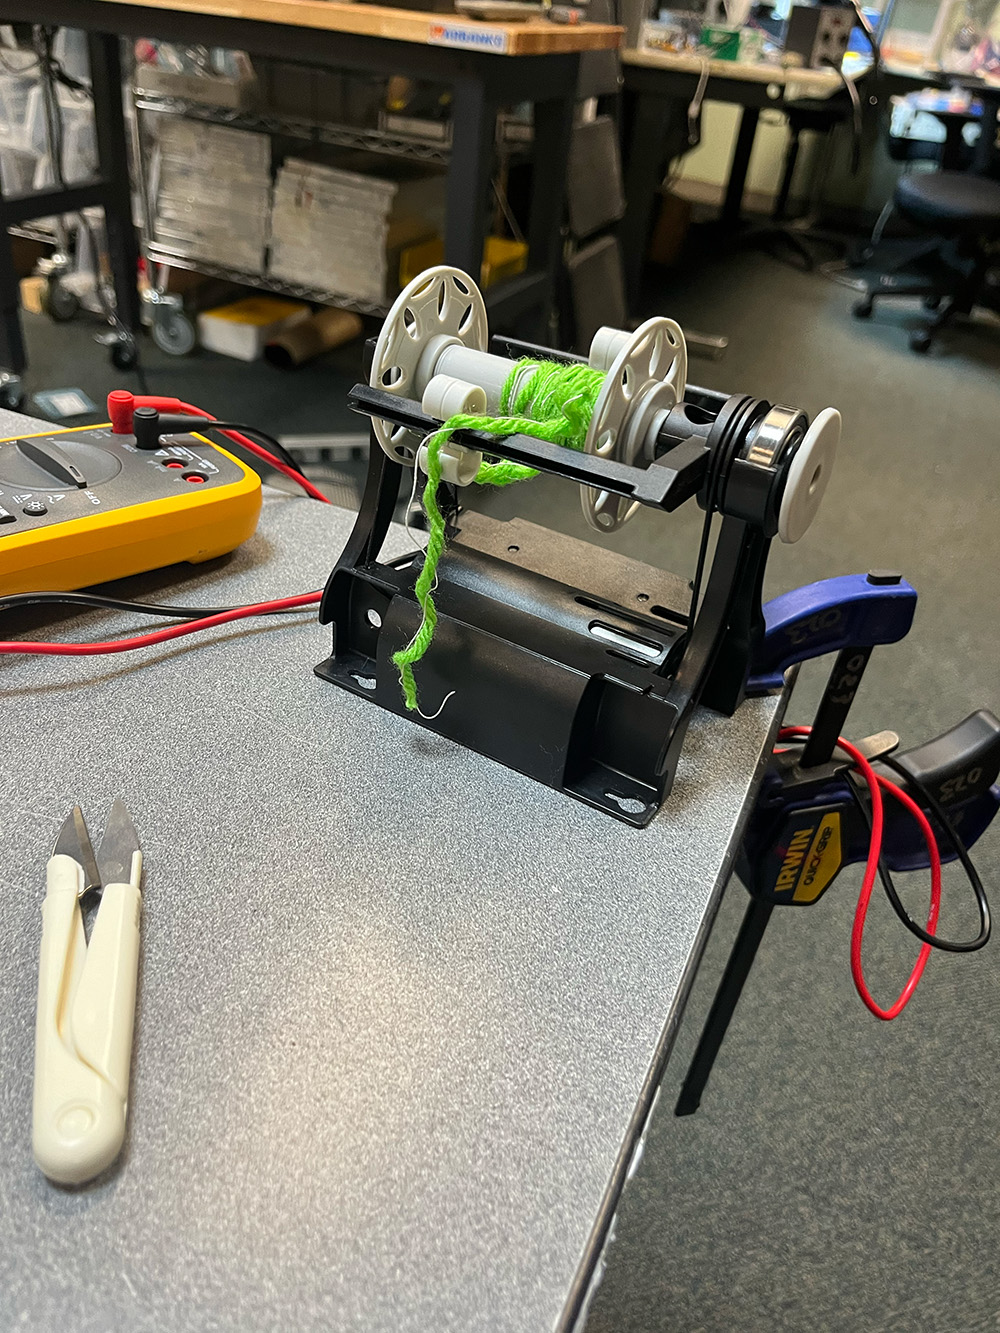
Jack brought us this handy little thread winding machine that allows you to twist together threads, and helped set it up so I was able to twist some yarn with the thread and then crochet that. Quentin recommended a setup of having ground on the outsides and the electrode in the middle, so I did that.
I first tried using the crochet sphere calculator but it is a bit buggy so in the end I just freehanded something roughly ball-shaped based off of muscle memory from the tiny pumpkin crocheting phase I went through last fall. I did the first few rows with conductive thread-wrapped yarn, switched to
regular yarn for the midsection, stuffed it and inserted a knotted up piece of yarn wrapped in conductive thread with more stuffing on top, then finished with a few more rows of conductive thread.
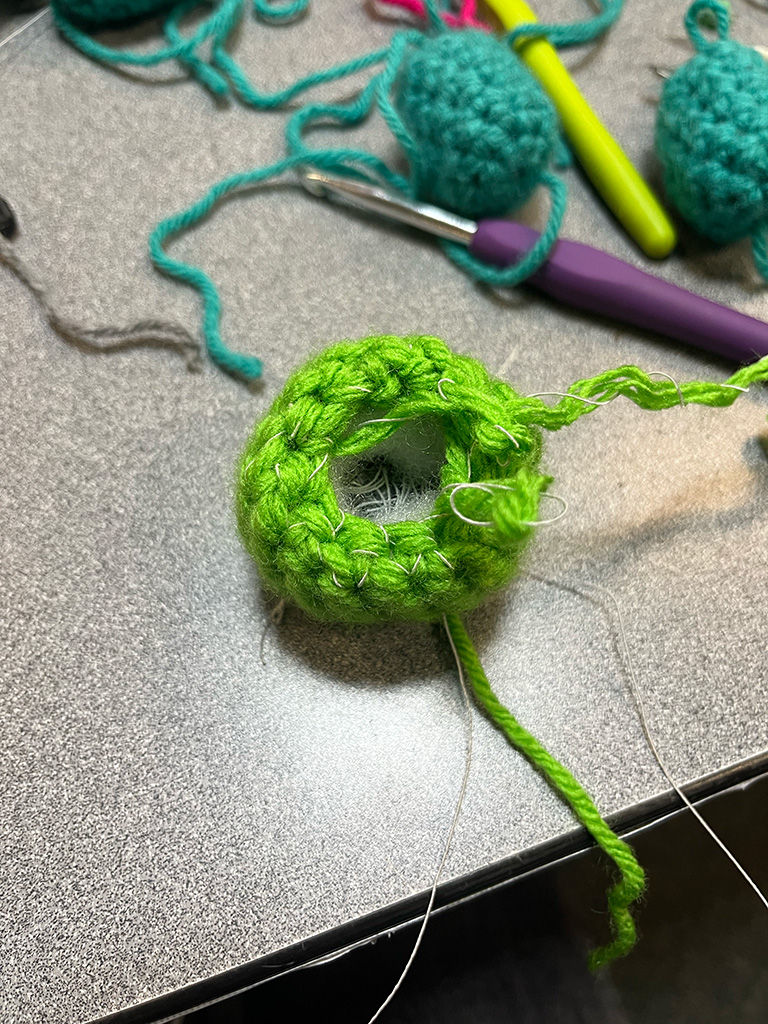
I sewed the outer ground thread from one side along the side of the ball to meet the other end and burned off the cotton part of the thread ends so we could solder them. Quentin soldered them to eachother and then to some some super thin wire I had, and after testing our connections, soldered those to a Xiao which he uploaded some simple capacitive sensing code to. After testing that successfully, I opened up Max/MSP and made a simple patch to use the serial input to trigger (and modulate volume of) a handful of screams I downloaded from freesound.org. Once that worked I added some eyes and a mouth, to give it a face of course (for what it's worth it was plugged in and running while I did this so it just screamed at me while I stabbed it repeatedly for 5 minutes, which made for a strangely visceral experience). And once it was done, here's how it looked (and sounded):
The next day, I decided, why not do some system integration while I'm at it? And give my lil screaming dude a nice chair to sit on. And how better to design that chair than the crochet lathe! Here is the pattern I used:
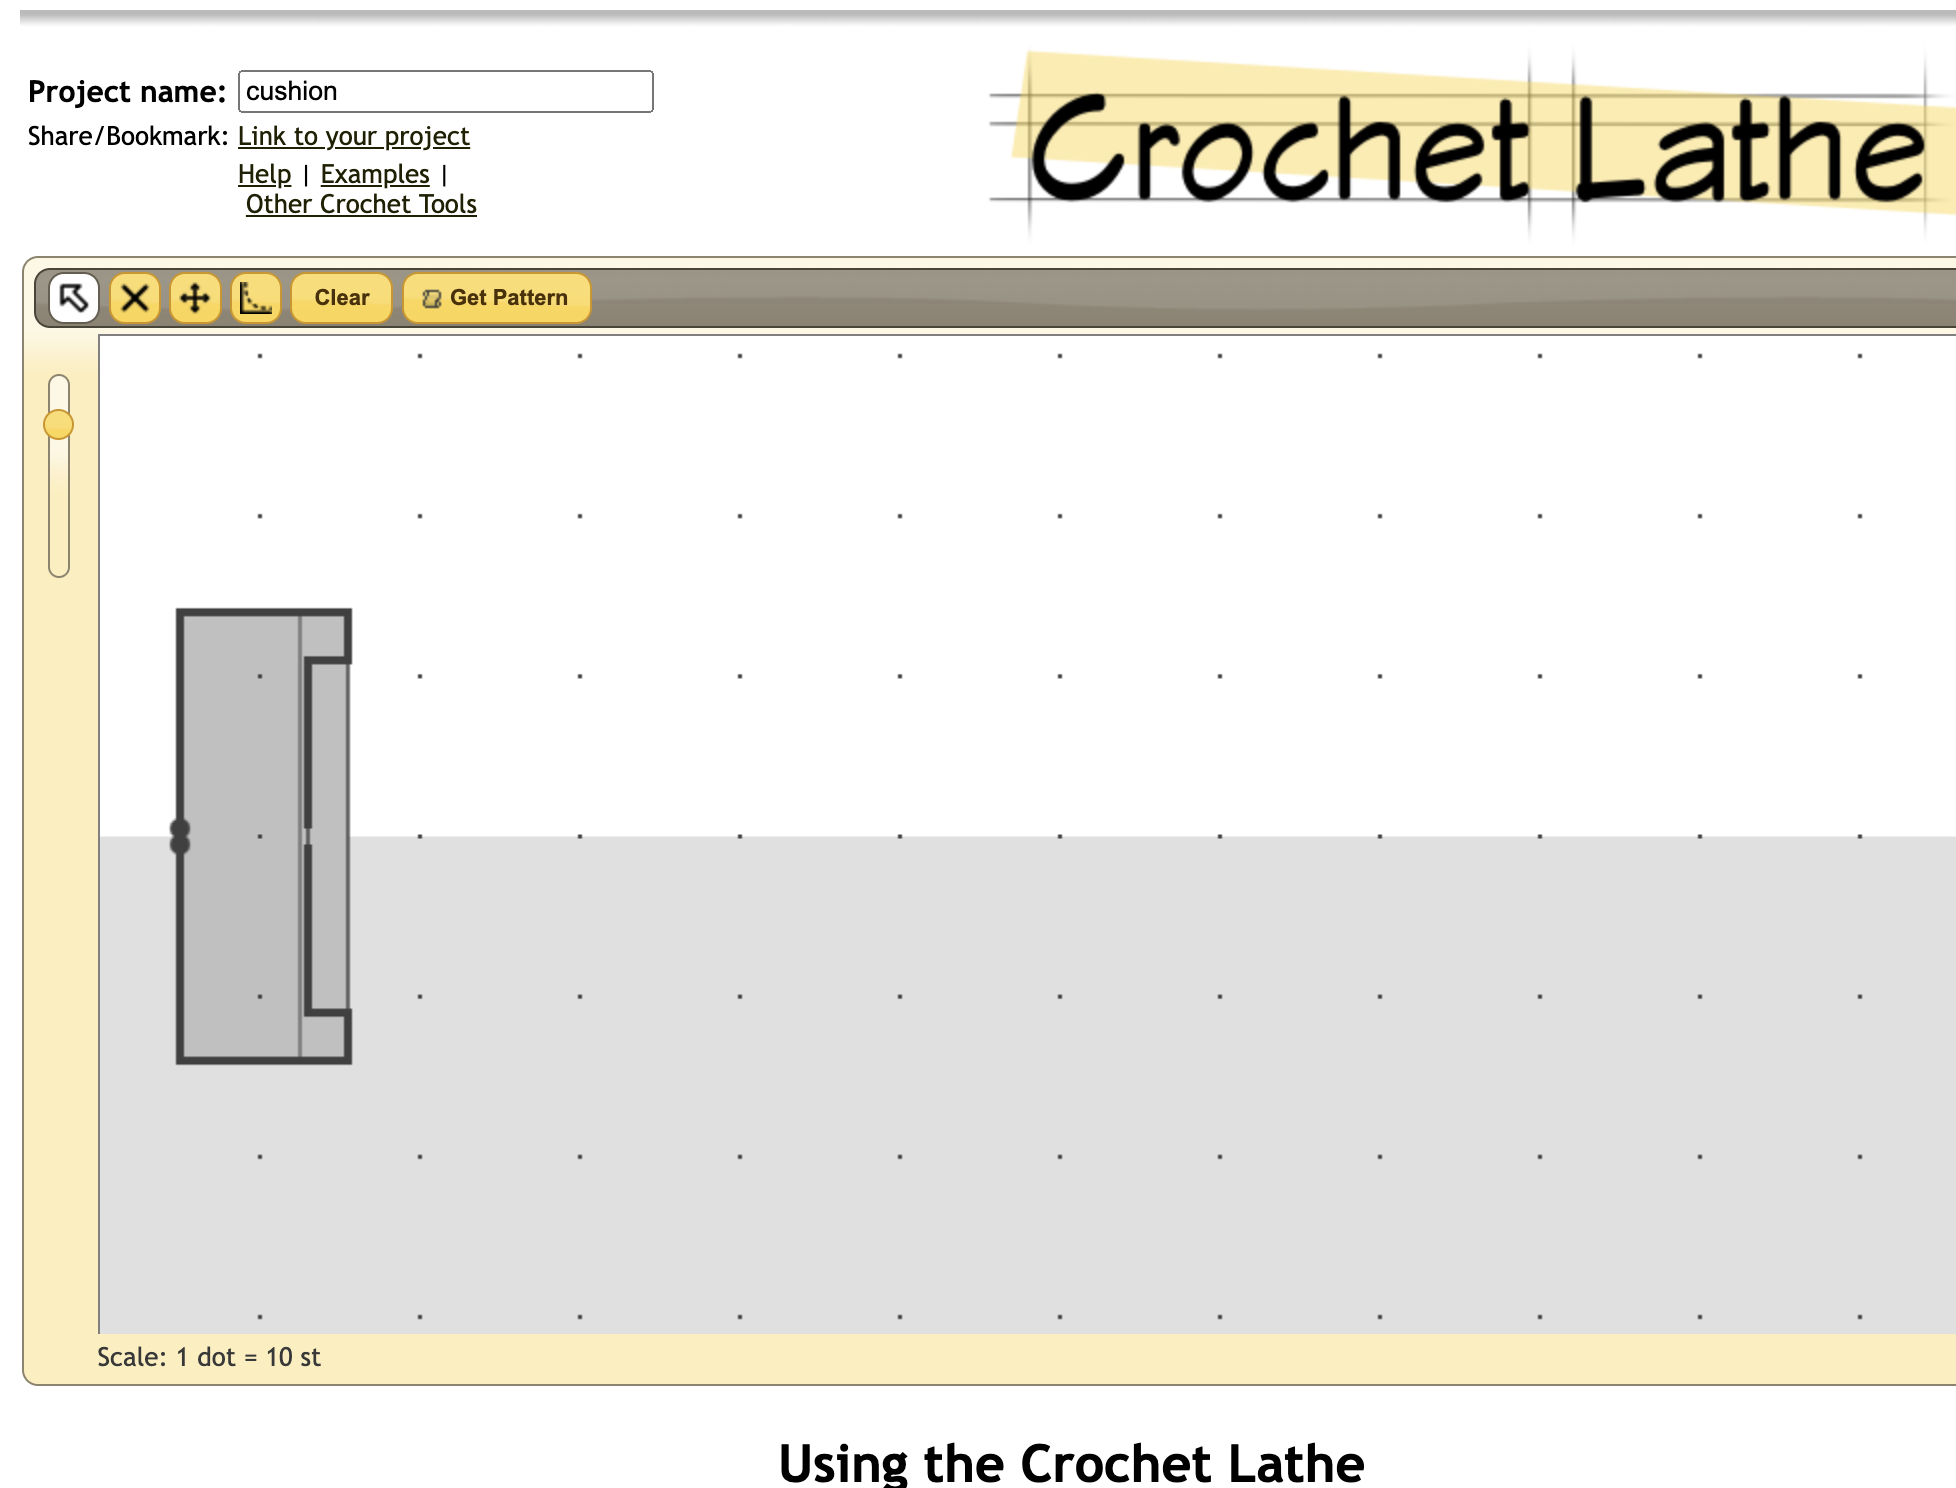
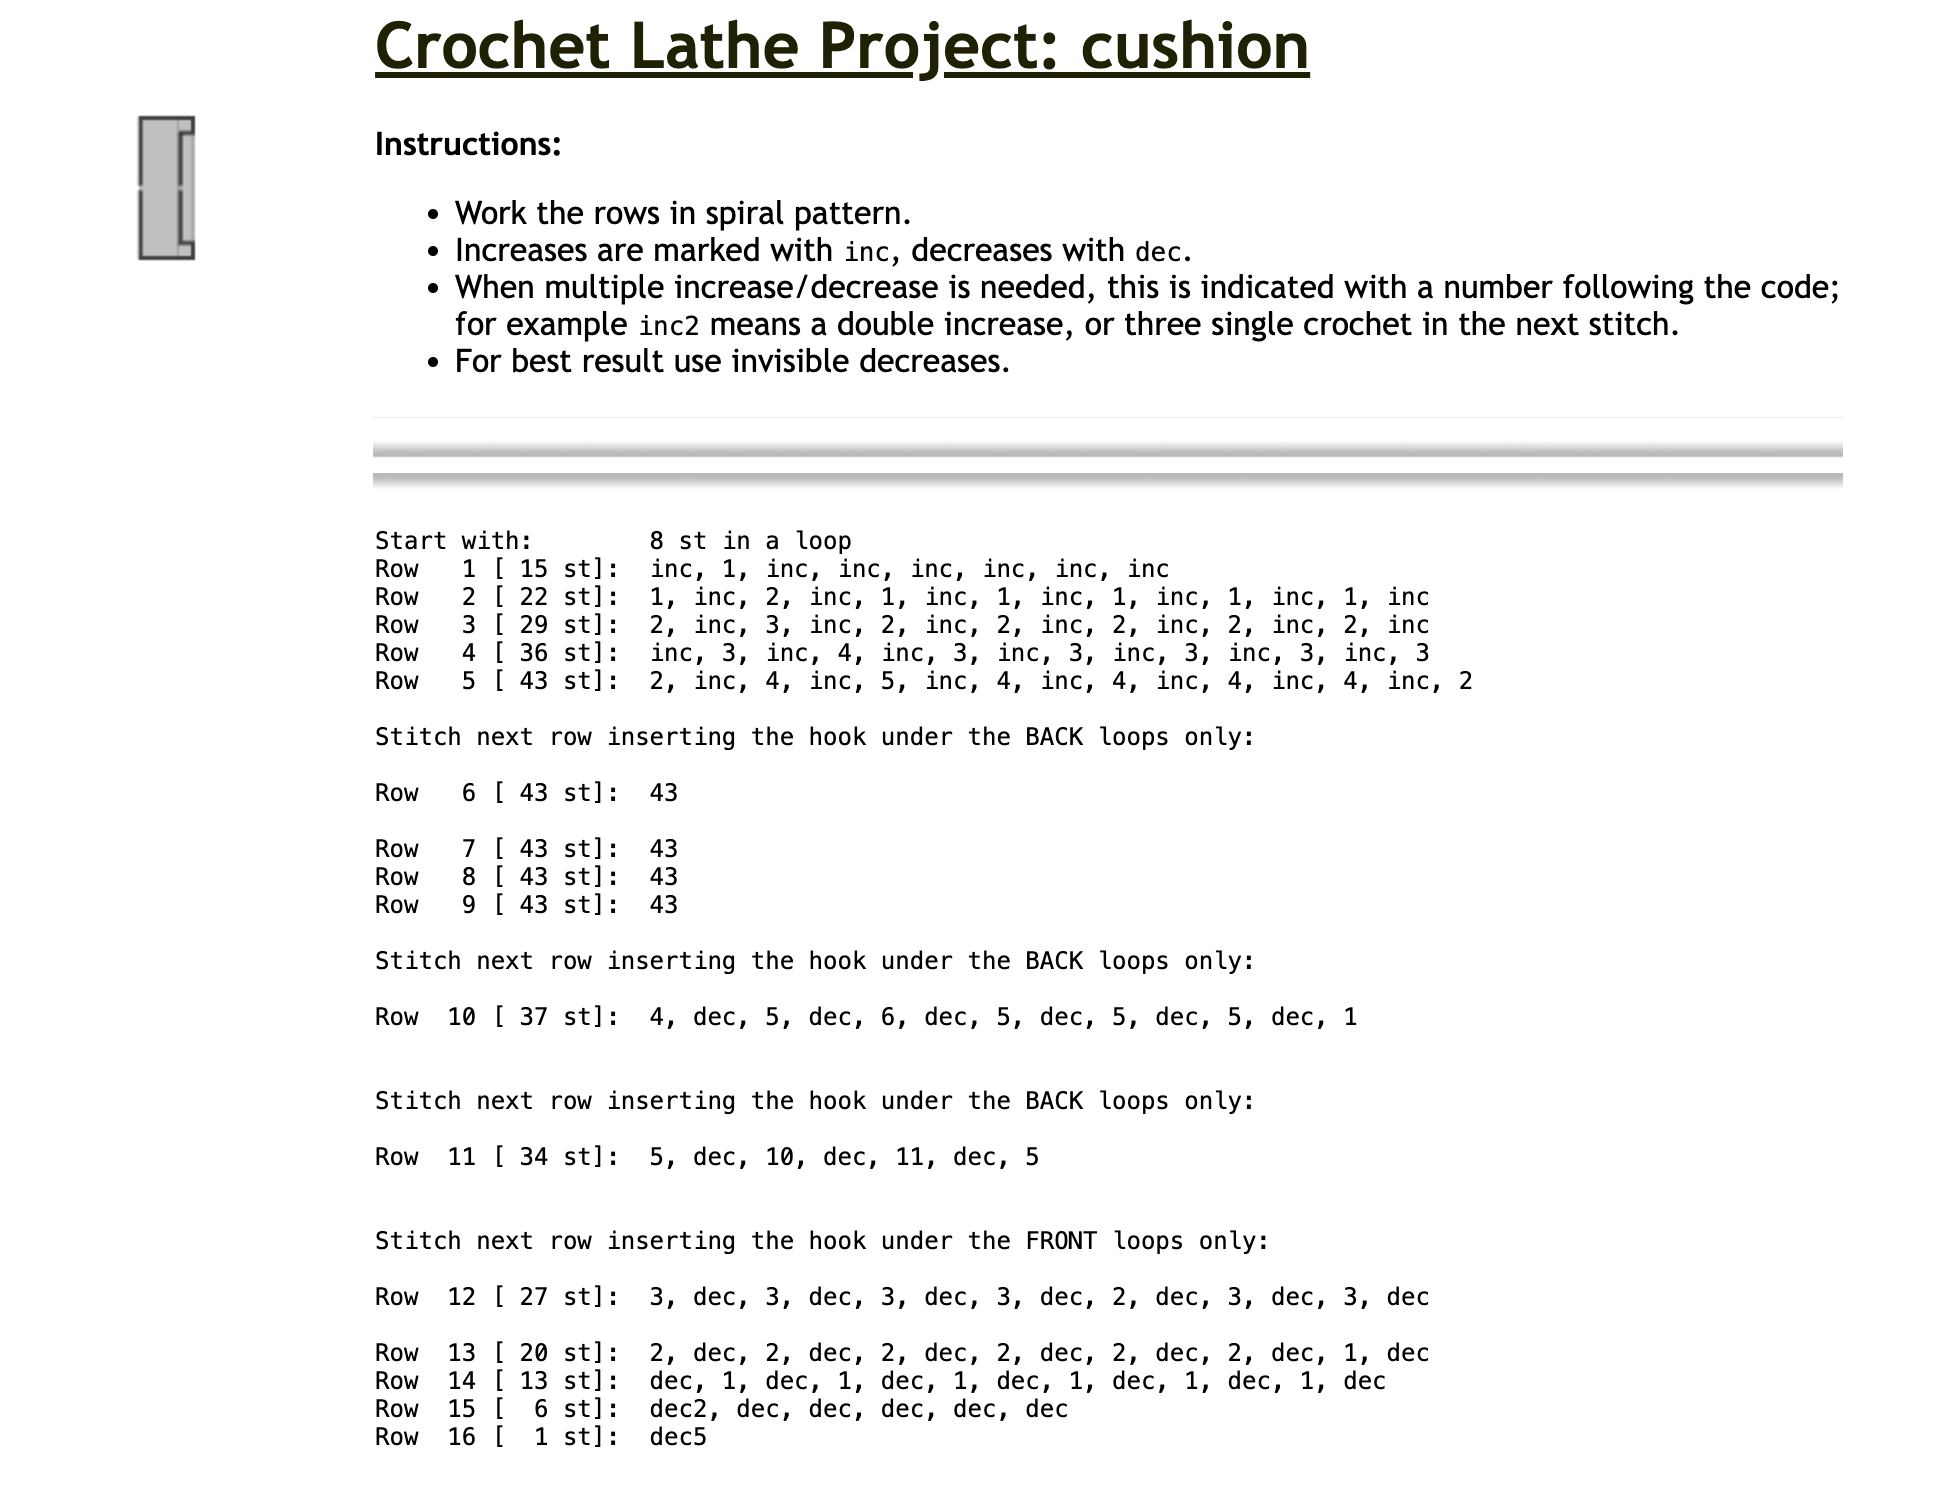
Before making that, I gave my lil guy a tail (crochet chain around the wire and thread coming out to both conceal them a bit and provide some strain relief). And then I made the cushion. Towards the beginning of the pattern, I crocheted in a USB-C cable Before the last 6 rounds or so, I put in a cardboard circle to give the base some structure, plugged in the xiao and taped it to the cardboard, then stuffed it.
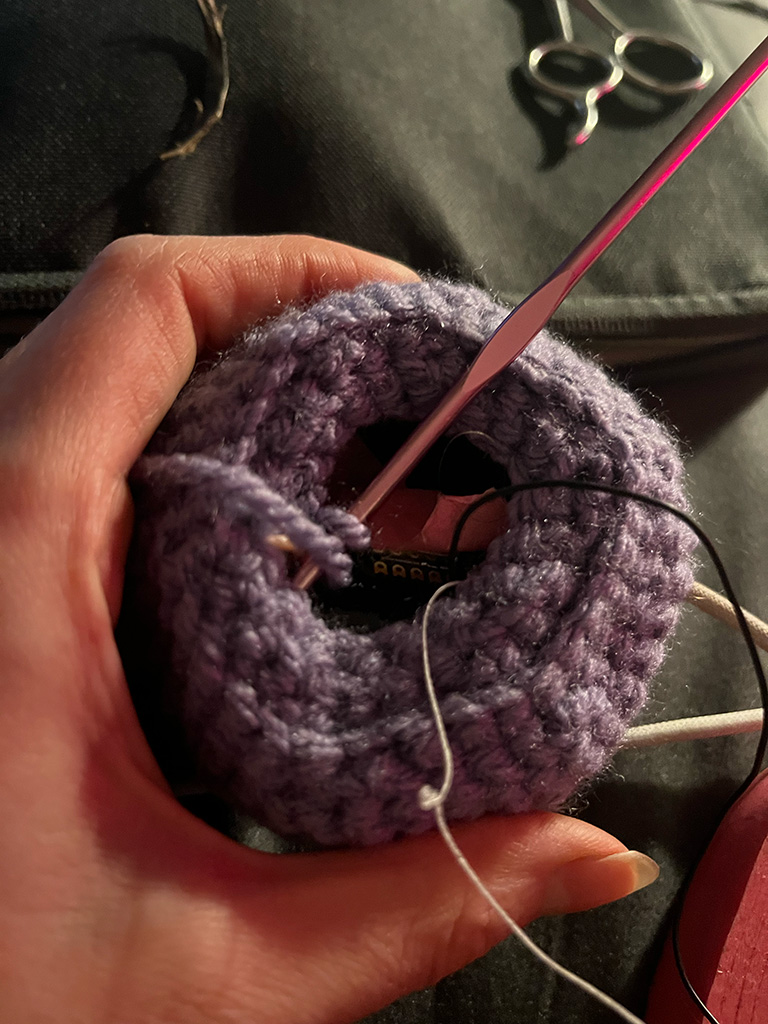

Before the final round, I knotted up the base of the tail large enough so it wouldn't slip out, and closed the cushion around that. Tied it all off, sewed in and cut the ends, and then it was done!


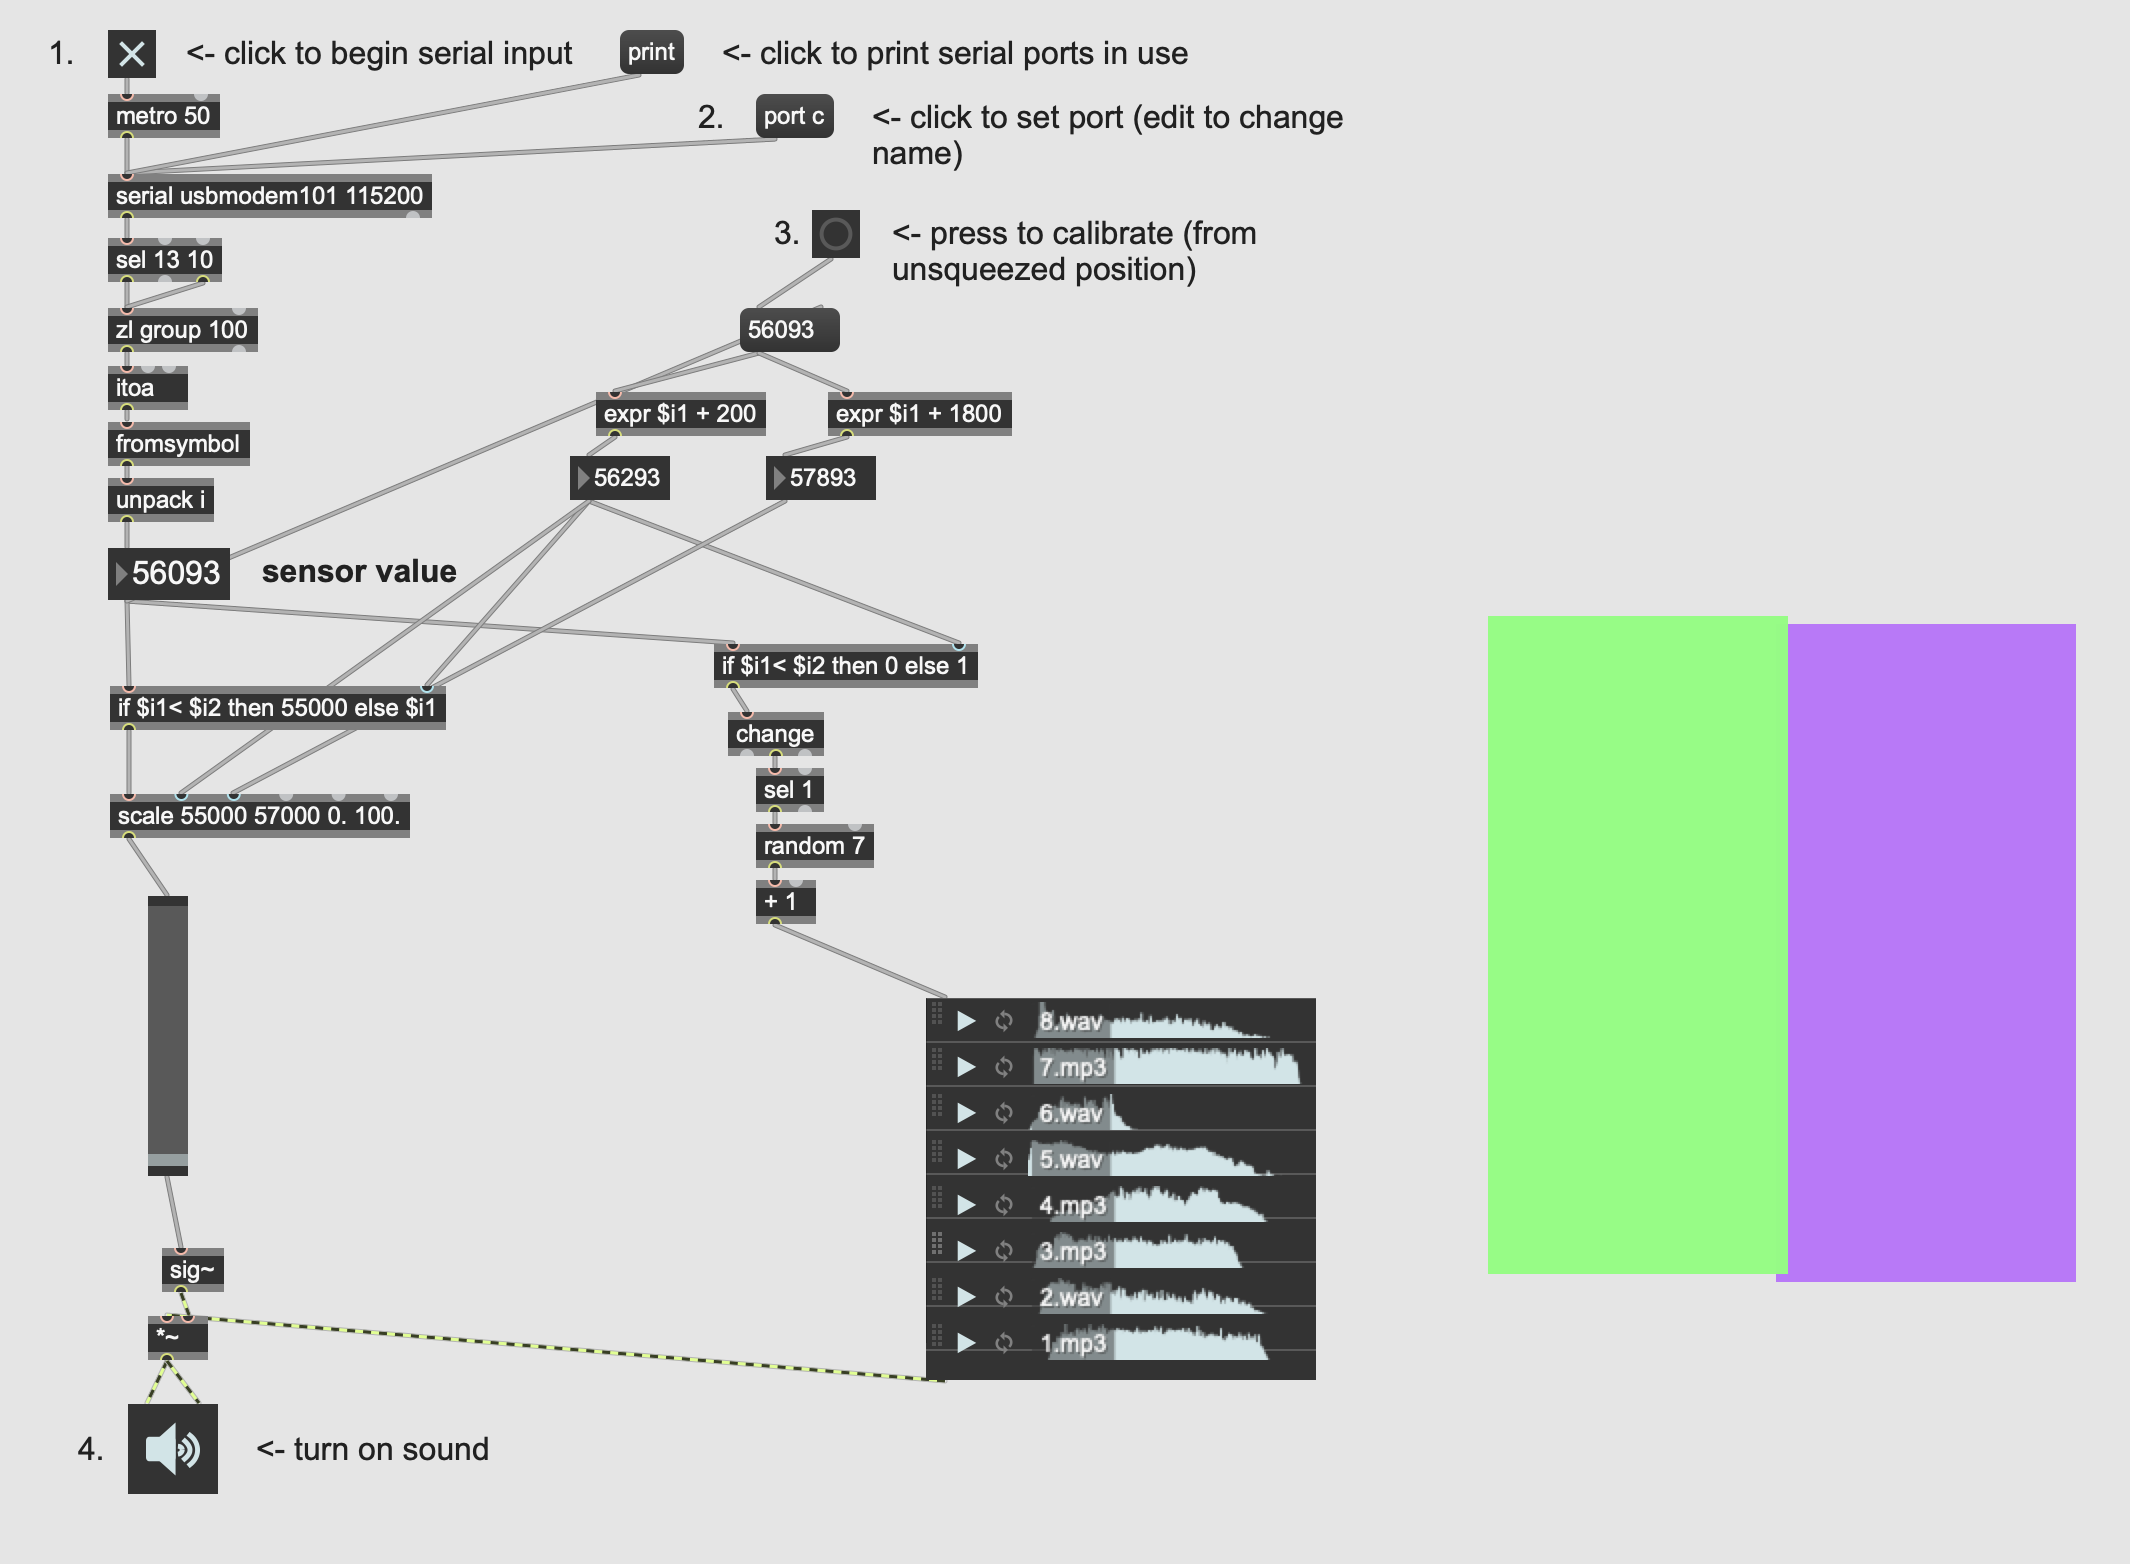
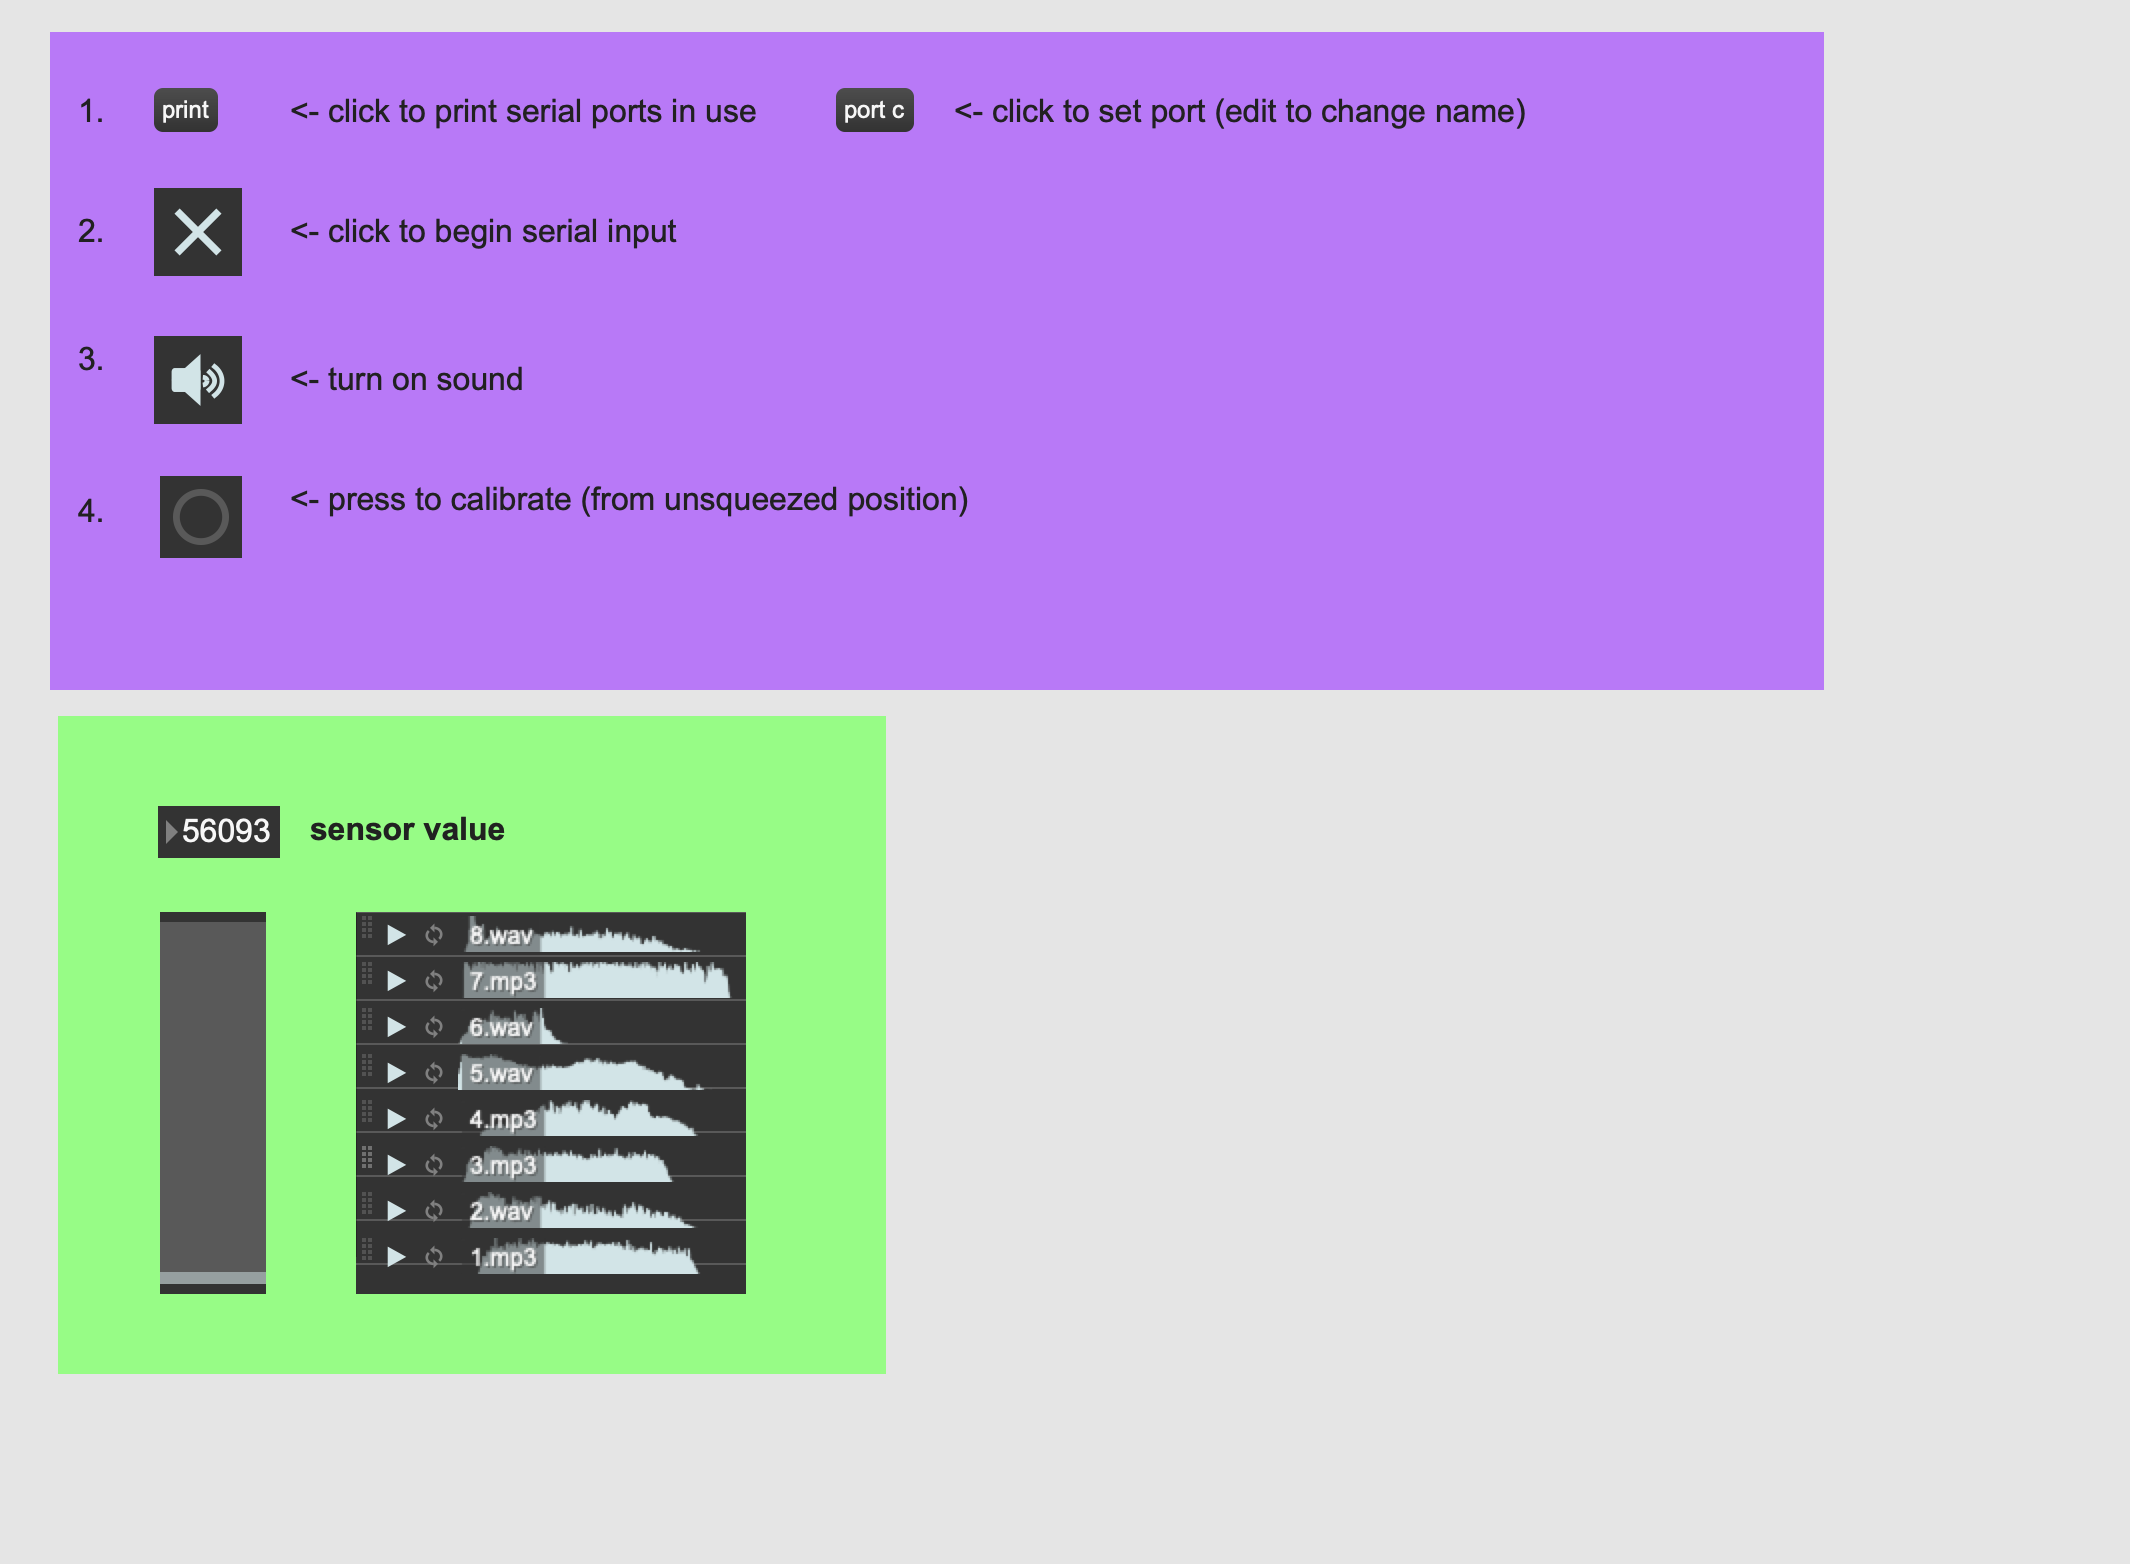
I cleaned up the max patch and added a UI.
How it works: Read serial port and unpack integer input, calibration to set squeeze floor and cieling values, scale sensor value to use as volume control and randomly trigger a scream from the playlist. Patch on the left, presentation mode (UI) on the right.
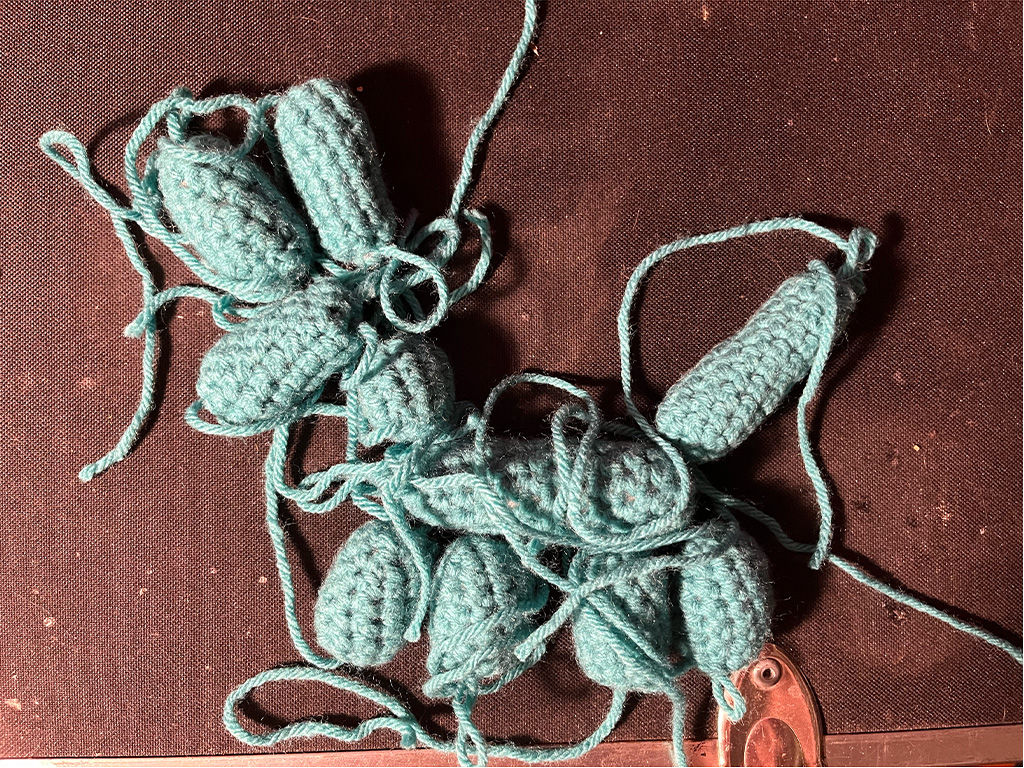
A couple days later, I decided to finish the dog! I made the remaining links and tied them together (it really was like a sausage).

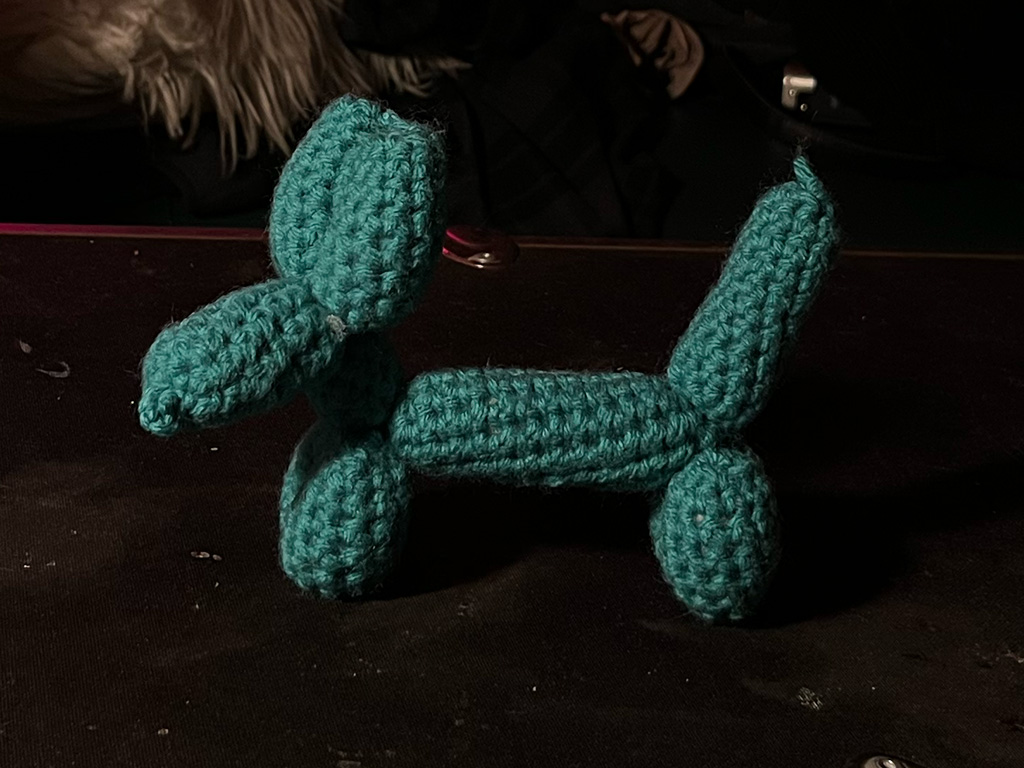
To finish it, I twisted everything into place and had to do some sewing to get it all to hold together. I also tied some knots at the nose to give the balloon tie look and left a loop sticking out at the tail. It's still a bit flimsy and doesn't stand up too well, and proportionally looks really goofy, but I'm glad I finished it!
-- screamball maxpatch + soundfiles
-- crochet patterns are linked above in their respective sections