

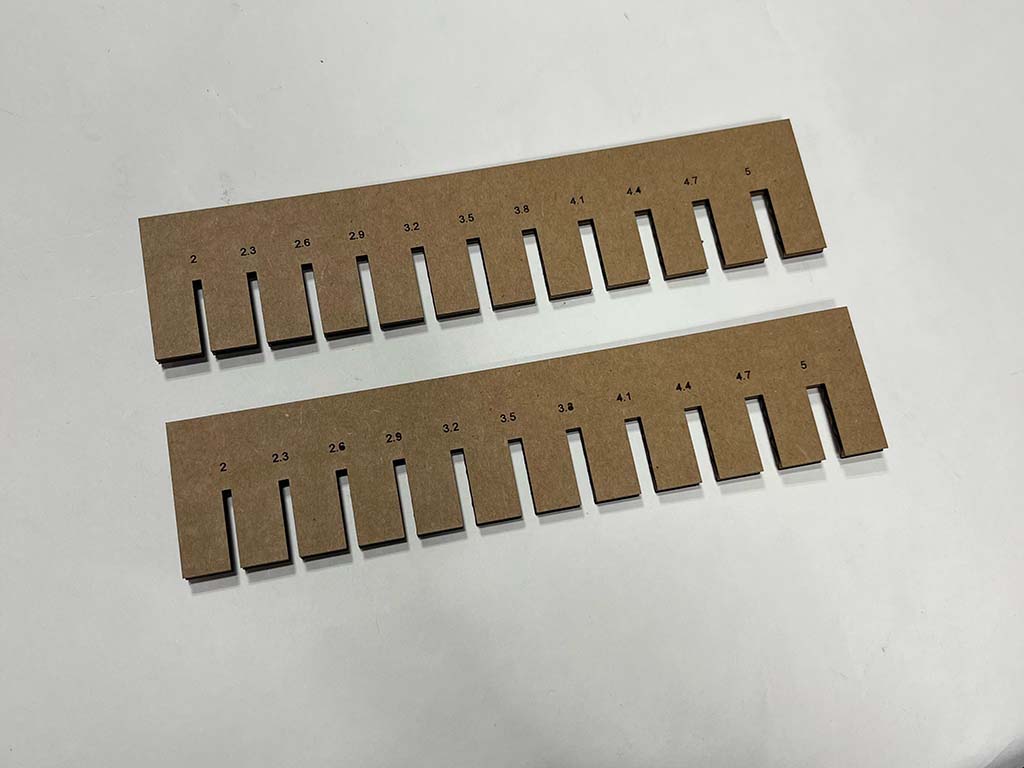
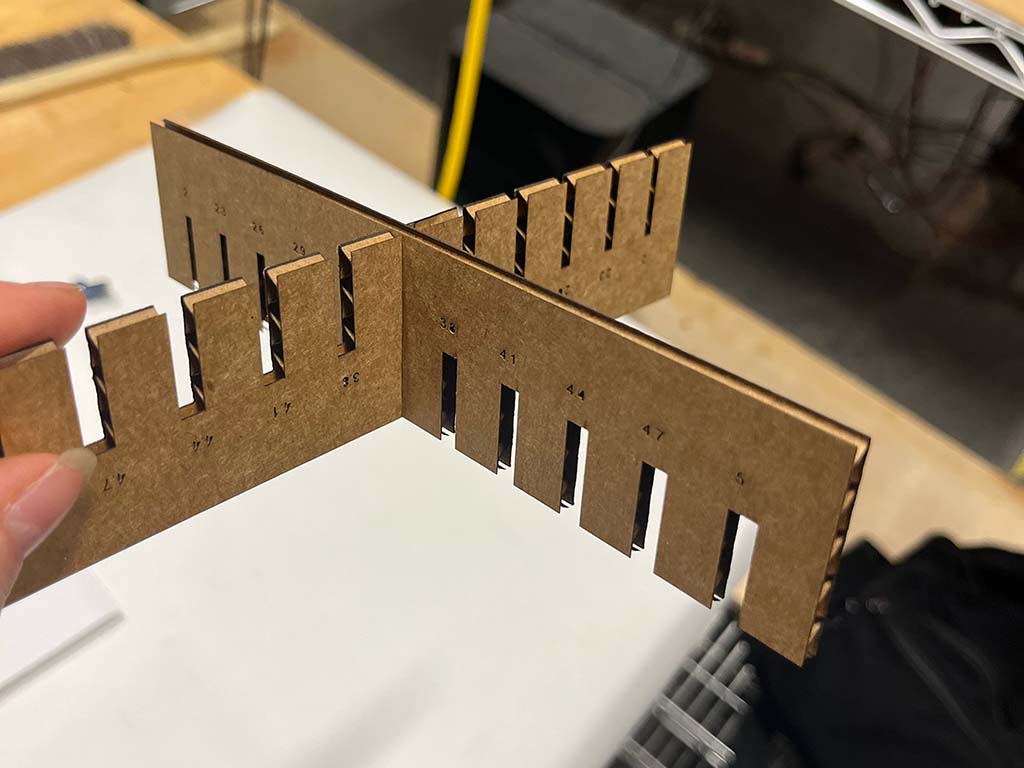
After a brief training on the GCC laser, we were tasked with working in groups to characterize our lasercutter's settings, kerf, and joint clearance for the cardboard. Using this generator , we made 2 combs to test with. We determined that the kerf was 0.2mm and a slot width of 3.7mm would be ideal for joints. Speed, power, PPI were 2.8, 100, 200 for vector cutting and 10.0, 40, 200 for rastering. (Note that we later found that cutting reliably required a slower speed, ~2.2).
In deciding what to make for this assignment, I spent some time thinking about what might be nice to have as decor
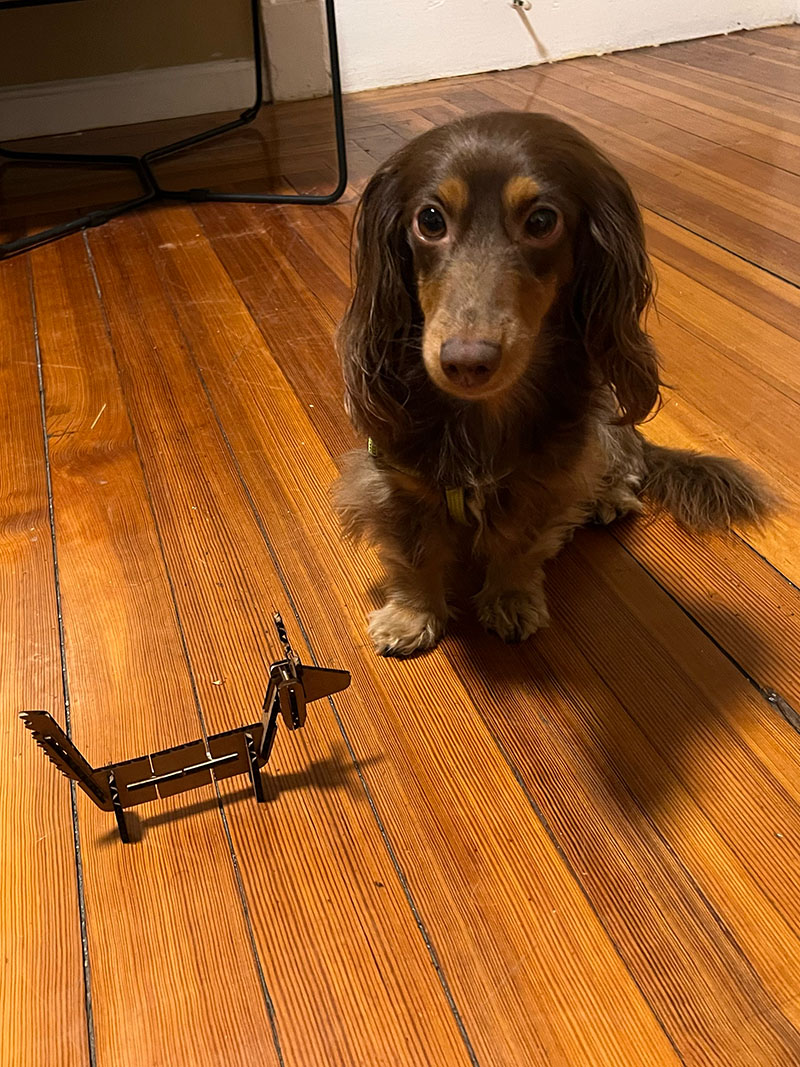
on my currently barren desk at the Media Lab. The idea I settled on was a cardboard version of my dachshund Moose.
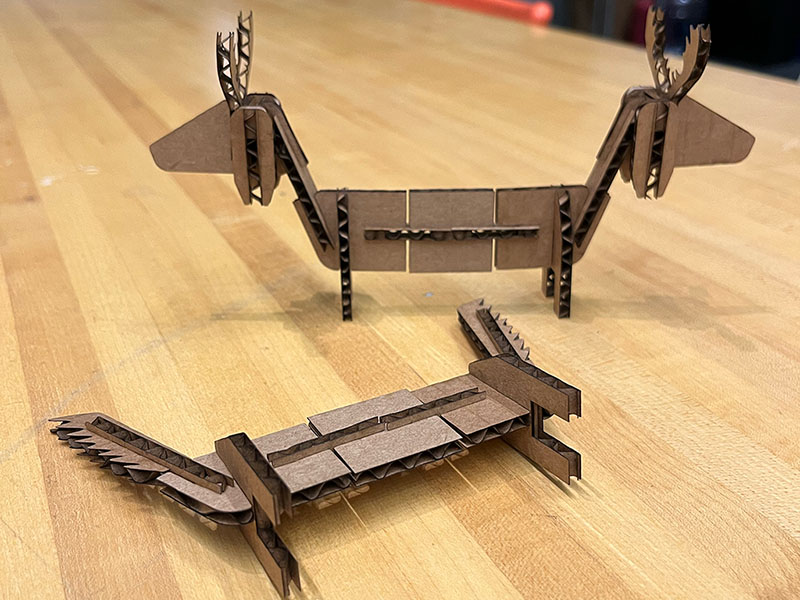
Since his name is Moose, naturally this design had to include optional antlers.
In searching past student's sites for inspiration, I found
this project by Nat Hunter
which provided great inspiration for how to translate animal anatomy into cardboard. Stylistically though, I wanted to make something
smaller and more geometric. I chose to draw my design in Fusion, which was a pain in the ass in some ways but very helpful
for the parametric functionality. This way, it wasn't an issue that I didn't know the laser cutter's kerf size or the exact cardboard thickness
when I started sketching, since that could easily be changed later.
Part of the criteria for this assignment is that the kit can be assembled in multiple ways. Initially, I wanted to make it
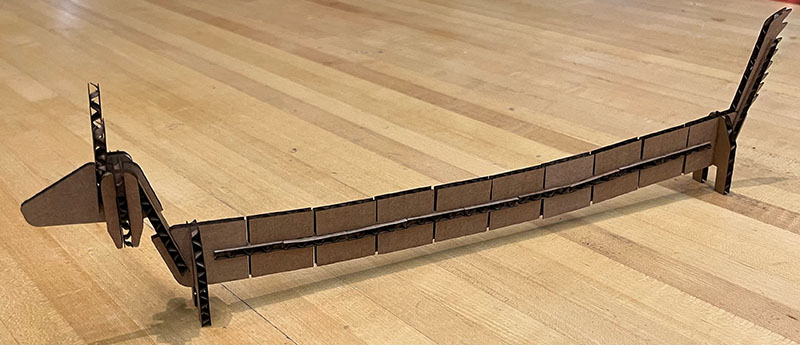
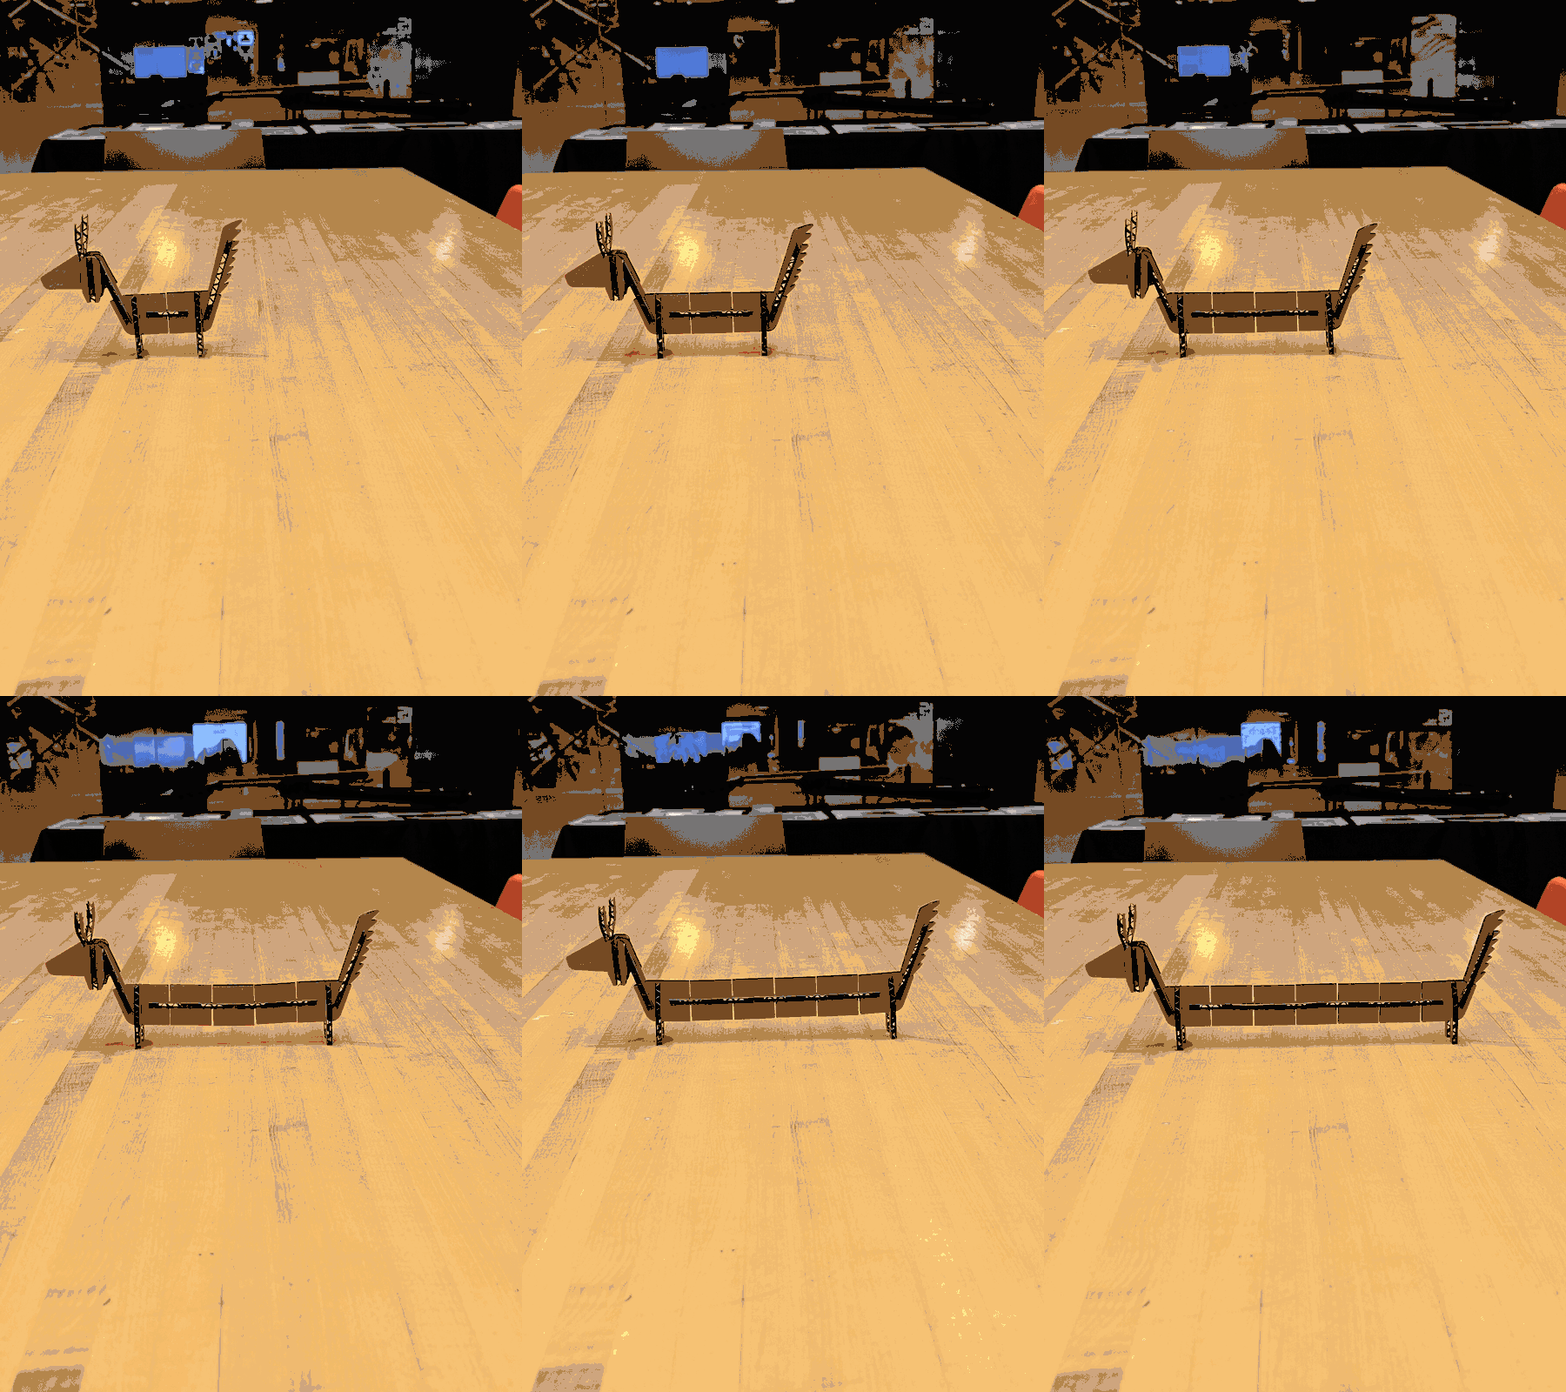
so that the dog could be in various poses, but one of my roommates suggested I make the body modular such that sections
can be added to make the dog longer. I immediately changed course to pursue this route because what is a good weiner dog
caricature if not comically long? As a bonus, the front and back body pieces are symmetrical, making the head and tail
interchangeable as well.
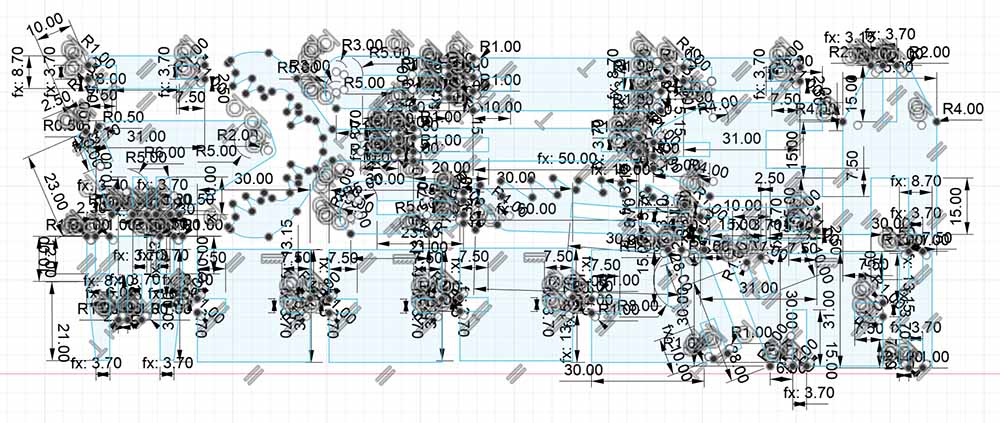
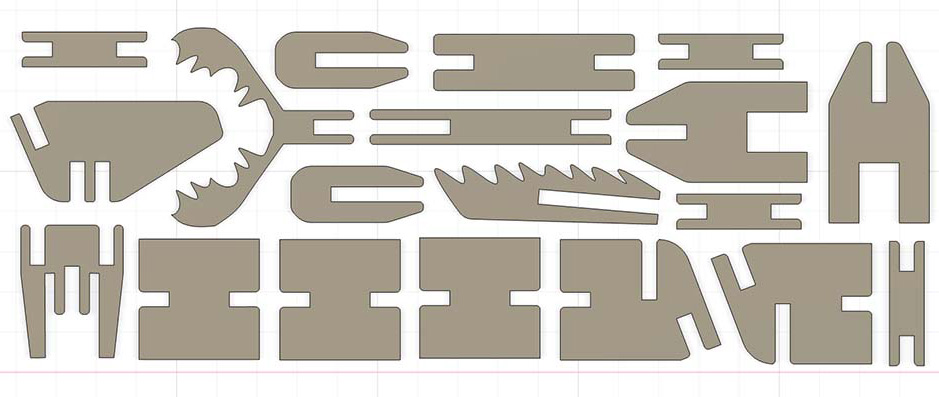
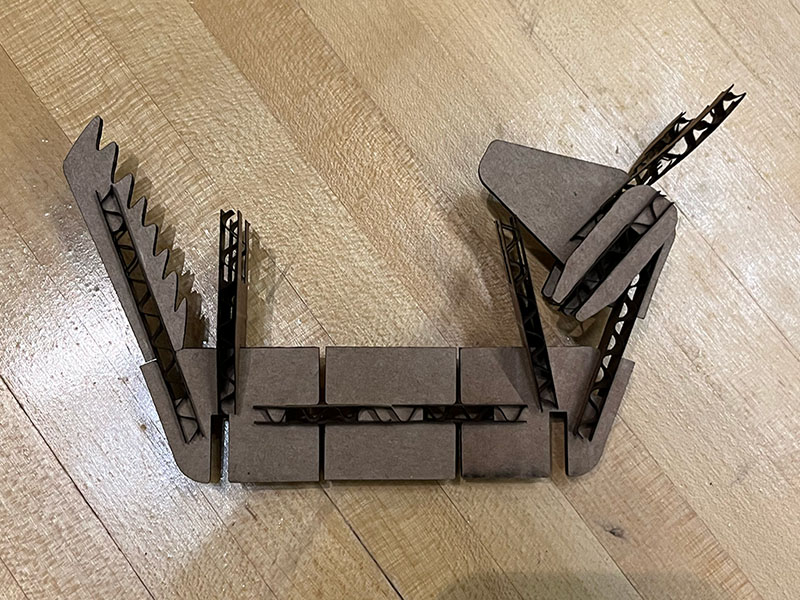
After a few days of work, I had a fusion sketch for a 19-part kit made up of 11 uniquely shaped sections.
It was much more complicated than I expected (see: the clusterfuck below) but I learned a lot in the process.
At last, the moment I was most excited but afraid for: cutting out my design.
Going in there were so many worries swirling through my head of unforseen design flaws that would cause my project to fail
and require several more hours of work to fix. And for what it's worth, the first round of cutting did bring some design flaws to my attention
which I was able to fix. However, that was not the point of failure in this attempt.
When I went in to cut, I thankfully was able to team up with Tony (another student in my section) and go through the process with him just
to be extra sure I was doing things right. And after carefully following the steps, we started the job on the machine.
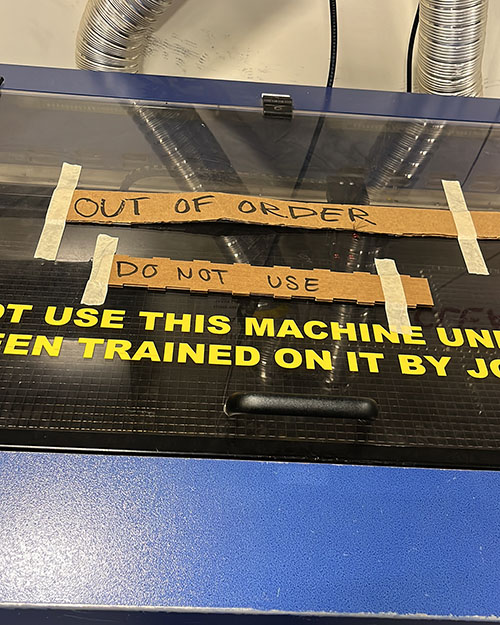
Soon after it started cutting, the laser carriage picked up a stray piece of tape (which appeared to come out of nowhere but we figured had been
left in the machine by a previous user and we just didn't see it sooner). We should've paused the job to remove it right away but it seemed fine for those few
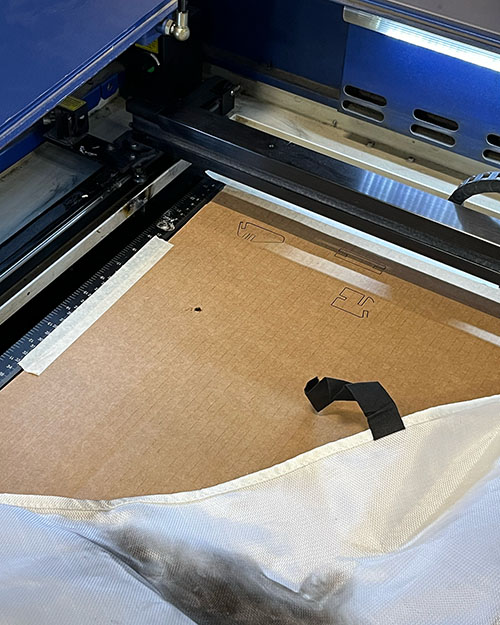
seconds of deliberation... until it caught on fire. We then immediately paused the job, shut off the airflow, and waited for it to go out. After a few seconds of the fire only growing in response, we opened the lid
and put a fire blanket on it, then unsure what to do next, closed the lid (which wasn't correct but we were panicking and all i rememebered about the fire blanket
from the training was: you probably won't need this, but if you do, unfold it partially and place it over the flame).
We then watched as the fire flickered on strongly through the blanket. Realizing it wasnt stopping, Tony ran off to get help. I quickly checked the how-to pamphlet our TAs made to
see if there was anything else I could do in the meantime and saw something about properly squashing the flame with the blanket, so I
opened the lid and did that, putting the fire out fully just as help arrived.
Alas, it was too late. The tape had stuck to the drive belt and melted it.
Everyone was incredibly kind and reassured us that we were still learning and had done the right things but I could not help but panic that
I would go down in HTMAA 2024 history as "that one asshole who broke the laser cutter the day before the project was due." (Thankfully the machine was fixed within a couple hours,
thank you Hannah!)
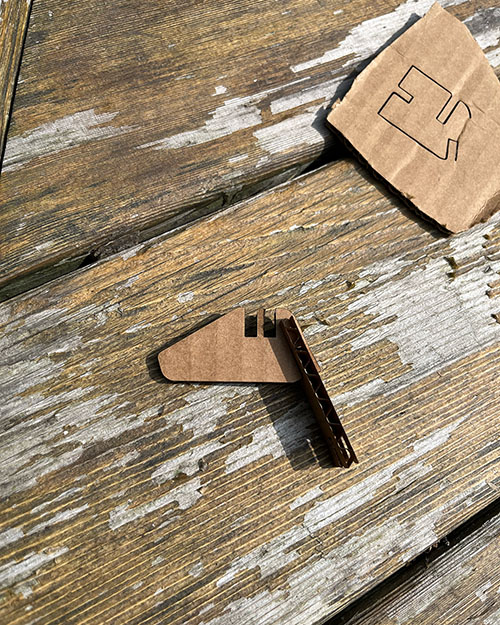
So the result of the Round 1 was: a lesson in shop safety, and 2 and a half cut out pieces from my kit which was at least enough to confirm that my joints fit and prompt some other
necessary design fixes.
After making some fixes to my design (widening the section the ears attach to so the neck would fit under and widening some structural points that were too thin for the corrugation to hold things together), I cut it and it WORKED!!!
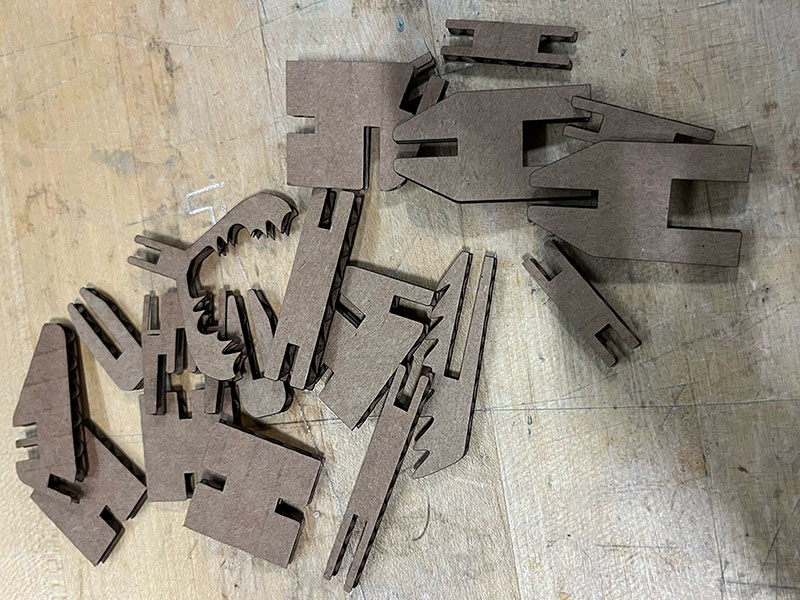
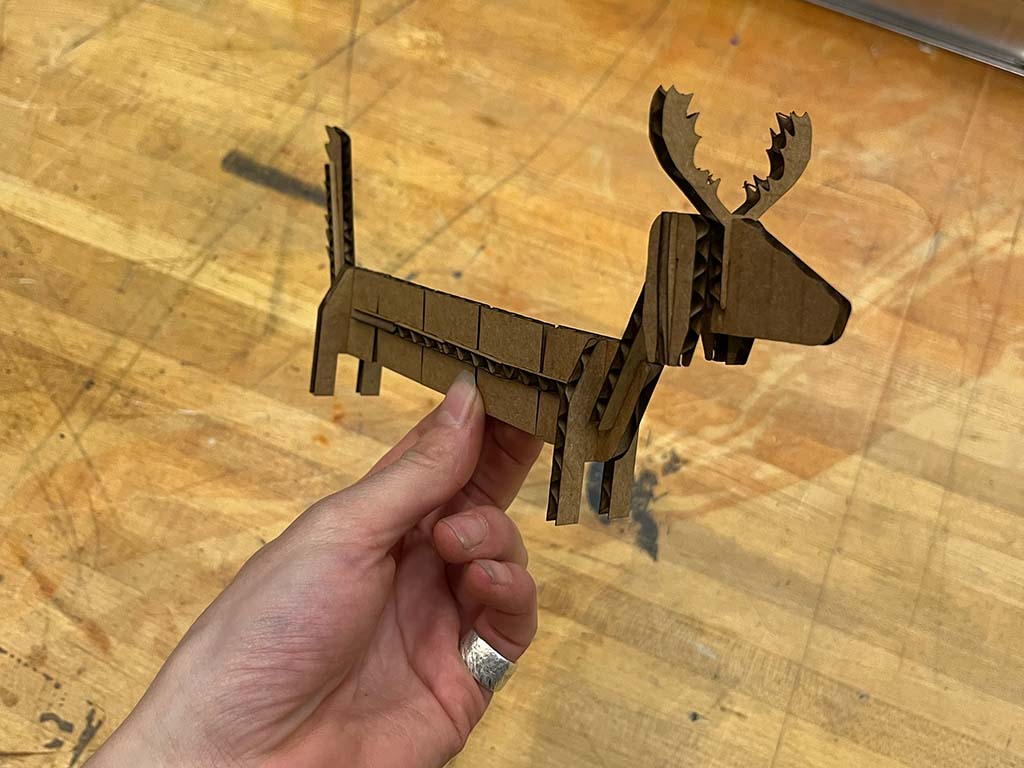
Mainly did this because I had lots of cardboard left and I wanted to make more but i made some useful changes too: reorienting some of the parts so that the direction with the corrugation was consistent and that thinner pieces were all perpendicular to the corrugation because it works better structurally, figuring out the hidden checkbox needed to export an svg file from illustrator which actually maintained scale because in previous rounds I had used a janky workaround in CorelDraw of scaling a too-large svg from Illustrator (because the illustrator dxf files didnt load) by laying it over a dxf from Fusion (which i couldnt use because the splines didn't show up (according to the internet, both known issues i couldnt find straightforward answers to)) and getting the lines to match up well enough. Anyways: see final design below.
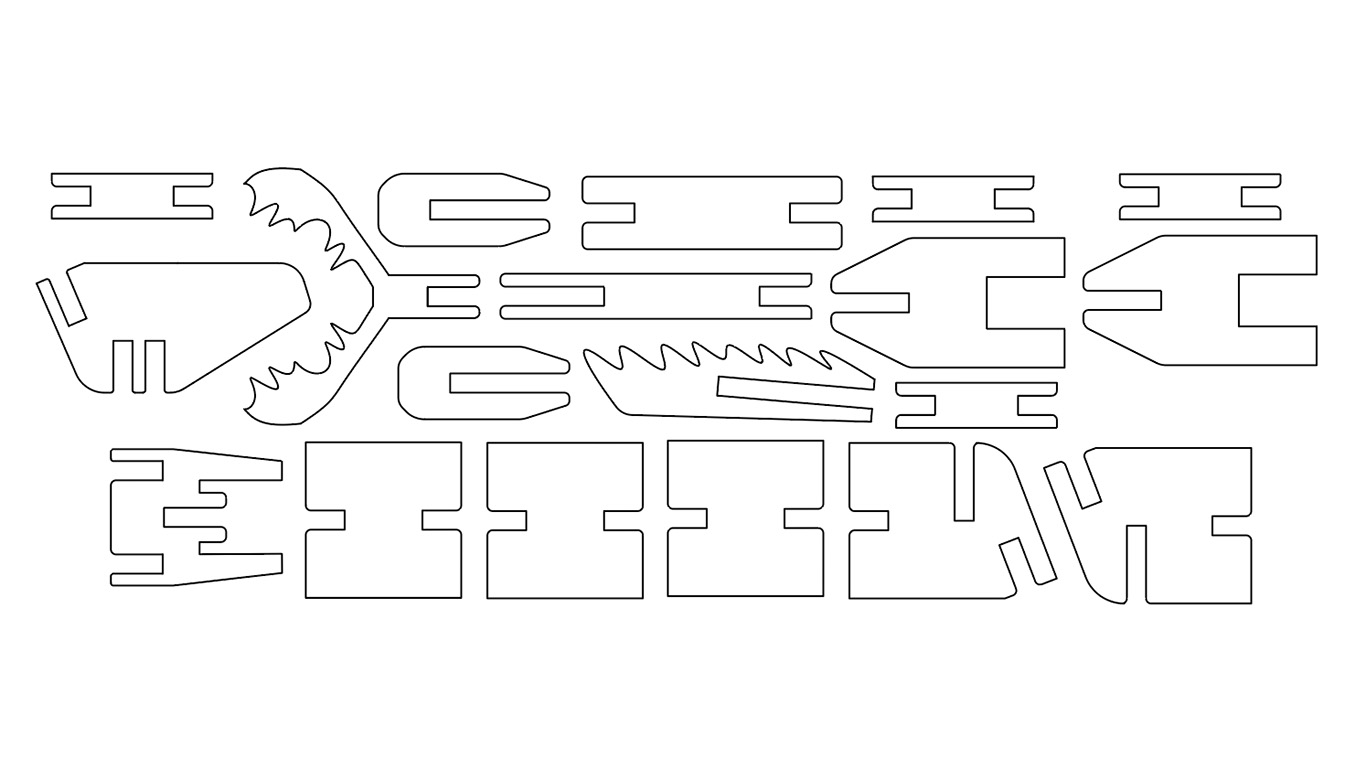

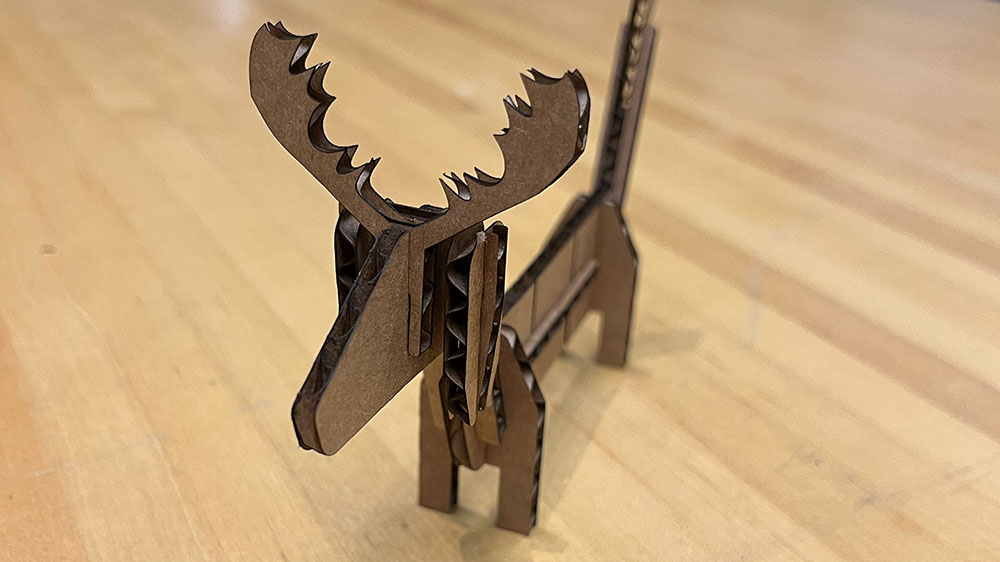
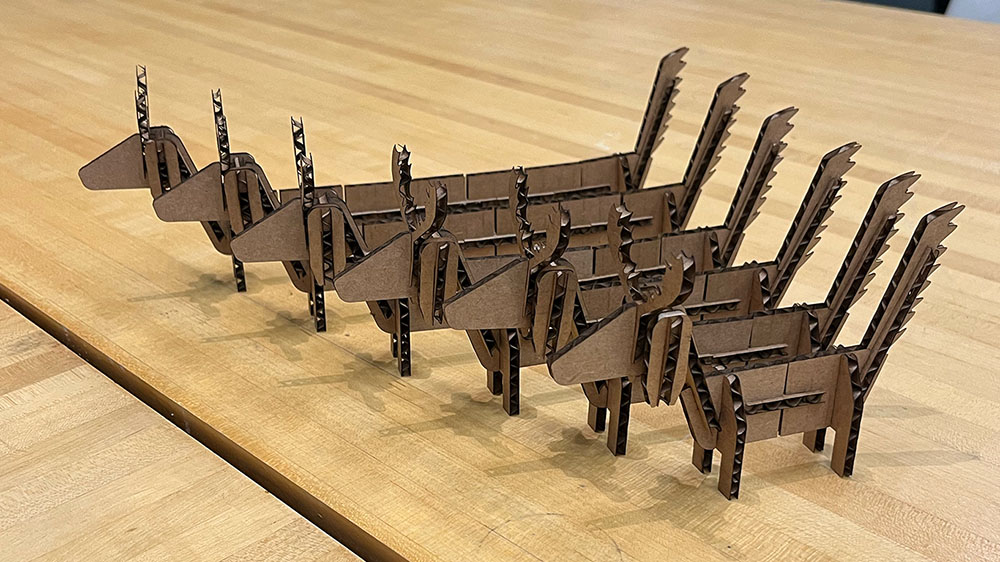
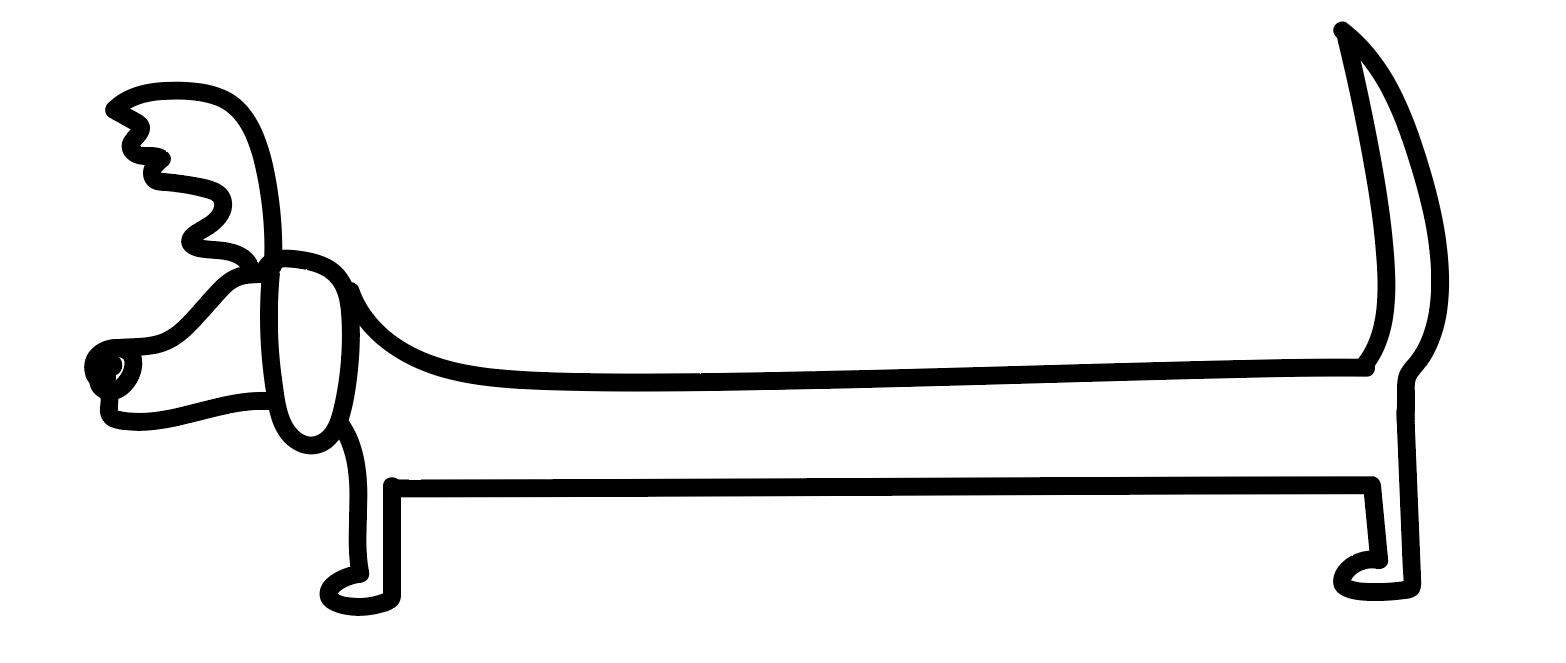
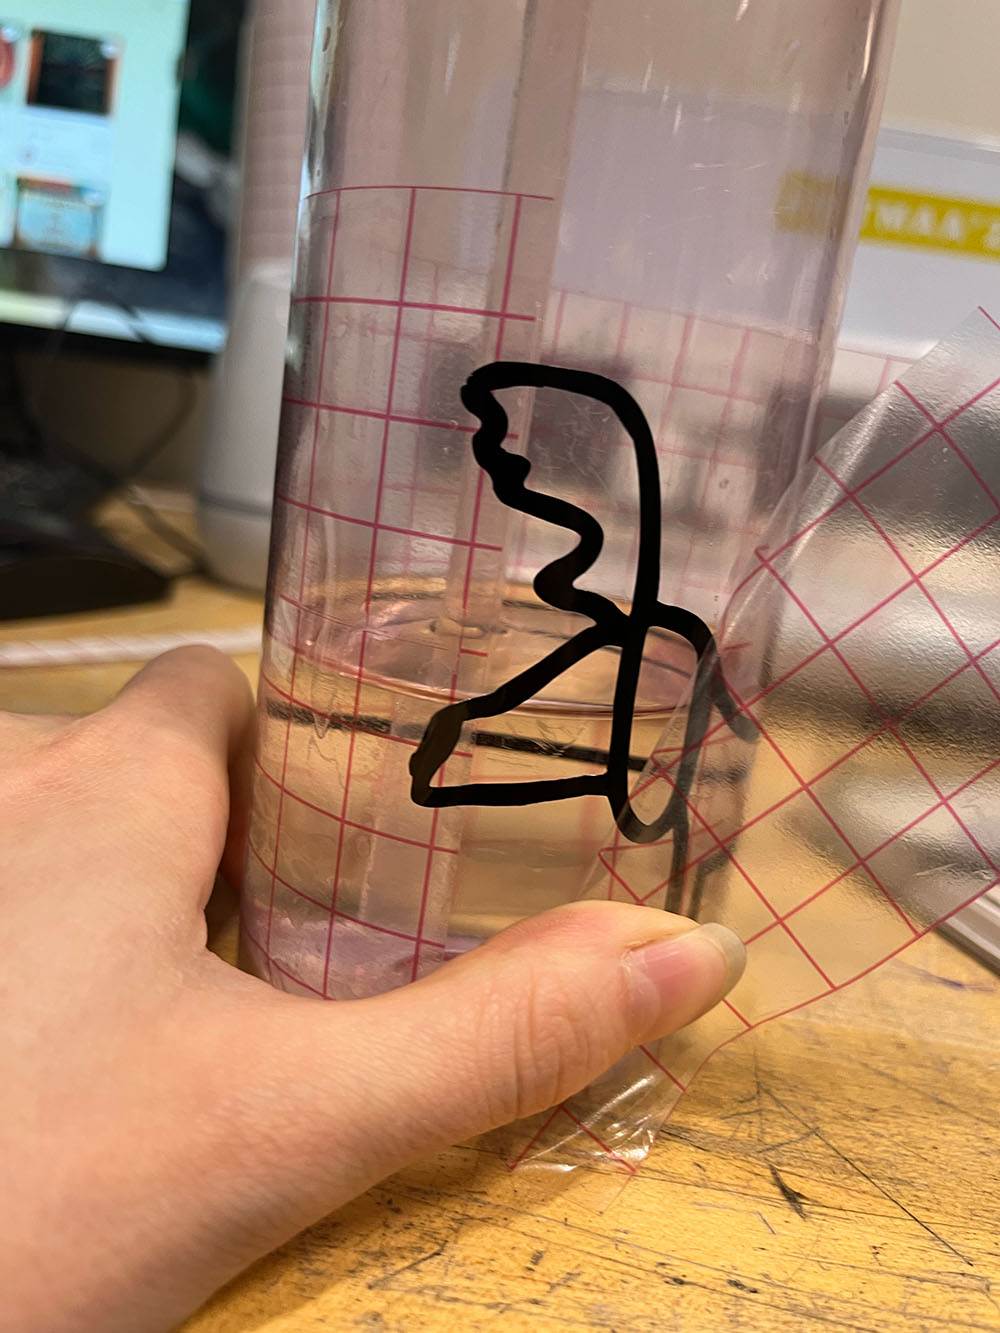
Keeping in the theme of making caricatures of my dog, I drew out this simple design in Illustrator (which was easier than expected using a trackpad thanks to the automatic smoothing feature).
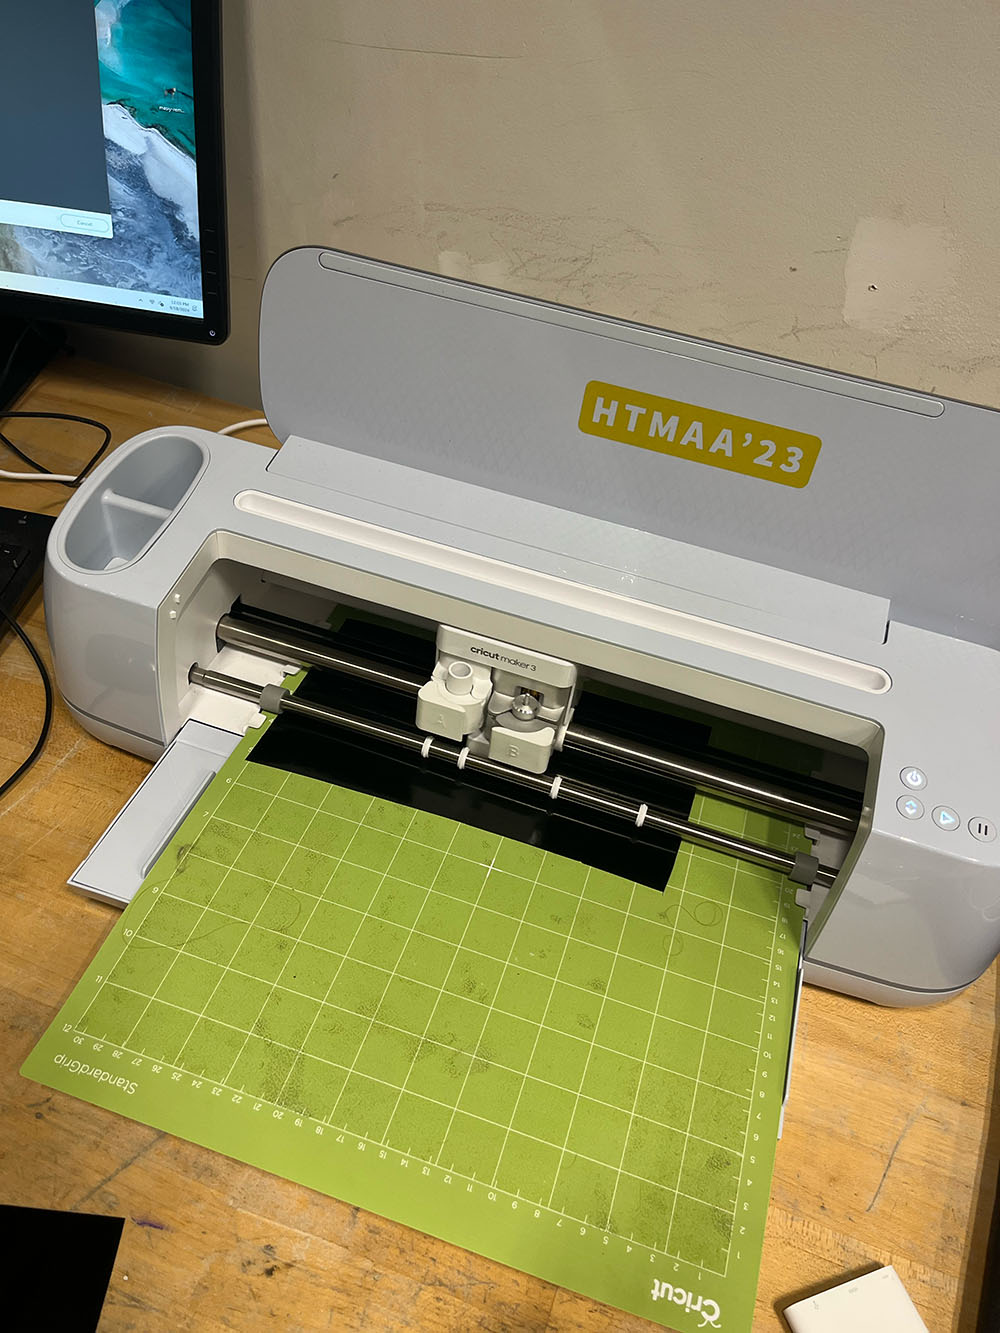
Using the cricut was super easy! My only issue in the process was making the transfer tape too long and accidentally sticking the end of the sticker to that but it was easy enough to fix and still turned out great!
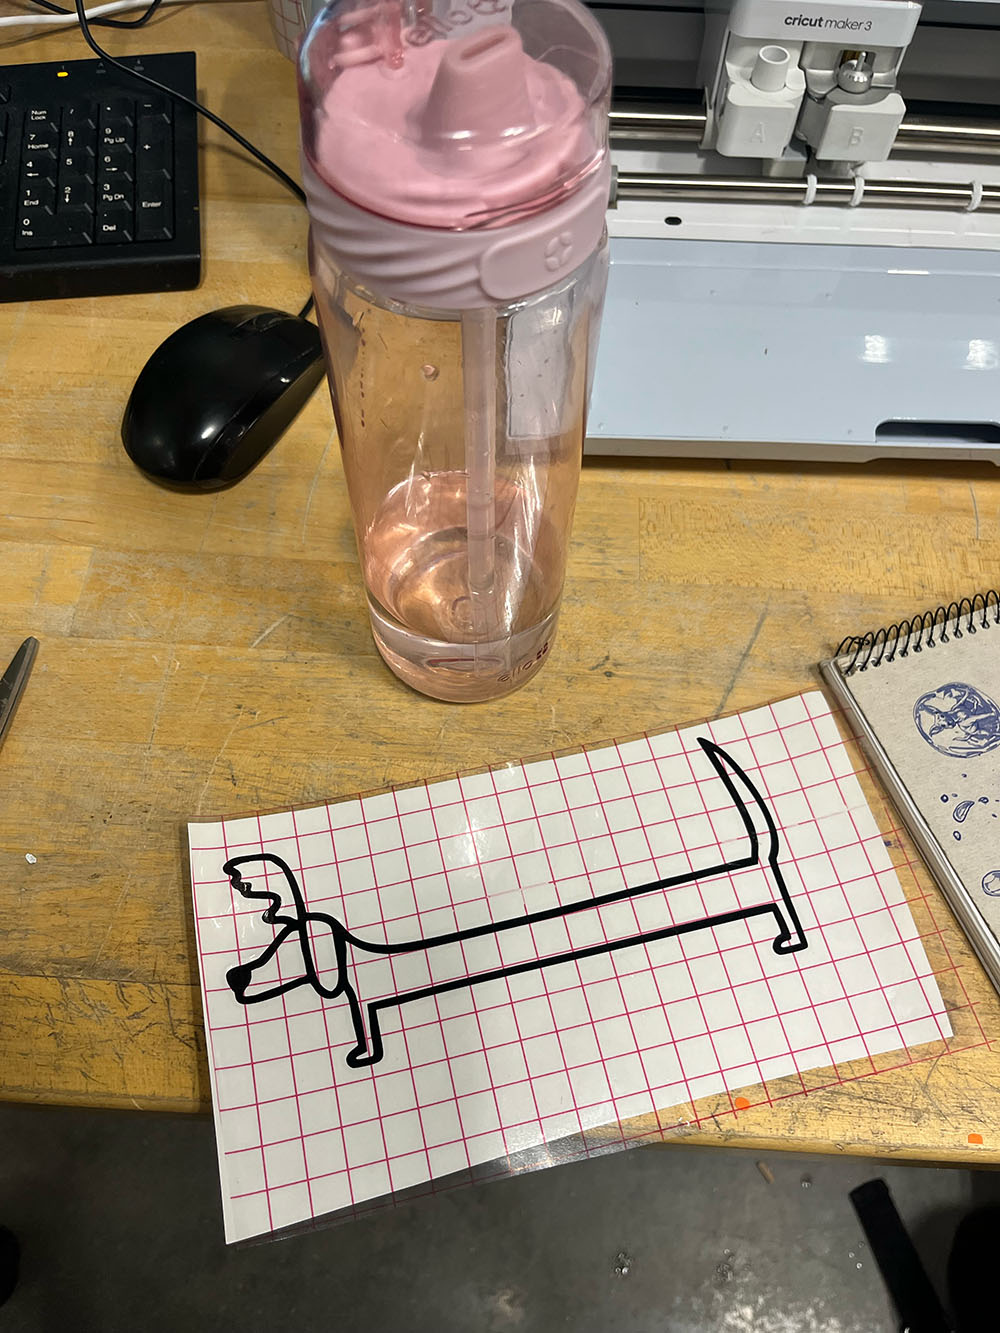
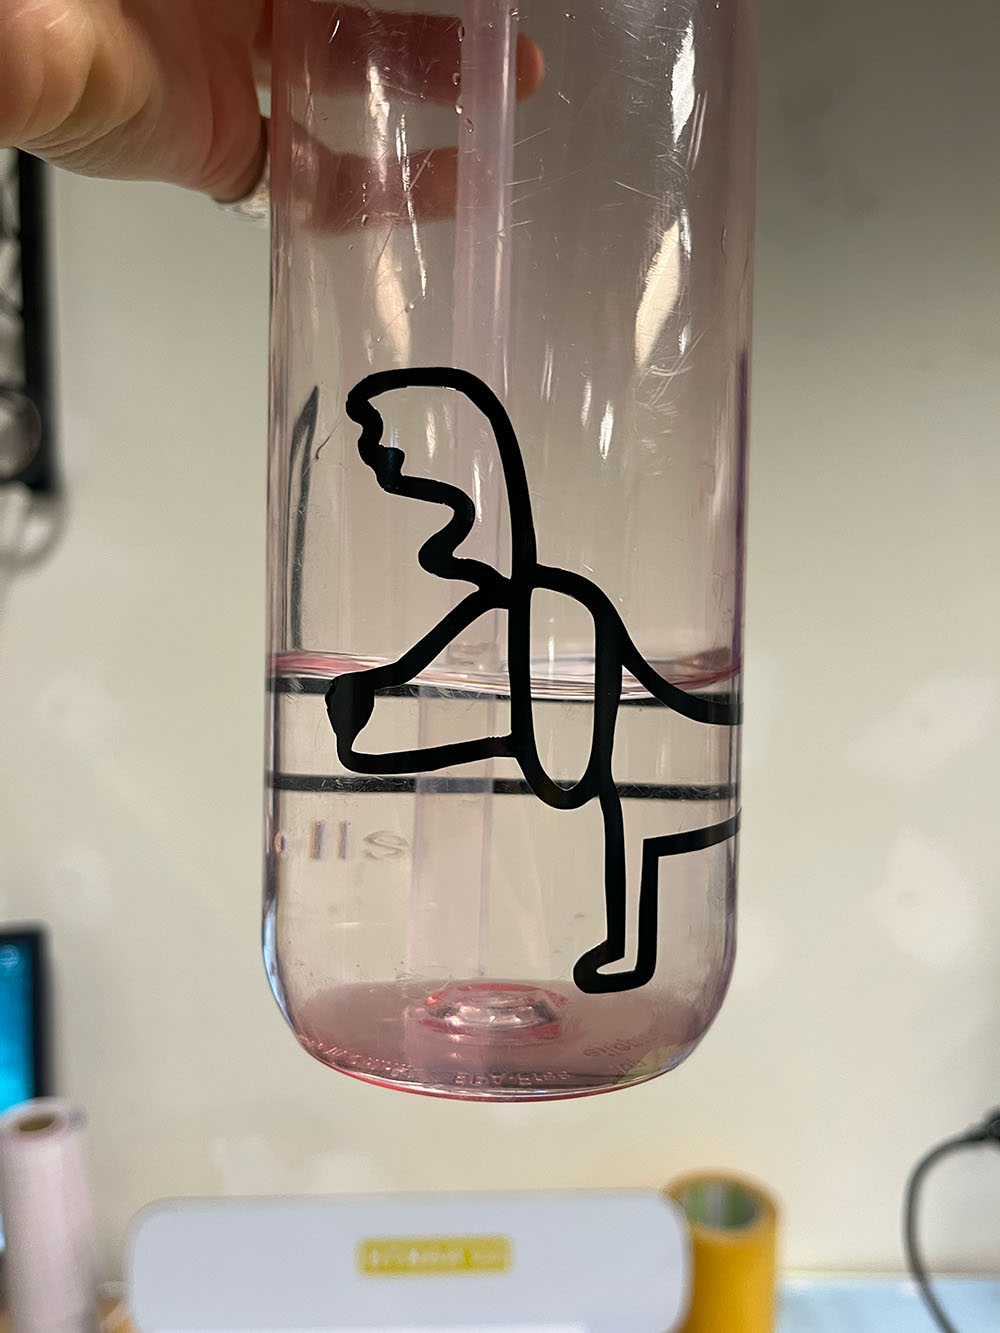
PS- as you may have noticed, this little design evolved on to become the logo for my website :-).