
Aijia Yao
MIT EECS • HTMAA 2025
Week 7 – Computer-Controlled Machining
October 2025
This week was mainly about Computer-Controlled Machining.
What I Did
- Follow this link to the group assignment.
- Designing a Galton Board based on OSB, acrylic board and dowels to be worked with 1000pcs metal beads.
- Using MANUFACTURE mode of fusion to create the toolpaths for the machining process.
- Assembling the Galton Board with the machined parts, debugging and testing its functionality.
Galton Board
- When I learnt that this week we were focusing on Computer-Controlled Machining to make something "BIG", I then thought about the Galton board, which visually demonstrates how individual random events aggregate into a predictable distribution.
- From Wikipedia:
Galton board, also known as the Galton box or quincunx or bean machine (or incorrectly Dalton board), is a device invented by Francis Galton to demonstrate the central limit theorem, in particular that with sufficient sample size the binomial distribution approximates a normal distribution.
-
In the video below from my favorite YouTube channel 3blue1brown, Grant explains the concept of the Galton board in detail as well as the underlying principles of probability and statistics. There are also many useful simulations for Galton board available on Wolfram.
-
For \( n \) rows of pegs and \( N \) beads, the expected number of balls in bin \( k \) is given by binomial probability mass function (PMF):
-
\[
E_k = N \times \binom{n}{k} p^{k} (1 - p)^{n - k}
\]
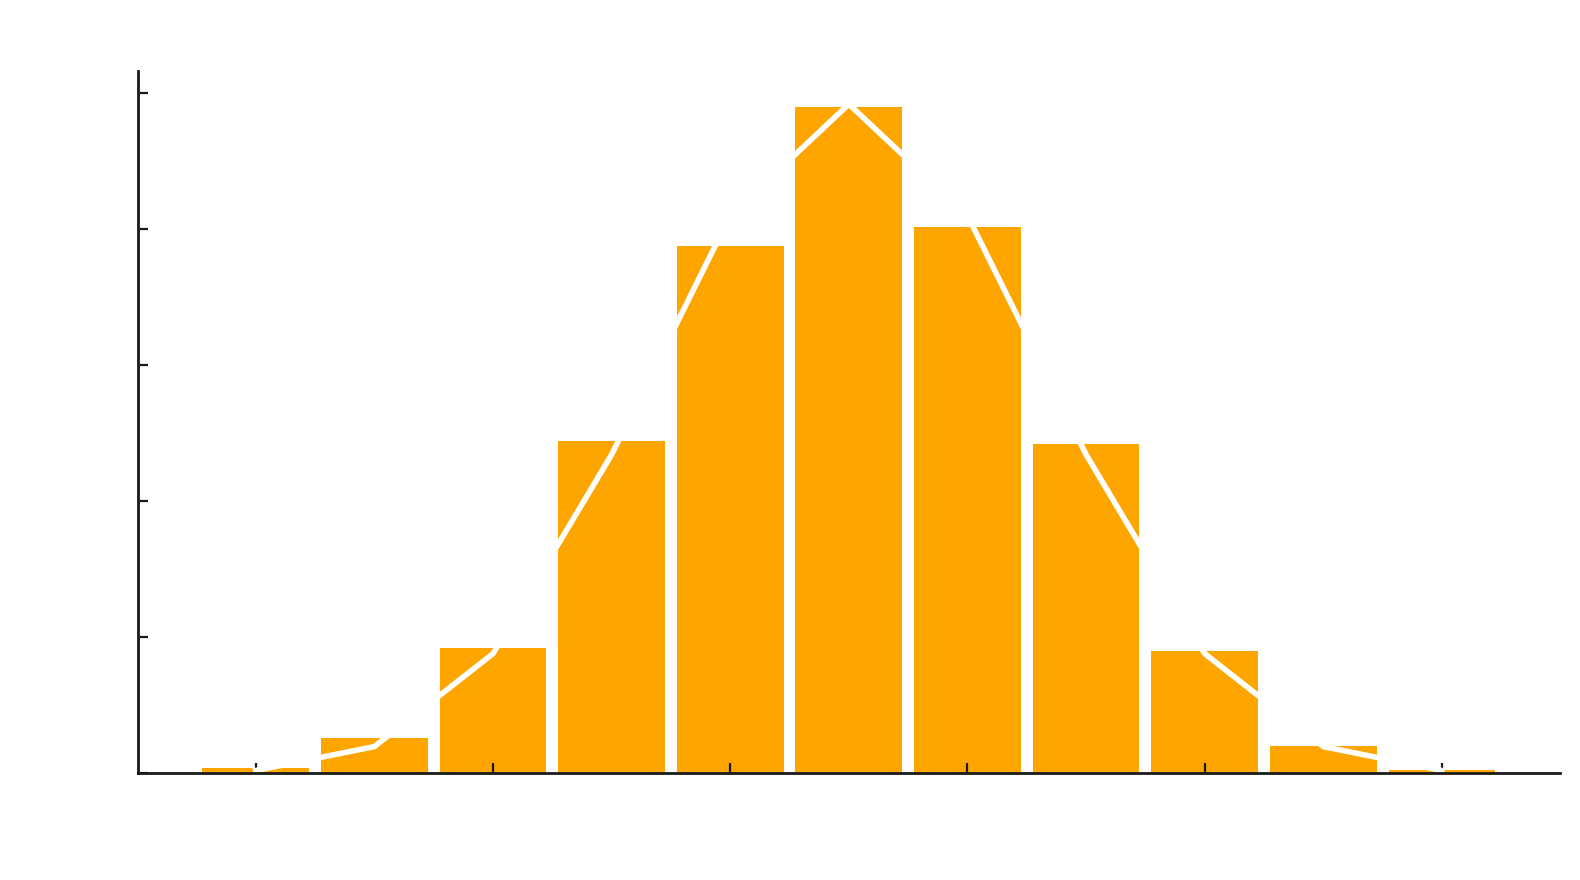
- Assumming a fully random and independent distribution of the beads, we can expect the final distribution to approximate a normal distribution as the number of beads increases. In the case of \( N=1000 \) beads, the distribution should closely resemble a bell curve.
Computer-Controlled Machining
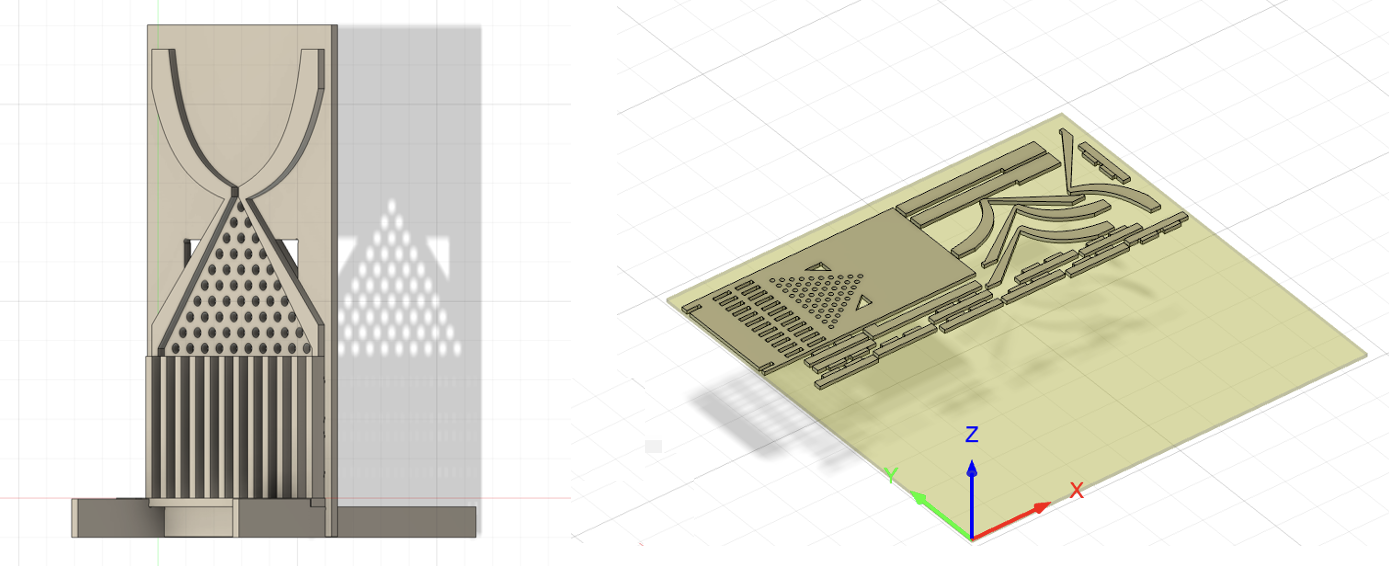
- Based on the acrylic and OSB board available in the lab, I designed the parts of the Galton board with Fusion 360. The main structure is made of OSB board, with acrylic panel on the front for visibility. The dowels are used as pegs to create the random paths for the beads to fall through. The base is designed to collect the beads and display the resulting distribution.
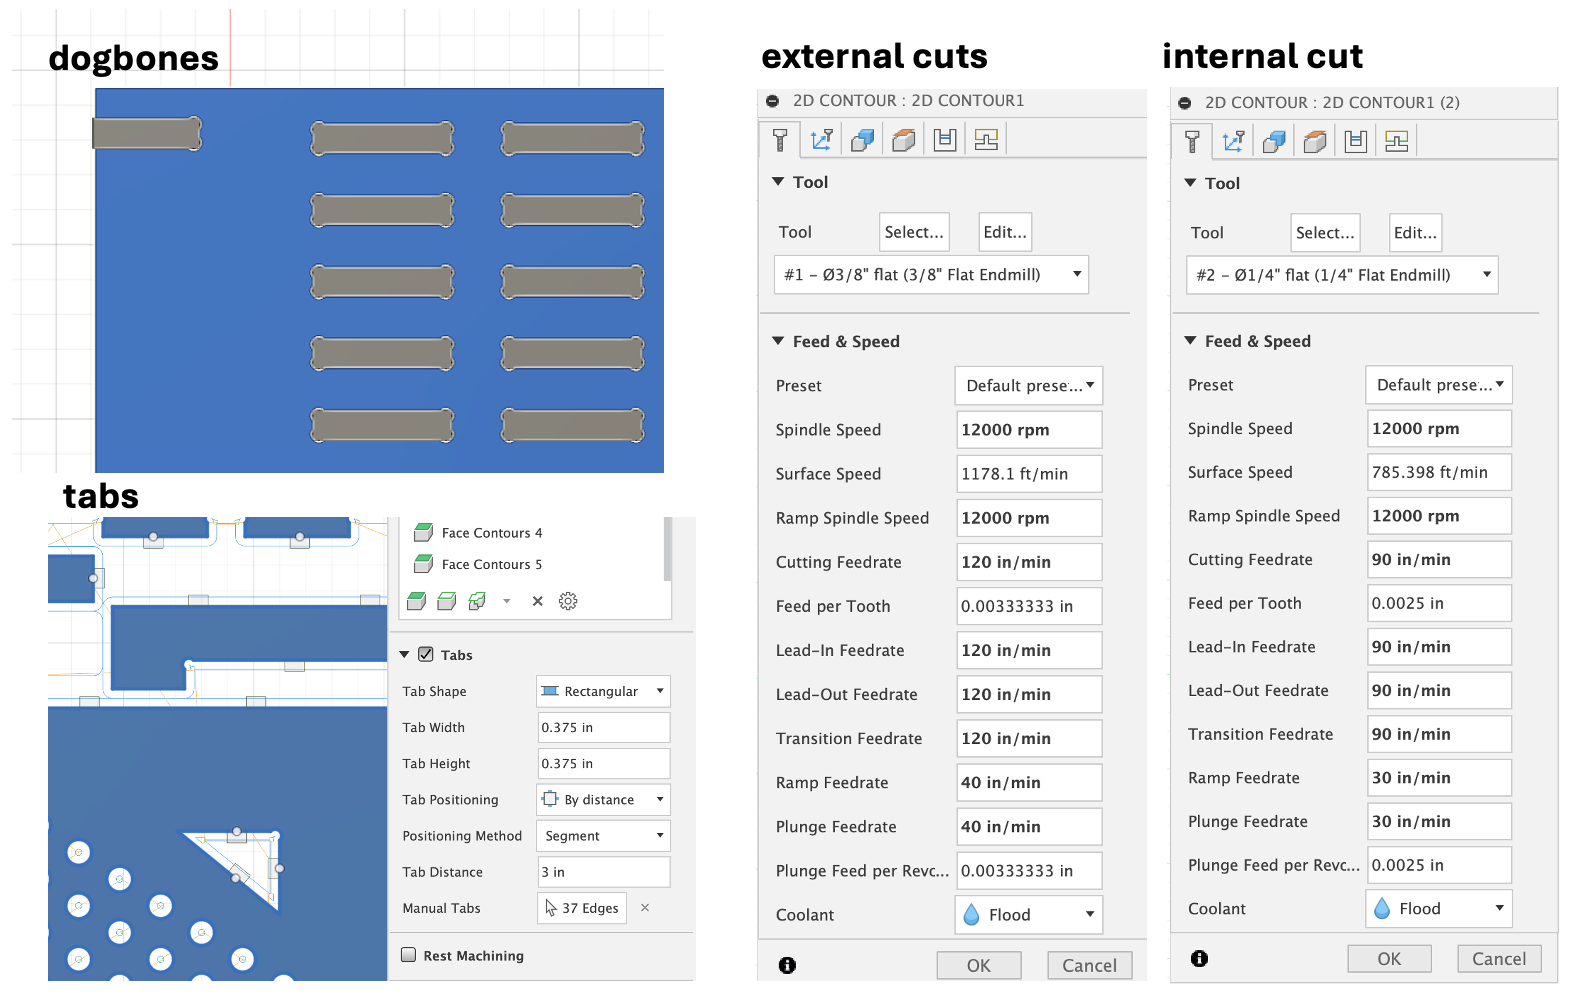
- Then in MANUFACTURE mode in fusion, we can set up the toolpaths for the machining. This week we used 2D Contours with a 0.375 flat endmill run at 12000 rpm 120 IPM full depth of cut for external cuts and 0.25" flat endmill run at 12000 rpm 100IPM 0.25" depth of cut for internal spaces and corners. Nifty dogbones were added to the internal corners to ensure proper fitting of each components while tabs were added to the external cuts to prevent parts from moving during the machining process.
-
Below is a video of the machining process:
- The OSB board is 4' x 4'.
- The thickness of the OSB board is 7/16".
- The acrylic panel is 60cm x 30cm.
- Make sure to orient the xyz axies correctly.
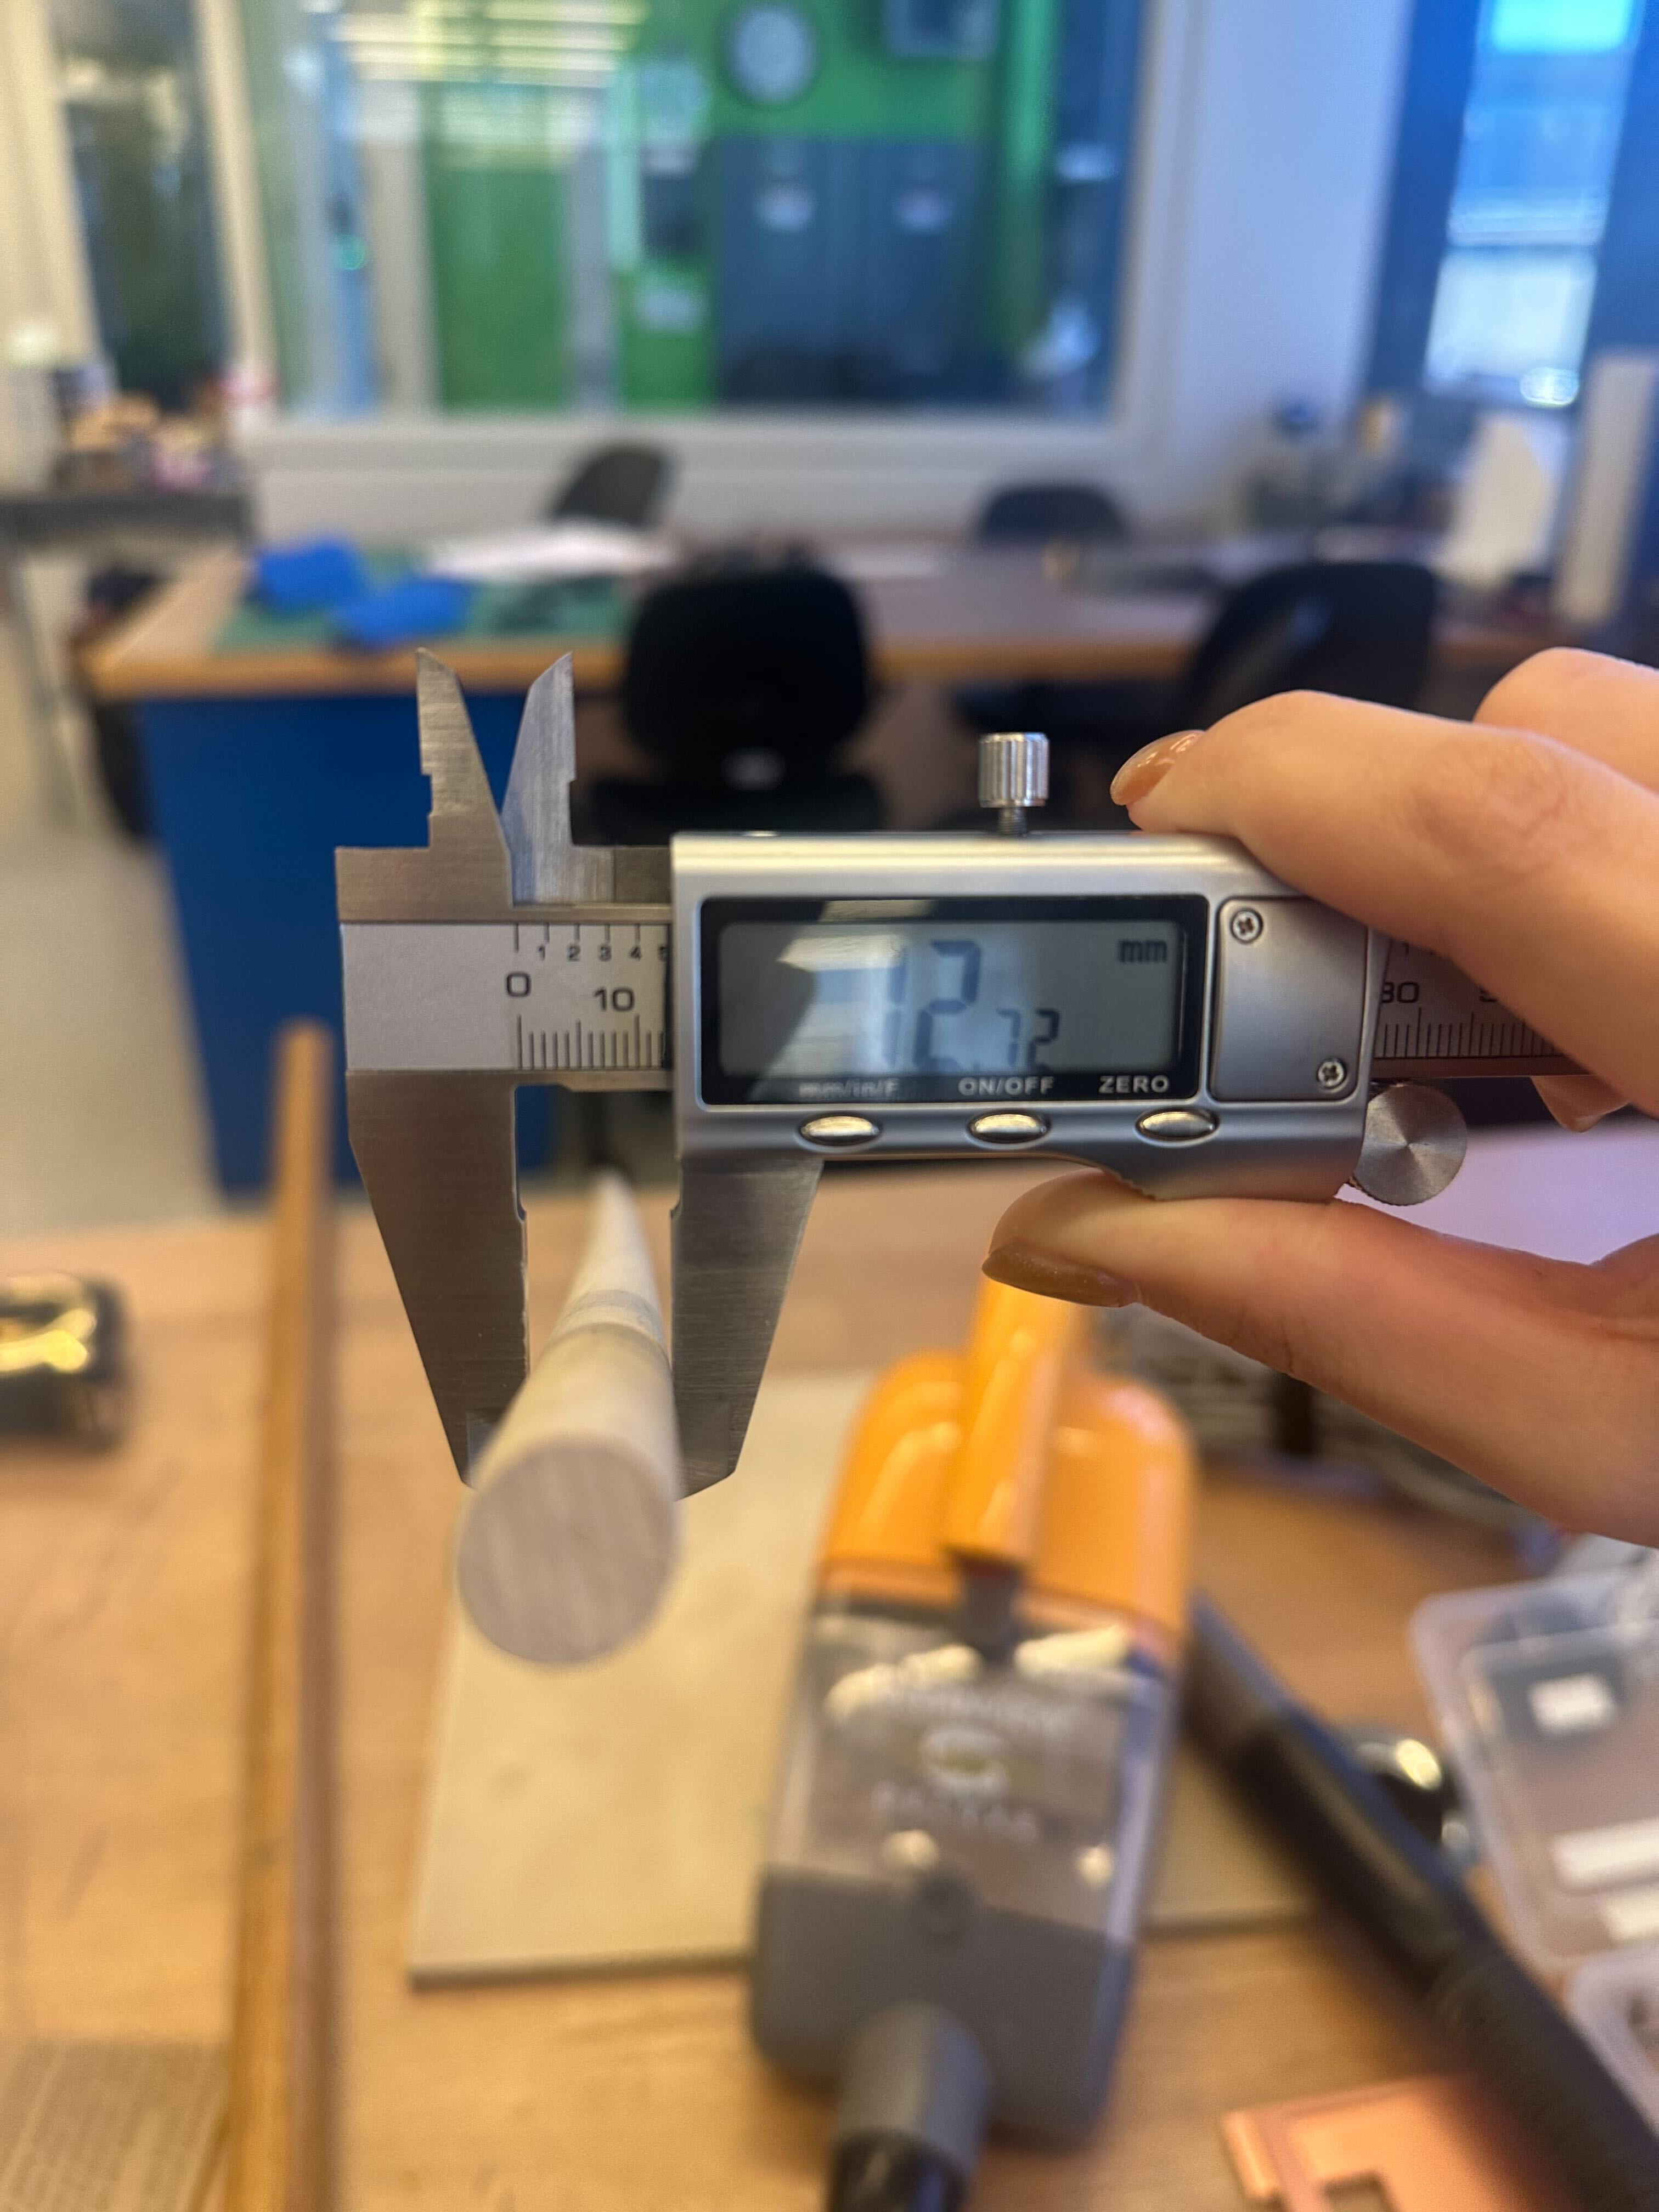
- The dowels are 1/2"(12.72mm) in diameter.
- In the fusion design I made the dowel holes slightly smaller to account for any misalignment during assembly. Although this may make assembly more difficult, it should result in a tighter fit.
Final Assembly
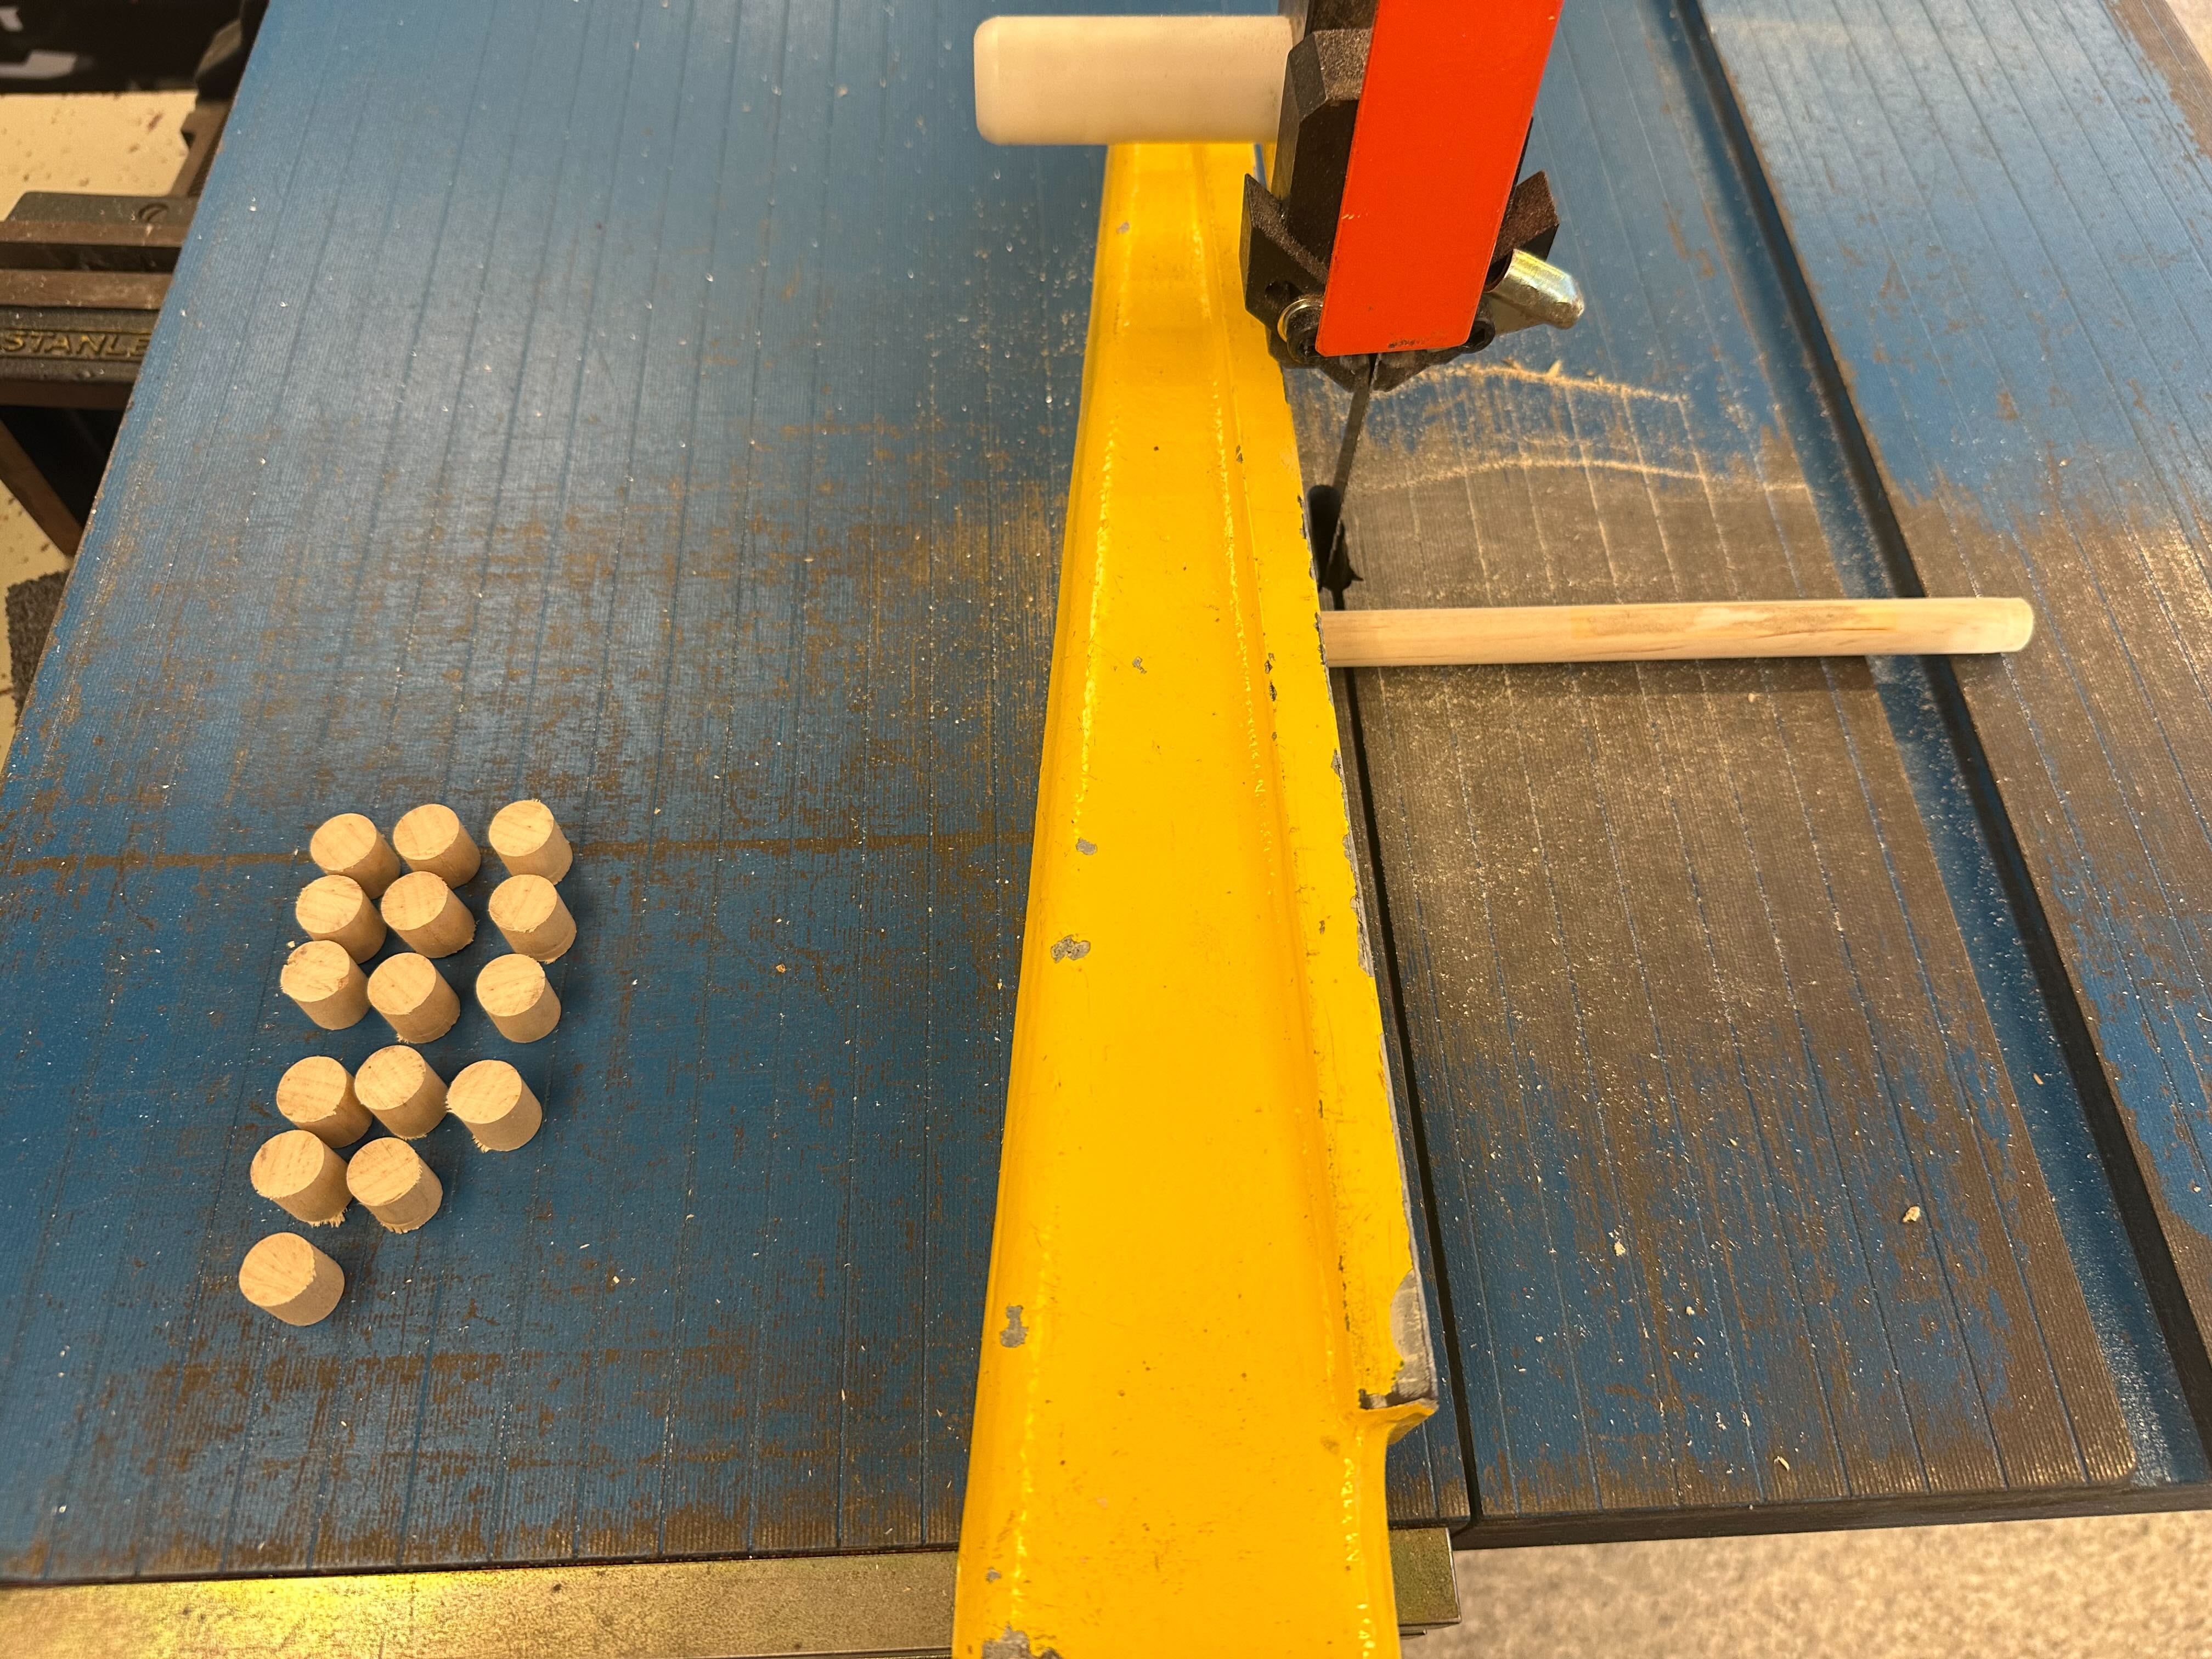
- After machining all the parts, I proceeded to cut the dowels to the appropriate lengths. It was great fun cutting 55 pegs to size!
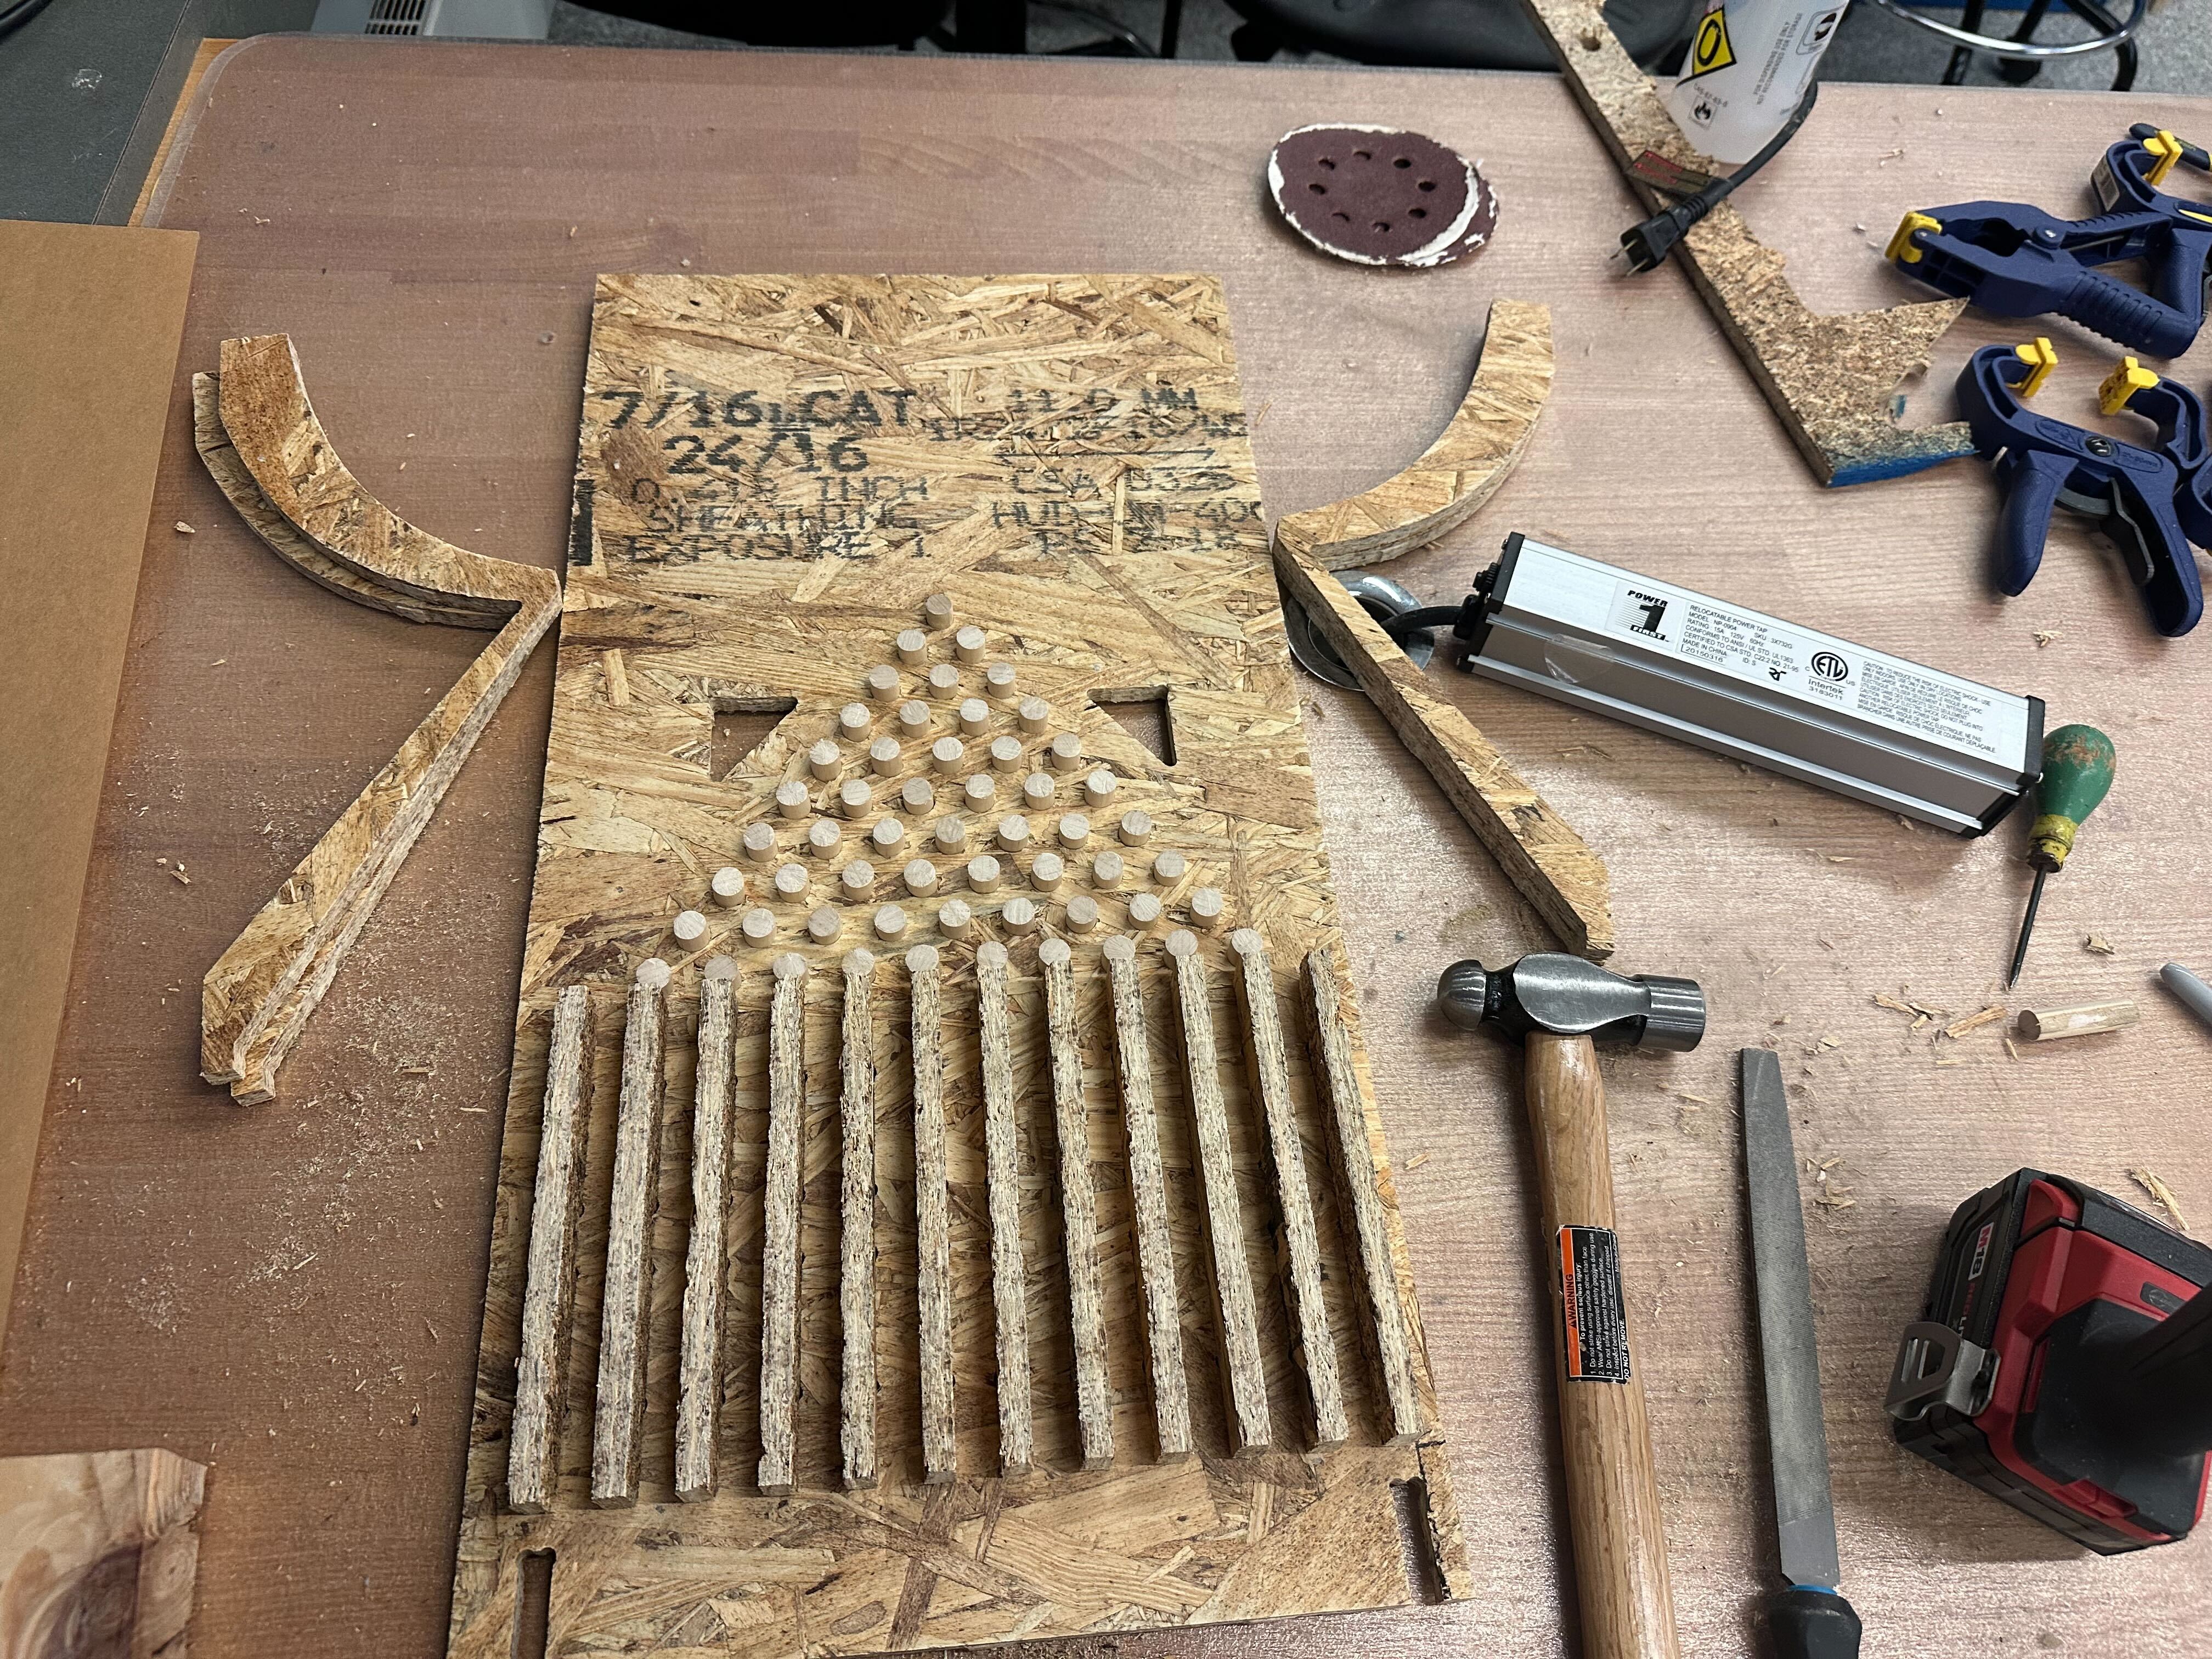
- Then I assembled the Galton board by first attaching the dowels to the OSB board, that was a bit tricky since I had to make sure each peg was perpendicular to the board and a great time spent with the hammer.
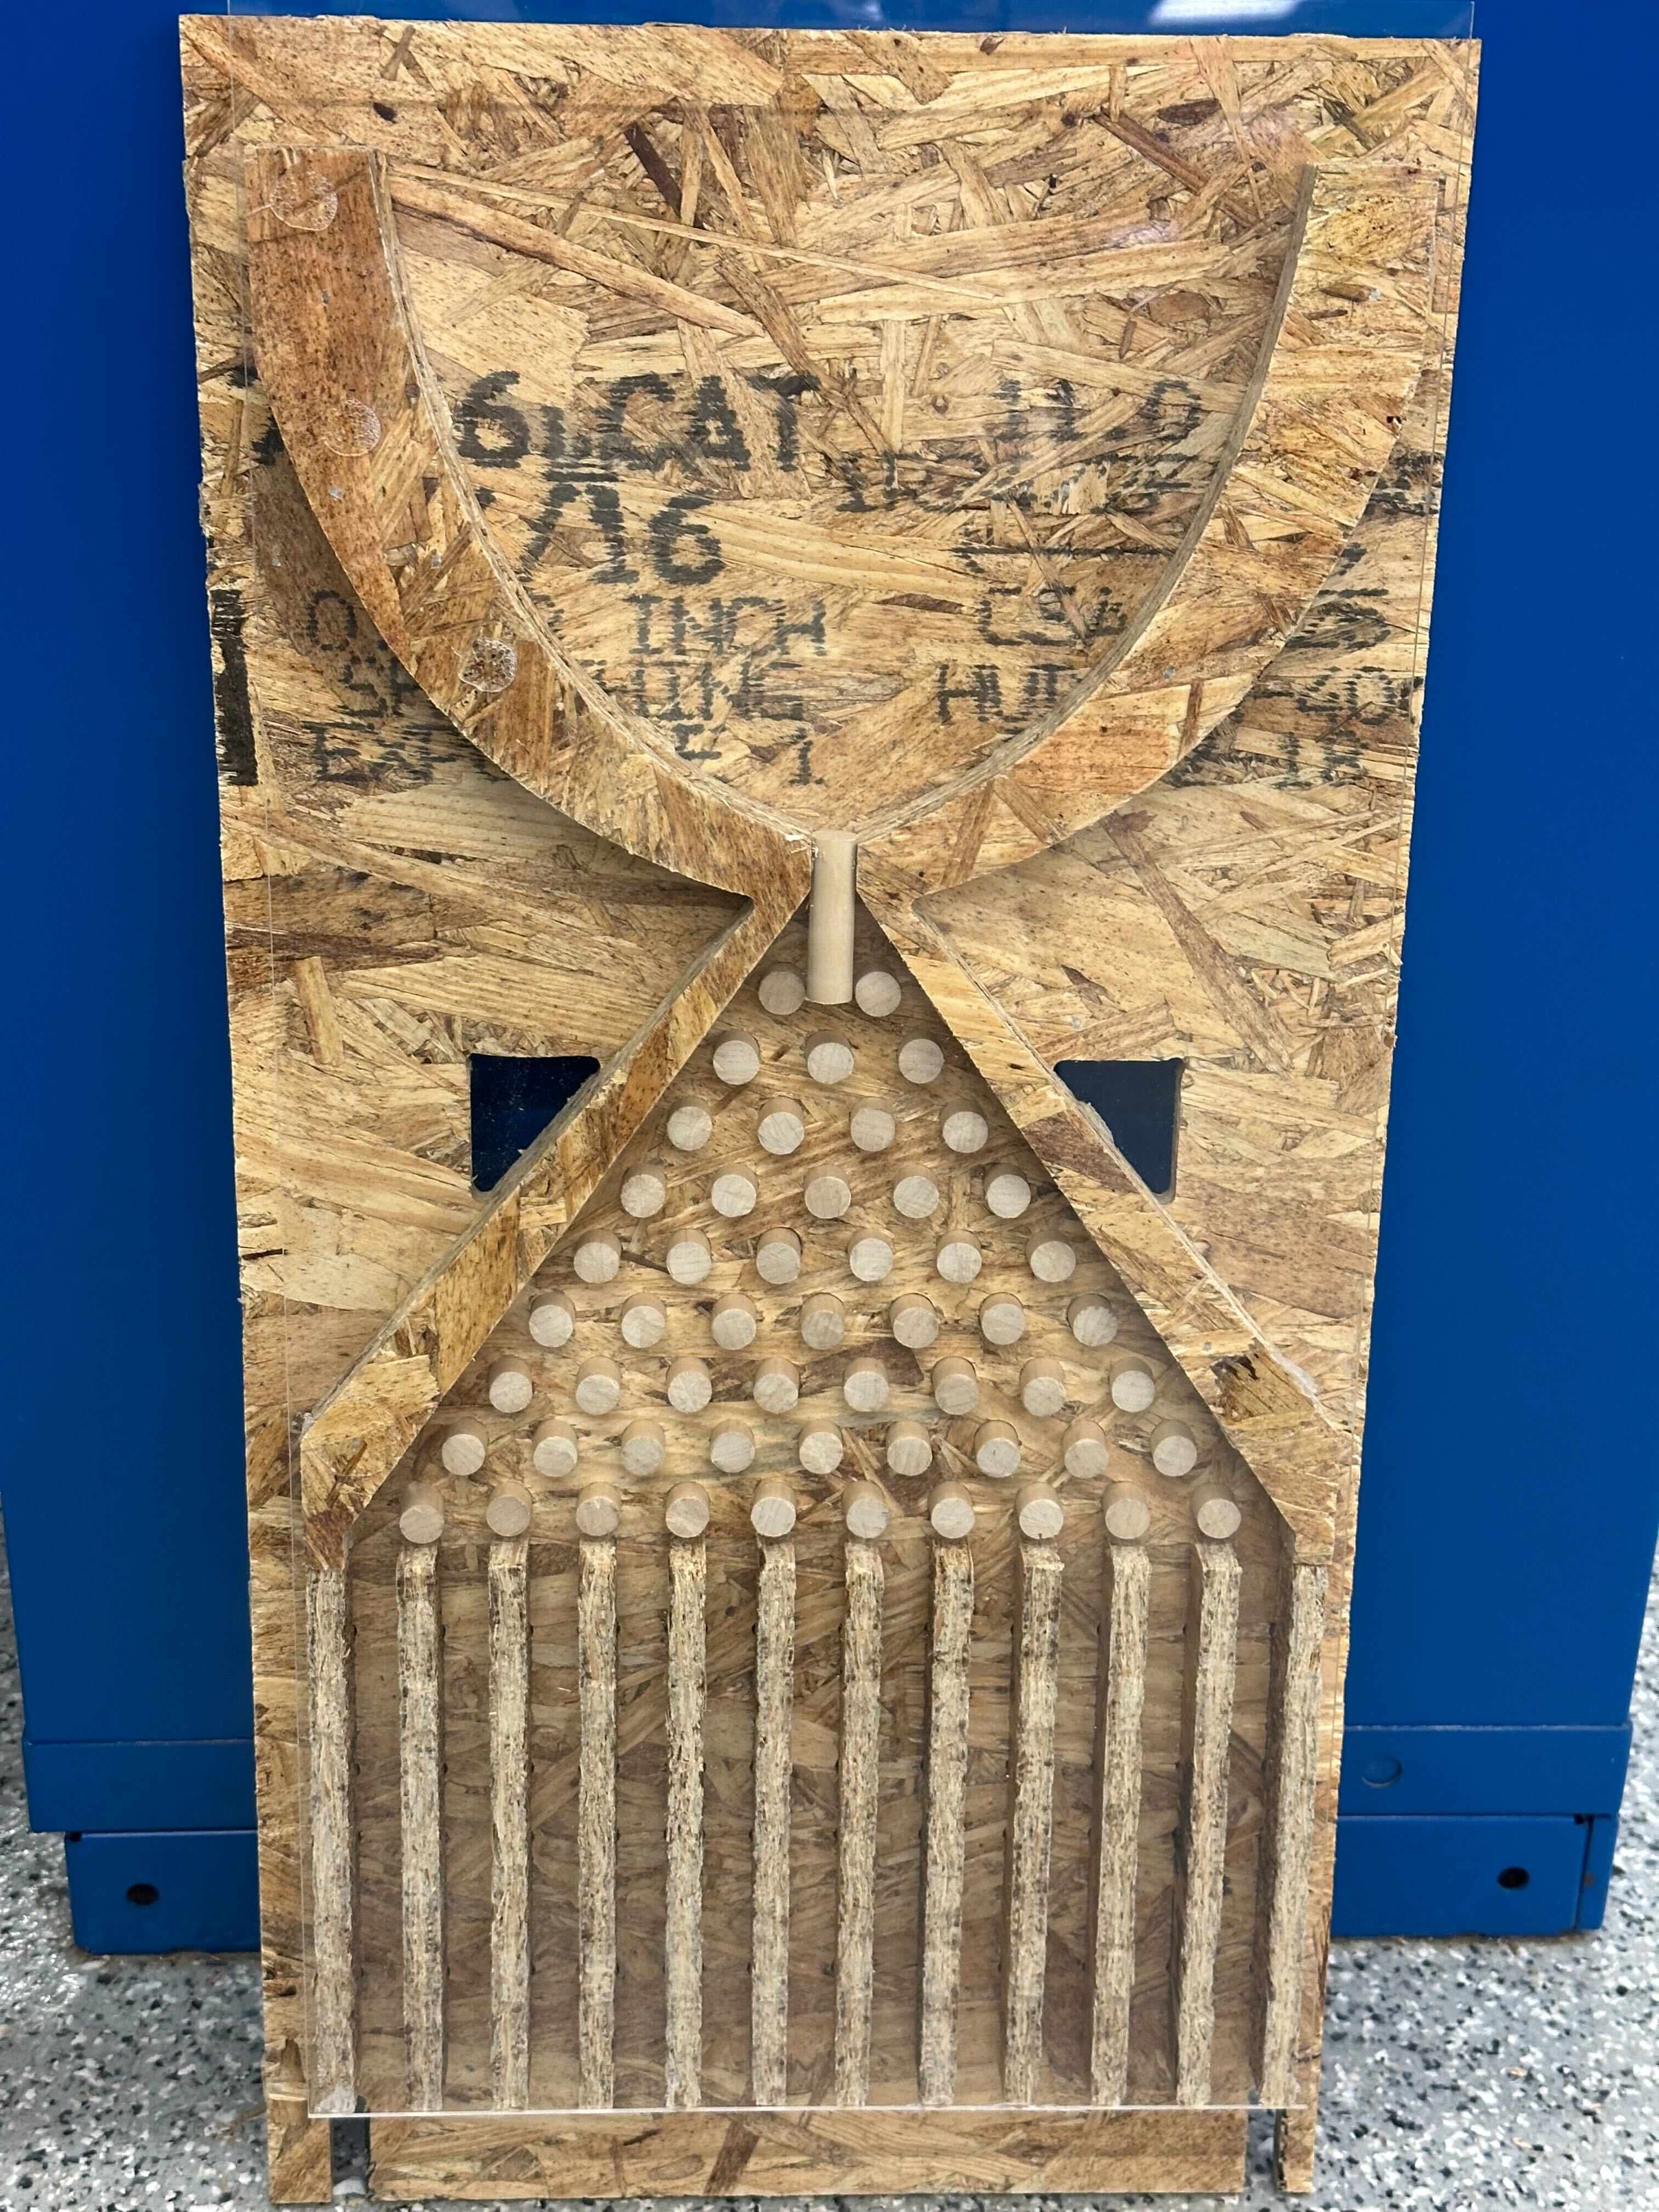
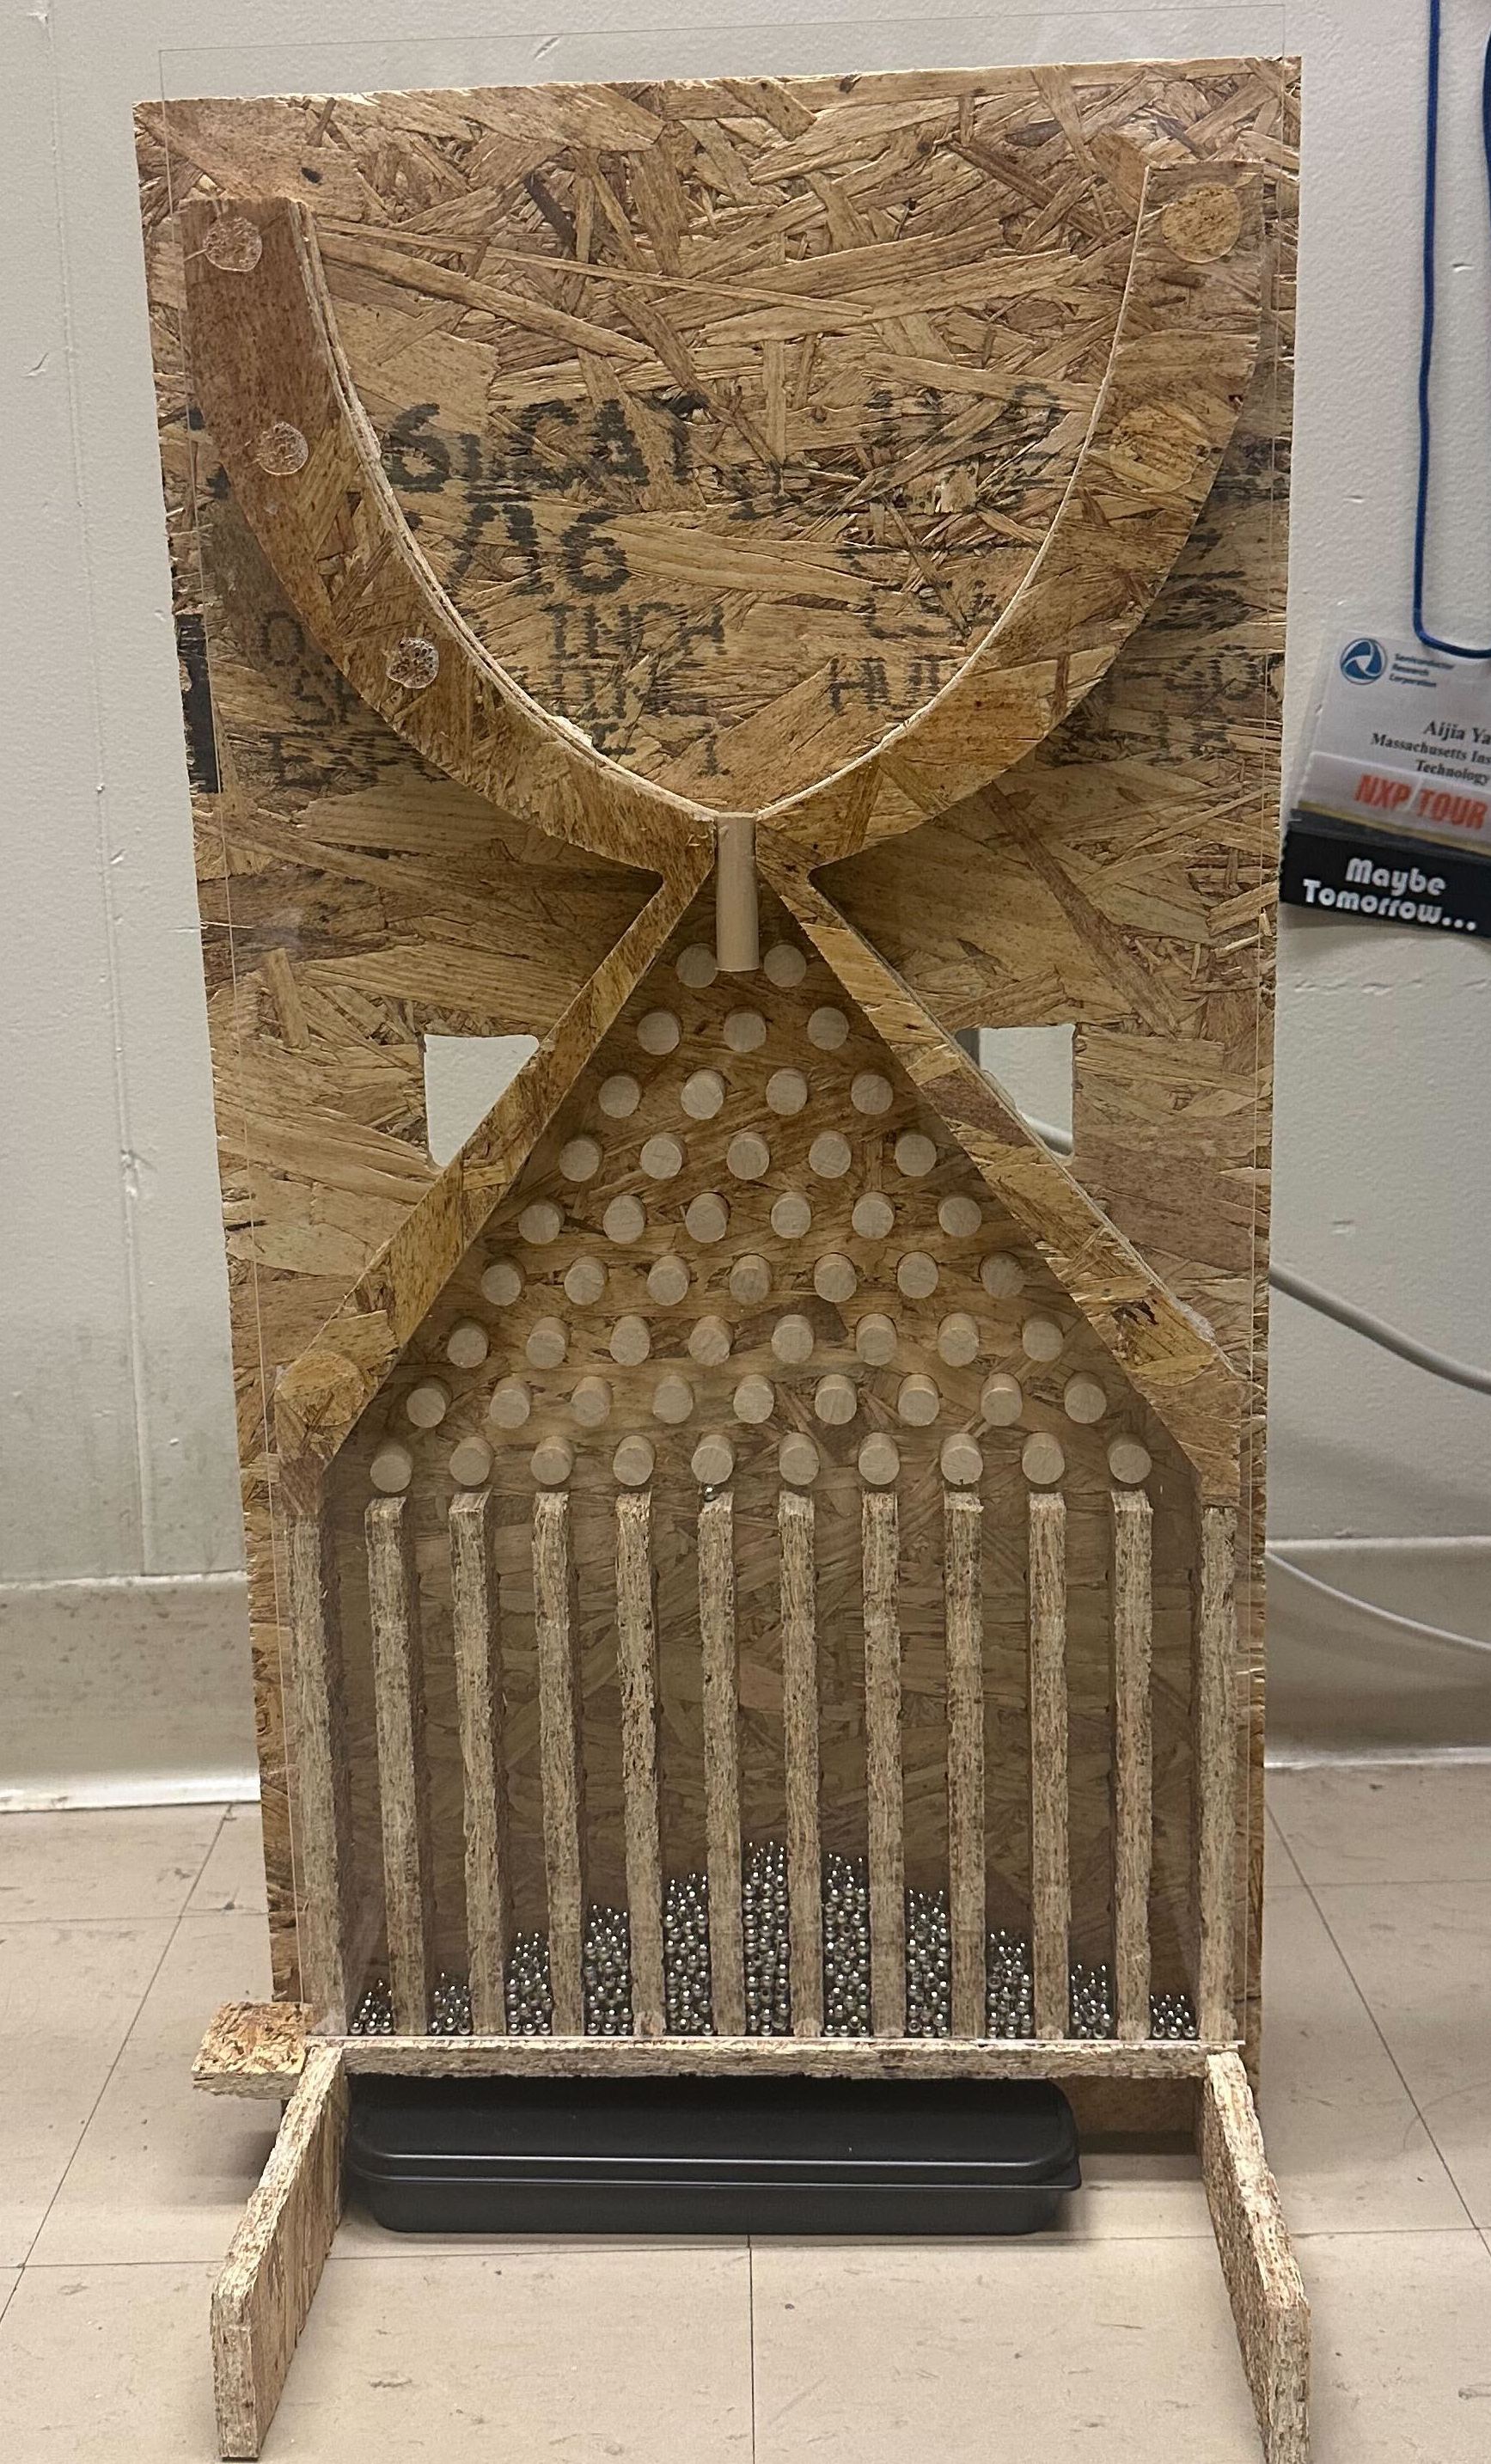
- Finally, I used nail gun to put down the top curve structures and used hot glue to secure the acrylic panel to the front. Below is an image of the final assembly and a demo video of of the Galton board function testing:
- However, during the testing process, I encountered an issue where some beads got stuck in the middle of the board and did not fall into the bins as intended. This is clearly due to the roughness on the edge of the OSB board.
- And if you checked the final frame of the testing video, you might notice that the distribution is a bit distorted to have a less pronounced middle peak, and it was mainly because the beads were bouncing directing to the bottom after hitting the first peg. Then I decided to experiment with the board at different angles to see if that would help the beads fall more freely and closer to a normal distribution.
- And viola! When inclined about 30 degrees, the beads started to fall more freely and the distribution improved.
Other Notes
- Thanks so much for Anthony's kind support to help us survive this week and not killing me when the beads were running everywhere.