Introduction
For molding and casting week, I designed a mold to reproduce the body of my robot companion from Week 9 - Output Devices. The original design featured an expressive robot face with a custom enclosure, and I wanted to explore how molding and casting could enable production of multiple copies with different materials and finishes.
This assignment challenged me to work backwards from my desired part geometry to design a two-part mold with proper draft angles, parting lines, and registration features. I chose to cast it using Smooth-Cast 300 urethane resin for its fast cure time and excellent detail reproduction.
Material Selection
Mold Material: Rubber
I chose rubber for the mold because:
- Easy to fabricate: Soft material allows for smooth surface finish and fine detail
- Reusable:
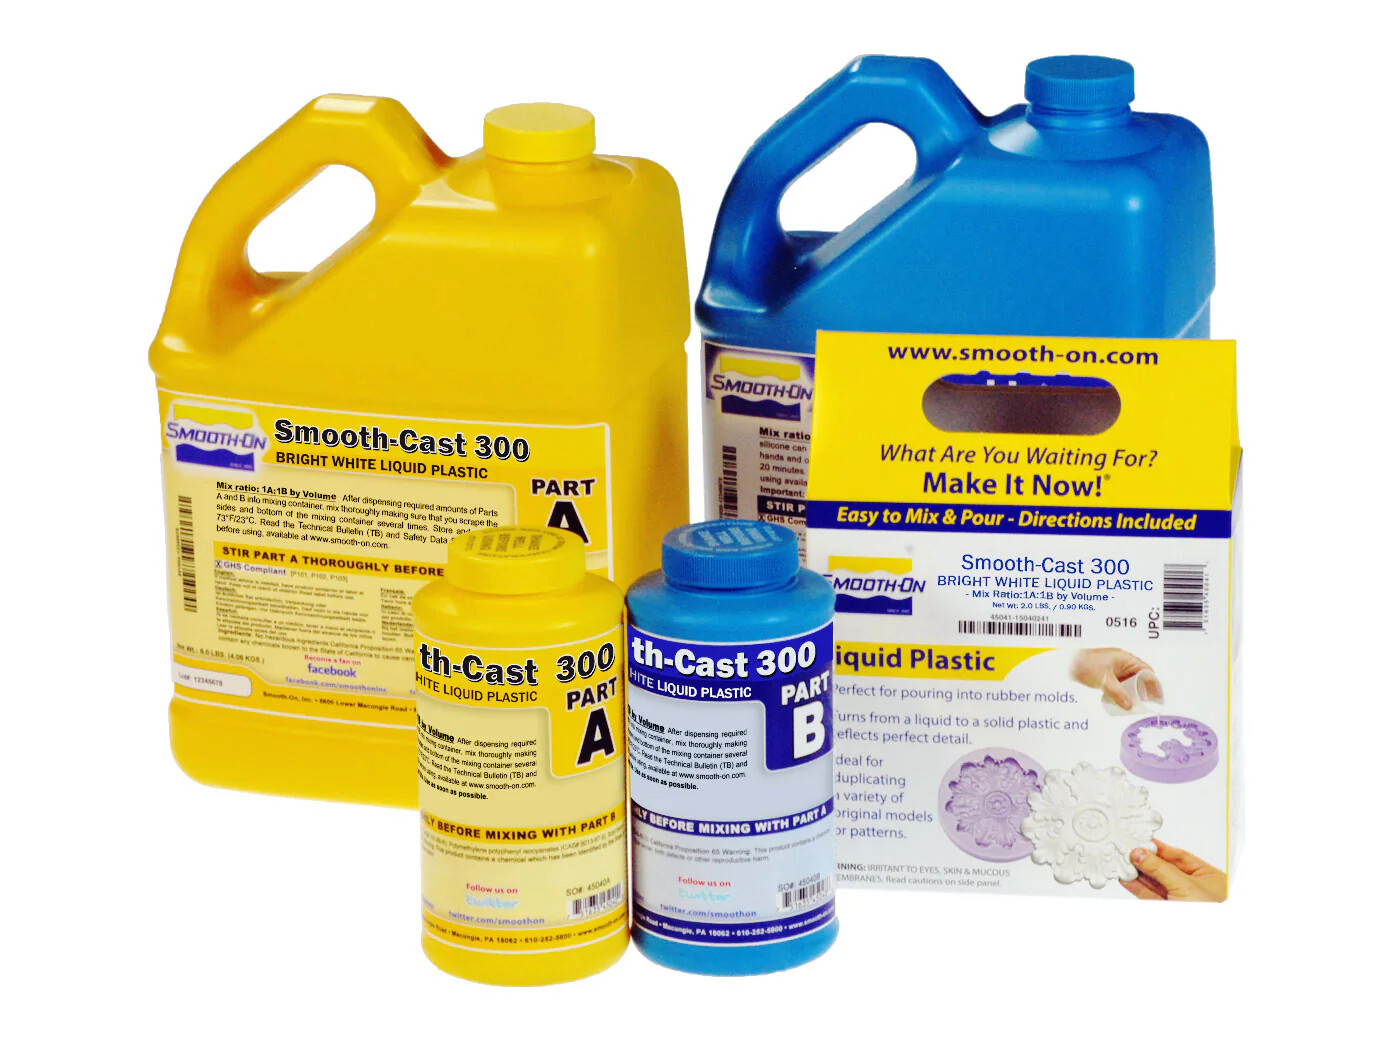
Casting Material: Smooth-Cast 300
For the cast parts, I selected Smooth-Cast 300 urethane resin:
- Fast cure: 10-minute work time, 30-minute demold time
- Low viscosity: Flows easily into fine details
- Rigid finish: Hard plastic suitable for functional parts
- Translucent white: Can be dyed with pigments if desired
Mold Design Process
CAD Modeling in Fusion 360
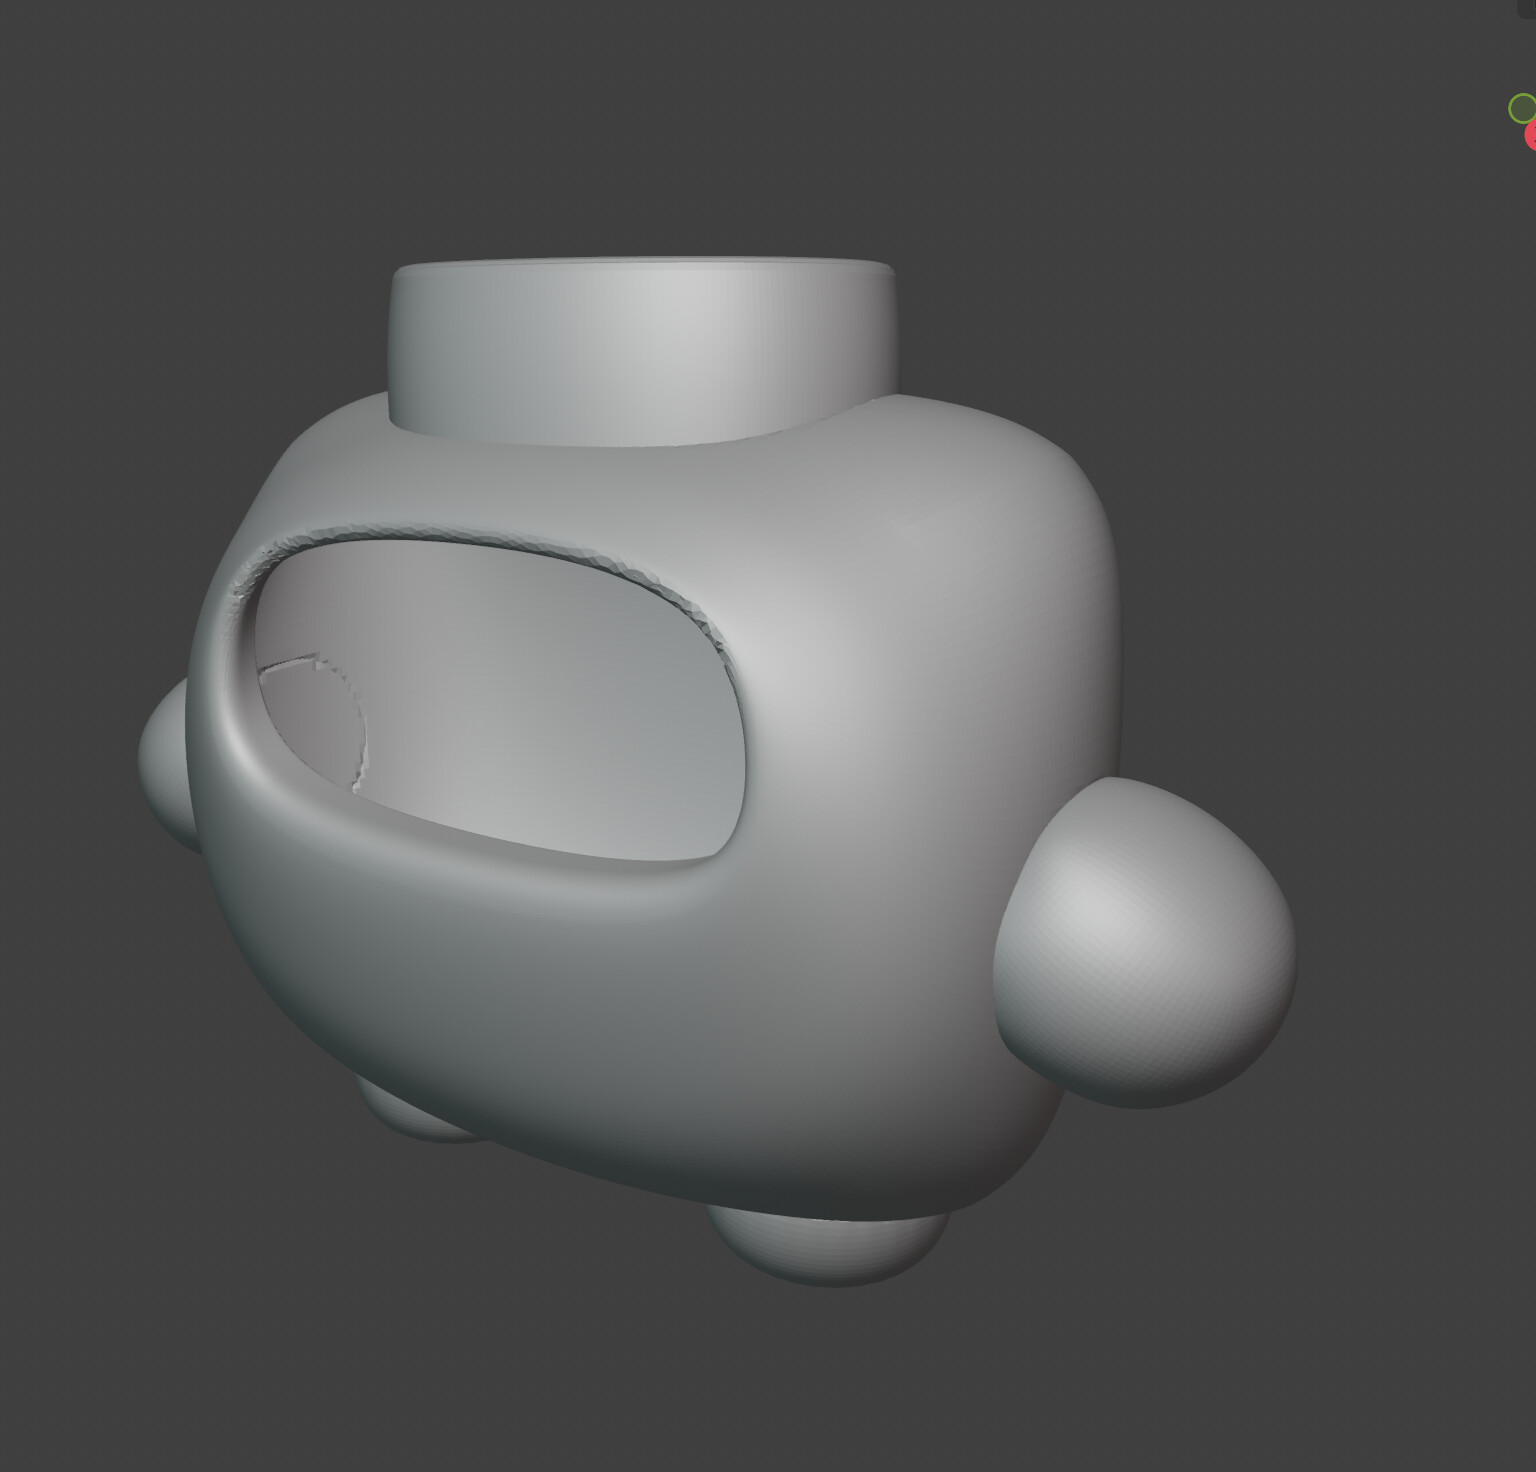
Starting with my robot body model from Week 9, I needed to design a two-part mold with the following considerations:
- Parting Line: Chose horizontal parting line at widest point of body
- Draft Angles: Added 3° draft on all vertical surfaces for easy demolding
- Registration Keys: Designed cylindrical alignment pins (10mm diameter)
- Pour Sprue: 20mm diameter funnel at top for resin pouring
- Air Vents: Small channels at highest points to prevent air bubbles
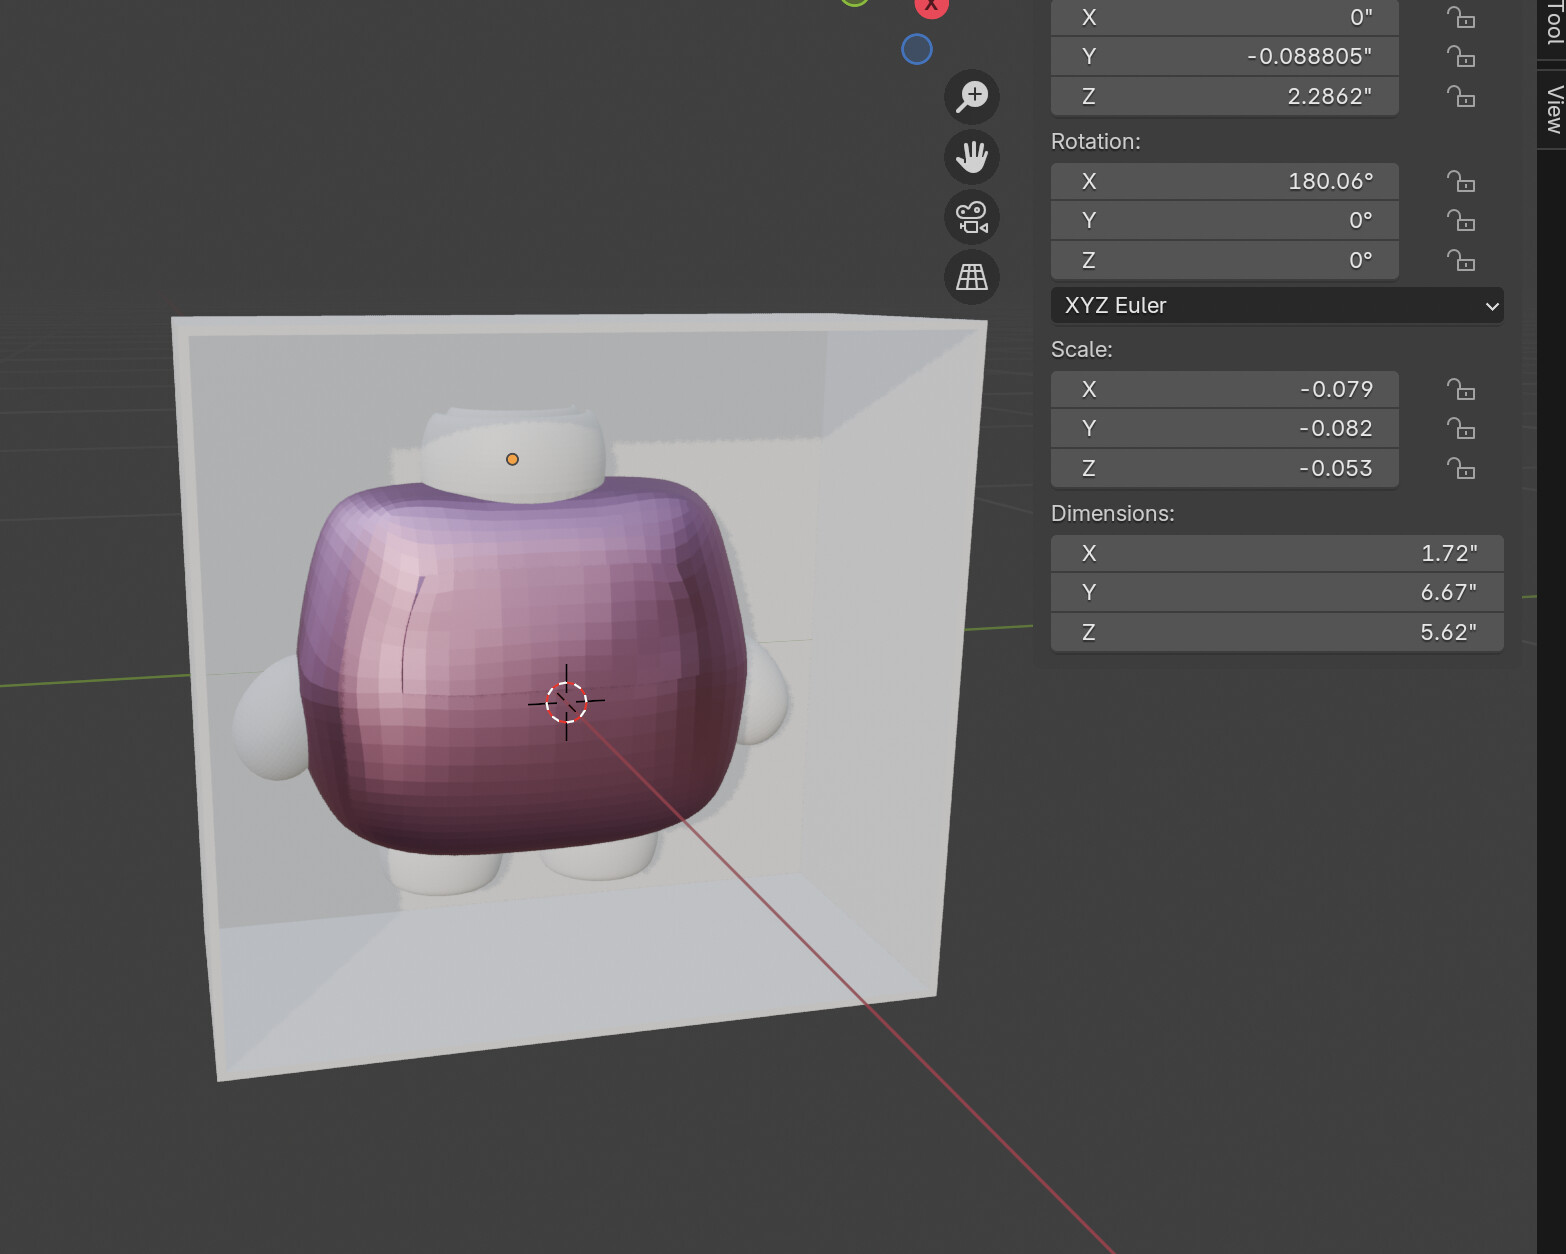
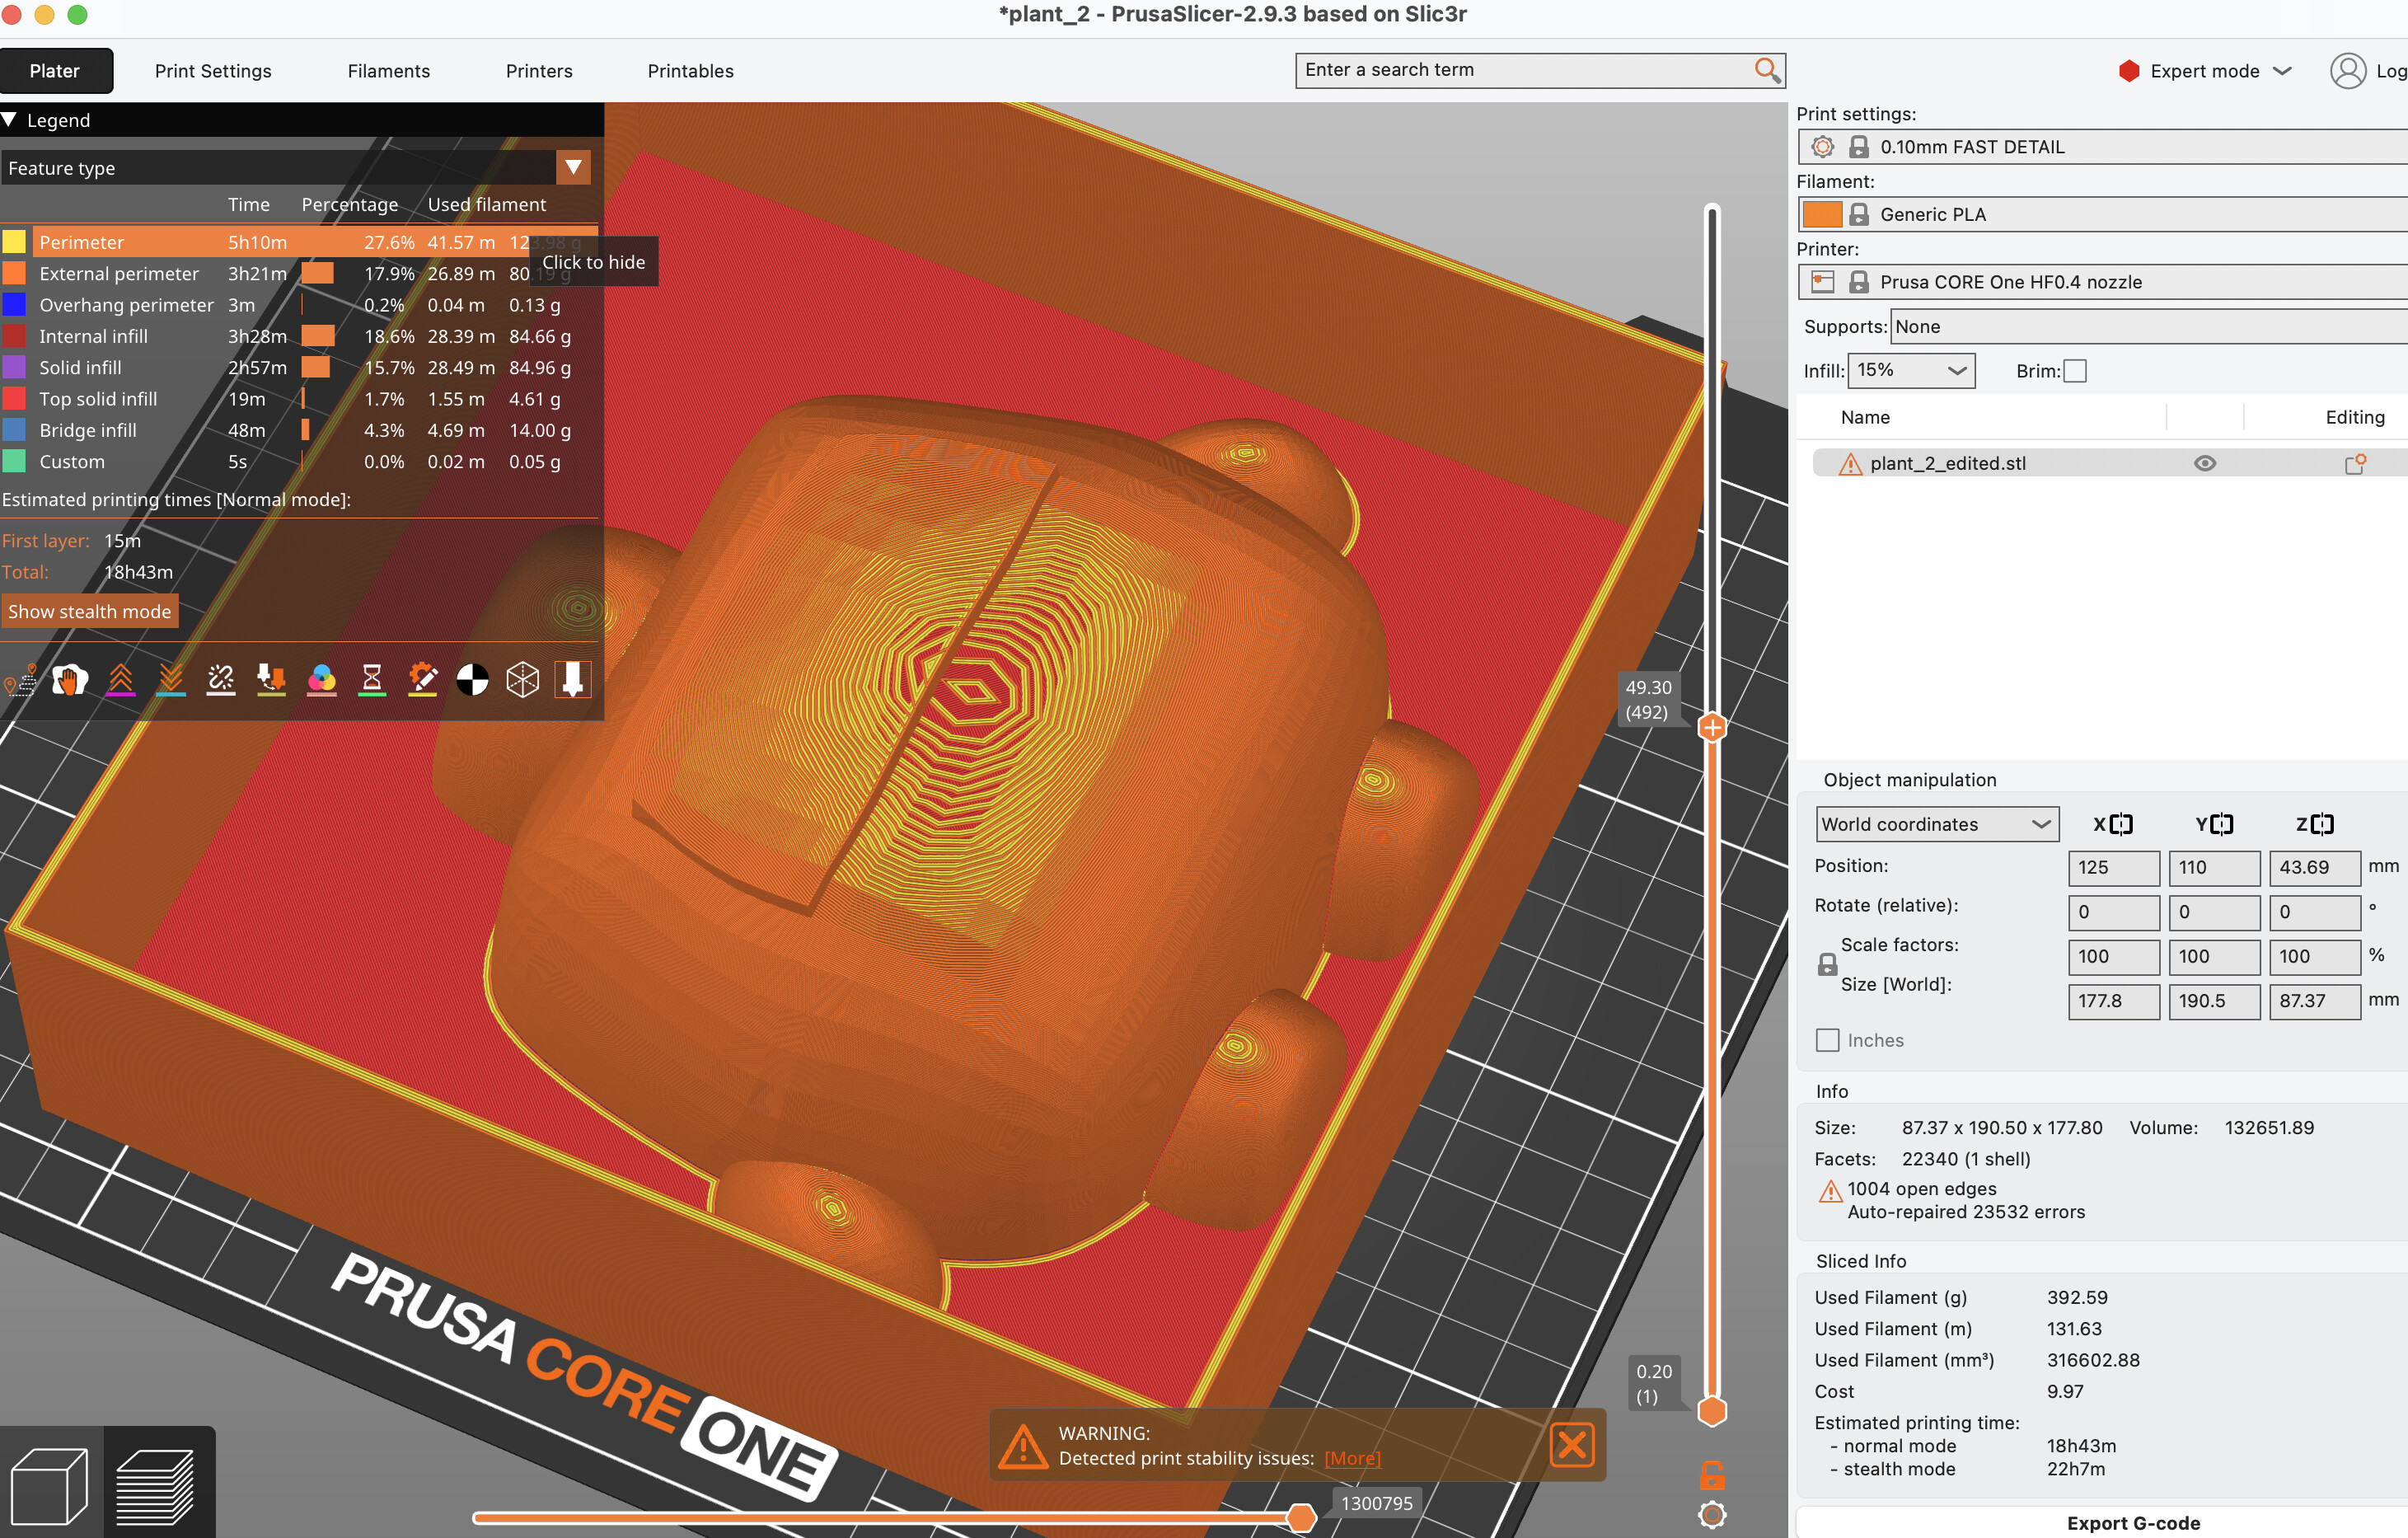
Mold Frame Design
I designed rectangular frames around each mold half. Then 3d printed these frames so I can make a negative rubber mold with them.
Making the Mold
Frame Fabrication
Surface Finish Quality
The ball end mill finishing pass produced an excellent surface finish with minimal visible toolpath marks. Key factors:
- Small stepover (0.3mm) eliminated scalloping
- Wax's soft consistency allowed smooth cutting
- Sharp tools prevented tearing or fuzzing
- No post-processing or sanding required

Casting Process
Mold Preparation
Before casting, I prepared the mold:
- Cleaned mold cavities with compressed air to remove wax dust
- Applied mold release (dilute dish soap solution, 1:10 ratio)
- Wiped excess release agent with paper towel
- Let dry for 5 minutes
- Aligned registration pins and test-fit mold halves

Mixing Resin
Smooth-Cast 300 is a two-part urethane resin with 1:1 mix ratio by volume:
- Calculated required volume: ~60ml total (30ml Part A + 30ml Part B)
- Measured Part A into mixing cup using graduated markings
- Added equal volume of Part B
- Mixed vigorously for 60 seconds, scraping sides and bottom
- Work time: 3 minutes before it starts to gel
💡 Mixing Tips
- Mix by weight for more accuracy (1:1 by weight also)
- Stir slowly to minimize air bubbles
- Use disposable cups - resin is hard to clean
- Mix more than you think you need (wastage in pour sprue)

Pouring and Curing
I poured the mixed resin using the following technique:
- Assembled mold halves with registration pins aligned
- Secured with rubber bands to prevent separation
- Poured resin slowly into sprue at 45° angle
- Watched for resin to appear at vent holes (confirms full cavity)
- Overfilled slightly to account for shrinkage
- Tapped mold gently on table to release trapped air bubbles
- Let cure for 30 minutes at room temperature


Demolding and Results
Demolding Process
After 30 minutes cure time:
- Removed rubber bands
- Carefully separated mold halves (registration pins popped out easily)
- Cast part released cleanly from wax with minimal force
- Trimmed excess resin from sprue and vents with side cutters
- Sanded rough edges with 220-grit sandpaper

Cast Quality Assessment
The cast part showed excellent reproduction of details:
- ✅ Sharp corners and edges preserved
- ✅ Smooth surface finish matching mold quality
- ✅ No air bubbles visible on surface
- ✅ Proper fill with no voids or short shots
- ✅ Minimal flash at parting line (easily removed)

Comparison: Original vs. Cast
3D Printed Original
- Layer lines visible
- Matte PLA finish
- Opaque white
- Slight warping
- Print time: 3 hours
Cast Resin Copy
- Smooth surface
- Glossy finish
- Translucent white
- Dimensionally accurate
- Cast time: 30 minutes

Multiple Casts
I made three successful casts from the same mold to test repeatability:

Experimentation with Additives
For the third cast, I experimented with white pigment:
- Added 2% white pigment (So-Strong tint) to Part B before mixing
- Result: Fully opaque white finish instead of translucent
- No change in cure time or mechanical properties

Lessons Learned
What Worked Well
- Draft angles: 3° draft made demolding effortless
- Registration pins: Perfect alignment every time, no shifting
- Ball end mill finish: Produced smooth mold surface with no post-processing
- Dish soap release: Simple, effective, and readily available
- Fast-cure resin: Quick turnaround for multiple iterations
Challenges & Solutions
Challenge 1: Air Bubbles
Initial casts had small bubbles on part surface.
Solution: Poured slower, tapped mold on table, added more vent channels in CAD.
Challenge 2: Incomplete Fill
First attempt didn't fill completely - resin started to gel before reaching all areas.
Solution: Mixed larger batch (60ml instead of 50ml), poured faster within work time.
Challenge 3: Flash at Parting Line
Thin flash of resin at mold parting line required cleanup.
Solution: Acceptable - easily removed with knife. Could improve with tighter mold registration or clamping pressure.
Future Improvements
- Add pressure chamber to eliminate bubbles completely
- Try flexible silicone mold for undercuts and complex geometries
- Experiment with other resins (slower cure, different colors)
- Design three-part mold for extra credit
- Add texture or patterns to mold surface
Conclusion
This assignment successfully demonstrated the complete molding and casting workflow, from CAD design through mold fabrication to final cast parts. The two-part wax mold with registration features enabled repeatable, high-quality casts. Key takeaways:
- Proper draft angles and parting line selection are critical for successful demolding
- CNC milling with fine stepover produces molds that need no post-processing
- Fast-cure resins enable rapid iteration but require efficient mixing and pouring
- Simple release agents (dish soap) work surprisingly well
- Molding enables rapid duplication once initial mold investment is made