Programming & Testing
Development Environment Setup
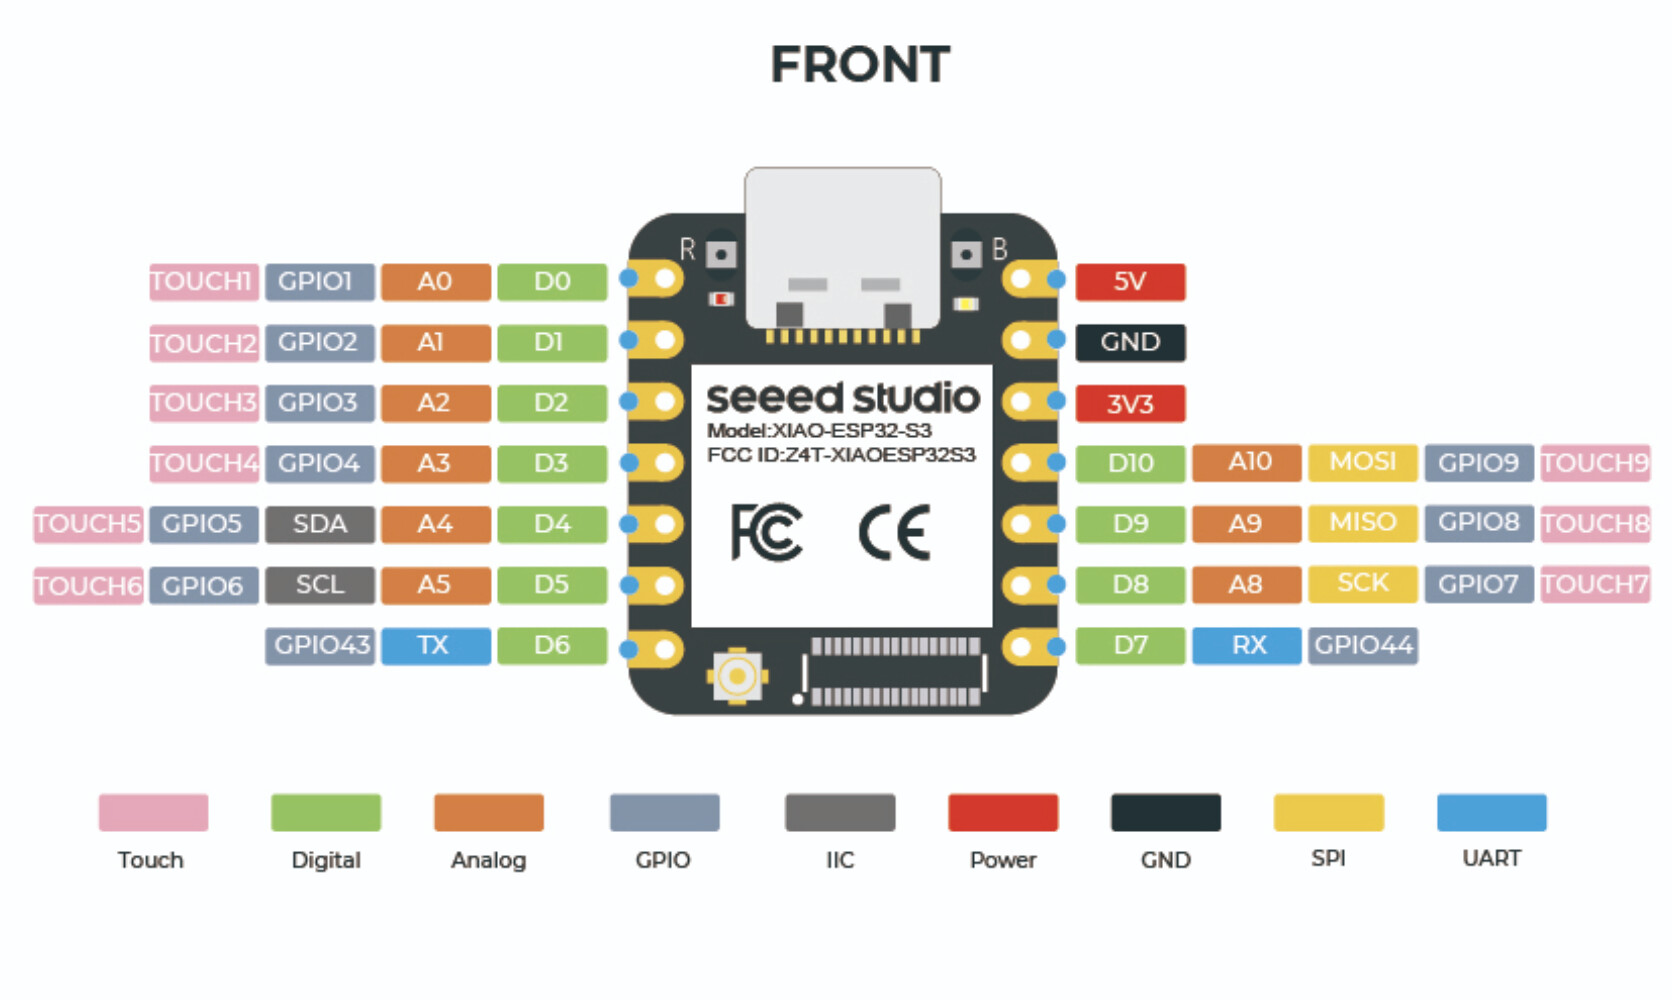
I programmed the ESP32-S3 using Arduino IDE 2.0 with the ESP32 board package:
// Board: XIAO_ESP32S3
// Upload Speed: 921600
// USB Mode: Hardware CDC and JTAG
// Partition Scheme: Default 4MB with spiffs
VL53L1X Sensor Library
I used the Adafruit VL53L1X library which provides a simple I2C interface:
#include <Adafruit_VL53L1X.h>

Adafruit_VL53L1X vl53 = Adafruit_VL53L1X();

void setup() {
  Wire.begin();

  if (!vl53.begin()) {
    Serial.println("Failed to find VL53L1X sensor!");
    while (1) delay(10);
  }

  // Set measurement timing budget (higher = more accurate)
  vl53.setTimingBudget(50);  // 50ms

  // Start continuous ranging
  vl53.startRanging();
}

void loop() {
  if (vl53.dataReady()) {
    int16_t distance = vl53.distance();

    if (distance == -1) {
      Serial.println("Out of range");
    } else {
      Serial.print("Distance: ");
      Serial.print(distance);
      Serial.println(" mm");
    }

    vl53.clearInterrupt();
  }
  delay(100);
}
Testing Results
The sensor performed well across its specified range:
- ✅ Minimum range: 40mm (4cm)
- ✅ Maximum range: 4000mm (4m)
- ✅ Accuracy: ±5mm in short range mode
- ✅ Update rate: Up to 50Hz
- ✅ Power consumption: ~20mA during ranging
✨ Integration Testing
I tested the sensor's responsiveness by moving objects at different distances. The videos above show the sensor tracking movement in real-time and responding to hand gestures. This validated that the board was ready for integration into the final hydration monitoring system.
Connection to Final Project
While I initially designed this board for distance sensing (measuring water level), I later switched to a load cell-based approach for more accurate weight measurement in the final project. However, the embedded programming skills from this week—I2C communication, sensor calibration, and real-time data processing—directly transferred to programming the HX711 load cell amplifier.