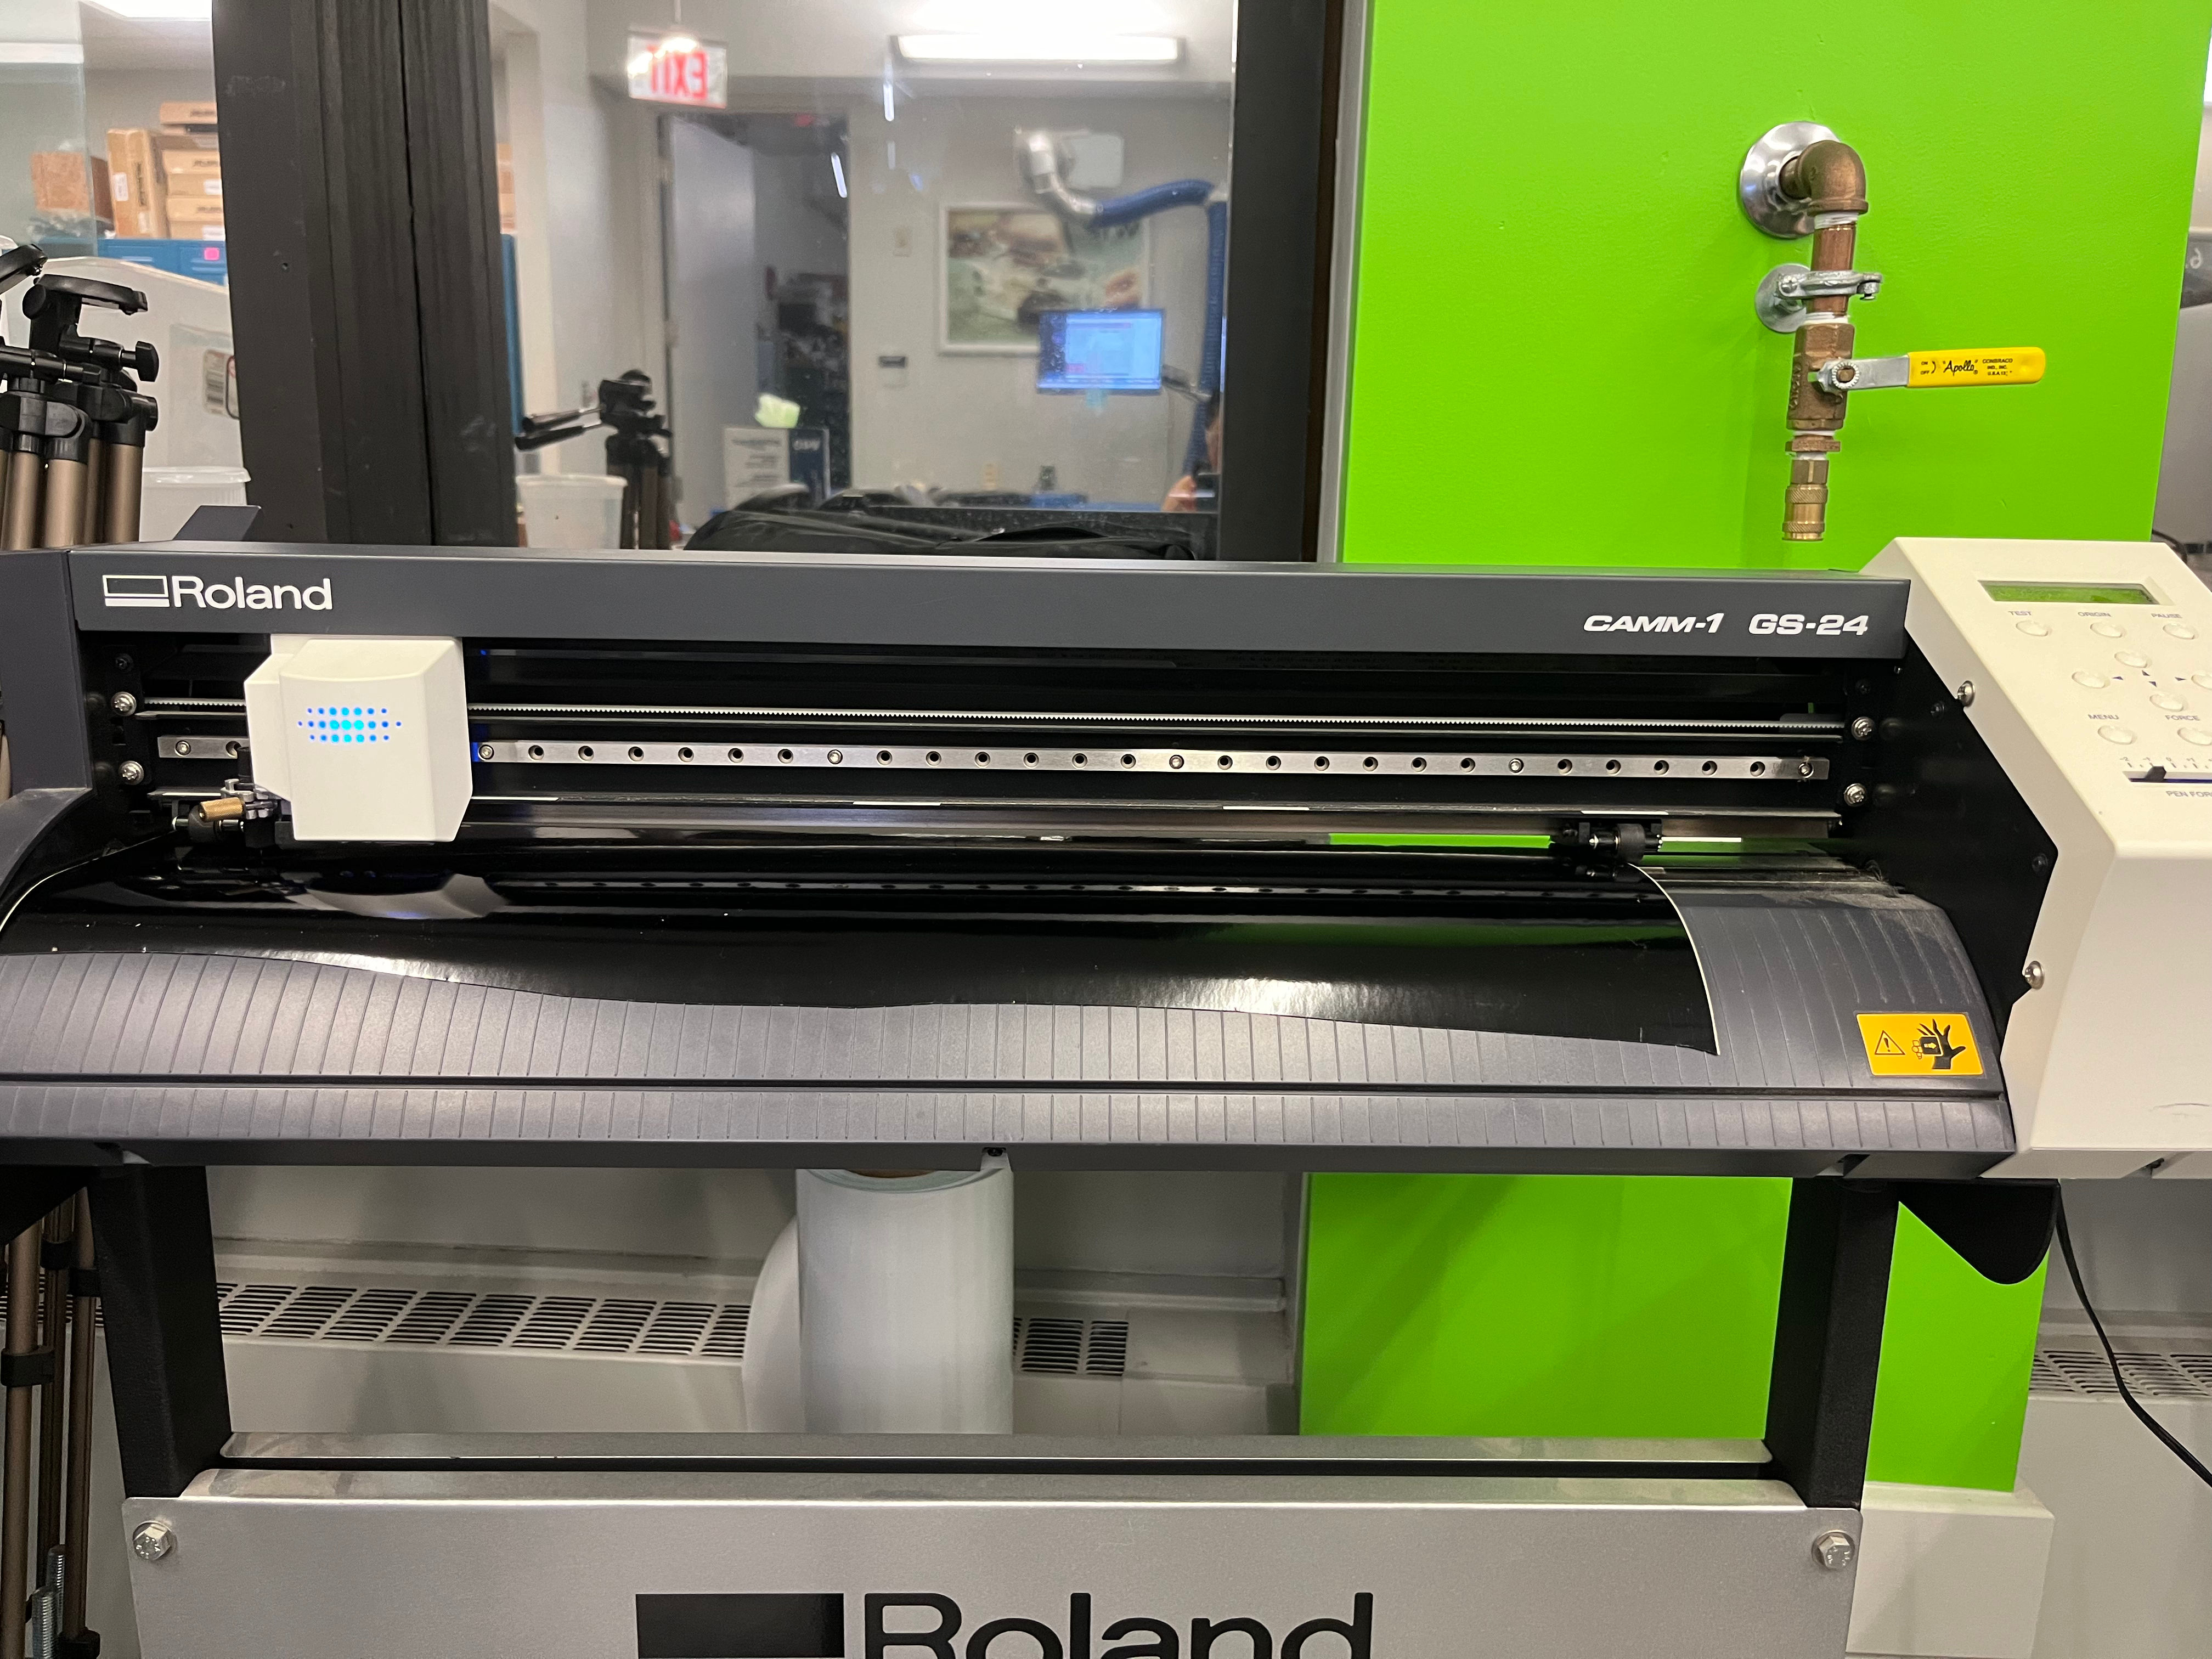
The vinyl cutter is a versatile tool used to precisely cut designs from vinyl sheets. For this project, I used the Roland vinyl cutter in conjunction with modsproject.org to control the cutting process.
Assignment
The EECS group assignment is linked here.
This week, our task is:
- Cut something on the vinylcutter
- Design, lasercut, and document a parametric construction kit, accounting for the lasercutter kerf, which can be assembled in multiple ways
Vinyl Cutter
How to Make
- Open the program
- Use Google Chrome.
- Go to modsproject.org.
- Open the Roland Vinyl Cutter: Cut Program.
- Work roughly from top to bottom, left to right.
- Prepare your image
- Supported formats:
.svgand.png. - Use black and white images.
- Load the image into the program.
- Change dimensions using the DPI setting.
- For
.pngfiles, changing DPI alters pixels — be careful with curved edges. - You can invert colors to reverse which black regions are cut.
- If the cut preview doesn’t appear, click Calculate (near Raster section).
- Supported formats:
- Set up the vinyl cutter
- Click Get Device and then Connect.
- Set the origin — default settings are usually fine.
- Testing cuts are generally not needed.
- Use the lever to apply tension on the drive wheels and clamp down at the end.
- Ensure the wheels are positioned within the white sections of the machine.
- If just turned on, press Power.
- Select Sheet and press Enter.
- Use the arrow keys to move the cutter head; hold Origin to set a new origin.
- You can change the cut force if necessary (usually fine by default).
- Blue lines = cut paths; red lines = rapids (knife lifts up).
- When ready, click Send File.
- Weed the vinyl (remove unwanted pieces)
- Weed early — remove parts you don’t want.
- Fold the vinyl over itself instead of pulling straight up.
- Use tweezers to lift small details.
- Decide if you’re making a sticker or a stencil.
- Transfer the vinyl
- Apply transfer paper to the front of the vinyl.
- Peel off the vinyl’s backing carefully.
- Don’t drop it flat — this causes air bubbles.
- Use a squeegee while laying it down to prevent air pockets.
The Journey
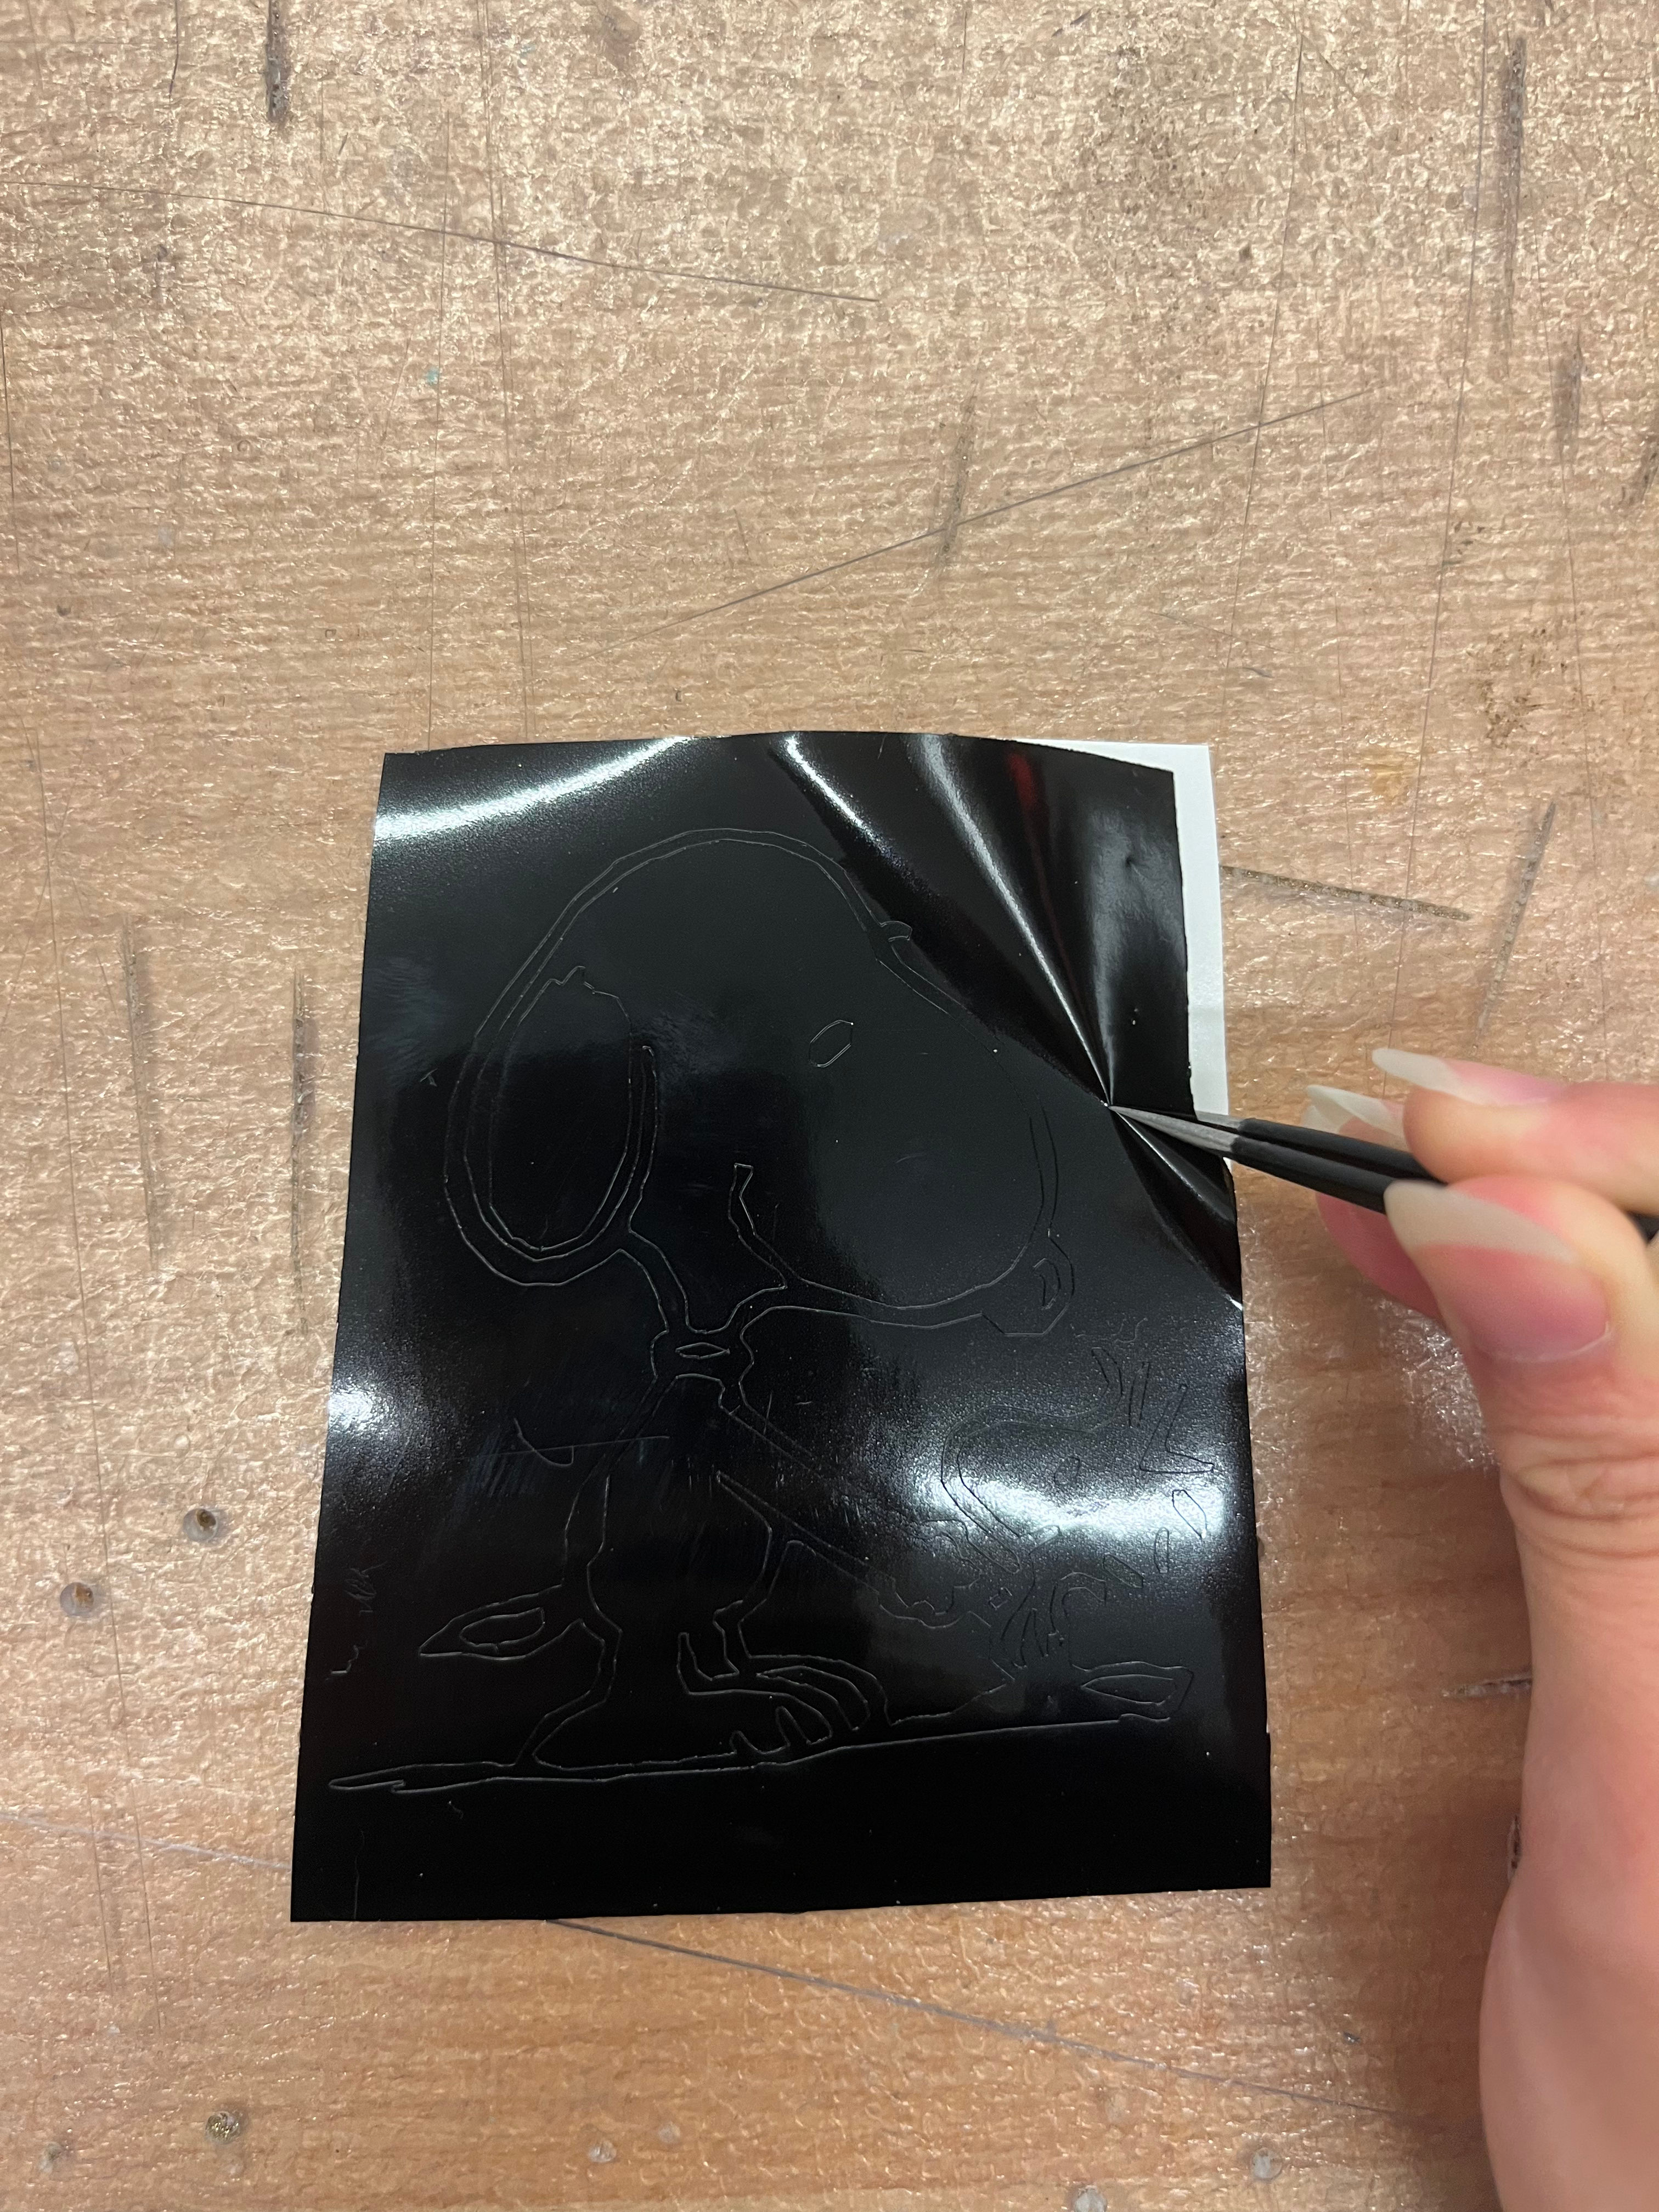
Right after running the vinyl cutter program, beginning the weeding process.
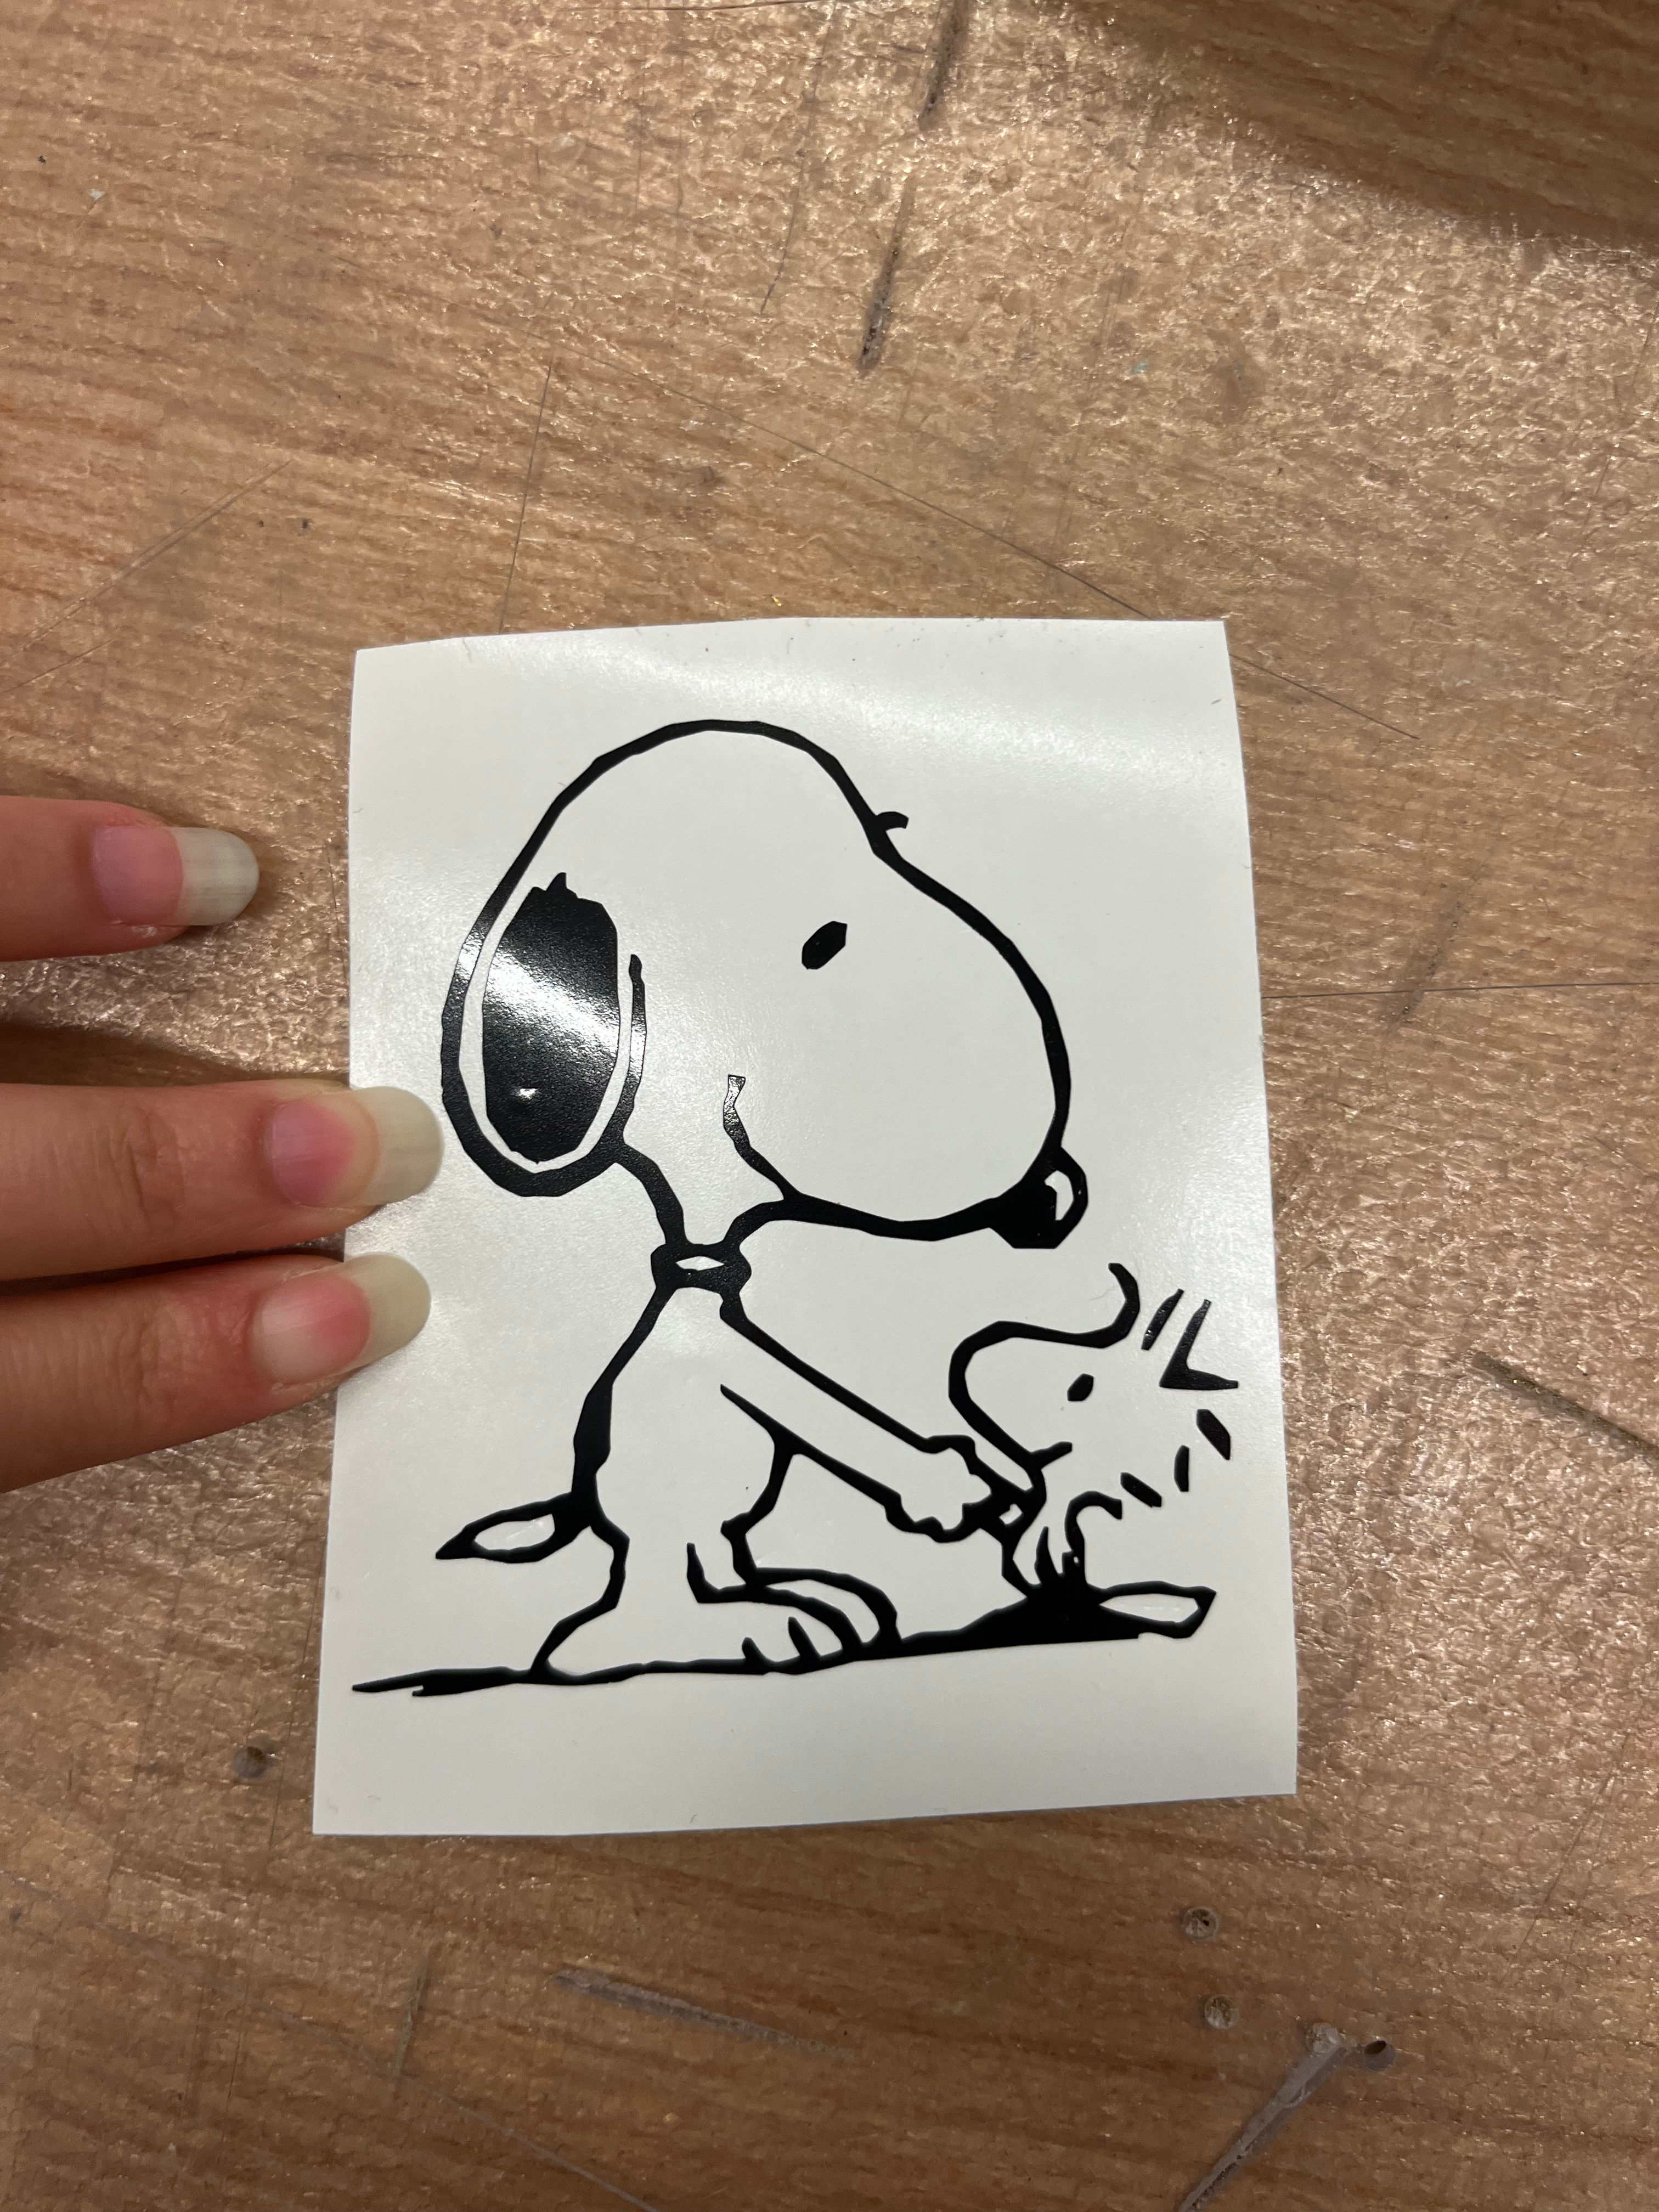
Finished weeding the vinyl.
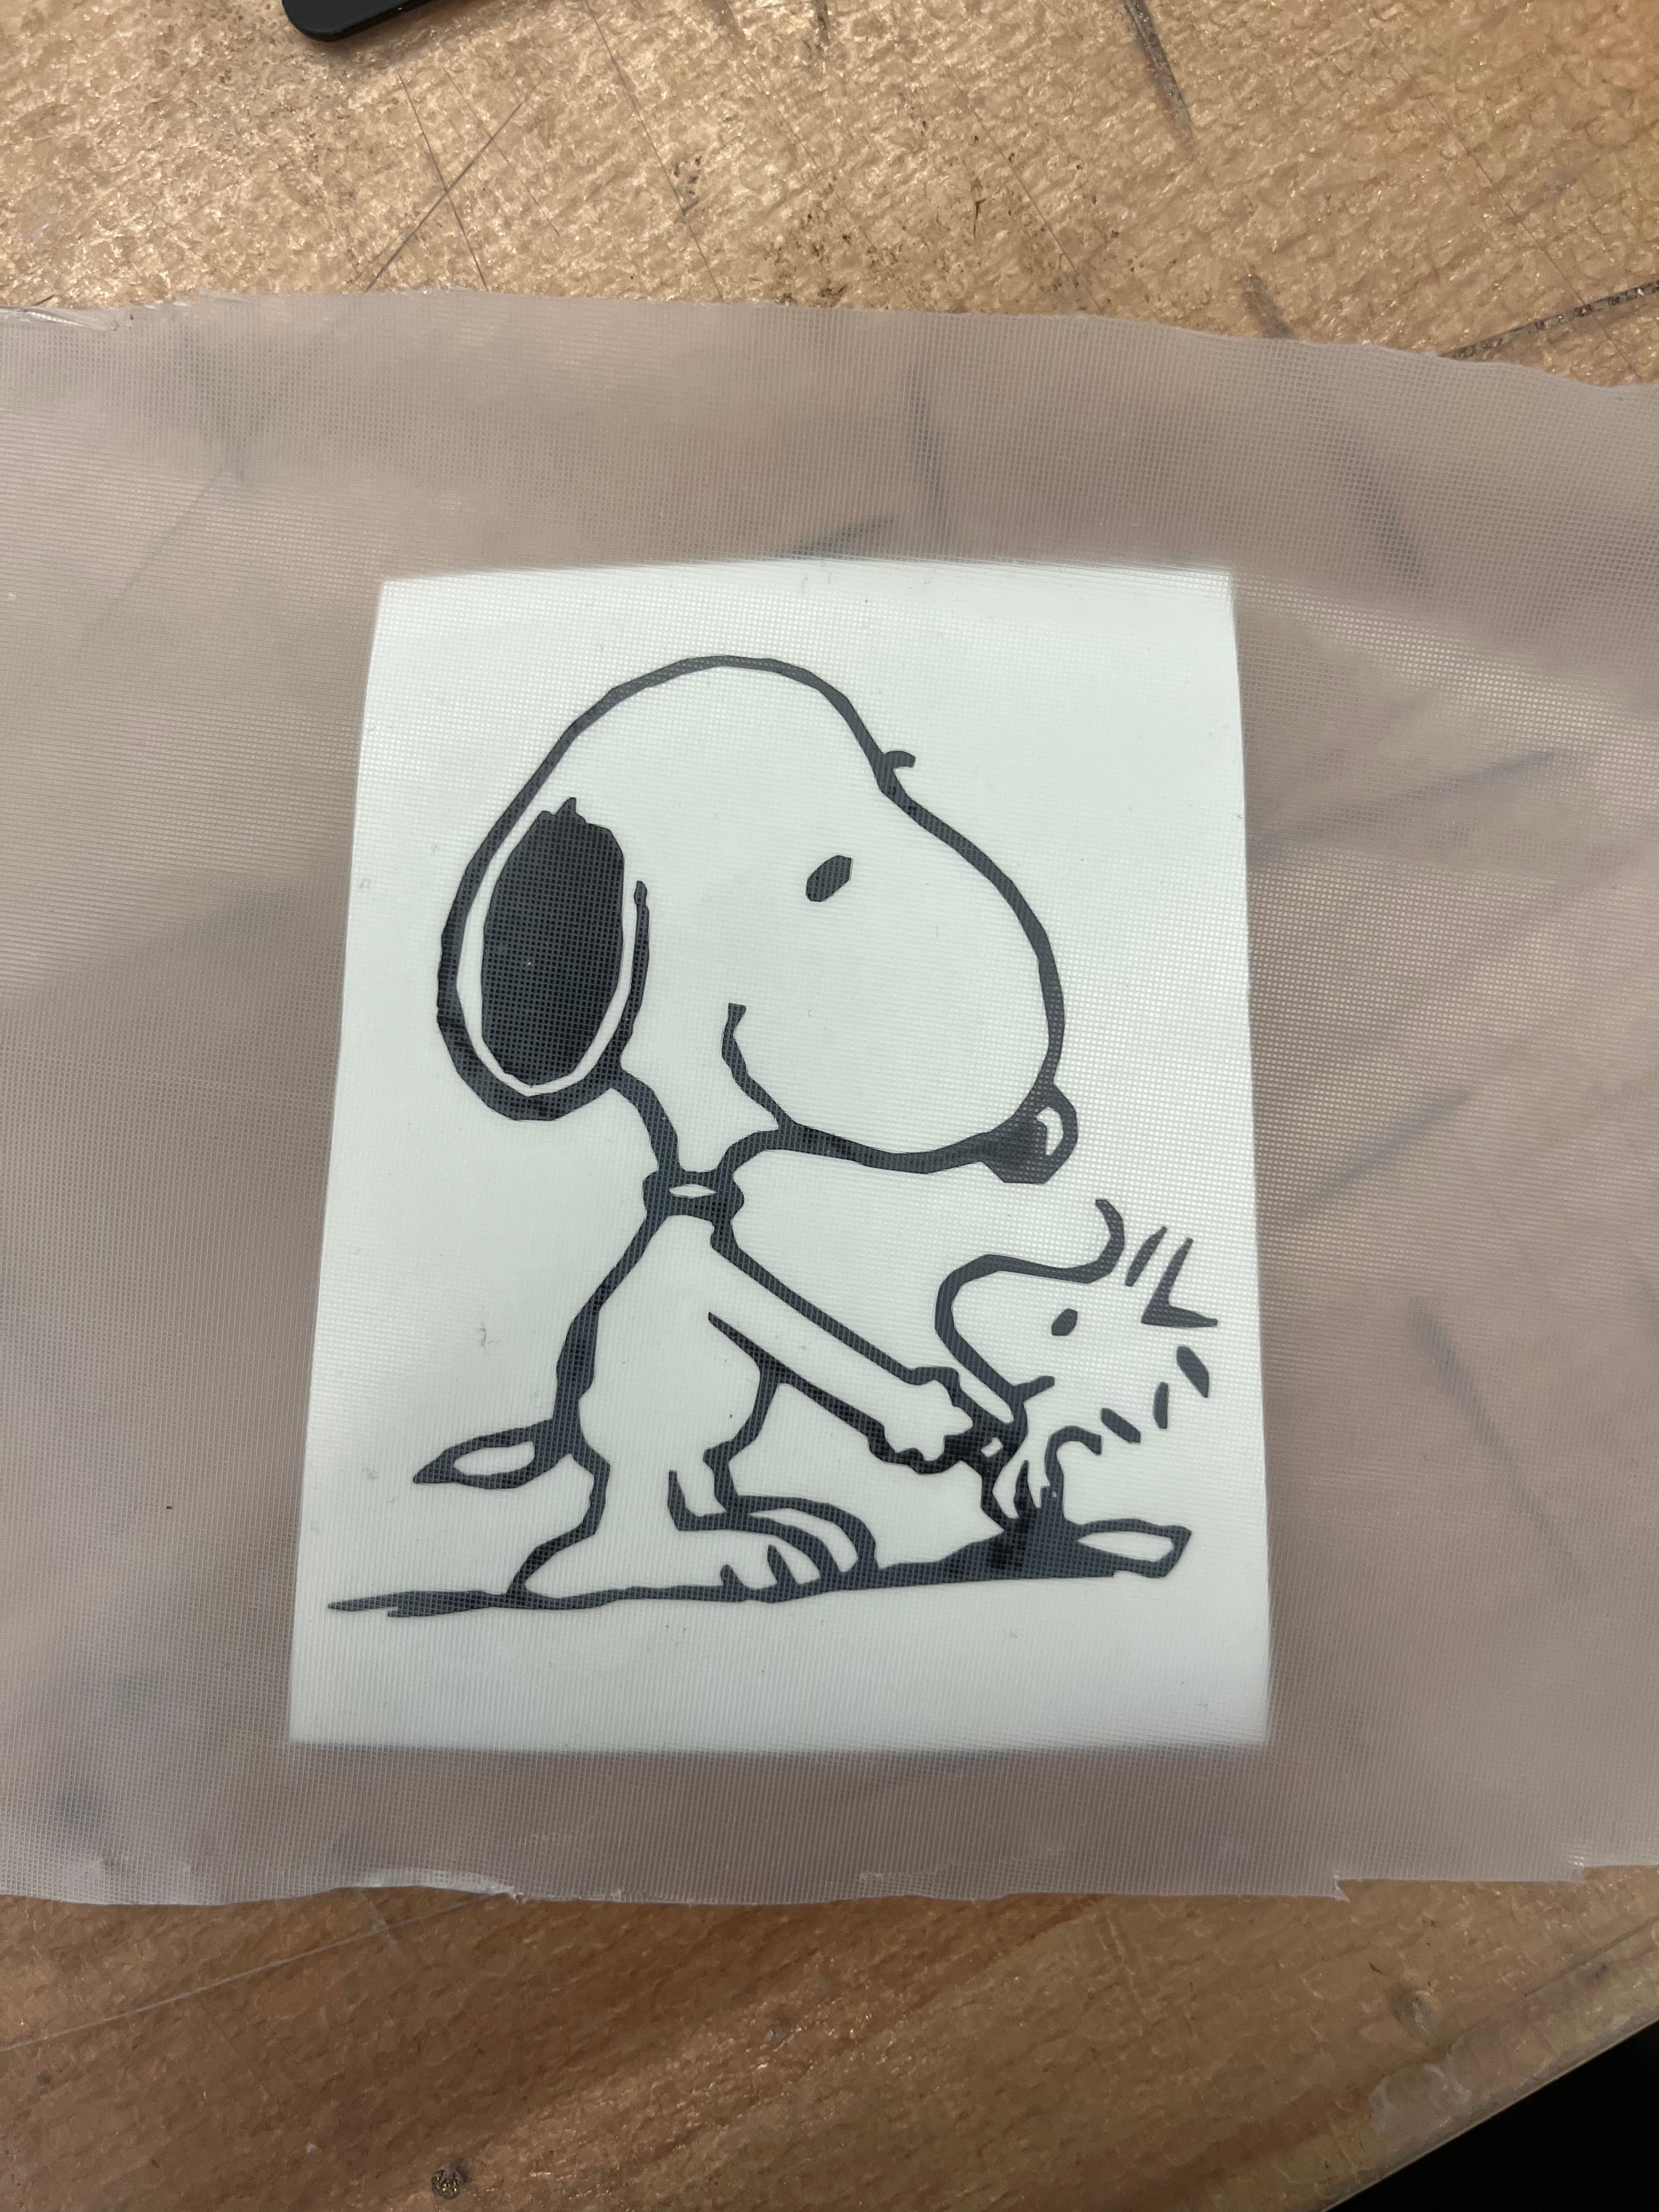
Next, I applied transfer paper to the front of the vinyl and peeled away the backing. Using a card, I carefully smoothed out the vinyl to prevent air bubbles as I transferred it onto my laptop.
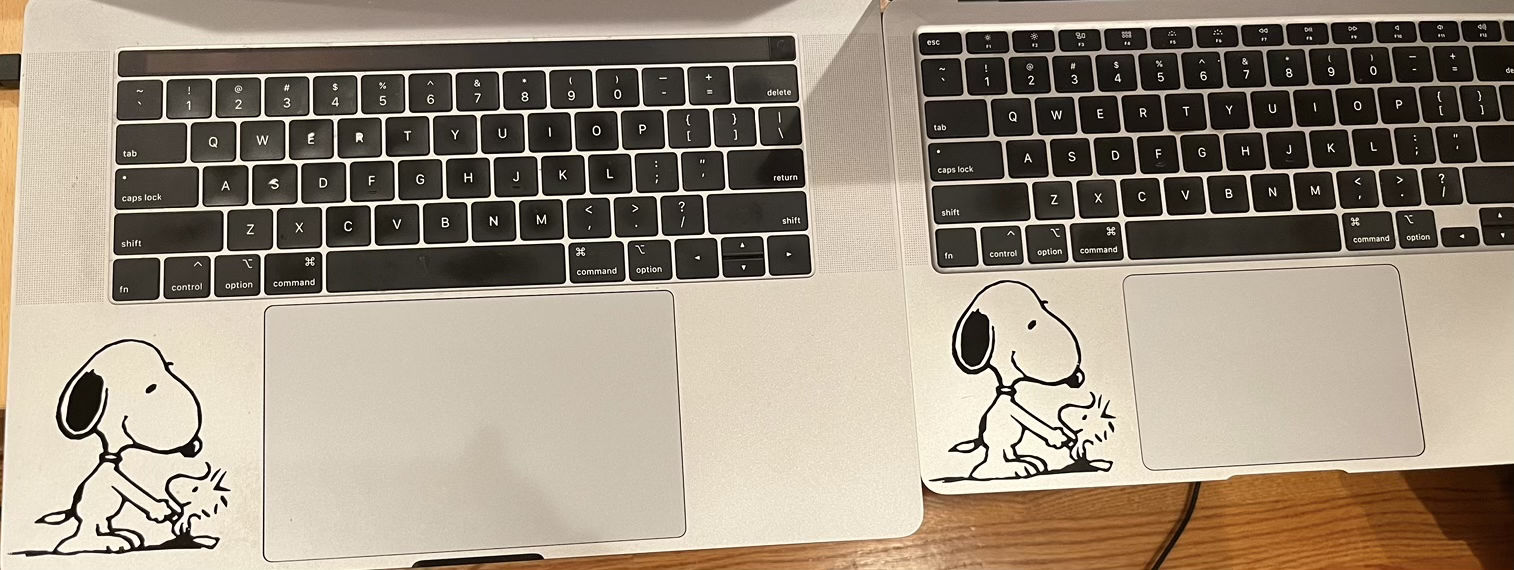
The finished product, twinning with my friend’s laptop!
Laser Cutter Group Assignment
Group Assignment
We began with our EECS lab section’s safety training, then learned to operate both the laser cutter and vinyl cutter. We measured the parameters of the 75W laser cutter.
- Focus: Adjusted to achieve correct focal length.
- Power: 100%
- Speed: 16%
- Kerf: 0.2 mm per cut
- Joint Clearance: Slots fit snugly without compressing material.
Laser Cutter Individual Project
How to Make
- Open and prepare the software
- Ensure the focus view follows the laser.
- Use zoom in and zoom out to check details.
- Use Ctrl + P (or Command + P on Mac) to open the print settings.
- Set maximum power and fast speed as needed for testing.
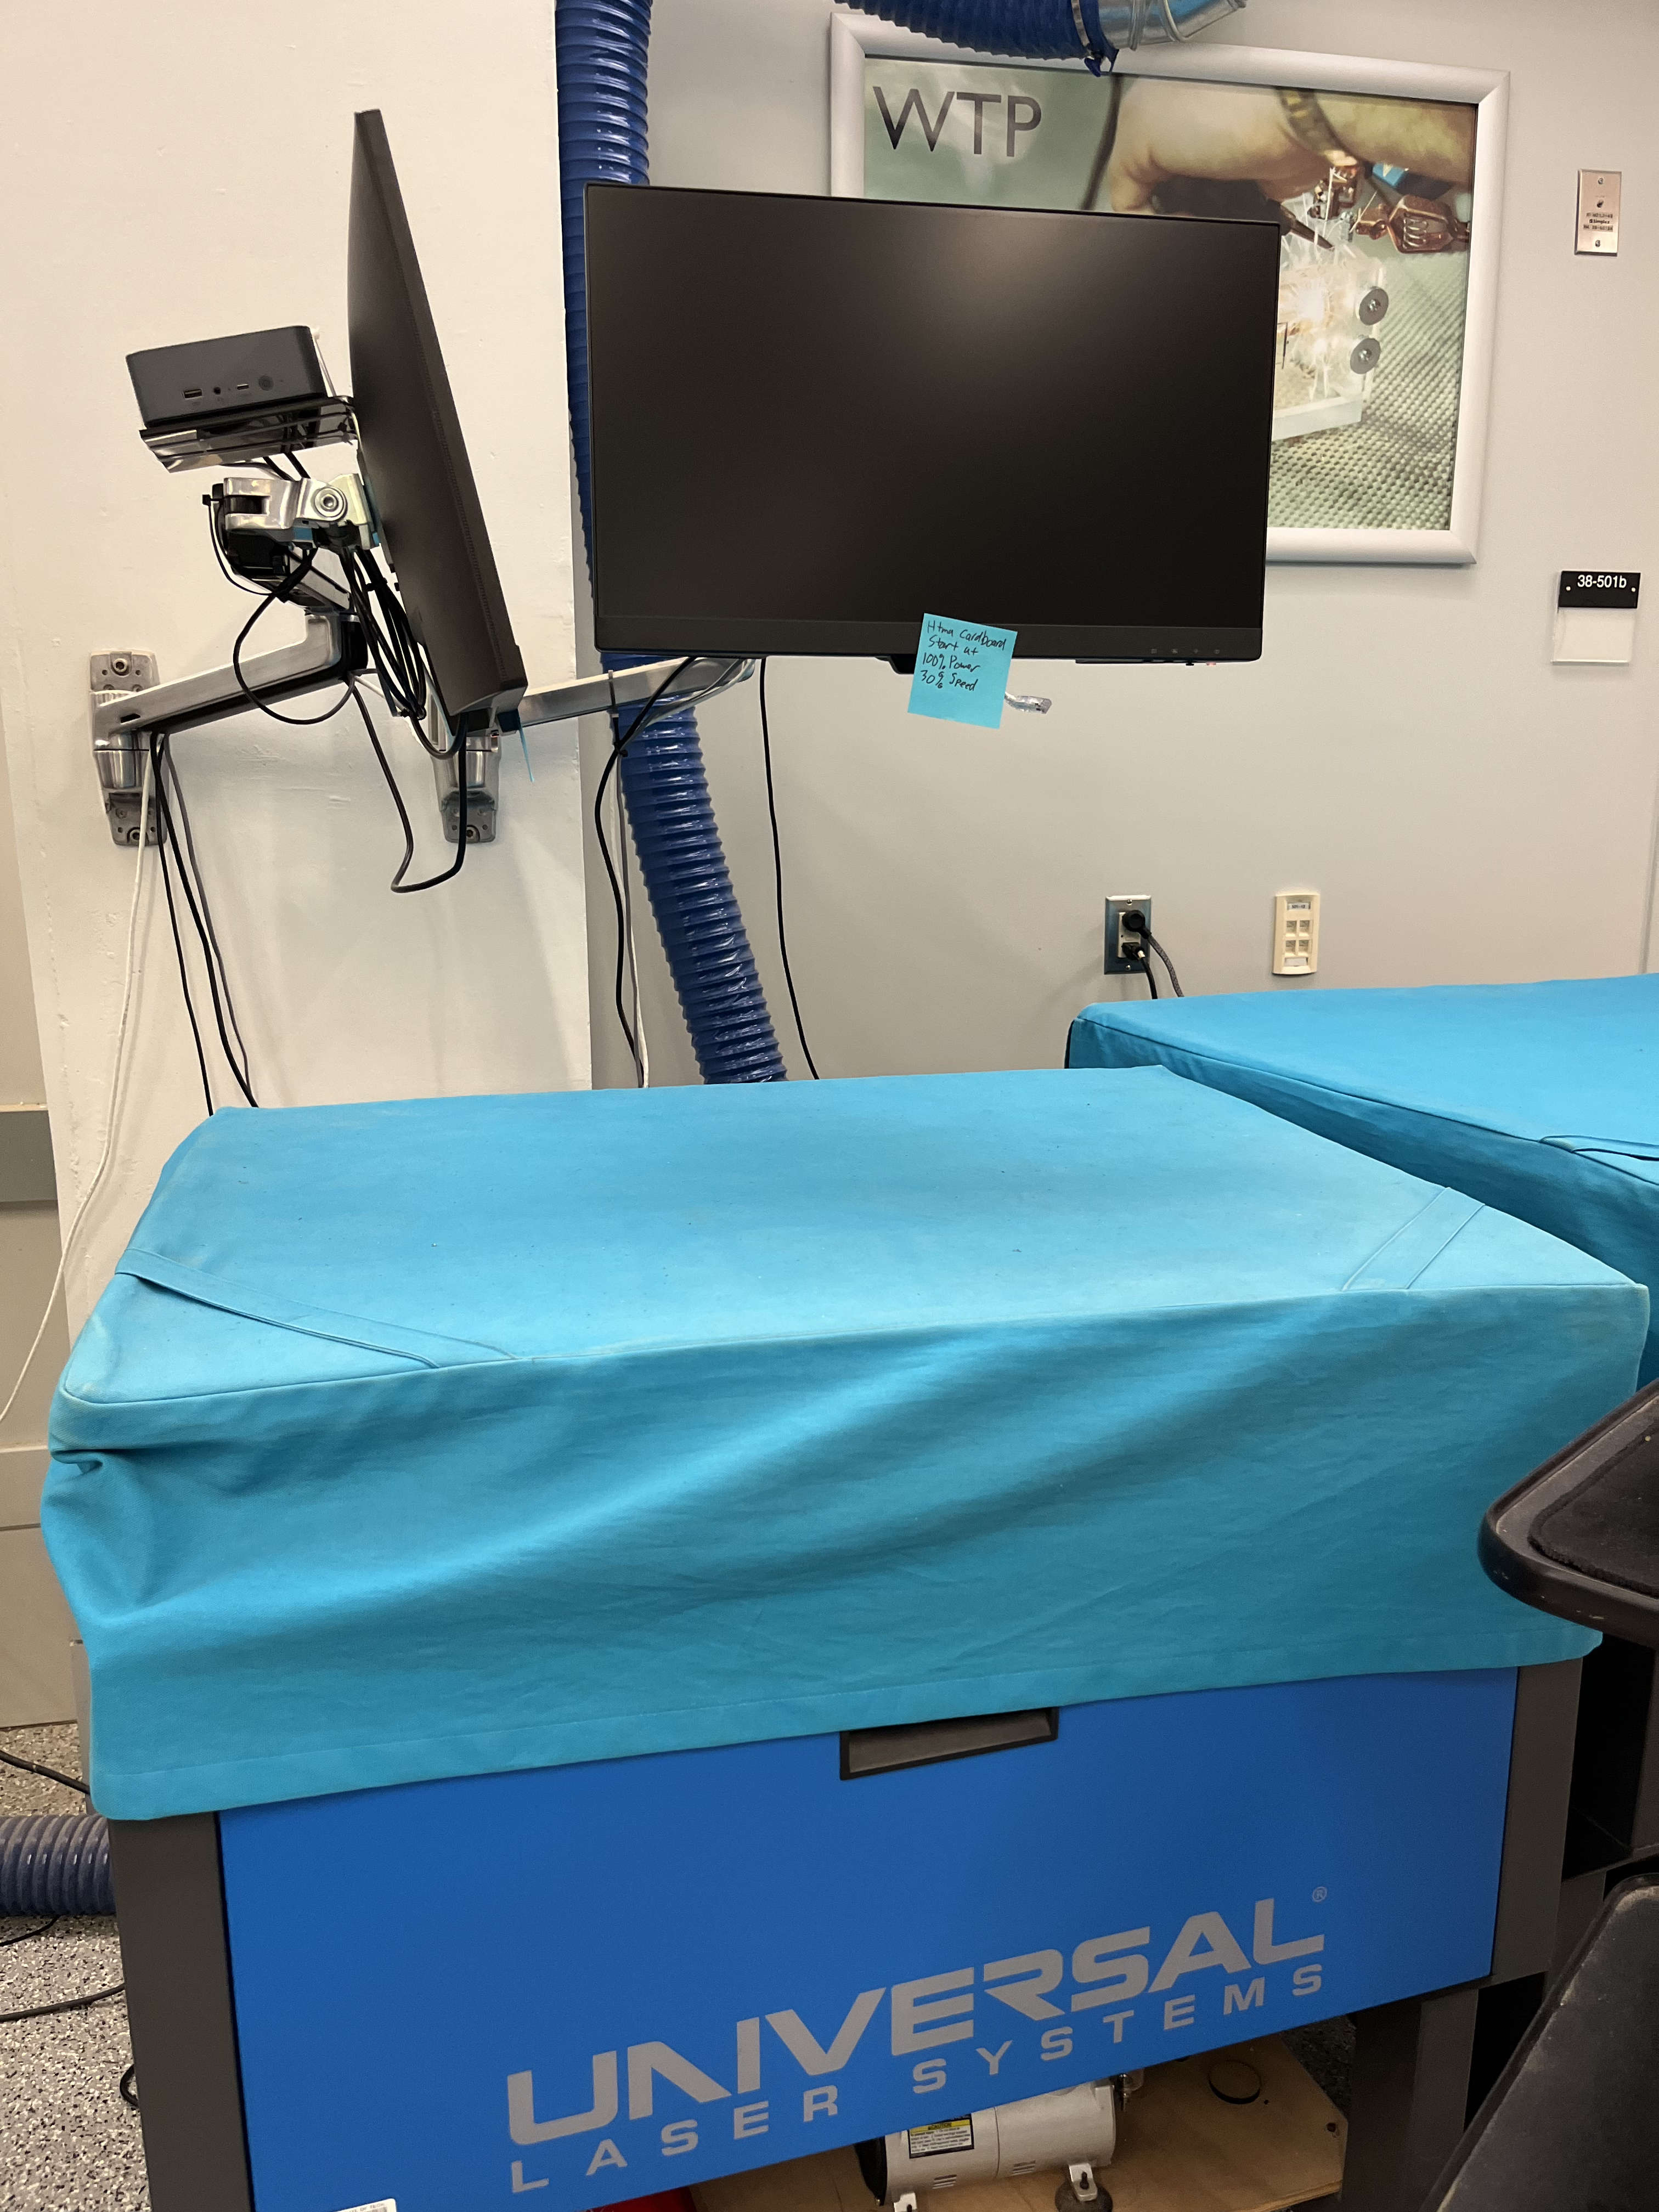
- Send the job to the Universal Laser System.
- Set the focus with the focusing stick
- Press the Z button to adjust the bed height.
- The number with a checkmark shows how far the bed will move.
- Use the focusing stick until it just touches the surface of your material.
- Make sure the bed moves smoothly during adjustment.
- Prepare for cutting
- Turn on the power for the air compressor to assist with cutting and prevent flare-ups.
- Ensure the laser cover is closed and the workspace is clear.
- Start the job
- Press the green button on the laser cutter to begin the cut.
- Monitor the job while it runs to ensure safe operation.
The Journey
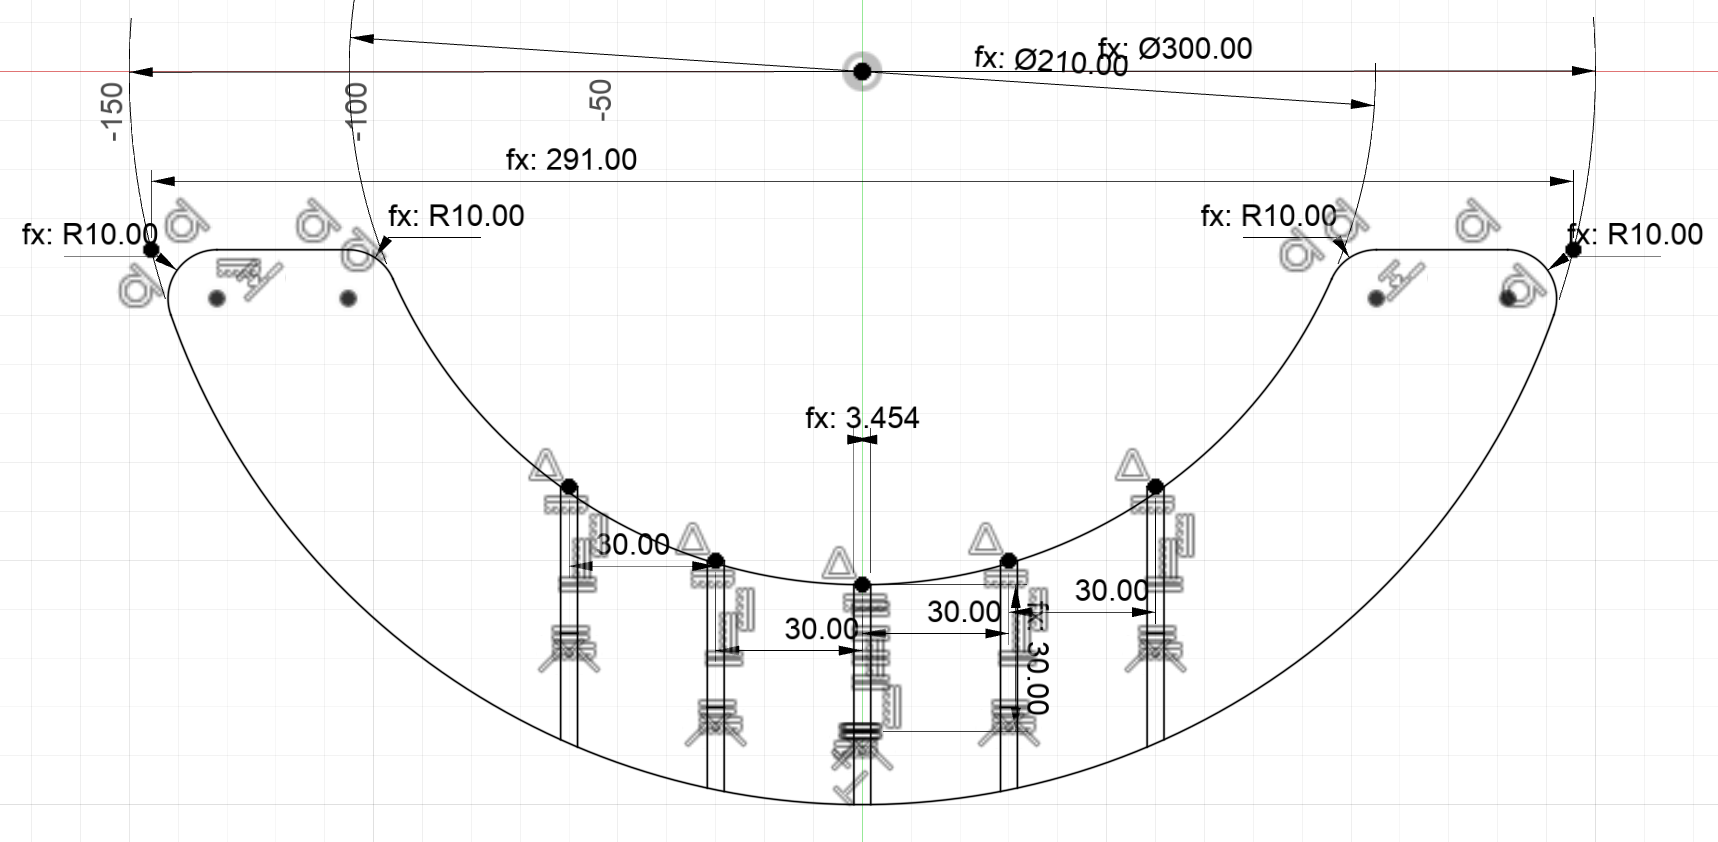
Designed a fruit bowl in Fusion 360 using parametric design. The design had six unique parts, all derived from a main arc shape.
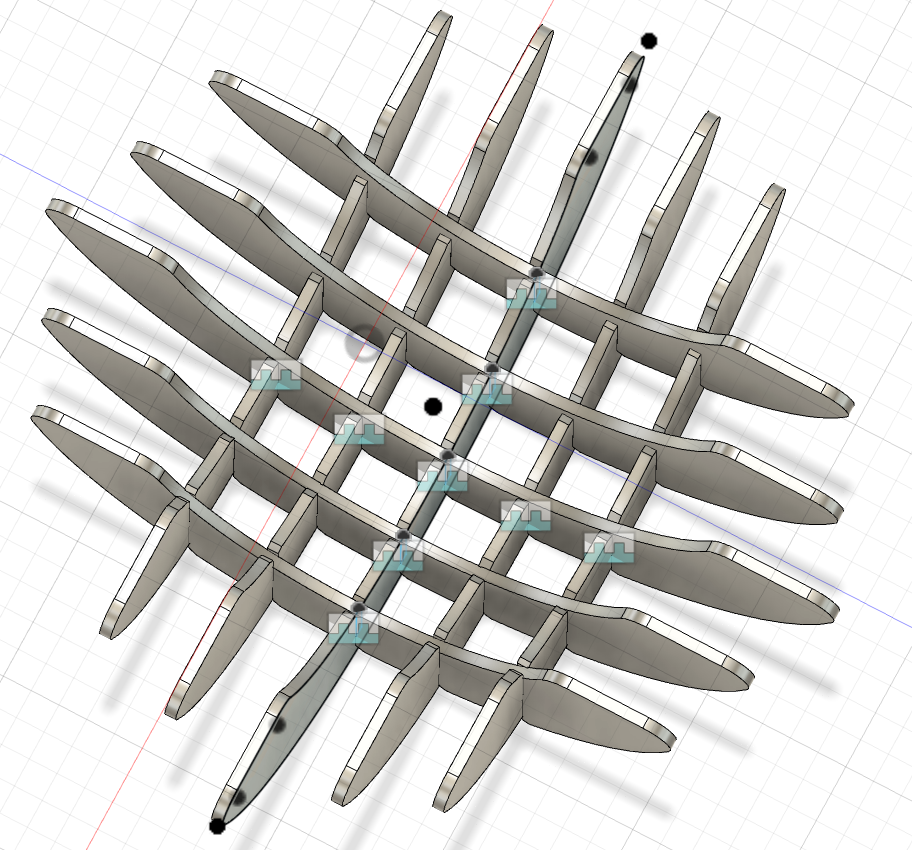
Assembled the 3D illustration of the final design in Fusion 360.
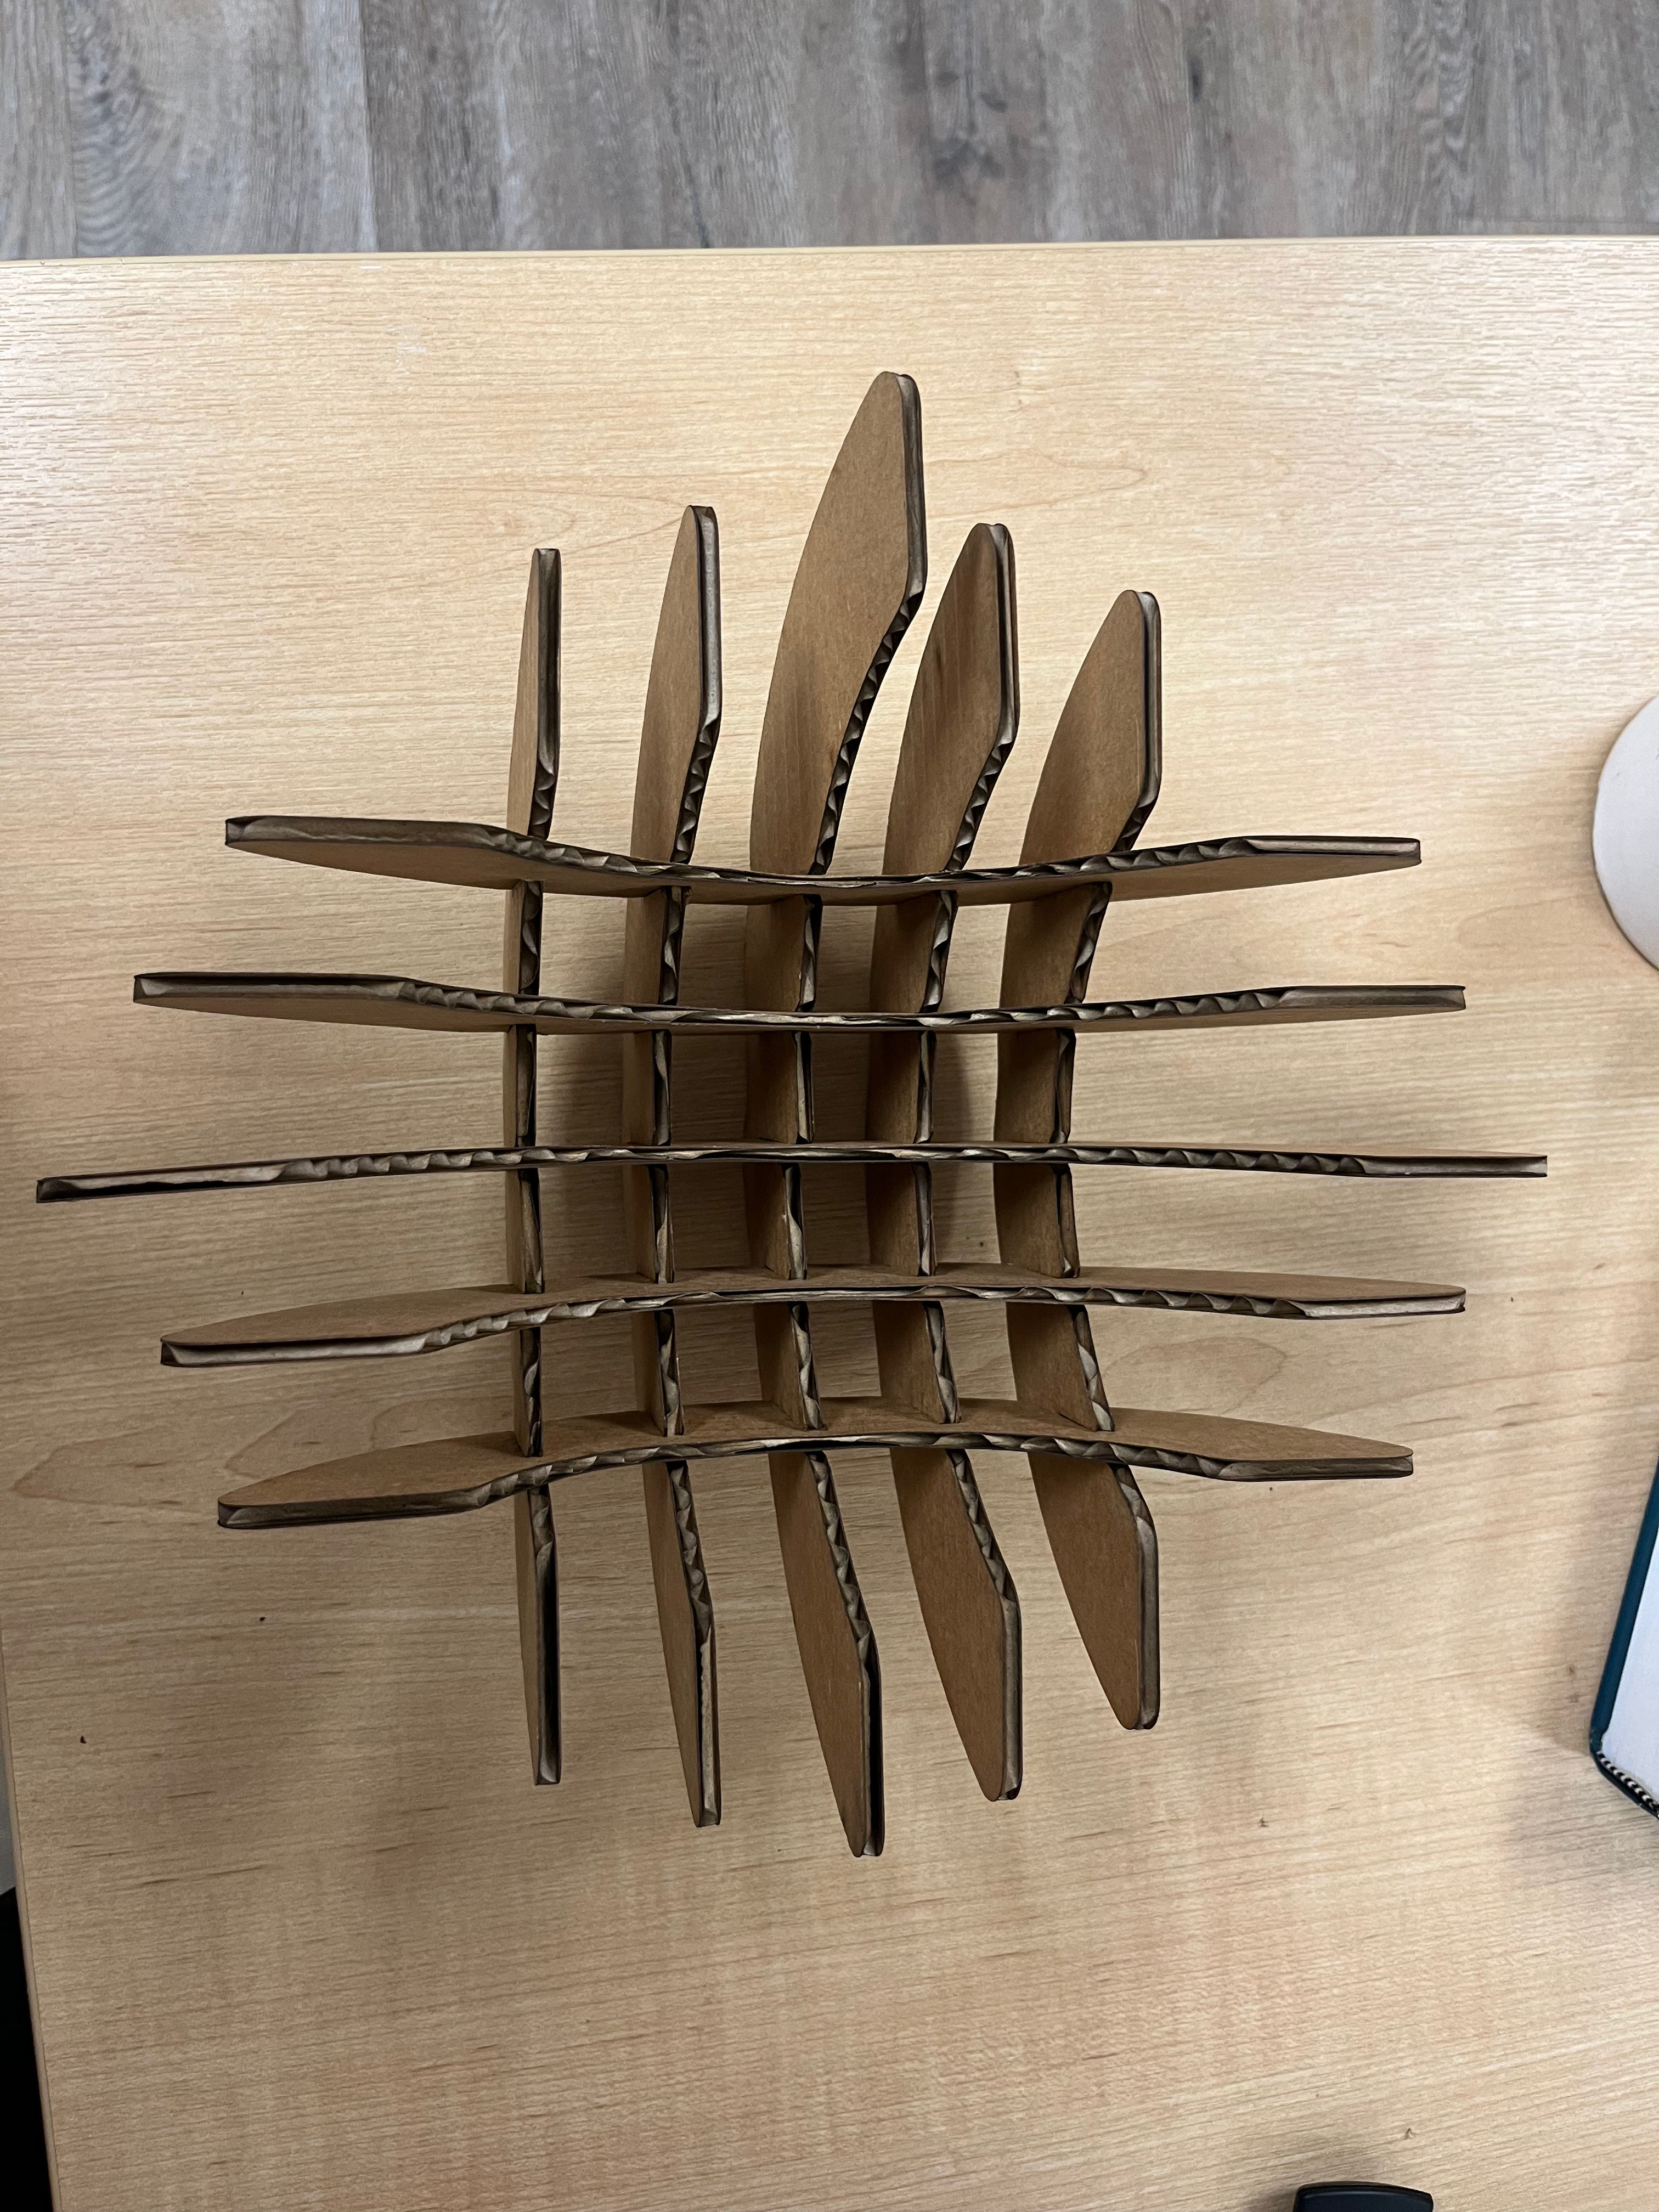
Final product without contents.

Final product filled with fruit.