Week 2 Parametric Design and Webite Development
Laser Cutting
The idea behind my project was to generate a parametric sheet unit material that could be used to explore different types of assemblies with just a single unit design. Using Grasshopper, I created a sheet unit with six seams that interlock with each other.
The goal of this parametric design was to:
- Generate different seam widths for fit testing, ensuring the interlocking mechanism works smoothly.
- Determine an appropriate seam length so that the units interlock securely without resisting each other.
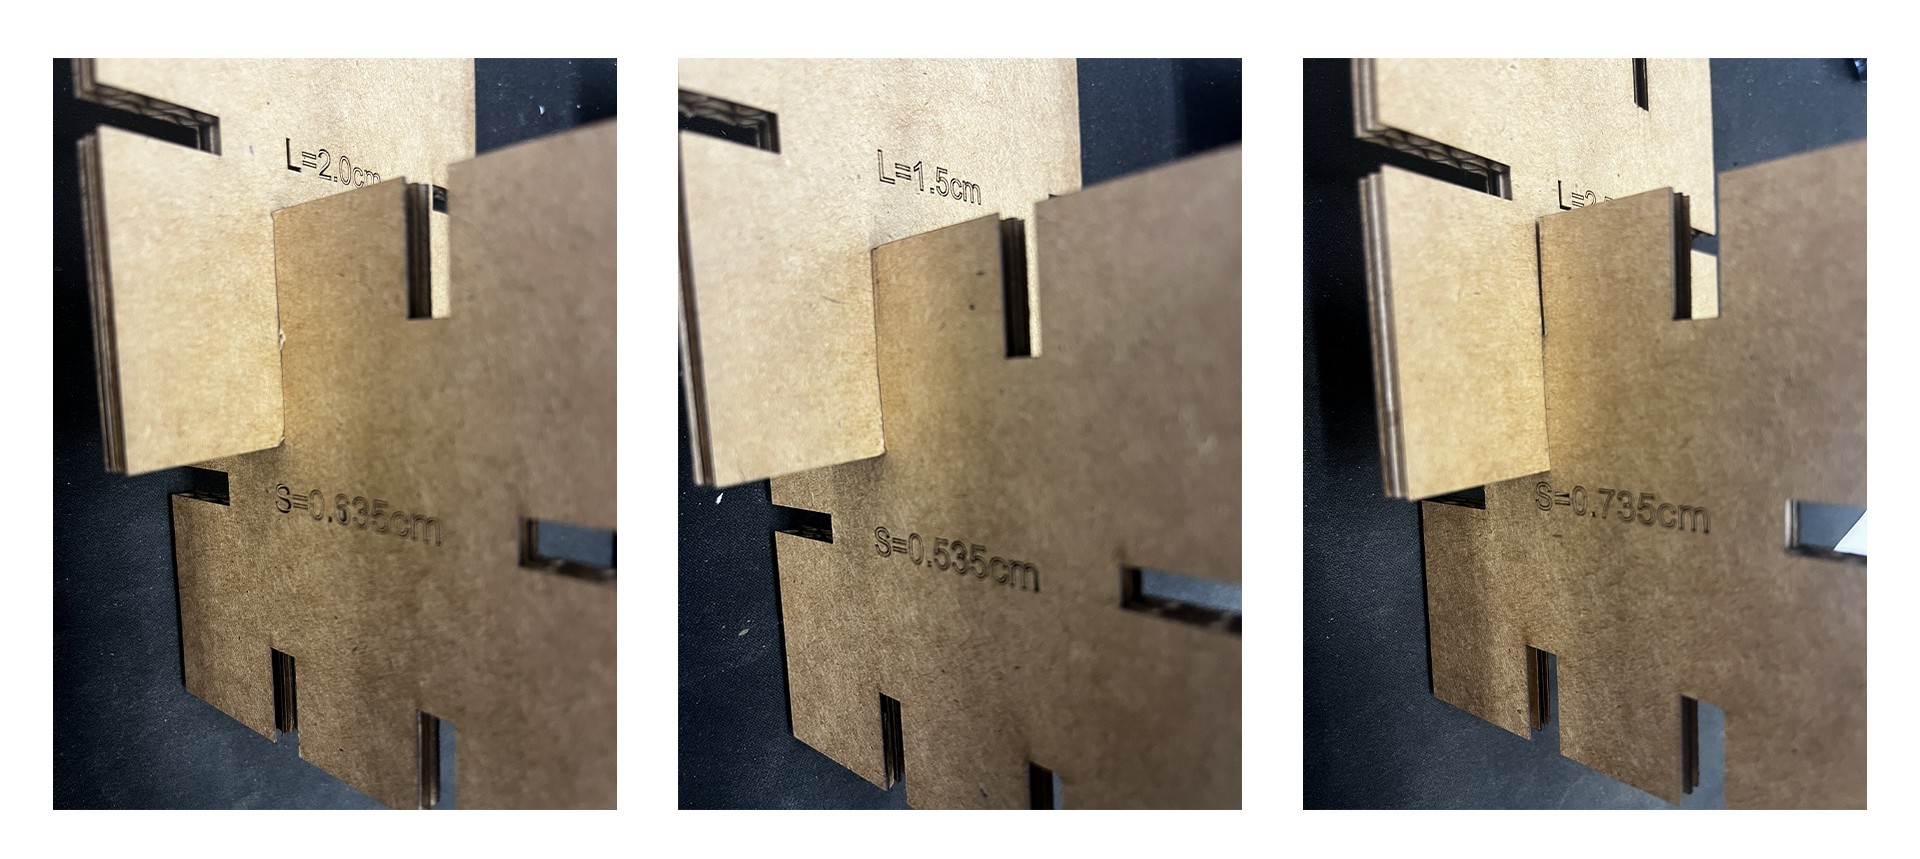
The following GIFs demonstrate the parametric adjustments of seam width and seam length. I also conducted several fit tests with three different seam widths and seam lengths. To keep track, the parameters were etched onto each sheet. Based on these tests, I chose a seam width of 0.635 cm and a seam length of 1.5 cm for the final units.
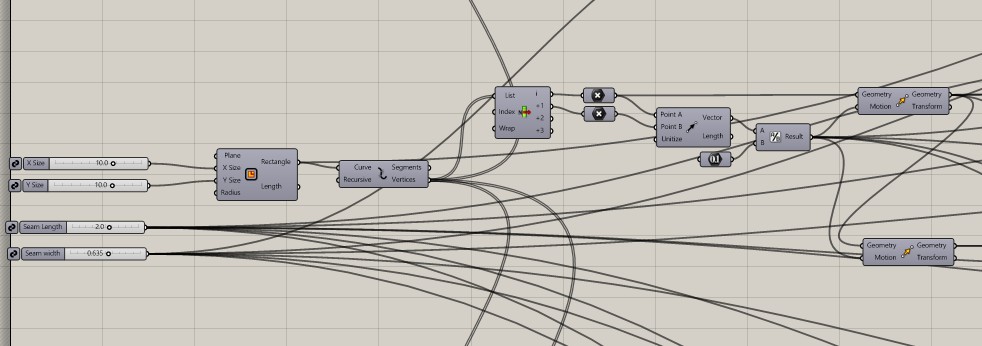
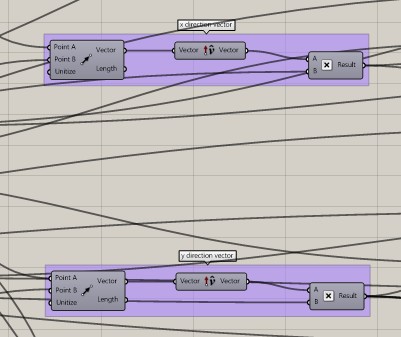
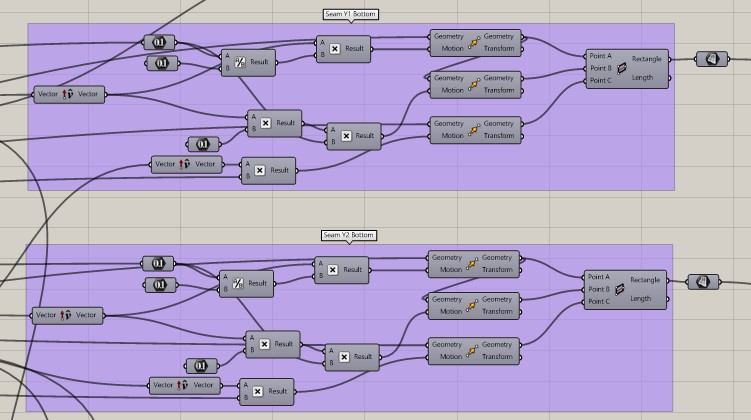
The next set of images showcases the Grasshopper UI and the various components used to create the parametric design. The initial inputs include seam width, seam length, and unit size. I utilized a series of division, line, and curve components to generate the interlocking seams. Additionally, I incorporated a few boolean operations at the end to get the final shape.

Finally, the last set of GIFs shows my exploration of different assembly combinations using the finalized unit design.
Vinyl Cutter
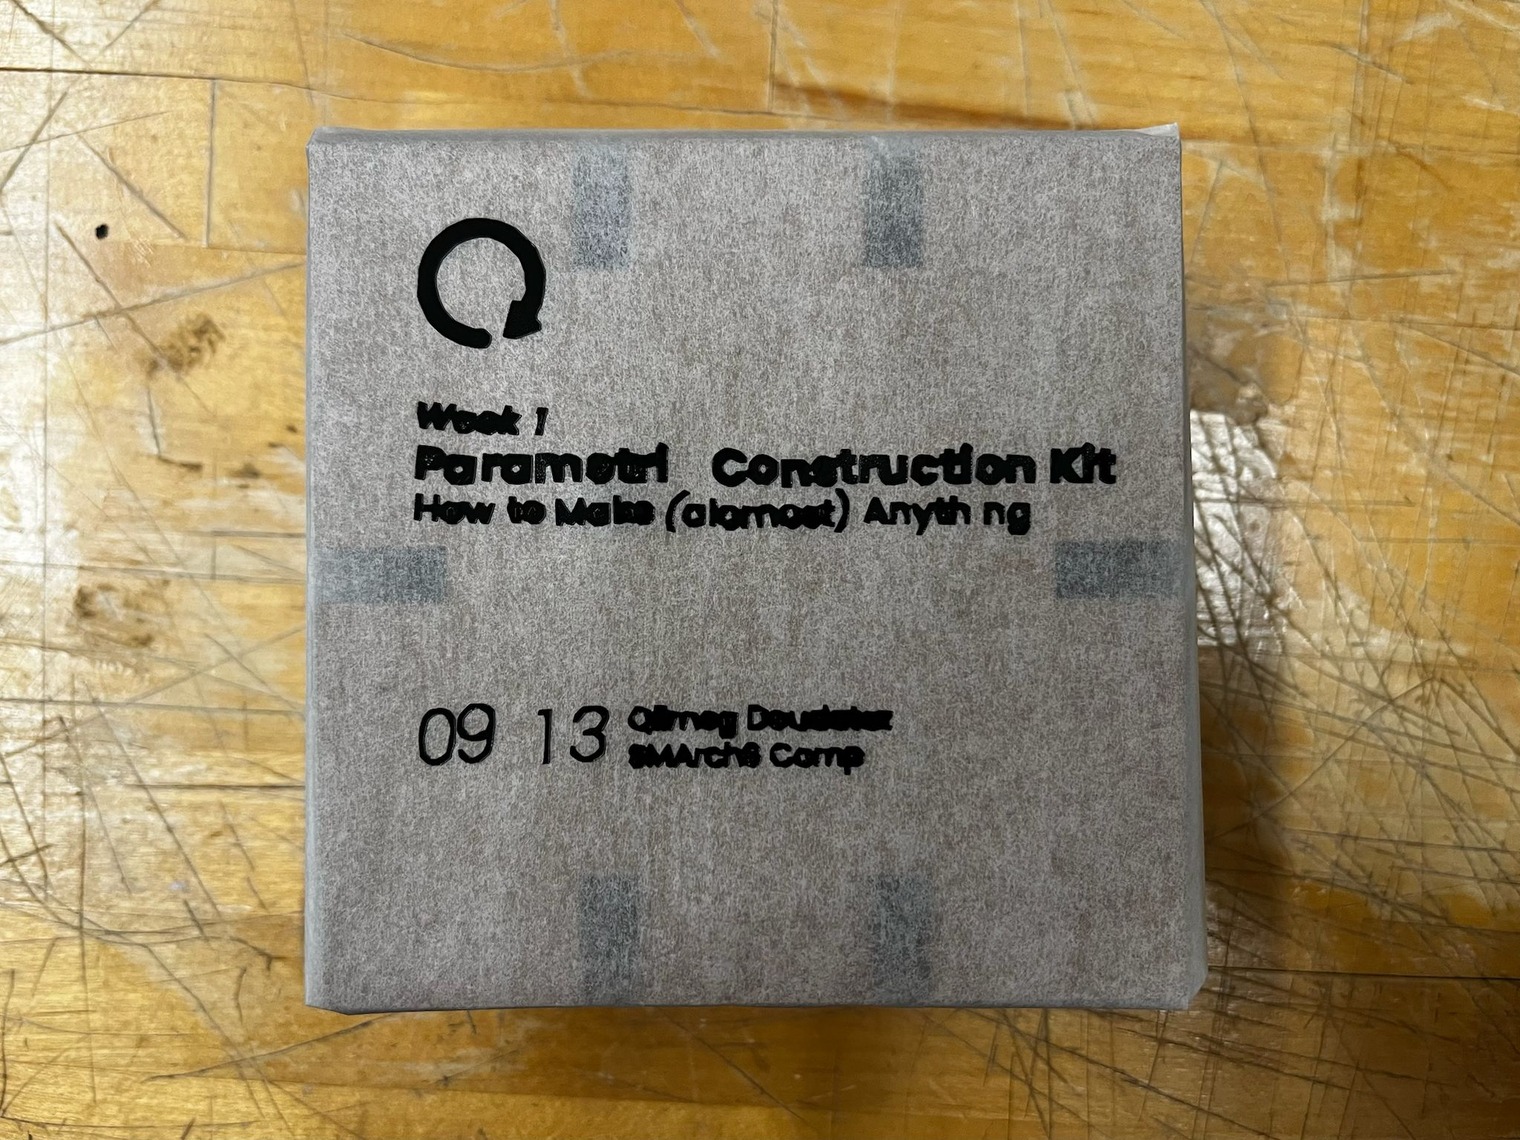
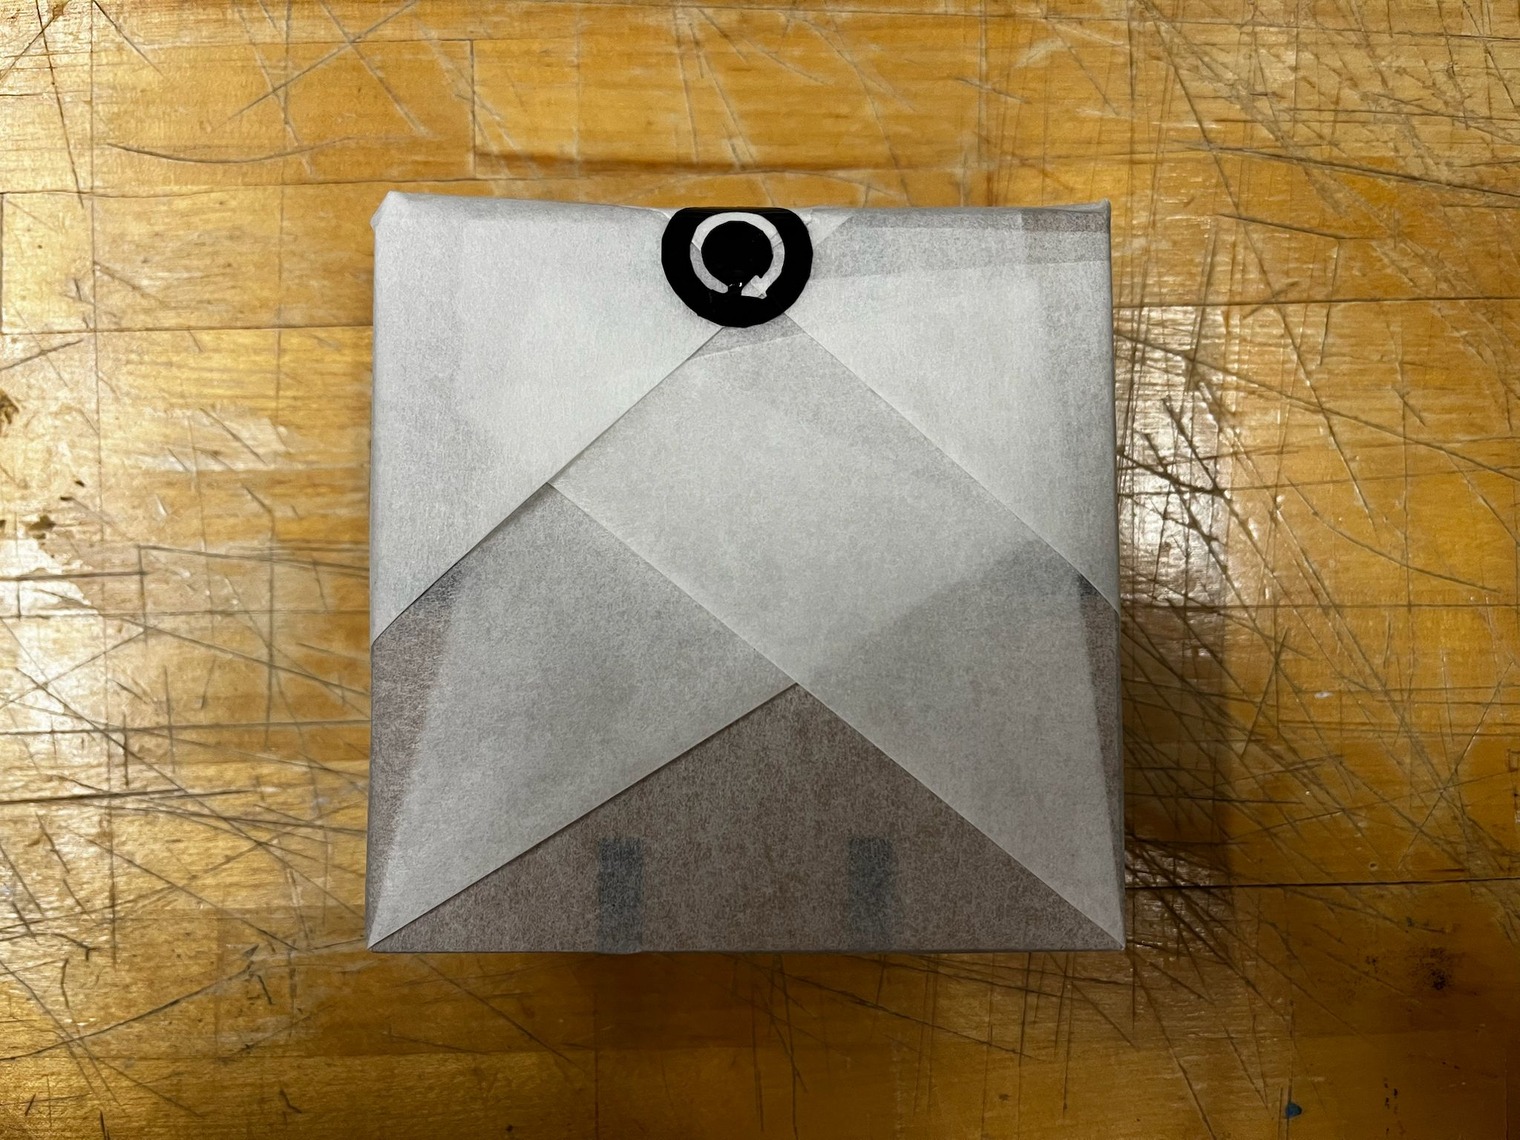
For the vinyl cutter practice, I designed a small sticker seal that could serve as the package seal for the sheet units. This was more of a packaging design exploration. I used my preferred font and a label template that I often work with.
However, I discovered that very thin fonts tend to lose detail during the cutting process. In addition, the vinyl was slightly wet due to water leakage from the architecture shop ceiling, which may have affected the overall quality of the stickers.
Here are some images of the process: