Week 4 • 3D Scanning and Printing
This page documents the process for printing a chainmail style lattice and for exploring Gaussian splats for spatial capture and viewing.
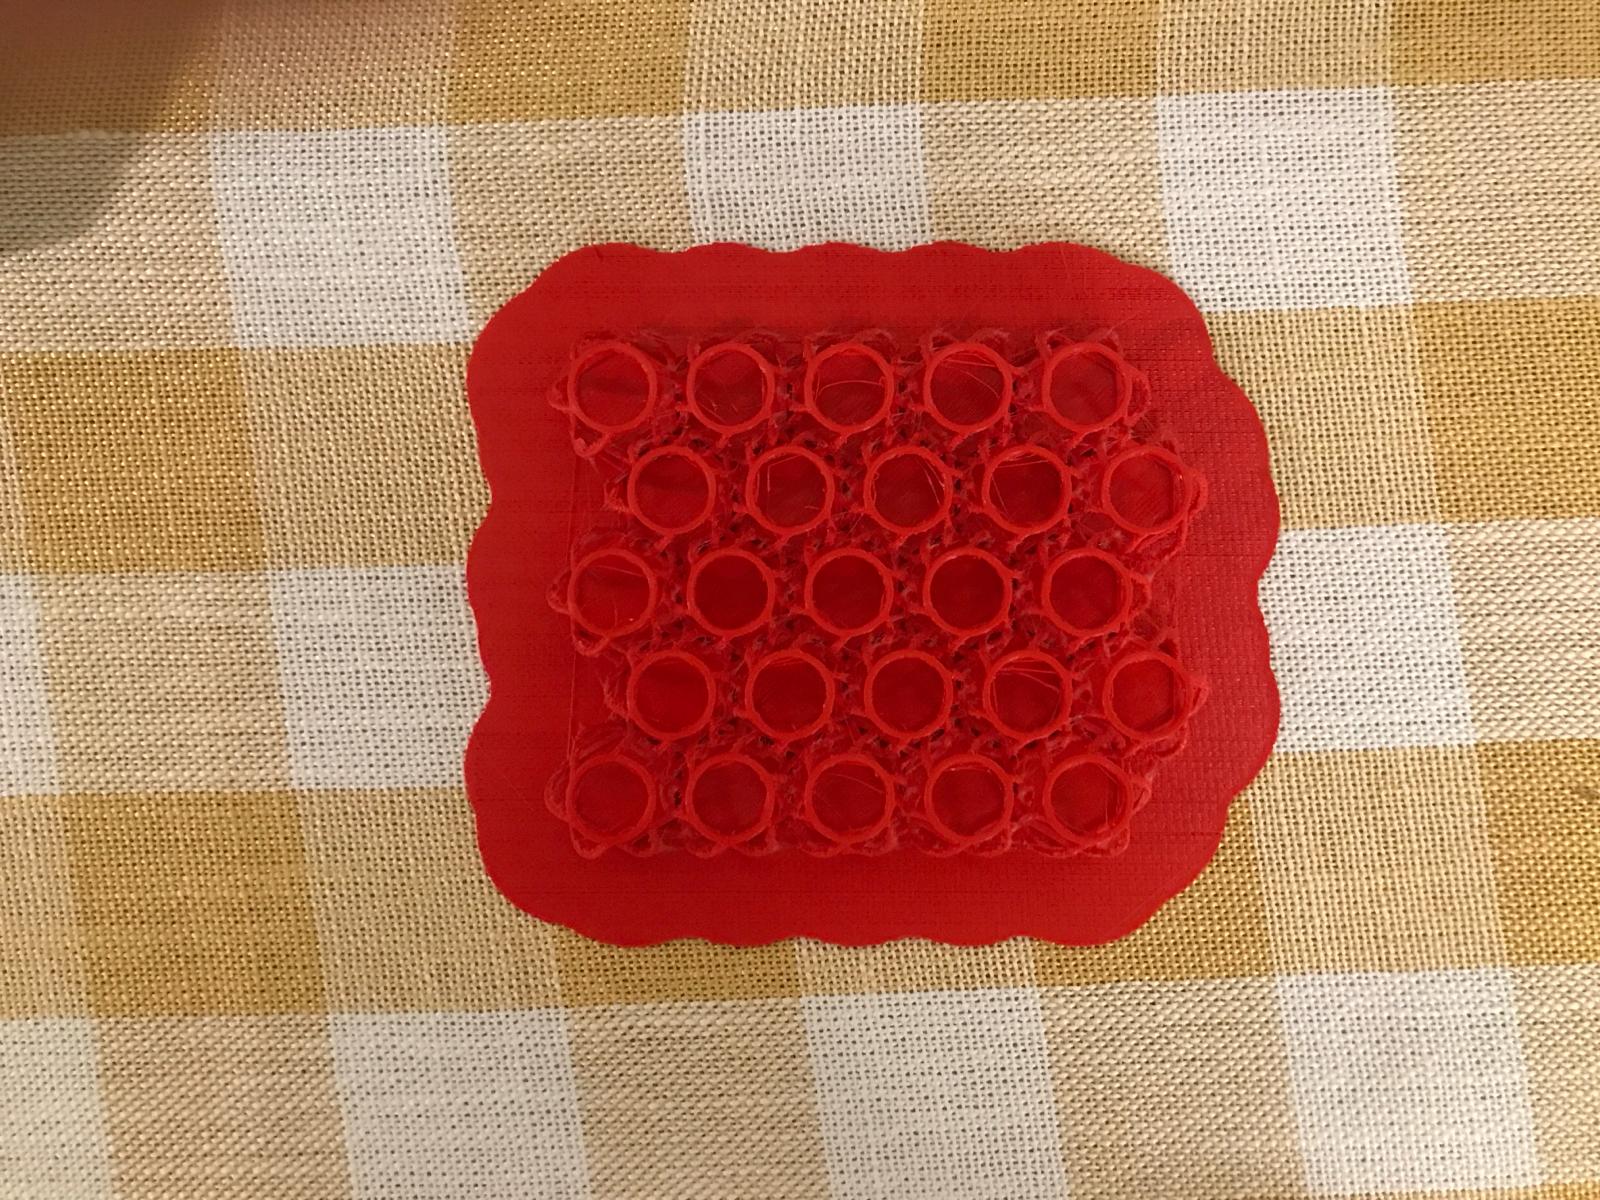
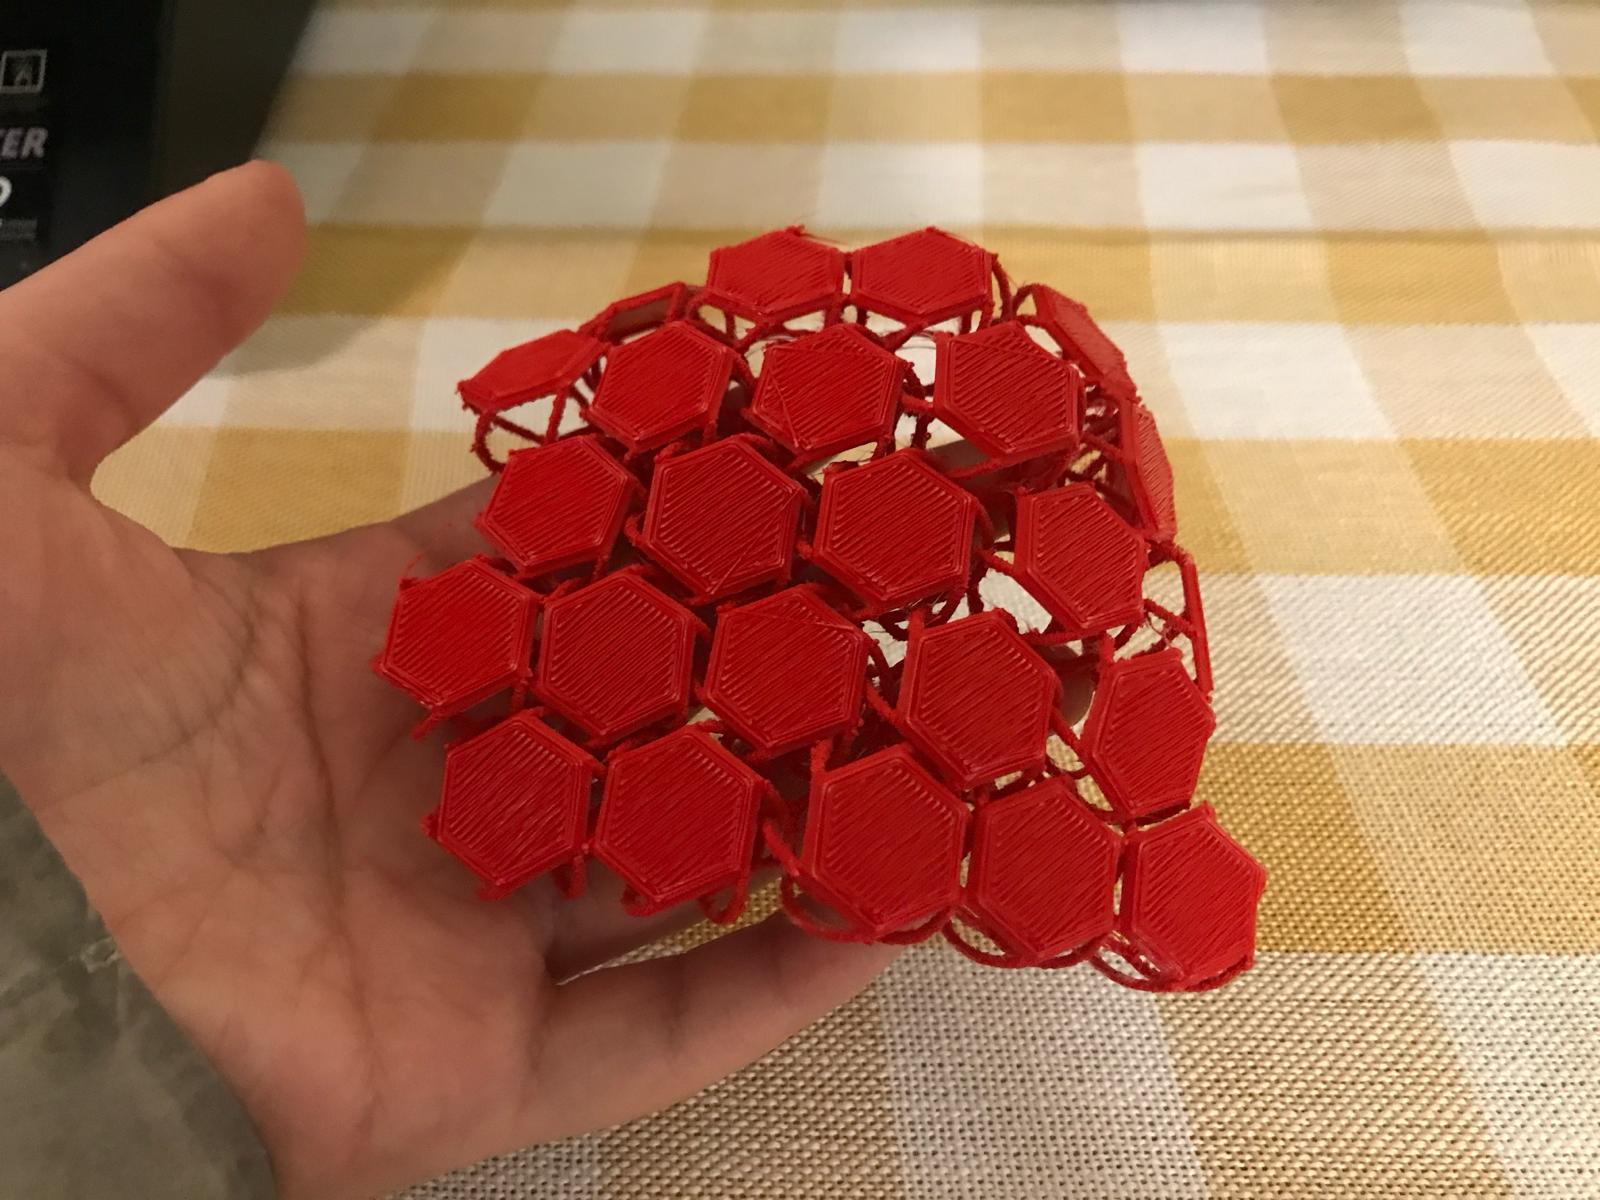
3D Printing
Design
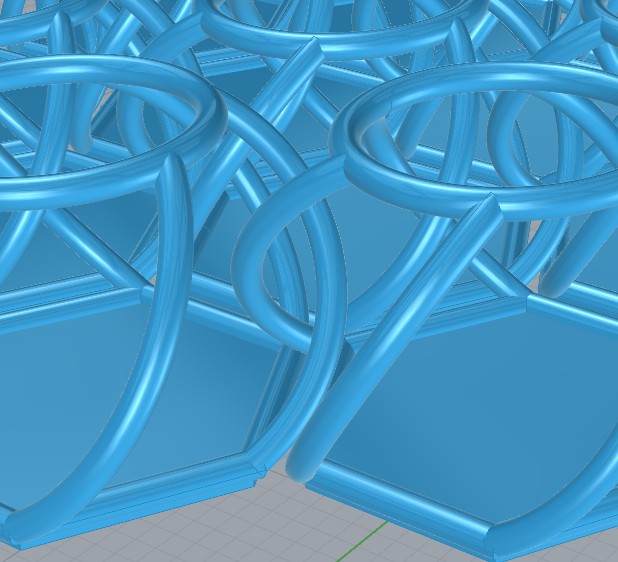
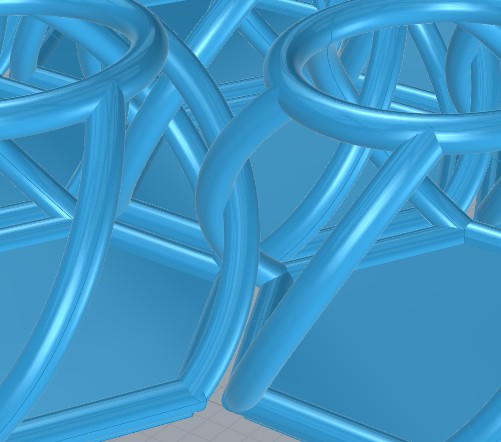
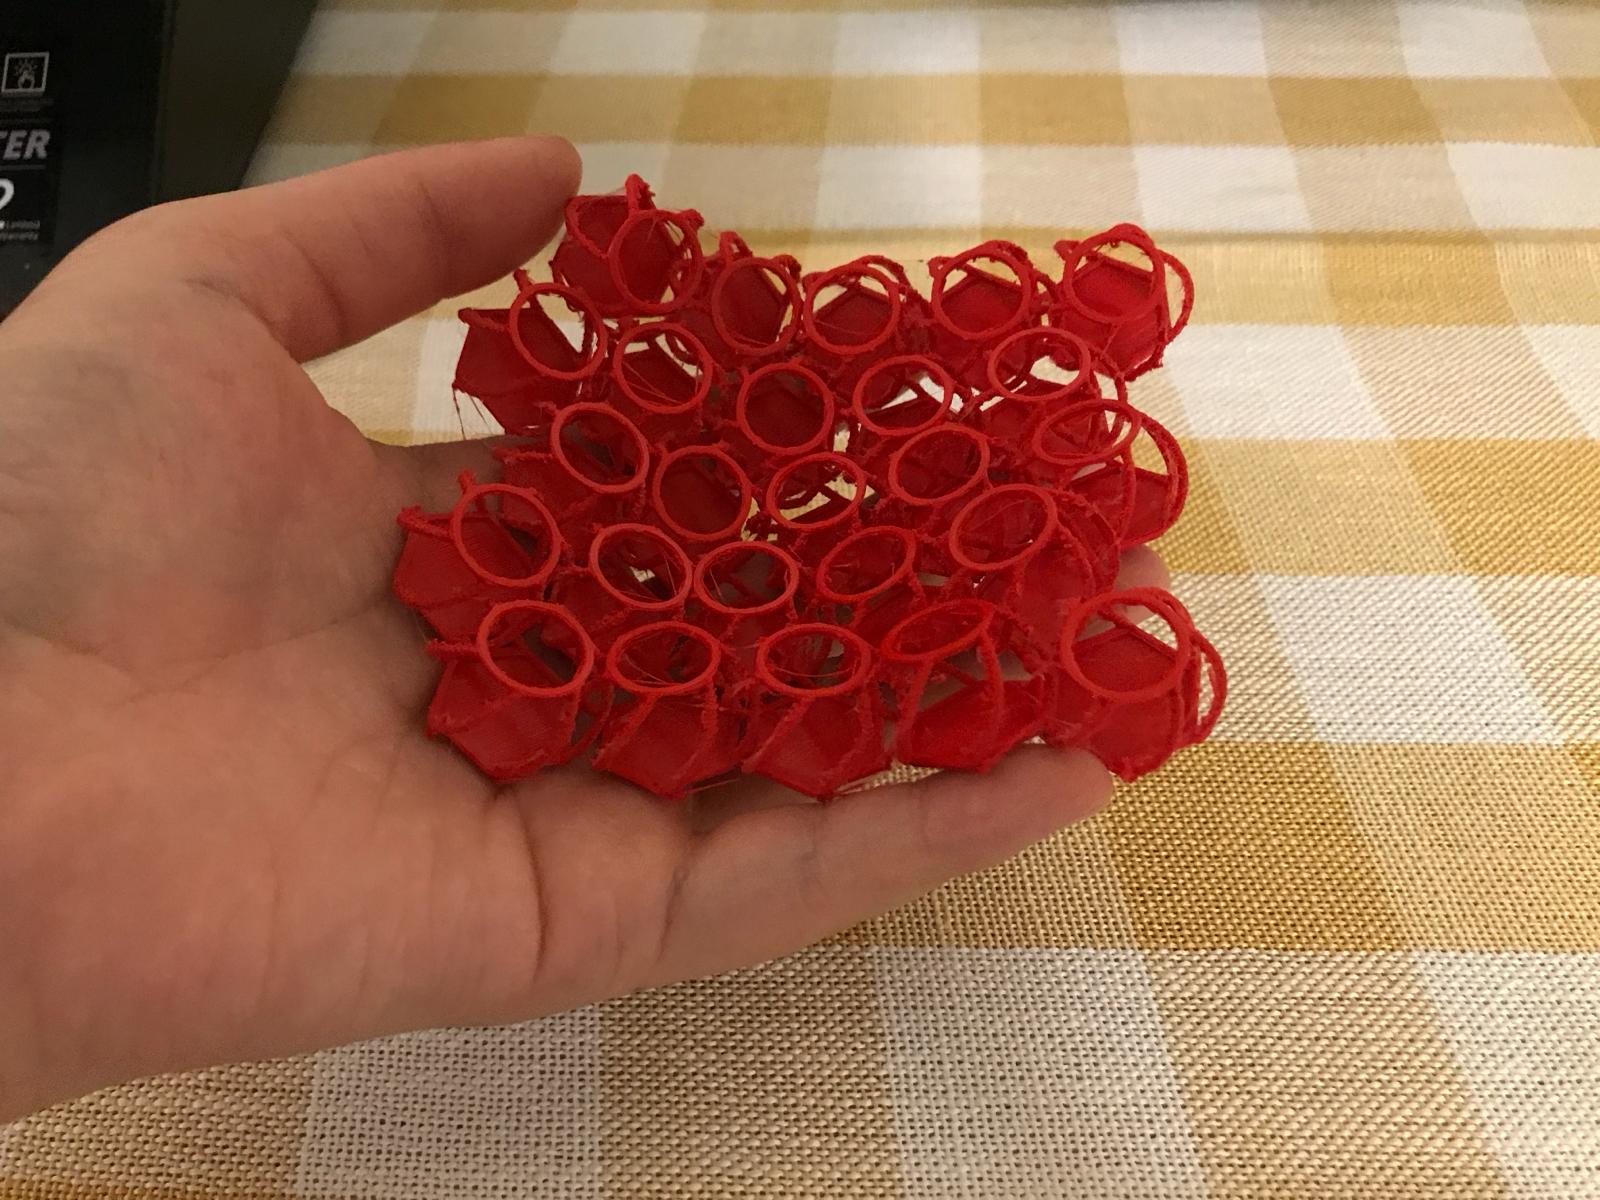
The goal is to fabricate a lattice that cannot be made with subtractive methods. I used a hex based chainmail pattern and set it up as a parametric script in Grasshopper (no ChatGPT is involved in this process but I did refer to this YouTube video). I organized inputs and controls so I can iterate and study collision and motion.
Script parts
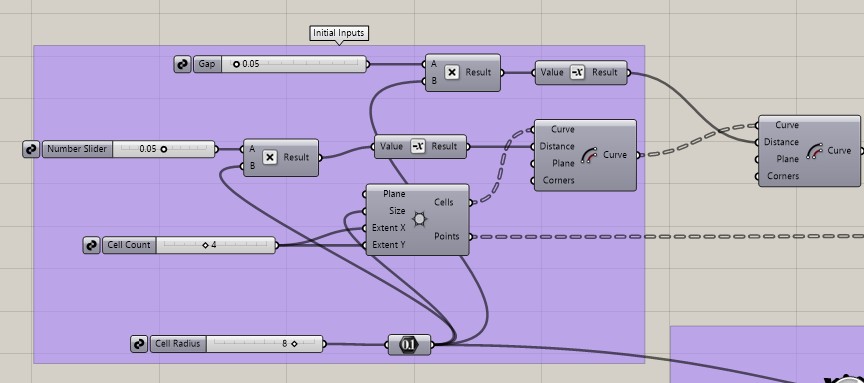
- Initial inputs for cell count, cell gap, and cell radius
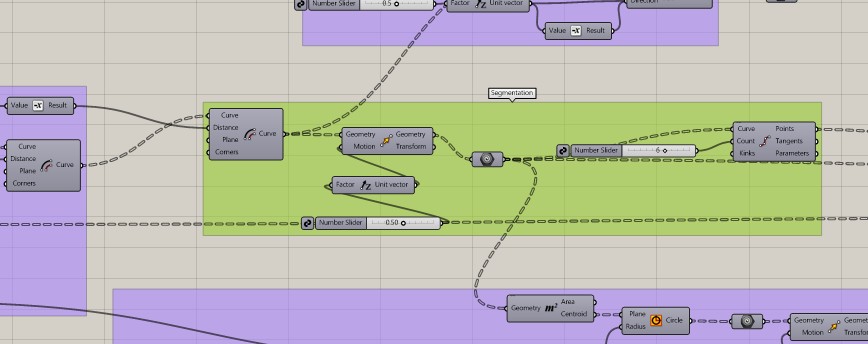
- Cell segmentation for downstream reuse
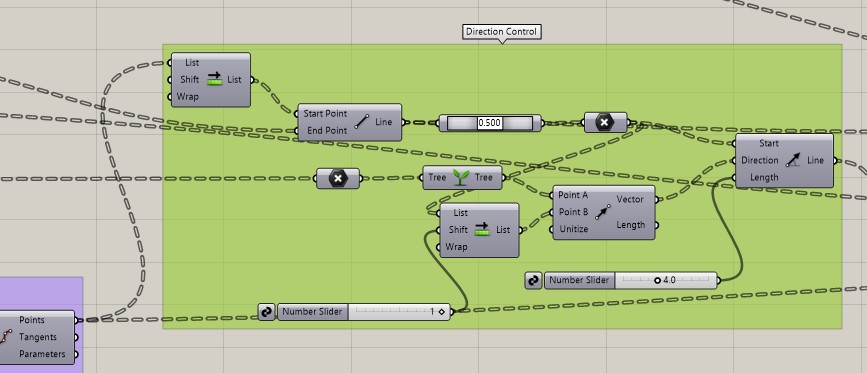
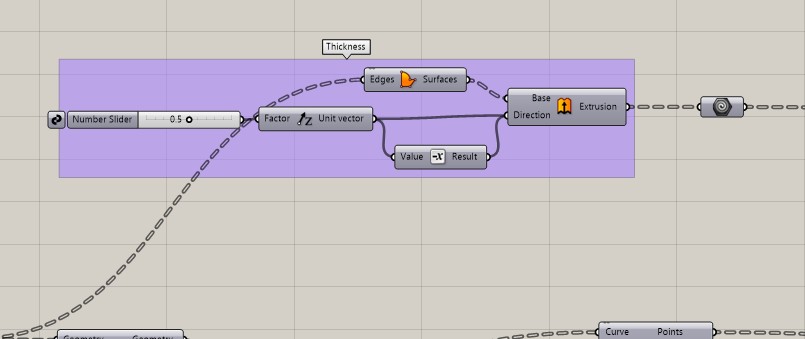
- Direction control for angles and curvature of intertwined members
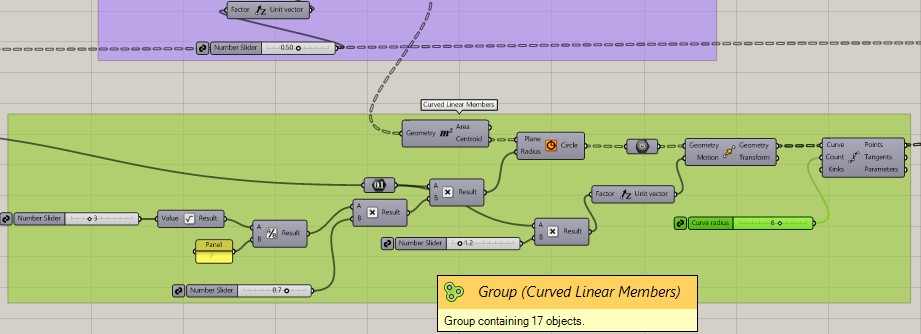
- Curved members generated from the tangent directions
- Hex plate thickness control
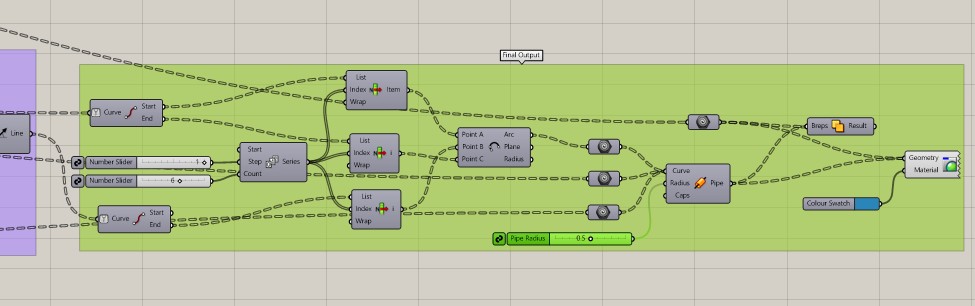
- Final output that joins solids and prepares previews
The main risk is collision of members. The lattice must interlink and still allow motion so it behaves like a fabric.
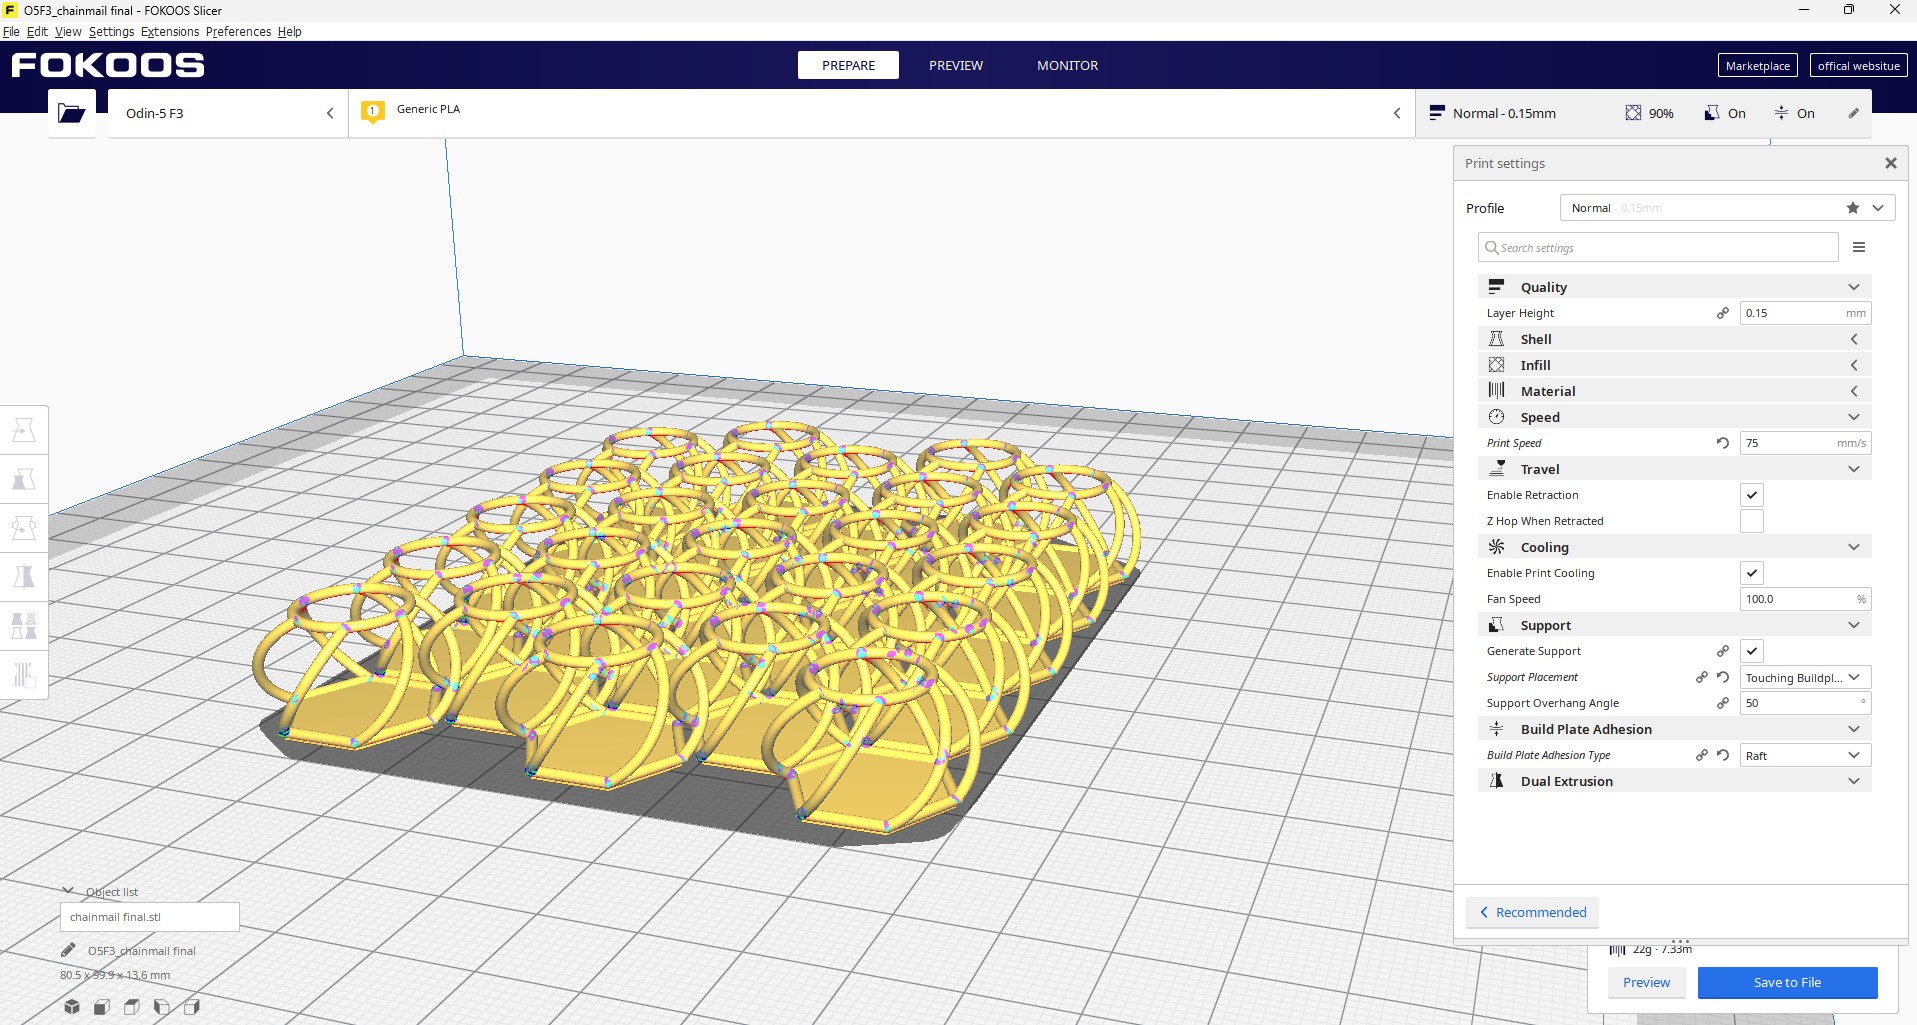
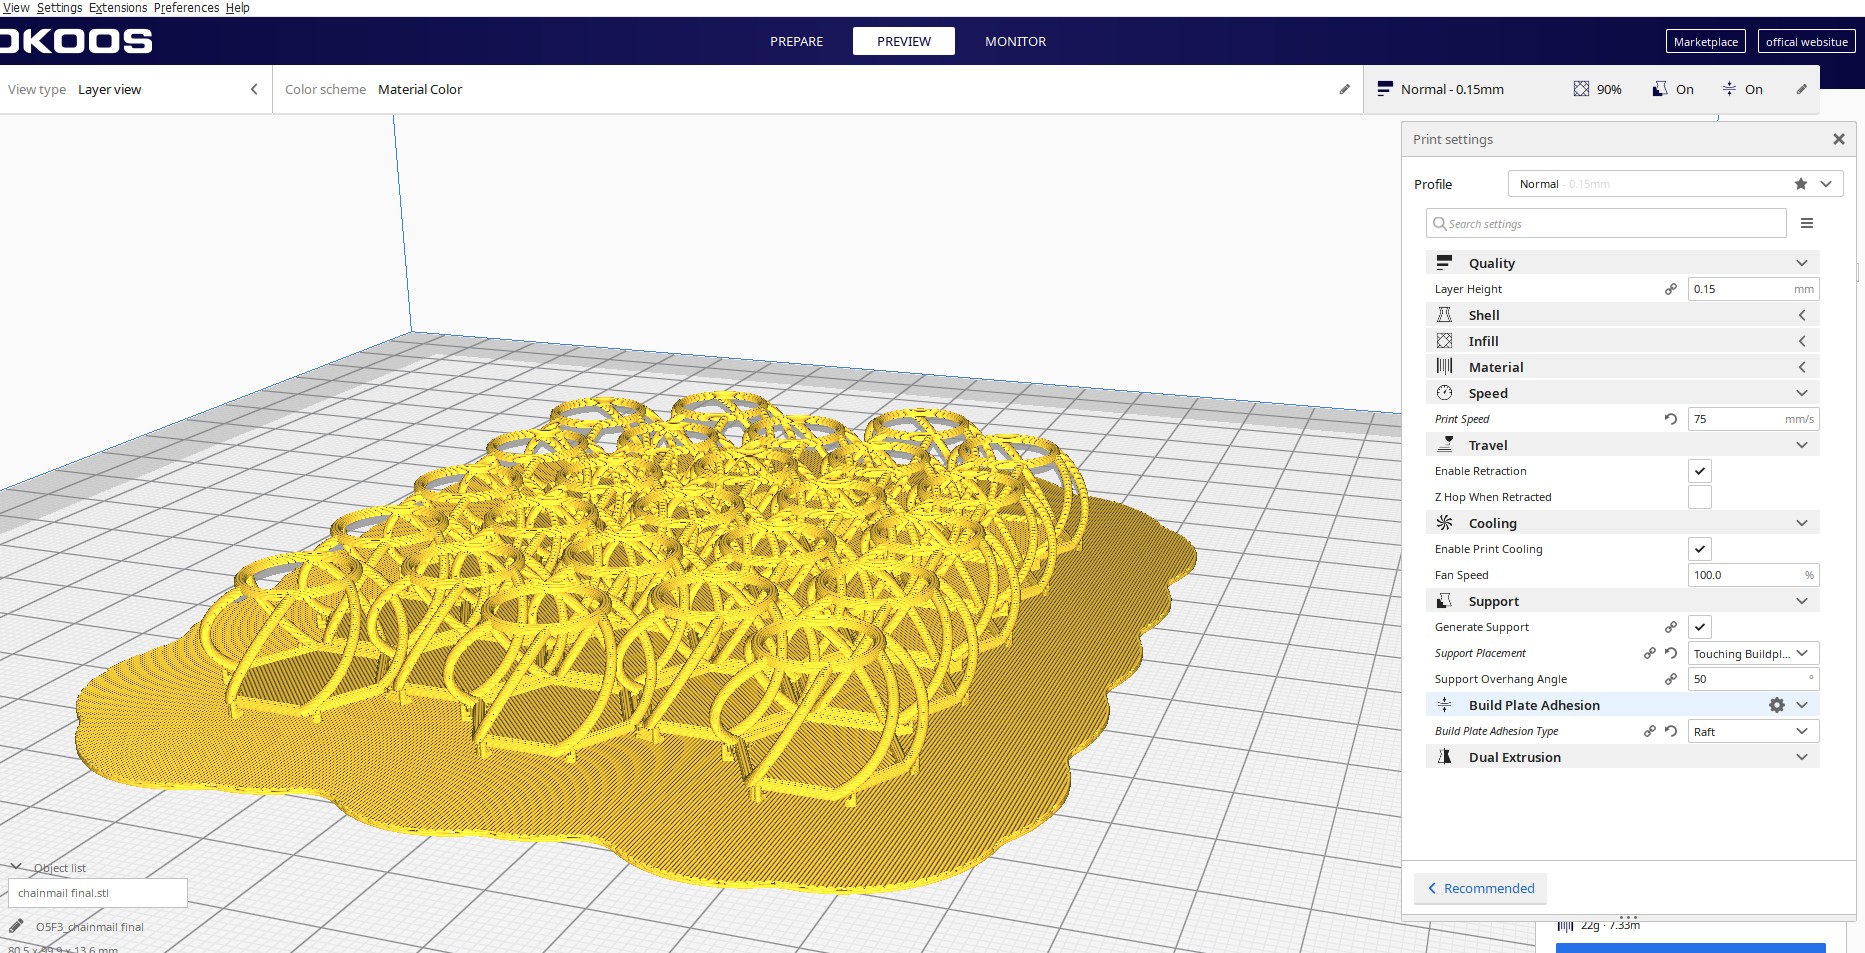
Printing
I used my personal printer Fokoos odin-5 f3 model with a direct drive extruder and a glass build plate. The setup is simple and familiar which helps with iteration.
- Build volume: 235 by 235 by 250 mm
- Filament diameter: 1.75 mm
- Nozzle type: Volcano style, 0.4 mm
- Max nozzle temperature: 260°C
- Max bed temperature: 100°C
- Bed: glass
- Frame: aluminum
I sliced with the Fokoos app which is similar to Cura. Key parameters are layer height, adhesion, infill, speed, and support. The geometry is tuned so it prints without support.
3D Scanning and Gaussian Splats
My current research is actually about exploring capture of places and the use of interactive media to visit those places. I am trying to Gaussian splats with a focus on navigation that treats place and time as linked parts of experience. The idea of my final project for this class is to use physical tokens like cassettes or disks that trigger a specific scene when placed on a reader which then opens the paired splat in the headset.
Weekly Experiments
Camera type comparison
I compared an iPhone camera with an Insta360 camera using Luma. I also plan to test Nerf Studio when I resolve install issues on my Windows setup.
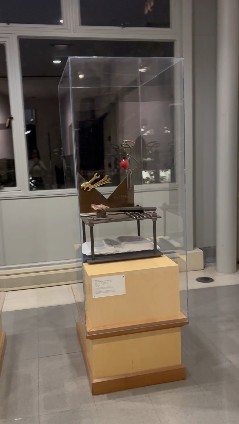
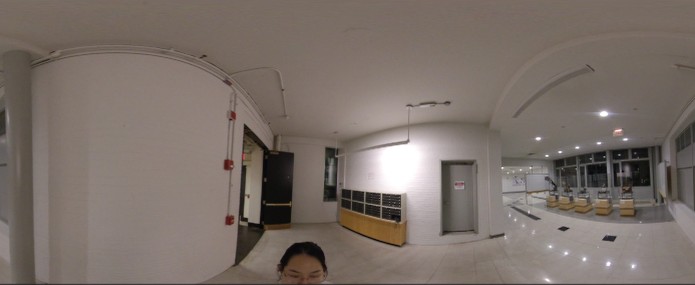
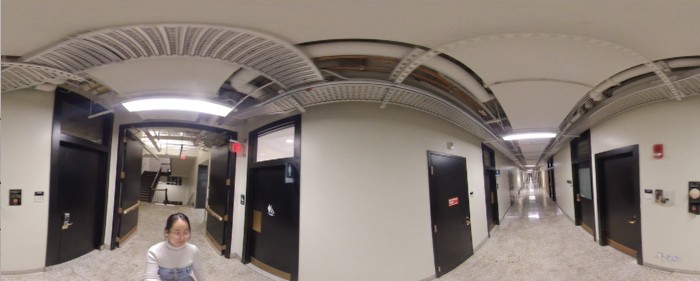
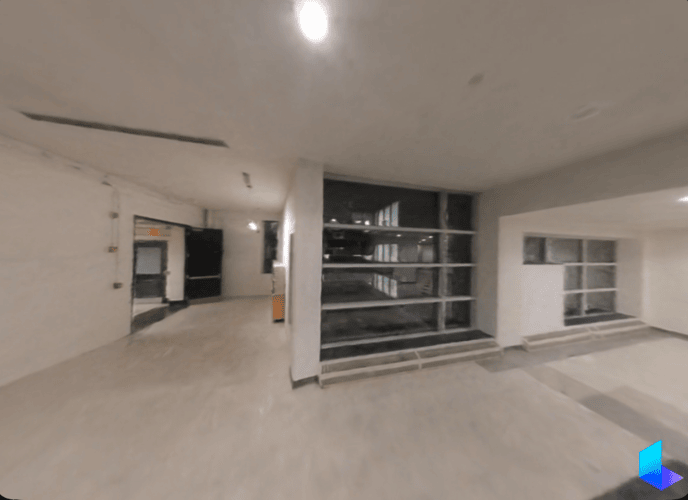
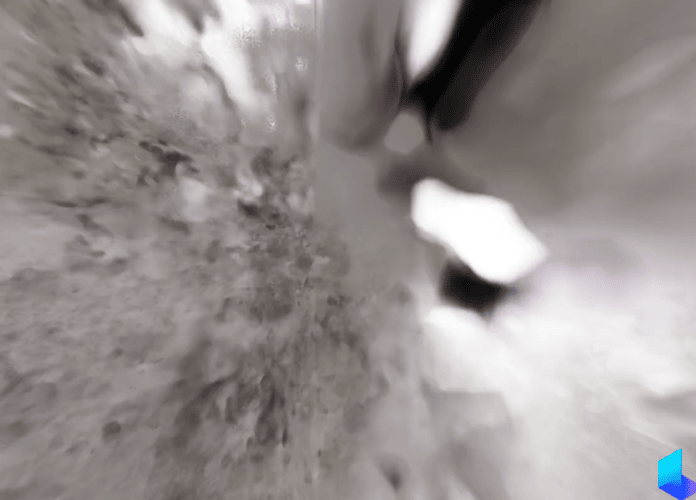
Space type comparison
Results are strongest for objects with rich features. Repetitive spaces and plain hallways are more challenging which matches past experience in photogrammatry, and gs model shows the same results.
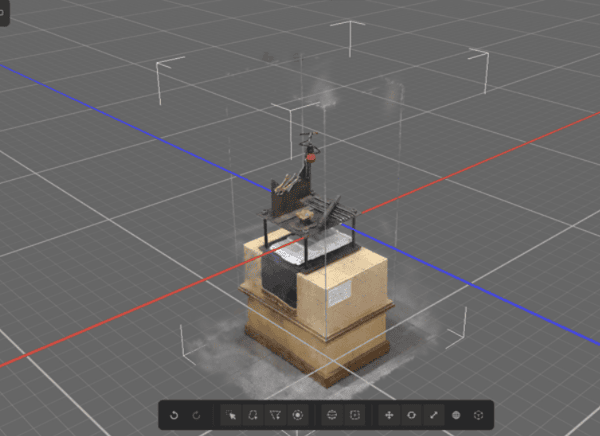
Point cloud cleanup
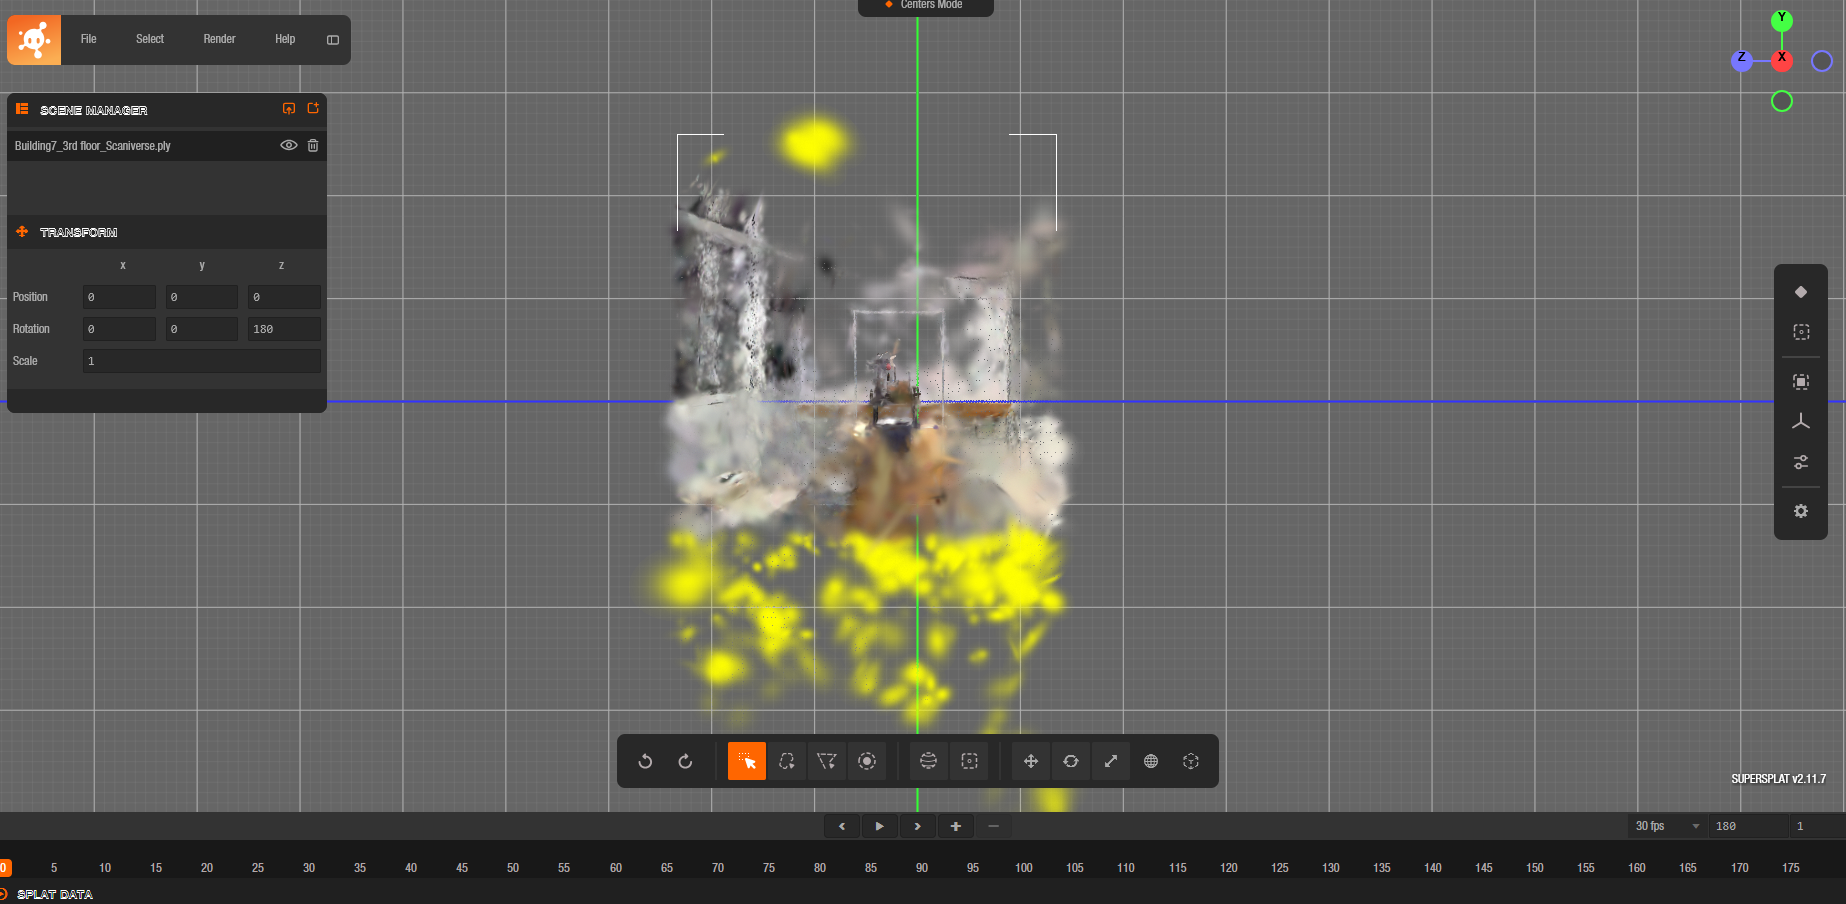
I used the web based Supersplat editor to remove stray points and publish a viewer.
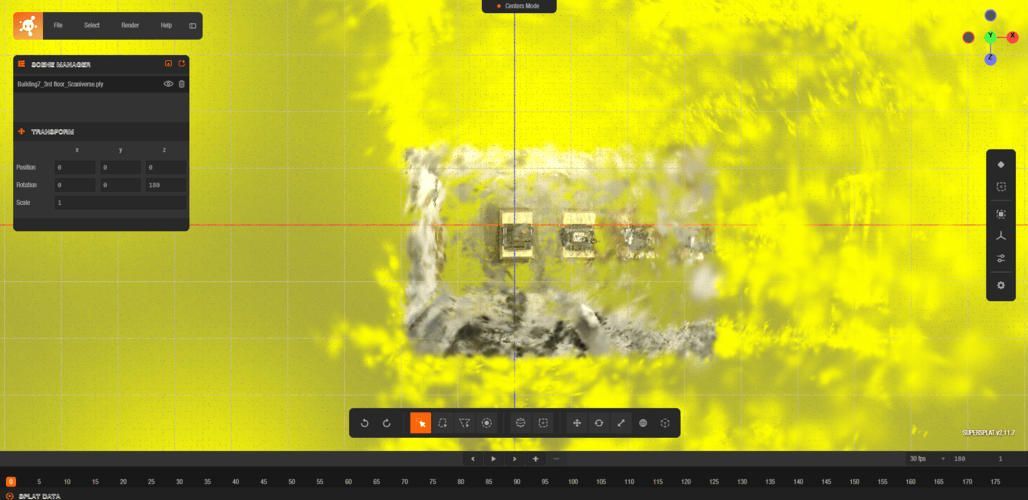
Optimization with CloudCompare and Supersplat
There are many softwares and services available to clean up and thin point cloud models, but my advisor and I recently became interested in PlayCanvas . PlayCanvas is essentially like Unity or Unreal Engine, but fully browser-based, which makes it convenient for quick experiments and sharing work online. They also have a dedicated tool called SuperSplat, designed specifically for editing and hosting Gaussian splats. This week I used SuperSplat to clean up the stray or “garbage” points from one of my models, and it worked really well for producing a lighter and cleaner result.
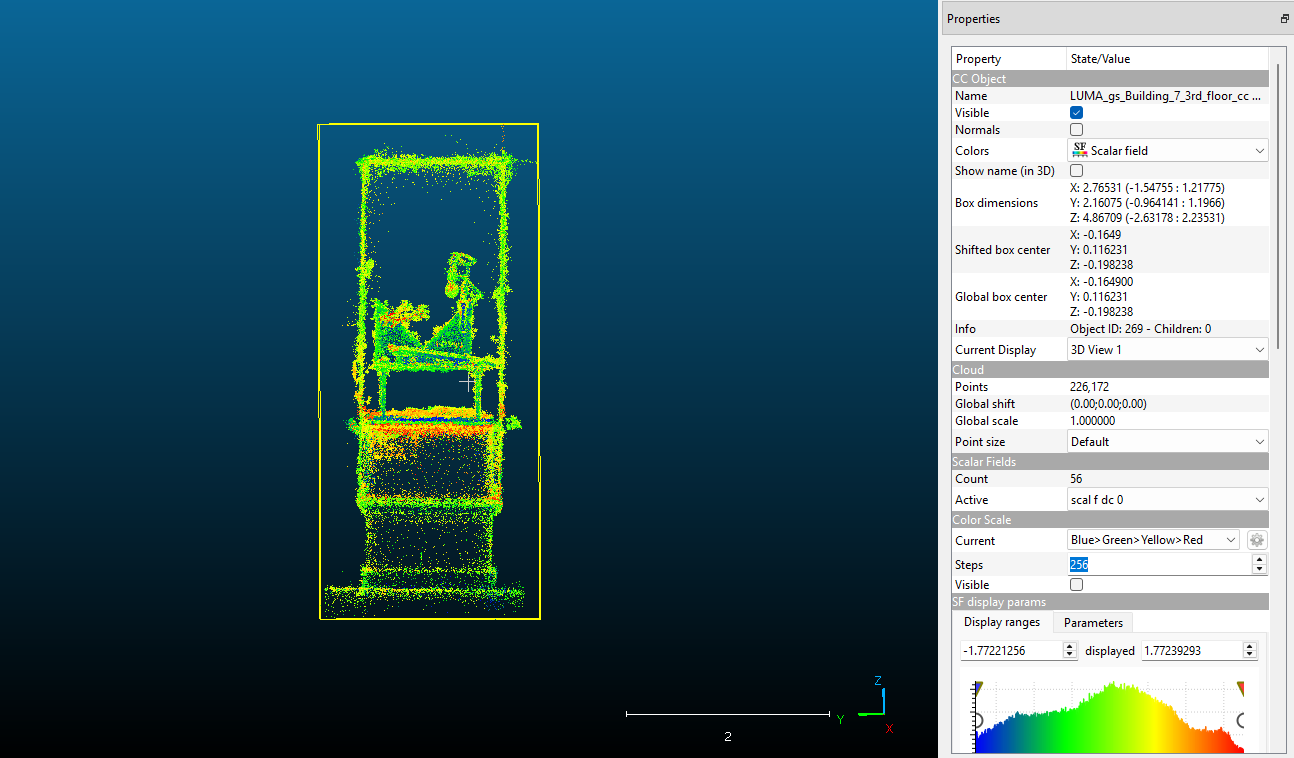
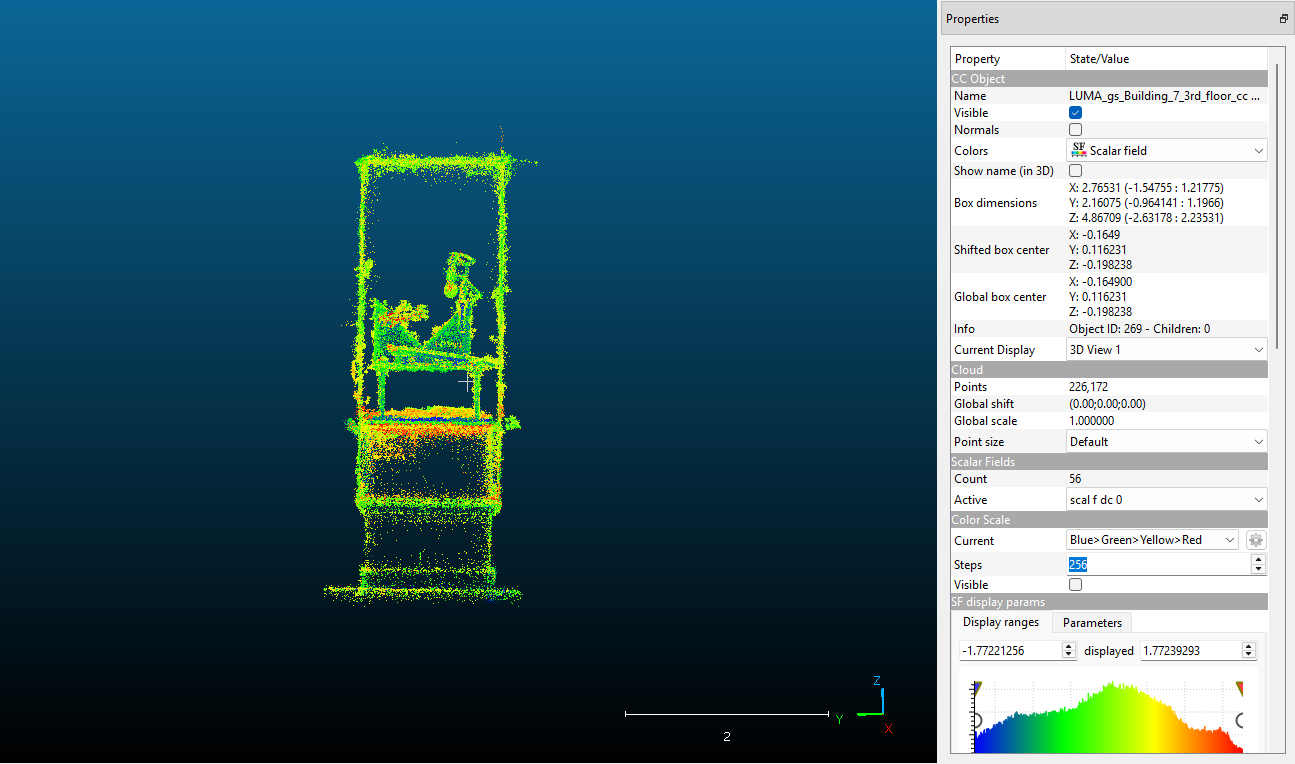
I also tested thinning and denoising by converting a splat into a format that CloudCompare can read and then back again. In order to do that you also need to use this open source tool called 3dgsconverter to convert your gs .ply file into point cloud .ply file and then reverse it after the thinning is done. I found out that the model definately becomes lighter with less noise. But the splat orientations drift after processing which needs more study.
Notes
I will continue refining the capture pipeline and the token based interaction for navigation. I will also document installs and settings for repeatable runs.