Week 7 — Computer Controlled Machining
This week, I wanted to design a small stool for myself, but my goal was also to minimize material use. In my opinion, the best way to express that goal is to minimize the ratio between volume and cut-sheet surface area. A large part of how materials get wasted actually comes from the gap spaces between cut sheets.
Group Training and Setup

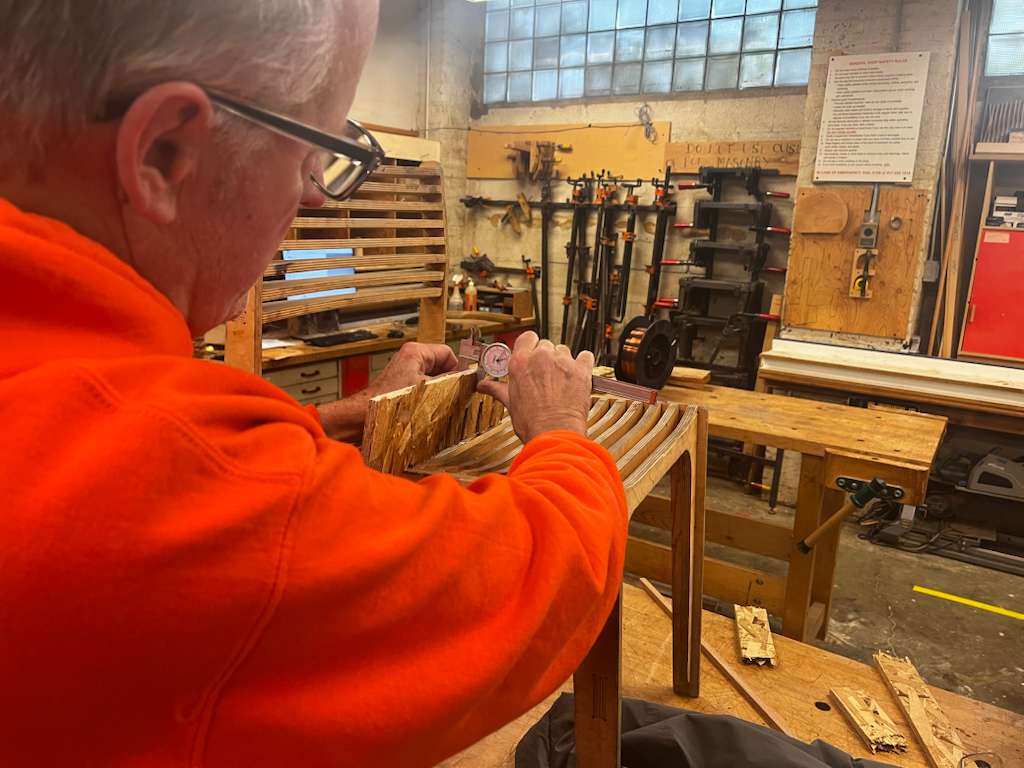
We went through group training with Chris, who ran a general fit test file and helped us better understand the wood’s fit and design details, including available material sizes, tips for layer organization, and, most importantly to me, the minimal allowed gap space between two pieces, which is 1/2 inch due to the bit size limitation.
Design Idea
So I thought to myself: what if I design a file where the outline of each piece is just offset from the outline of another? That’s how I came up with this design.
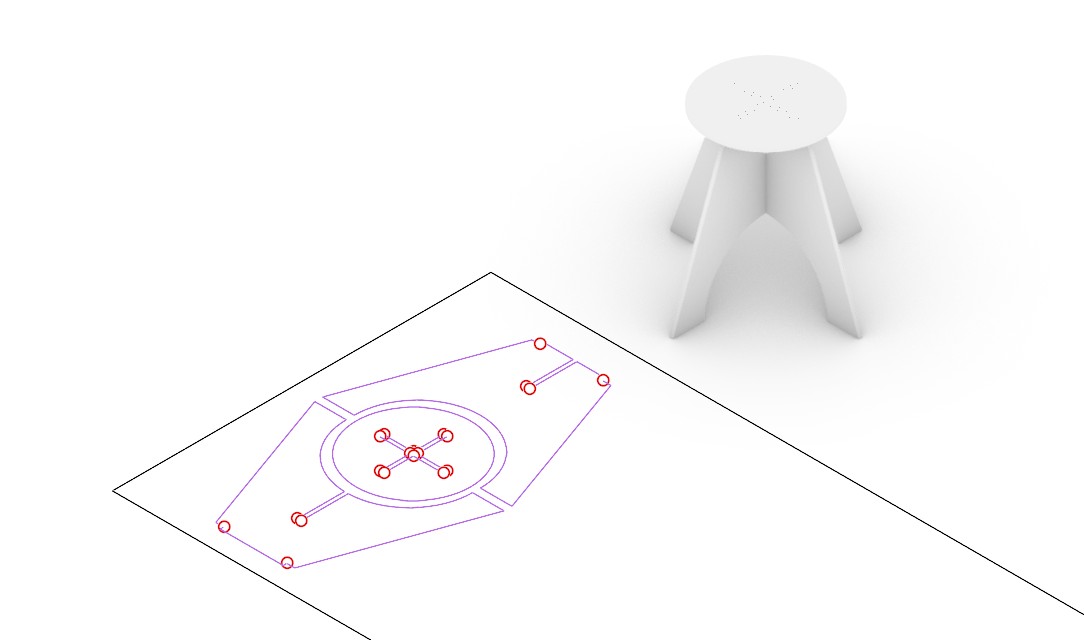
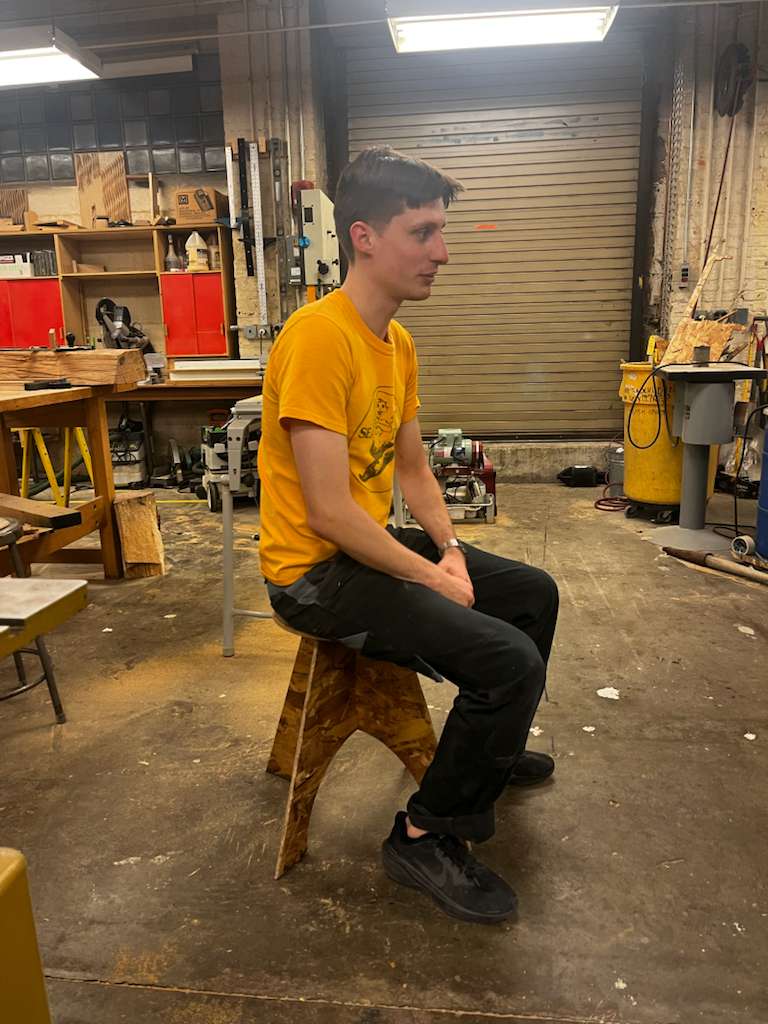
It’s a really simple design with only three pieces, but it still resulted in a normal-sized stool. And I think….probably, maybe… I used the least amount of material possible in the class?
Fabrication and Assembly
This was my first time working with OSB, but not my first time working with wood. If you’re interested, here’s a link to my previous stools: https://qilmegd.com/stool-series and chair projects. I had two main goals for that project: first, I absolutely hate the drill holes on the corners of CNC files, so I decided to design 3D-printed joints to avoid those “Mickey Mouse ears” and explore how different materials can fit together. Second, I wanted to sandwich steel rods between plywood layers so that a minimal number of connections between pieces could create an anti-gravity, fragile appearance.