🖨️ WEEK 4: 3D SCANNING AND PRINTING
From digital models to physical objects. Exploring design, slicing, and output optimization.
3D Printing & Scanning Documentation
This week explored the complete workflow of 3D design, scanning, slicing optimization, and printing. Focused on understanding printer capabilities, design rules, and manufacturing constraints while creating custom housings and novelty prints.
Documentation & Media
3D prints, scanning results, and design documentation


3D Models & Design Files
STL files with 3D visualization and design data
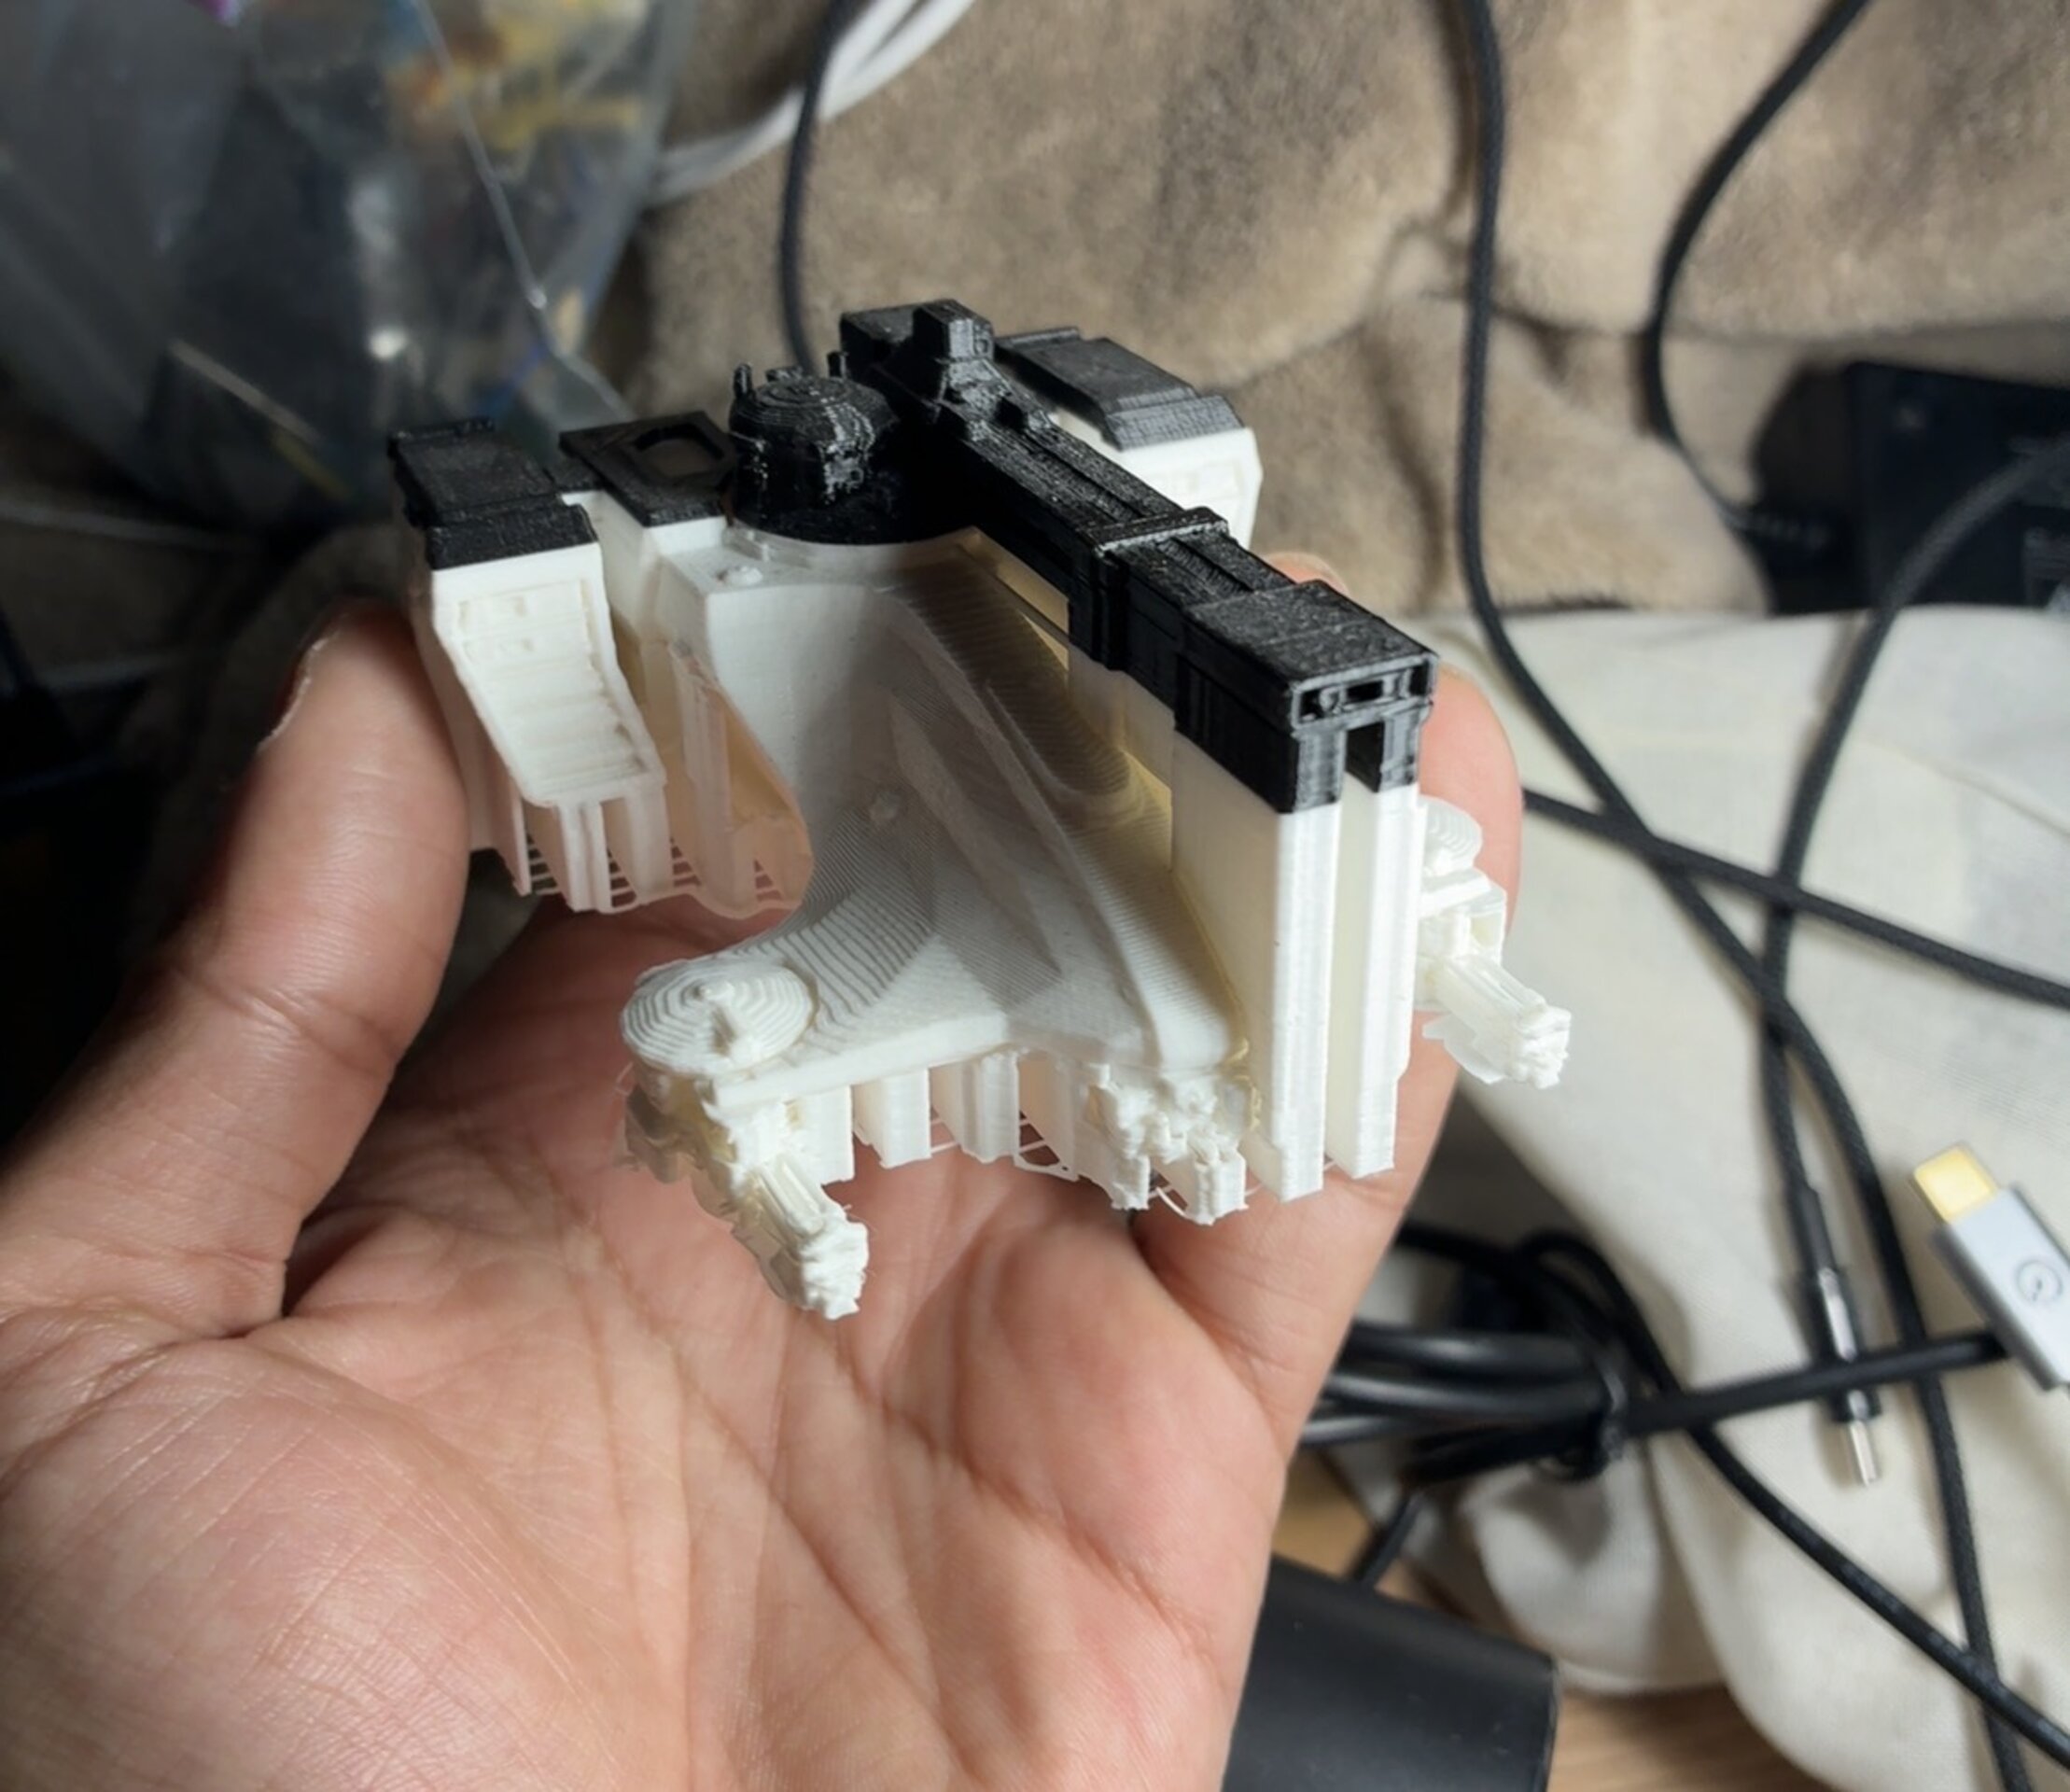
housing3x5.stl - PCB Housing
A custom 3D printed housing for my 3in x 5in copper PCB to avoid loose wires.
⬇ Download STL File2025-12-10.stl - Head Scan
A 3D scan of my girlfriend's head. I wanted to use this in molding and casting week to make a silicone ice cube tray that makes ice in the shape of her face, but the face came out really wrong.
⬇ Download STL File