
Introduction
This week I focused on experimenting with 3D printing. Working in groups, we explored and tested the design rules of our printers to understand their capabilities and limitations. On the individual side, I designed, documented, and printed an object that could not be manufactured subtractively, and I also carried out a 3D scan to capture and analyze a physical object.
Learning to use the 3D printer
I chose to tackle the group assignment on Friday afternoon during Gert’s open hours - which turned out to be incredibly helpful (big thanks to him!). Below, I’ve summarized the key takeaways from this nearly three-hour deep dive into 3D printing settings (tested on the Bambu P1S):
- Quality settings primarily affect surface finish, not structural integrity
- Reducing layer height (e.g., from 0.4 mm to smaller) creates finer detail but increases print time
- Ironing: nozzle re-passes the top surface to melt and smooth for a polished finish
- Adds significant time and isn’t always worth it
- Only works on flat/top surfaces, not curved geometry
- Default profiles are a good starting point
- Avoid cranking speed; it can cause rattling and poor adhesion
- Focus on infill density and wall thickness adjustments
- Infill density guidelines:
- Standard: 8-10% great for prototyping, 10-20% will do for most objects
- Mechanical/structural: ~70%+
- When in doubt, grid pattern preferred (naturally strong, fast) - the others might be preferred for specific applications
- Higher density → heavier object + longer print time
- Wall thickness: 2 walls is standard; go 4+ for thicker walls
- Rotation/orientation can reduce needed supports by changing overhang angles
- o Use auto-orient to find an orientation requiring the least support
- o Rotating may eliminate supports on one area but create them elsewhere - evaluate which surfaces will be visible
- Avoid tiny bed contact; tall/narrow parts can wobble or fall even with a raft
- Trade-off: fewer supports vs. print stability
- Supports:
- Tree supports: easier removal, longer print time
- Normal supports: faster to print, harder to remove
- Autogenerated based on overhangs (≈60°+ typically needs support)
- Raft: 2 layers recommended for tall/narrow objects
- Improves bed grip and prevents wobble
- Not necessary for parts with large, flat bases
- Model sources:
- Sketchfab (some paid), GrabCAD, FreeCAD
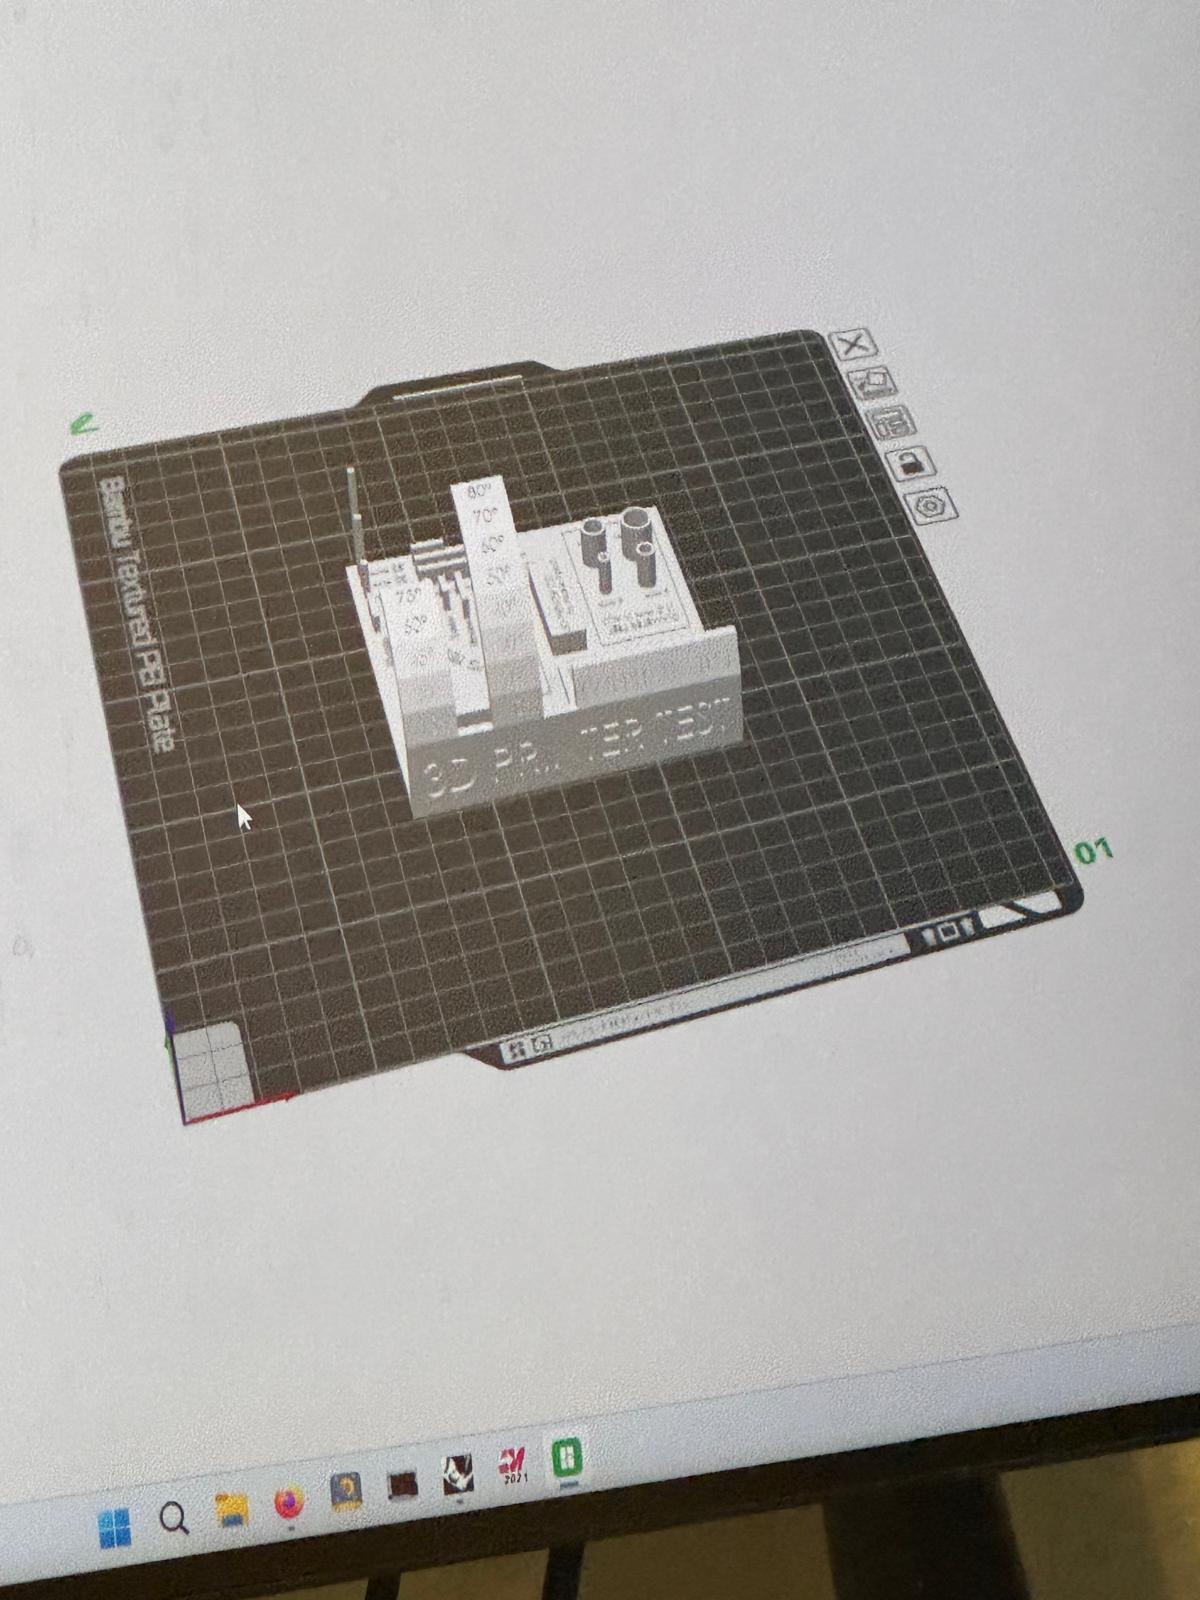
After the session, we decided to print a benchmark model we found online, since the FabLab’s versions were already available and had been tested. The print turned out quite well overall, with only a few minor issues related to steep angles and overhangs.
3D Printing
This week I was really excited - I had never touched a 3D printer before, and I’ve been wanting to test one for ages. There are so many things I’d like to print, but reality quickly slapped me with three constraints:
- My CAD skills (Fusion 360 and I are still negotiating our relationship).
- Printing time.
- My limited knowledge of printing rules (filament types, tolerances, structural properties, etc.).
So, armed with enthusiasm, humility, and stock white PLA, I dove in.
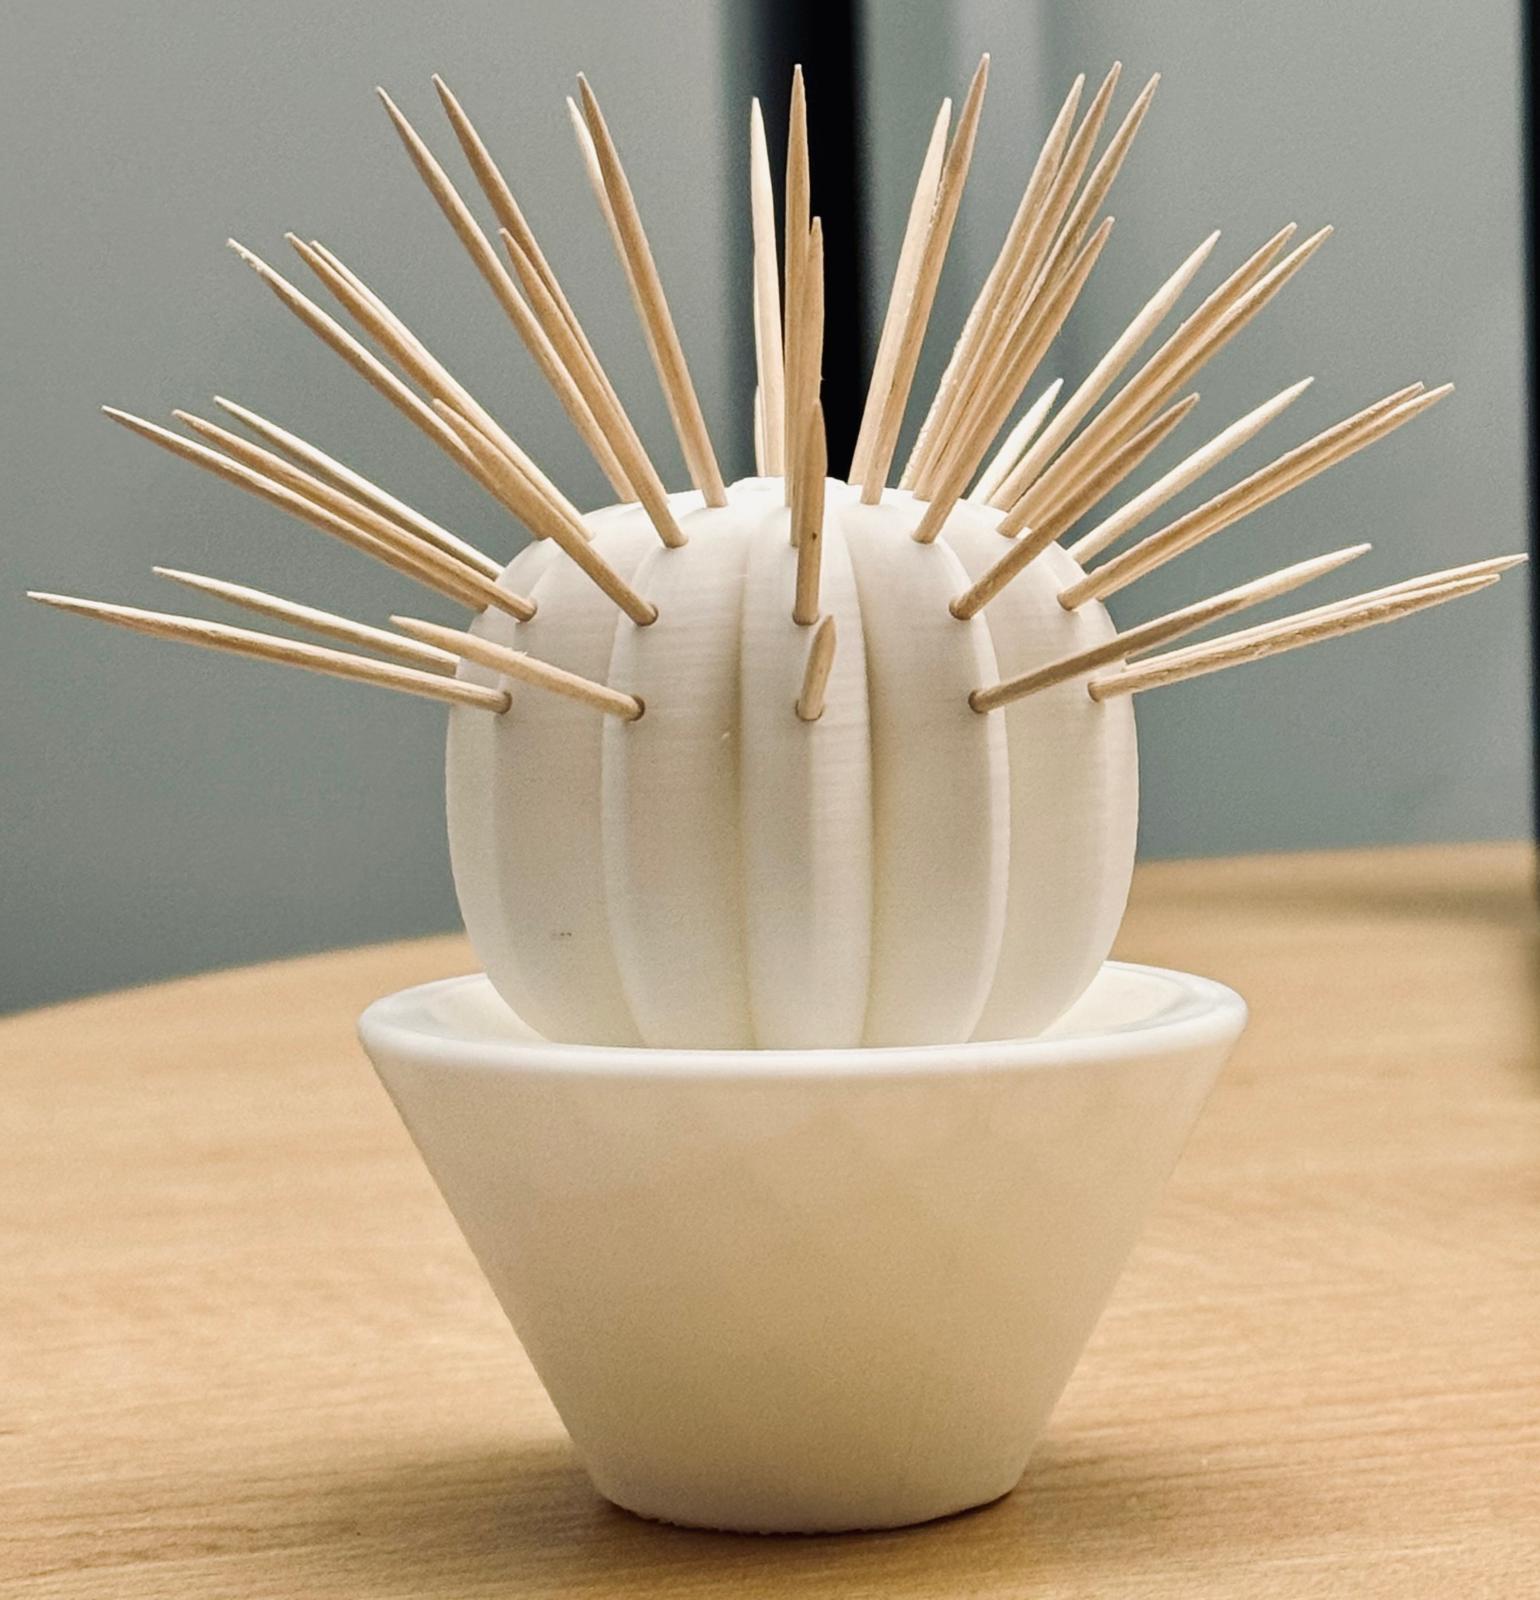
Toothpick holder cactus
For my first design, I chose an idea I had been thinking about for a while: a cactus that holds toothpicks instead of spines. It felt like the right project because it is both playful and practical, while also being a design that would be almost impossible to manufacture subtractively.
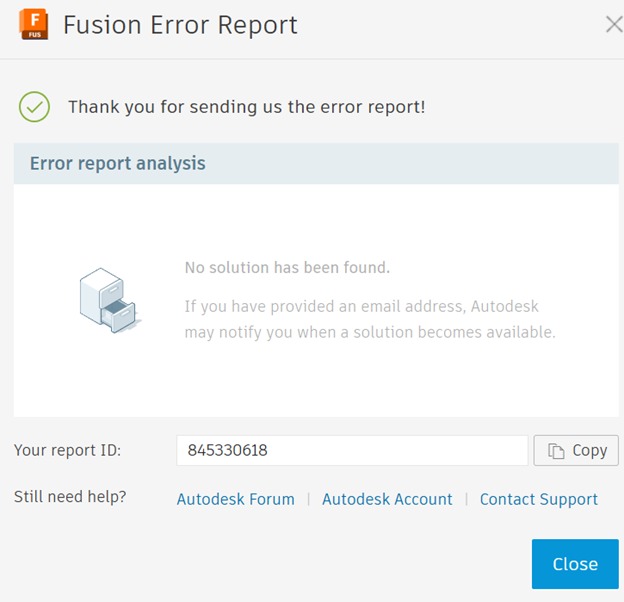
Of course, my CAD skills were put to the test. Fusion 360 loves to remind me that “no solution has been found” (which, honestly, feels a bit personal at this point). Still, after learning the hard way to save every two minutes, I managed to model a cute cactus.
And here’s the digital glory:
Interactive model
For the first print, I used some leftover green filament. Unfortunately, it had absorbed too much humidity and the print failed quickly, as the material was not sticking properly to the build plate.
I switched to white PLA, which printed much more reliably. The main challenge was calibrating the holes: the first versions came out slightly smaller than designed, so I had to iterate until the toothpicks fit comfortably. I also printed a small vase for the cactus, attaching it with a magnet so the two pieces connect seamlessly. Final result is simple but satisfying.
You can download the file here .
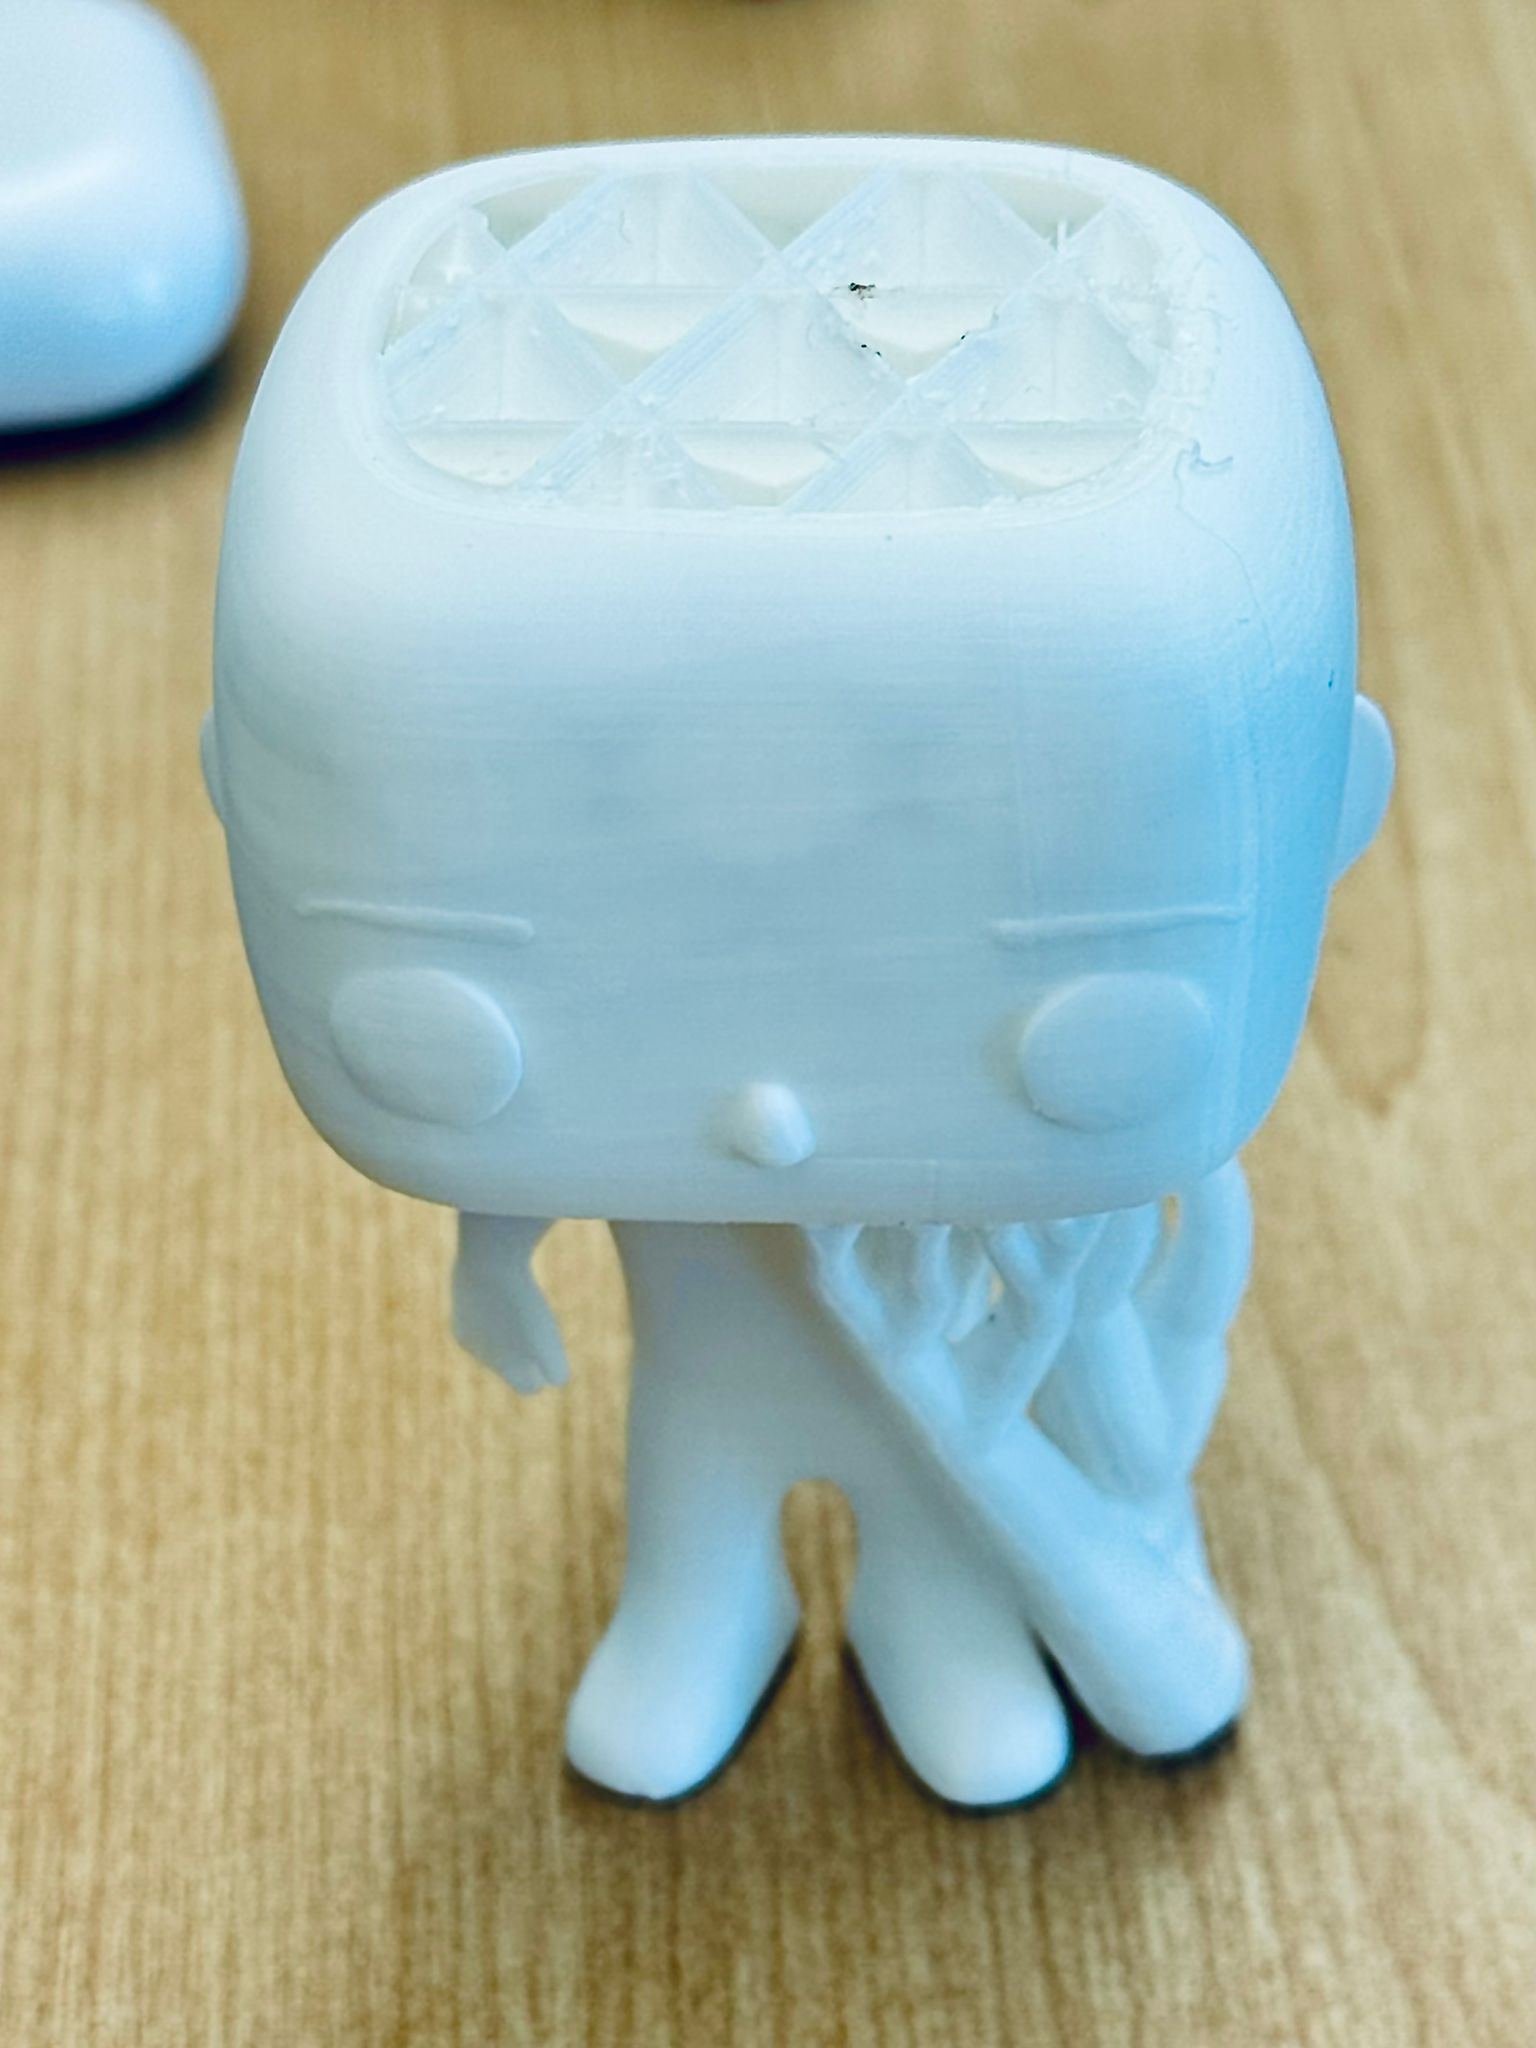
Bobblehead
While the cactus was printing, I also experimented with a bobblehead design I found online. My initial thought was to scan my own face and merge it into the model, but that proved too complex for now.
The print itself ran smoothly until the bobblehead detached from the build plate at around 90% completion. The result: I ended up with a headless bobblehead and a pile of wasted PLA noodles. Lesson learned: listen to Gert when he says “autorotate.” Printing it lying on its back would’ve avoided the drama.
I might save the project by printing a hat for this guy.
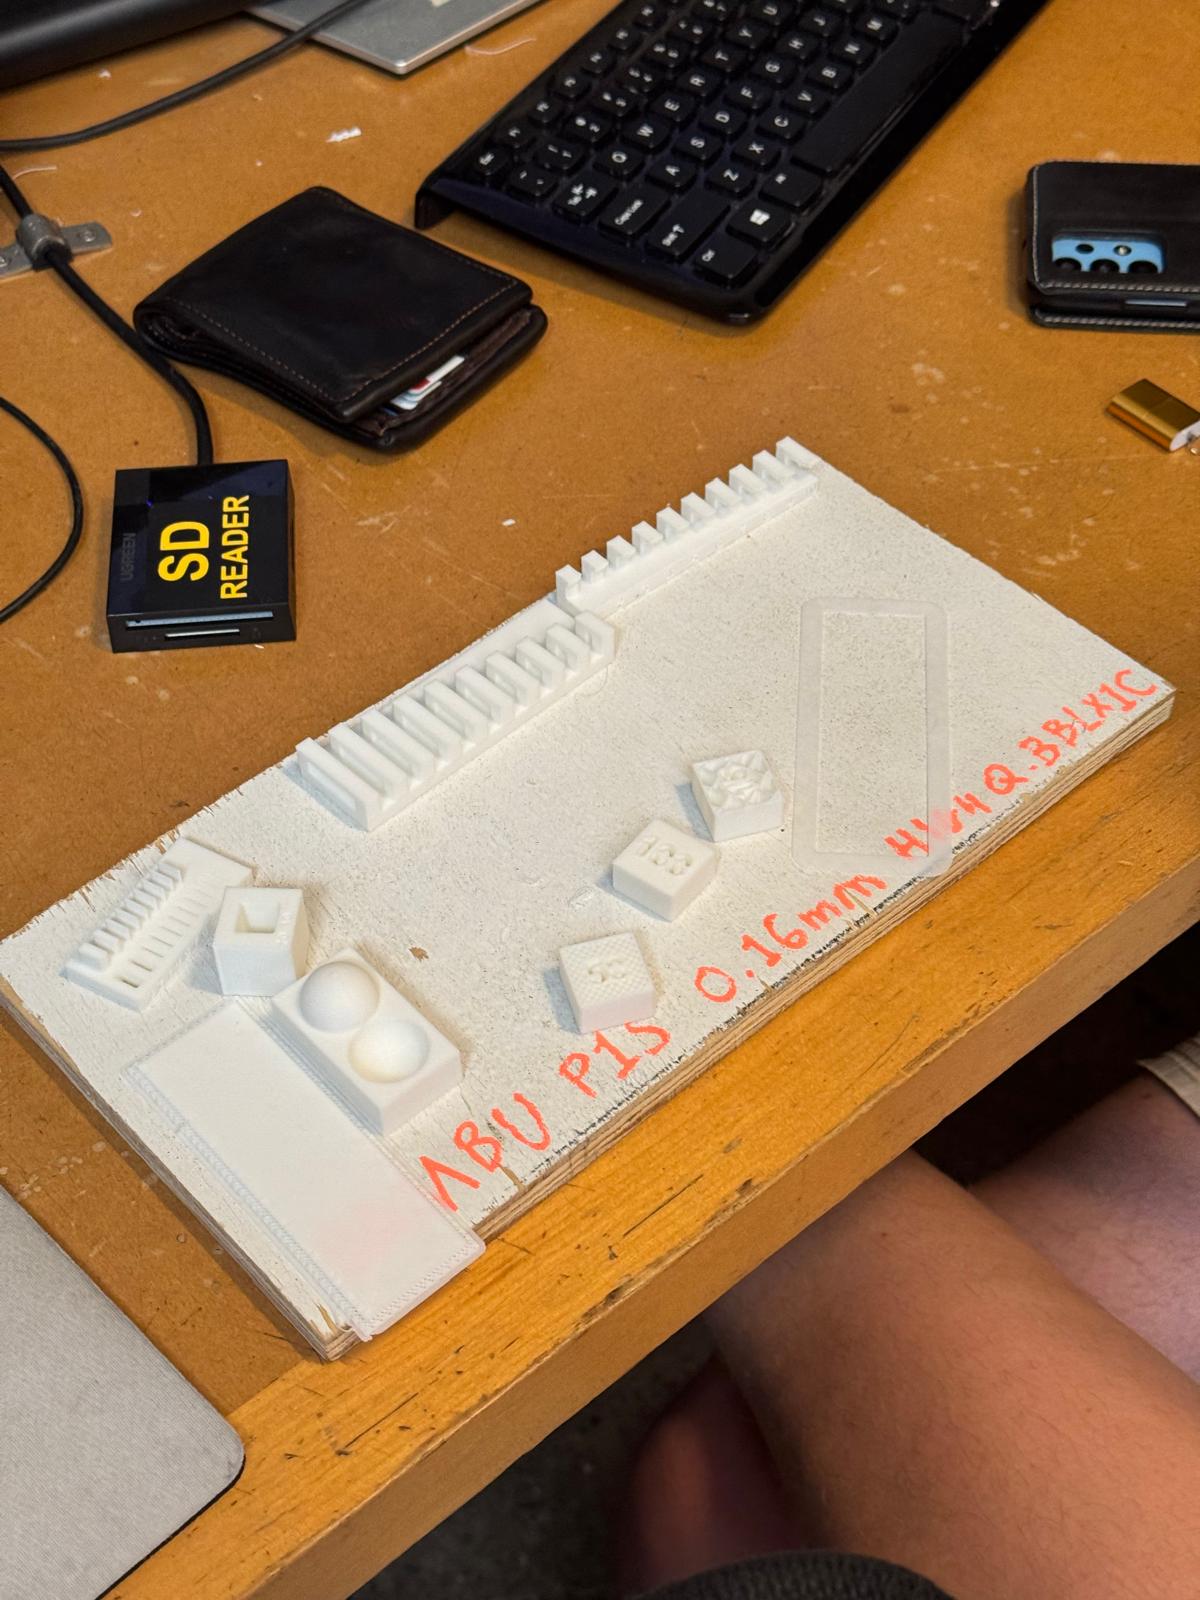
MAP Printing
I also tested detail reproduction by designing and printing a small map. I chose Nuketown from Call of Duty: Black Ops - arguably the most iconic COD map of all time [and, in case you were wondering, as for my personal ranking, Nuketown is definitely number one, but my top five maps would be: Nuketown (Black Ops), Hijacked (Black Ops II), Rust (Modern Warfare 2), Raid (Black Ops II), Strike (Modern Warfare)].
I imported an image of the map into Fusion 360, traced the main geometries, and then printed it at four different scales, each one 50% smaller than the previous. At larger sizes, the details came out clearly, but as the models shrank, fine features were lost due to the limits of filament thickness and layer resolution. Here is the design I came up with.
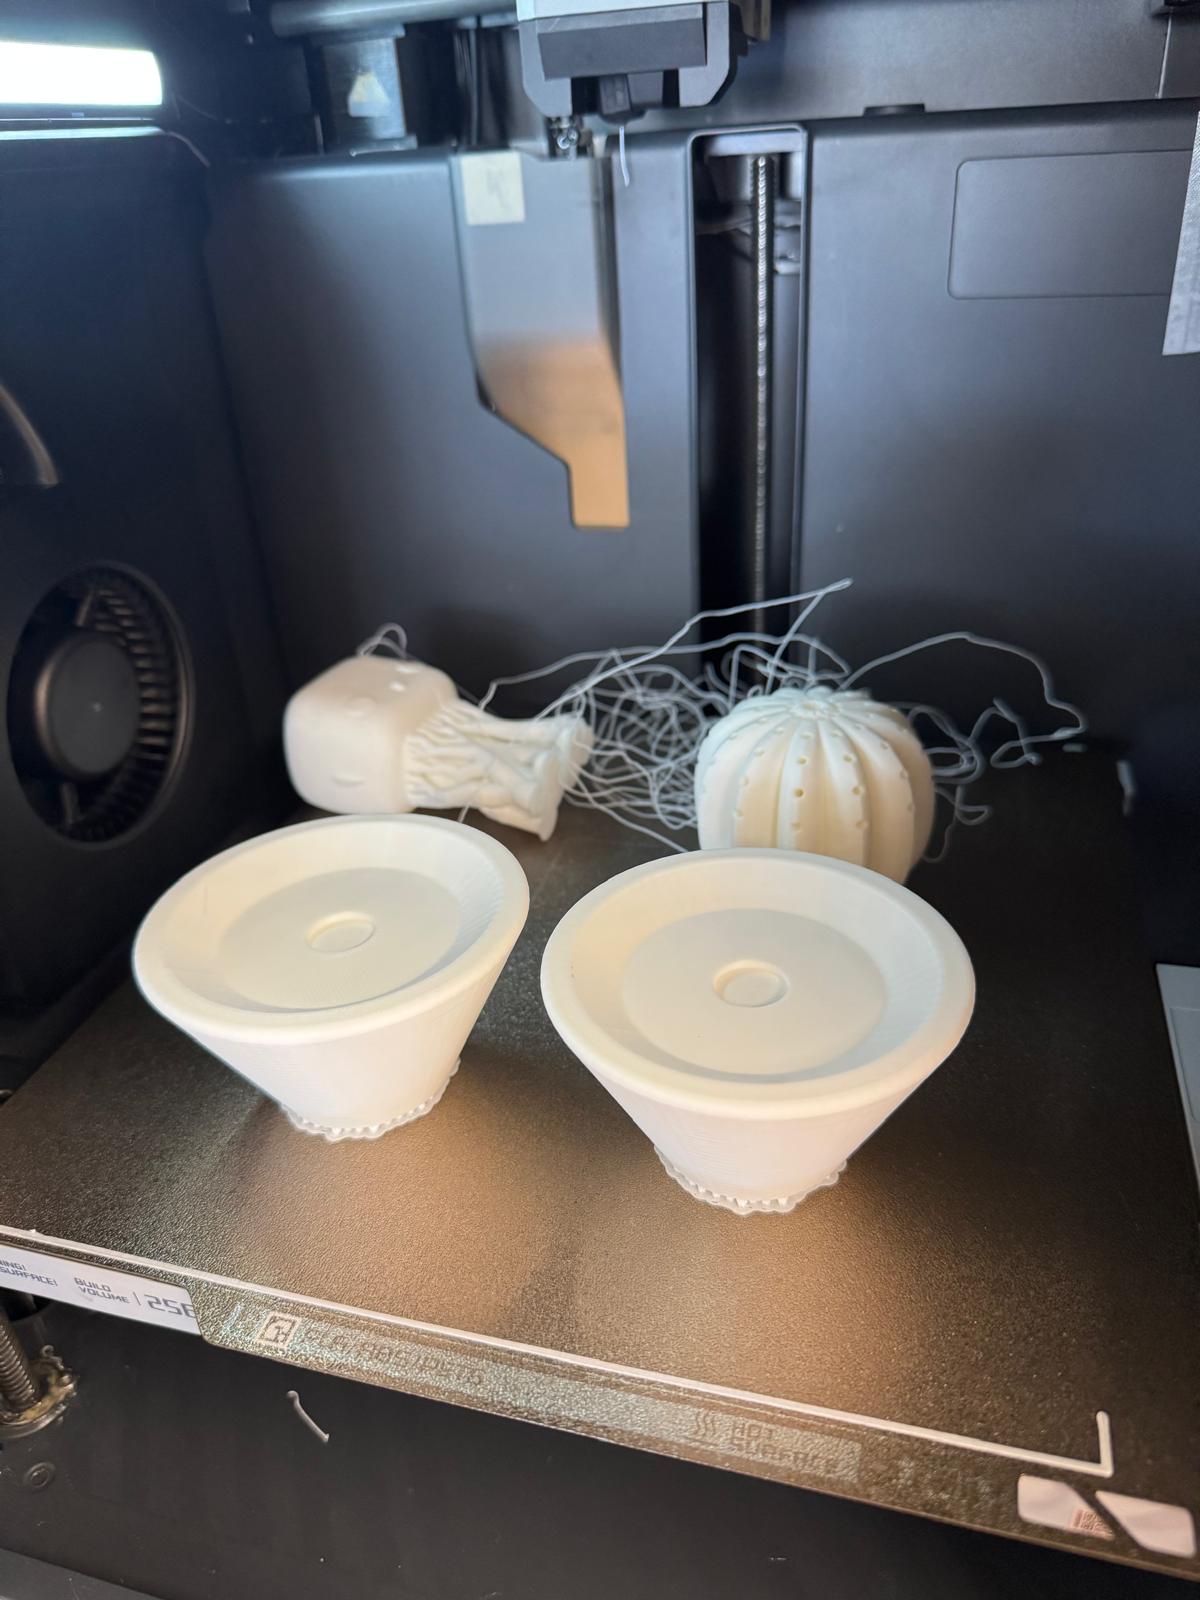
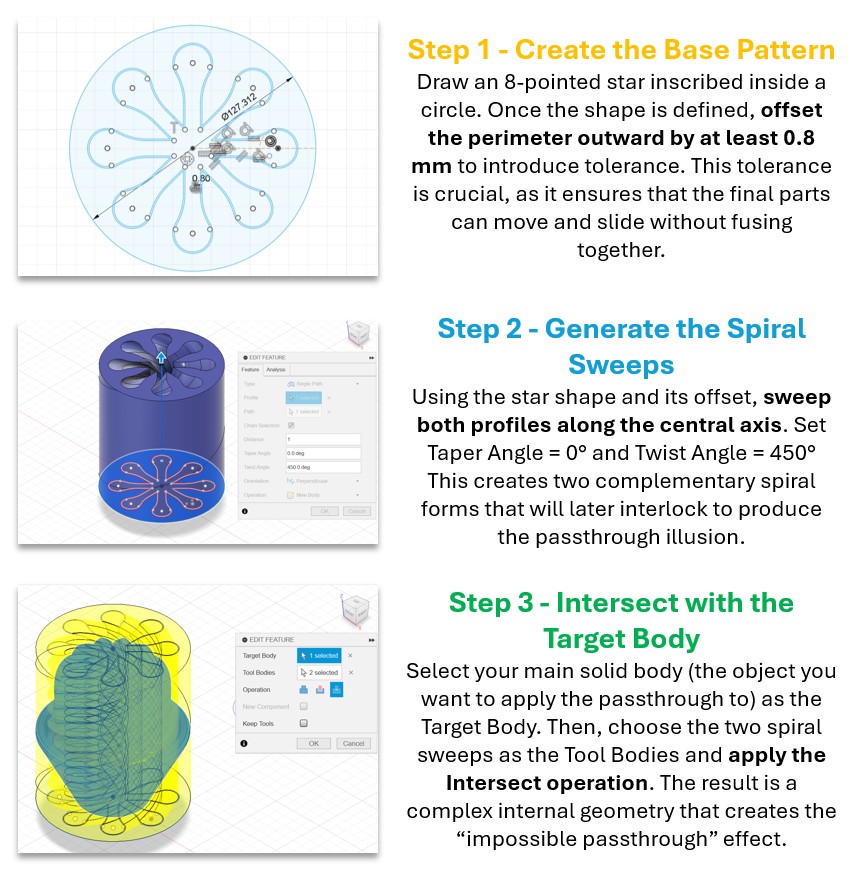
Impossible Passthrough
After having experimented with the three projects above, I realized I really liked my cactus design and wanted to experiment more. I decided to challenge myself with something called an impossible passthrough. In short, this is an object where two solid parts seem to interlock in a way that looks impossible at first glance, like magic geometry. I wanted to use this as a way to push both my own design skills and the 3D printer’s ability to handle tight tolerances.
To do this in Fusion 360, I played for hours with the Sweep and Intersect functions. The tricky part is that these operations don’t always behave intuitively, as Fusion often complains about geometry overlaps. I had to experiment a lot with how the paths interacted, trimming back sketches and looking for the right design to be applied to my beloved cactus. Eventually, I landed on a design that looked nice and (maybe) printable.
The print itself ran overnight. Unfortunately, the very top of one of the two parts failed - but the object still looked good so I did not reprint. When I tried combining the two parts, they actually worked! Watching them slide and rotate together was incredibly satisfying. Next time, I’ll give more clearance: the .8 mm buffer I left was too tight, and I’d prefer the pieces to move seamlessly.
 You can download the file
here
.
You can download the file
here
.
3D Printing Recap & Next Steps
This week flew by - and I loved it. I’ve got a long road ahead, but I feel I’ve finally gone from 0 to 1: I can set up prints, iterate intelligently, and debug failures with intent instead of luck. Next steps I’m excited about:
- Try vapor smoothing for glossy surfaces. (Note: I’ve read classic acetone smoothing works for ABS; it typically not on standard PLA)
- Learn to print with different colors
- Explore organic, biomorphic forms
- Create chained mechanisms and living hinges
- Improve in parametric design
Scanning
For scanning, we tested two approaches with Gert:
- Revopoint hand-held scanner: great for people/objects; we only got it working on Android (iPhone connection issues). Results were clean, and Gert shared examples on the Slack Architecture channel.
- Polycam app: surprisingly easy and shockingly good for a phone scan. I scanned a random tool (don’t ask me what it is). Exporting to Fusion 360 required the paid version, so the model stayed in freemium purgatory.