Introduction
This week’s assignment was to make something big out of OSB. We also had a group task to complete our lab’s safety training and run tests on machine runout, alignment, fixturing, speeds, feeds, materials, and toolpaths.
Unfortunately, I had to travel for work this week, so I focused on the CAD design first and saved the machining and fabrication for when I’m back in Boston.
Group Assignment
Once got back from work travelling, I scheduled a slot with Chris. Before starting any CNC work, he gave me an hands-on training in the N51 wood shop, focused on both safety procedures and the shop’s specific workflow for student-operated CNC machining. The training covered the full setup process, including checking spindle runout and alignment, validating speeds, feeds, materials, and toolpaths before committing to a full cut.
Because the N51 shop requires a trained operator to be present during CNC use, we began with test cuts. We machined some sample pieces to characterize the kerf and verify tool behavior. We also tried to carve pieces slightly lifting the tool on the Z axes. These test pieces also served as practice for operating the router and confirming that the machine settings produced clean, repeatable cuts.
We measured the OSB thickness at 0.425 inche.
Individual Assignment
Inspiration
I was genuinely excited about this week — a perfect moment to test how far my CAD skills have come.
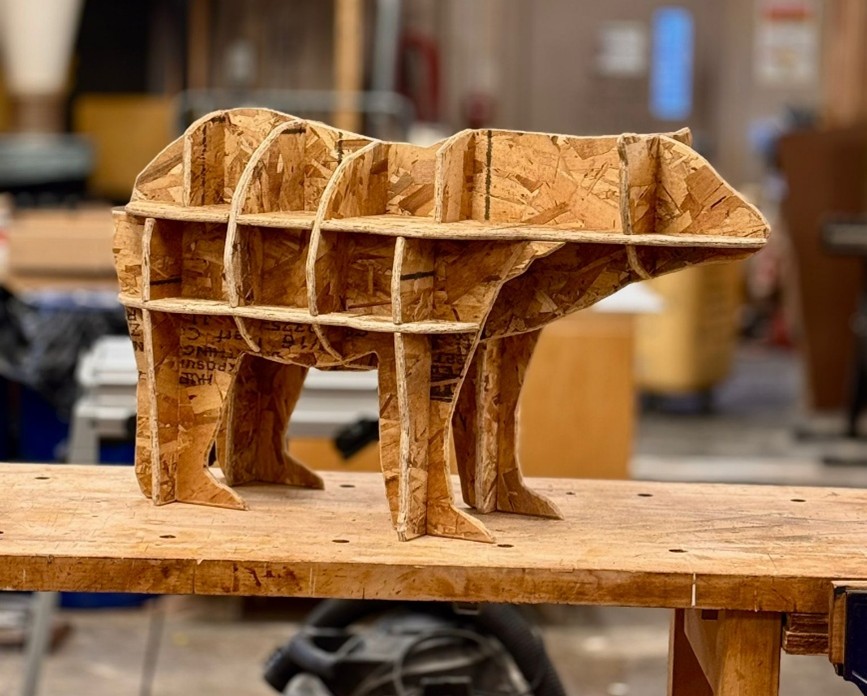
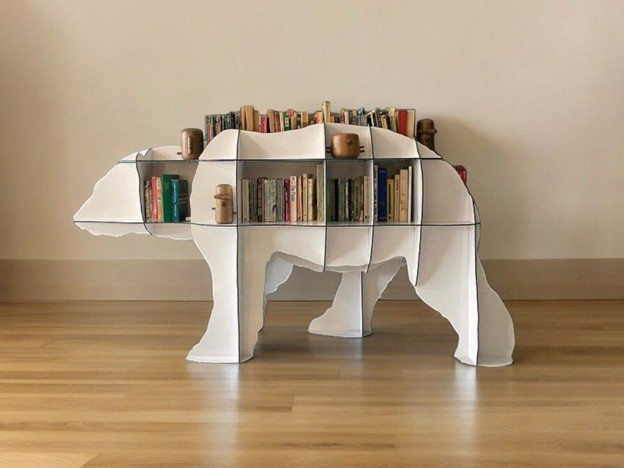
I decided to build a bear-shaped bookshelf, inspired by my time at UC Berkeley (go Bears!). The idea came from a design I spotted on Pinterest that blended geometry and organic form in a way that felt ambitious but doable - basically, the kind of project that makes you say “oh, how hard can it be?” and then immediately regret that thought.
This design is not straightforward, as the curved animal form, interlocking grid structure, and need for precise slot alignment make it a great challenge to push my CAD and fabrication skills.
Design
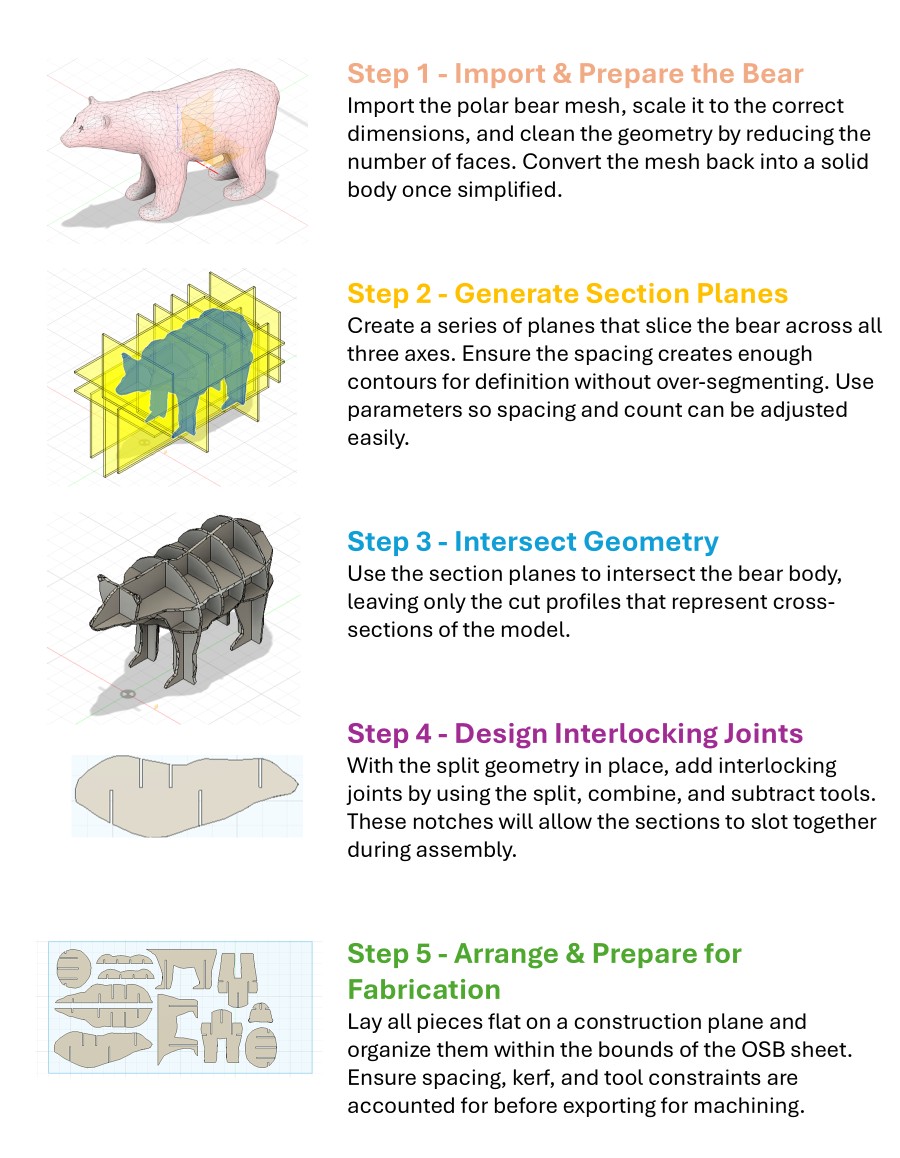
I spent quite a bit of time modeling the parts. Unlike the Colosseum project, where I designed 2D pieces first, this time I worked fully in 3D from the start, even though the final toolpaths are 2D.
I started with a free polar bear mesh from Printables, scaled and simplified it, then sliced it using vertical and horizontal planes matching exactly the OSB thickness. After that came the intersection step, joint creation, and finally laying everything flat for CNC. A surprisingly philosophical process: divide, intersect, align (like therapy, but with geometry).
Here the detailed process.
You can download the design here: Download W7_-_BearFile.dxf
Manufacturing
I spent Friday morning cutting the parts. Since I missed the original OSB week, Chris kindly got me up to speed on all safety requirements and workflows. Nothing makes you pay attention like the sentence “you do not want your hand near that.”
Cutting
First step: measure the real thickness of the OSB. It turned out to be 12 mm instead of the expected 11 mm, which is a big deal when your whole project depends on snap-fits. So we rescaled everything accordingly to keep things tight.
Before cutting, we confirmed the toolpaths were offset correctly; one part wasn’t, so we fixed it and then sent the job.
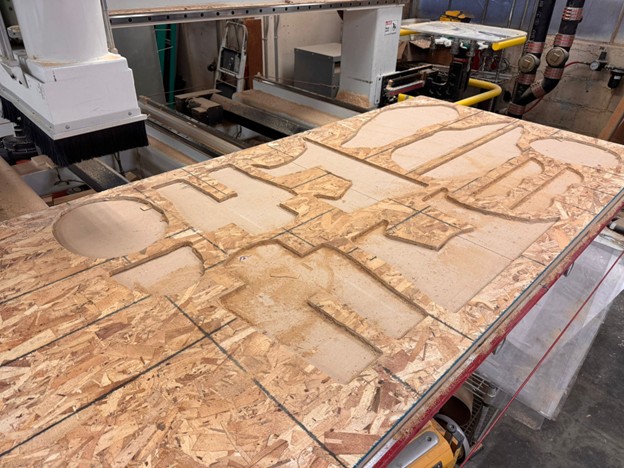
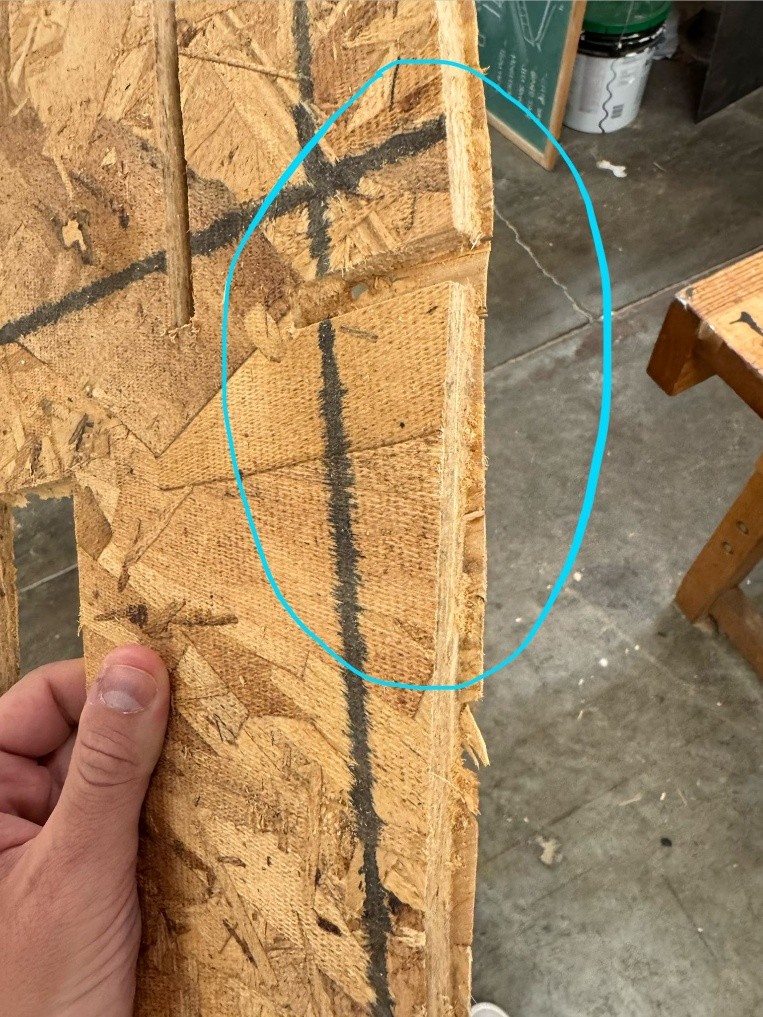
We left an onionskin at the bottom to prevent parts from shifting - great for precision, but it meant extra cleanup work.
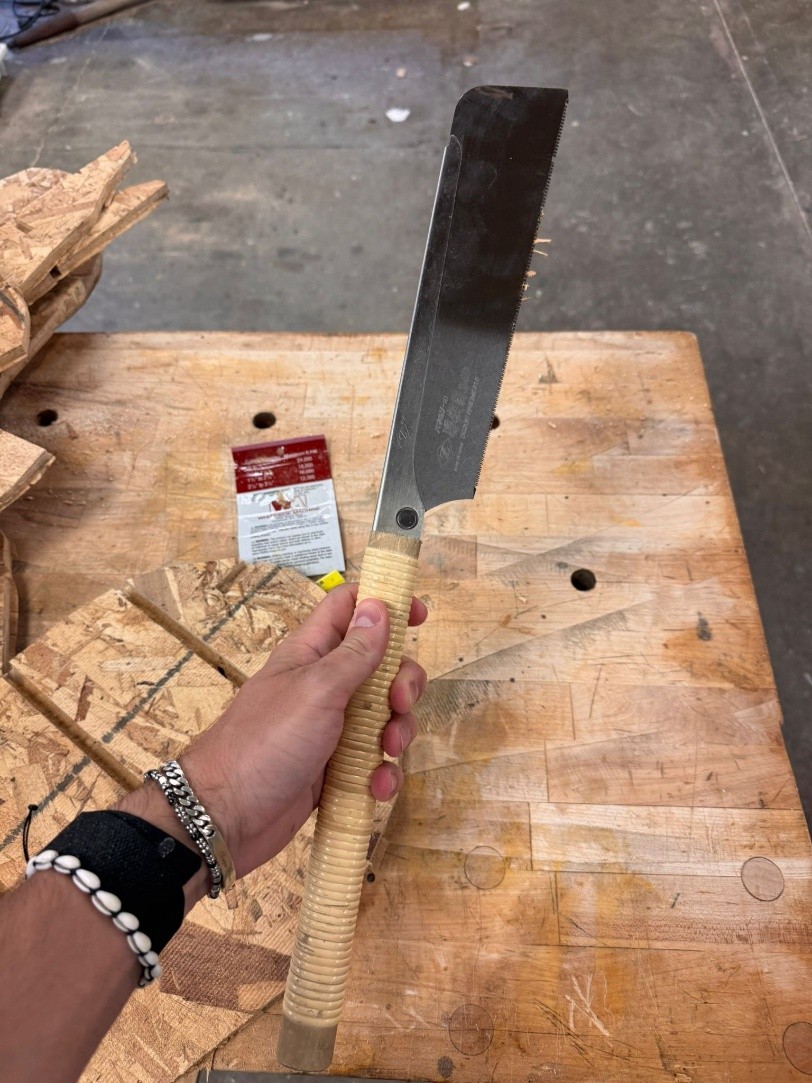
As such, Chris instructed me on using different tools to prepare the pieces. In particular, I used all the following:
- Belt Sander
- Orbital Palm Sander
- Router Table
- Trim Router
- Band Saw
- Japanese Pull Saw
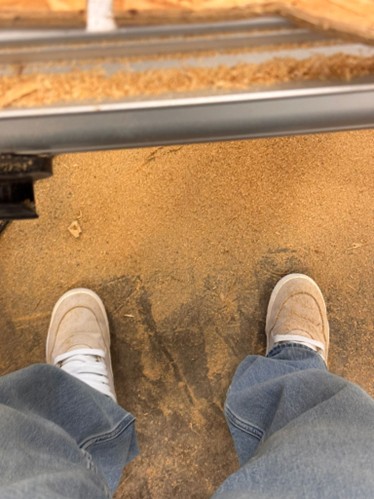
Time-consuming and dust-creating process, but totally worth it for clean joints and better fit.
Assembly
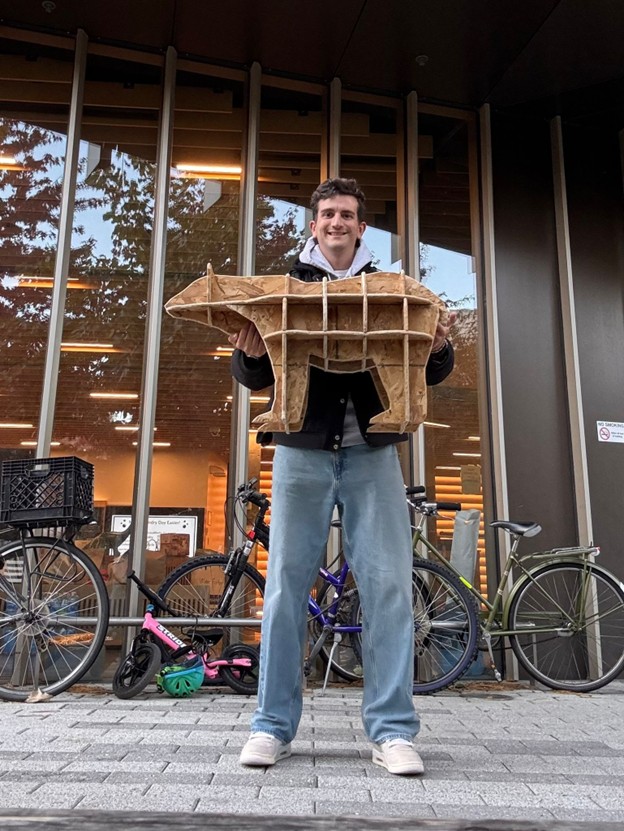
After a proper vacuuming session (the workshop deserved it), I started assembly with a soft mallet. The fit was snug, but thanks to the rescaled thickness everything locked together nicely.
Compared to the Colosseum, these joints were intentionally designed for feasible assembly, no forcing geometry into places geometry doesn’t want to go.
Final Product
Here’s the finished bear! It’s extremely sturdy, and I didn’t need glue or screws, just friction, precision, and a mildly concerning number of mallet swings.