Week 5: Electronics Production
This week's task was to make and test the development board we designed in week to interact and communicate with an embedded microcontroller.
Milling the Development Board
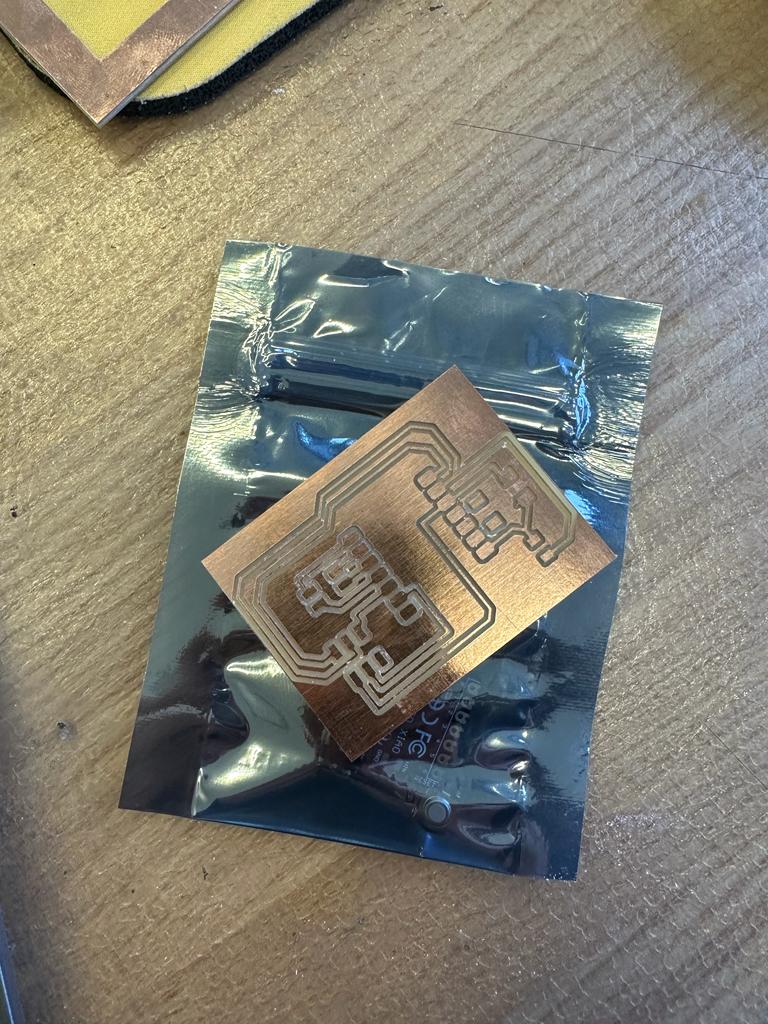
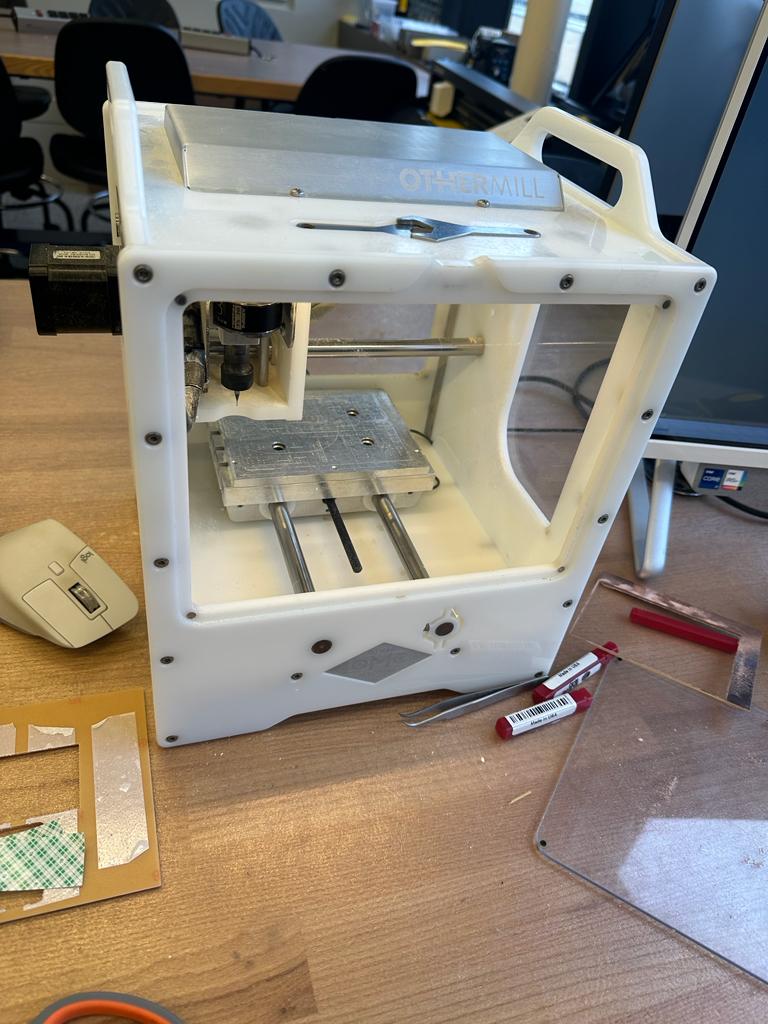
The milling process was simplified by using the OtherMill machine which requires only a .brd file as input. I chose the 1/32” and 1/16” PCB conservative end mills for the job Below is the result of my first attempt along with the milling machine
Soldering and Initial Testing
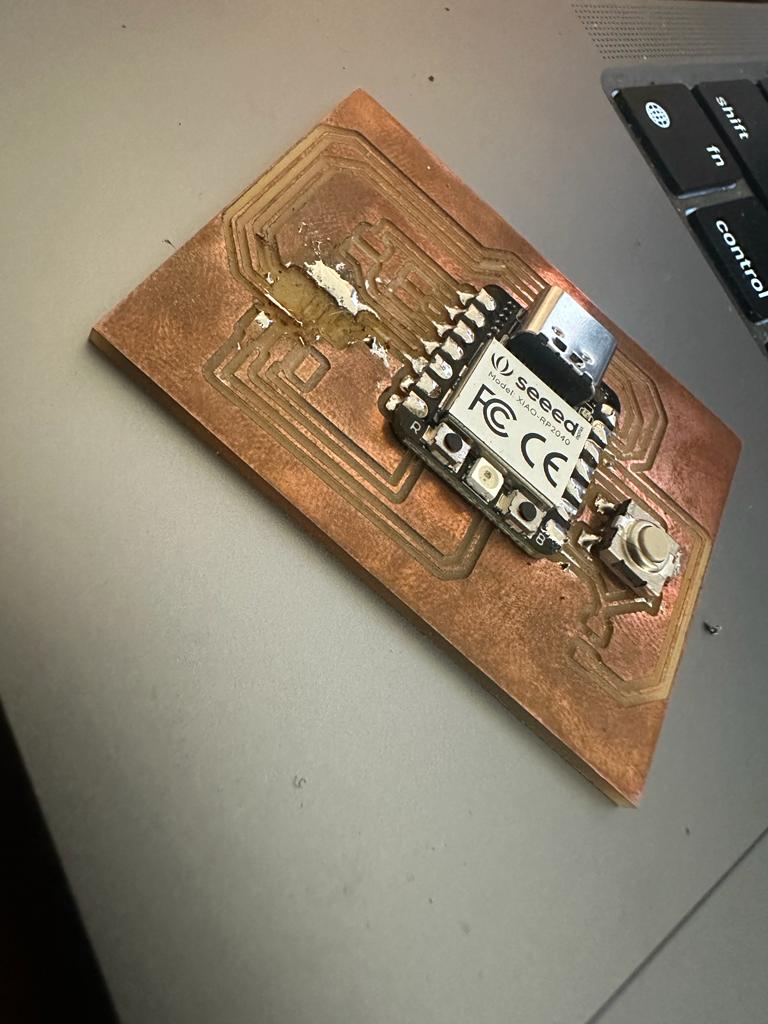
Soldering the development board was challenging since there no vertical pins at my disposal at the time, leading to an attempt to bend horizontal pins to use them as vertical ones. This experiment almost succeeded but also really failed partially ruining the PCB as shown below.
Redesign and Second Iteration
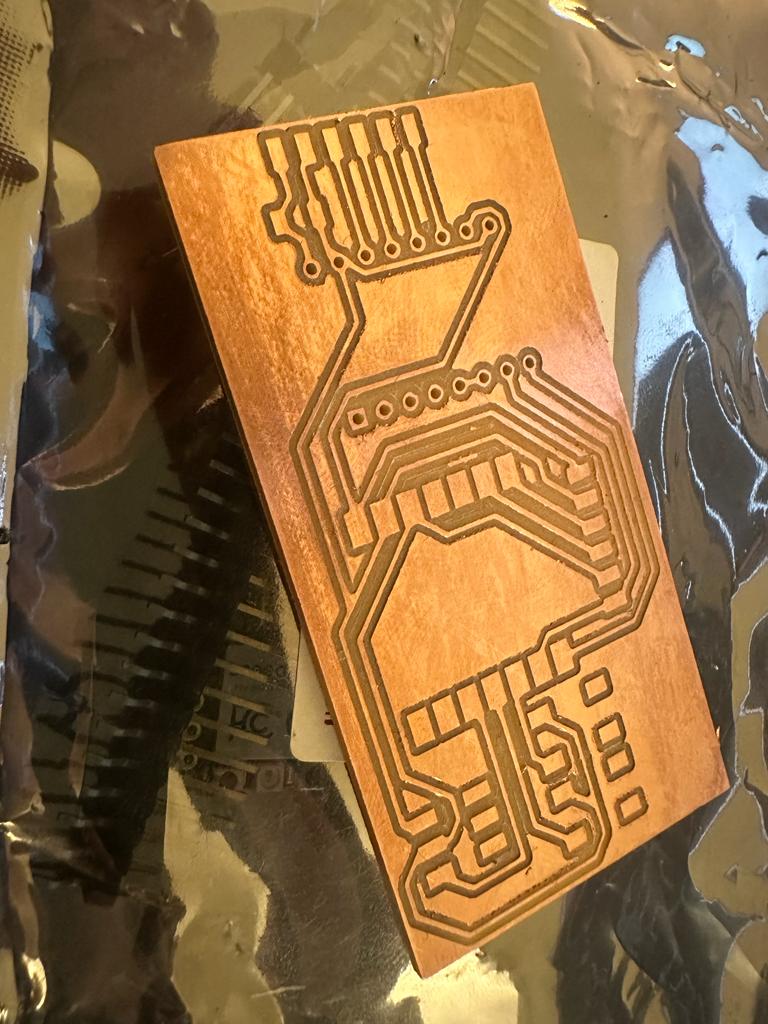
For the second iteration, I redesigned the schematic to include a stepper motor driver and a pinout for a moisture sensor. An additional pinout was added for redundancy. The new design is detailed in Week 4: Electronics Design.
Final Assembly and Soldering
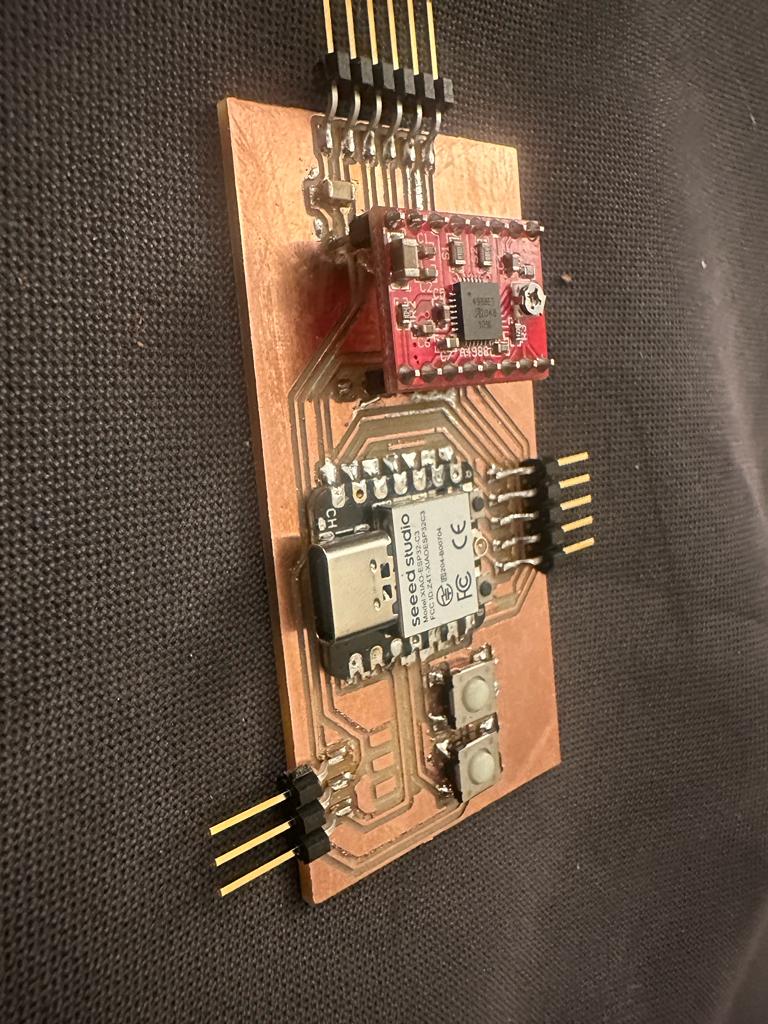
The soldering of the new PCB went smoothly. However, soldering the stepper motor on the same side as the driver presented a challenge. I do prefer it over doing it on the opposite side since it maintain the flat base for the PCB. The finished assembly is shown below.
Testing the Development Board
The development board was tested by connecting it to a capacitive moisture sensor and uploading code to monitor the sensor's output. The sensor reading consistently changed with changes in the soil moisture indicating successful functionality of the development board. One notable observation was that the values given by the sensor were negatively correlated with soil moisture which was unexpected. Further details on using the soil moisture sensor can be found in Week 8: Input Devices.
Below is the code used for testing:
      const int MOISTURE_SENSOR = 4;

      void setup() {
        Serial.begin(115200);
      }

      void loop() {
        int value = analogRead(MOISTURE_SENSOR);
        Serial.print("Moisture value: ");
        Serial.println(value);
        delay(500);
      }
Conclusion
Successfully designing, milling, and testing the development board was a valuable experience. The challenges faced in soldering and redesigning the board were instructive and led to a successful outcome.